Visual feature banner for blogpost
Uncategorized

Sketch Challenge 579 | Magical Dragon

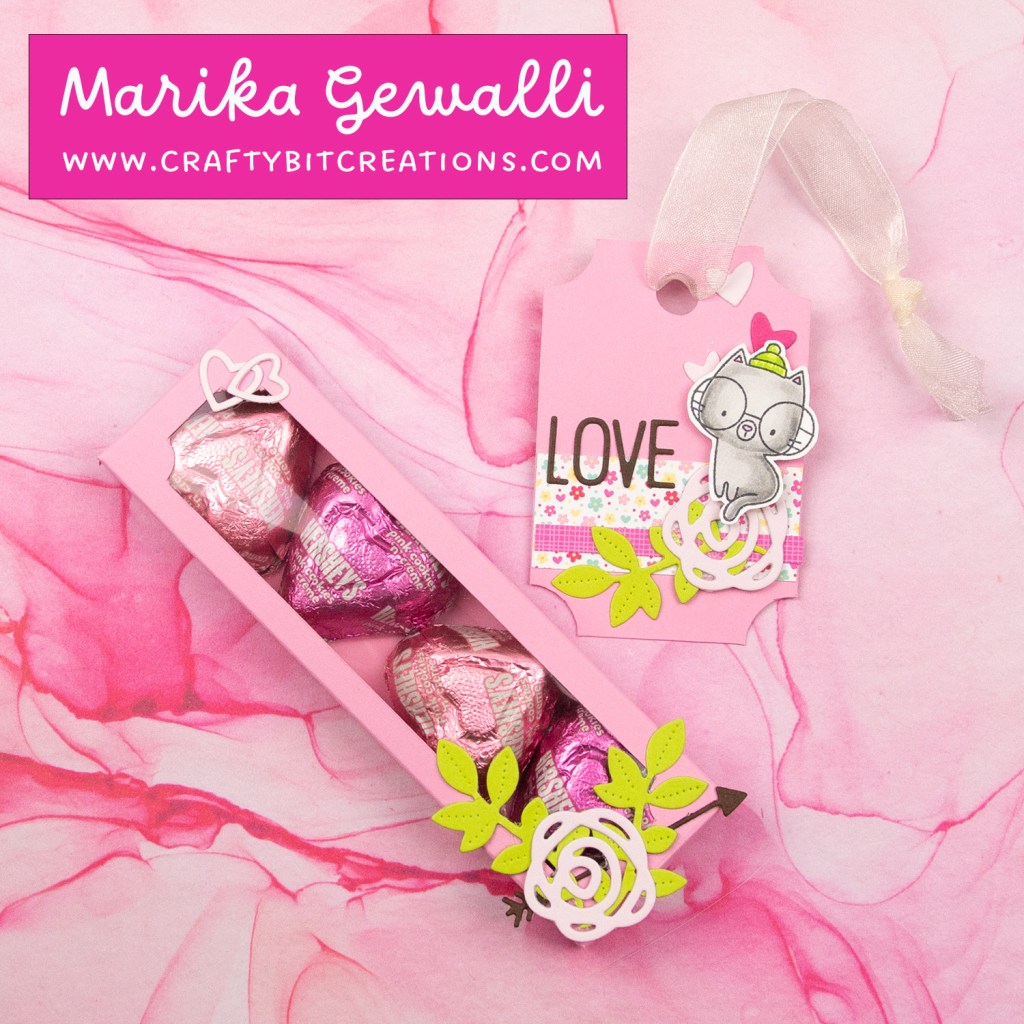
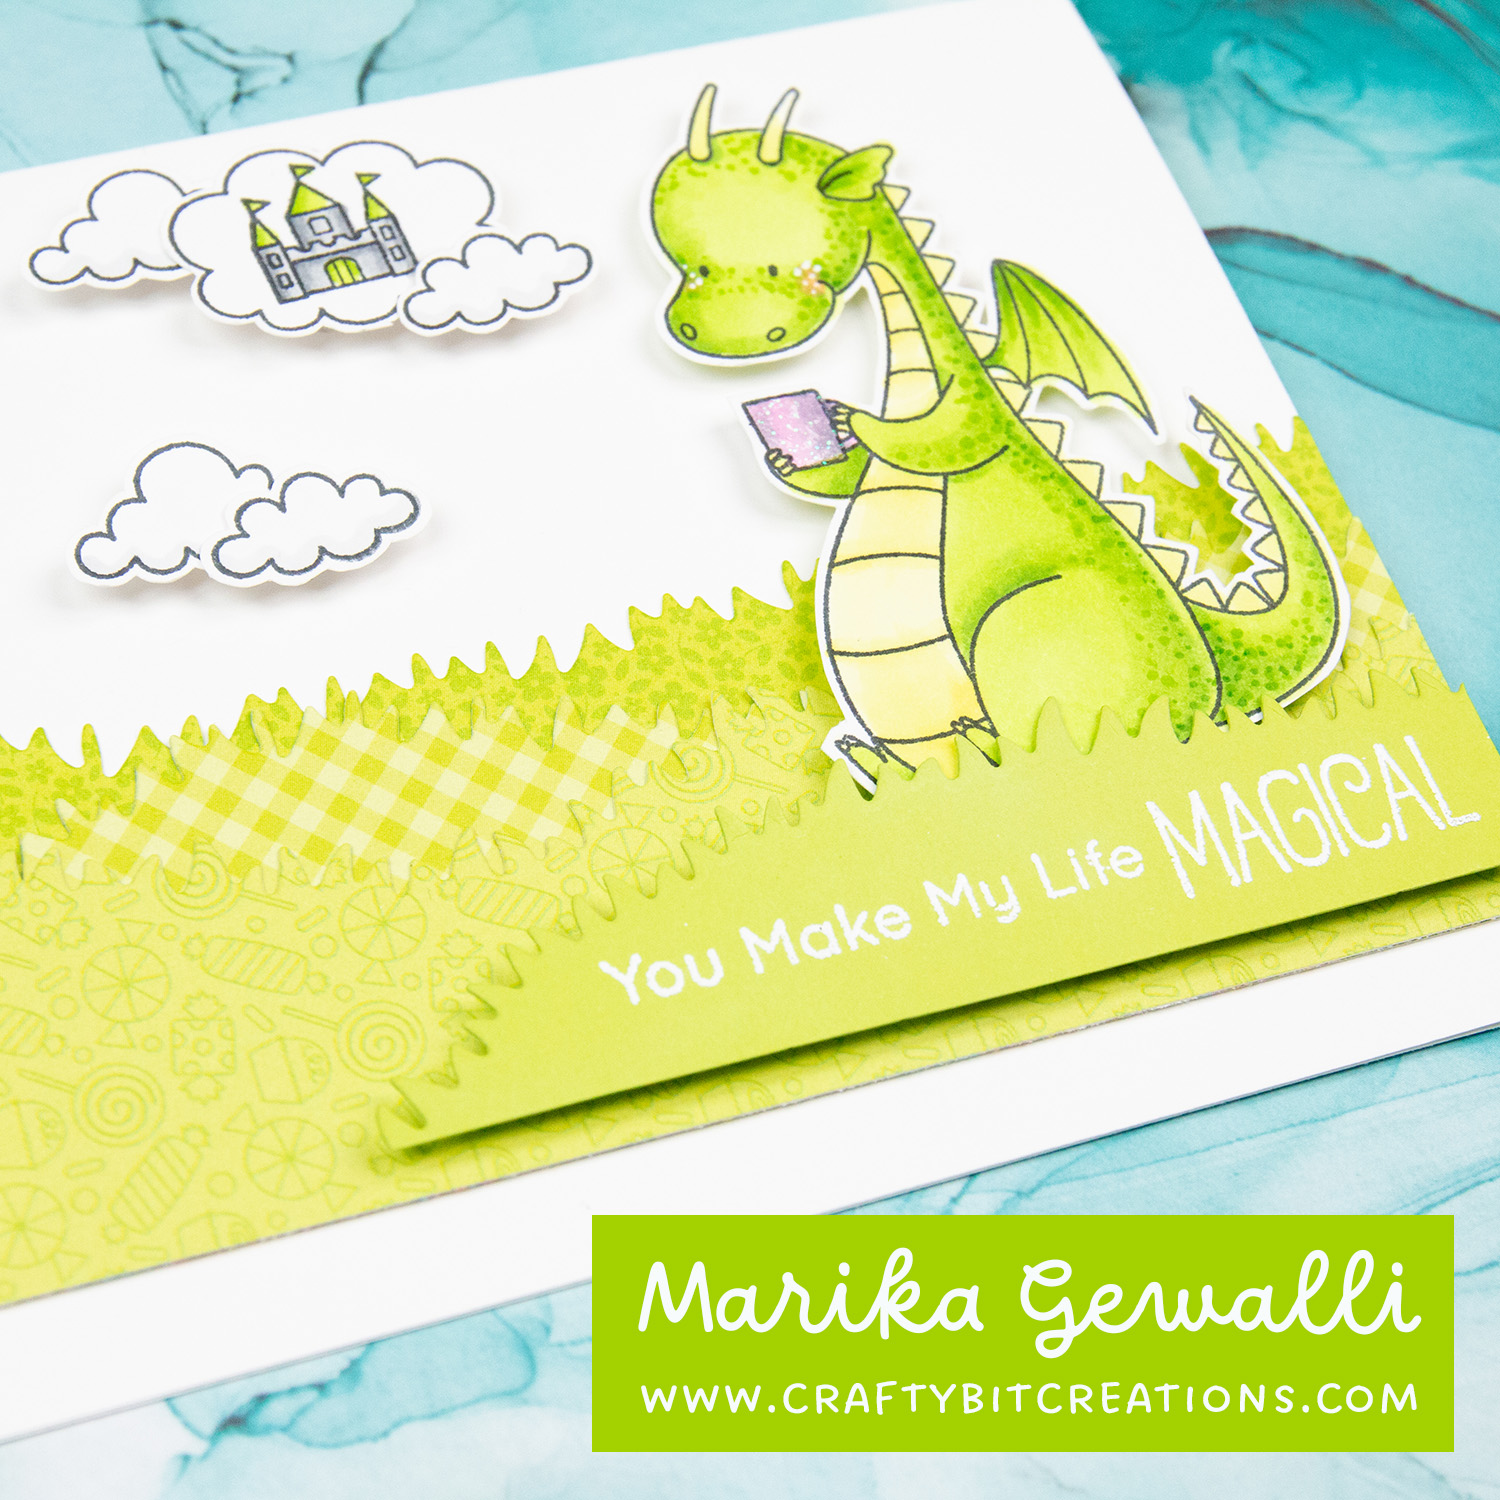
It’s Monday so here is my next entry into My Favorite Things Sketch Challenge, nummer 579. This time around I ended up both turning the sketch upside down and mirrored it. All because I wanted to use this specific dragon from the Magical Friends stamp set.

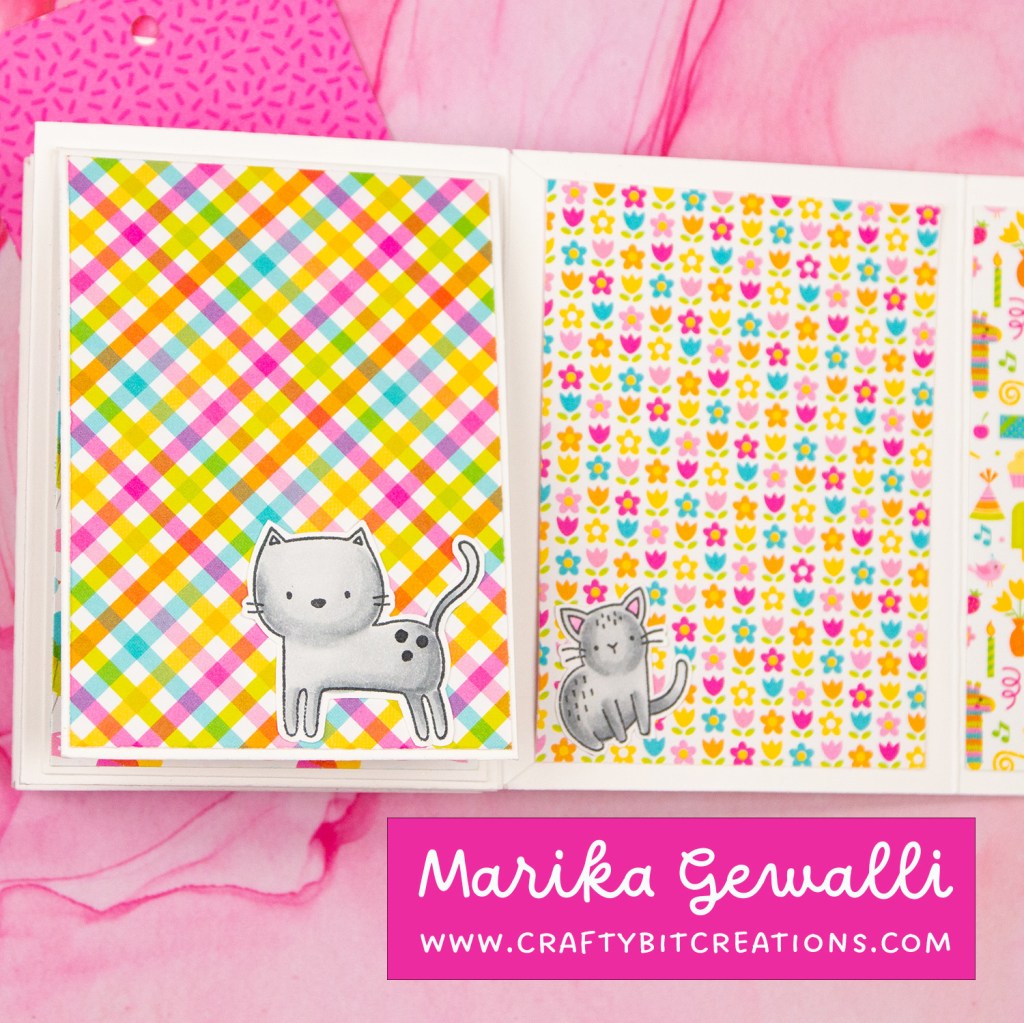
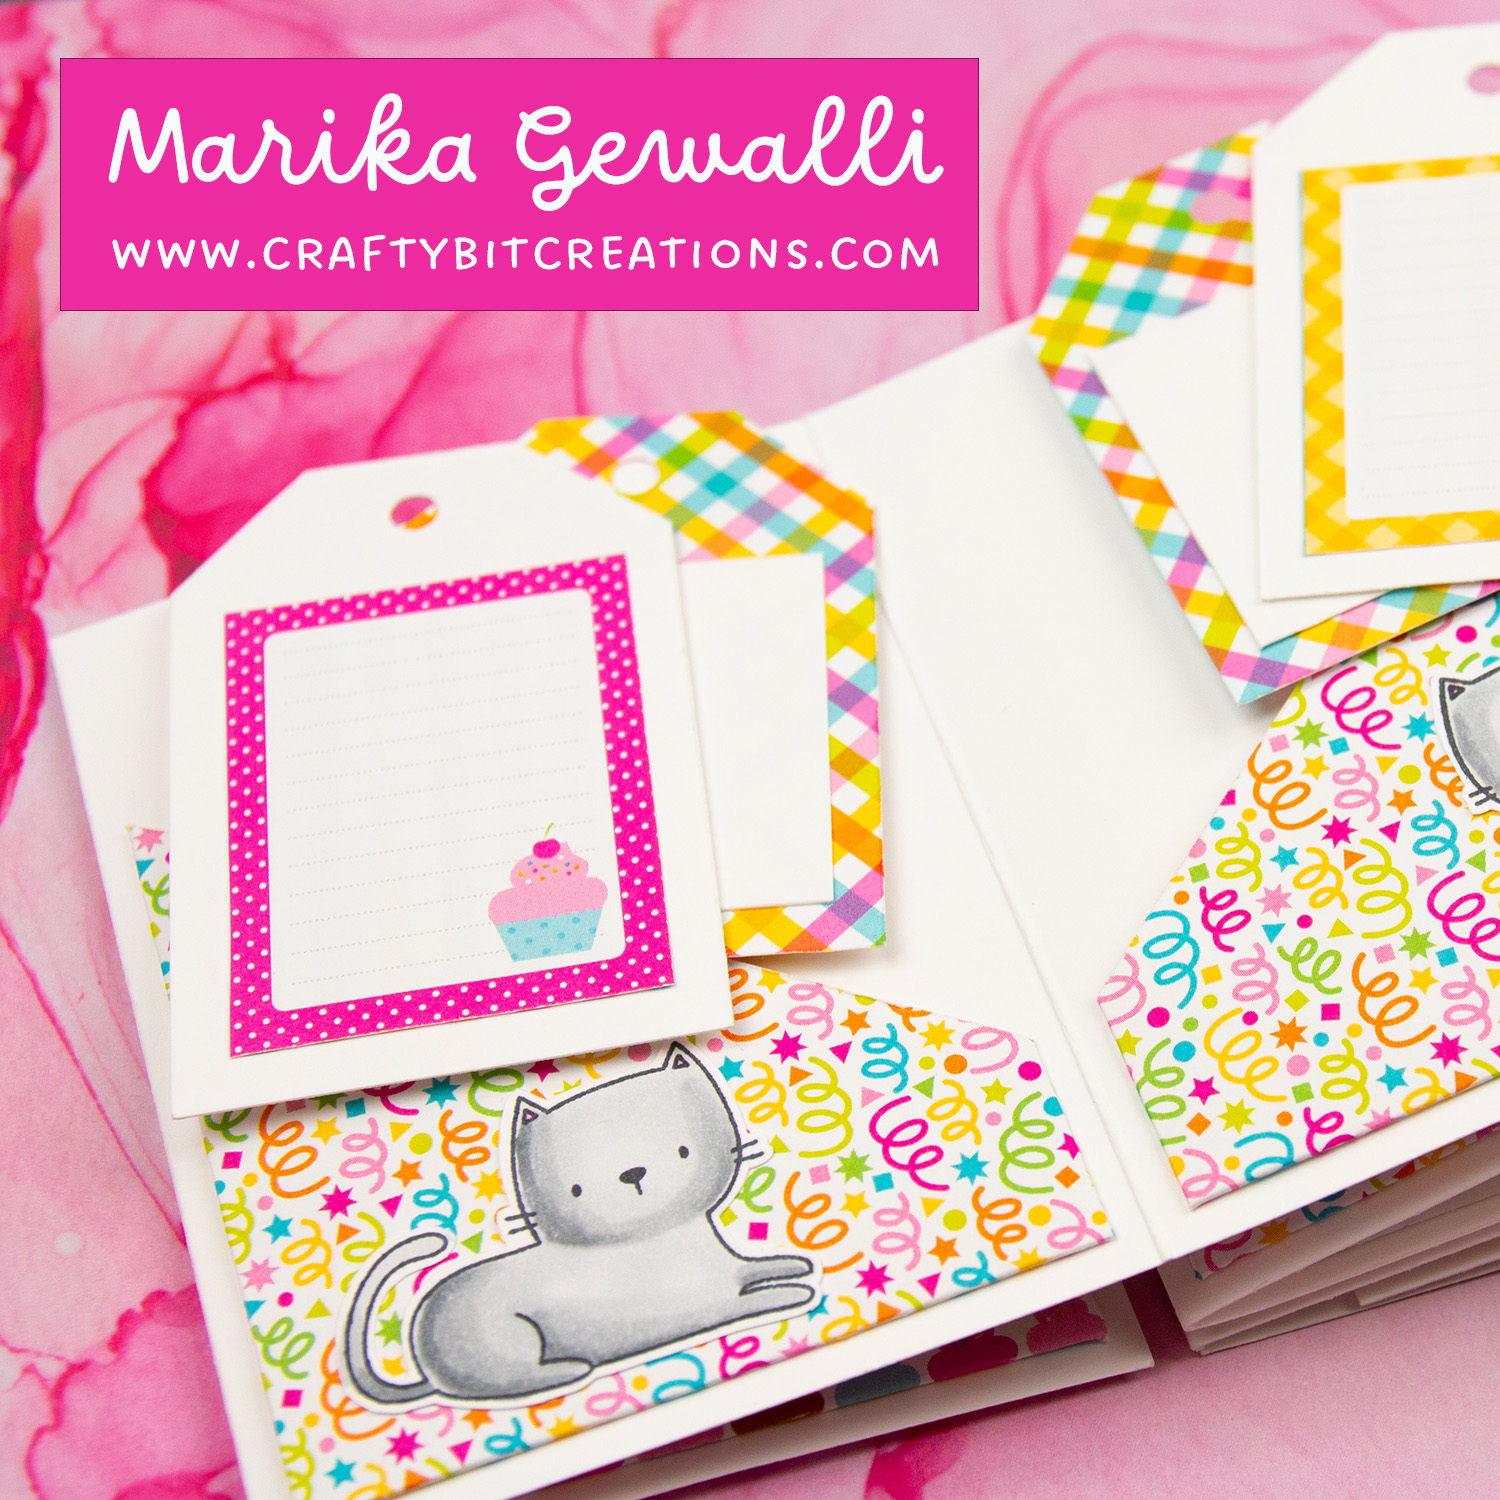
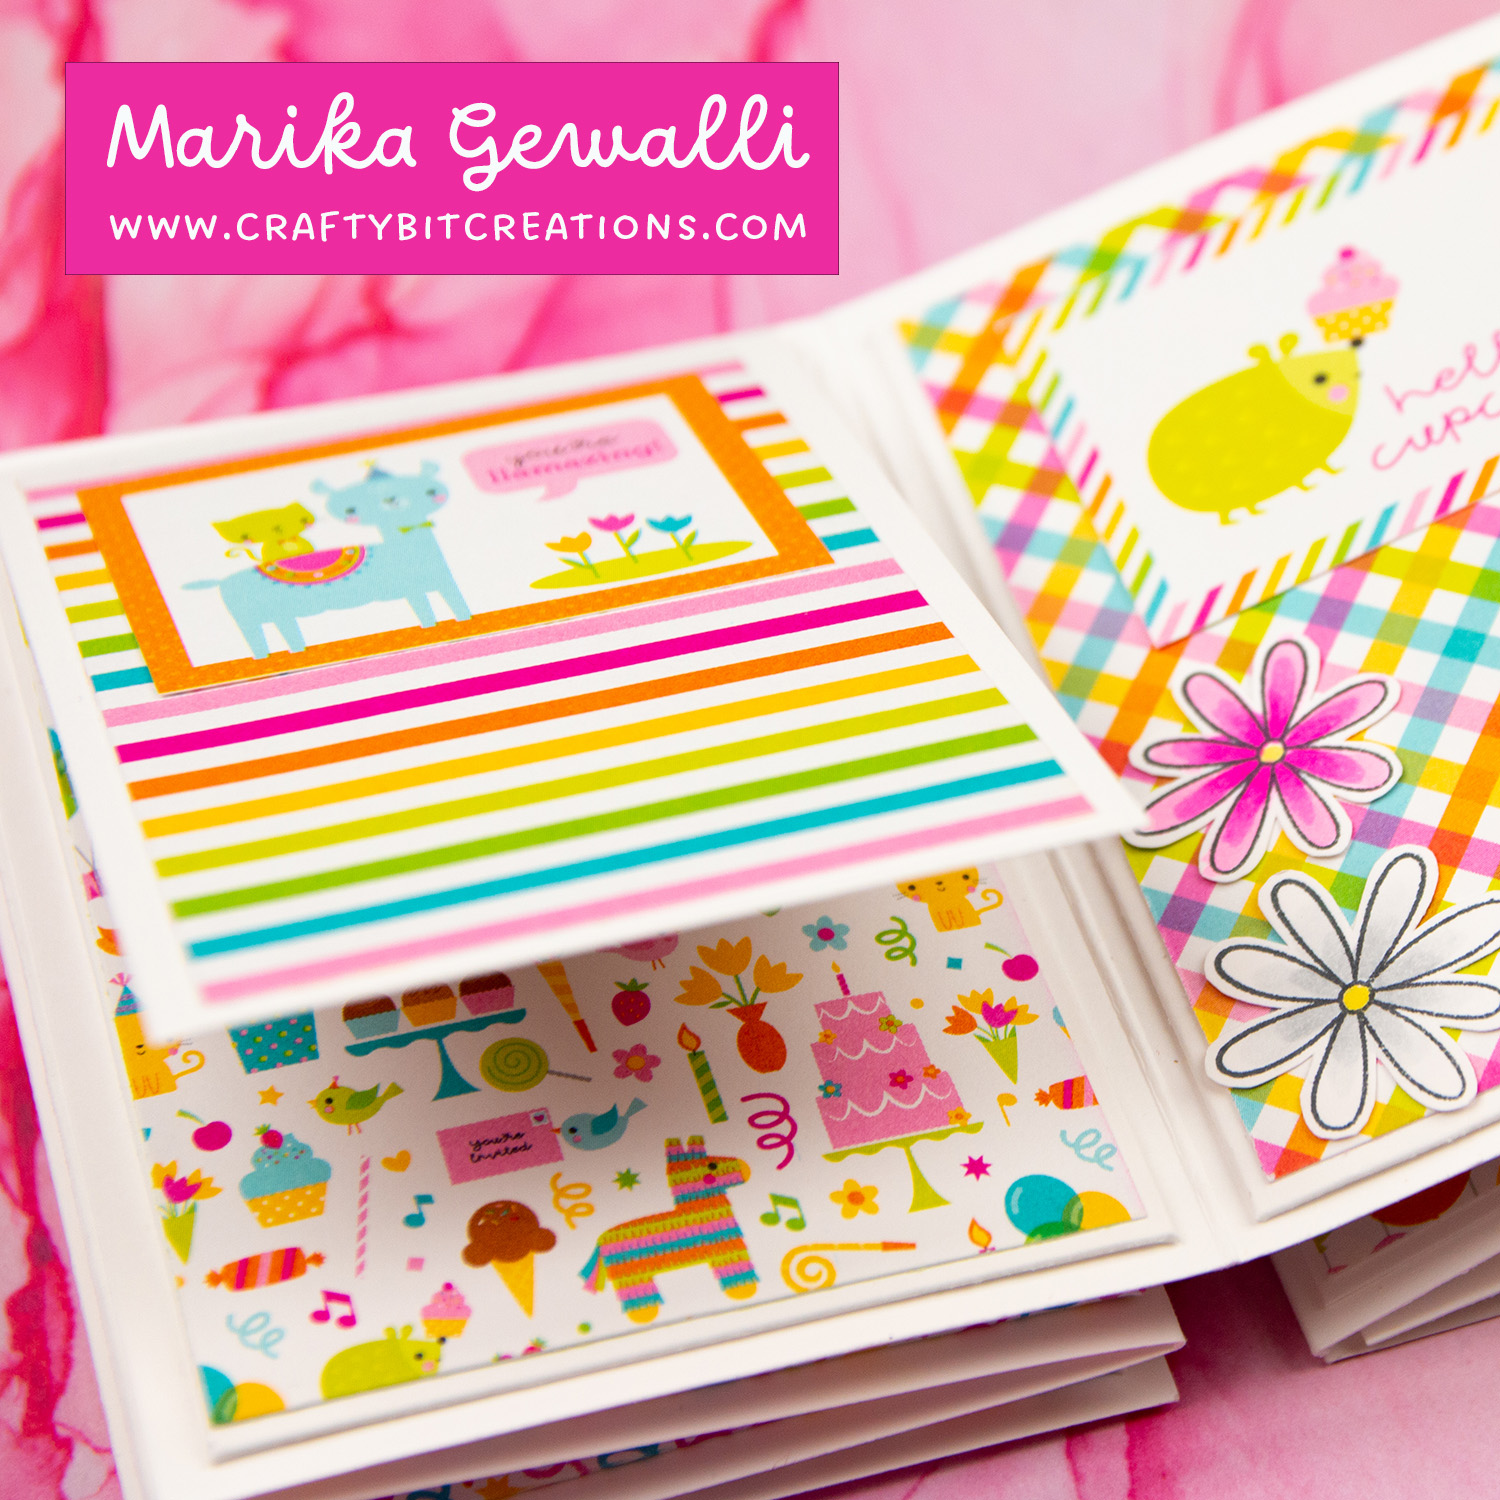
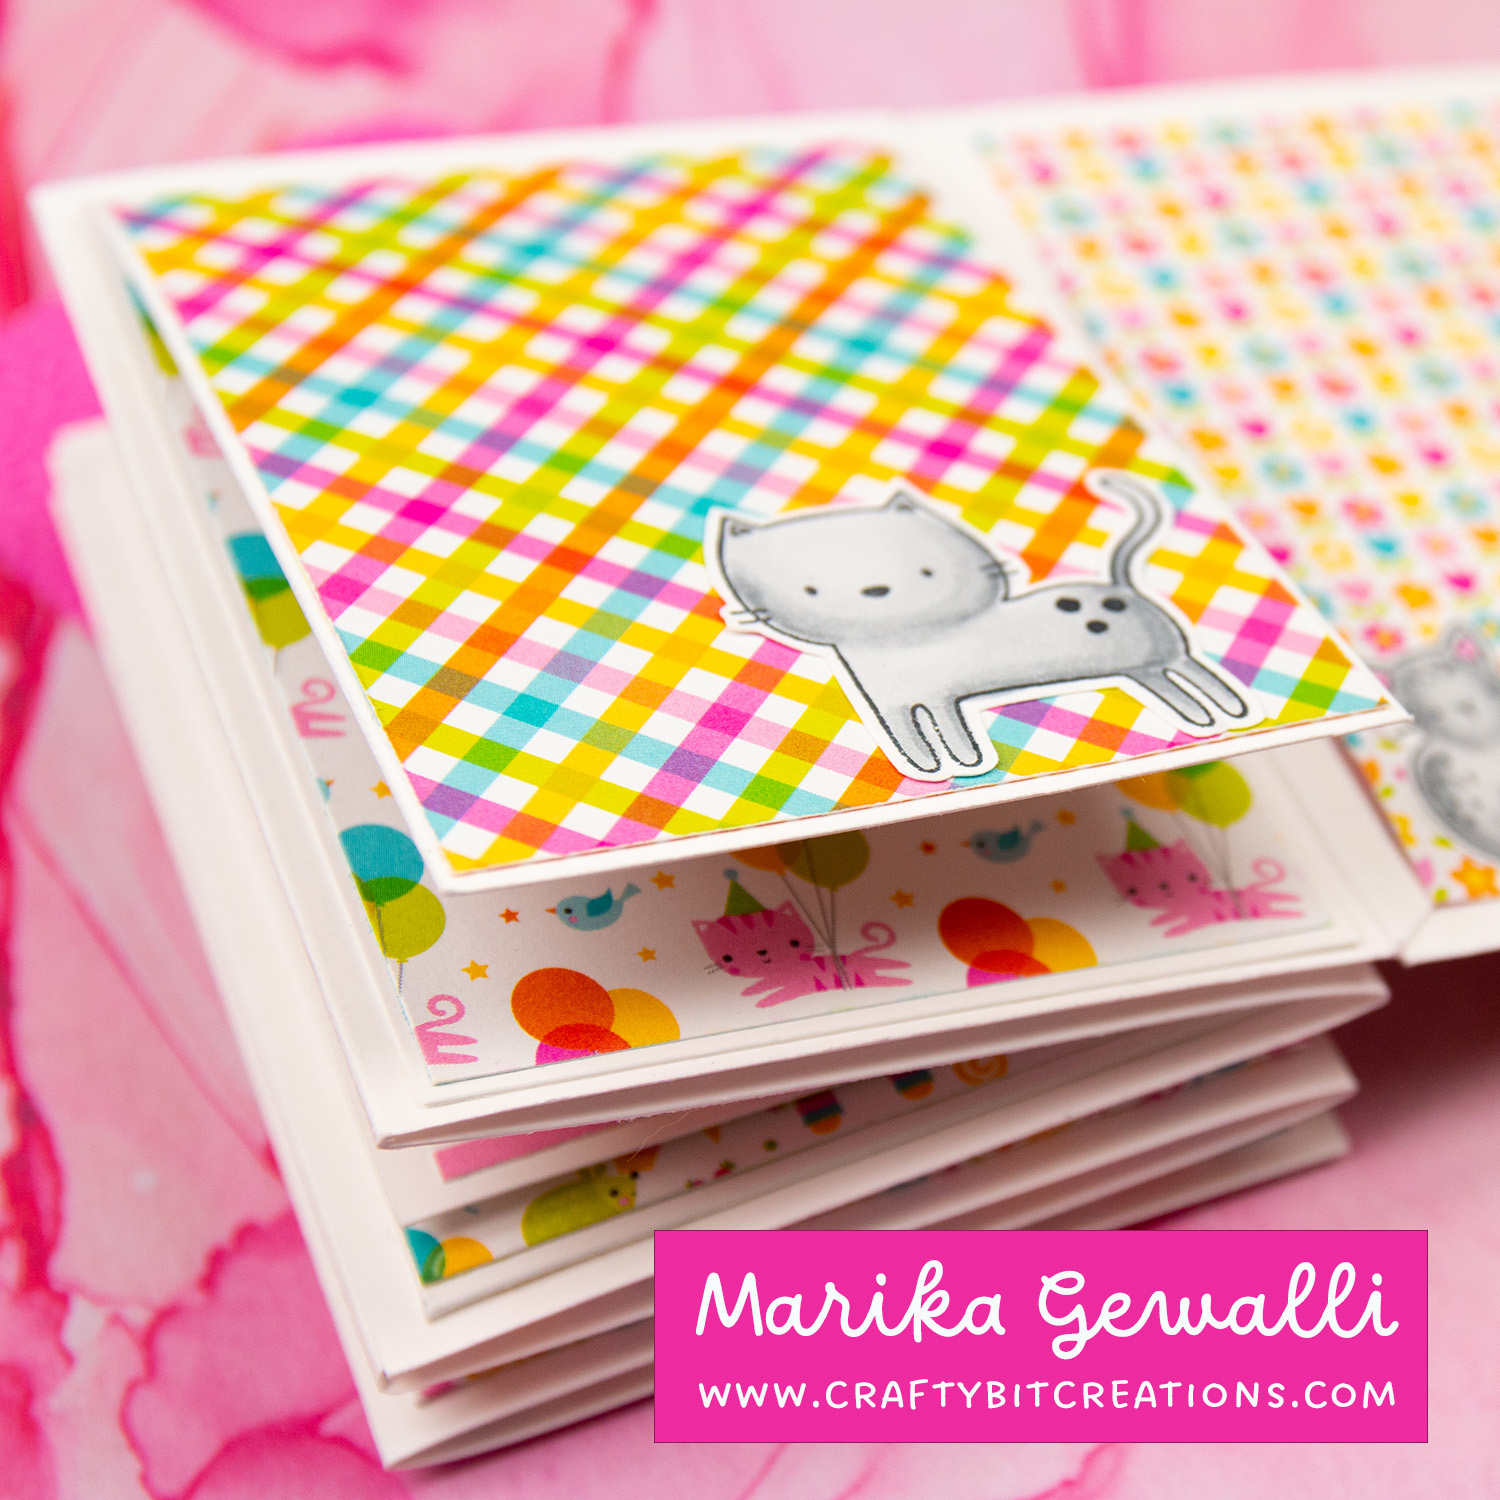
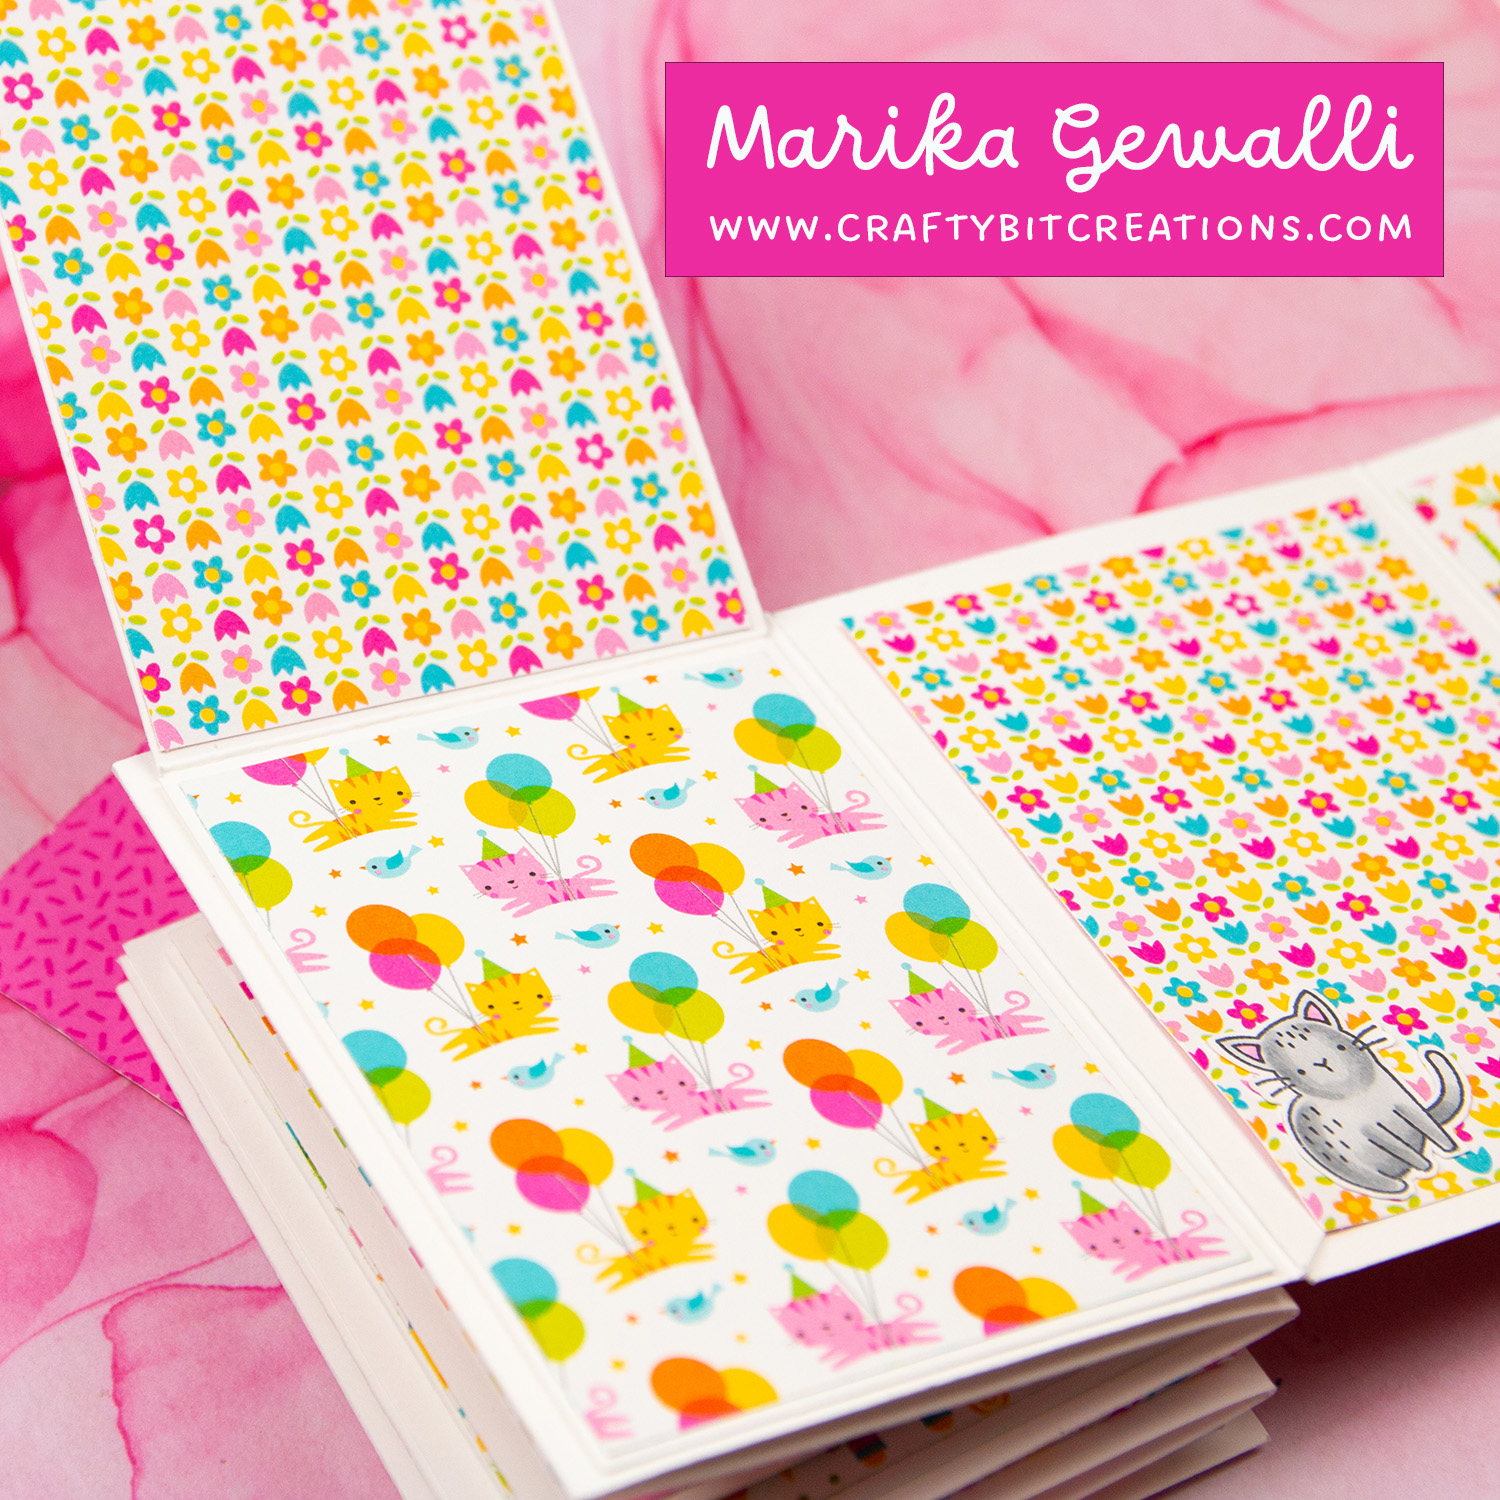
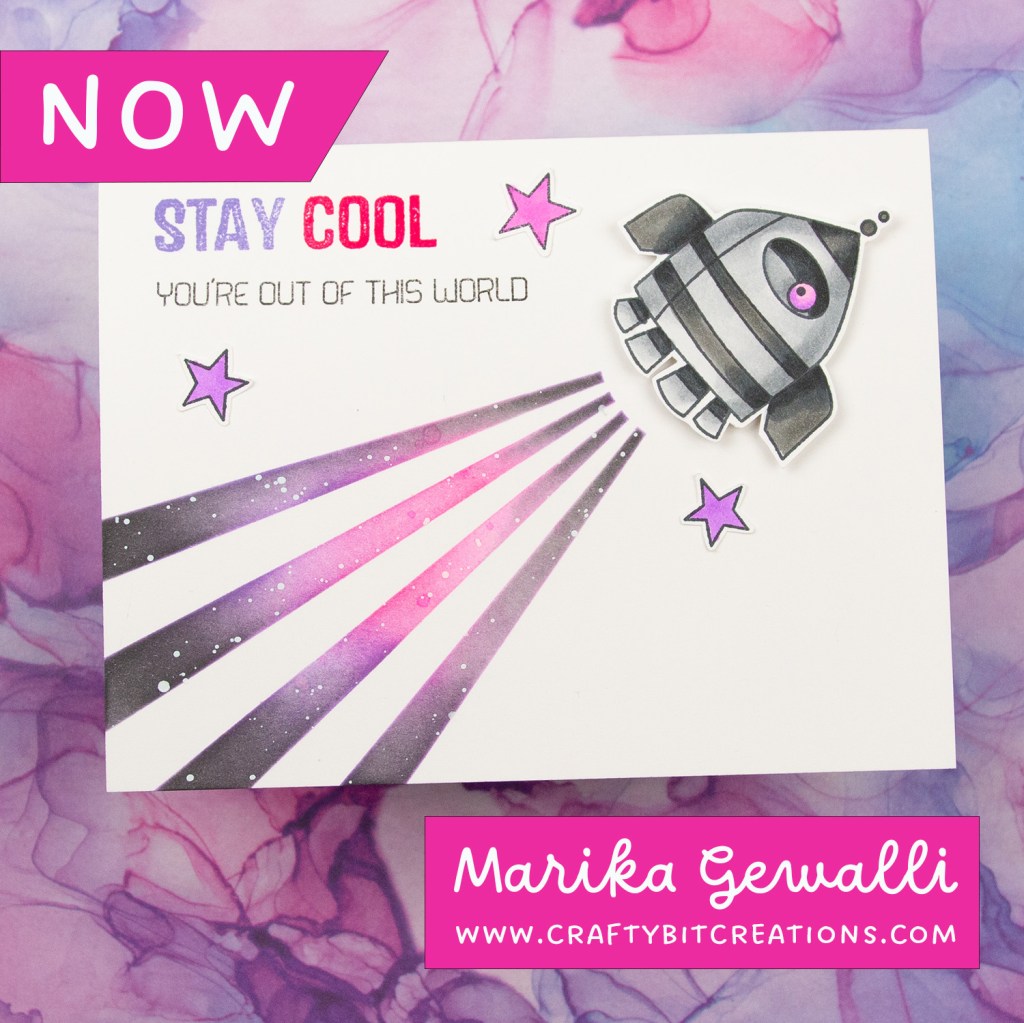
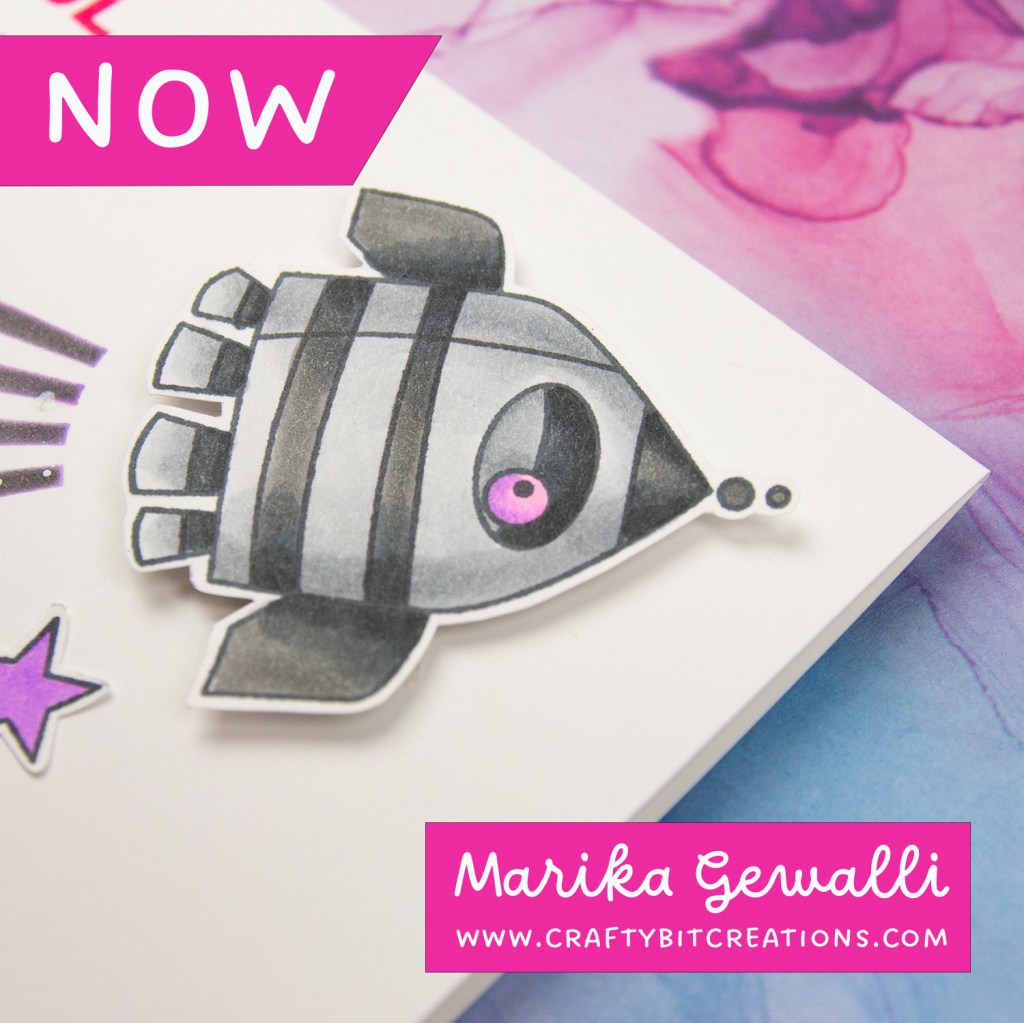
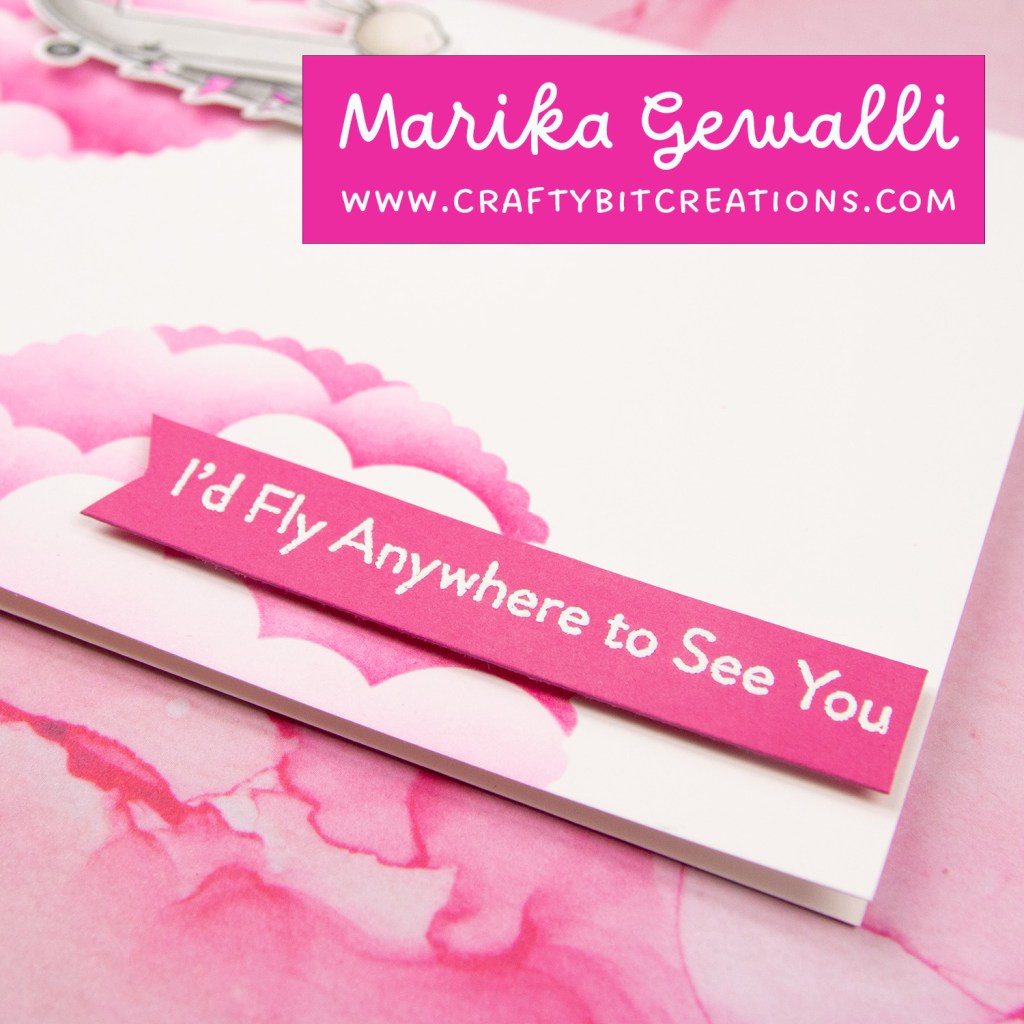
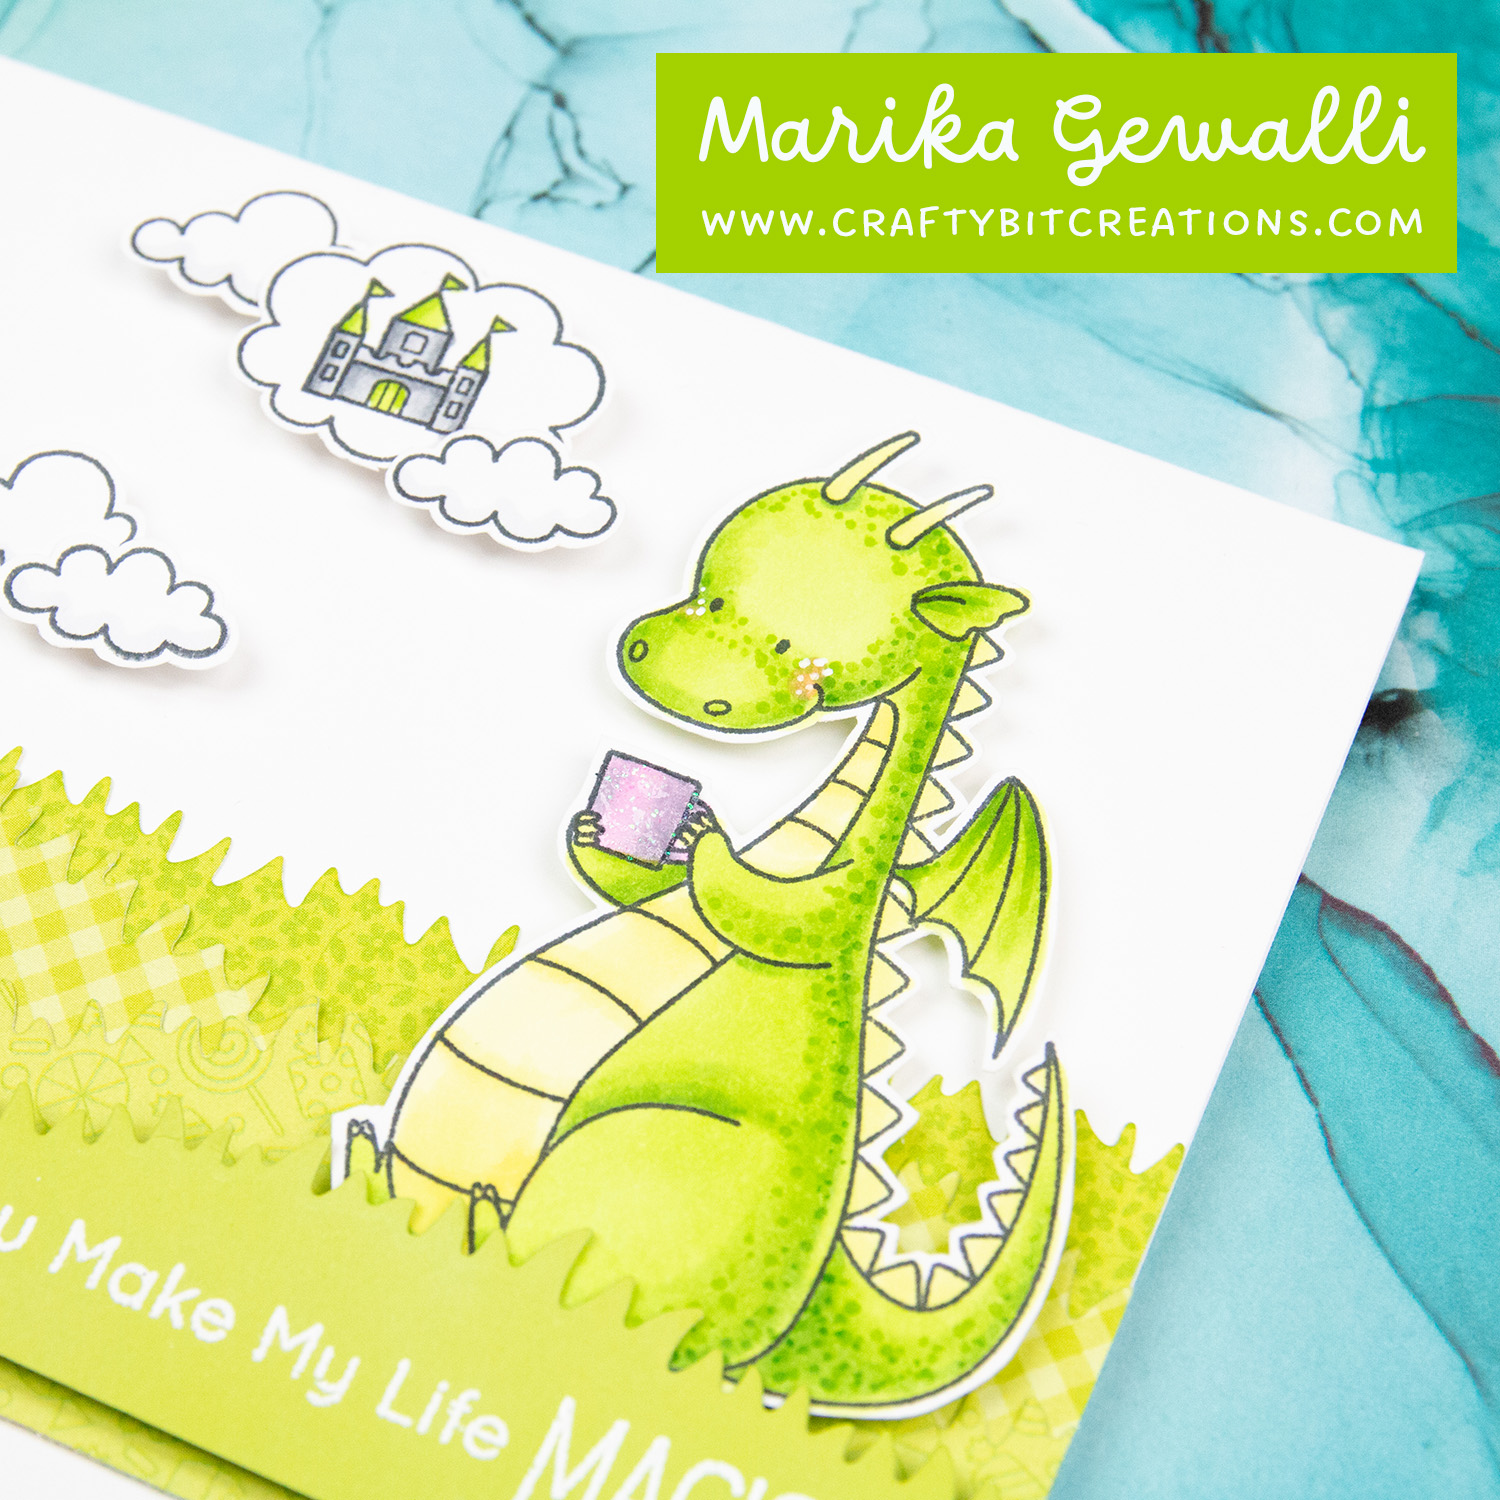
I wanted to use some strong and bright colors again. It’s been my vibe these past few weeks so why stop a winning concept, well I at least like my creations. So I made a green dragon. And when coloring something that big, like this dragon, sometimes your blends won’t blend as well as for small images. A quick and effective way to hide the bad blend is dots! This also is a cute effect for a dragon as it looks a little like it’s scales.

Handmade card with grass on bottom made from multiple layer of pattern paper with a dragon sitting on top and thinking about a castle and a sentiment you make my life magical

Hope you like my card! What in card making makes you inspired? For me it’s color!

When possible affiliate links are used, this means that I receive a small commission when products are purchased through the links (at no extra cost to you) I use the money to support my blog and youtube channel. If you like my projects and tutorial please consider supporting me by clicking through these links when you shop. Thanks!

Supplies:

MFT Magical Friends: MFT SSS
MFT Magical Dragons: MFT SSS
MFT Slimline Grassy Hills Die-namics: MFT SSS
Neenah Solar White 80lb: SSS AMZ SBC
MFT Limelight Card Stock: MFT
DD Hey Cupcake 6×6 Pattern Paper Pack: SSS SBC
DD Gingham-Linen Rainbow Petite Print: SSS SBC
DD Floral-Graph Rainbow Petite Print: SSS SBC
Nuvo White Blizzard: SSS
Hero Arts White Embossing Powder: SSS AMZ SBC
MFT On-Point Precision Glue Pen: MFT
Milk carton box closeup for feature reason
Uncategorized

Milk Carton Box Tutorial | Clean & Simple

When making my accordion album last week I got loads of little pieces of pattern paper. In todays tutorial the box is sized so the main layers of pattern paper uses up a full sheet of pattern paper. The small one uses up half a sheet. The little leaf decorations uses another two sheets. However out of those sheets you can get decorations for two big boxes or four small ones. The card stock decorations was made of some offcuts I had laying around from previous projects. The box also is perfectly sized for tea lights!

For the tutorial today I’m going back to old school, just using a trimmer, a score board and scissors. But I do have cut-files and templates for you if you want to go that route. The cut-files and template, both PNG and SVG can be found –HERE–. You can also find the schema as a PDF HERE.

Milk Carton Box, big size shown how to make in this post.
  • Milk Carton Box, big size shown how to make in this post.
  • Milk Carton Box, big size shown how to make in this post.
  • Milk Carton Box, big size shown how to make in this post.
  • Milk Carton Box, big size shown how to make in this post.
  • Milk Carton Box, big size shown how to make in this post.
  • Milk Carton Box, big size shown how to make in this post.
  • Milk Carton Box, small size shown how to make in this post.
  • Milk Carton Box, small size shown how to make in this post.
  • Milk Carton Box, small size shown how to make in this post.
  • Milk Carton Box, small size shown how to make in this post.
Milk Carton Box Schema for how to measure, cut and score the box

Cut and score instructions:

Big box: Cut card stock to 10 1/4″ x 7 3/8″. Score on short side at, 1 3/4″, 8″, 9 3/4″. Score on long side at 1 3/4″ all the way down, 2 5/8″ only on the 1/2″ part, 3 1/2″ all the way down, 5 1/4″ all the way down, 6 1/8″ only on the 1/2″ part and 7″ all the way down. Line up the short score lines with the corner in the box below and make two diagonal score lines creating a triangle, this is the milk box corners. Cut out the bottom tabs, miter all except the middle one that doesn’t have a triangle above, this will be your front tab should just be cut straight, that should also be folded in last. Cut away the side tab from the bottom tabs and miter the corners.

Short box: Cut card stock to 7 1/4″ x 7 3/8″. Score on 7 1/4″ side at, 1 3/4″, 5, 6 3/4″. Then follow the instructions for the big box.

When possible affiliate links are used, this means that I receive a small commission when products are purchased through the links (at no extra cost to you) I use the money to support my blog and youtube channel. If you like my projects and tutorial please consider supporting me by clicking through these links when you shop. Thanks!

Supplies:

MFT Card Stock Summer Splash: MFT
MFT Cotton Candy Card Stock: MFT
DDD Made with Love: SSS SBC
MFT Fab Foliage Die-namics: MFT SSS
Large Score Board: SSS AMZ SBC
Fiskars Trimmer : SSS AMZ
Sookwang Tape 1/4”: SSS AMZ
Tape Runner: SSS AMZ SBC
MFT On-Point Precision Glue Pen: MFT
Uncategorized

My Favorite Things Haul | January 2022

About 2 weeks ago My Favorite Things had a 30% off sale on everything! (except new release) So of course I seized the moment and picked up somethings I have had an eye for for awhile, and some new stuff.

If you wanna see some projects I made with these products, you can find them HERE.

When possible affiliate links are used, this means that I receive a small commission when products are purchased through the links (at no extra cost to you) I use the money to support my blog and youtube channel. If you like my projects and tutorial please consider supporting me by clicking through these links when you shop. Thanks!

Supplies:

MFT Im So in Love with You, Still: MFT SSS
MFT Straight from the Heart: MFT SSS
MFT Itty Bitty Love: MFT SSS
MFT Say Anything Stencil: MFT SSS
MFT Heart Extraordinaire Stencil: MFT SSS
MFT A2 Stitched Circle STAX Die-namics: MFT SSS
MFT Fab Foliage Die-namics: MFT SSS
MFT Jalapeño Popper Premium Dye Ink Pad: MFT SSS
MFT Something Blue Premium Dye Ink Pad: MFT SSS
MFT Blue Yonder Premium Dye Ink Pad: MFT SSS
MFT Sno Cone Premium Dye Ink Pad: MFT SSS
MFT Lemon Drop Premium Dye Ink Pad: MFT SSS
MFT Wild Cherry Premium Dye Ink Pad: MFT SSS
MFT Blue Yonder Card Stock: MFT
MFT Something Blue Card Stock: MFT
MFT Lazy Day Card Stock: MFT
MFT Sno Cone Card Stock: MFT
MFT Lemon Drop Card Stock: MFT
MFT Wild Cherry Card Stock: MFT
MFT On-Point Precision Glue Pen: MFT

Feature image, teaser of the blog post
Uncategorized

Sketch Challenge 578 | You Made Me in to a We

Seeing the new sketch challenge over at My Favorite Things I directly got an idea in my head. I wanted to turn it upside down and use the Stitched Clouds Edges Die-namics on the top. That die is since retired but the Stitched Rolling Clouds Edges Die-namics is a perfect dupe. For the half circle I use one of my sun dies, sadly they no longer have any sun dies. But it fitted so perfectly!

The last thing was the little circles on the bottom. For those I used the swinging bears from the stamp-set “I’m So in Love with You, Still“. I also used the sentiment from the same stamp-set, “You Made Me in to a We” and white embossed it on some sno cone card stock. As a final touch i blended some sno cone ink underneath the clouds to give it some dimension. And with that same ink I stamped the teeny tiny hearts around the bears.

Are you joining the sketch challenge? Would love to see your take on the challenges. Want to see other sketch challenges I have participated in? You can find them HERE.

Picture of card with clouds on top with a sentiment strip in sno cone cardstock with white embossed sentiment "you made me into a we". under the clouds is a sun and two bears swinging from clouds. Around them are mini hearts stamped in sno cone ink

Copic:

E53, E55, E57, E42, E43, E44, N0, B91, B93, B95

When possible affiliate links are used, this means that I receive a small commission when products are purchased through the links (at no extra cost to you) I use the money to support my blog and youtube channel. If you like my projects and tutorial please consider supporting me by clicking through these links when you shop. Thanks!

Supplies

MFT I’m So in Love with You, Still: MFT SSS
MFT Sno Cone Premium Dye Ink Pad: MFT SSS
MFT Sno Cone Card Stock: MFT
Neenah Solar White 80lb: SSS AMZ SBC
Stitched Rolling Clouds Edges Die-namics: MFT SSS
Hero Arts White Embossing Powder: SSS AMZ SBC
Versamark: SSS AMZ SBC
Foam Squares: SSS AMZ SBC
MFT On-Point Precision Glue Pen: MFT
Feature image to tease on what you get in this post.
Uncategorized

Cute Kitties | Accordion Album

Putting together this accordion album was so much fun. As I embrace creativity this year, I want to go into creating more albums and little books. This is something that been on my mind for years, but I have put myself in this little box and had a hard time getting out of it. Taking my 8th month hiatus made me figure out what I wanted to do more and schedule time for it. And as I’m new to this the tutorial is kind of crazy but I hope you enjoy it anyway!

Accordion album tied together with a hot pink ribbon

The base of the accordion album measures 3″x4″ when closed with a depth of 3/4″.

Base Instructions:

  • Cover: Cut piece of 4″x6 1/2″” Score at 3″ turn 180°, score again at 3″
  • Accordion: Cut 2 pieces of 4″x9 3/8″ Score at 3″, 6″ and 9″ alternating side of card stock on both pieces. Mitre edges of the 3/8″ tab.
First spread of accordion album

First Spread:

  • Cut two mats of card stock measuring 3 3/4″ x 2 3/4″, two mats of pattern paper measuring 3 5/8″ x 2 5/8″, layer them with pattern paper on top, then card stock mat and then attach on each side on spread.
  • Decorate with stamped images and one of the mini cards you can cut out of the Doodlebug Designs Pattern Paper pack.
Second spread of accordion album

Second Spread

  • Angled pockets: Cut two pieces of 3 1/2″ x 4 1/2″ of pattern paper that isn’t directional. Score each piece at 3/8″ on all sides. Score first piece long-side of tab at 1 1/4″ turn 180° and score at 1 1/4″. Score second piece on the long-side of tab at 3 1/4″ turn 180° and score at 3 1/4″. Cut diagonal lining up the inner points of score line creating four angled pockets. This is done to get mirrored angled pockets on spread. Use the other two at another spread. Add stamped and coloured images of cats.
  • Tags: Cut 2 pieces of card stock measuring 2 1/2″ x 3 1/2″, round corners with a corner chomper with the 1/2″ side. Punch hole with a crop-a-dile Add pattern paper and stamped images of cats and greenery.
Third spread of accordion album

Third Spread

  • Pockets: Cut two pieces of pattern paper measuring 3 1/2″ x 3″. Score at three sides at 3/8″, miter tabs. Decorate with cute cat images.
  • Tags: Cut 2 pieces of pattern measuring 2 1/2″ x 3 1/2″, round corners with a corner chomper with the 1/2″ side. Punch hole with a crop-a-dile. Add pattern paper and stamped images of cats and greenery. One side of tags pattern paper did not fit with the album so covered that side with another tag in white card stock.
Fourth spread of accordion album

Single page and inside of album

  • Inside of album: Cut two pieces of pattern paper to 3 3/4″ x 2 3/4″ and one piece of 3 3/4″ x 5/8″. Mat inside of front of cover and spine. On back of cover stick a piece of ribbon that can go around album with enough length to tie a bow with sookwang tape, make sure its centered. Then add the last piece of pattern paper on top.
  • Single page: Cut piece of paper 2 3/8″ x 3 1/2″ score at 3/8″ on three sides. Mitre tabs and attach to lower part of card. Decorate with cute cat.
  • Tag: Cut one piece of pattern measuring 2 1/2″ x 3 1/2″, round corners with a corner chomper with the 1/2″ side. Punch hole with a crop-a-dile. Make a mini tag, with angled corners on top, measuring 2 5/8″ x 1 7/8″ from white card stock. Attach on an angle on pattern paper tag. Decorate with die-cuts.
Fifth spread of accordion album

Inner Page Accordion

  • Flap: Cut one piece in card stock measuring 4 1/8″ x 2 3/4″, score on top 3/8″ for tab, miter tab corner. Attach to top of album page. Decorate with pattern paper on both sides cut to 3 5/8″ x 2 5/8″ and cute kitties.
  • Mat on page on top of flap tab: Cut white card stock mat to 3 3/4″ x 2 3/4″ and pattern paper to 3 5/8″ x 2 5/8″ layer and attach on on album page on the flap tab to hide it.
Sixth spread of accordion album

Fourth Spread

  • Left pocket with opening on top. Cut card stock to 4 1/8″ x 3 1/2″ score 3/8″on 3 sides so that the top is not scored. Cut pattern paper that measures 3 5/8″ x 2 5/8″. Before adding glue/tape, layer the cardstock and paper and line them up together at top, then use 1″ circle punch to punch half circle at top. Then center the pattern paper with in score lines and top for a 1/16″ border on all sides, attach.
  • Right pocket with opening on right. Cut cardstock to 4 1/2″ x 3 1/8″ score 3/8″ on 3 sides so right side is not scored. Cut pattern paper that measures 3 5/8″ x 2 5/8″. Before adding glue/tape, layer the cardstock and paper and line them up together at side, then use 1″ circle punch to punch half circle at top. Then center the pattern paper with in score lines and top for a 1/16″ border on all sides, attach. Decorated with stamped and colored flowers and card rectangle from pattern paper.
  • Flap tag: Cut cardstock to 7 1/4″ x 2 5/8″, score at 3 1/8″. Decorate with pattern paper, mats cut at 2 1/2″ x 3″. I did only add pattern paper to the flap part and left the tag for journaling. Also decorated with one of the card rectangles from the pattern paper.
Seventh spread of accordion album

Fifth Spread:

  • Rectangle pockets: Left overs from spread two. Decorated with cute kitties.
  • Pattern paper tags: Cut pattern paper to 2 5/8″ x 1 7/8″, cut off the corners on top of tag to make an angled tag. Add hole with crop-a-dile. Cut mat from white card stock measuring 1 5/8″ x 1 1/2″. Make two.
  • Card stock tags: To fit the decorative card rectangles from the pattern paper, cut card stock to 2 7/8″ x 1 7/8″. Cut off the corners on top to make angled tag. Add hole with crop-a-dile. Use the card rectangles from the pattern paper as mats on both backside and front.

That was all for me today below you find some more photos and all the materials used. Thank you for reading. If you wanna see a couple of more albums you can find them HERE.

Supplies

Impact Alphabet Dies: MFT SSS
MFT Butterscotch Ink: MFT SSS
MFT Butterscotch Card Stock: MFT
MFT Milk Chocolate Ink: MFT SSS
Craft Knife: SSS AMZ SBC
MFT Beehive Die-namics: MFT SSS
Yellow Sequins: SSS AMZ SBC
Brushes: SSS AMZ SBC
Foam Squares: SSS AMZ SBC
Neenah Solar White 80lb: SSS AMZ SBC
Memento Tuxedo Black: SSS AMZ SBC
Stamp Blocks: SSS AMZ SBC
Acetate: SSS AMZ SBC
Nuvo White Blizzard: SSS
MFT On-Point Precision Glue Pen: MFT
Feature image showing a close up of card as a teaser for when you only see part of the post
Uncategorized

Bee There For You | Clean And Simple Shaker Card

The theme of the shaker card came out of one little stamp. I was preparing another video tutorial, which will be coming up later. And I wanted a little bee, so I stamped loads and sat by the tv and colored and cut. I ended up having way to many and I thought they would be great as shaker bits. I then looked at the stamp set and saw that there was a beehive on it that would fit perfectly as a shaker! And there we go a bee themed card it was.

Friendship bee card, saying I'll always bee there for you, with the bee in die cut letters and a little bee on top. With shaker in bottom right corner in shape of beehive and a colored beehive image as the bottom of the shaker. Shaker filled with sequins and little paper bees.

Do you like yellow cards? Here is a couple of more I have done, 3 Mini Easter Cards/Tag | MFT Spring Gnomes & Short Wavy Hair Tutorial | No Line Coloring | Social Distancing | Stamp Anniething.

When possible affiliate links are used, this means that I receive a small commission when products are purchased through the links (at no extra cost to you) I use the money to support my blog and youtube channel. If you like my projects and tutorial please consider supporting me by clicking through these links when you shop. Thanks!

Supplies:

Impact Alphabet Dies: MFT SSS
MFT Butterscotch Ink: MFT SSS
MFT Butterscotch Card Stock: MFT
MFT Milk Chocolate Ink: MFT SSS
Craft Knife: SSS AMZ SBC
MFT Beehive Die-namics: MFT SSS
Yellow Sequins: SSS AMZ SBC
Brushes: SSS AMZ SBC
Foam Squares: SSS AMZ SBC
Neenah Solar White 80lb: SSS AMZ SBC
Memento Tuxedo Black: SSS AMZ SBC
Stamp Blocks: SSS AMZ SBC
Acetate: SSS AMZ SBC
Nuvo White Blizzard: SSS
MFT On-Point Precision Glue Pen: MFT
photo header of blog, showing close up of handmade card
Uncategorized

My Person | MFT Sketch Challenge 577

I truly believe that if cats could talk they would call us, “my person”. You don’t own them they own you. And of course they would claim your friends and family too! So thought it would be fun to make a card from the cats instead of me.

You would be surprised on how much I struggled with this card. I made four or five versions, feeling that not one of them was what I was trying to make. Then I saw a reel on instagram from wow embossing powder, they where using some kind of water reactive powder and I got struct by the beautiful color scheme. They’re final result was completely different, but I took the color scheme and did a splatter technique in the colors on my main rectangle.

For the layout I followed the My Favorite Things Sketch Challenge 577 and the little kitties was for the Simon Says Stamp Wednesday Challenge, “Four Legged Friends”. But who am I kidding have been adding cats on almost all my creations lately, they are so cute!

Which kind of stamps have you been drawn to lately?

If you want to see all MFT Challenges I have participated in you can see them HERE

photo of handmade card with a rectangle on the bottom of the card that has a sentiment overlaying on the lower half and two stamped and colored cats on top of the sentiment, 3 hearts come flying up from the cats

When possible affiliate links are used, this means that I receive a small commission when products are purchased through the links (at no extra cost to you) I use the money to support my blog and youtube channel. If you like my projects and tutorial please consider supporting me by clicking through these links when you shop. Thanks!

Supplies

MFT Ripe Raspberry Card Stock: MFT
MFT Grape Jelly Card Stock: MFT
MFT Tropical Teal Card Stock: MFT
MFT Cool Cat: MFT
DI Picked Raspberry: SSS
DI Wilted Violet: SSS SBC
DI Peacock Feathers: SSS SBC
Hammermill 80lbs: SSS AMZ
Mini Heart Dies: SSS
Nuvo White Blizzard: SSS
Brushes: SSS AMZ SBC
Foam Squares: SSS AMZ SBC

Uncategorized

Free Cut Files & Templates – Valentine Box and Tag

Valentines is the day for giving love, not only to your partner but also to you friends and family, and today I give you my love through some free cut files and templates. The box I create in todays video tutorial shows how to put the box together and also one way of decorating both the box and the tag. The box is made to house 4 Hershey’s Hearts, but you can add what ever you want.

I ended up making five different boxes to showcase all the different cutouts and tag versions. And I had two hearts over from my bag of Hershey’s Hearts. But being honest I did dip into it before doing this project so you can most likely get six if not seven boxes out of one bag.

dark pink decorated box with 4 hershey's hearts inside and a coordinating tag

To get the cutouts in the box you can either just use the templates and a craft knife/scissors to cut it out. But if you have a silhouette or a cricut you can use the pngs as cutfiles and cut the whole box and tags out. You can download the zipped files –HERE–. If you want the schema as a pdf you can find it HERE, but you can also just right click on the image below and save it on your computer.

UPDATE: A very lovely viewer on youtube informed me that a Brother ScanNCut machine needs svg files. So I exported the cutfiles also in svg format and you can find them HERE. These can be used in other cutting machines as well.

schema of valentines box made to house hershey's hearts


Hope you enjoy this box and tag. I currently have a giveaway over on my youtube incase you want the box, tag and the chocolate hearts. Just hope over to the video and comment anything. The giveaway ends on the 28th of january 2022.

If you like this tutorial HERE are all my other projects with schemas and freebies.

Copic:

T0, T2, T4, T6, YG01, YG25, RV02

When possible affiliate links are used, this means that I receive a small commission when products are purchased through the links (at no extra cost to you) I use the money to support my blog and youtube channel. If you like my projects and tutorial please consider supporting me by clicking through these links when you shop. Thanks!

Supplies:

MFT Cool Cats: MFTSSS
CAS Cool Cuts Pocket Tag: CAS
MFT Tag Builder Blueprints 5 Dies: MFTSSS
MFT Birdie Brown Alphabet & Numbers Dies: MFT
MFT Ripe Raspberry Card Stock: MFT
MFT Princess Pink Card Stock: MFT
MFT Cotton Candy Card Stock: MFT
MFT Milk Chocolate Card Stock: MFT
MFT Sour Apple Card Stock: MFT
Neenah Solar White 80lb: SSSAMZSBC
Memento Tuxedo Black: SSSAMZSBC
Stamp Blocks: SSSAMZSBC
Acetate: SSSAMZSBC
Xyron Sticker Maker: SSSAMZSBC
Sookwang Tape 1/8”: SSSAMZ
Sookwang Tape 1/4”: SSSAMZ
Hershey’s Hearts: AMZ
Foam Squares: SSSAMZSBC
DDD Made with Love: SSSSBC

Feature image where half is the old card and half is the remade card
Uncategorized

Out of This World | Stencil Technique

I love galaxies, it’s super fun to play with and that is the core of this card made with a fun stencil technique. In 2016 I was honoured to get a guest design spot for a post at the My Favorite Things blog. The post had the prompt stencil technique, and I went all out with this complex technique. And I have always felt that I didn’t make the prompt justice.

So I finally decided to do a remake of that card, and of course it need to have a fun stencil technique. When the stamp set is all about rockets and aliens, I just had to make a galaxy. But I really wanted to keep a lot of the white on the card and that was when I came up with the idea of adding the galaxy in the rays out from the rocket. And the card came together after that. Which card do you like the best, the now or the then?

If you like stenciling techniques I have a few of my favorites here, Some Coffee | Spot Stencilling, Mini Easter Cards/Tag | MFT Spring Gnomes and Mermaid Halloween | Under the Sea

Front of card, depicting rays with a galaxy coming out of a grey rocket with purple and pink stars around it. Sentiment that says "stay cool you're out of this world"

Copic:

RV02, RV04, RV06, V04, V15, V17, N0, N2, N4, N6, N8, N10, 0

When possible affiliate links are used, this means that I receive a small commission when products are purchased through the links (at no extra cost to you) I use the money to support my blog and youtube channel. If you like my projects and tutorial please consider supporting me by clicking through these links when you shop. Thanks!

Supplies:

MFT Out of This World Stampset – Retired
Could replace with MFT Space Explorer: MFT SSS
MFT Stay Cool Stampset – Retired
MFT Sunshine Radiating Rays Stencil: MFT SSS
MFT Poppin Pink: MFT SSS
MFT Grape Jelly: MFT SSS
MFT Black Licorice Hybrid Ink: MFT SSS
Versafine Onyx Black: SSS AMZ SBC
MFT On-Point Precision Glue Pen: MFT
Dina Wakley White Gesso: SSS AMZ
Cutter Bee Scissors: SSS AMZ SBC
Memento Tuxedo Black: SSS AMZ SBC
Neenah Solar White 80lb: SSS AMZ SBC
Tape Runner: SSS AMZ SBC

Close up of stamped bunny in an airplane with a string of flags hanging off it.
Uncategorized

High Flying Valentines | All the challenges

Just as last weeks Monday card, this week card is inspired by challenges. Not one, not two but three challenges. It started with a sketch, I loved the My Favorite Things sketch this week so just needed to have a play. Then I looked at the Simon Says Stamp Monday and Wednesday challenges and the card started to come together.

The My Favorite Things sketch is two circles intersecting the edges of the card, and I toppled it over to get a little bit more room. Simon Says Stamps Monday challenge is “Transport It” and at the top of my mind I saw the airplane from High Flying Adventure Stamp Set by My Favorite Things. And finally Simon Says Stamps Wednesday Challenge is “Fun with Stencils” and I decided to fill the circles with clouds for the airplane.

I chose to go with a pink color scheme as I’m working on all the valentines projects right now, and this got to be one too. I had so much fun doing this, hope you enjoy the card too!

Some other fun valentines projects I worked on in the past is, Valentine Accordion Card | Hug It Out, Happy Valentines Day | One Idea Two Cards | Slimeline Card with Banners and Tutorial: Valentine Paperclip Flags.

Card with two inked blended circles with clouds inside one in the upper left corner one, in in the lower middle. A stamped airplane with a bunny in and flags on the side. Sentiment in the lower right saying "I'd Fly Anywhere to See You" 5 hearts sprinkled around the white areas

Copic:

W0, W2, W4, T0, T2, T4, RV02, RV04

When possible affiliate links are used, this means that I receive a small commission when products are purchased through the links (at no extra cost to you) I use the money to support my blog and youtube channel. If you like my projects and tutorial please consider supporting me by clicking through these links when you shop. Thanks!

Supplies: