Videos

Furry Up – Christmas is near!

Hi Everyone!

As you might have started to see my posting is a little more regular, feeling a lot better and a lot more inspired! And there for I have stepped up my DT game and join back in with the wonderful Christine and her company Create A Smile Stamp! You will be seeing at least one video a month where I feature her stamps.

Todays card is all about that furry beast and the video is showcasing how to make a masked blended galaxy background with distress oxide inks. Hope you like my card and enjoy the video!

Copic:
BG10, BG32, BG15, BG49
B60, B63
YG01, YG05, YG09, G19

Supplies:

When possible affiliate links are used, this means that I receive a small commission when products are purchased through the links (at no extra cost to you) I use the money to support my blog and youtube channel. If you like my projects and tutorial please consider supporting me by clicking through these links when you shop. Thanks!

https://linkdeli.com/widget.js?1549439153802
Uncategorized

Christmas Angel

Hi Everyone!

Marika here with a new card, this time it is my Secret Santa card from the Secret Santa that was held in the Make  It Crafty Facebook Group, if you missed out don’t worry, Zoe is always having something fun going on so come and join us!

Sometimes an idea for a card comes out of a wish to use a specific colour, in this case I saw a cool red that I just wanted to try to replicate. It had this wonderful brown undertone, so I experimented, I have previously used browns when I’ve done coloured pencil work so decided to try that with my copics and I really love how it came out (and are now using this combination all my Christmas cards this year). To make the red really stand out I’ve used E4os and Ws letting the red be the pop of colour. That in combination with the image being the Christmas Angel left me with a soft and sweet Christmas card. For the sentiment I’ve chosen to use the Christmas Adabt-a-word Chipboard Set and the Christmas Singel Word Chipboard Set, which I colored with the same inks as the background and then added glitter to.

I’m also back with making videos! So here are a start to finish video on how to make the card (with a sped up version of the colouring) and the colouring in real-time.

Copic:
R24, R27, R46, E43, E44
E40, E41, E42, E43, E44, E47, E49
W0, W2, W4, 0

Supplies:

When possible affiliate links are used, this means that I receive a small commission when products are purchased through the links (at no extra cost to you) I use the money to support my blog and youtube channel. If you like my projects and tutorial please consider supporting me by clicking through these links when you shop. Thanks!

https://linkdeli.com/widget.js?1549439153802
Uncategorized

My Favorite Things November Release Haul

Hi Everyone!

Today I have a haul video for you where I show you the things I got from the My Favorite Things November Release and tell you why. This is a new thing that I’m trying out and would love to hear you opinions on it. Hope you like it!

Supplies:

When possible affiliate links are used, this means that I receive a small commission when products are purchased through the links (at no extra cost to you) I use the money to support my blog and youtube channel. If you like my projects and tutorial please consider supporting me by clicking through these links when you shop. Thanks!

https://linkdeli.com/widget.js?1549439153802
Uncategorized

Glowing Fairy Star

Hi everyone!

Zoe over at Make It Crafty have brought back the colouring challenge! For me that is super exciting, as that was how I got introduced to Make It Crafty and alcohol markers. My first markers was spectrum noirs but through the years I now have collected a full set of copics. Through Zoes challenges I have grown as a colourist and since I’ve been a DT member for Make It Crafty she has continued to challenge me to evolve as an artist.

For the card today I’ve played with an older Christmas stamp called Fairy Star that is part of the Cute Christmas Fairy Collection, both which are on sale at the moment! If you want some more fun inspiration with this fairy stamp I have an old video where I made a card with it, which you can find HERE. The challenge is glow so decided that I wanted the star wand to glow. I wanted the glow to be subtle, to let a little bit of the base colour to show, so I added the lighter colours on top of the glow yellow.

To make it into a card, I made a background by smootching distress inks on top som Montval watercolour cardstock and then using a die to cut it out. For sentiment I used the Christmas Word Chipboard and Christmas Adapt-a-Word chipboard set  which I coloured with distress paints, I also added some red Stickles glitter glue to the Christmas word. To finish it off I added a little Star Snowflake.

Now come join us with the challenge! Remember we all start somewhere, and these challenges are a great place to learn new things.

Copics:
Skin: E50, E00, E21, E11, E04, R30, R32
Reds: R24, R27, R59, E44
Browns E40, E41, E42, E43, E44, E47, E49
Yellow: Y00, Y02, Y04, Y17, Y38
Glow: Y00, Y02
Wings: E42, E41, R30, R32

Supplies:

When possible affiliate links are used, this means that I receive a small commission when products are purchased through the links (at no extra cost to you) I use the money to support my blog and youtube channel. If you like my projects and tutorial please consider supporting me by clicking through these links when you shop. Thanks!

https://linkdeli.com/widget.js?1549439153802
Uncategorized

Polka Dot Pals Add-on Faces

It’s the release that you’ve been waiting for … the new and improved Polka Dot Pals Add-on Faces is here! These adorable and quirky faces are a fun way to customize your Polka Dot Pals rubber stamps. The clear stamps also make it easy for placement. This set features 32 high quality photopolymer clear stamps of faces and glasses sized for both the large and small Polka Dot Pals.


We’re celebrating this release with a grand sale AND we have some fabulous guests that have joined us! Visit each of the four days for inspriation and get your Polka Dot Pals Add-on Faces today.

Let’s celebrate! 

Emma Louise (Guest) [https://emmascraftycards.wordpress.com/]
Katya Bess [http://kattyxotica.blogspot.com/]
Lisa Johansen [http://www.snowymoosecreations.com/]
Barbara [http://forgottenscraps.blogspot.com/]

During these four days … 

Buy the new Polka Dot Pals Add-on Faces and you’ll also receive the Little houses clear stamp FREE!

15% OFF all Little Miss Muffet brand stamps
(Check the Make it Crafty section too for some holiday sales)

Lastly, you’ll get FREE US shipping on mailable orders over $35.00 or a $5.00 shipping credit for International Order. There’s no better time to shop for rubber stamps at Little Miss Muffet Stamps. Oh yeah!

All promos are automatically added to the cart during checkout – no coupons needed!

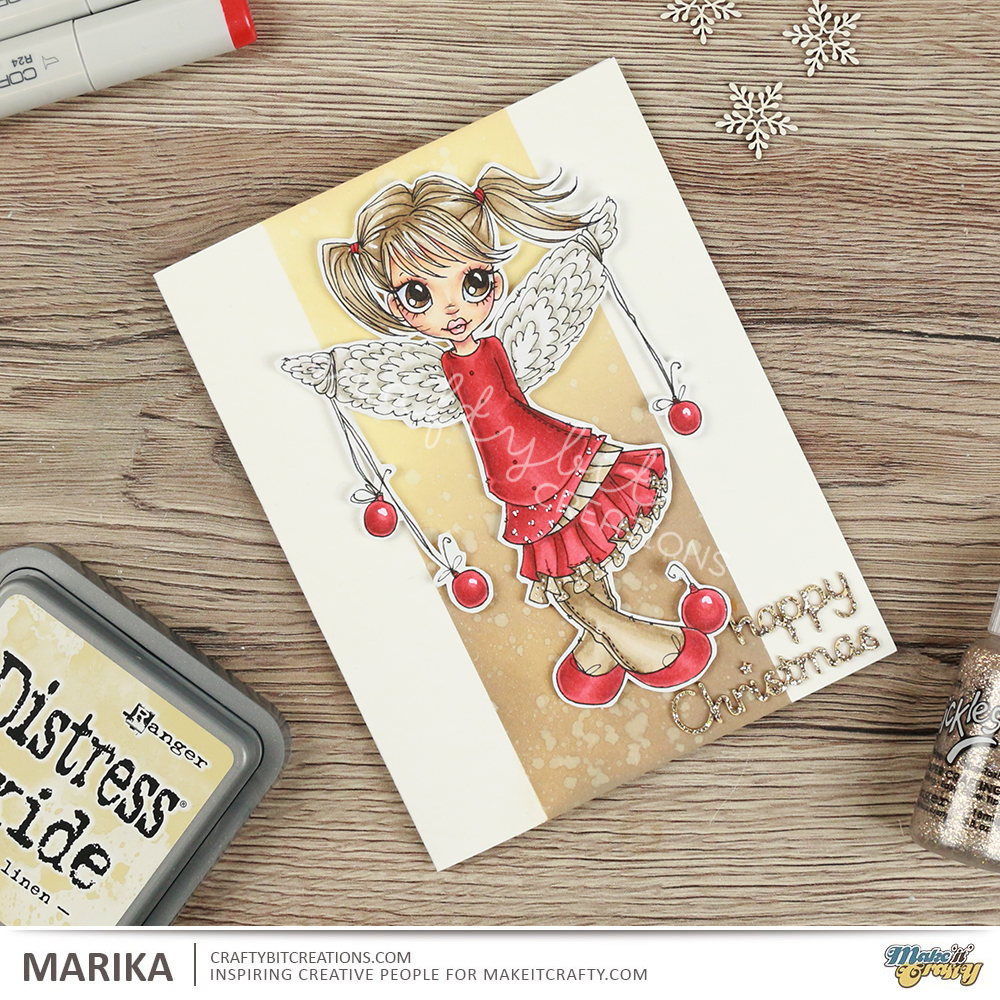
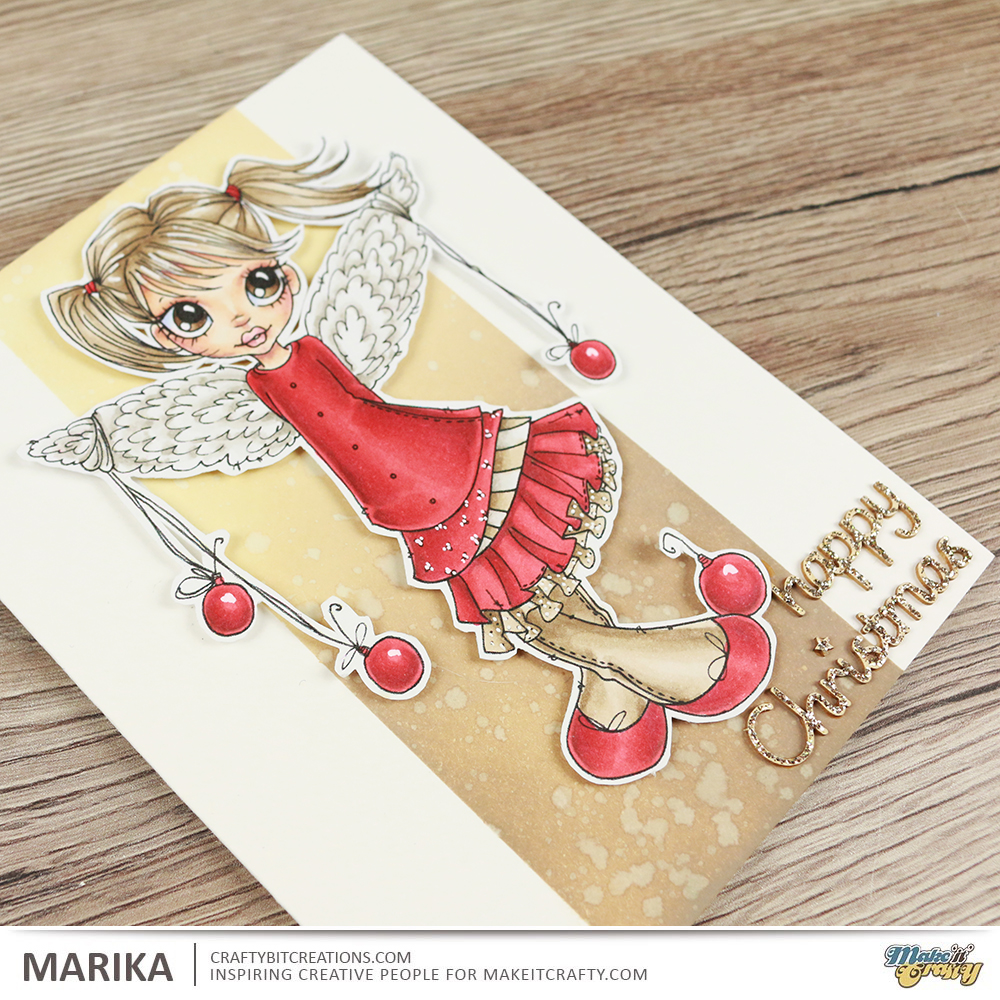
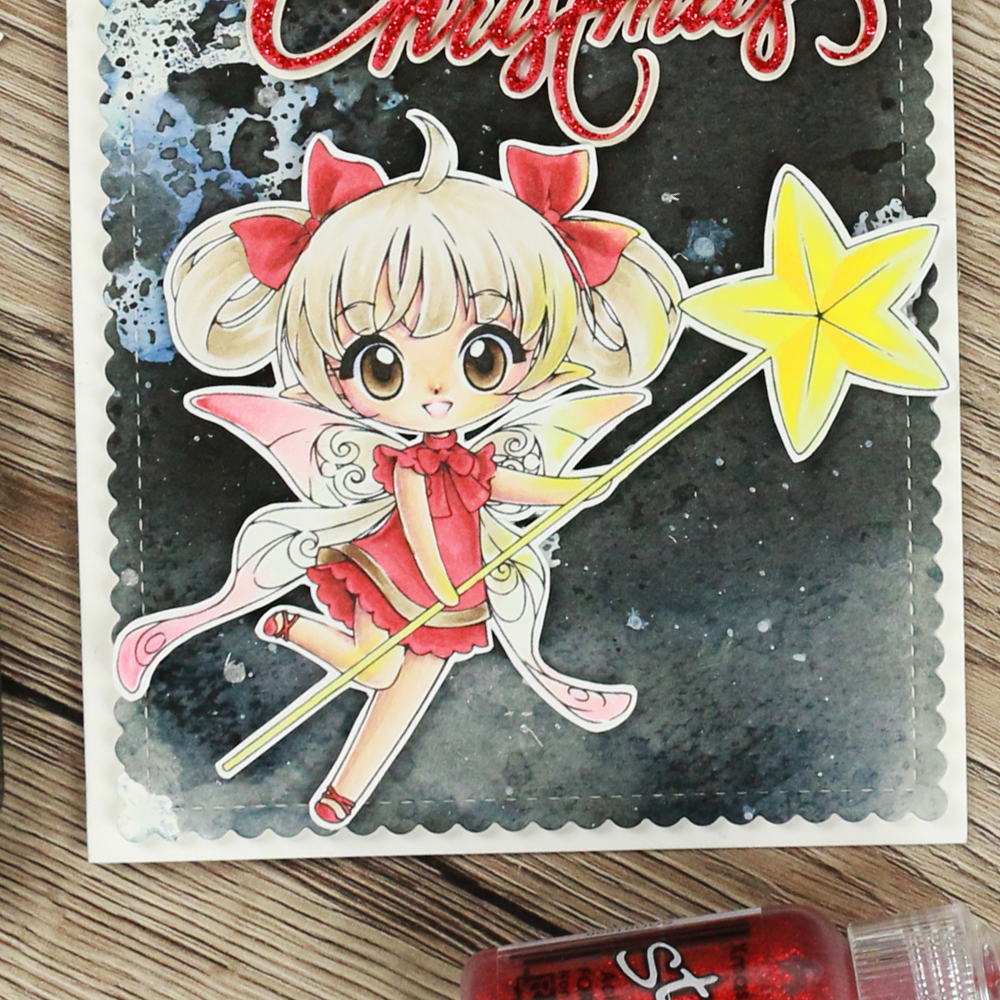
And now for my project!

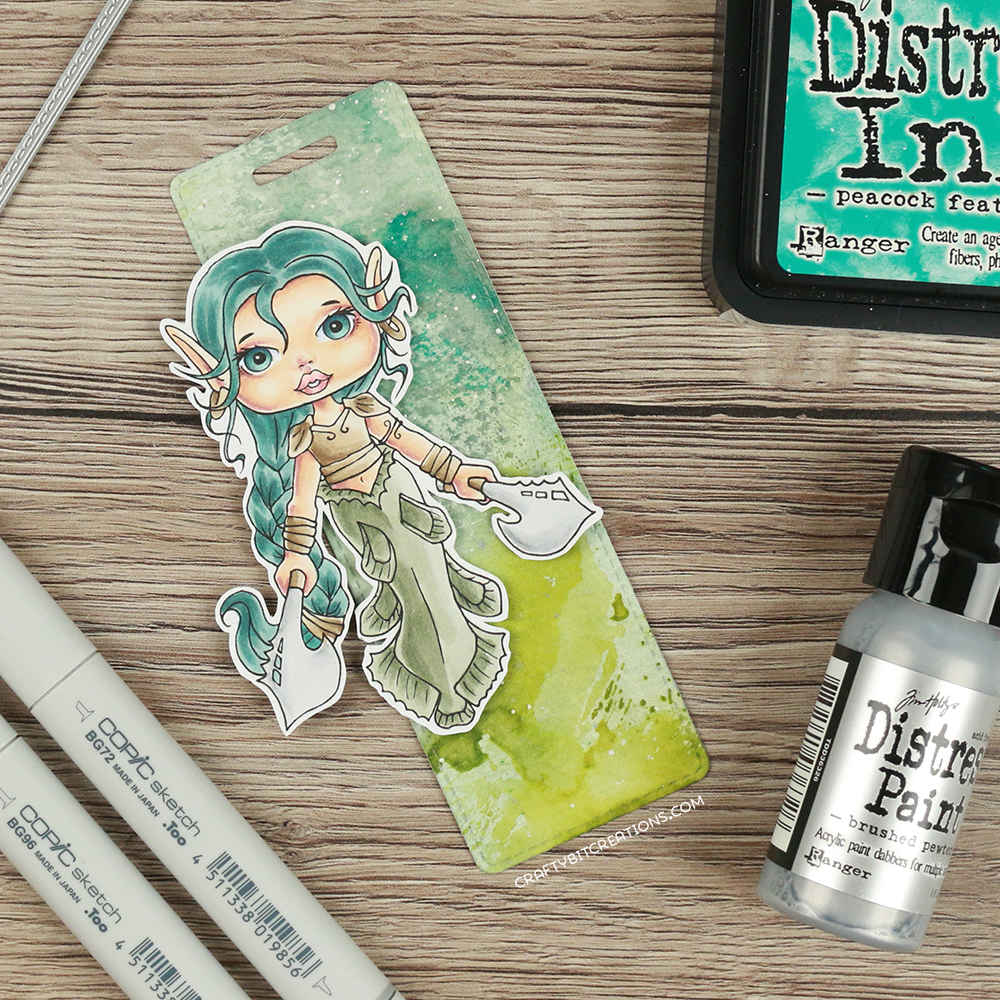
I just love the faces, I usually done custom faces on the Polka Dot Pals, but I can often feel that I’m giving them the same face over and over. With these faces the possibilities are endless!

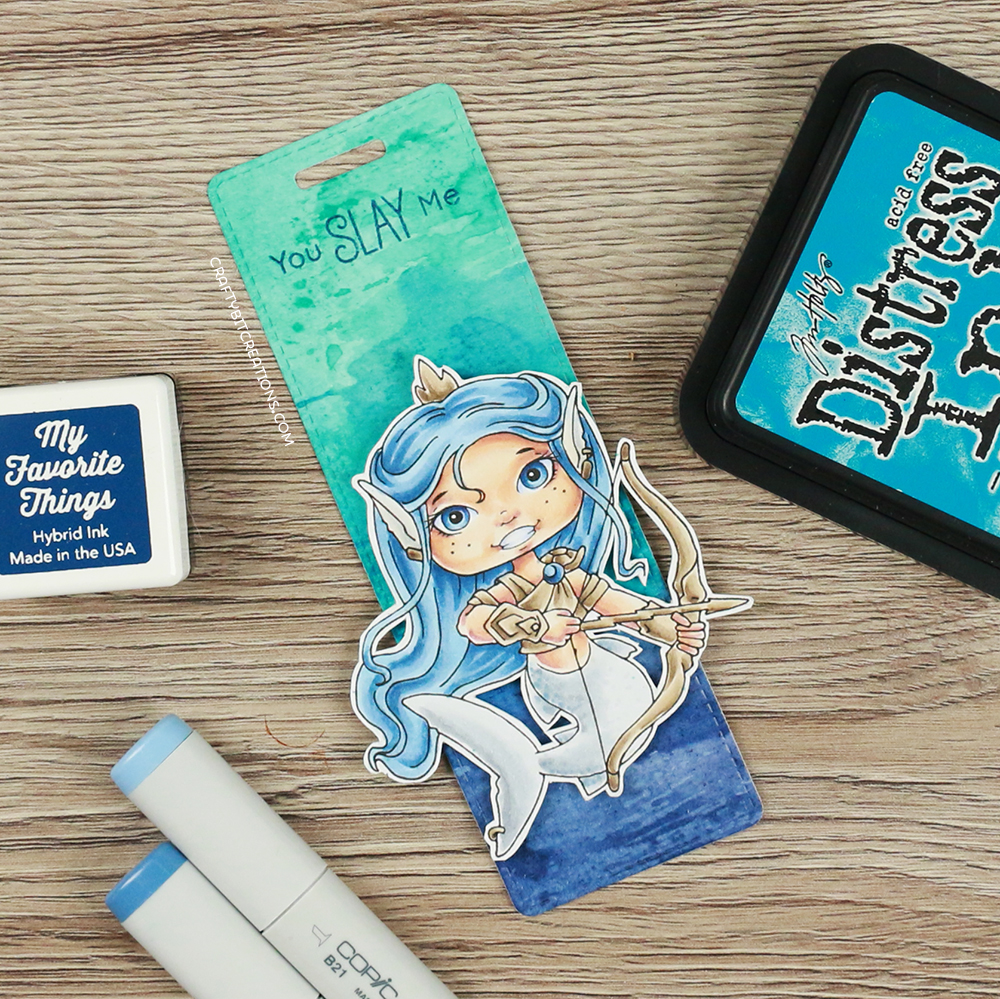
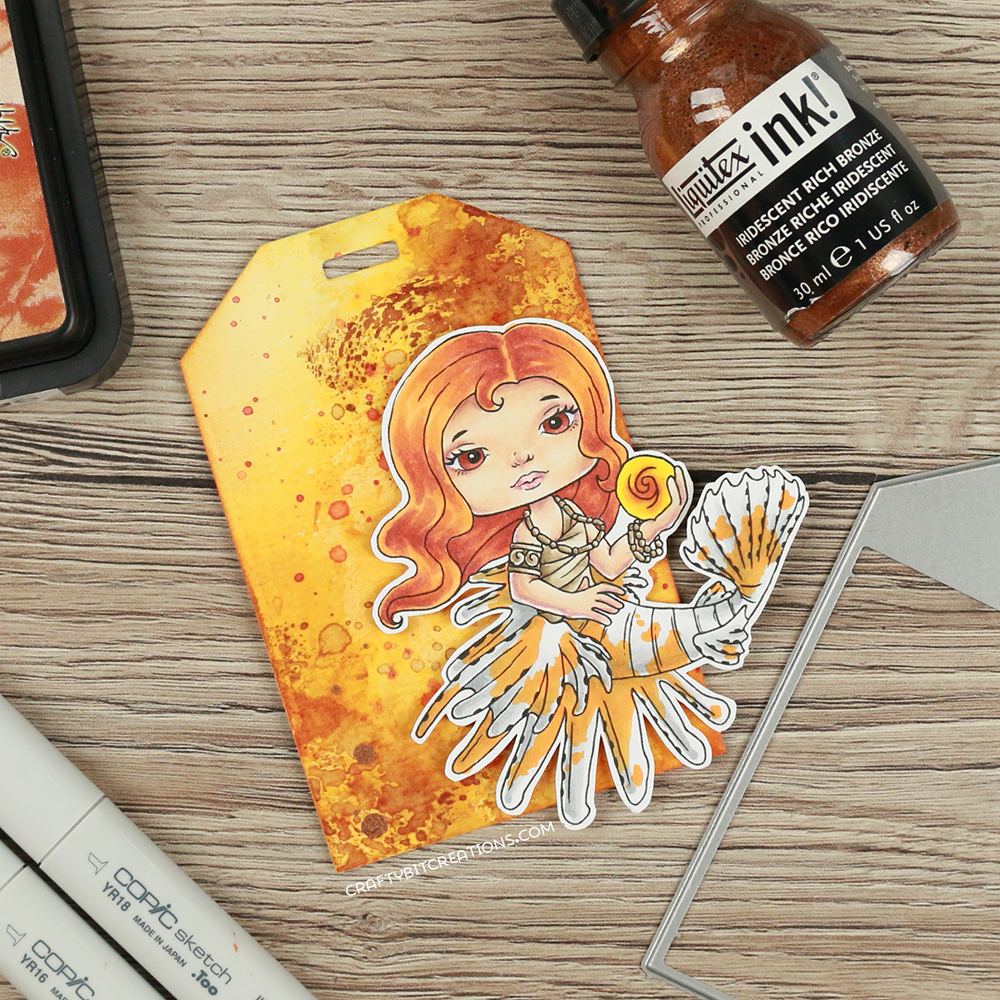
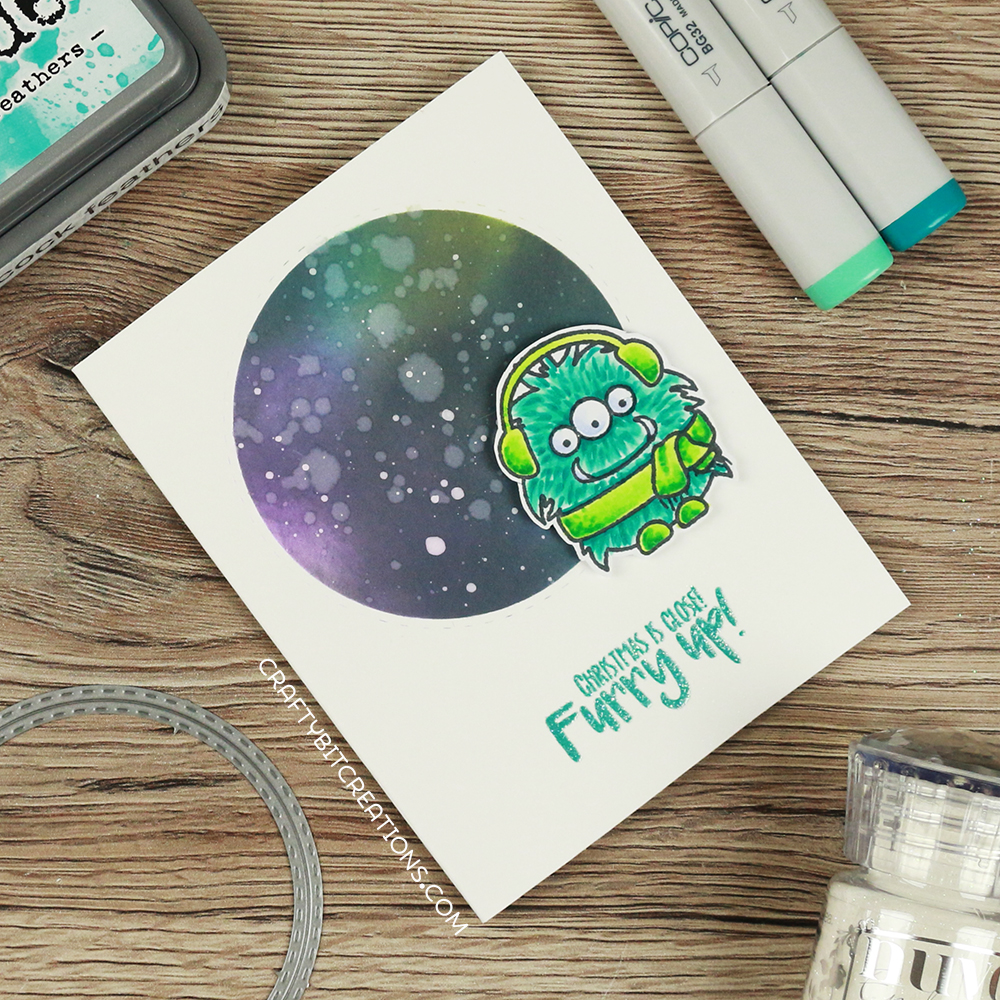
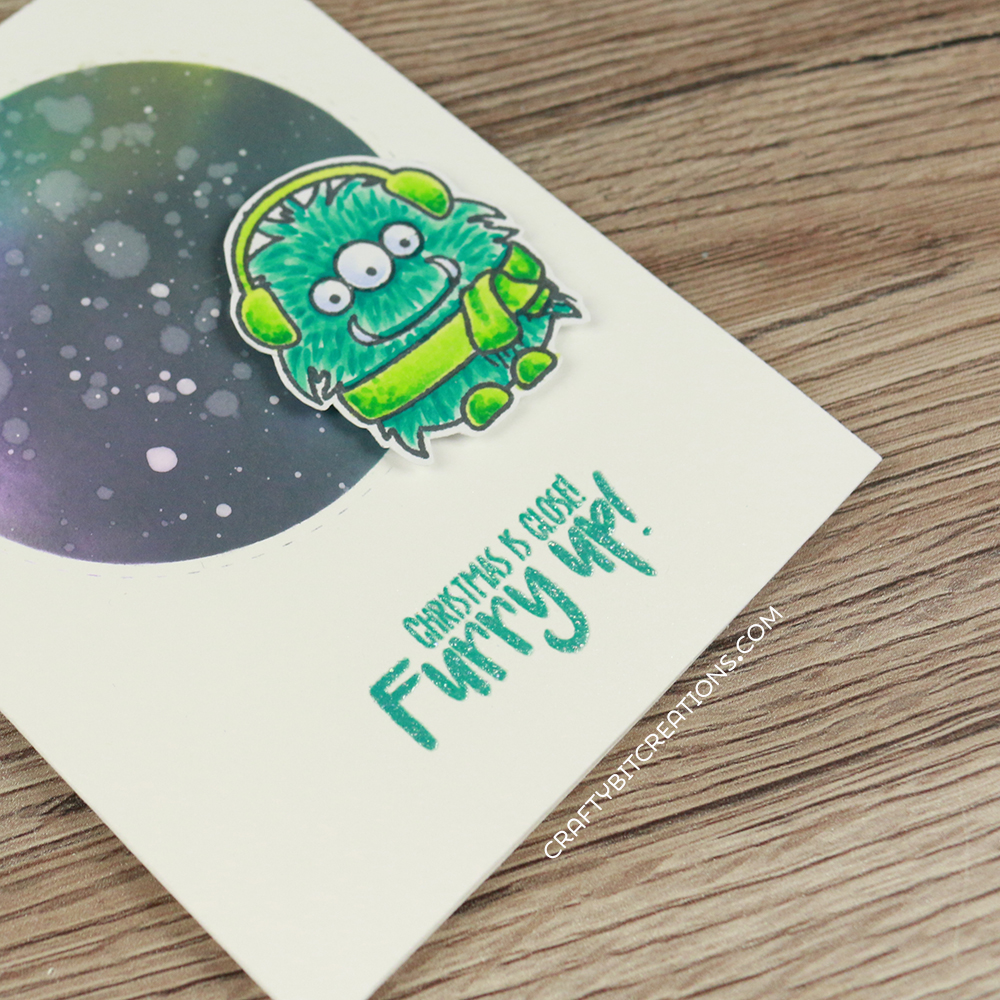
I’m a mermaid fanatic, and these mermaids are just awesome! After creating the first one I just had to print a couple more with different faces and then I went crazy with the backgrounds. They all are using the same technique, but I love the third one most, which is your favourite? The technique used is a combination of smooching and blending using distress inks.

Copic:
Skin: E50, E00, E21, E11, E04, R30, R32
Blues: B21, B45, B37
Greys: C0, C2, C4, T0, T2, T4
Orange: YR04, YR15, Y16, Y18, E07, E08, E09 R05
Green-Blue: BG72, BG18, BG75, BG90, BG93, BG96
Brown: E40, E41, E42, E43, E44
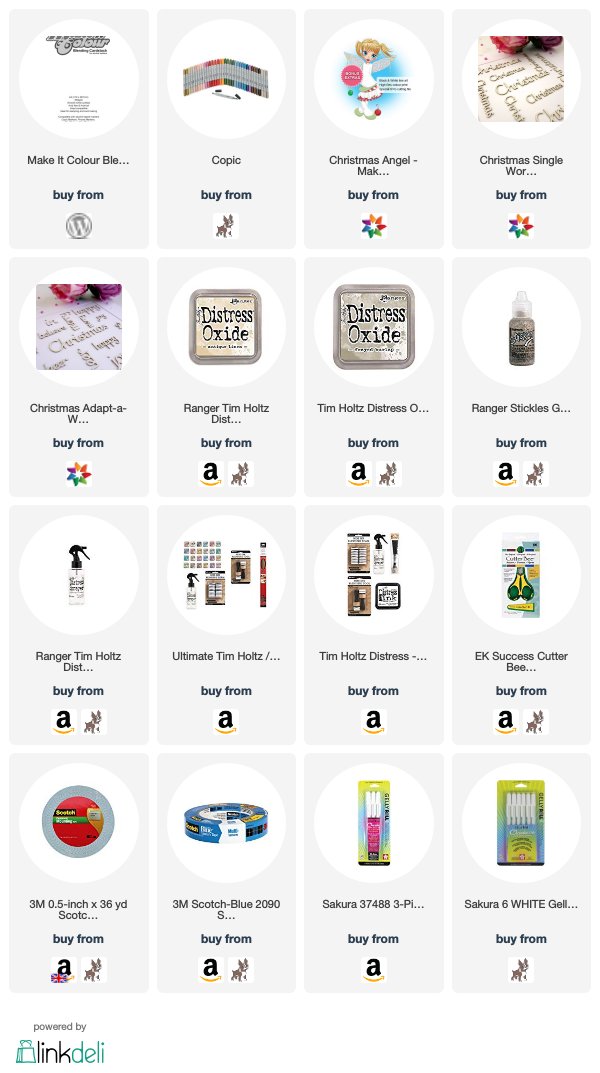
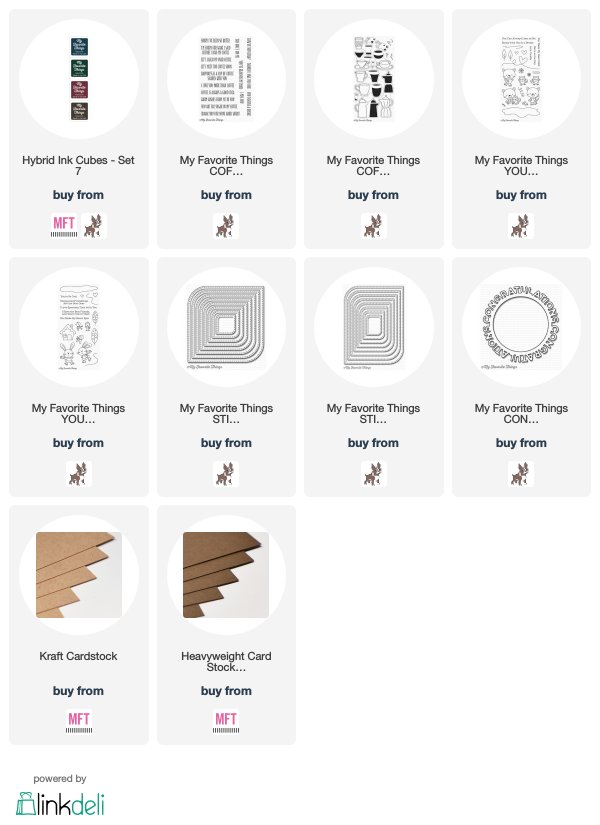
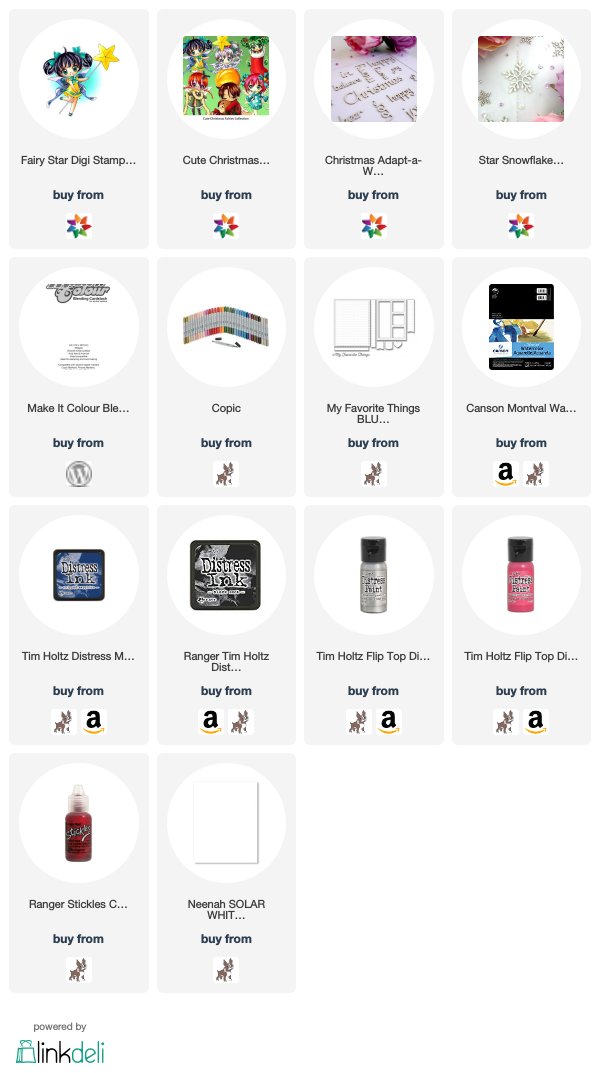
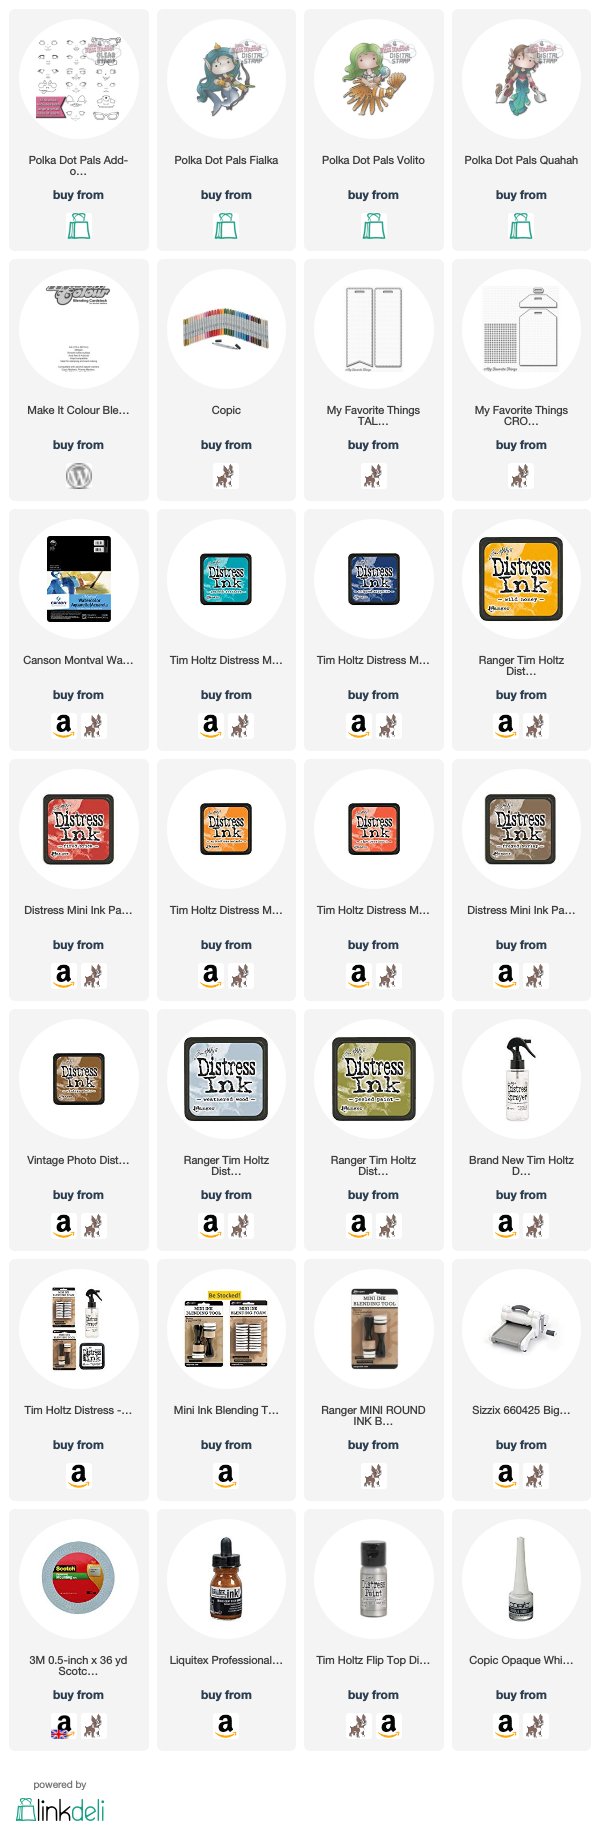
Supplies:

When possible affiliate links are used, this means that I receive a small commission when products are purchased through the links (at no extra cost to you) I use the money to support my blog and youtube channel. If you like my projects and tutorial please consider supporting me by clicking through these links when you shop. Thanks!

https://linkdeli.com/widget.js?1549439153802