Hi Everyone! It’s time for me to join the Save The Crafty YouTuber Video Hop for 2018. This is a hop where over 90 Craft Youtubers come together for 5 days to share their love for crafting but also their viewers, come hop with us and maybe you can find some new youtube crafters to watch!
The hop is circular so where ever you start just hop on for that day, but you can find all the information over at the creator, Justine Hoveys blog. There are some great sponsors and that means that there is some great giveaways! Everything is happening on youtube, so to be in to win hop over to my youtube channel and after watching my video you will find the next crafter in the hop you find it as the first link in my description.

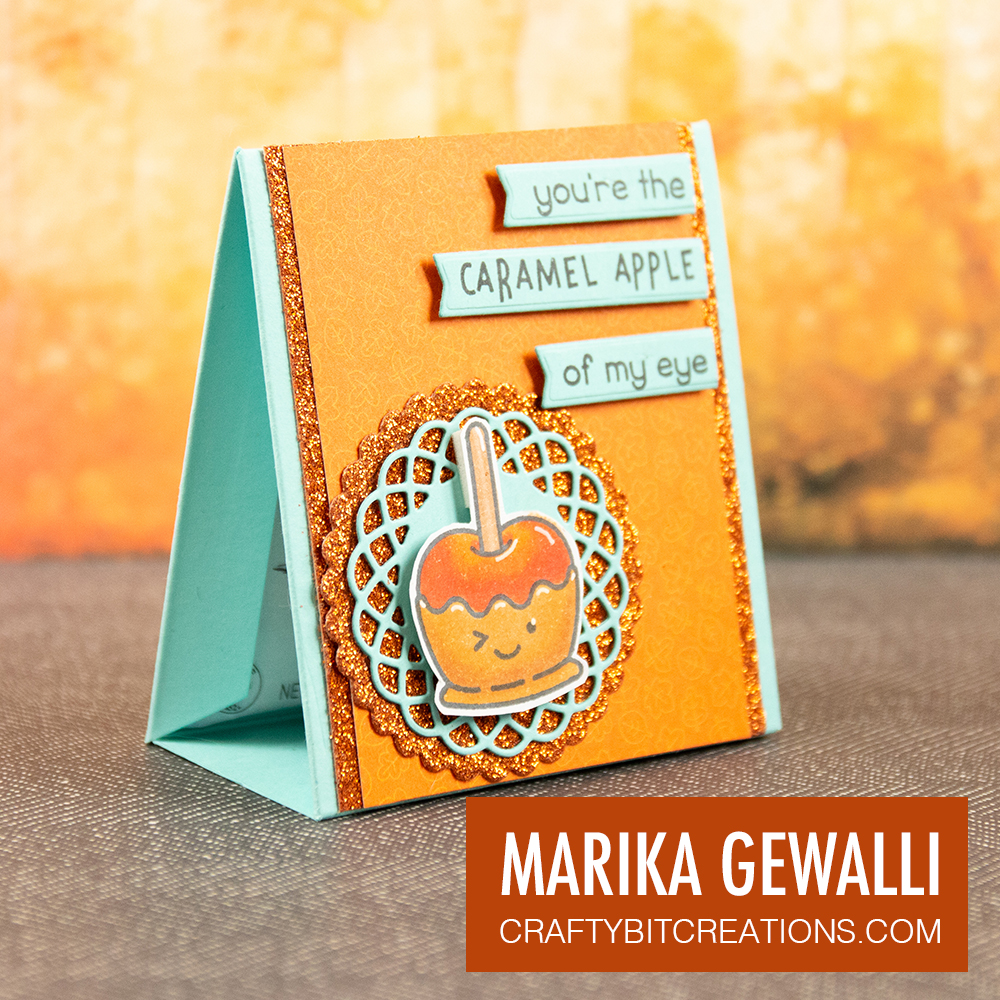
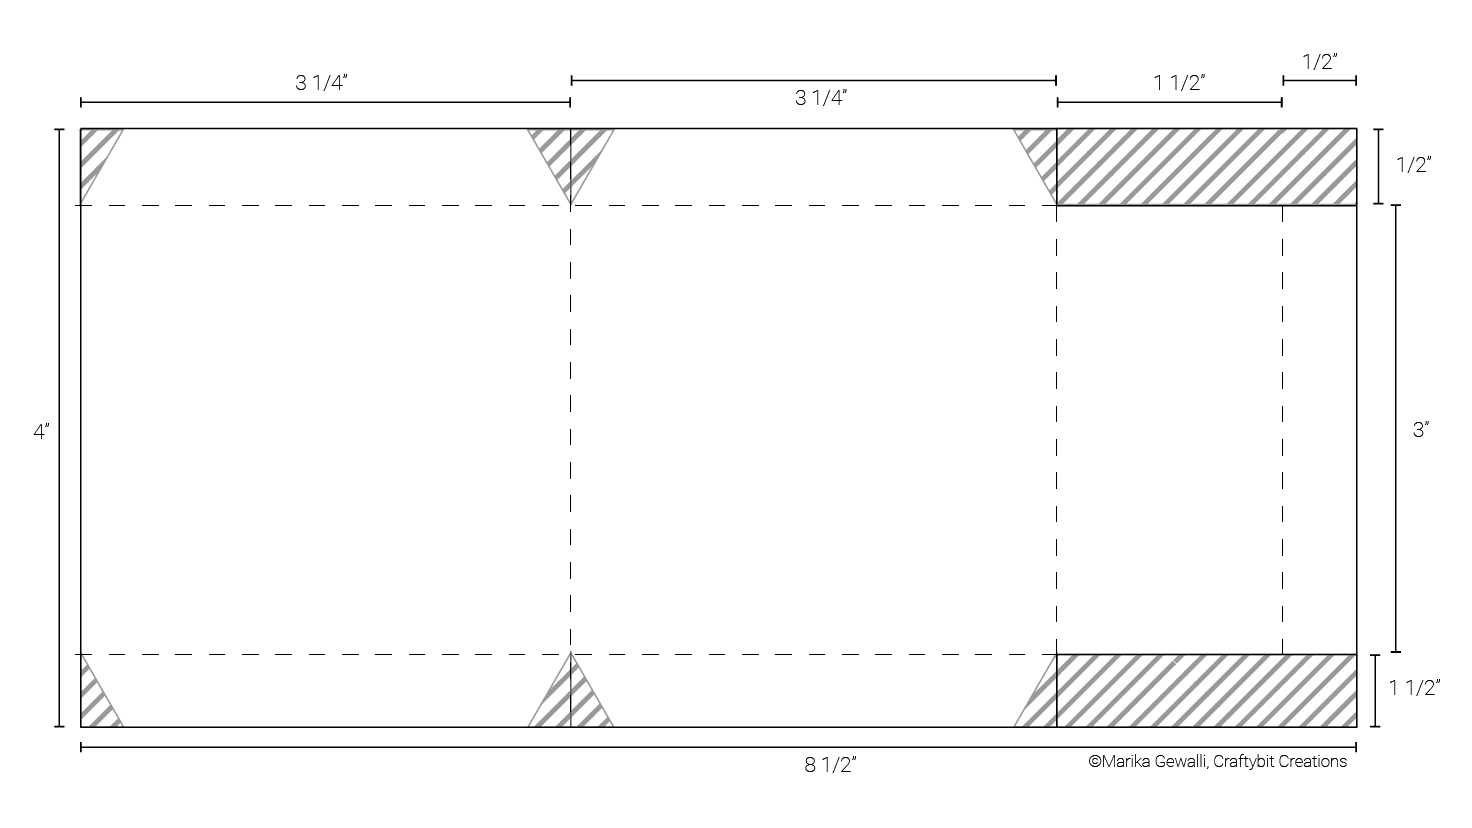
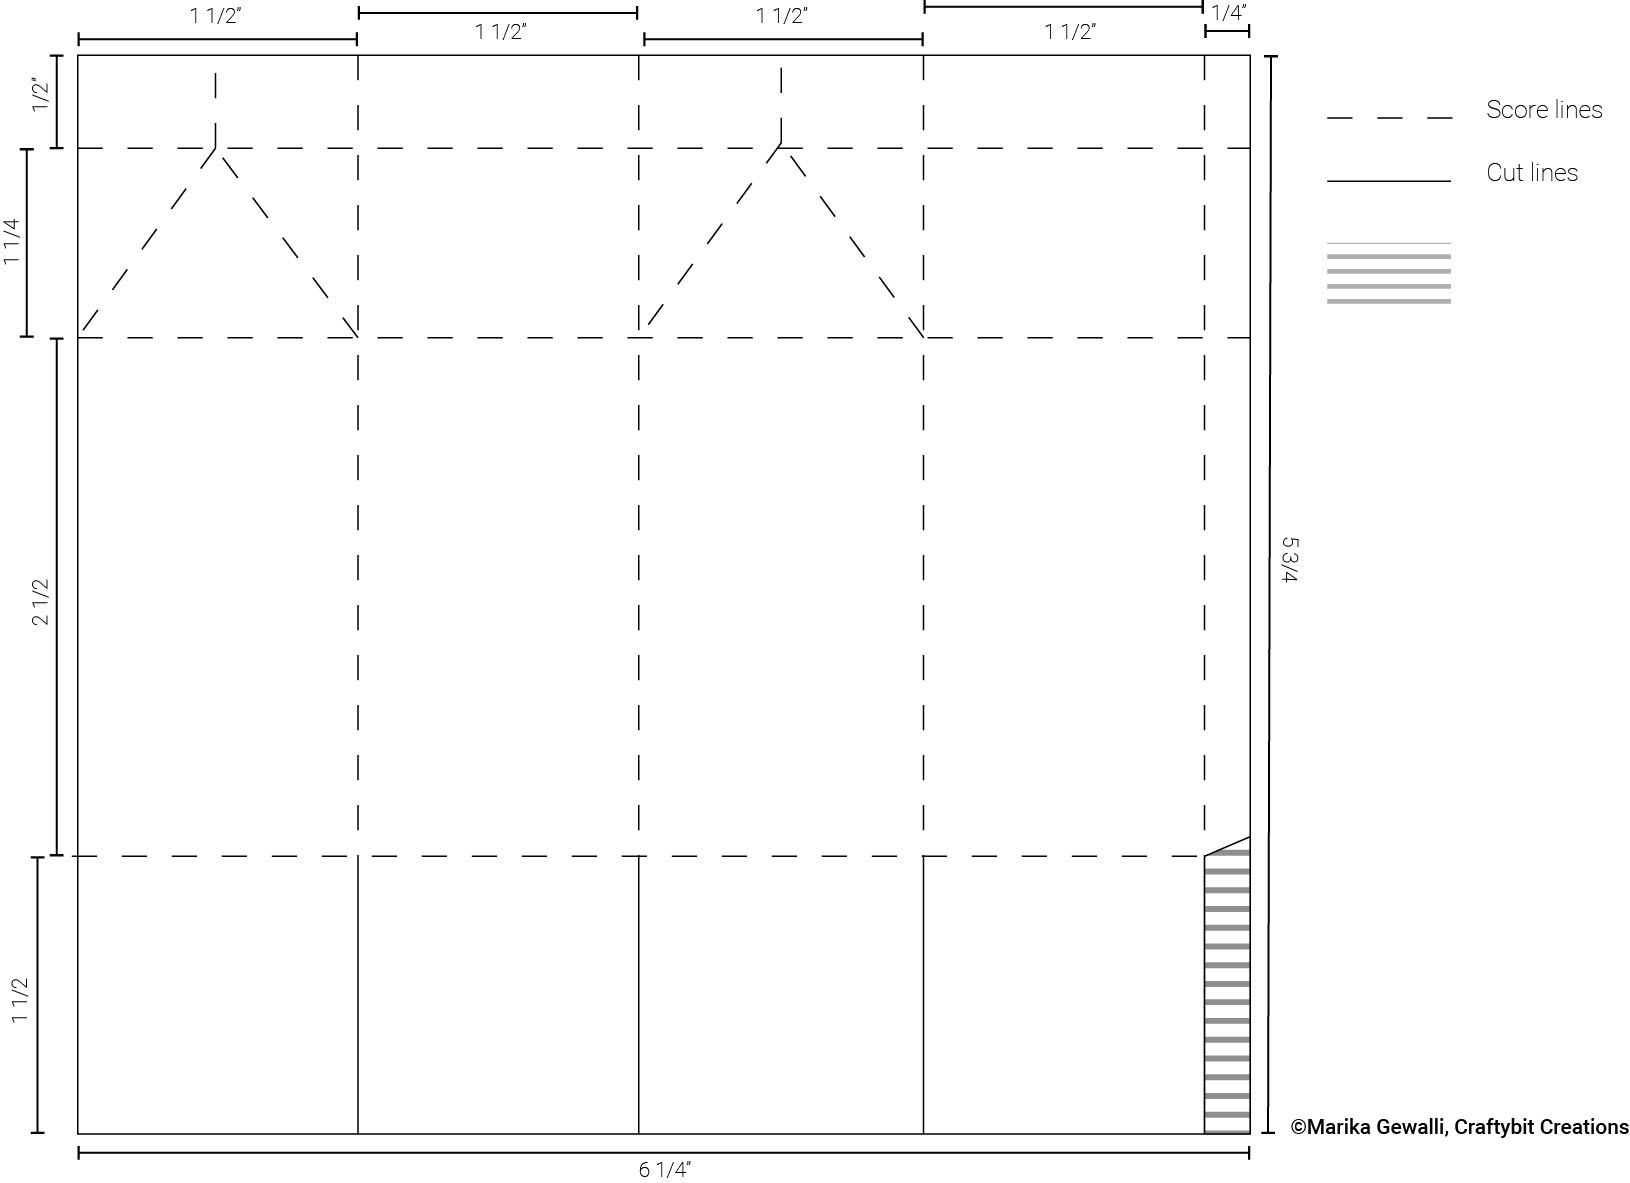
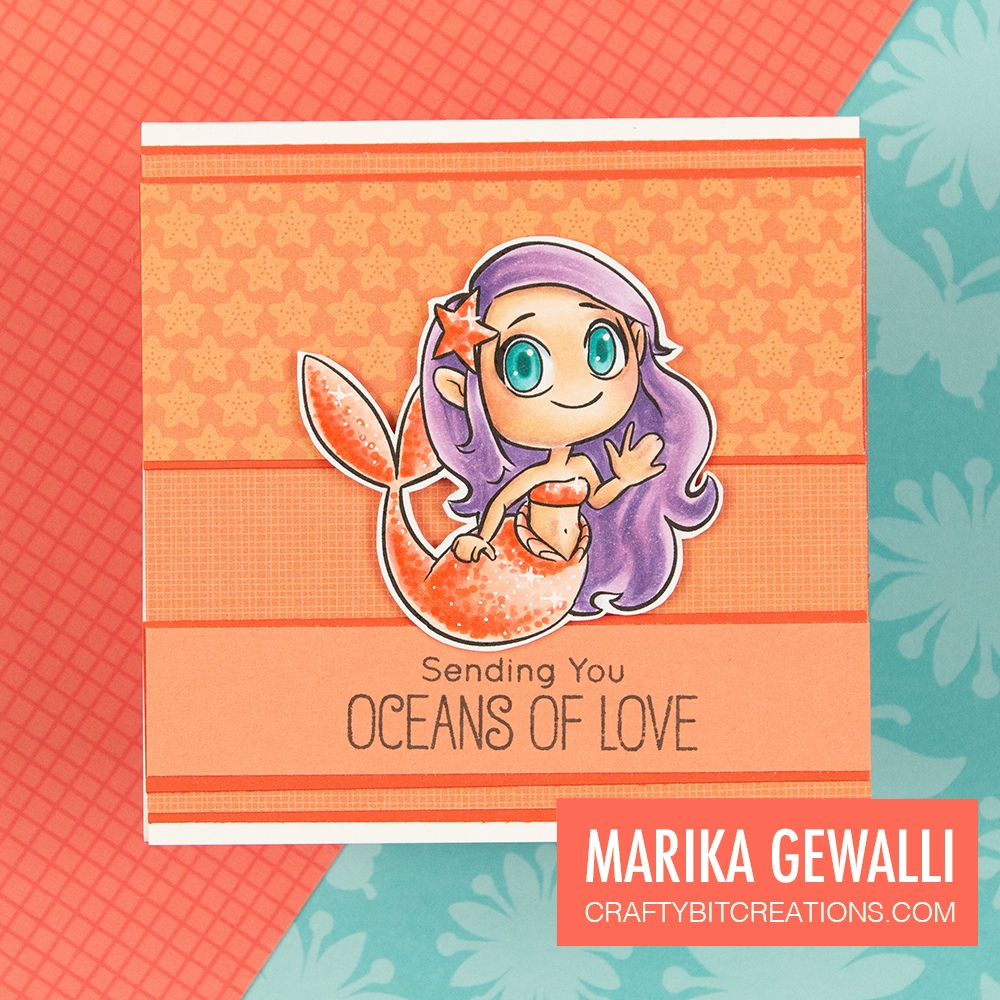
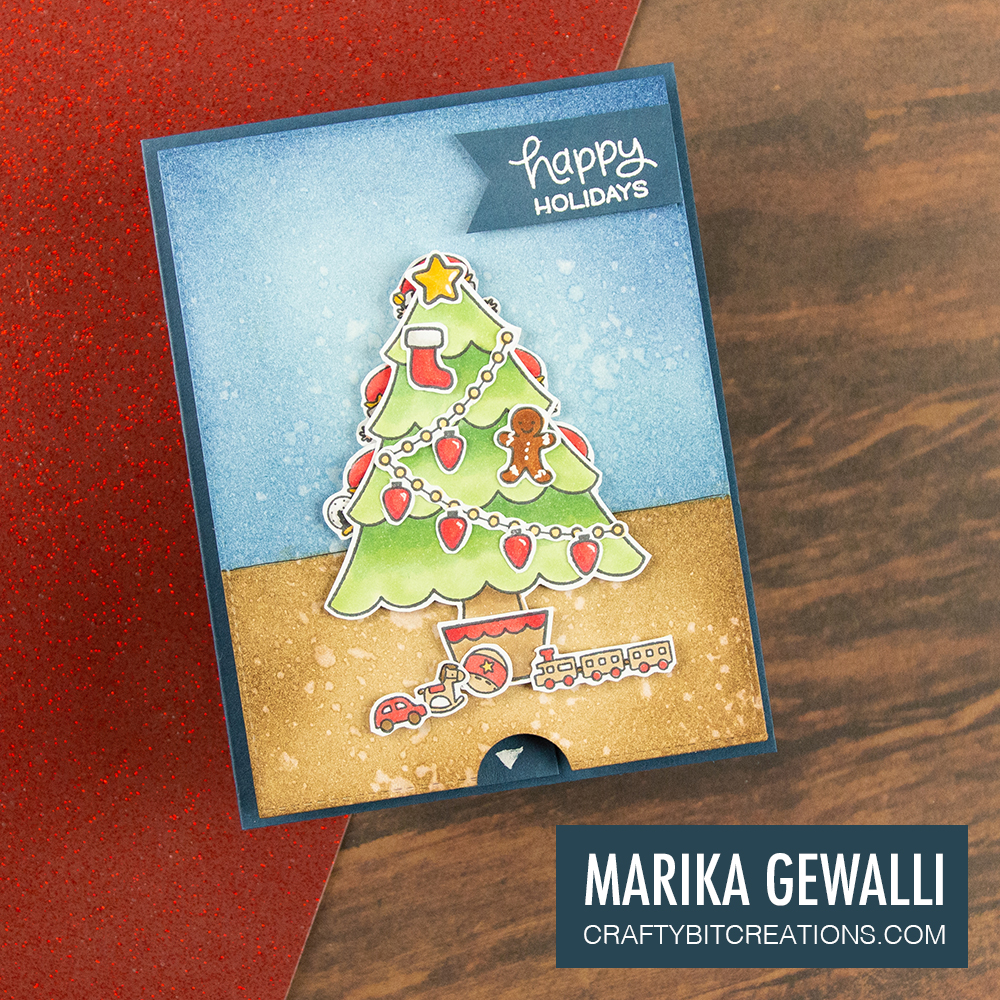
And now to the card! I had so much fun creating this card, figuring out how to make this work, when I got the idea I wasn’t sure that it would, but it did! As you can see on the photos this is a pull tab card, I call it a peekaboo card, as when you pull the tab, 5 little mini elves come peeking out behind the Christmas tree!

A couple of weeks ago, when entering the MFT Superstar completion I designed a peekaboo card where every critter had their own tab, but I wanted to see if I could make all 5 elves be controlled by one tab, to make the peekaboo surprise even more impactful. It was so much fun and you will most likely see more videos/cards like this, giving you a surprise.
Hope you liked my video and hope you come and join the hop, you find my video HERE. Other ways to get to the video on youtube is to hover over the video below and then click on the YouTube text and it should take you to the same video over on Youtube (btw you can do that on all embedded youtube videos, not only mine).
Copic:
E00, E11, R30
YR21, Y26, Y28
E44, E47
R35, R37
G24, G43, G46
T0, T2, 0
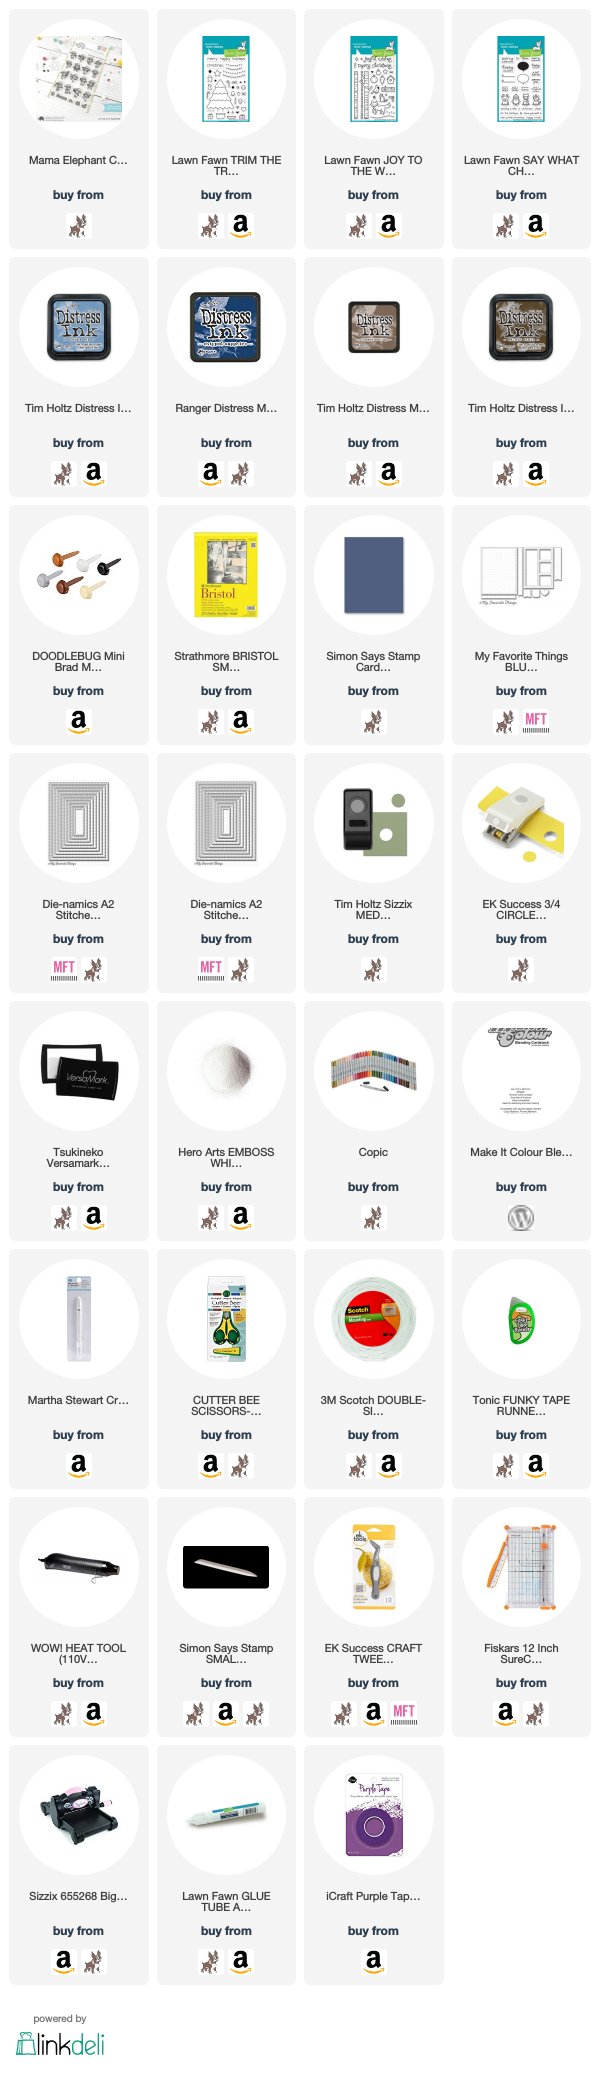
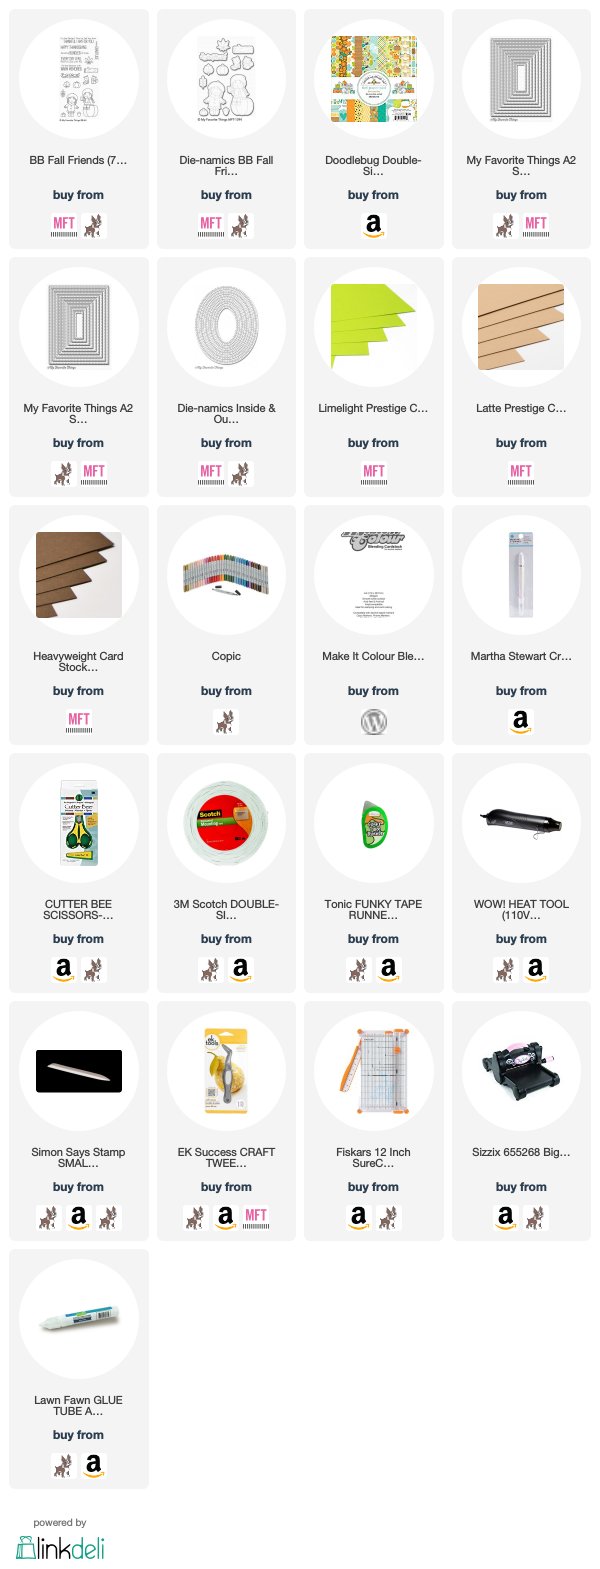
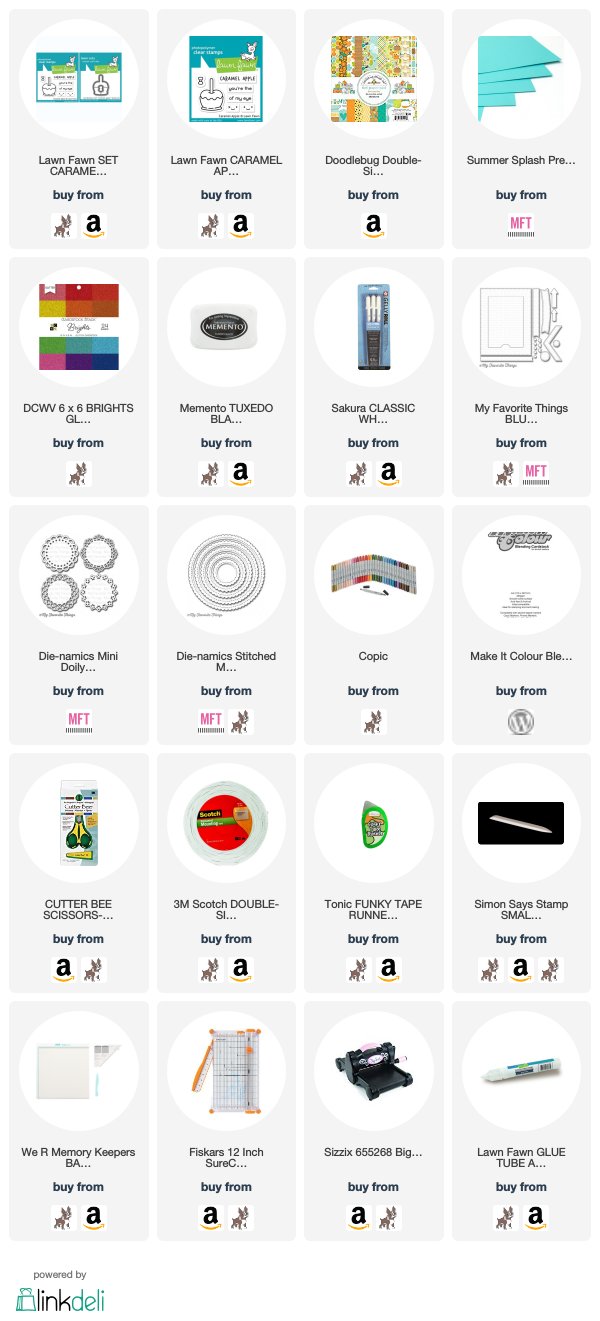
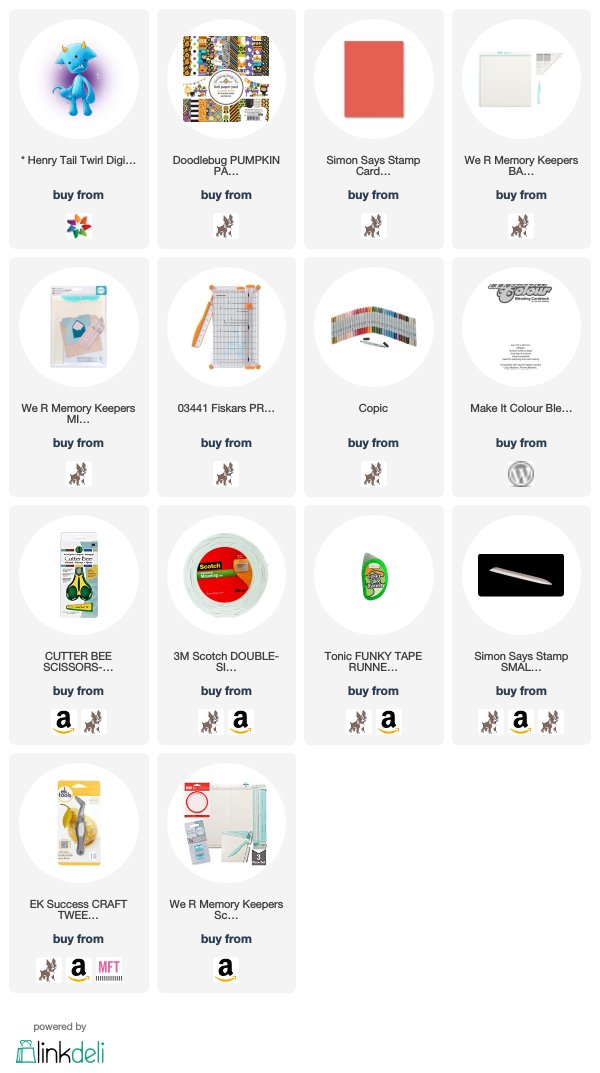
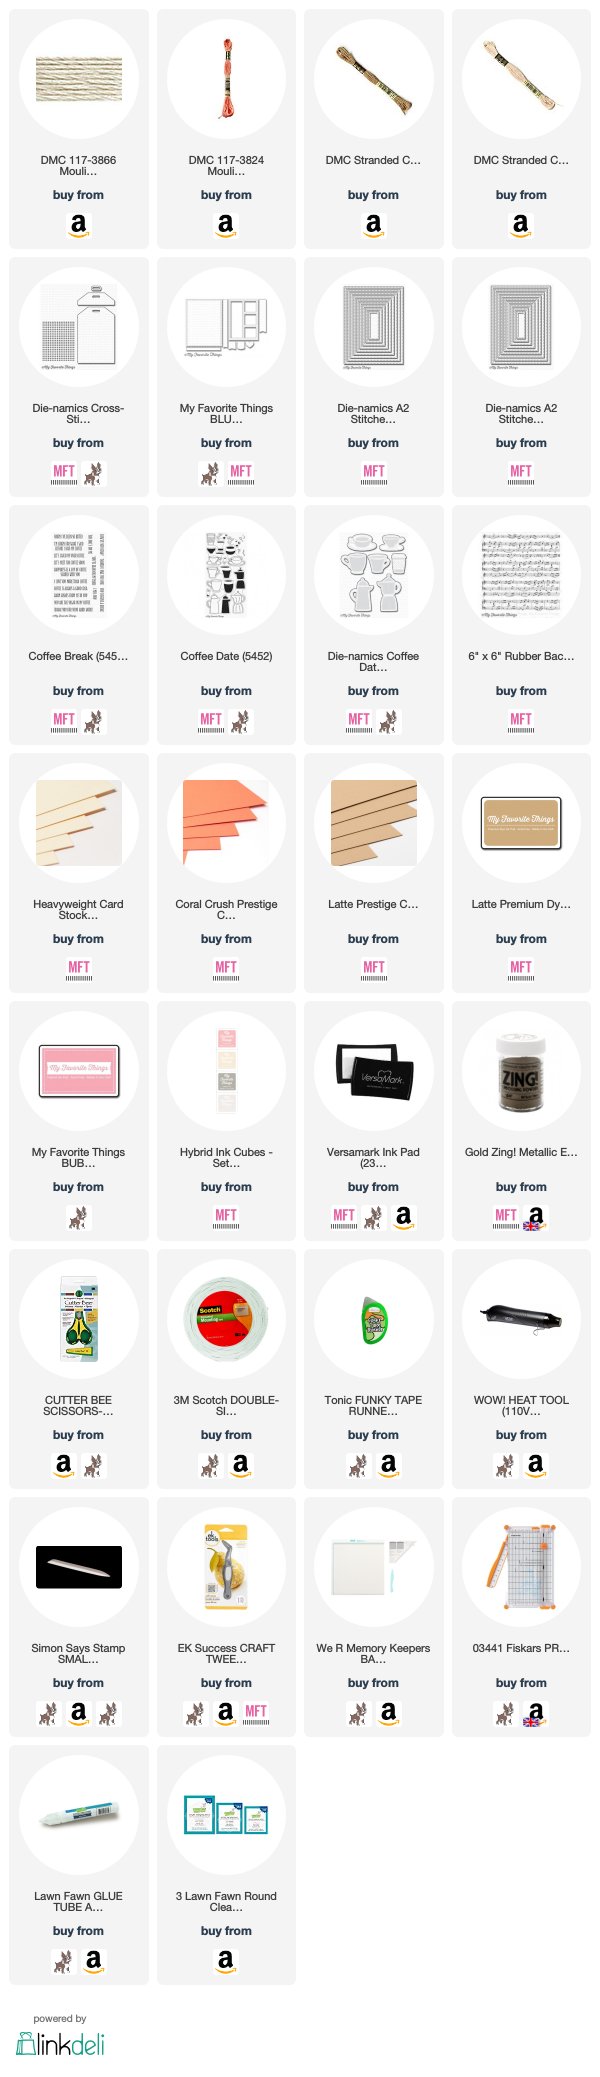
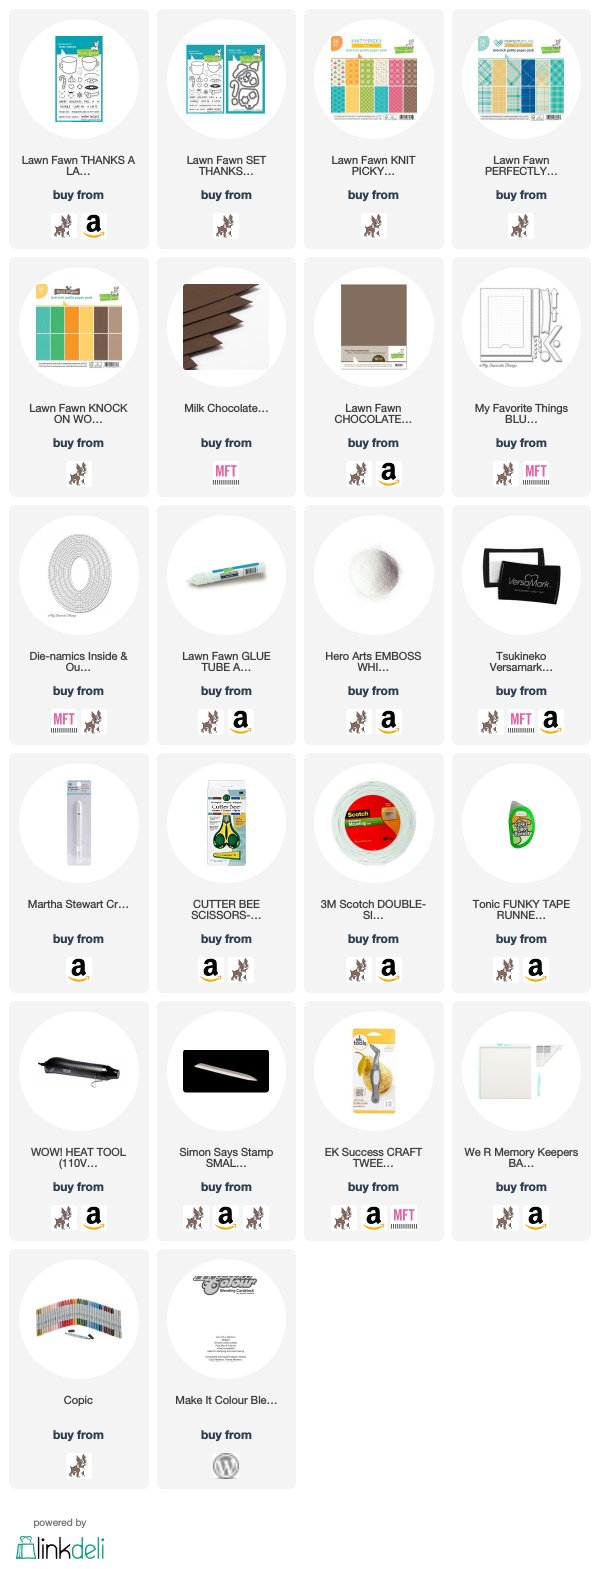
Supplies:
When possible affiliate links are used, this means that I receive a small commission when products are purchased through the links (at no extra cost to you) I use the money to support my blog and youtube channel. If you like my projects and tutorial please consider supporting me by clicking through these links when you shop. Thanks!