Make It Crafty, Videos

Magical Friends | Colouring Glitter & Creating Backgrounds with Perfect Pearls

Hi Everyone!

Have you tried the glitter challenge over at Make It Crafty yet? You still have a little less than a day to enter. You don’t have to colour a huge image like me but can just add it to a small part of an image, like a top or a skirt. But weather you enter the challenge or not, try it out it’s a lot of fun!

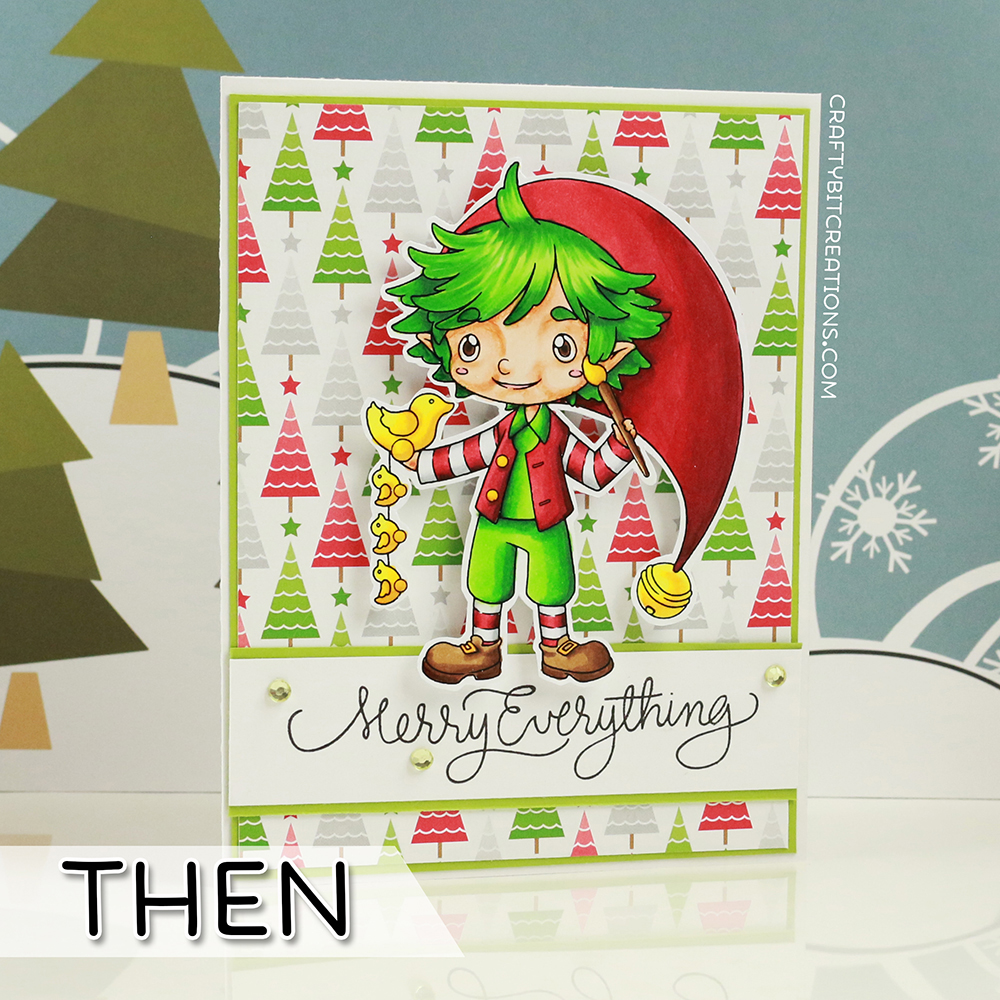
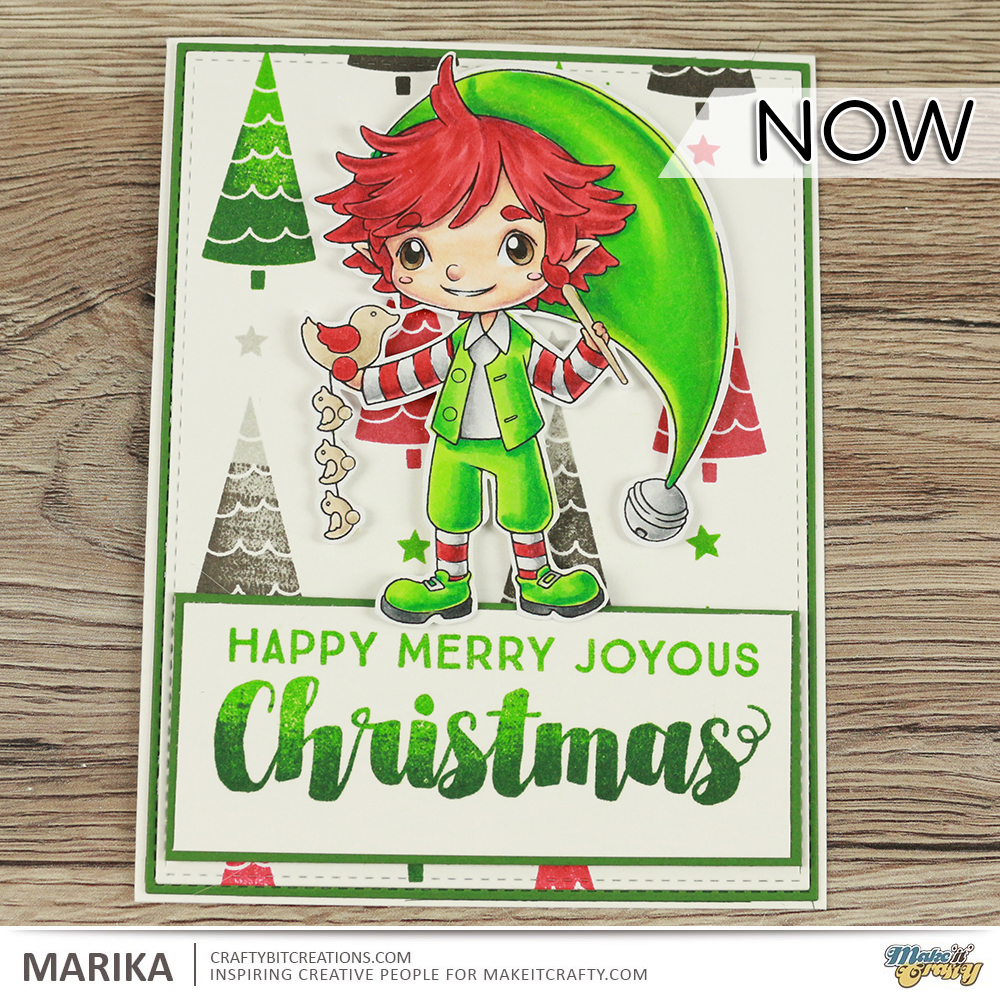
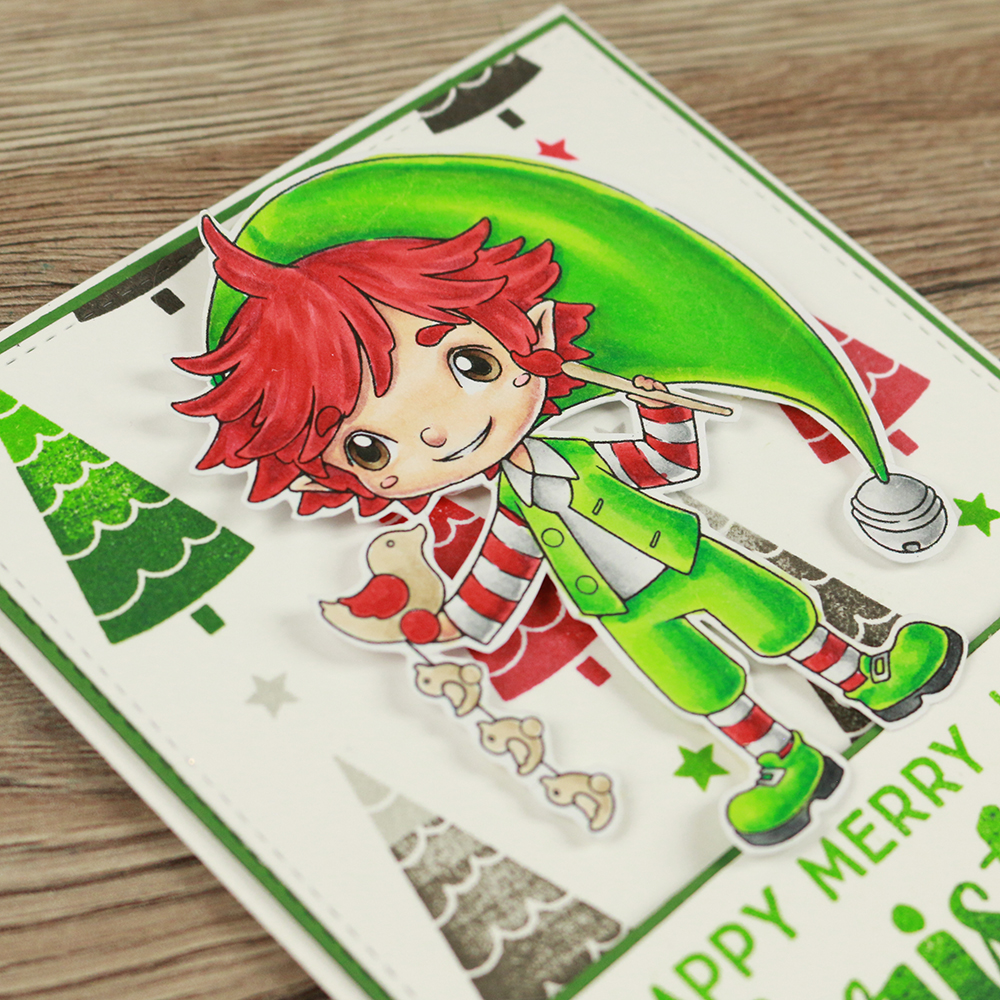
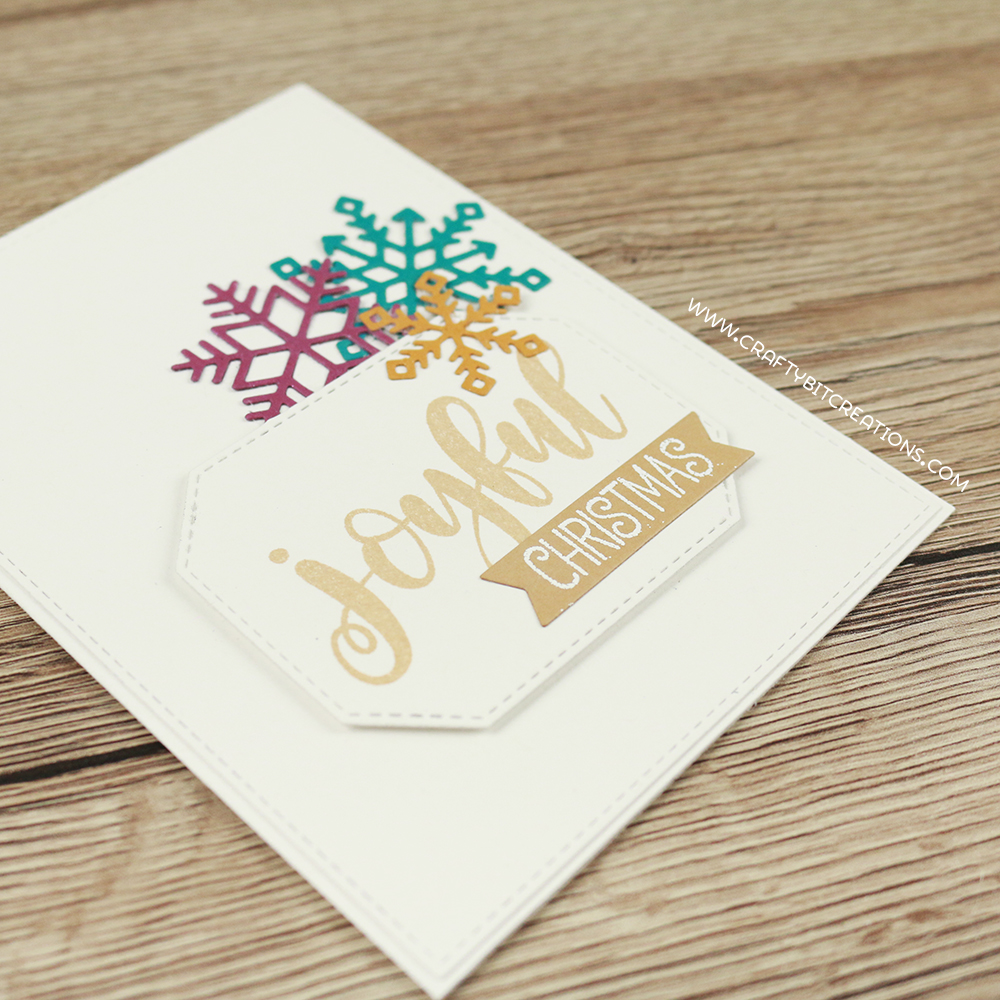
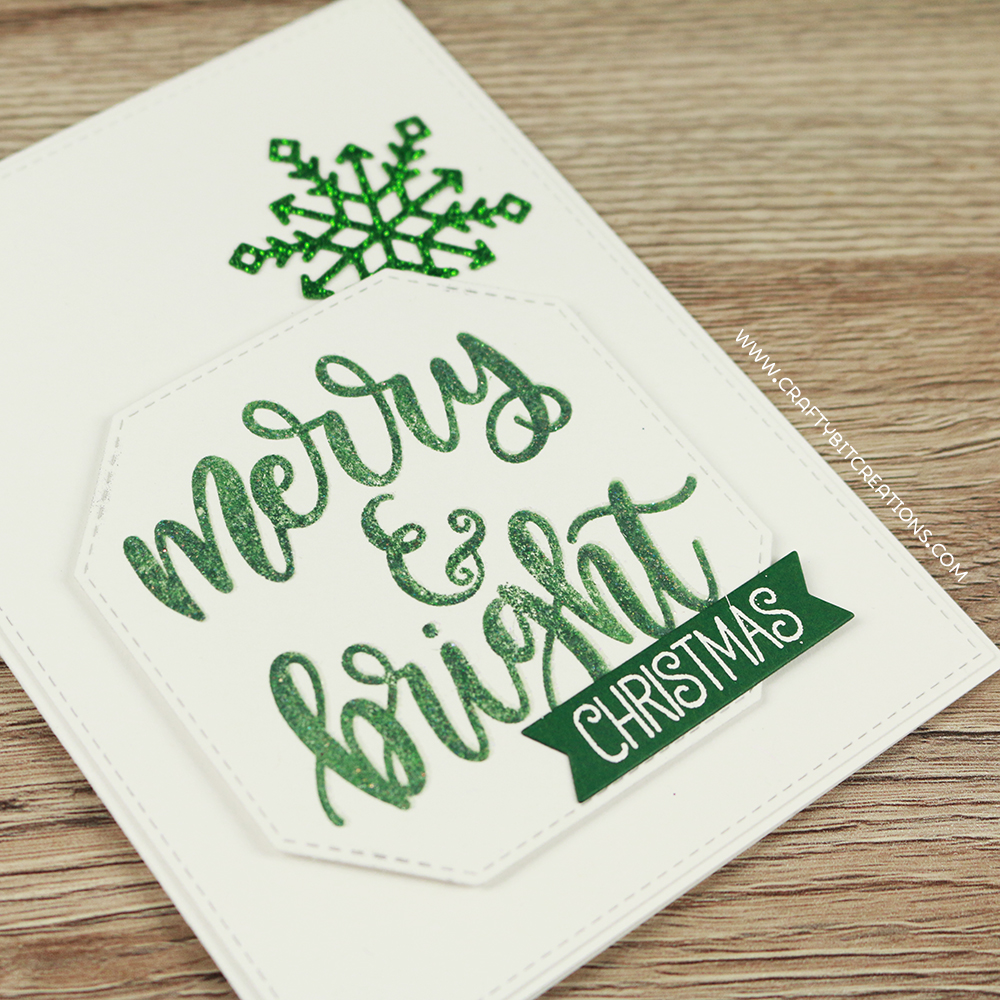
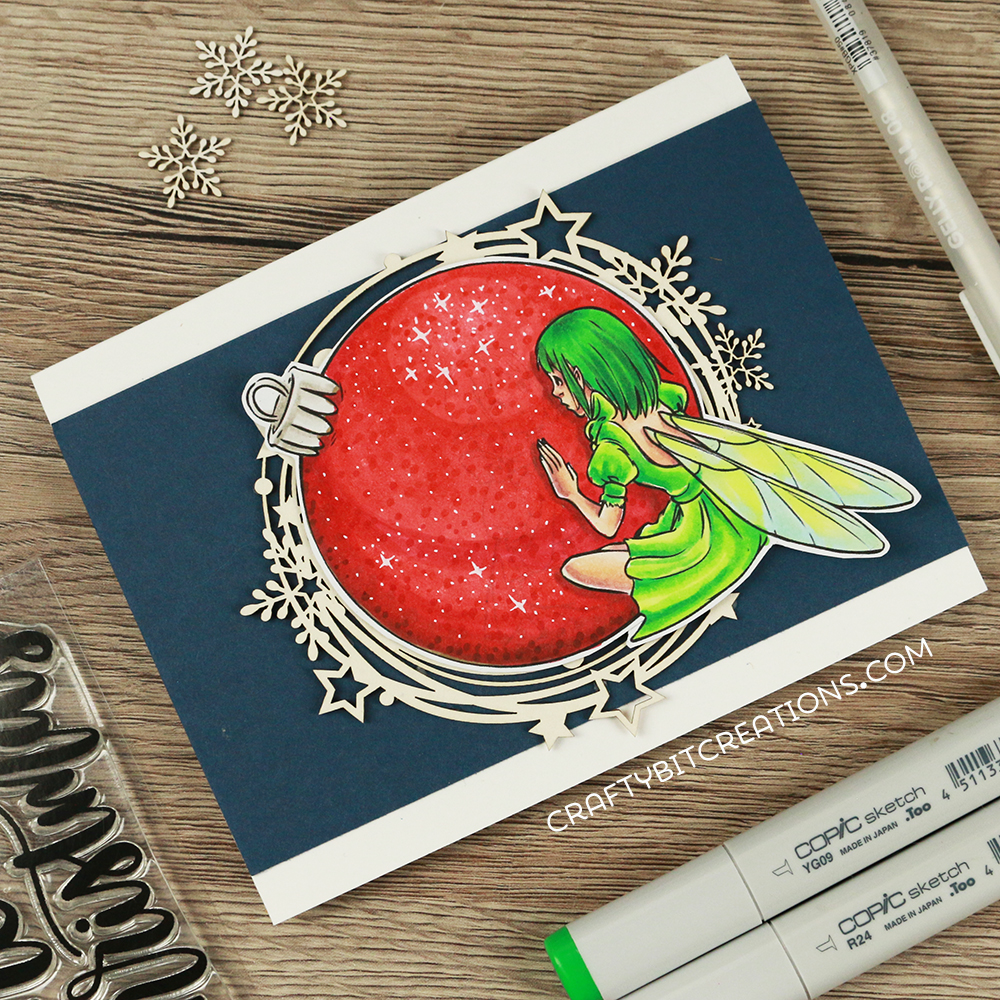
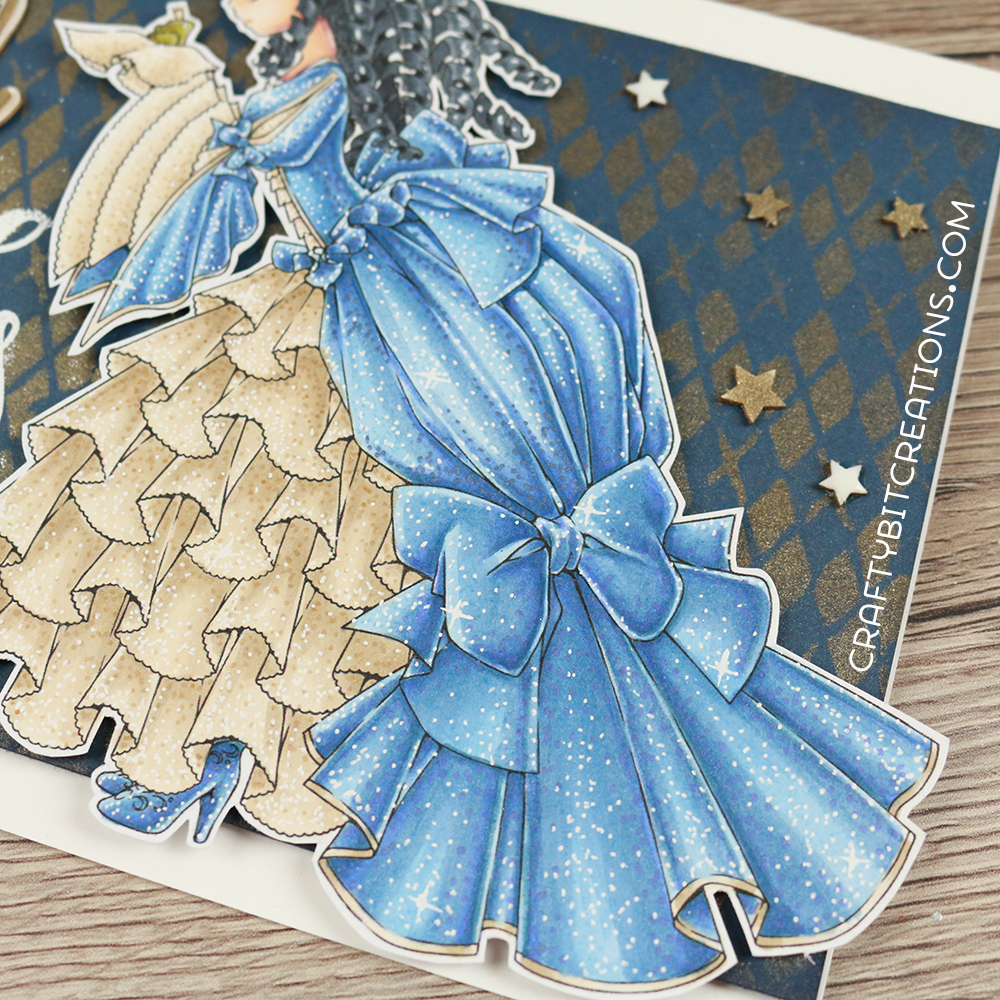
Todays card and videos (there is two) is all about those glittered effects, and gosh did I challenge myself with this one. I’ve tried colouring this image multiple times, never feeling that I make it justice, and then I added the challenge of glitter on top of that. It was super scary but also super satisfying! The glitter effect on the dress is created with metallic, glitter and white gel pens, you can see all how I coloured it below if you want to see it in HD you can do that HERE.

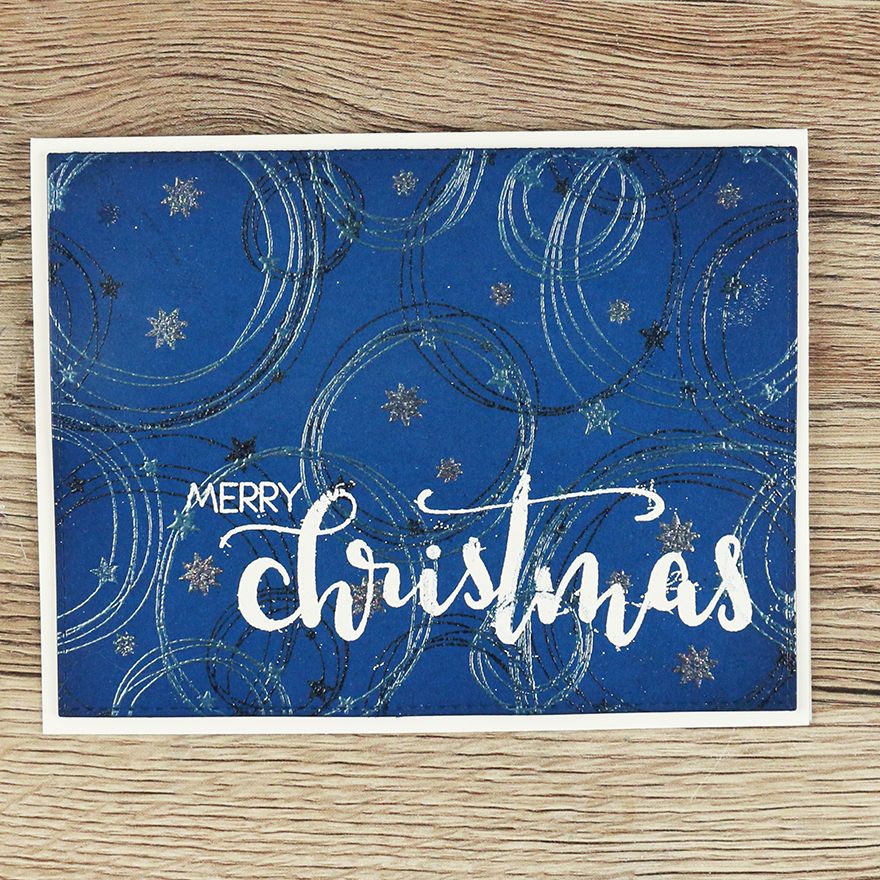
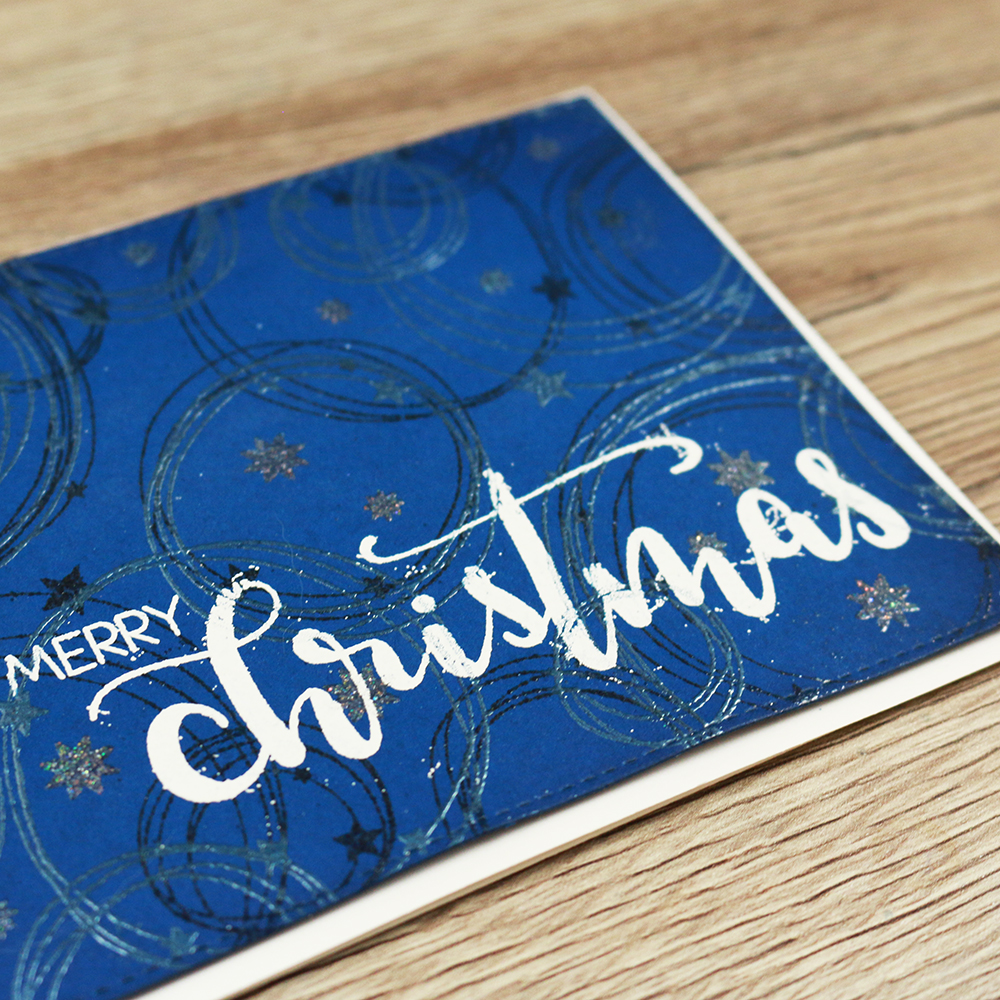
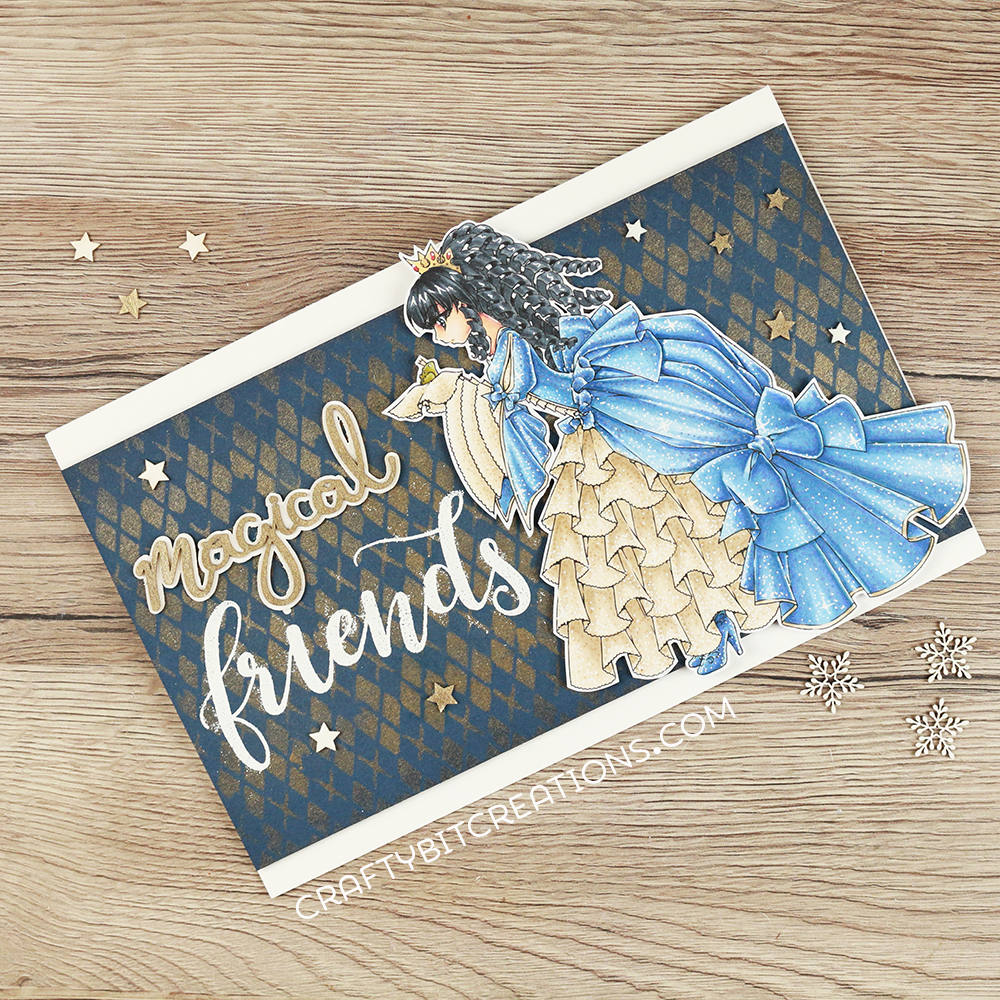
For the card I had a few things that I wanted, one was to use the layered words chipboards , another one was to give it a vintage feeling and the last one was to use Perfect Pearls. I went through my stash of stencils and found the Argyle one, it’s super easy to line up to fill up a wider surface and it got the feeling I wanted. I went trough my Perfect Pearls (they arn’t that many but I’ll be adding more to my collection soon), and saw the Heirloom Gold and just saw how perfect it would be! You can see the full process below or watch it in HD HERE.

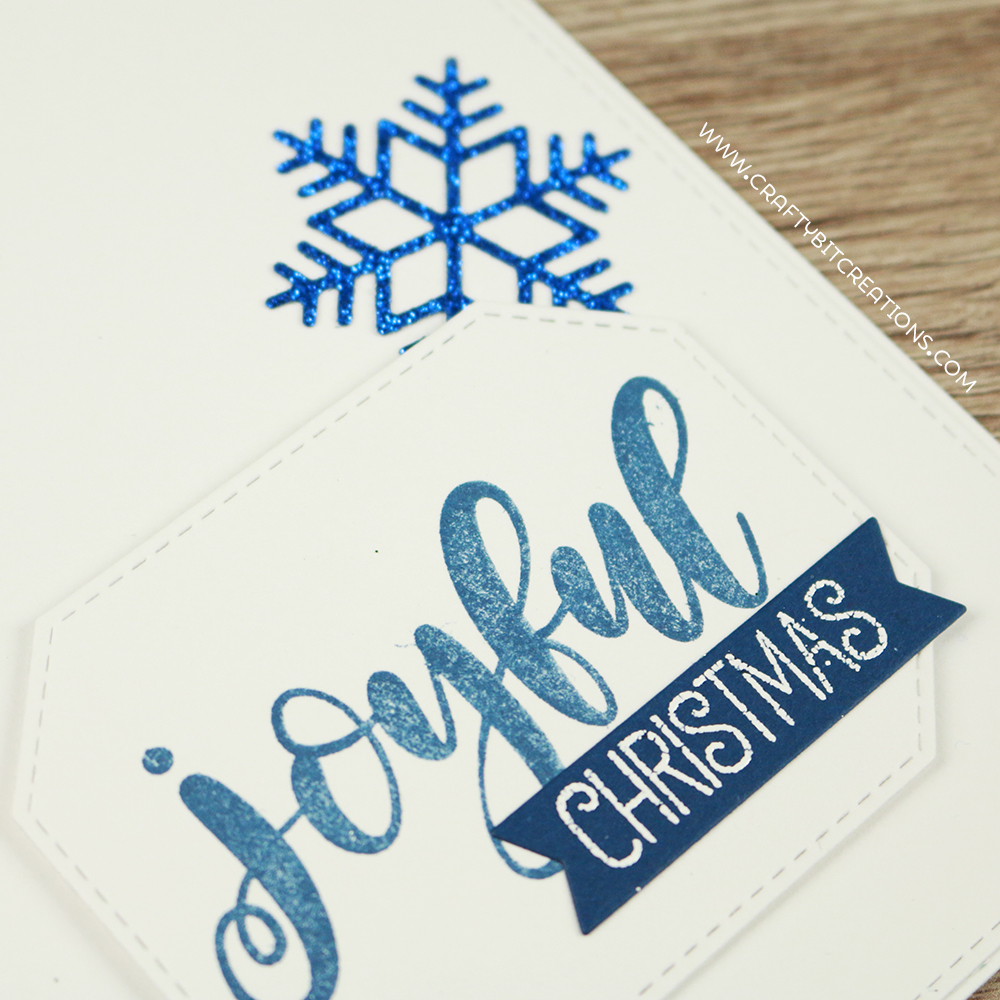
I blended Versamark in over the stencil onto some Simon Says Stamp Soft Navy Cardstock and the brushed the Perfect Pearls over it. I den used a Mini Mister to mist water over the cardstock to set the Perfect Pearls. I finished of the background part by blending some Chipped Sapphire on the edges on the navy cardstock.

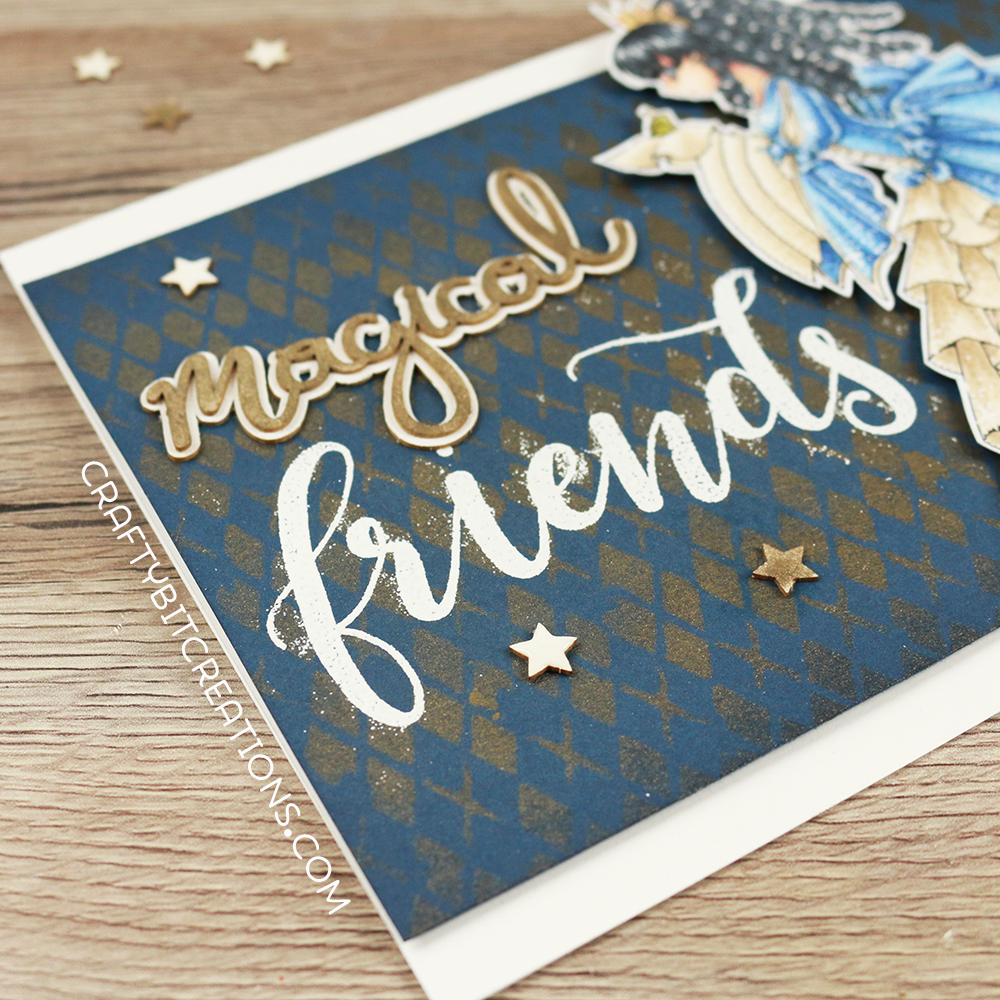
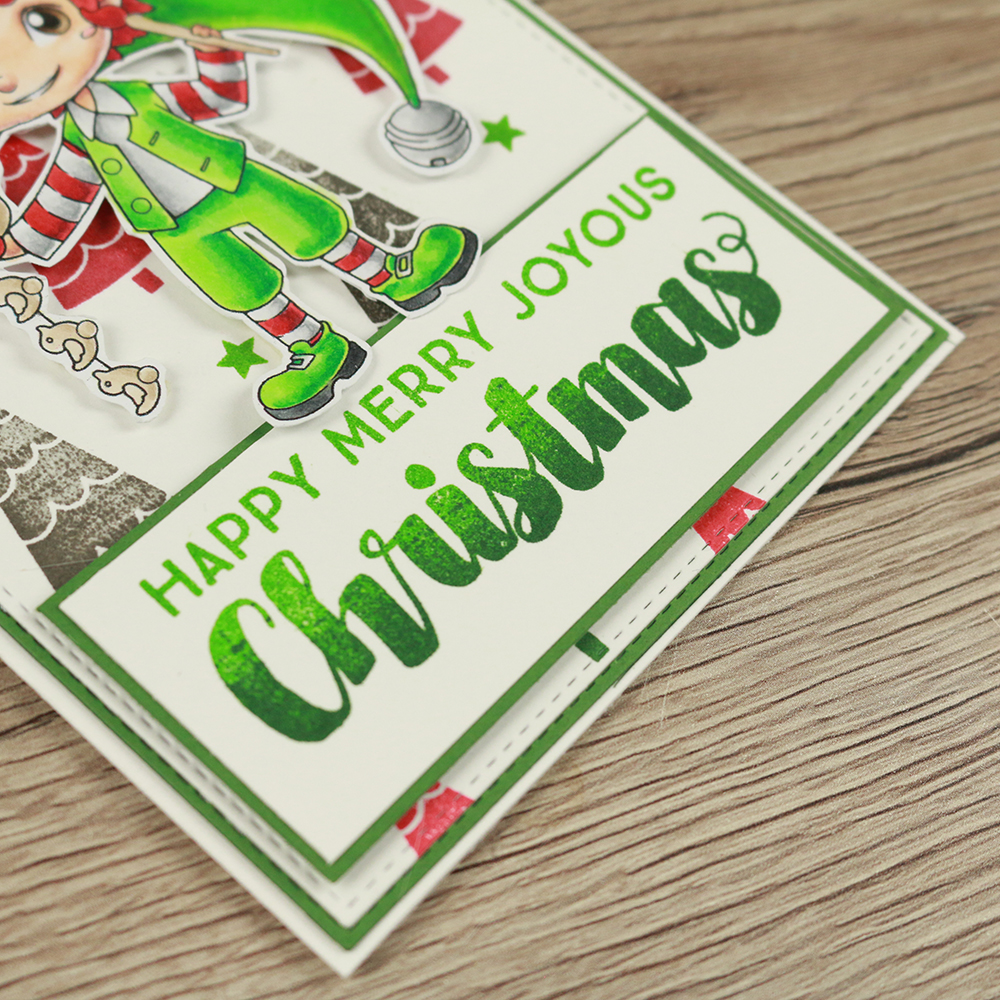
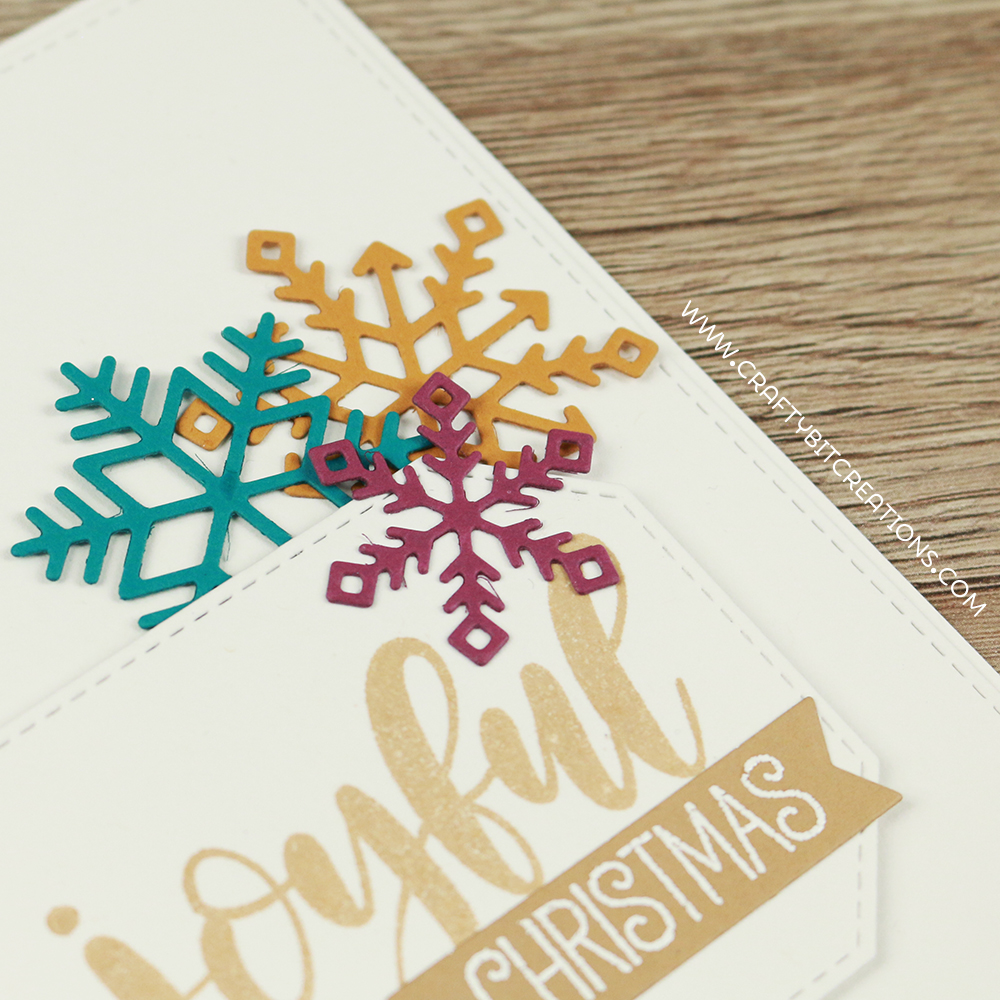
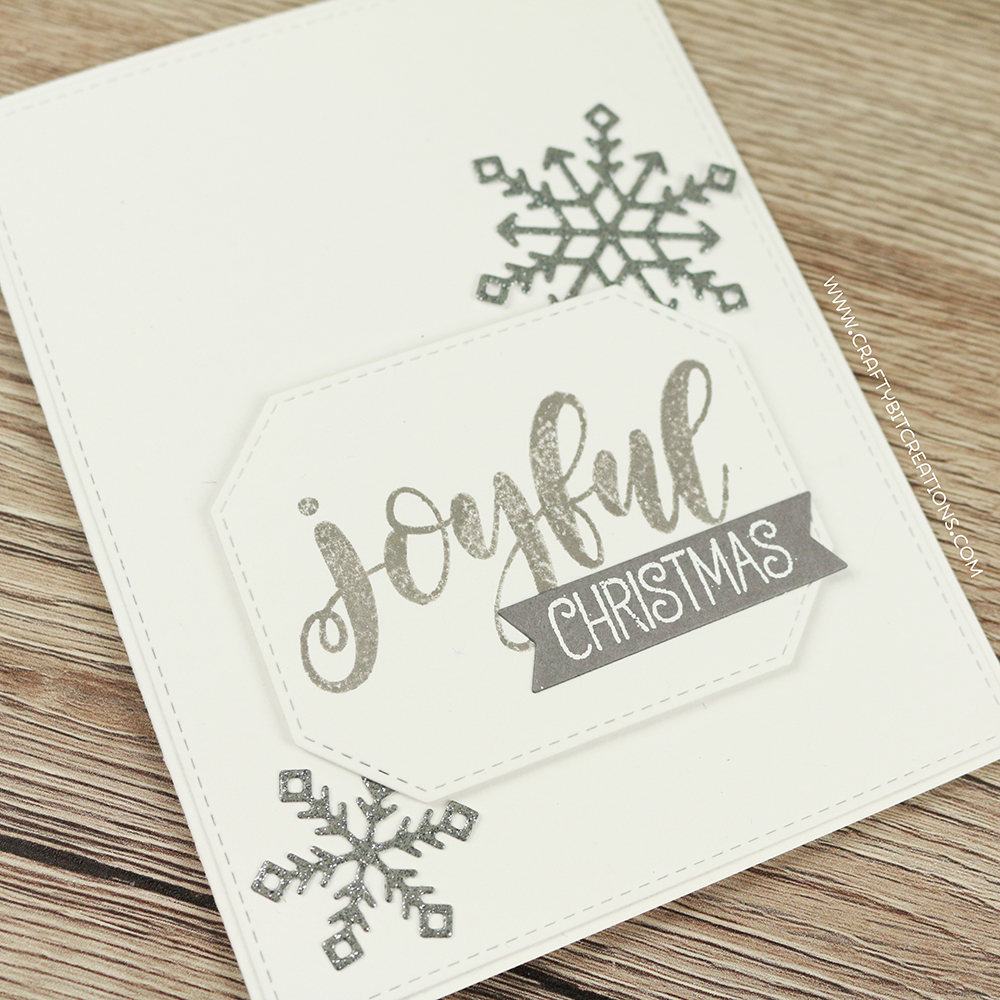
For the sentiment I used the Magical Layered Word, I coloured the bottom part with some white gesso and used the Perfect Pearls on the top part. To finish the sentiment I heat embossed the word Friends from the Create A Smile Stamps set called Friends Like You, with some Hero Arts Fine White Embossing Powder. To finish the card I added some Tinklings, half of them was coloured with the Perfect Pearls and the other half was coated with Nuvo Gloss Simply White.

I also want to thank you all for being with me through the years and wish you a happy new year, I will be back in the new year with loads of fun creations.

Copic:
B21, B45, B66, B97
E50, E41, E42, E43
YG93, YG95, YG97
Y23, R24
B63, C6, C8, C10, 100
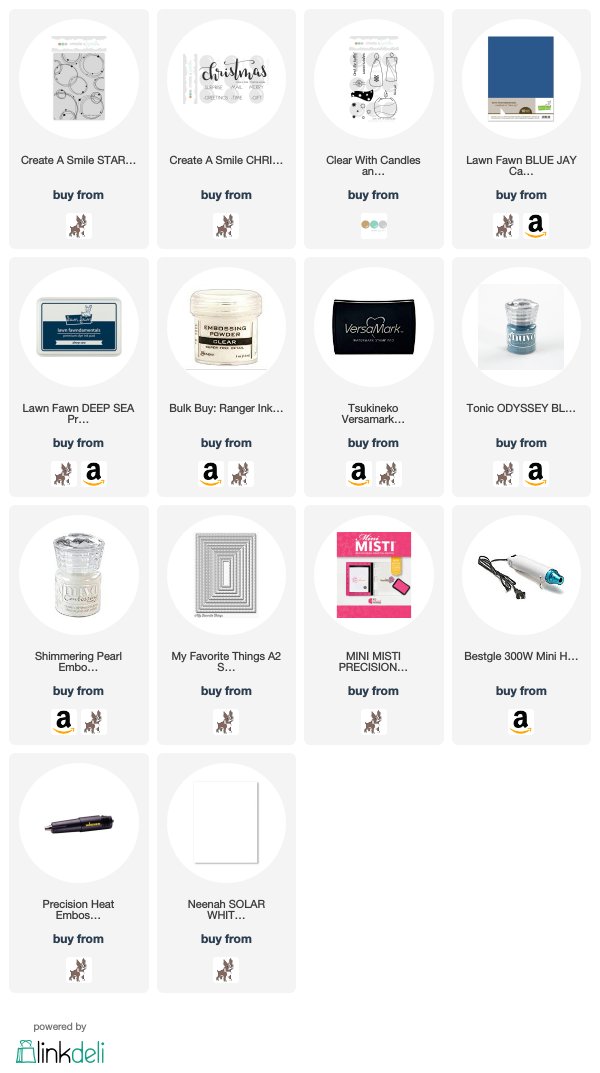
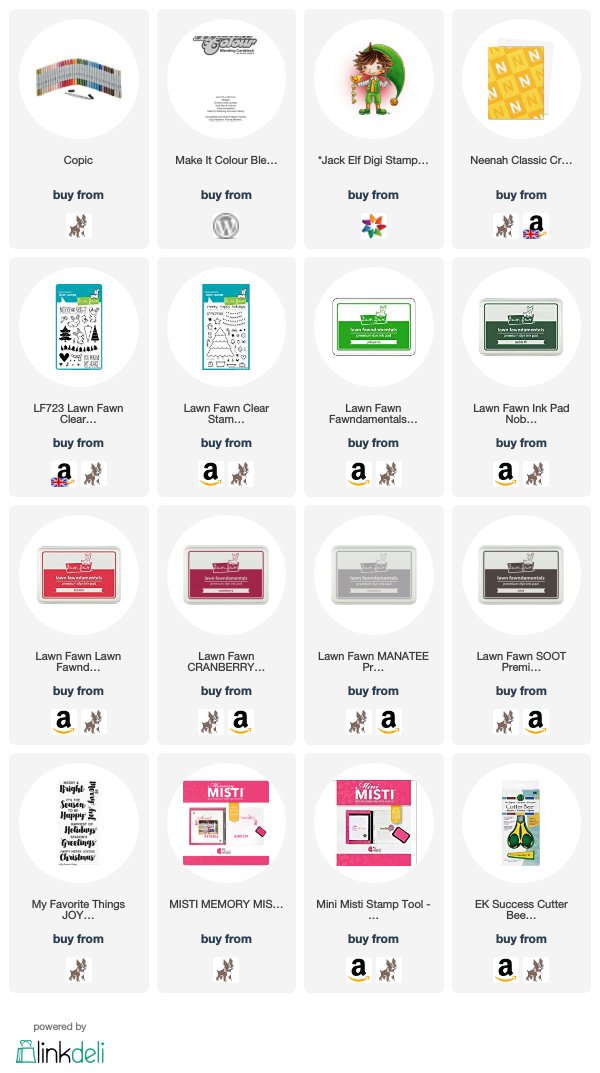
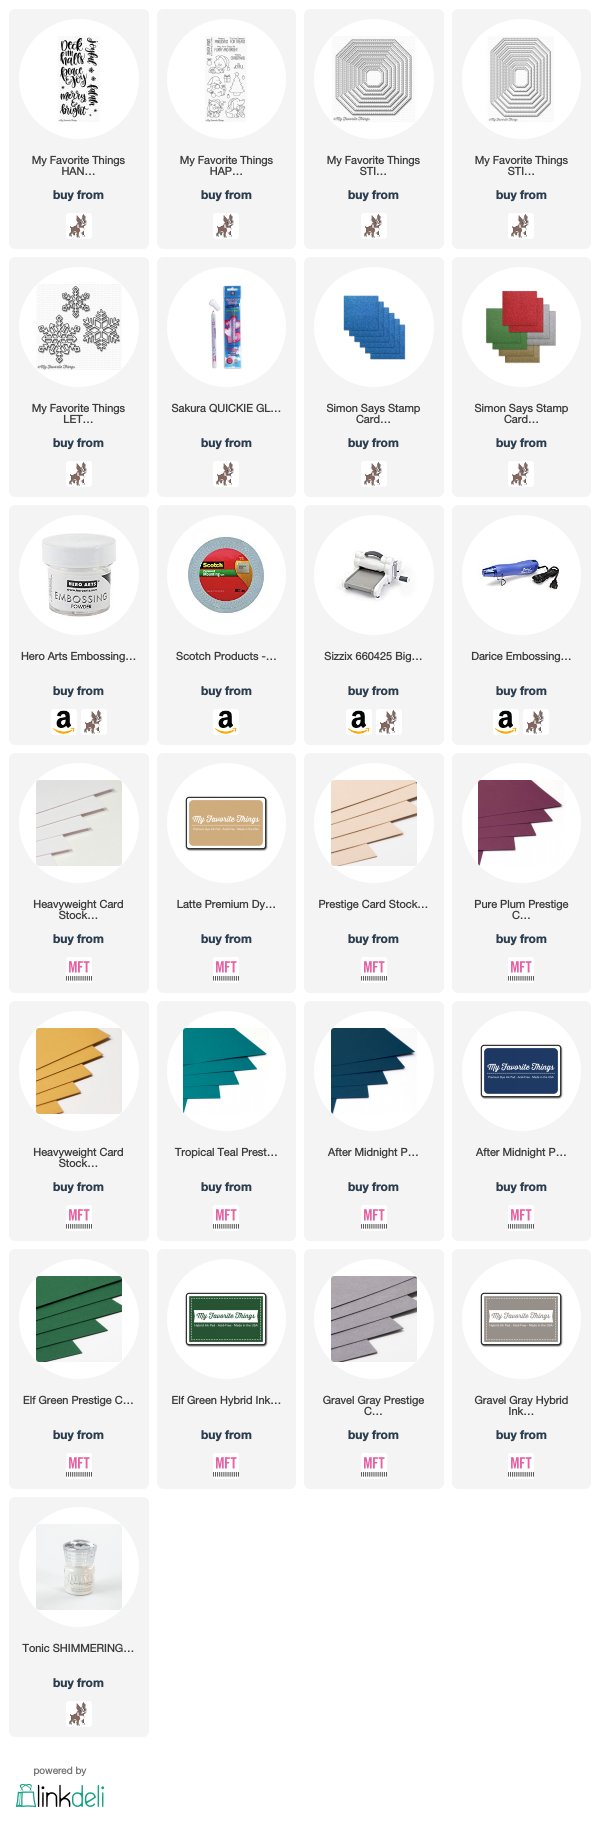
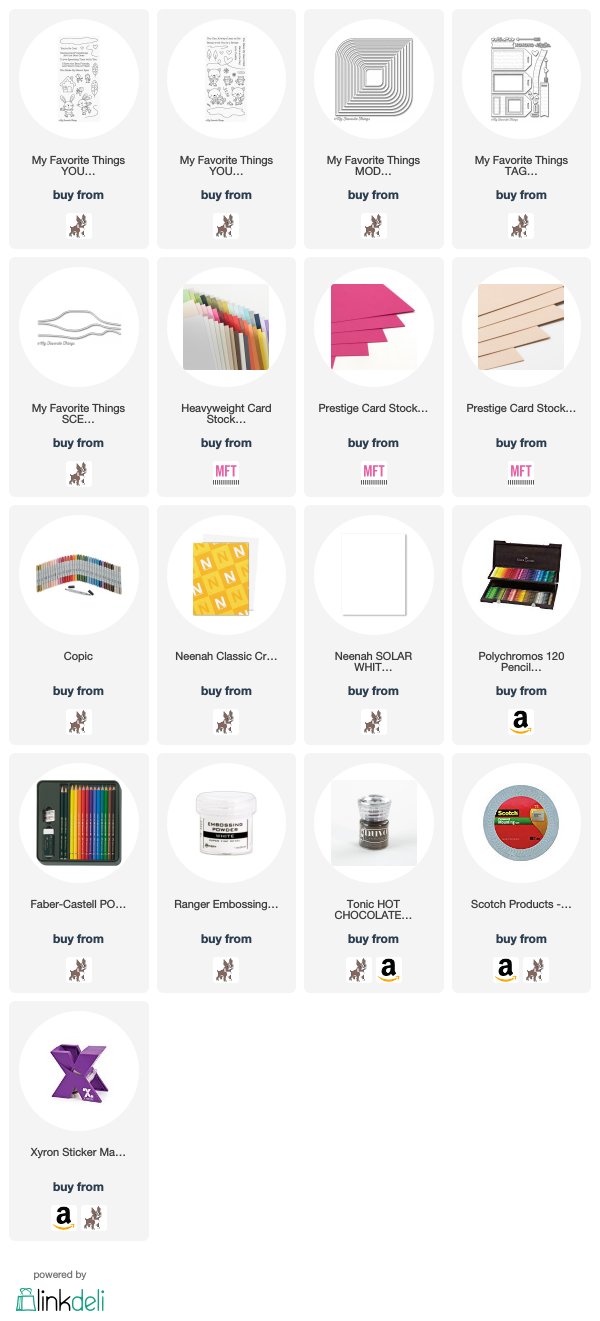
Supplies:

When possible affiliate links are used, this means that I receive a small commission when products are purchased through the links (at no extra cost to you) I use the money to support my blog and youtube channel. If you like my projects and tutorial please consider supporting me by clicking through these links when you shop. Thanks!

https://linkdeli.com/widget.js?1549439153802
Videos

Heat Embossing Background Technique

Hi Everyone and Merry Christmas!

This close to Christmas (we are celebrating it tomorrow, the 24th, here in Sweden), I wanted to make a quick and simple card tutorial. I’ve been wanting to use this great background stamp from Create A Smile for a long time and as this is my monthly post for them I thought it would be a great opportunity.

For the main part of the background I’m using the Stars n’ Scribbles Background stamp, I’m heat embossing it twice, first with Lawn Fawn Deep Sea Ink and Ranger Clear embossing powder and then with Versamark Ink and Nuvo Blue Odyssey embossing powder. I did however feel it needed some more stars, so I broke out the With Candles and Glitter stamp set and used a couple of stars, stamping them in Versamark Ink and using Nuvo Shimmering Pear Glitter embossing powder. To finish the background part of the card I went over with some Chipped Sapphire Distress Ink over the edges to build up some dimension. However if you want this card to be very fast I recommend doing that after you heat embossed the sentiment.

For the sentiment I used the Christmas Surprise stamp set, stamped it in Versamark Ink and heat embossed it with Hero Arts Fine White embossing powder. I recommend using a stamp tool like the Mini Misti for big bold sentiments and stamp them a couple of times to get a good coverage with your embossing powder.

I finished off the card by diecutting it with a My Favourite Things Stitched Rectangle die and then mount it with foam tape onto a white cardbase I made out of some Neenah White 80lb cardstock.

This is my last card before Christmas but I’ll be back a little bit closer to New Years to finish of the year. So I wish you all a Merry Christmas and Happy Holidays!

Supplies:

When possible affiliate links are used, this means that I receive a small commission when products are purchased through the links (at no extra cost to you) I use the money to support my blog and youtube channel. If you like my projects and tutorial please consider supporting me by clicking through these links when you shop. Thanks!

https://linkdeli.com/widget.js?1549439153802


https://linkdeli.com/widget.js?1513841347072

Videos

Now & Then with Jack the Elf | Stamping your own pattern paper

Hi Everyone!

I’ve been posting my creations online since 2009, one of the great things about this is that I can go back and look at old cards and see how much I have evolved as a creator and colourist. Sometimes when I go back I feel that it would be fun to remake the card and really see how much I have evolved and today I have such a card.

[All supplies used are linked at the bottom, affiliate links are used where possible at no cost to you, you can watch the video in HD on youtube HERE]

I chose to remake this specific card for two reasons. The first on is that I never really loved how I coloured the face on Jack, and as time has gone by I get a little more cringed everytime I see it. The other reason was that I wanted to show how you could use your stamps to recreate a pattern paper that is no longer sold.

As you can see on the face, what I really have done is to change the way I work with shadows. In the first card I’m using a darker skin tone for all my shadows and then blend from that, while in the second card the shadows around the nose and cheeks are defined with the mid tones making them softer and rounder. I also reduced the colour scheme, removing the yellow as i didn’t have that colour in the background, instead replacing it with a neutral color. By the way, Simon Says Stamp has 25% off on copics right now if you need a last minute christmas gift to yourself, use code COPICSALE.

When putting the card together I’ve used a tree from the Snow Day stampset by Lawn Fawn. It’s an older set that came out at the same time as the pattern paper I used for the first card but it is still available to purchase. The star is from the Trim the Tree stampset also by Lawn Fawn. I double stamped all the trees and the sentiment in two different inks per color to give the illusion of a gradient. For the sentiment and the green trees I used Jalapeño and Nobel Fir, for the red trees I used Lobster and Cranberry and for the grey trees I used Manatee and Soot, all the inks by Lawn Fawn. You can use any dye ink for this technique, I just happen to really like the Lawn Fawn inks and there for have a bunch of them at home.

I really love how the sentiment came out using that same technique. For all other supplies tho I have links below. Also I have an extra video today incase you want to see my colouring in real-time, it is voiced over and contains a lot of tips and tricks, among them how to get good results when colouring red. You can watch the video in HD on youtube HERE.

Copics:
Skin: E000, E00, E21, E11, E04
Green: YG05, YG07, YG09, YG17, G19
Red: R24, R27, R46, R59
Browns: E40, E41, E42, E43, E44, E47, E49
Eye whites and teeth: B61, B63
Greys & Blacks: N0, N2, N4, N6, N8, N10

Supplies:

When possible affiliate links are used, this means that I receive a small commission when products are purchased through the links (at no extra cost to you) I use the money to support my blog and youtube channel. If you like my projects and tutorial please consider supporting me by clicking through these links when you shop. Thanks!

https://linkdeli.com/widget.js?1549439153802
Videos

Joyful Christmas | Working with Sketches

Hi everyone!

Today my cards are based on one and the same sketch, it’s the latest sketch from the My Favorite Things Sketch Challenge, nr. 363.

[All supplies used are linked at the bottom, affiliate links are used where possible at no cost to you, you can watch the video in HD on youtube HERE]

I love sketches they are like blueprints, layouts that help you figure out where to put your elements to get a great looking card. You can rotate it and flip it, if you are doing a challenge you want the sketch to be recognisable, but if you are doing it for your self then you can really do whatever you like. I love adding little details that takes the card from good to great.

For a couple of the cards I made I have also thrown in the colors from the latest color challenge from My Favorite Things, nr 83. I really love the colors and even tho they not are the usual Christmas colors they work great anyhow.

For the other cards I used After Midnight, Elf Green and Gravel Gray Inks and Cardstock for the center pieces and matching glitter cardstock for the snowflakes.

The card with the Elf Green details also got a different sentiment, which I heat embossed with Nuvo Shimmering Pearl Glitter Embossing Powder and I stamped it onto a stitched tag-corner square piece of cardstock. And even though the center piece is square it still fits with the sketch.


Supplies:

When possible affiliate links are used, this means that I receive a small commission when products are purchased through the links (at no extra cost to you) I use the money to support my blog and youtube channel. If you like my projects and tutorial please consider supporting me by clicking through these links when you shop. Thanks!

https://linkdeli.com/widget.js?1549439153802
Uncategorized

My Favorite Things Color Challenge #82 and Sketch Challenge #362

Hi Everyone!

Challenges are my comfortzone, it was where I started making cards and it is there, among other places, I gather my inspiration. I have lately enhanced my stash with some wonderful things and I also have some that have become a little bit neglected. So I put a real challenge to myself. I was going to, in one card do both My Favorite Things Challenges, I would also use some products from my latest shopping spree over at mftstamps.com and I would use some of the older products in my stash. Below you can see the sketch and colour combo from Sketch Challenge #362 and Color Challenge #82.

I happen to have the Sampler Packs for the MFT Colored Cardstock but haven’t used them that much, I do love the cardstock but lately I’ve been mostly made water colored backgrounds and all my cardstock that wasn’t white has sort of just been sitting there, so for my older products I chosed my cardstock and decided that my challenge there was that I would use all the colors that was in the color challenge.

I followed the sketch but took some artistic freedoms, I put the sentiments a little wonky and chosed to use the square mod stitched dies instead of circular dies. The characters are colored with Copics and Polychromos onto Neenah Cardstock, which I love using when I combine pencils and copics.

I made mini scenes in the little mod squared. The top one has snowflakes and supposed to look like it’s snowing. The bottom one I used the greenish paper together with some Scenic Safari Dies and a white gel pen to make t look like there was a little bit of snow on some green hills.

Thank you for visiting!

Supplies:

When possible affiliate links are used, this means that I receive a small commission when products are purchased through the links (at no extra cost to you) I use the money to support my blog and youtube channel. If you like my projects and tutorial please consider supporting me by clicking through these links when you shop. Thanks!

https://linkdeli.com/widget.js?1549439153802
Uncategorized

Bauble Fairy – Glitter Effect Tutorial

Hi Everyone!

Make It Crafty has a new colouring challenge out and its glitter! And this time around I thought I would do a proper tutorial on how to colour glitter effects with copic markers and the help of a white gel pen. I’m not good at written tutorials so I hope you like videos. I created a little bauble pdf so that you can colour along with me. You can get it free here: Baubles

I also wanted a real-life application of the tutorial so made a cute little card with Bauble Fairy Reflection and a chipboard piece. Didn’t take into account the size of the chipboard when printing the image so was surprised when the fit was perfect. I left the chipboard al natural as I felt it fitted better with the colouring.

And to finish off here are the videos, I love to hear from you about what you think about the blog and the videos! Have fun!

Copic:
E000, E00, E21, E11, E04
YG01, YG05, YG09, G18
YG09, G19, G28
YG21, YG01, BG10, B000
R24, R27, R46, E43, E44
W0, W2, W4

Supplies:

When possible affiliate links are used, this means that I receive a small commission when products are purchased through the links (at no extra cost to you) I use the money to support my blog and youtube channel. If you like my projects and tutorial please consider supporting me by clicking through these links when you shop. Thanks!

https://linkdeli.com/widget.js?1549439153802