
Hi Everyone!
I’ve been posting my creations online since 2009, one of the great things about this is that I can go back and look at old cards and see how much I have evolved as a creator and colourist. Sometimes when I go back I feel that it would be fun to remake the card and really see how much I have evolved and today I have such a card.
[All supplies used are linked at the bottom, affiliate links are used where possible at no cost to you, you can watch the video in HD on youtube HERE]
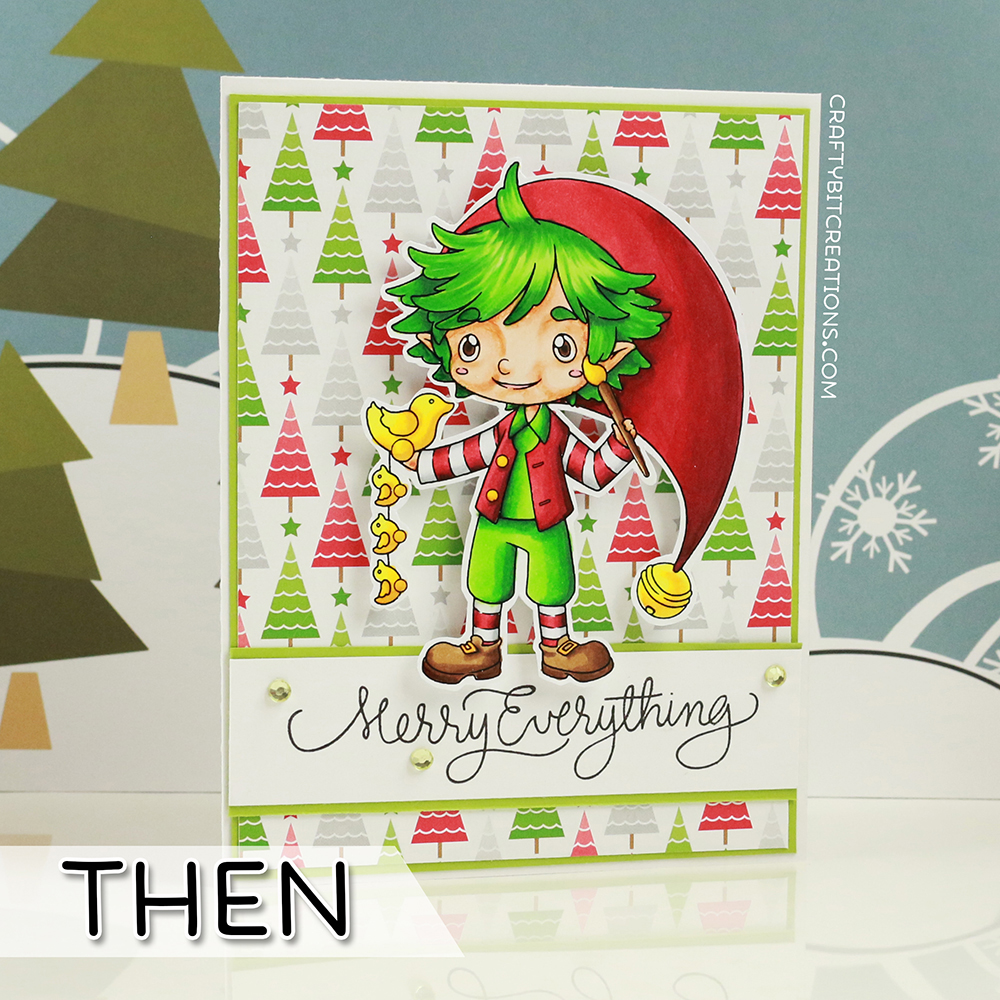
I chose to remake this specific card for two reasons. The first on is that I never really loved how I coloured the face on Jack, and as time has gone by I get a little more cringed everytime I see it. The other reason was that I wanted to show how you could use your stamps to recreate a pattern paper that is no longer sold.
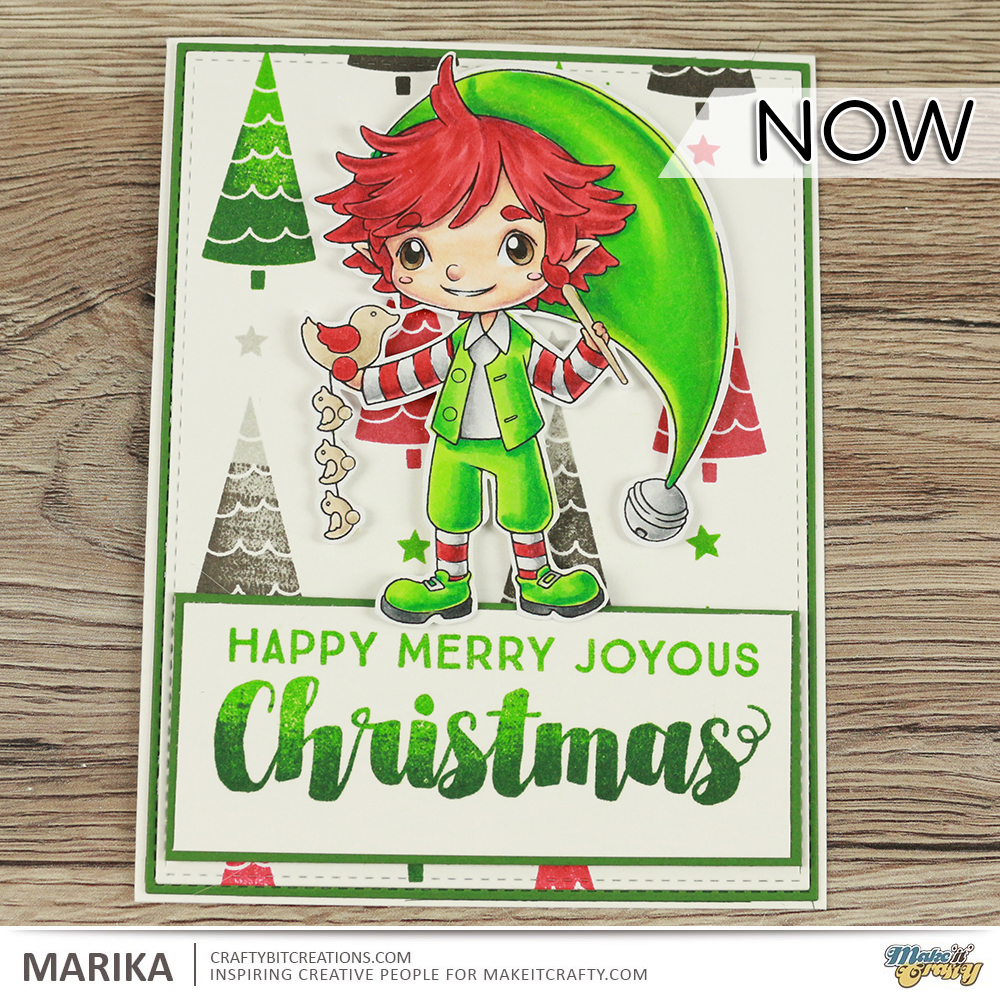
As you can see on the face, what I really have done is to change the way I work with shadows. In the first card I’m using a darker skin tone for all my shadows and then blend from that, while in the second card the shadows around the nose and cheeks are defined with the mid tones making them softer and rounder. I also reduced the colour scheme, removing the yellow as i didn’t have that colour in the background, instead replacing it with a neutral color. By the way, Simon Says Stamp has 25% off on copics right now if you need a last minute christmas gift to yourself, use code COPICSALE.
When putting the card together I’ve used a tree from the Snow Day stampset by Lawn Fawn. It’s an older set that came out at the same time as the pattern paper I used for the first card but it is still available to purchase. The star is from the Trim the Tree stampset also by Lawn Fawn. I double stamped all the trees and the sentiment in two different inks per color to give the illusion of a gradient. For the sentiment and the green trees I used Jalapeño and Nobel Fir, for the red trees I used Lobster and Cranberry and for the grey trees I used Manatee and Soot, all the inks by Lawn Fawn. You can use any dye ink for this technique, I just happen to really like the Lawn Fawn inks and there for have a bunch of them at home.
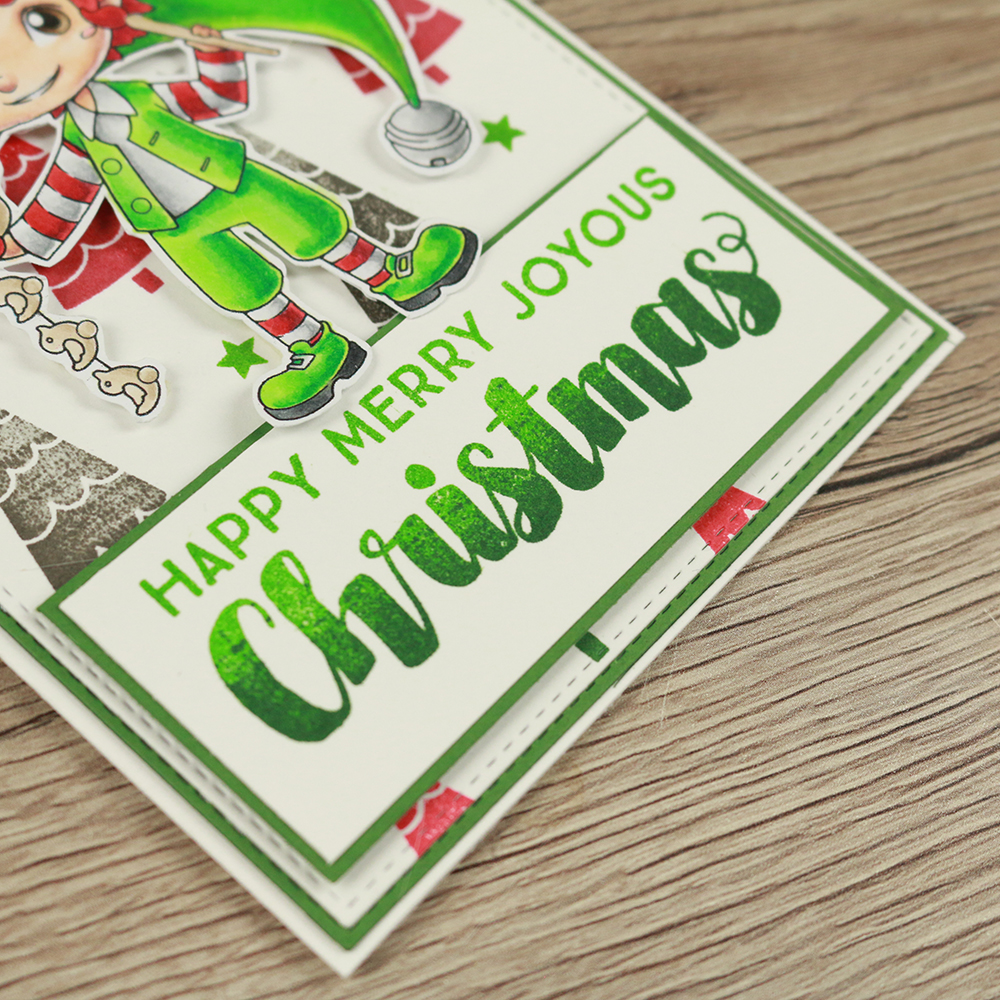
I really love how the sentiment came out using that same technique. For all other supplies tho I have links below. Also I have an extra video today incase you want to see my colouring in real-time, it is voiced over and contains a lot of tips and tricks, among them how to get good results when colouring red. You can watch the video in HD on youtube HERE.
Copics:
Skin: E000, E00, E21, E11, E04
Green: YG05, YG07, YG09, YG17, G19
Red: R24, R27, R46, R59
Browns: E40, E41, E42, E43, E44, E47, E49
Eye whites and teeth: B61, B63
Greys & Blacks: N0, N2, N4, N6, N8, N10
Supplies:
When possible affiliate links are used, this means that I receive a small commission when products are purchased through the links (at no extra cost to you) I use the money to support my blog and youtube channel. If you like my projects and tutorial please consider supporting me by clicking through these links when you shop. Thanks!
 https://linkdeli.com/widget.js?1549439153802
