top image for blog showing part of love splash card
Uncategorized

Love You More | Clean & Simple with Smootching

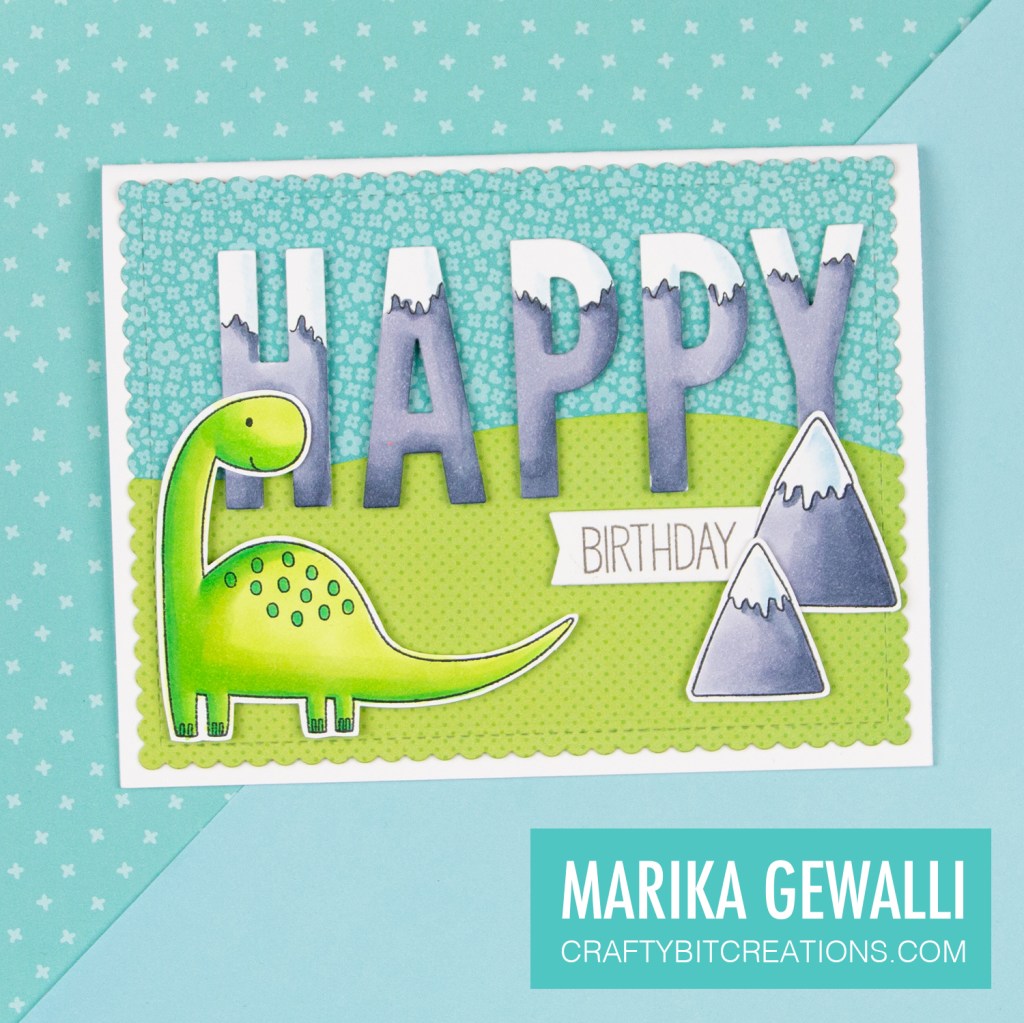
Hi! I’m back with the last card in the series of my Alphabet Die cards. I wanted to make one with one of my favourite techniques, smootching. It’s super simple, you make a small puddle of ink and water and then you kiss a water colour card stock piece to the puddle. You get different result depending on the amount of water vs ink and also the amount of liquid in total. I usually do four to five layers making sure to dry the card stock in between.

Full image of splash love card

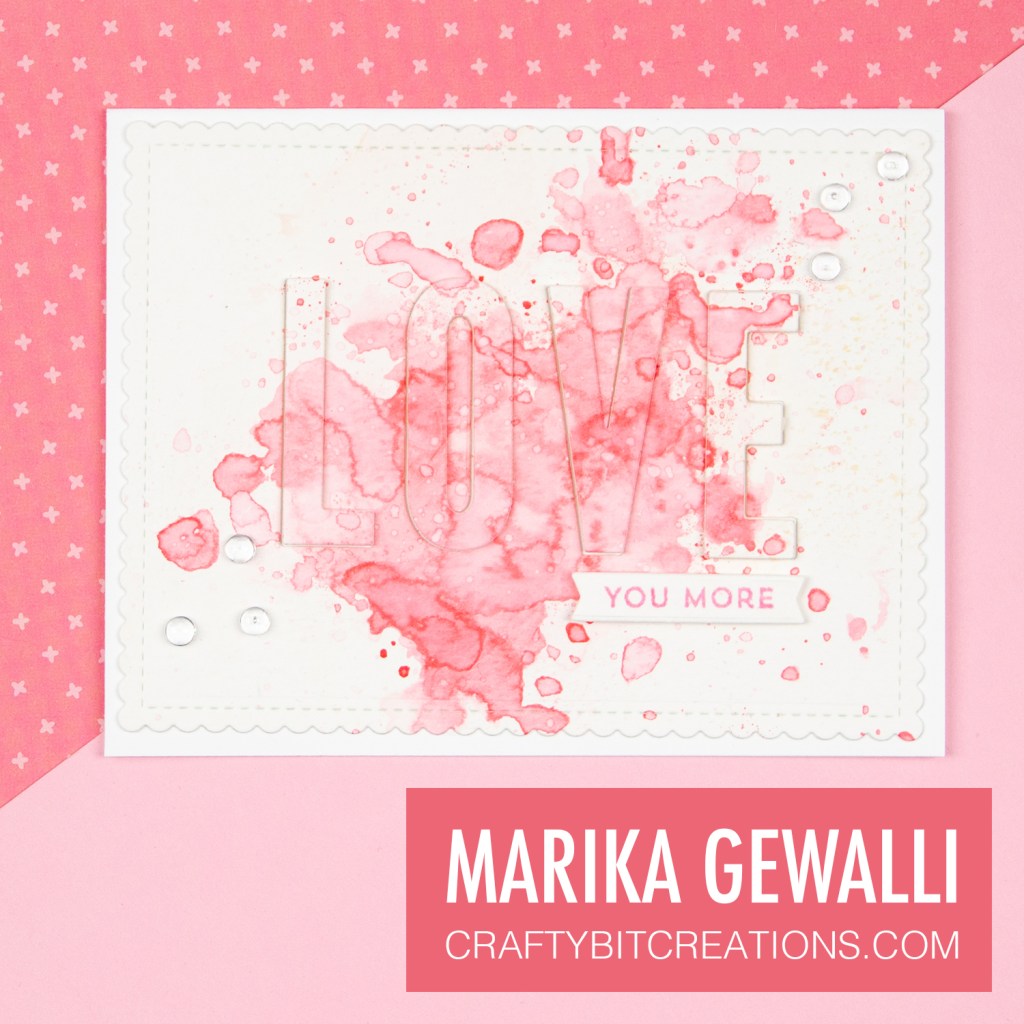
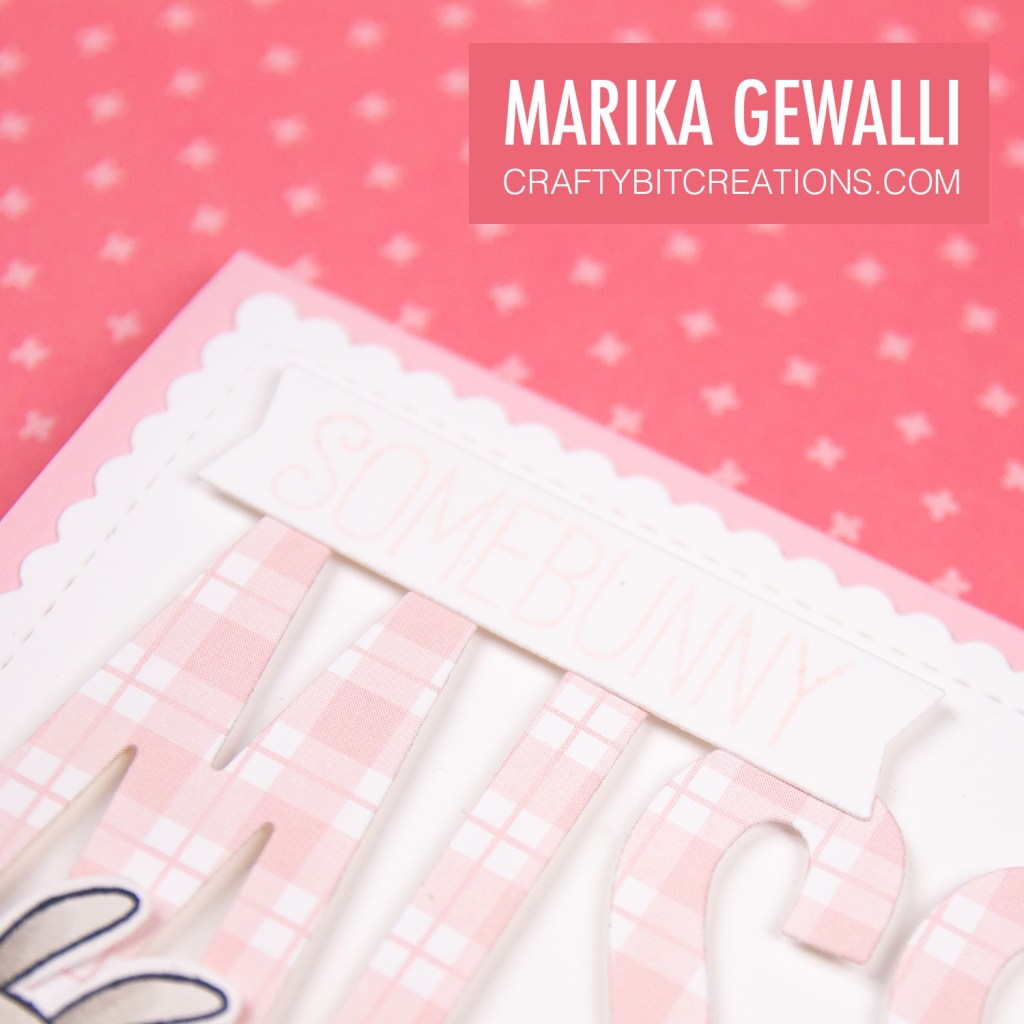
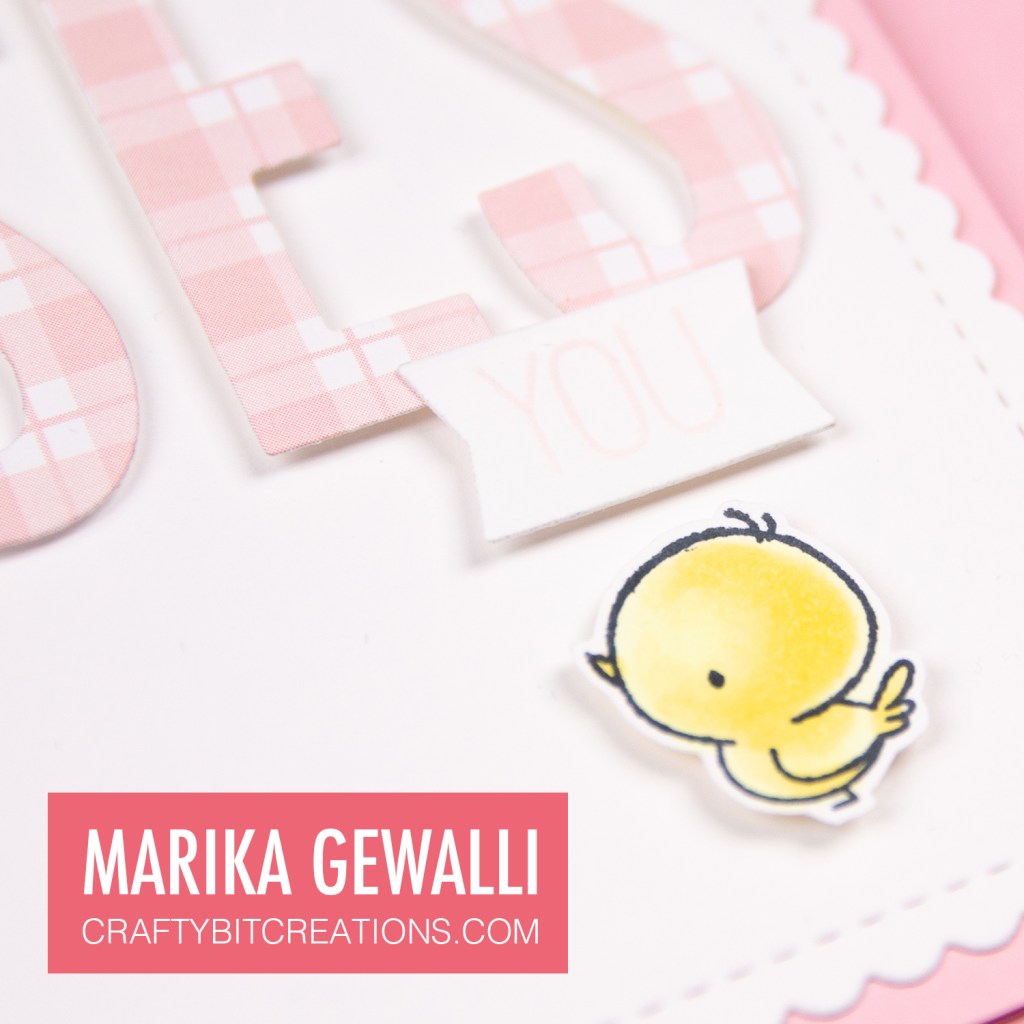
For the layout I paired mine with the My Favorite Things Sketch Challange. Turning the sketch on it’s end and replacing the oval with my little smootch. For the smooch itself I used Spun Sugar and Worn Lipstick in both Distress Inks and Distress Oxide inks. Makeing sure to use the dye ink on the bottom layers and the oxide inks on the sop layers. I cut out the panel with the Blueprints 27 dies and then cut out the letters in love with the Impact Alphabet Dies.

Closup of sentiment on splash love you card

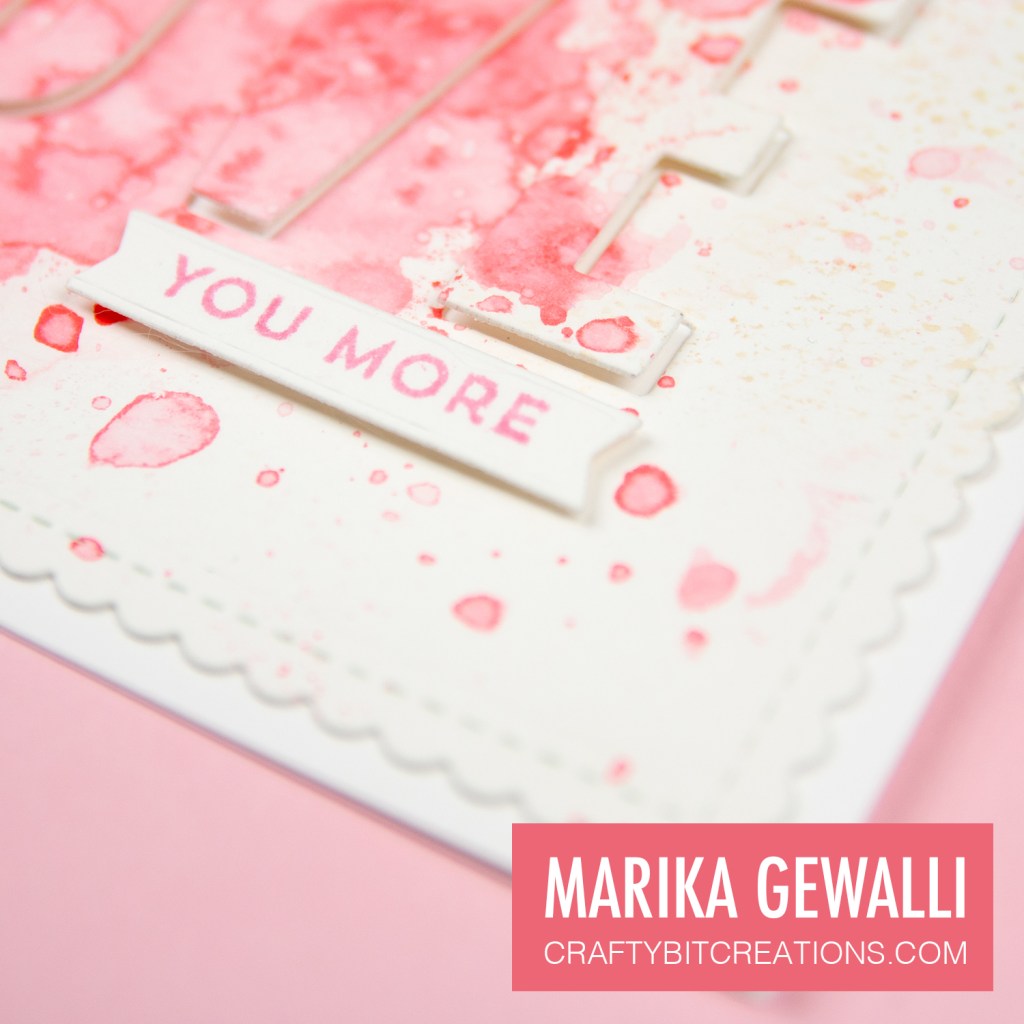
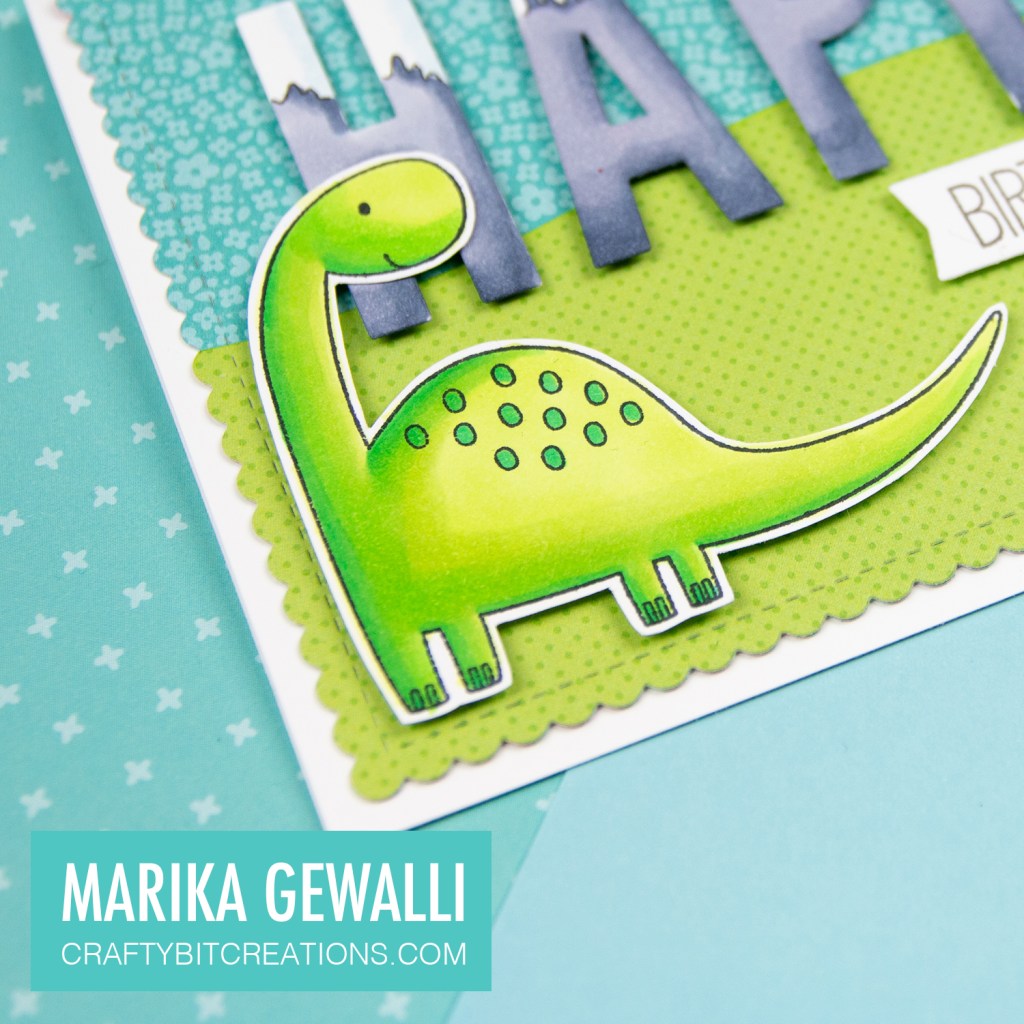
The panel and the inside of the O was glued directly on my card base, while the letters was put on with foam tape to give them that slight dimension. To finish the sentiment off I use the the Love You More stamp from Bitty Hugs and Kisses which I stamped in Cotton Candy Ink. I used my Mini Misti to stamp with so I could double stamp, as I knew it could be hard to get a good impression due to the texture in the water colour card stock. I then used the thinner flag die from the Blueprints 27 to cut it out.

Closup of bubble sequins on splash love you card

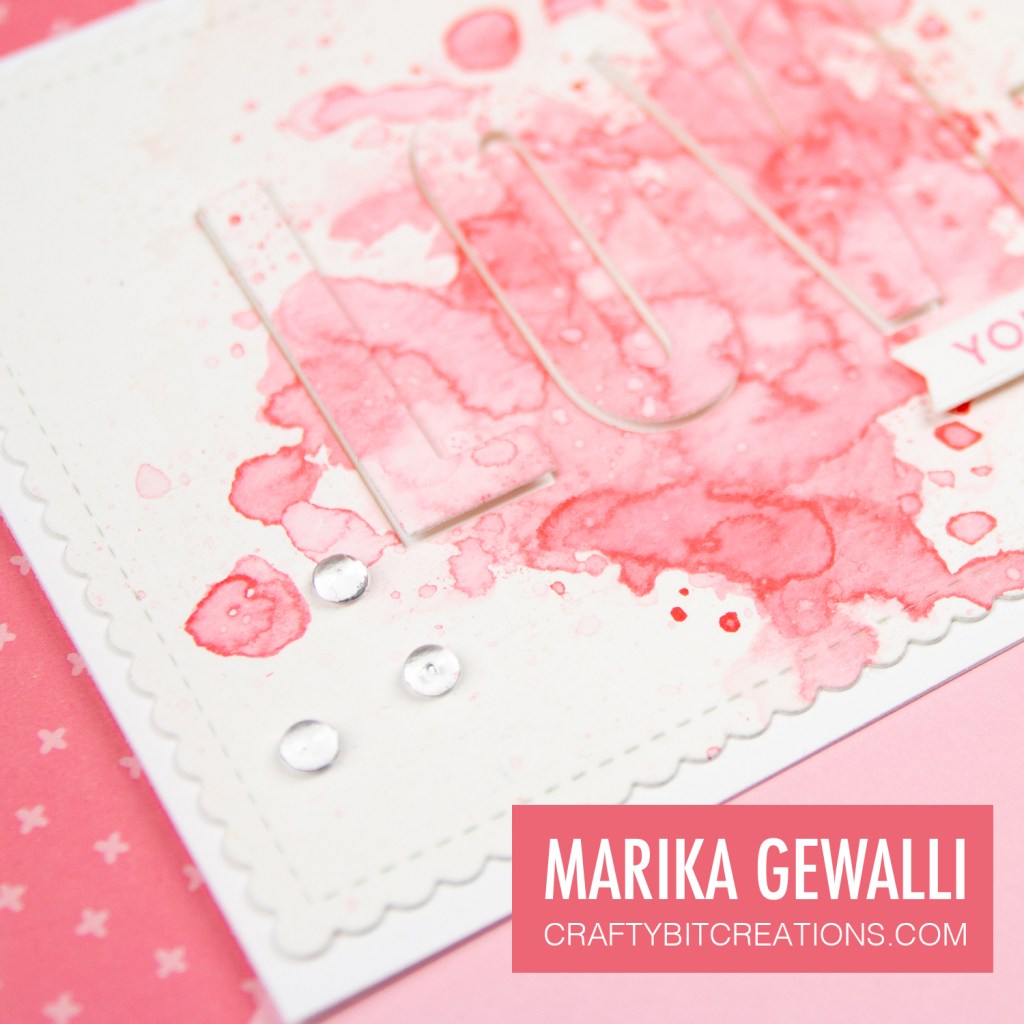
To finish the card off and follow the sketch, I added some drop sequins and the card was finished. Thank you for coming to blog, hope you enjoyed it and want to be back.
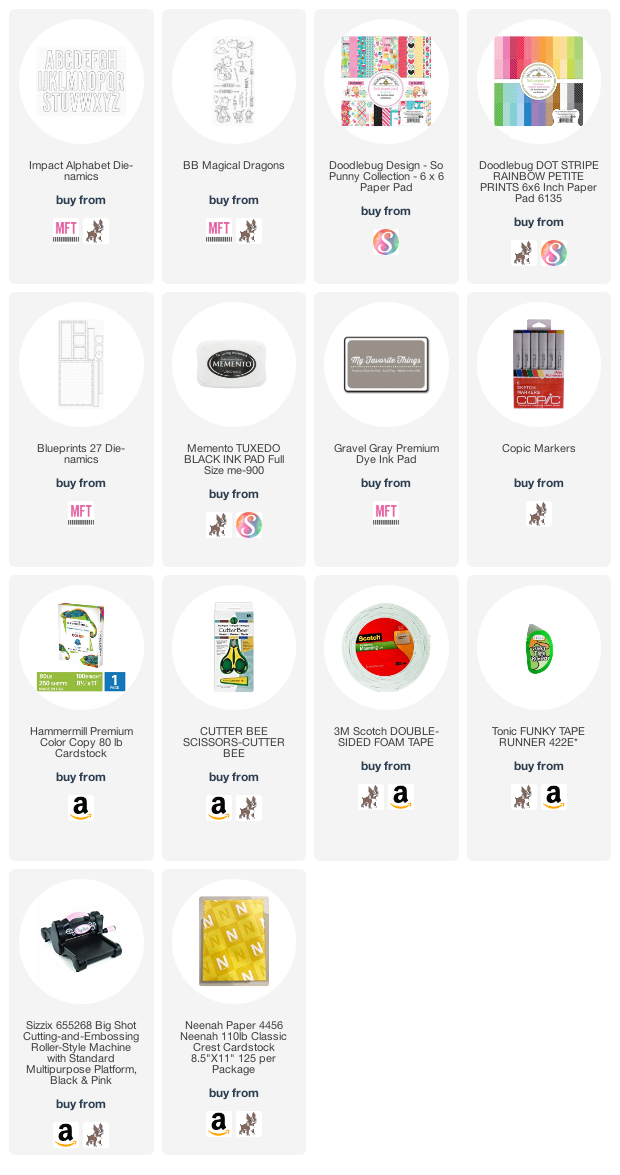
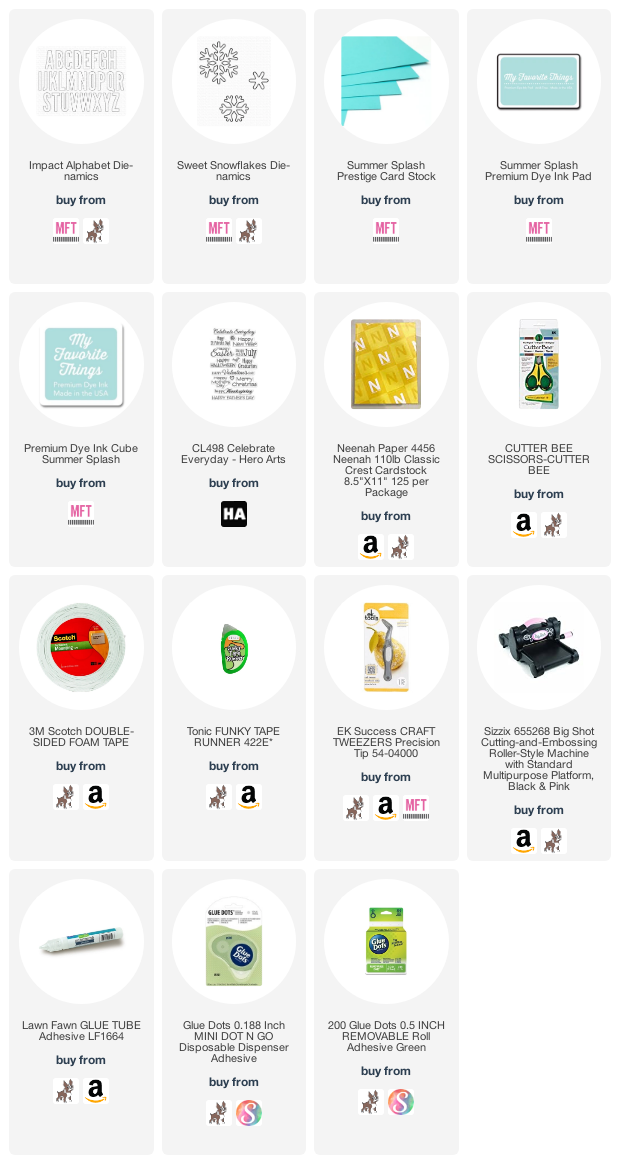
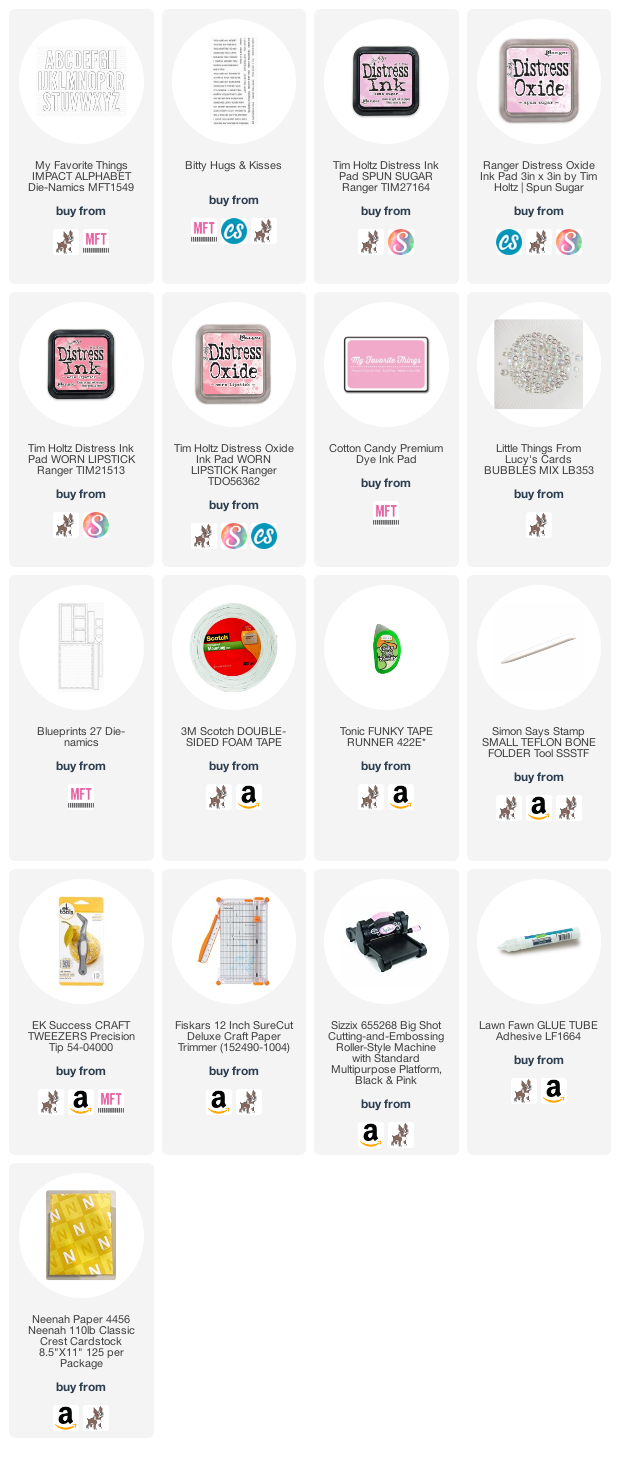
Supplies:

When possible affiliate links are used, this means that I receive a small commission when products are purchased through the links (at no extra cost to you) I use the money to support my blog and youtube channel. If you like my projects and tutorial please consider supporting me by clicking through these links when you shop. Thanks!

https://linkdeli.com/widget.js?id=f5e8378456858c916708
Feature image of card for the header of the blog post
Uncategorized

Prehistoric Birthday | Build a Scene with Alphabet Dies

Hi! Sometimes you have the perfect stamp set for a card but it doesn’t have the perfect sentiment. Another great time to use the alphabet dies! As you can see todays card have the same layout as yesterdays card but it has a completely other feeling. Much more child friendly, or for your quirky friend like mine, with a funny joke about being prehistoric on the inside.

Full image of birthday card depicting a prehistoric scene with  a dinousaur and letters looking like mountains

I struggled a bit with this card, I sort of had an idea when I started but it just didn’t want to come together. It wasn’t until I got the idea to colour the letters as the little mountains that everything fell where they should. And I knew that I wanted it to be a little scene, with the mountains on a little hill. The stamp set that was the idea behind the card was Prehistoric Fun by My Favorite Things Stamps.

Close up of prehistoric Birthday Card showing a stamped dinosaur

I coloured the dinosaur green, I don’t know why I always colour my dinosaurs green, maybe I just want to see them that way. The mountains is in a neutral blue violet and I used the same blue violets on the letters. To finish the card I used some pattern paper from Doodlebug Designs. I love the doodlebug papers as they do the tone on tone patterns, where the pattern is more like a texture.

Close up of prehistoric Birthday Card showing letters coloured like mountains
Close up of inside if card saying you don't look a day over prehistoric

Thank you for visiting, hope you come back soon!

Copic:

YG01, YG03, YG05, YG07, YG09, G16, B19, 0, BV20, BV23, BV25

Supplies:

When possible affiliate links are used, this means that I receive a small commission when products are purchased through the links (at no extra cost to you) I use the money to support my blog and youtube channel. If you like my projects and tutorial please consider supporting me by clicking through these links when you shop. Thanks!

https://linkdeli.com/widget.js?id=f5e8378456858c916708
Closeup of Happy New Year card with alphabet dies
Uncategorized

Happy New Year | CAS with Alphabet Dies

Hi! As promised here is the video showing how I use the Impact Alphabet Dies to create a clean and simple card. This was the card that started it all. I really enjoyed playing around working with the limited supplies. Having made cards for over 12 years I have a lot of supplies. And I like many other also love playing with new stuff, so I do add to my stash regularly. Sometimes that makes me little overwhelmed, too much to choose from. So with this I decided to reduce my choices and I really like the outcome.

Clean and Simple Happy New Year Card with the Happy of the sentiment done with alphabet dies.

I ended up doing four versions of this card even though I only used two colour schemes. The video below will show how I put this together in one of the colour schemes, white and Summer Splash.

The idea started with the alphabet dies. I have seen these cards out there with these bold and big sentiments, I have done some myself, like THIS one. I wanted to do a super clean and simple one that was easy to be made in bulk, but still had enough details to be interesting. So I limited the colour scheme to white + one colour.

Clean and simple card, White base with blue as accent colour. Sentiment created with alphabet dies.

I knew I wanted to add a panel to my card base, it helps with framing. So I choose the one in the Blueprints 27 as it also have the little scalloped edge for extra detail. When layering the letters on the panel I felt it looked a little plain, so I decided to switch one of the letters to the other colour. This helped the eye to stay longer on the sentiment.

Clean and simple card, pink base with white as accent colour. Sentiment created with alphabet dies.

To finish off the sentiment I needed somewhere to stamp the New Year. So I cut a flag in white using another die from the Blueprints 27 set. I did shorten the flag, and I show you how to do this using the die in the video. I stamped the New Year stamp in coordinating ink in the flag. The only New Year stamp I had was one from a Hero Arts stamp set I had for years. When I cut it apart I accidentally cut a little too far in the A, but I didn’t mind. But for next year I’m definitely picking up another New Year stamp (or two).

Clean and simple card, white base with pink as accent colour. Sentiment created with alphabet dies.

The card was almost ready, but needed that little extra. So I created my own popup sticker by layering die cuts from the Sweet Snowflake die together, mixing the colours. I ended up making about 30 of these cards, I took my big shot with me to the living room and was watching movies while cutting out all the die cuts.

Thank you for coming to my blog. How are you liking it so far? Hugs Marika

Supplies:

When possible affiliate links are used, this means that I receive a small commission when products are purchased through the links (at no extra cost to you) I use the money to support my blog and youtube channel. If you like my projects and tutorial please consider supporting me by clicking through these links when you shop. Thanks!

https://linkdeli.com/widget.js?id=f5e8378456858c916708
Top image shows selection of card
Uncategorized

Somebunny Misses You | CAS with Alphabet Dies

Hi! Let’s start this year with a Clean and Simple card using alphabet dies. I love alphabet dies and try to collect them when I can. And in my latest order from My Favorite Things I picked up their Impact Alphabet Dies. They are these bigger capital letters that are perfect for big short sentiments. They are perfect to combine with the stamp sentiment you already have.

Shows a clean and simple card with alphabet diecuts

Todays card is a “Misses You” card. Through out the week I will show how you can use the Impact Alphabet Dies for many other kinds of cards. I will also share a video showing how I put together a similar card but with another sentiment.

But back to todays card. The card is inspired by the BB Somebunny stamp set by My Favorite Things. I was looking through my stamp sets to find sentiments where I could capitalise a part of it. Where the word where shorter than 7 letters. I was super happy when I found the “Somebunny Misses You” sentiment. And the idea and colour scheme came together.

I just recently also picked up the October Card Kit. It was winter/Christmas inspired and contained the Gift Wrap 6 x 6 paper pad. I really liked the Tickled Pink coloured paper. It also came with a coordinating sheet of card stock in the kit. I wanted to use the pattern paper as the letters. But holding the paper over the coordinating card stock, I felt it blended in too much. So I decided to use the coordinating card stock for the base of the card. And to add a panel from some Neenah Solar White card stock. Which I cut out with the scalloped panel die from the Blueprint 27 Dies.

Closeup of the sentiment on the card

To finish off the sentiment I used on of the flag dies, that also came with the Blueprint 27 dies, and cut out two flags also in Neenah and stamped Somebunny and You on them. As the SOMEBUNNY was capitalised I wanted the YOU also to be capitalised. After some digging I found a capitalised YOU in the same font on the BB Birthday Chicks. I stamped them on the flags with the coordinating ink (i didn’t have the dye ink but I did have the hybrid on). If I redid this card I would either use the Misti to stamp the sentiments so that I could double or triple stamp them. Or I would use the coordinating card stock for the flags and heat emboss the sentiment in white.

Shows a closeup of the colored bunny

When I had finished the sentiment all I had left was the characters. I picked both stamps from the Somebunny stamp set, the chick I colored in a light yellow. For the bunny I decided to do some paper piecing to give the dress the same pattern as the big sentiment, and then color the rest of the bunny in some greys.

Shows closeup of the chick on the card

Then I put the card together, using my tape runner to glue the the panel to the card base and then added the sentiment and characters with some foam tape to give them a natural shadow that makes them pop a little from the panel.

Thank you for coming to my blog. Hope you liked this card! See you soon!

Supplies:

When possible affiliate links are used, this means that I receive a small commission when products are purchased through the links (at no extra cost to you) I use the money to support my blog and youtube channel. If you like my projects and tutorial please consider supporting me by clicking through these links when you shop. Thanks!

https://linkdeli.com/widget.js?id=f5e8378456858c916708