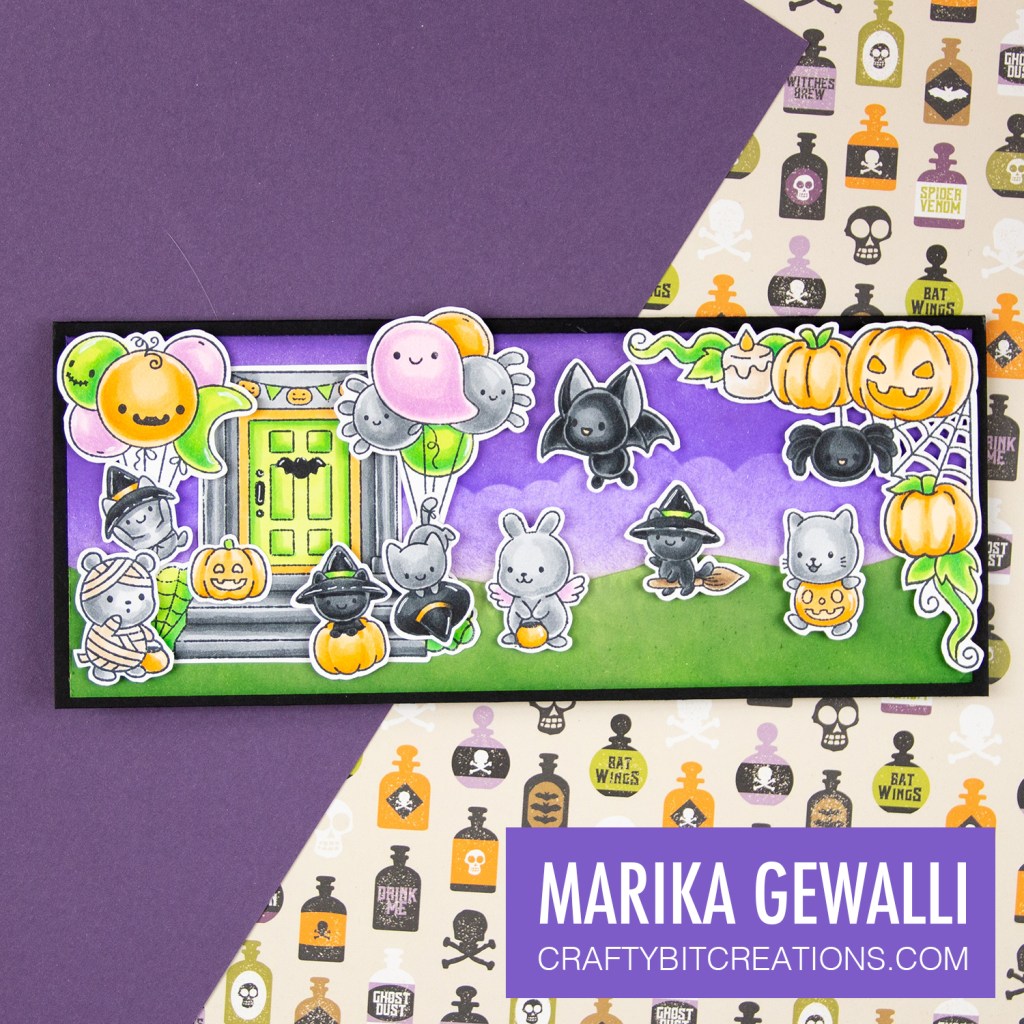
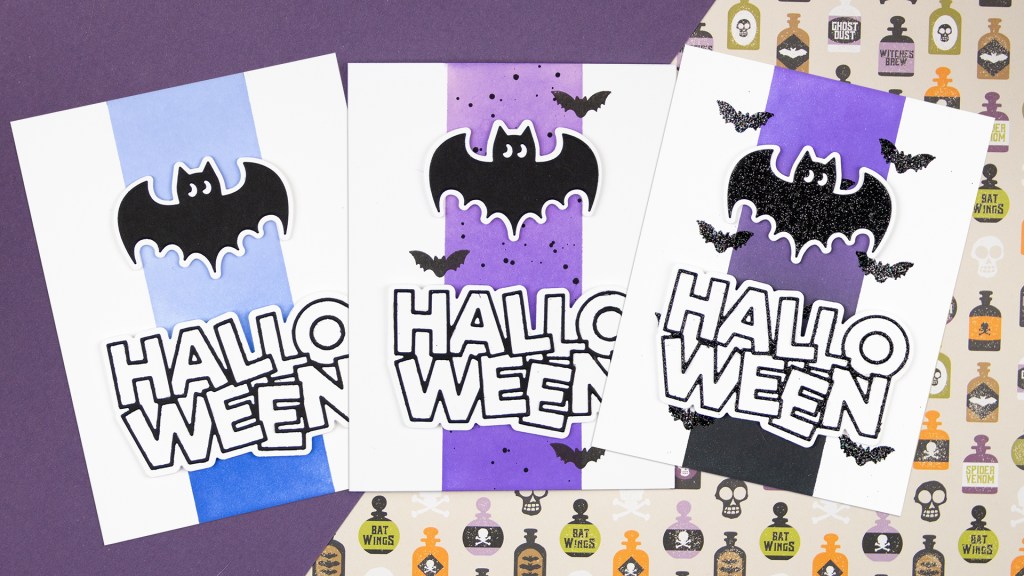
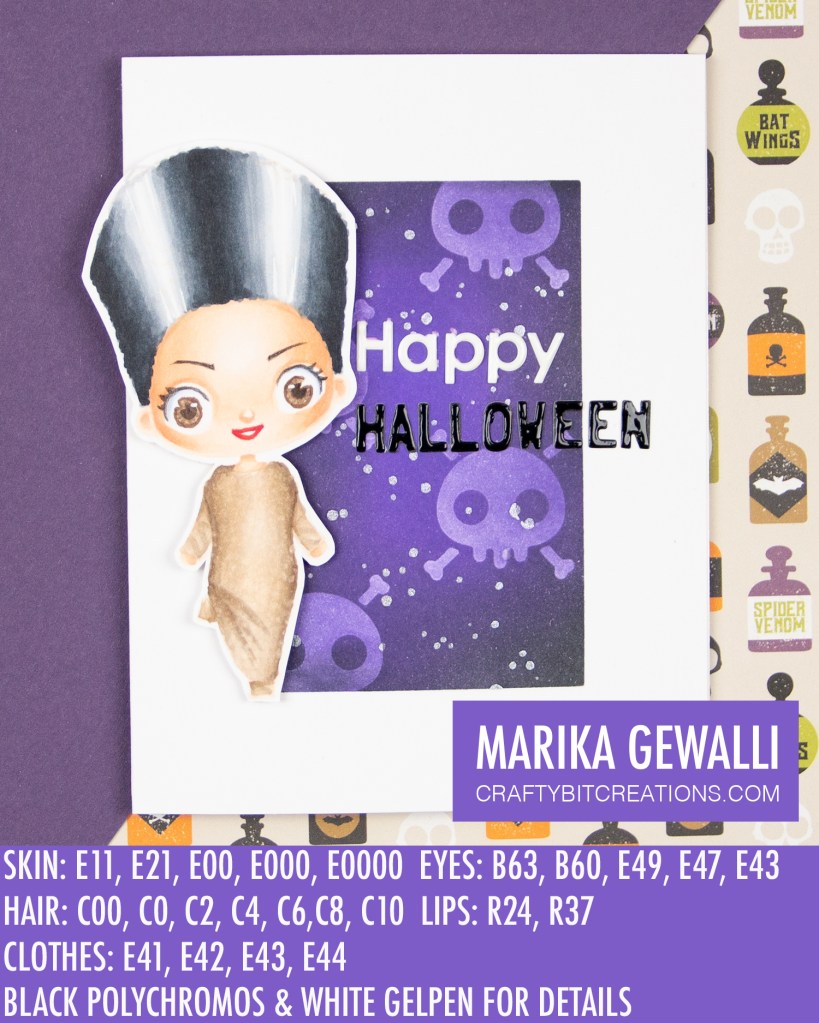
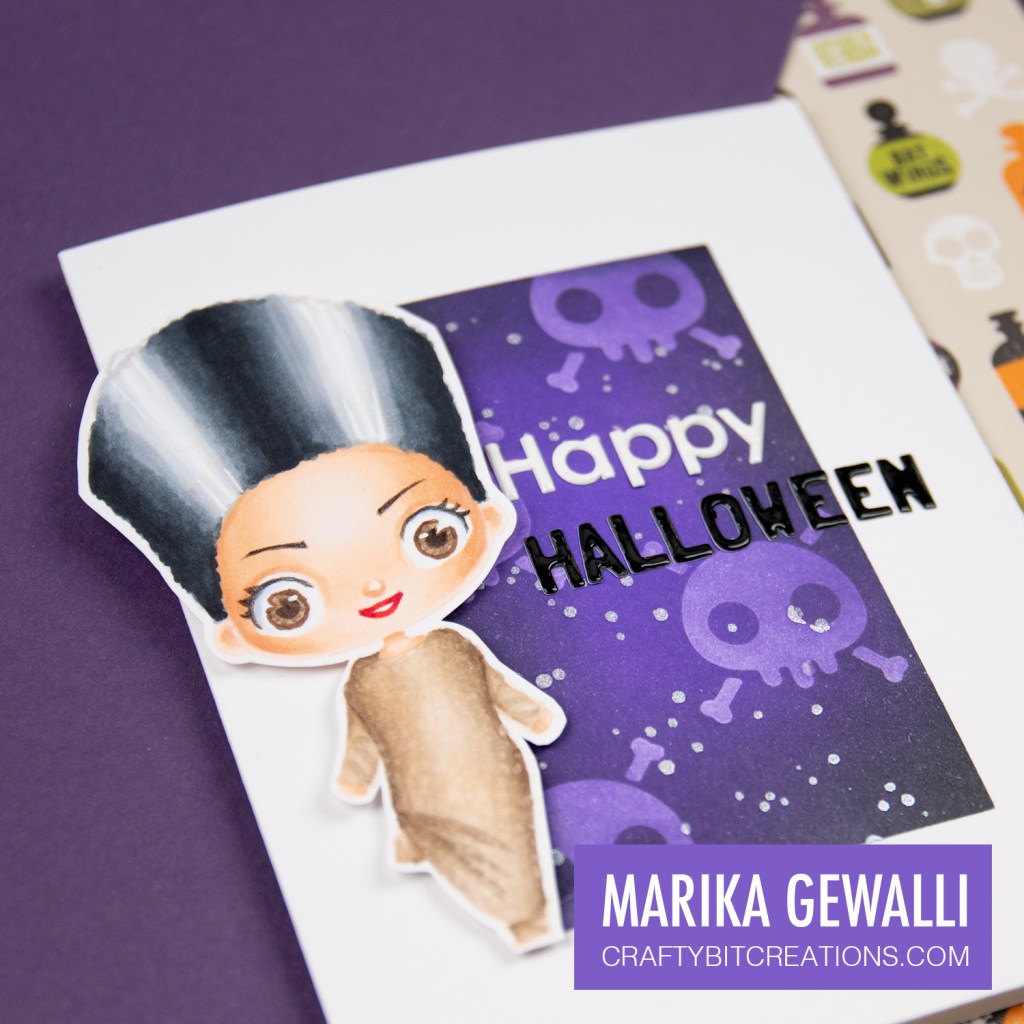
Today I have 6 Mini Halloween cards for you. I love making mini cards, may it be just to attach to present, give tips in when I visit the US or as in this case to be abled to give a little note of encouragement for trick or treaters.I had two more halloween stamps left from my stamptember order that I just had to use! Decided to make some quick and simple cards that can be used for any trick or treaters (if that is still something you can do where you live).
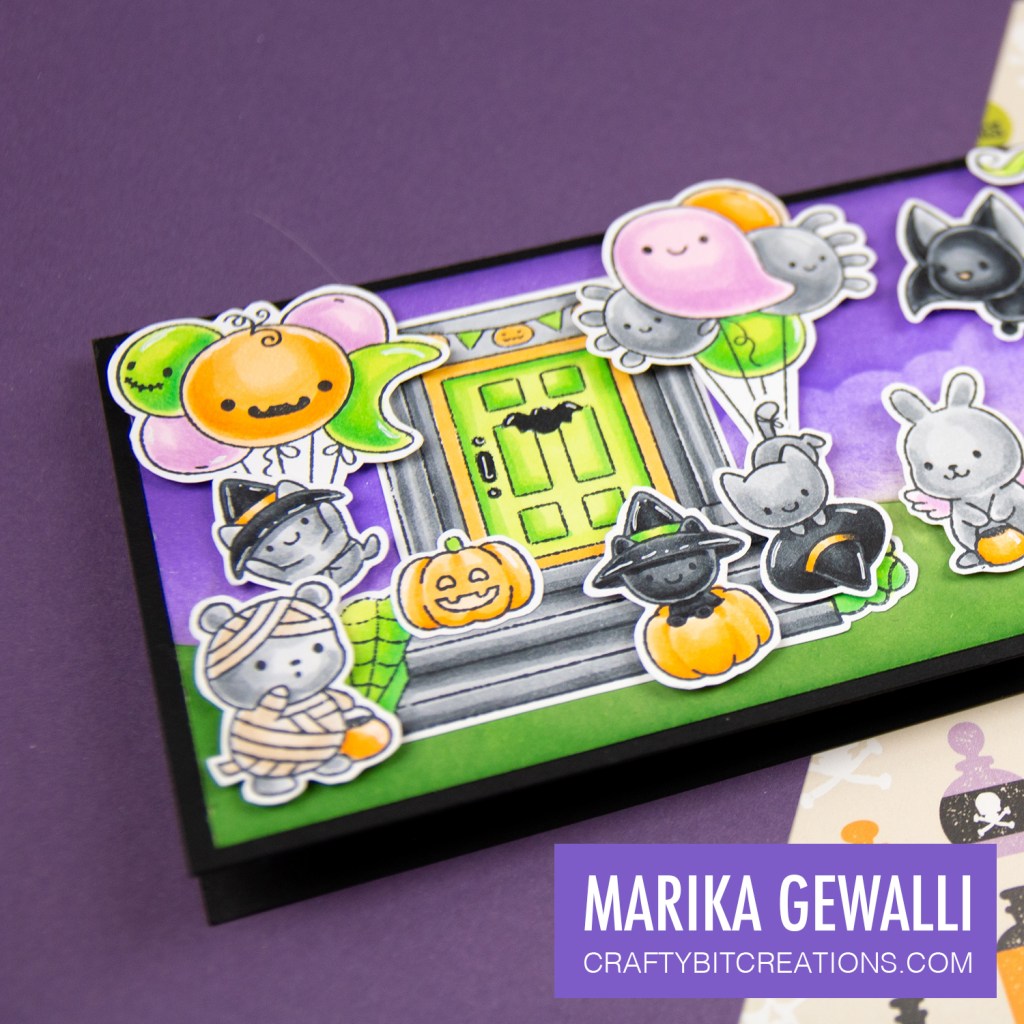
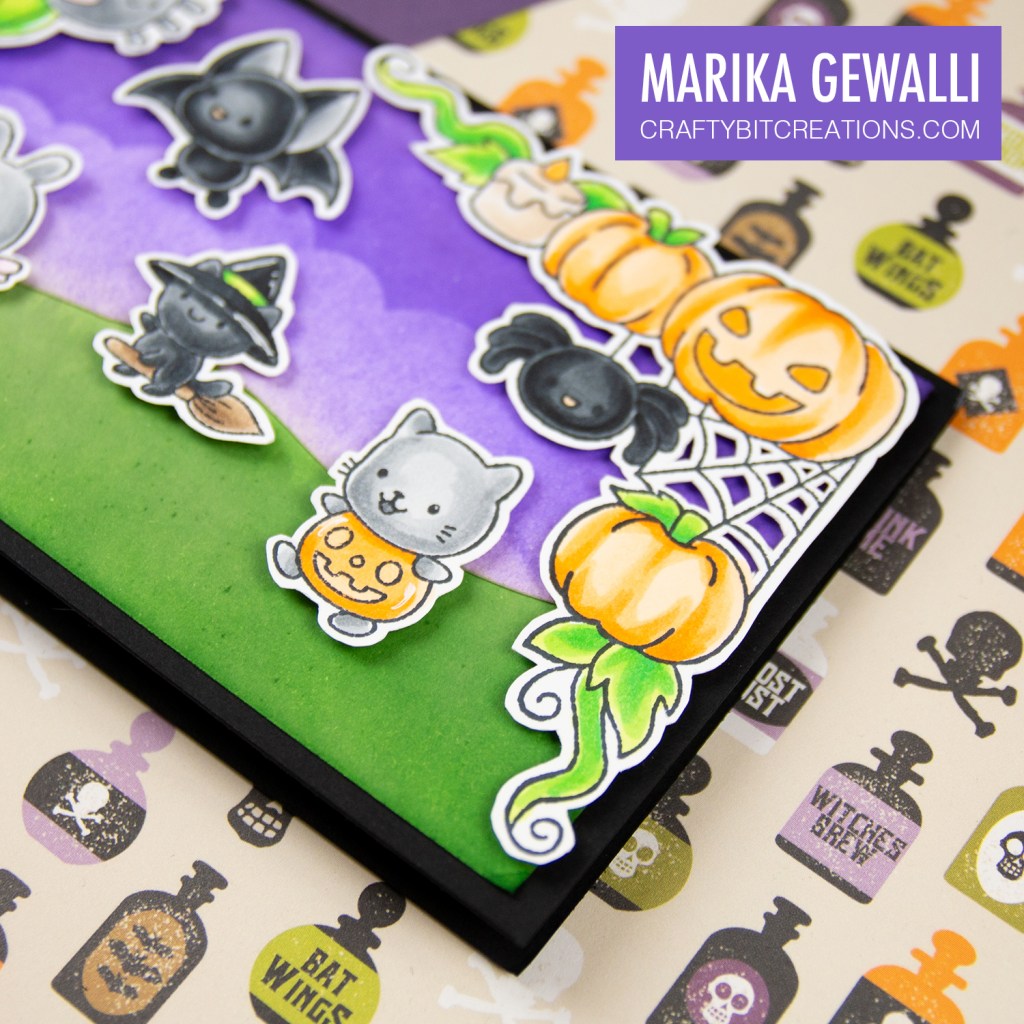
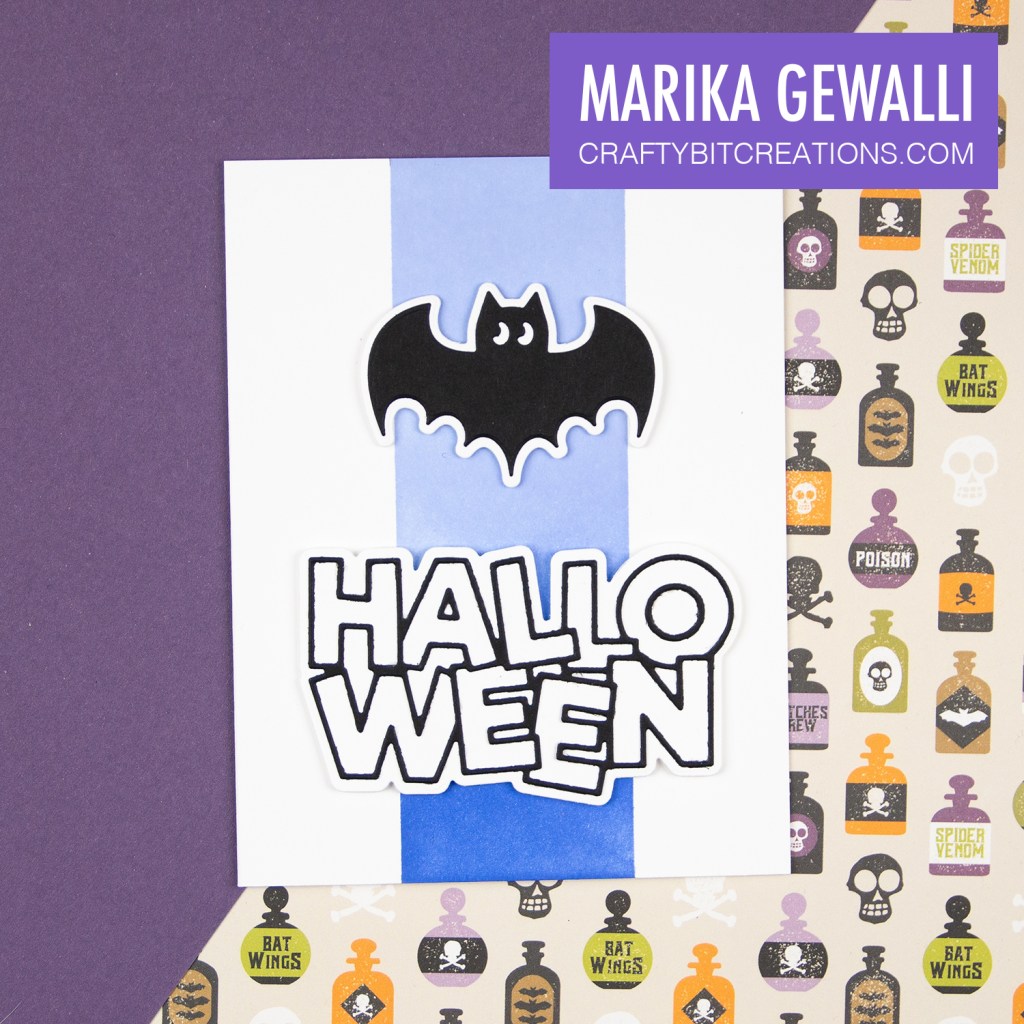
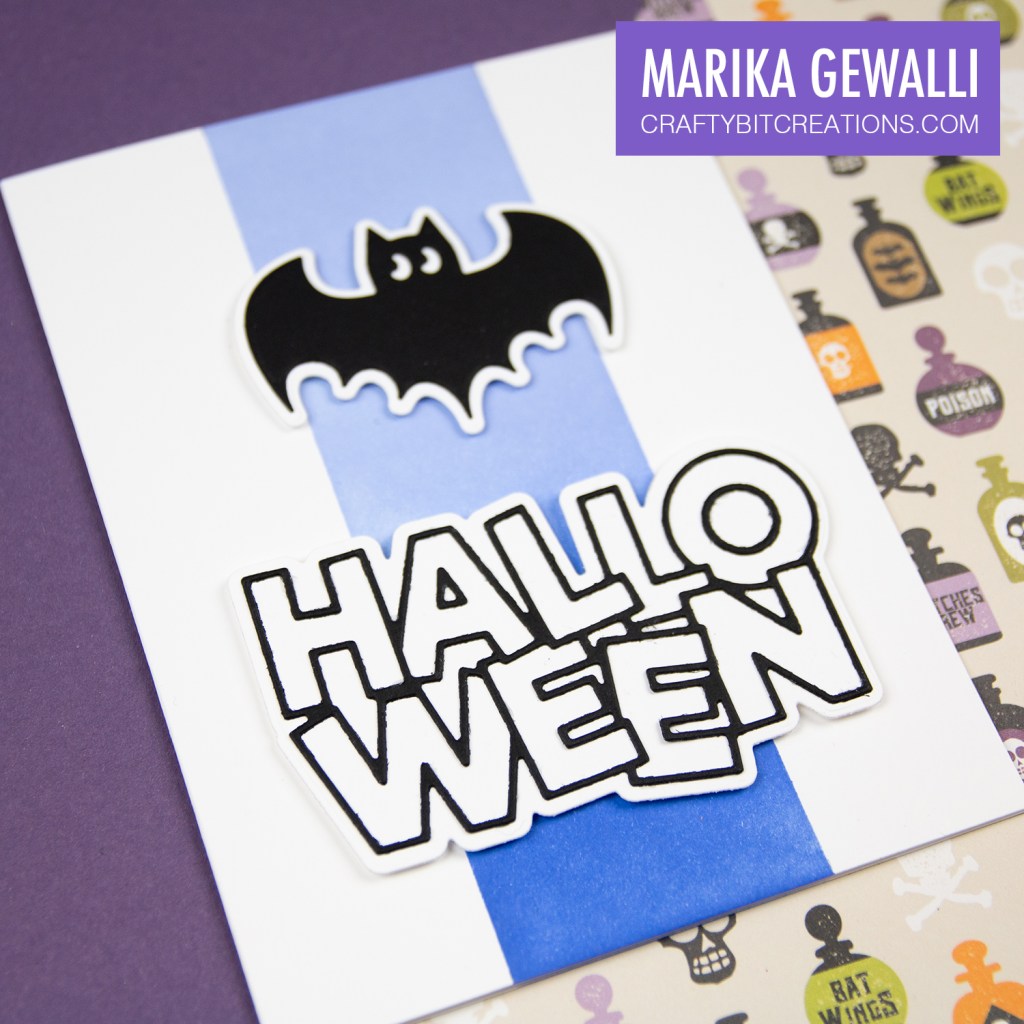
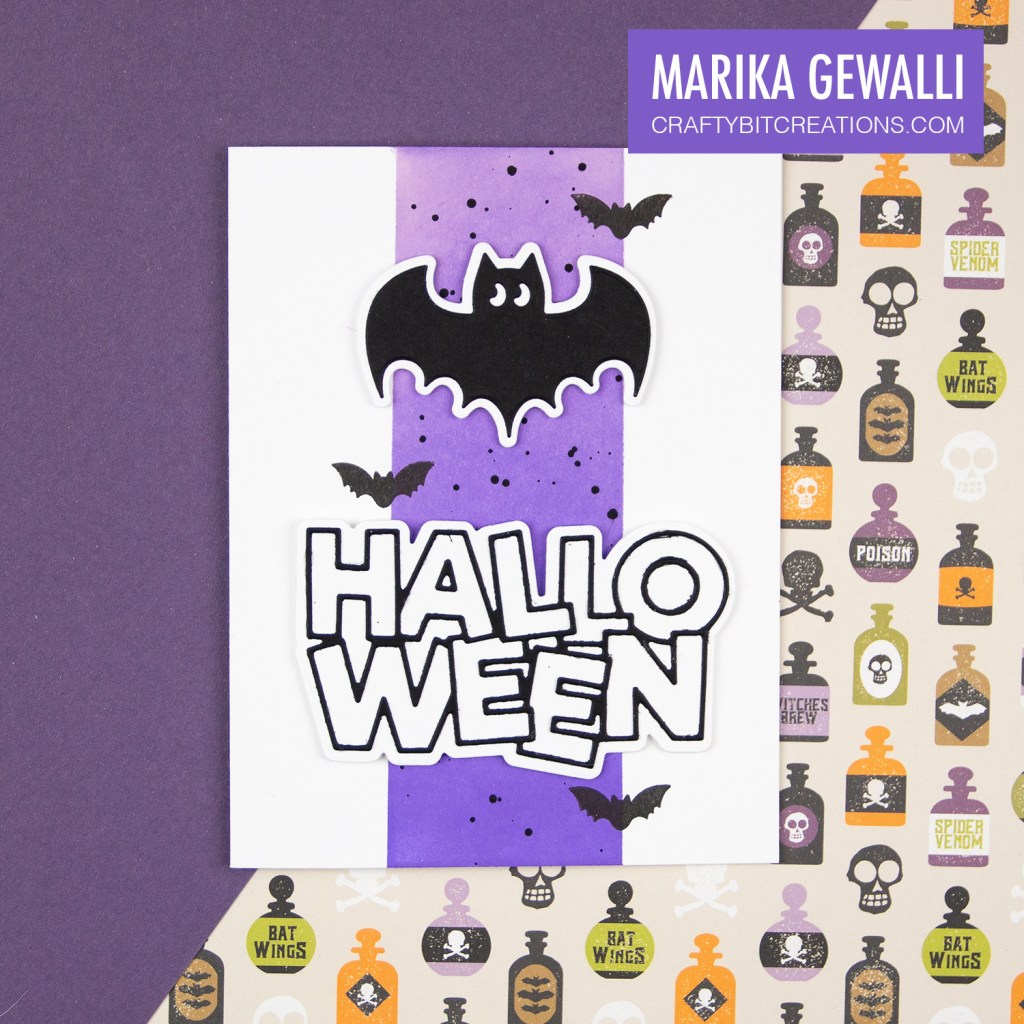
These 6 Mini Halloween cards all use the same color story, white and purple. I also use the coordinating cardstock and ink Grape Jelly by My Favorite Things, which really makes the cards come together. And for a final touch some of the images get flat layers of copic coloring for that little extra.
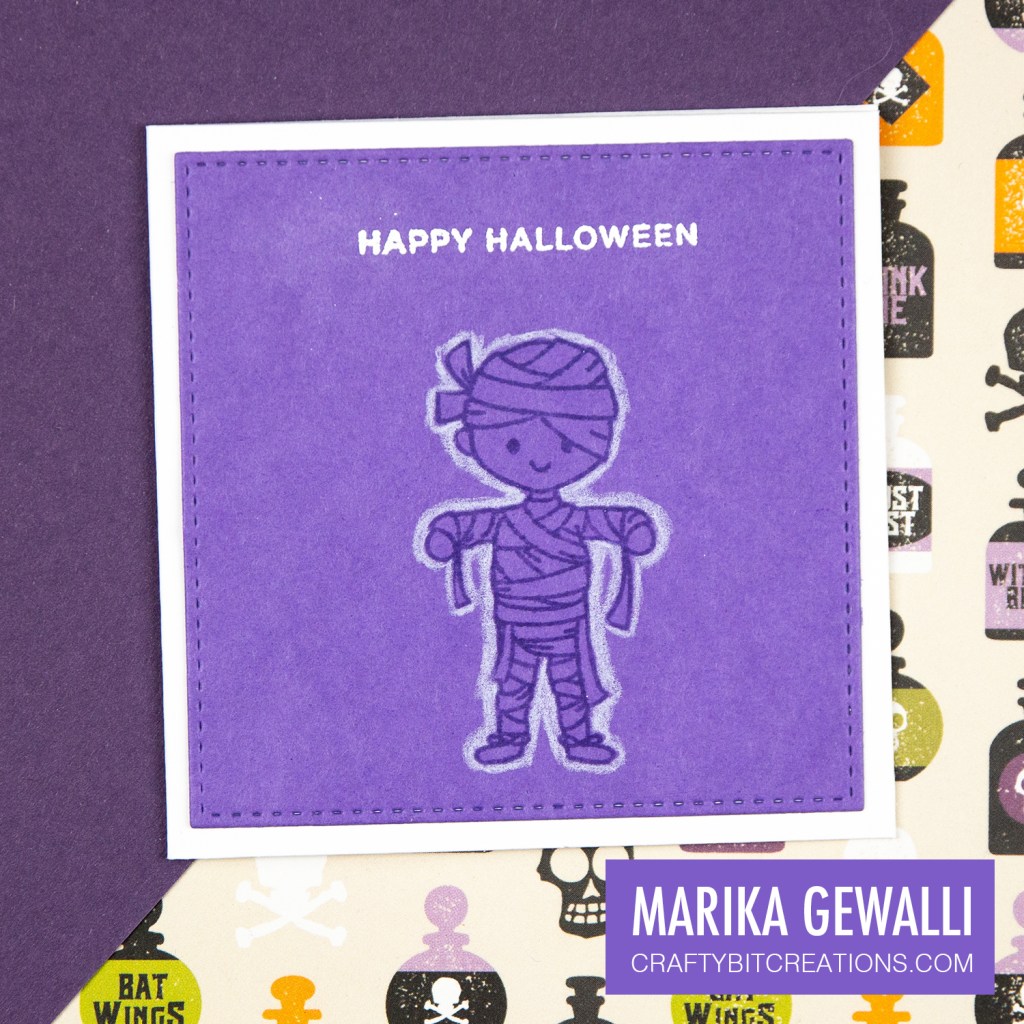
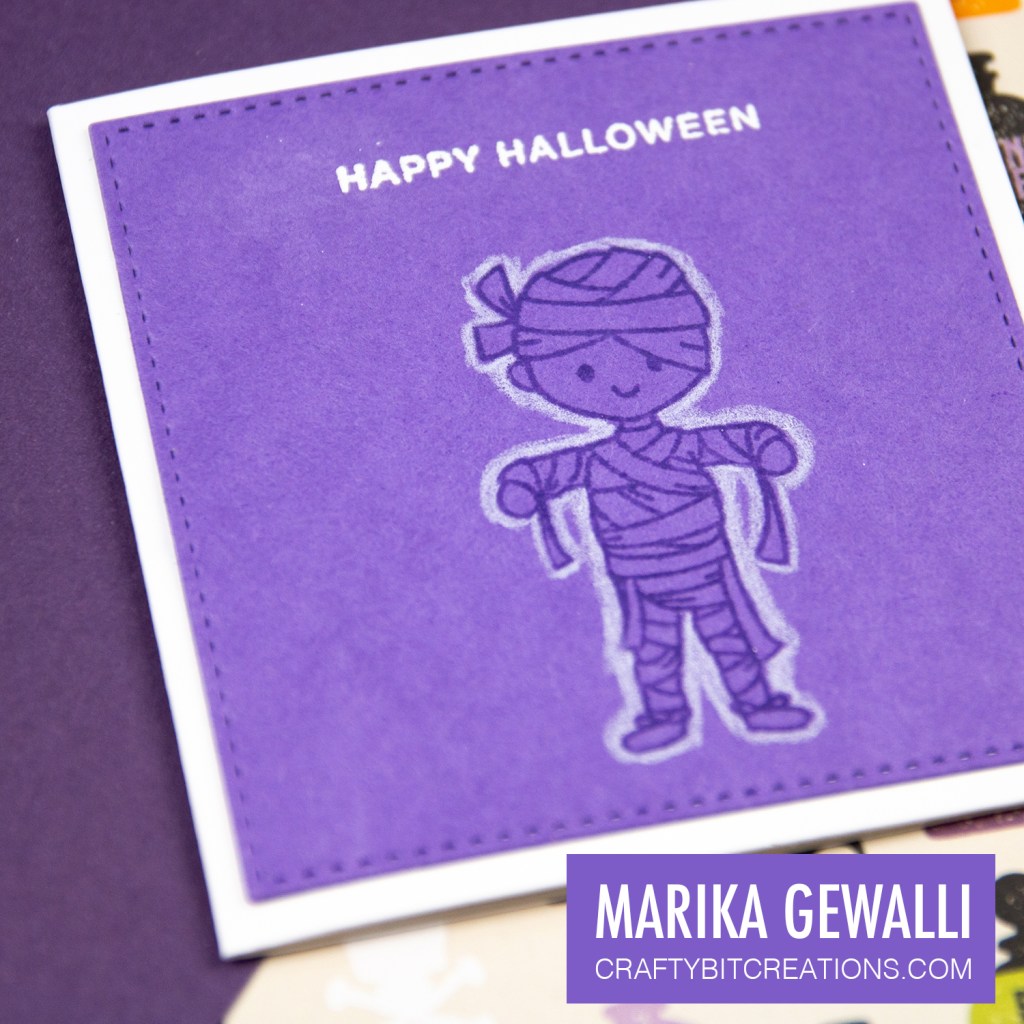
We start off with a cute little mummy. He was the start of the idea, I wanted to use the character stamps but I didn’t have time to give them that detailed coloring I usually do. So I opted to not color them at all, just color theme in the coordinating ink on the coordinating cardstock. Adding a soft white line with a color pencil and finally adding a heat embossed white sentiment.
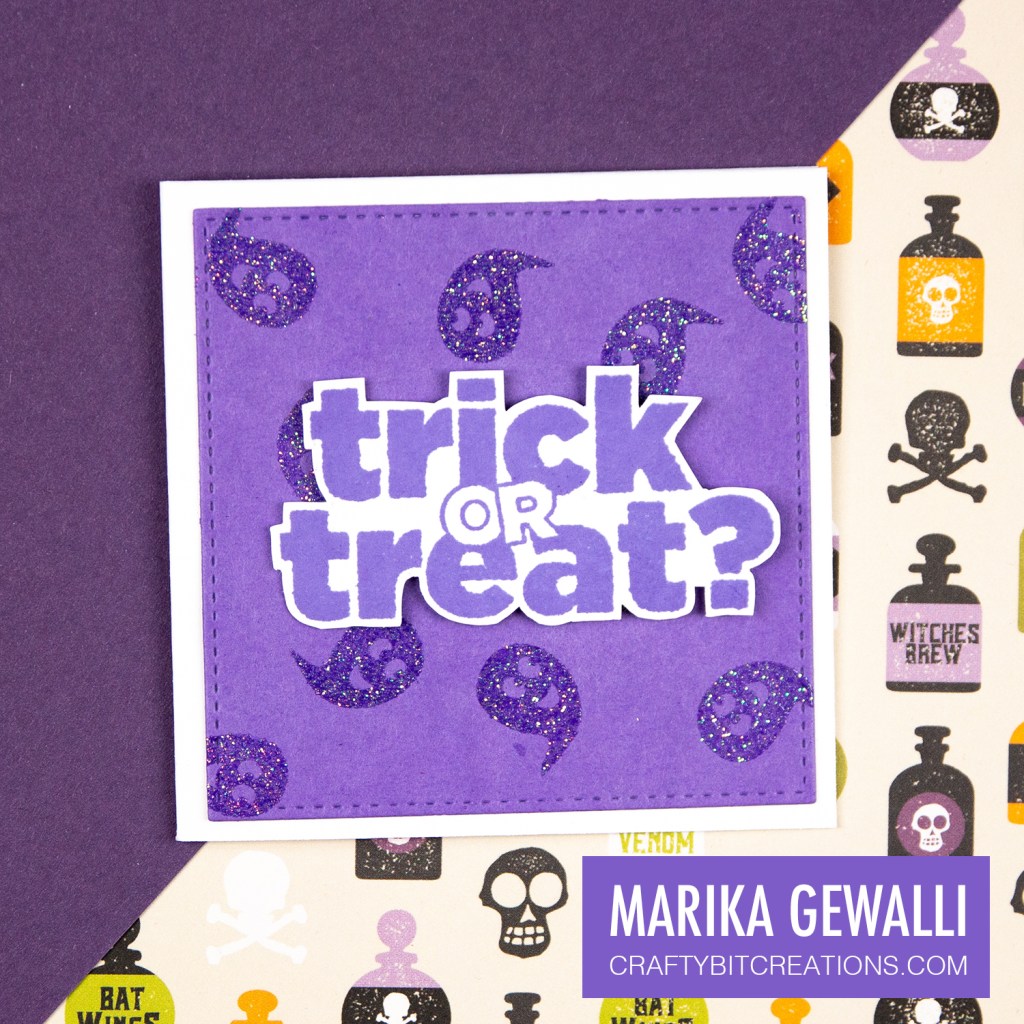
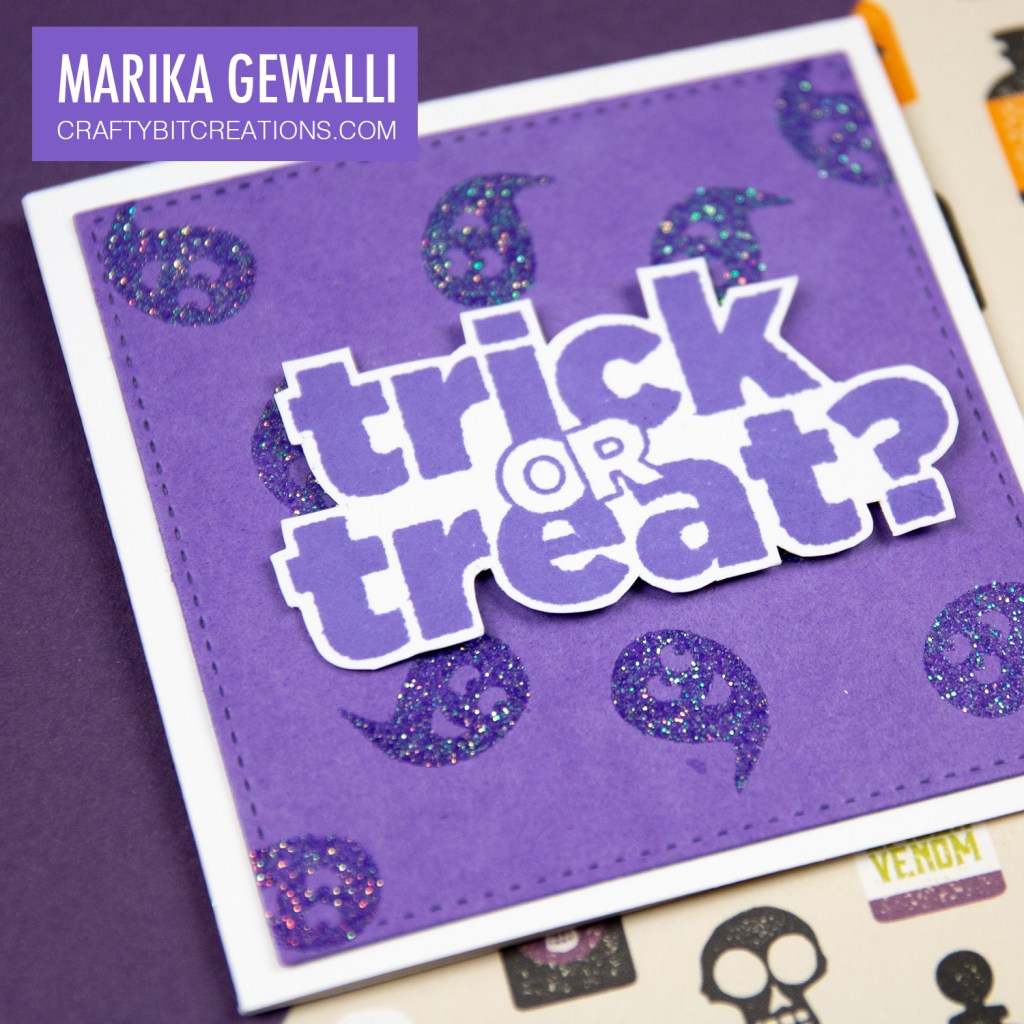
And as I was playing with my heat embossing I knew I wanted to make a background, I saw that little ghost but I felt white ghosts on purple cardstock would have too much contrast. So instead I heat embossed the ghosts in some holographic embossing powder instead. Stamping the sentiment in the coordating ink, but on white cardstock this time, and then fussy cut it out and attached it with some foam tape for some dimension.
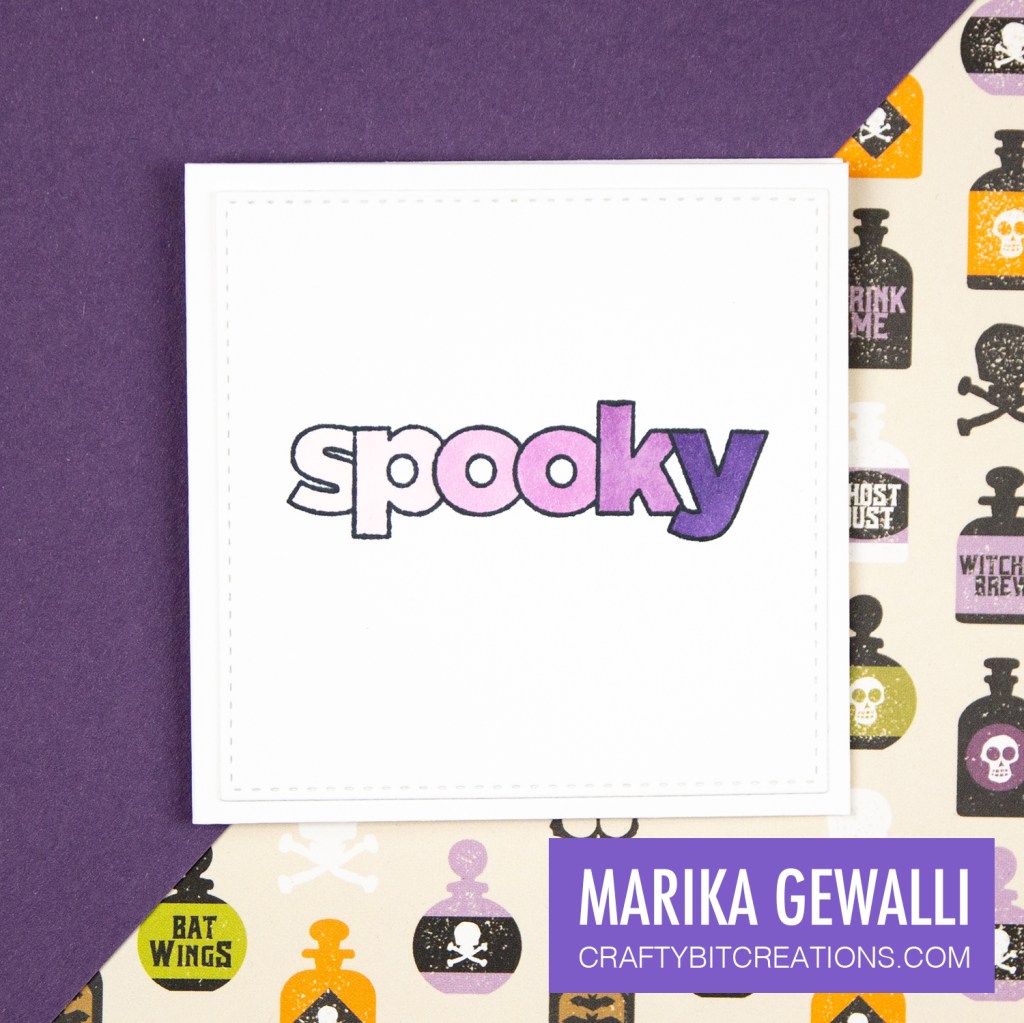
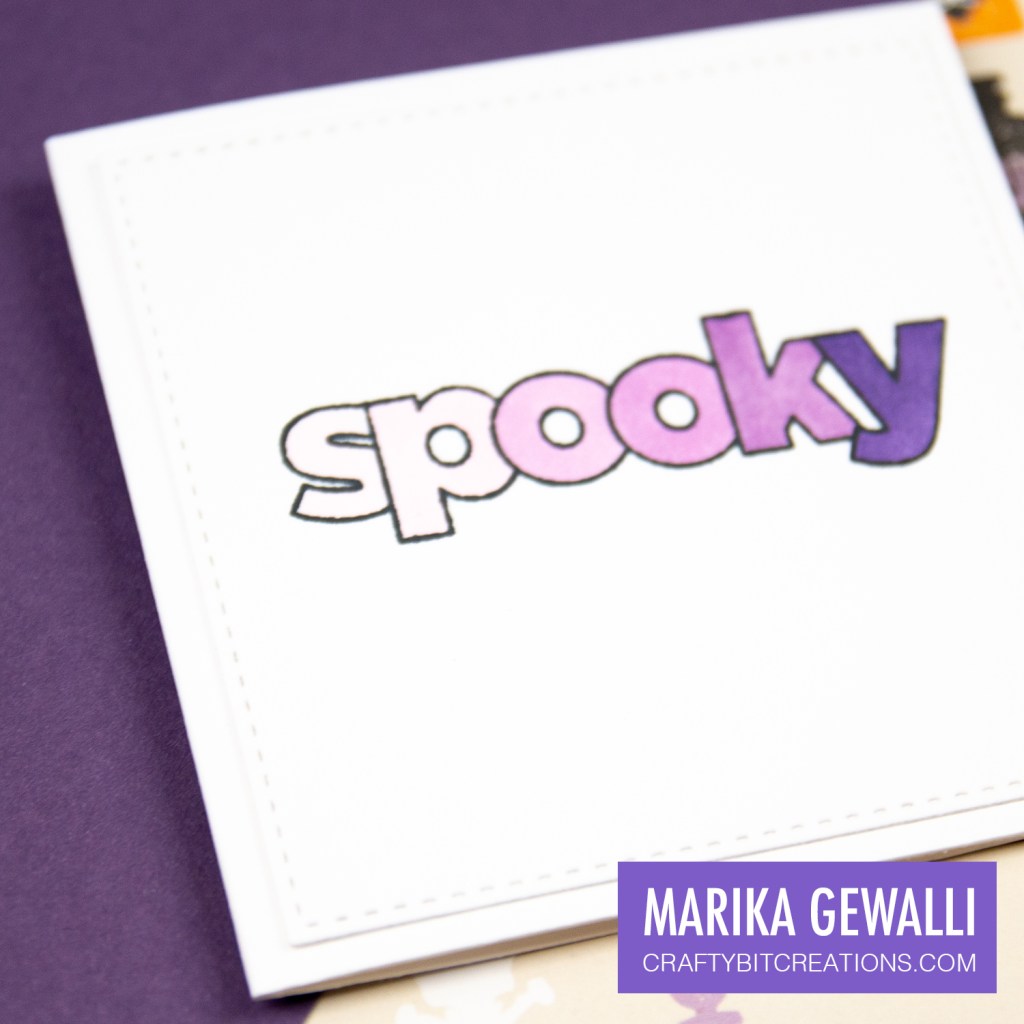
I knew I wanted to use the outline sentiments, and add just a little bit color. So I stamped the Spooky sentiment in some Memento Tuxedo Black Ink on some neenah cardstock. Then I picked out 6 purple markers and flatly colored each letter going from light to dark. Quick and simple.
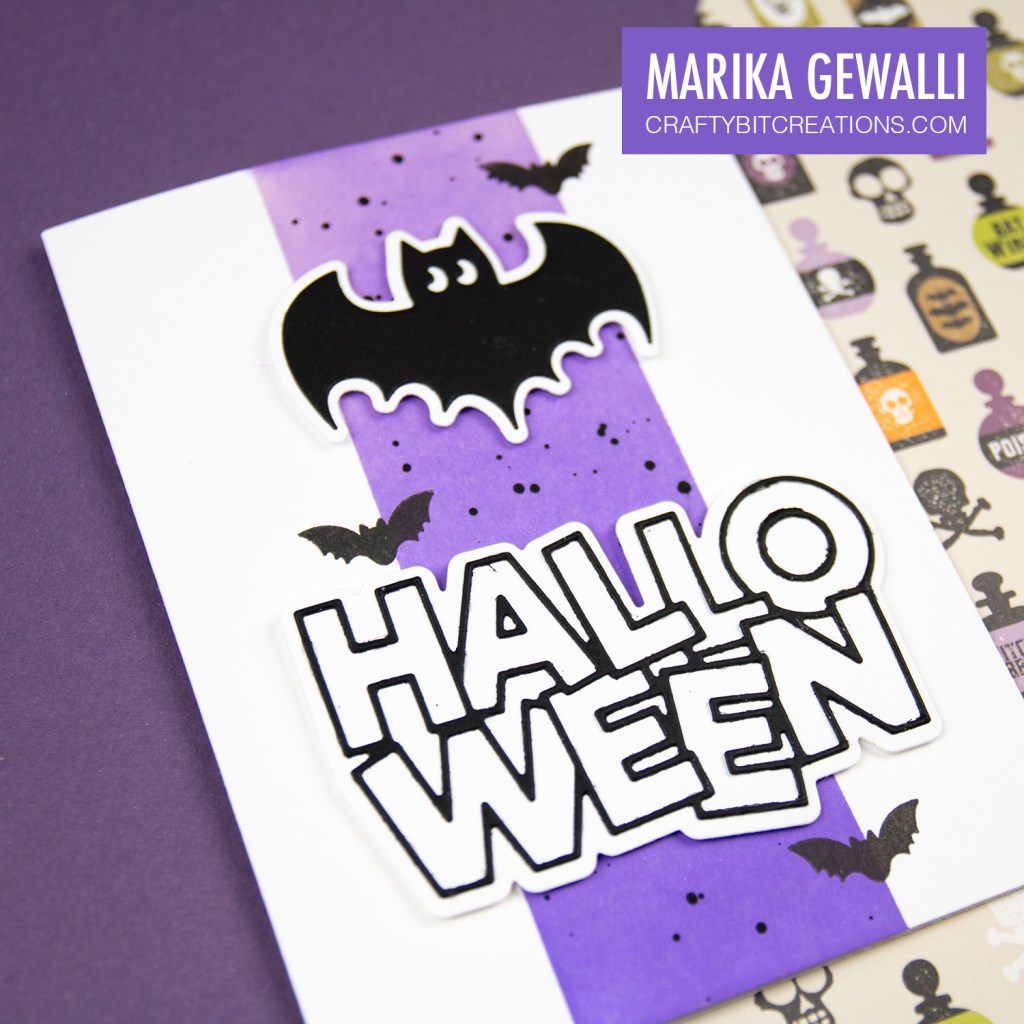
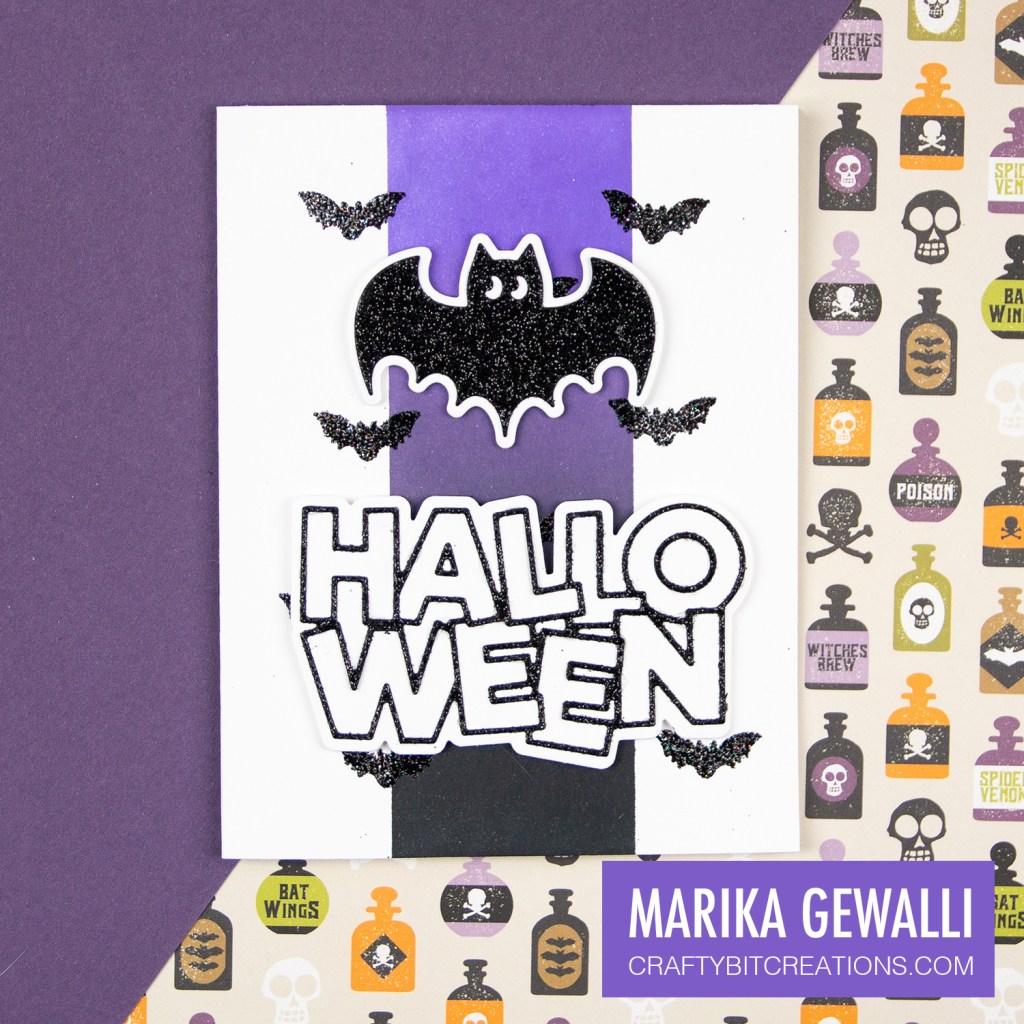
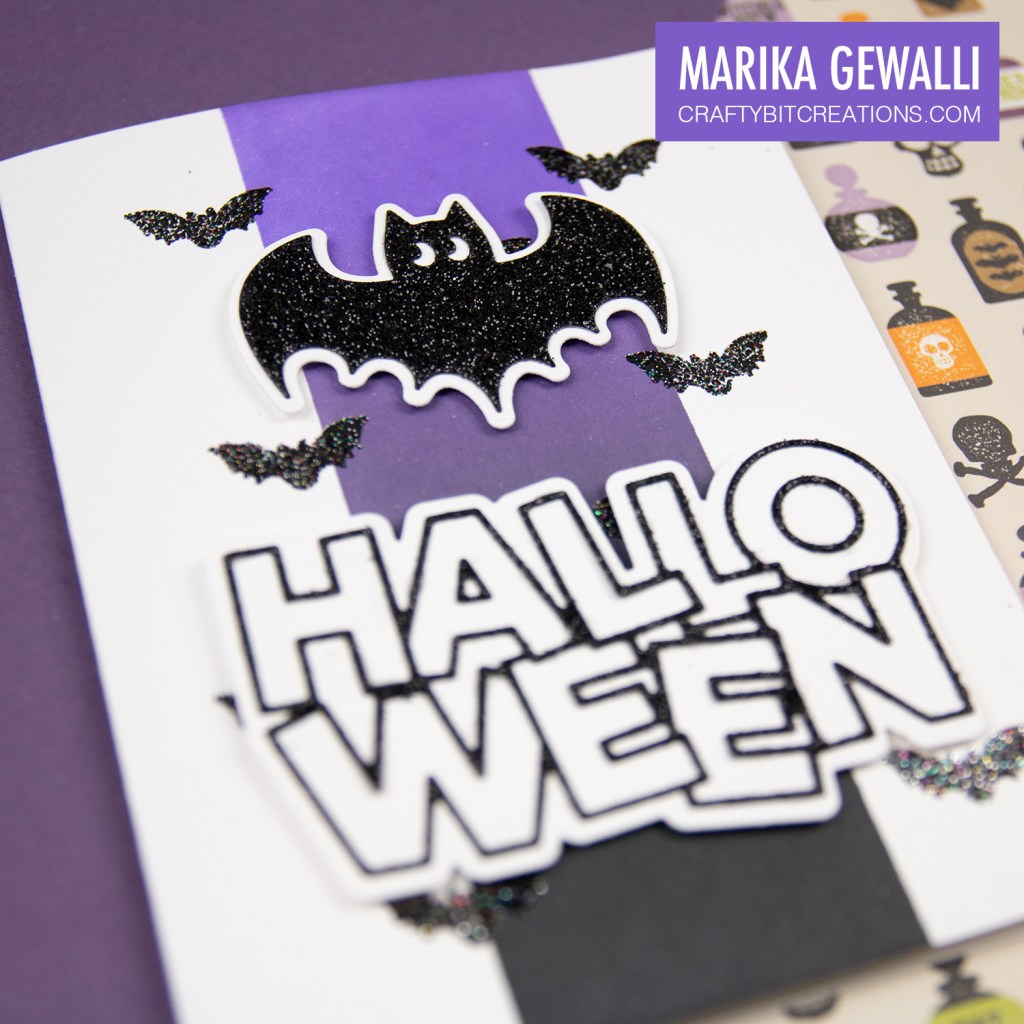
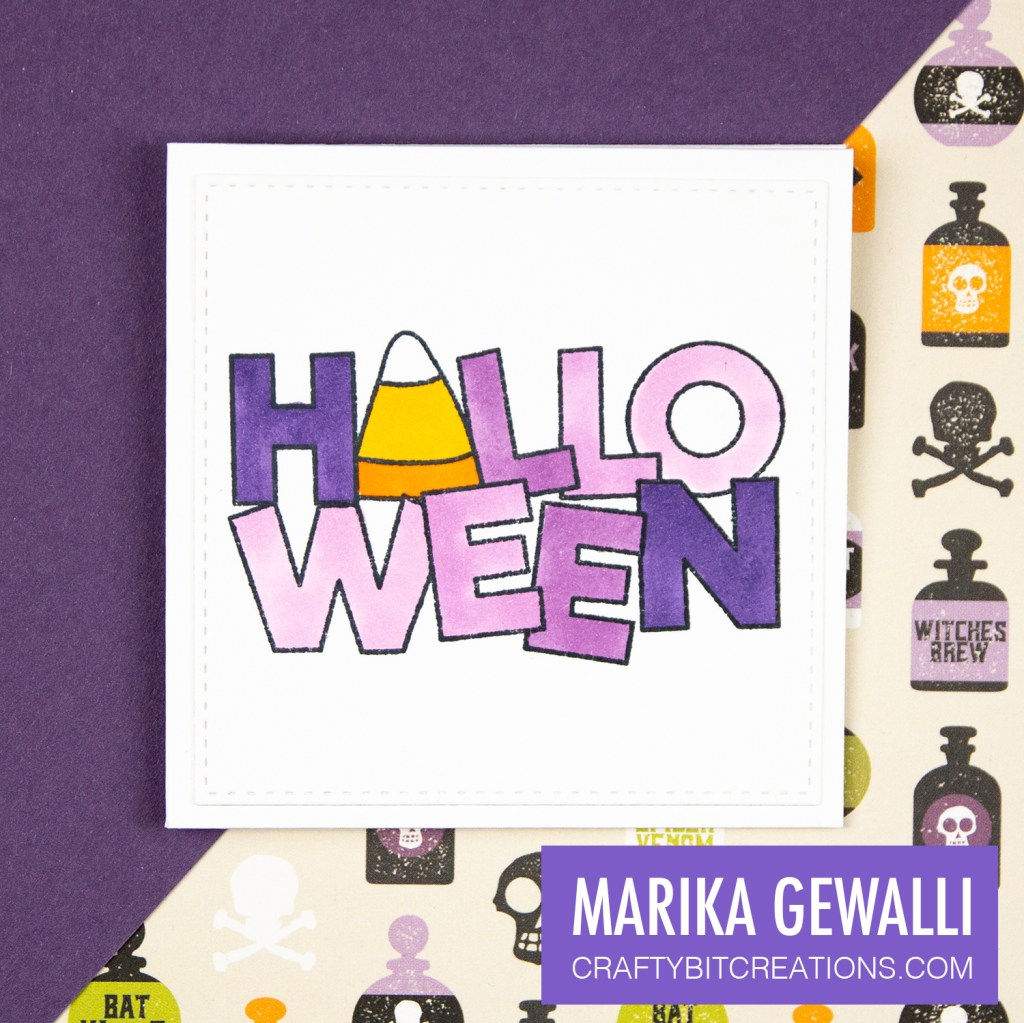
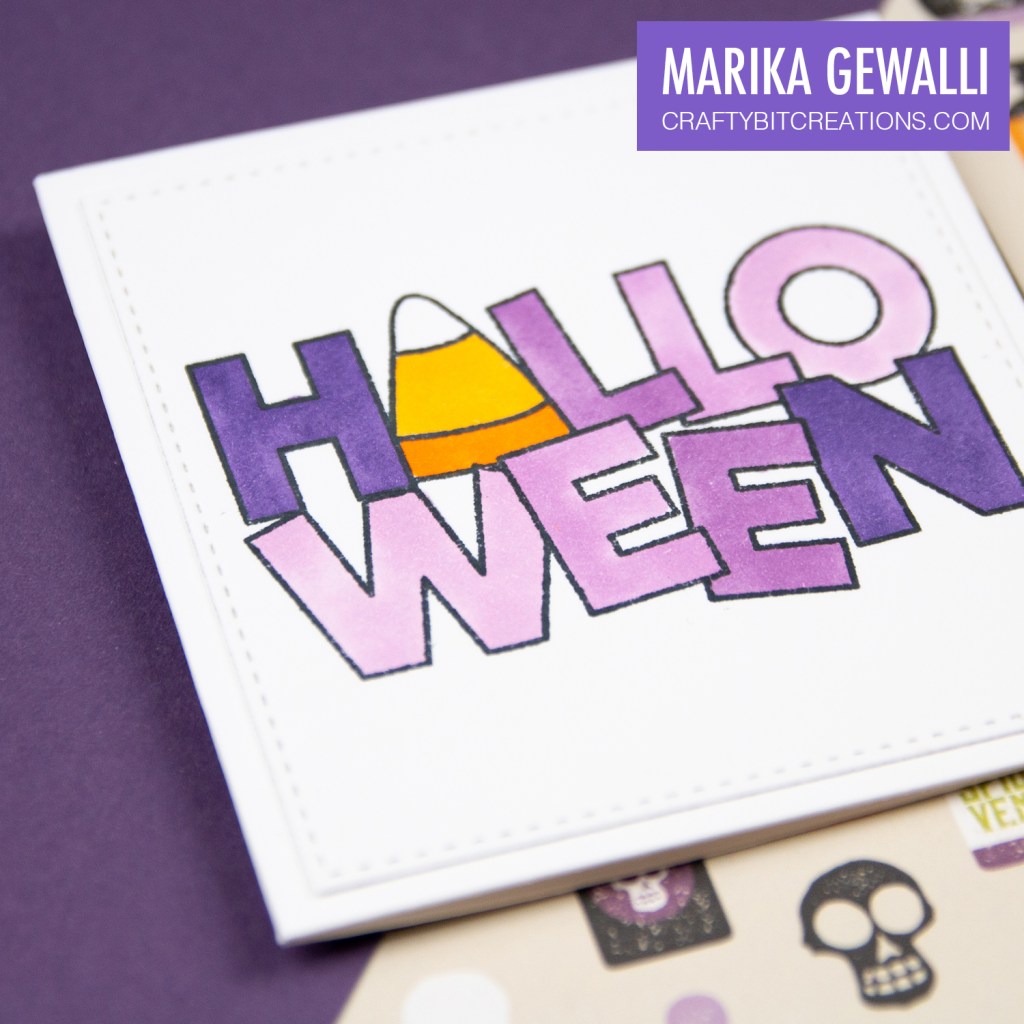
Then I gave the Halloween outline stamp the same treatment, but adding a orange and a yellow for the candy corn A.
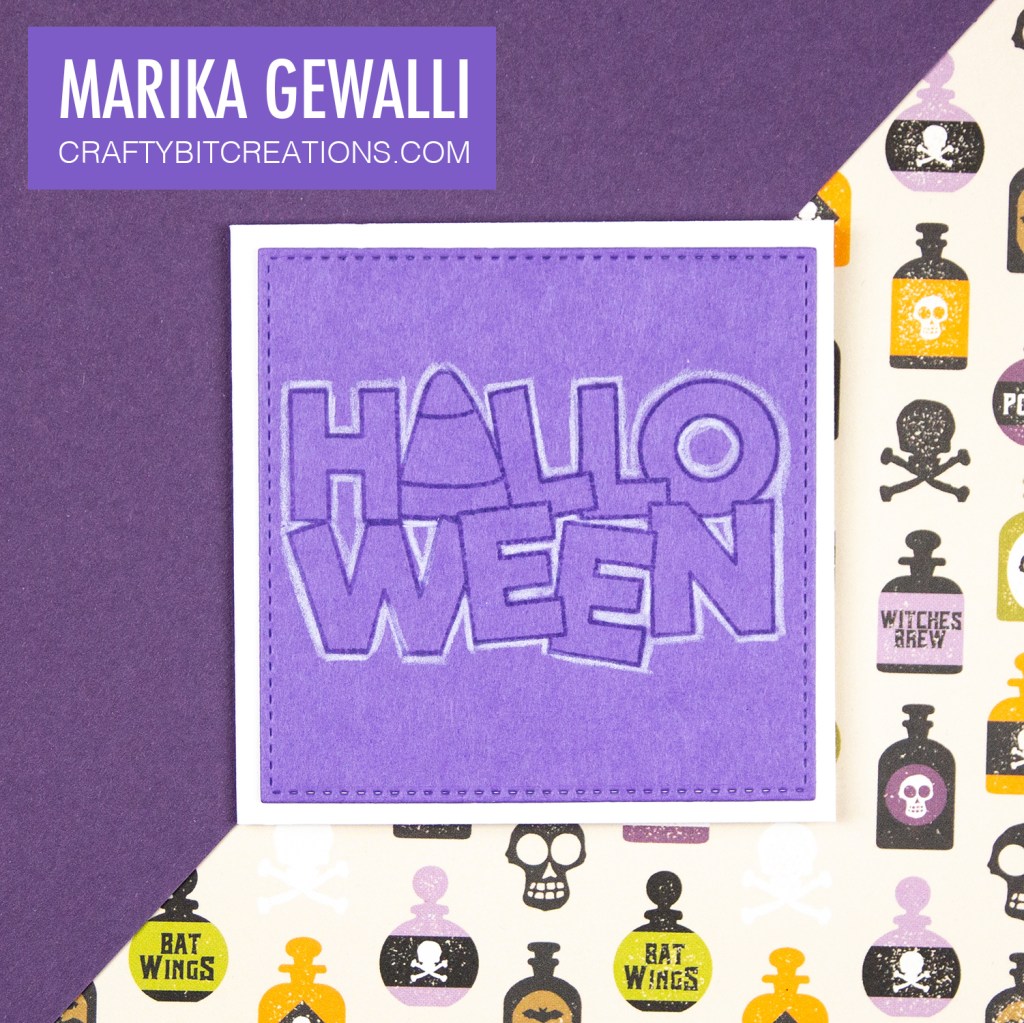
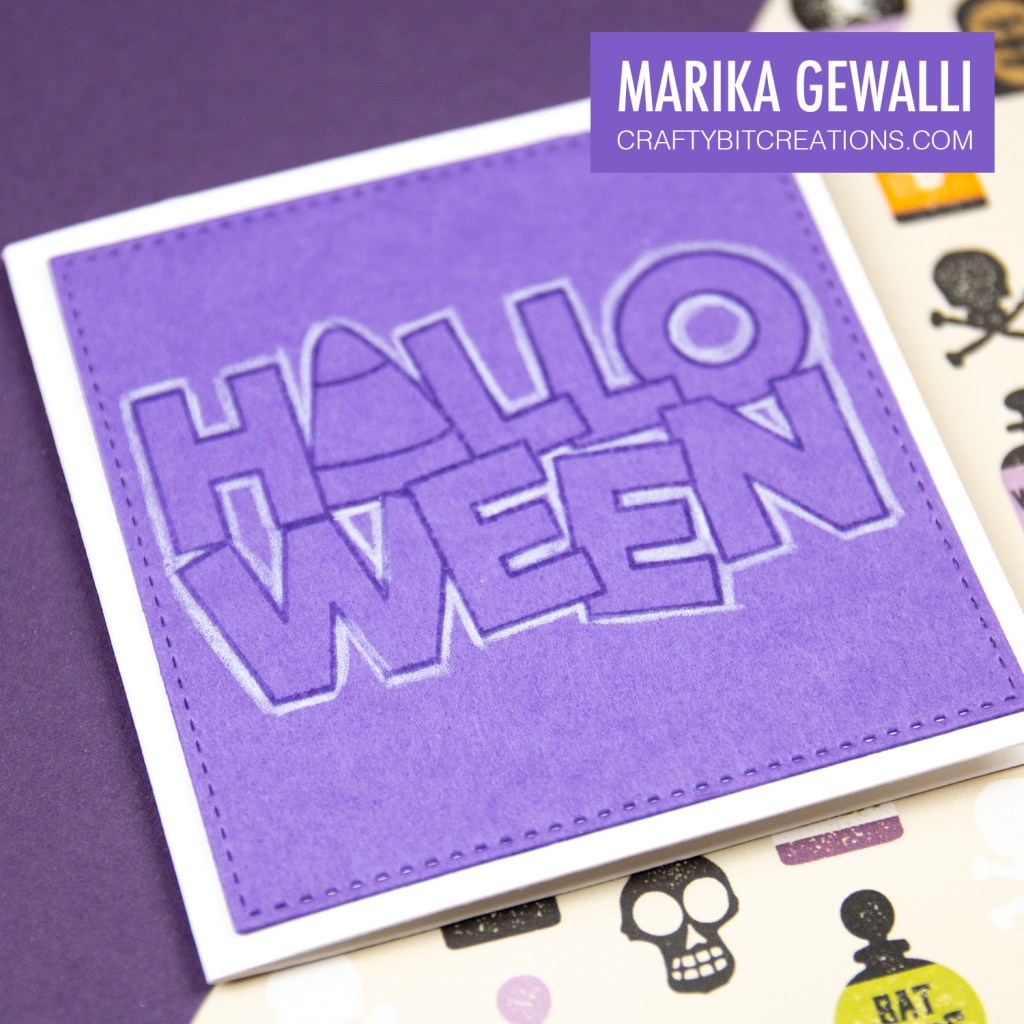
But I wasn’t finished with the Halloween outline stamp, I had another idea, very much inspired by my mummy card. I just stamped the sentiment in some coordinating ink on some coordinating cardstock, added a white outline with my colored pencil. And the card was done! Very quick and very simple.
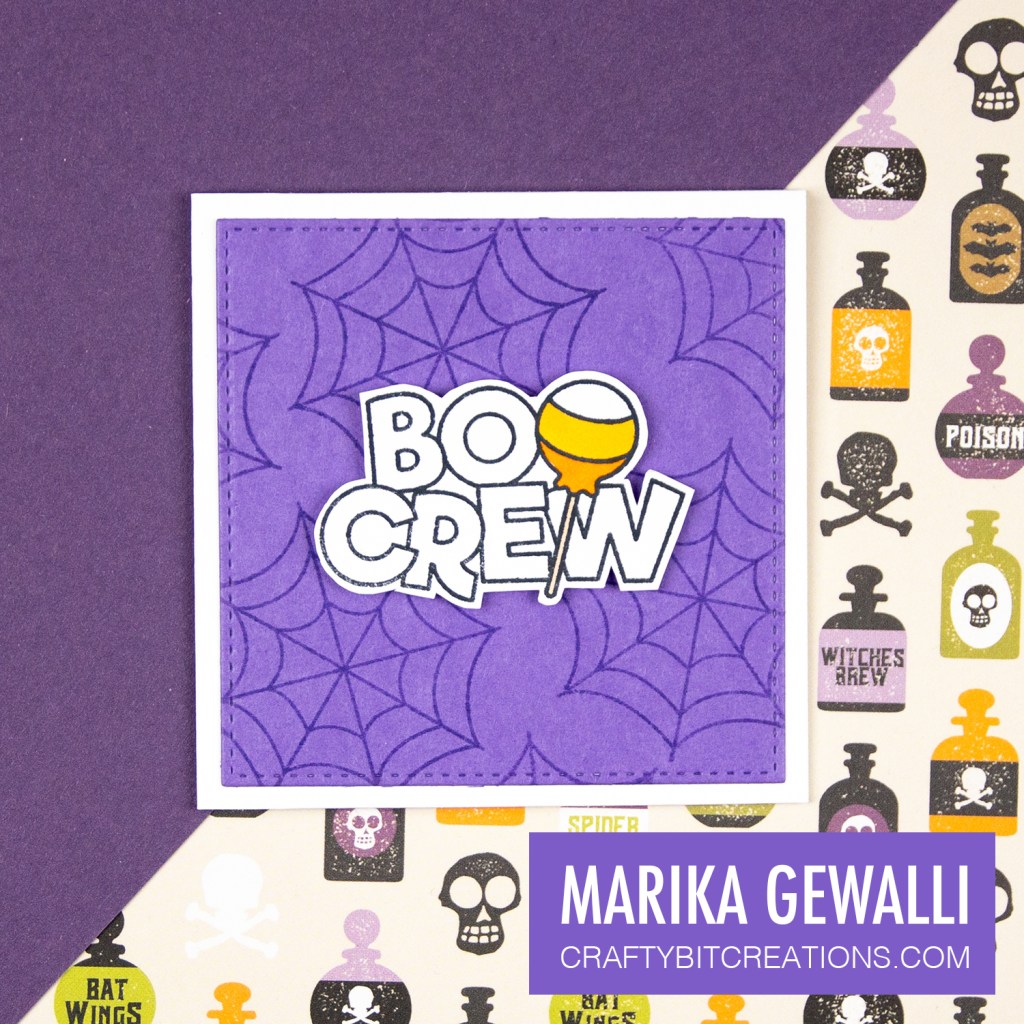
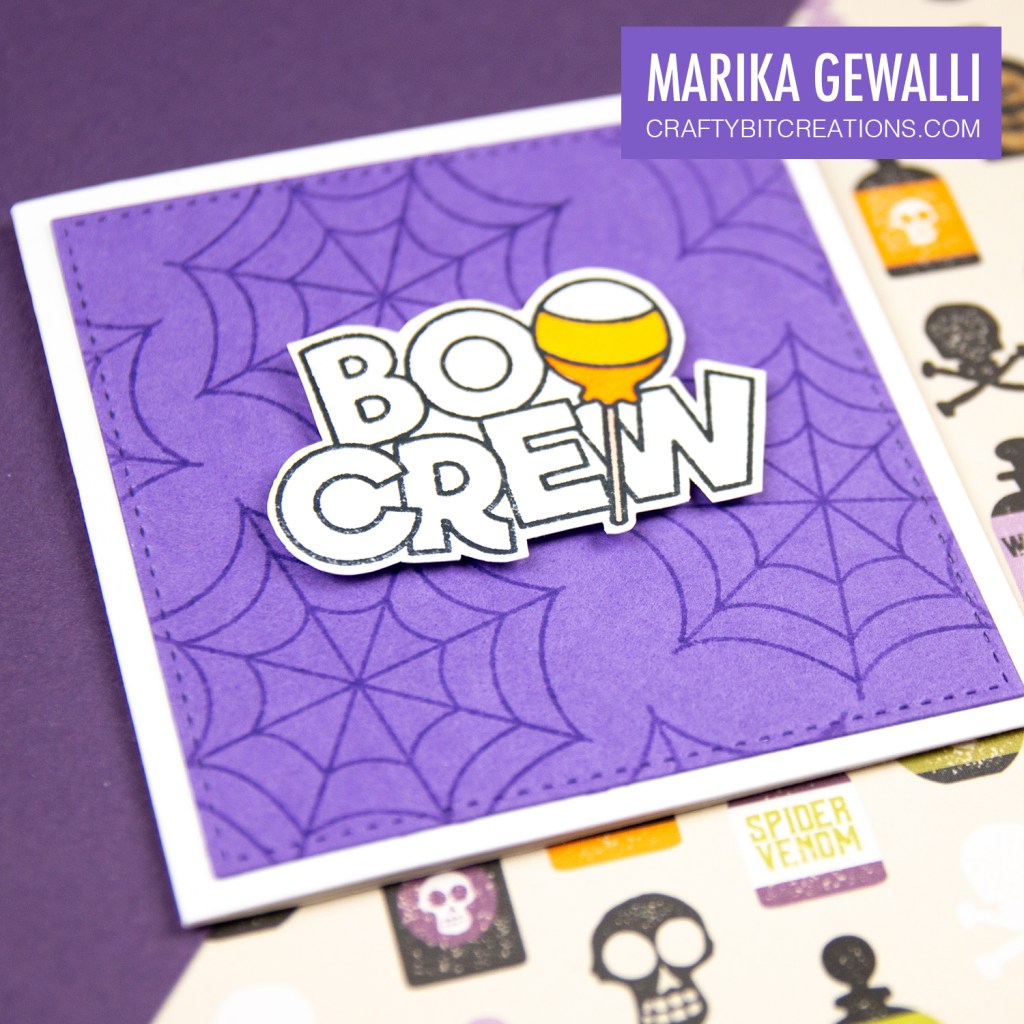
My last card is definitely my favorite, bringing together my favorite techniques from the earlier cards. I stamped the spider web in coordinating ink on coordinating cardstock to create a background, and then I stamped the Boo Crew sentiment on some white neenah in Tuxedo Black Ink. I only colored the lollipop and left the rest of the sentiment white, then I fussy cut it out and popped it up on some foam tape in the middle of the card. A little more time but still very quick and very simple.
Hope you enjoyed all my cards today and all my halloween cards through out October. These were my last Halloween cards for this season, but I have new ones for you next year. For the rest of the year I will concentrate on christmas, with a couple of birthday /get well soon cards as they will be needed! Happy Halloween!
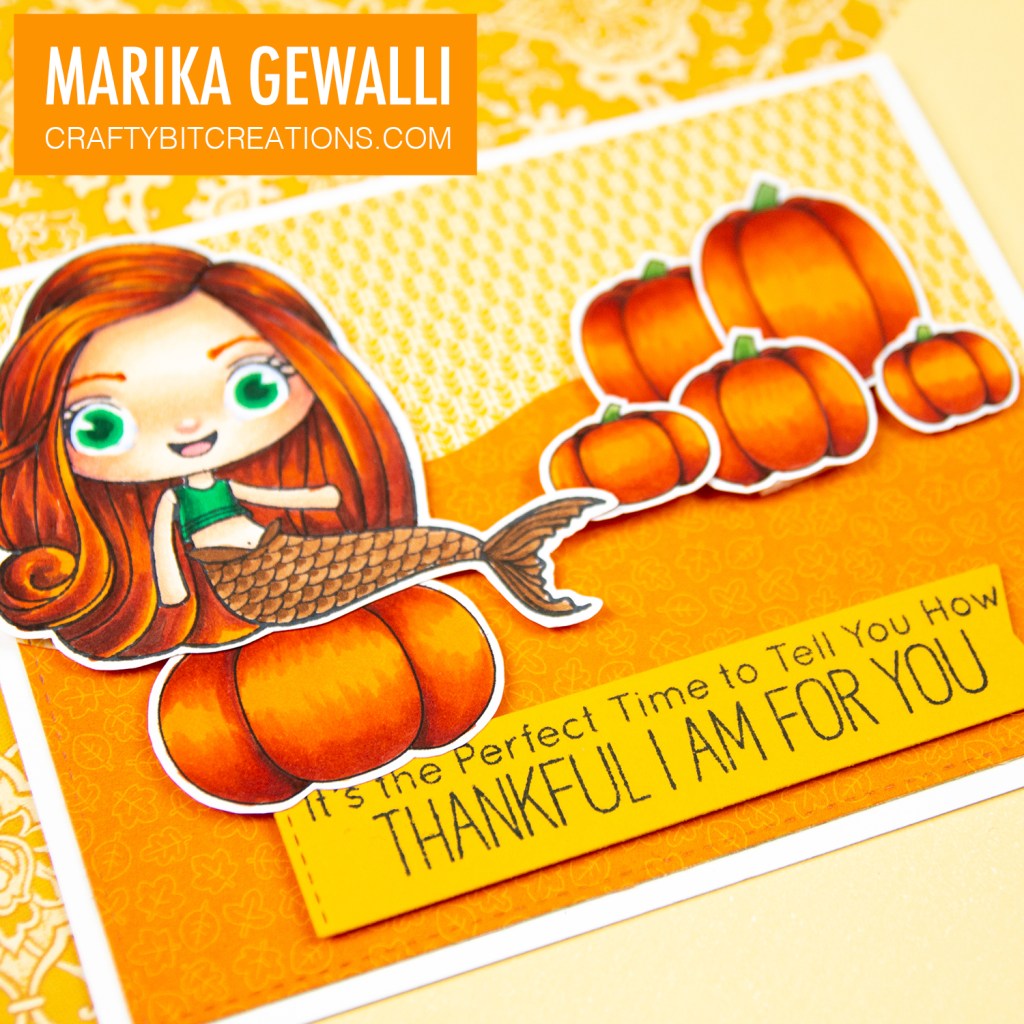
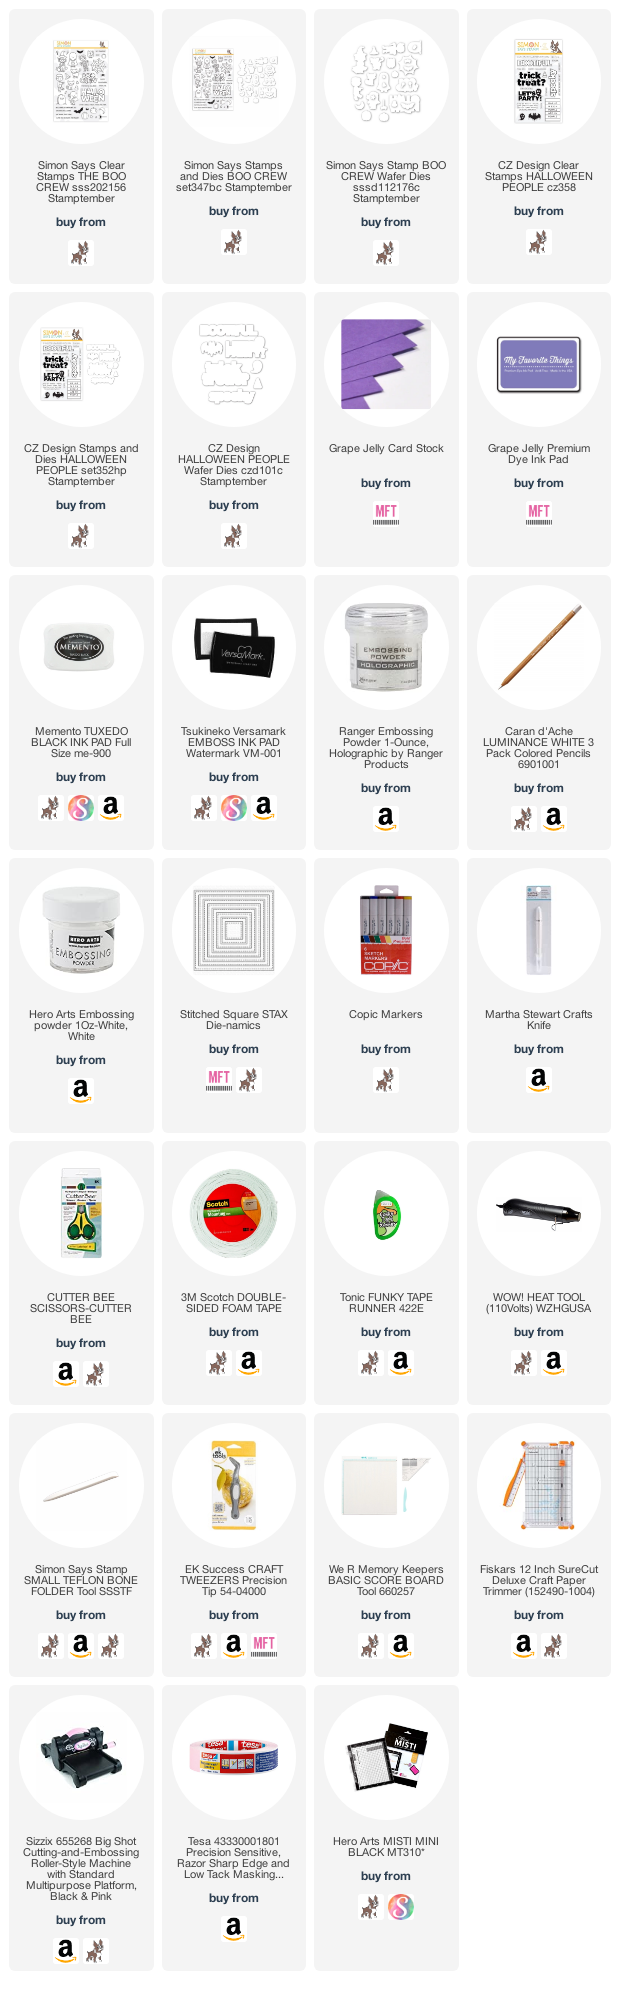
Copic:
V0000, V000, V01, V12, V15, V17, E42, Y17, YR16
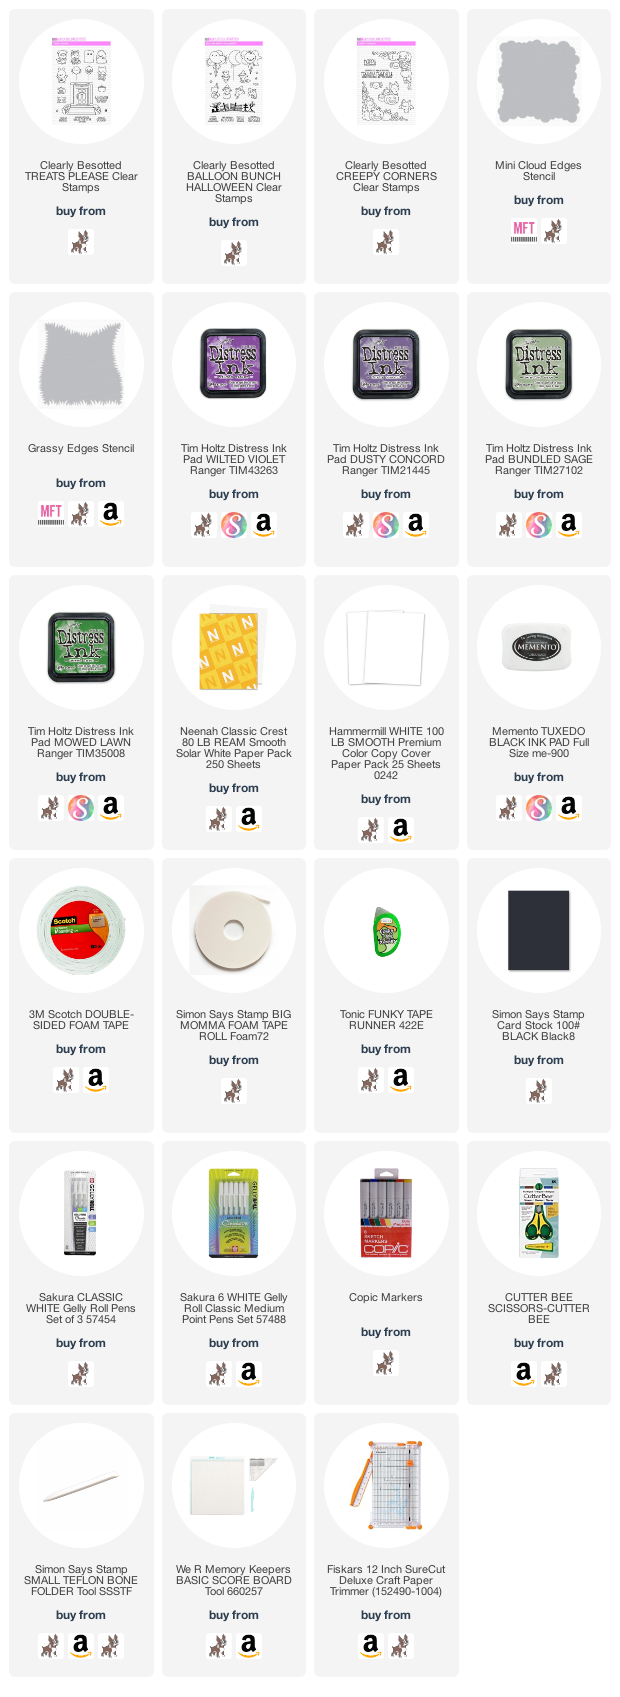
When possible affiliate links are used, this means that I receive a small commission when products are purchased through the links (at no extra cost to you) I use the money to support my blog and youtube channel. If you like my projects and tutorial please consider supporting me by clicking through these links when you shop. Thanks!
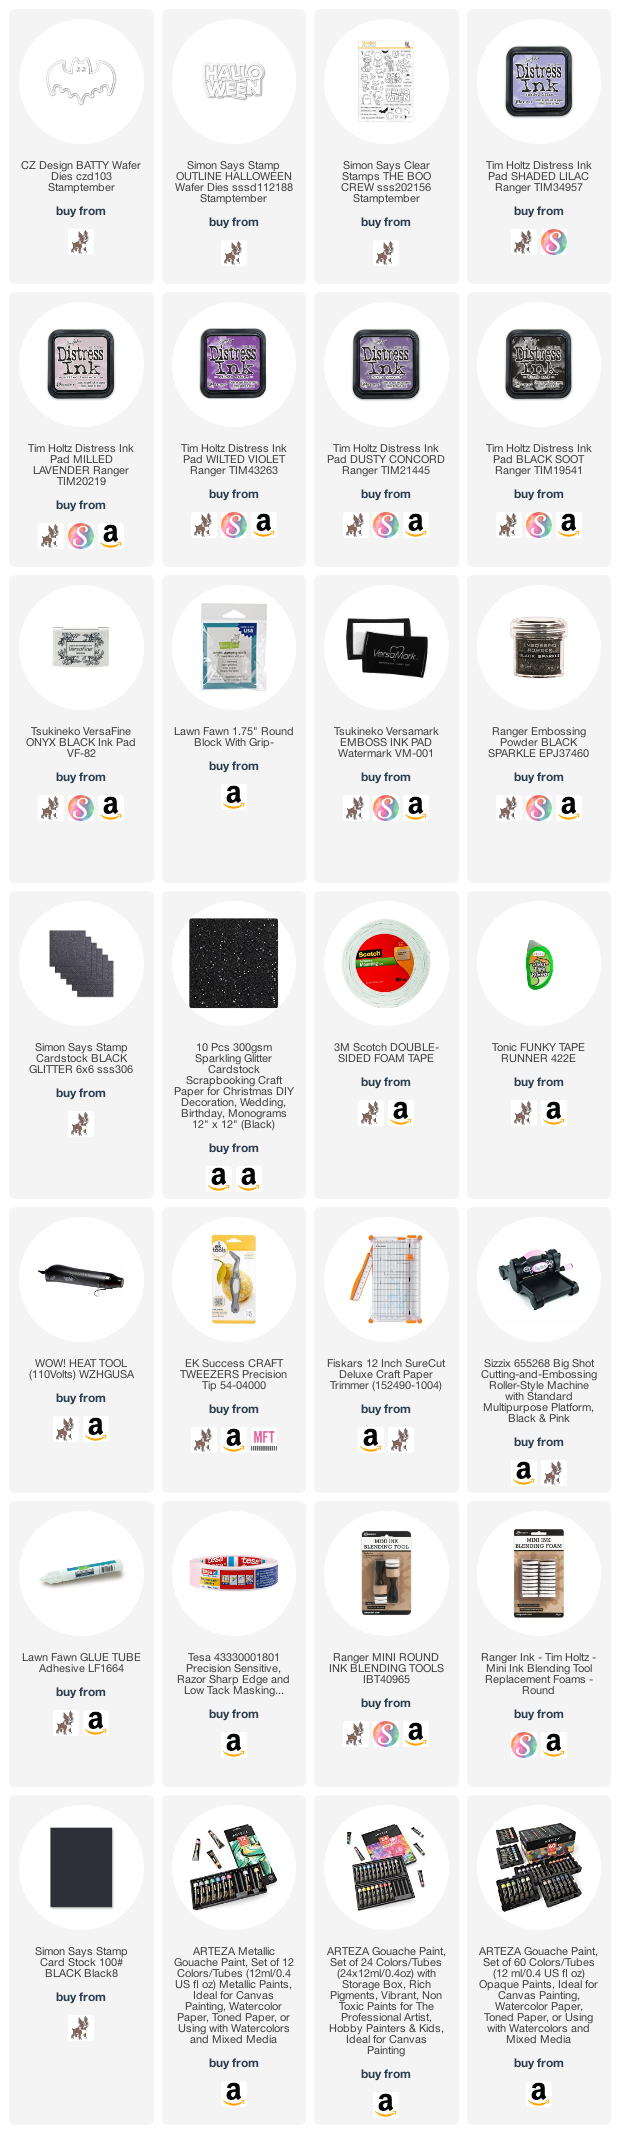
Supplies:
 https://linkdeli.com/widget.js?id=f5e8378456858c916708