
Being in the middle of a big office/craftroom redo, but I’m hopping in to share my latest Merman Scene Card Tutorial using the Under the Sea Theme Bundle by Stamp Anniething. If you want to see all the supplies in the kit you can see last weeks post.
Today I have three videos for you, decided to seperate the real-time coloring videos, both because I didn’t want them to be too long, but also so I could keep the energy up for the voice over. And then as usually I have a card tutorial using the images that I colored up.
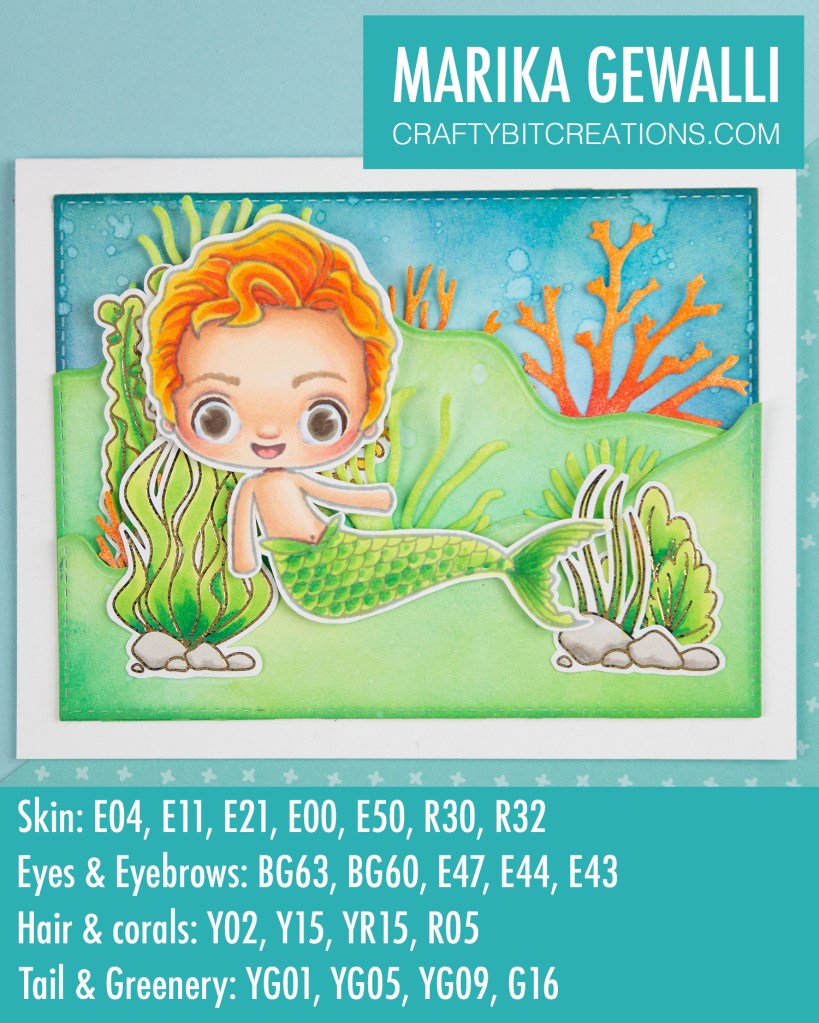
I decided to use the just the Under the Sea Anniething bundle (almost) for this card. I still needed some papers, inks, markers and I could not not use my favourite rectangular die for the base. I wanted the scene to be a more traditional mermaid scene and decided to use the merman to hot it up, well all jokes aside, there is so seldom that you see mermans so getting one in the bundle made me really happy.
I really love the die cuts that came in the bundle, but as I wanted to do the no line coloring technique on the merman, I was a little worried that the black lines on them would be to stark. But then I remebered that Stephen had shown that you can heat foil the pieces! So i brought out my only roll of foil (there will be more, definitely) and my laminator. I actually did a whole test on what you can color the pieces with before laminating, that video will come up next week.
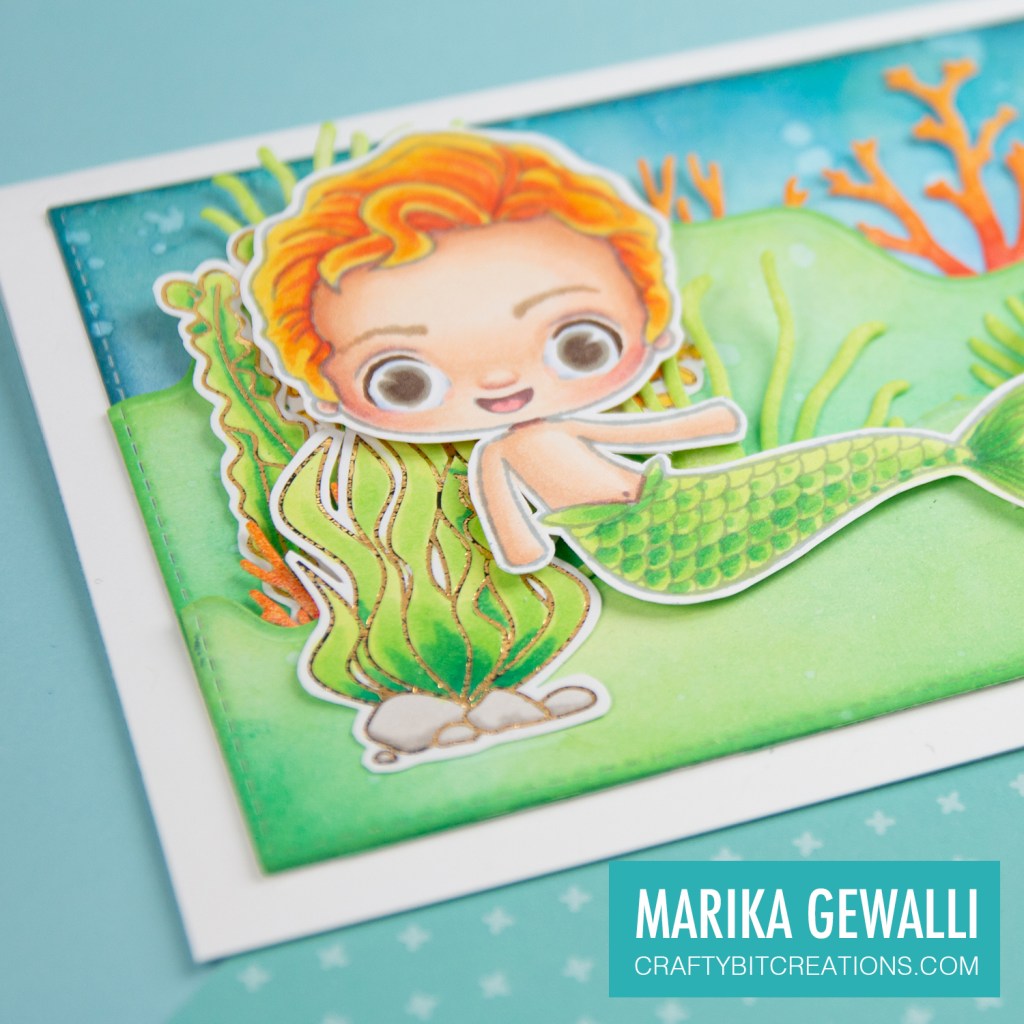
The card together really nice, don’t you think? I have a couple of more ideas to use the set with, they will be coming up here later on. Hope you enjoy the videos. What was your favorite part?
When possible affiliate links are used, this means that I receive a small commission when products are purchased through the links (at no extra cost to you) I use the money to support my blog and youtube channel. If you like my projects and tutorial please consider supporting me by clicking through these links when you shop. Thanks!
Supplies:
 https://linkdeli.com/widget.js?id=f5e8378456858c916708
