Pizza Box with stamped pizza shaker card inside
Uncategorized

Pizza My Heart

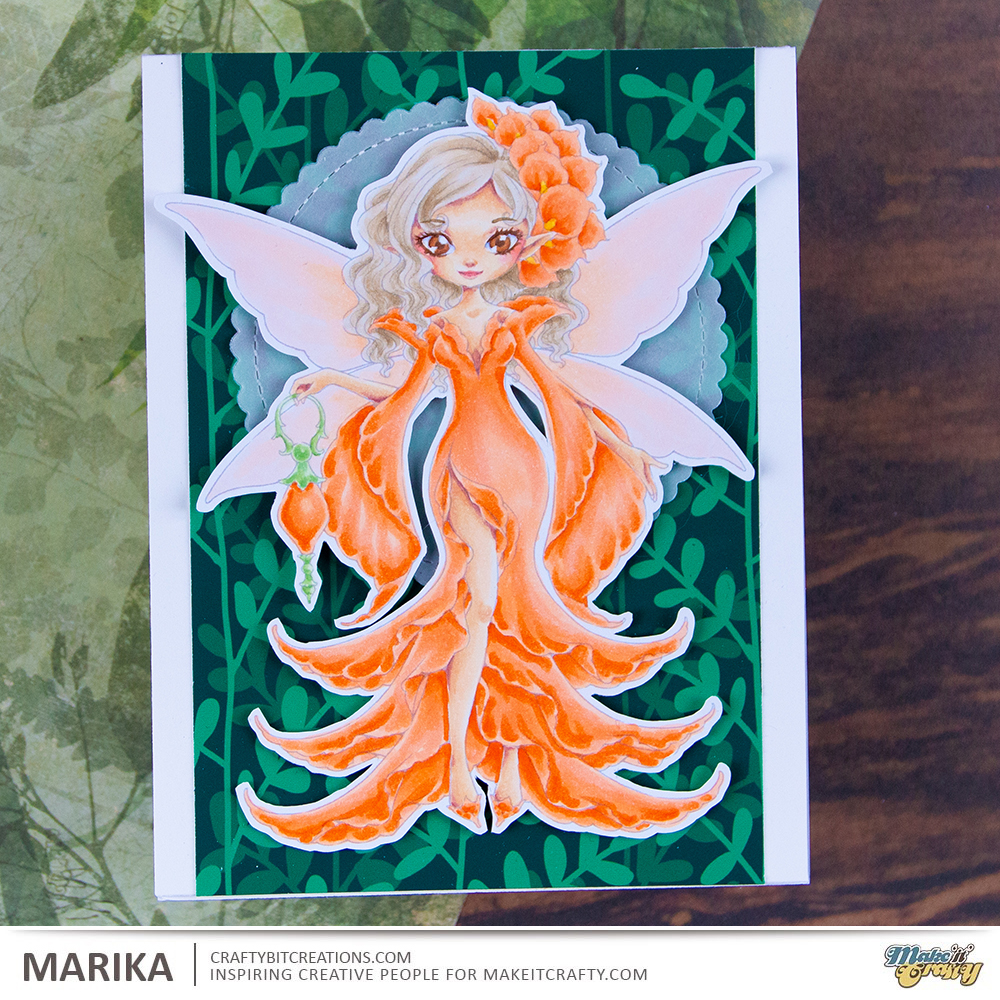
Hi! I was planning for my next video and I knew I wanted to use Lawn Fawn Stamps. So I headed over to Lawn Fawnatics to see what the latest challenge is and if it would fit my plans. The challenge is Fun With Food! but it ends tomorrow and there is no way I’m turning around a video in that time.

open mini pizza box with stamped pizza shaker inside

I knew I really wanted to join in with the challenge, and I have a super cute set called Pizza My Heart that I hardly used. So I decided to just make a blogpost about it.

Mini pizza box

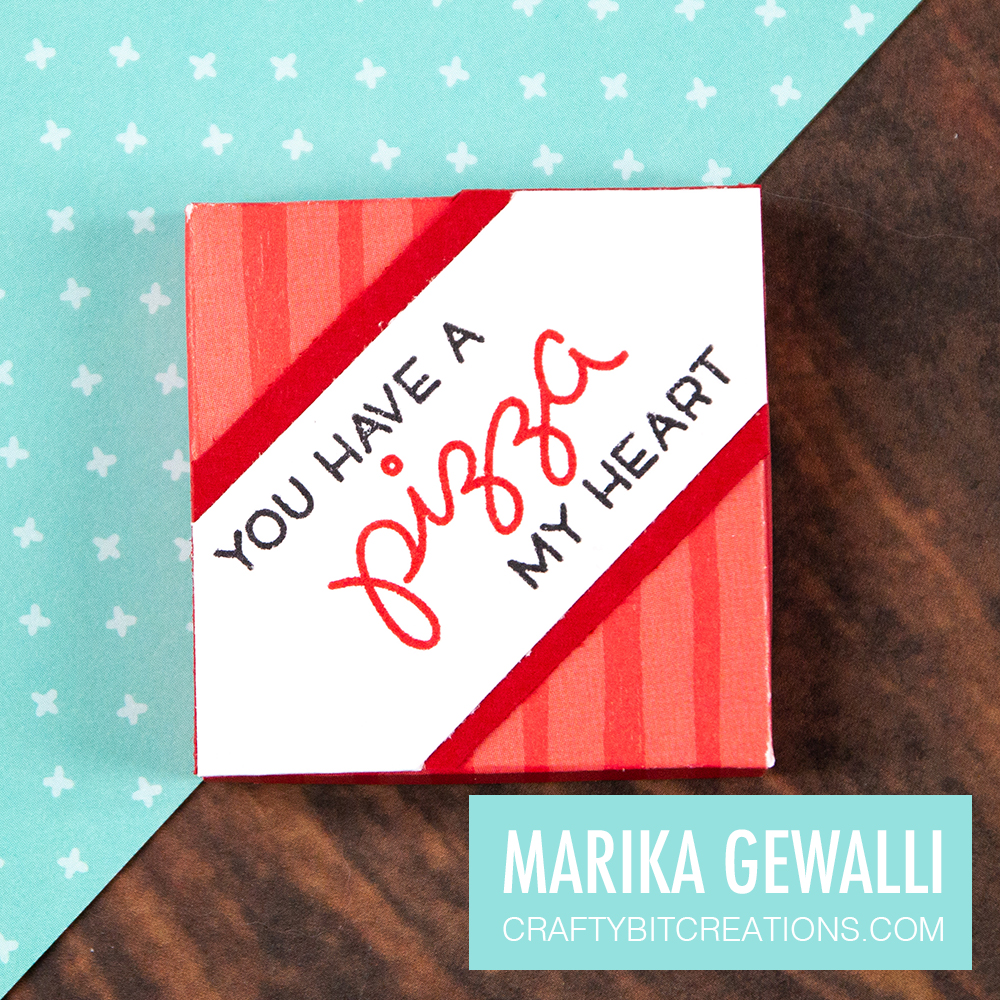
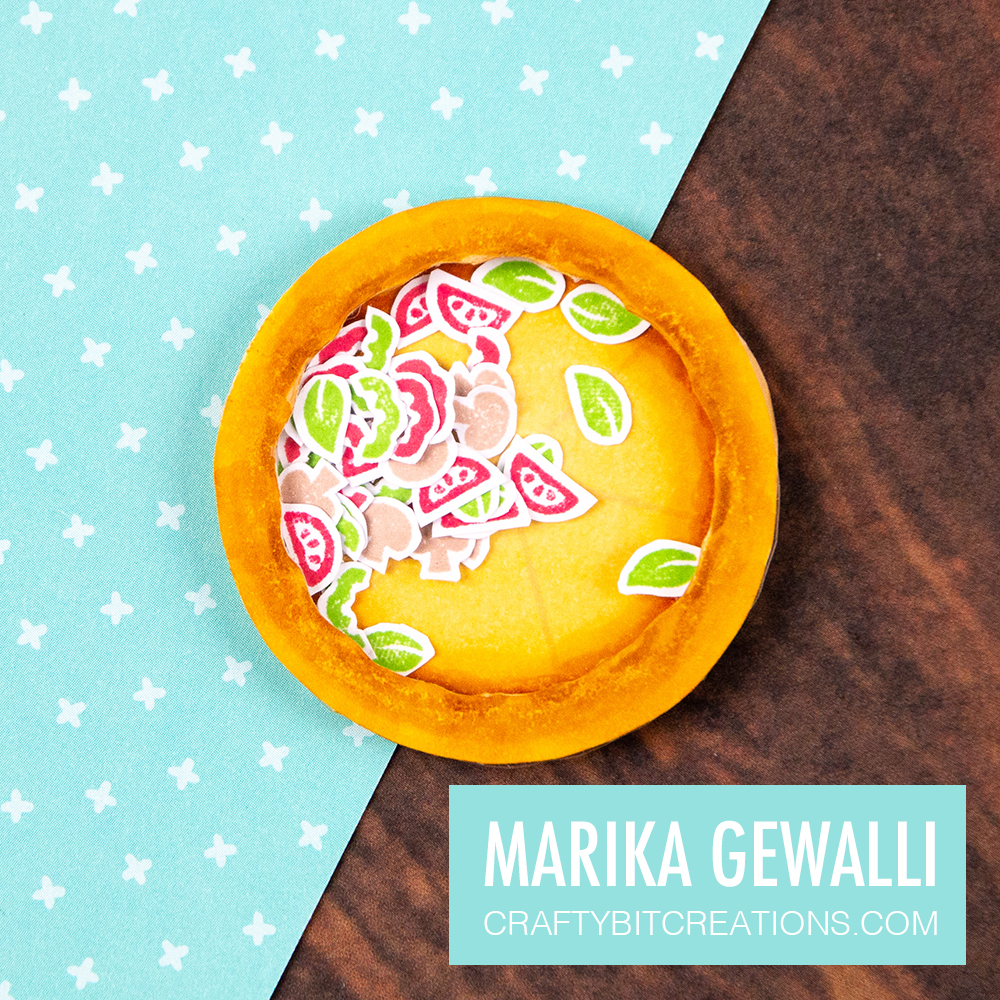
I just had to make a pizza box, and after playing around with a couple of different cardstocks, I tried it with some red patterned paper from the Real Rainbow 6×6 set and it was perfect. However I did realise that I wanted my pizza to have a little dimension, so I turned it into a little shaker card. I coloured the pizzas with copics, well just one full one, the other other one I cut out the inners and backed it with some acetate to make the shaker window. I cut up some double-sided foamtape into strips, and removed the backing so it would be easier to create a circle with. For the shaky bits I stamped loads of those topping stamps with different coloured Lawn FawenThose little vegetables took forever to cut out, but it was totally worth it! Don’t you think?
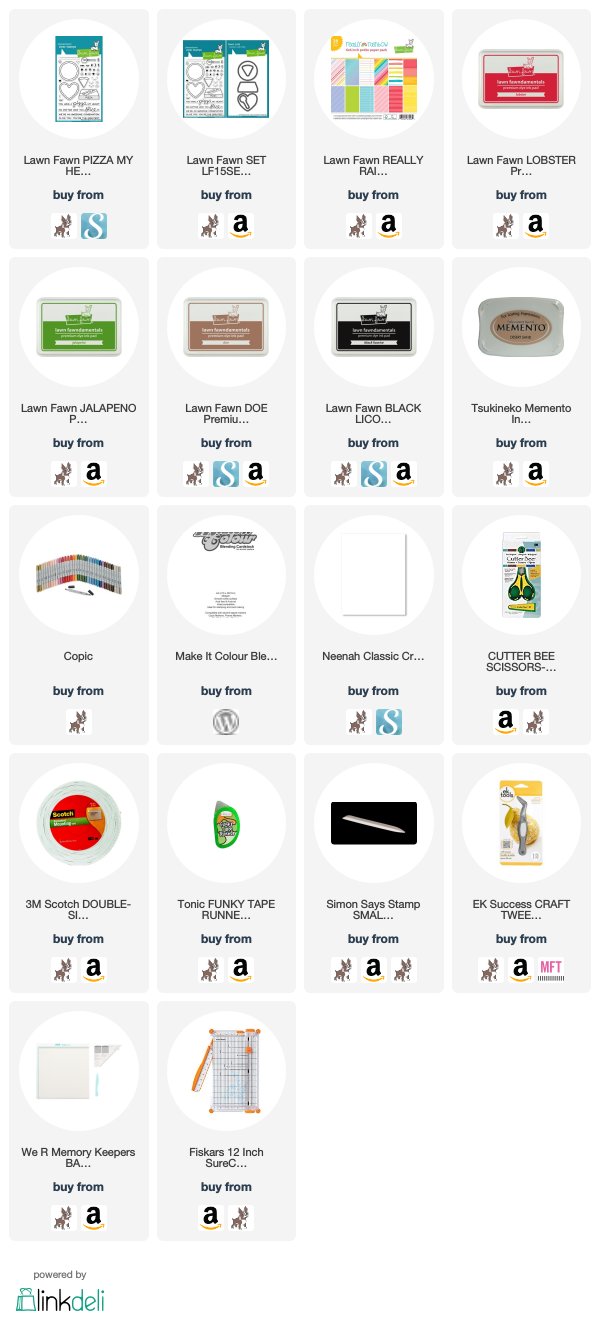
stamped pizza made into a shaker

Supplies:

When possible affiliate links are used, this means that I receive a small commission when products are purchased through the links (at no extra cost to you) I use the money to support my blog and youtube channel. If you like my projects and tutorial please consider supporting me by clicking through these links when you shop. Thanks!

https://linkdeli.com/widget.js?1552642647875
Uncategorized

Doodlebug Design Haul

Hi! My first craft supply order for 2019 just came and I’m so excited with all the products so I wanted to share them with you. My order came in from Scrapbook.com and if it hadn’t been for it getting stuck in customs, which all packages do now a days, it would have been here super fast. I prefer to get my packages with anything else than postnord, which means I need the packages not to go with USPS from the states.

However this “only” took 2 weeks from entering Sweden to arrive and right now I’m super excited to get to play with all the crafty stuff. This order is only Doodlebug Designs products, which by the way is on sale at Scrabook.com at the moment! I’ve been ogling the B6 travelers notebooks covers for awhile, as I’m trying to get better at planning, and I finally bit the bullet at picked one up, together with some matching inserts. But Doodlebug Designs are my absolute favorite paper designers so I needed to pick up some new pattern paper packs and their new stamp collection, well not all but almost! I’m going to have so much fun playing with these supplies.

Btw if you want to join me on my planning journey, I started a channel just for that which you can find at Coffee & Planners.

Supplies:

When possible affiliate links are used, this means that I receive a small commission when products are purchased through the links (at no extra cost to you) I use the money to support my blog and youtube channel. If you like my projects and tutorial please consider supporting me by clicking through these links when you shop. Thanks!

https://linkdeli.com/widget.js?1552642647875
Uncategorized

Birthday Card Tutorial | No-Line Coloring

Hi everyone! In todays video tutorial I’m showing you how to use the no-line coloring technique on Jojo a digital stamp by Make It Crafty. And how to use that image for a more neutral birthday card.

Jojo is a part of a the Petal Sprites Collection which contains 6 equally cute characters. I did say I thought I had colored every character in this series, but after looking at it I had confused it with another collection and I now have 5 more adorable characters to make into cards!

I’ve used a very soft color combination, and a keen eye can see I used the same colores for the Bluebell fairy from the bloghop earlier this week. Well I did record this video awhile ago so it’s actually the other way around. I just fell in love with the blue purples and I might continue to use it more, maybe.

However the no-line coloring technique is something that most definitely will be used a lot more. It makes the images so much more dimensional and at the same time so much more soft. I still color images with lines to as I do believe that both ways have their own place in card making. The trick with no-line coloring is to make the lines soft enough so when the coloring is done you hardly can see the lines, while keeping them dark enough so you can see them when you are coloring. For me that is printing them with a 20% opacity when I’m using digis, or using London Fog Memento ink for when they are stamps. Another trick is to print/stamp one with black ink on some printer paper to have on the side for reference.

And then finally we have the card making. I knew I wanted to use a Make it Crafty chippy, but I didn’t have any matching happy in my stash (really need to place a new order soon) so I kept with the Birthday one and used my Birdie Brown Alphabet & Numbers Die-namics to write the word happy. I decided to color both the chippy and the diecuts with my markers to perfectly match the coloring. And that was how I put it all together!

If you have come this far, thank you so much for reading my blog, do you have any Make It Crafty Stamps that you want me to make a card with next? Comment down below.

Copic:

E50, E00, E21, E11, E04, R30, R32
E33, E23, E25, E59
BV02, BV13, BV04
N0, N2, N4
E50, E51, 0G43, G46

When possible affiliate links are used, this means that I receive a small commission when products are purchased through the links (at no extra cost to you) I use the money to support my blog and youtube channel. If you like my projects and tutorial please consider supporting me by clicking through these links when you shop. Thanks!

Supplies:

https://linkdeli.com/widget.js?1552642647875
Uncategorized

Fairy Bloghop

————- Winners Update ————————————
Congratulations to our three winners, randomly selected from three different blogs along the way. 

Sandra from Nicoletta’s blog
Fabulous coloring, love the new digi’s!!! Adorable!

Marjeta from Rosie’s blog
As always amazing colored image. Whole card is fantastic.

Henriëtte from Delphine’s blog
Ohh WoW Delphine, what a stunning colouring on this awesome Fairy. I love that you put her in a frame, it also would be a lovey pressent this way. Thank you so much for sharing.

Please contact Zoe via http://www.makeitcrafty.com/contact-us.html and let her know which one is your favourite fairy.
——————————————————————————-

Yay! We are so excited to share the gorgeous new Flower Fairies from Make it Crafty with you. It has been quite a while since we’ve released new images, that we thought it was worthy of a blog hop and of course a give away. 🙂

It’s just a quick hop, with of course gorgeous colouring to inspire you, so be sure to leave a comment on each blog post so that we know you ‘hopped’ on by. PLUS there are three secret giveaways along the way and if you win, you will be able to choose to keep your favourite fairy!

So without further ado, let me show you the cards I have made, I loved them all and just couldn’t choose so I made cards with them all!

Fairy Bluebell Digi Stamp

Fairy Lily Digi Stamp

Fairy Tulip Digi Stamp

Thank you so much for joining us on this fun little blog hop and I hope you’ll have a quick chance to leave a comment before you continue hopping. I may just be the lucky one hiding a little fairy for you. 😉

Blog Hop List

Of course if you can not wait to find out if you are a winner, be sure to head on over and snap up your favourite fairy now and Zoe will be more than happy to refund you should you win!