Hi guys! Today I have a quick tip video for you showing how to print digital stamps for the no-line coloring technique using pages for mac or google docs which you can use on any operating system. As I color most of my images in the no-line style I get often ask how to do this. I personally use photoshop but I also know that many don’t have that. So I thought showing you both pages and google docs would make it easier for more people to try this.
When I saw Barbara share about her Polka Dot Pals Freebie I just knew I had to have it and make a video about it. So in todays video I show you how to create a card with Polka Dot Pals Gemma and how to layer diecuts of the same size and shape to make the focal image pop from a very buzy background.
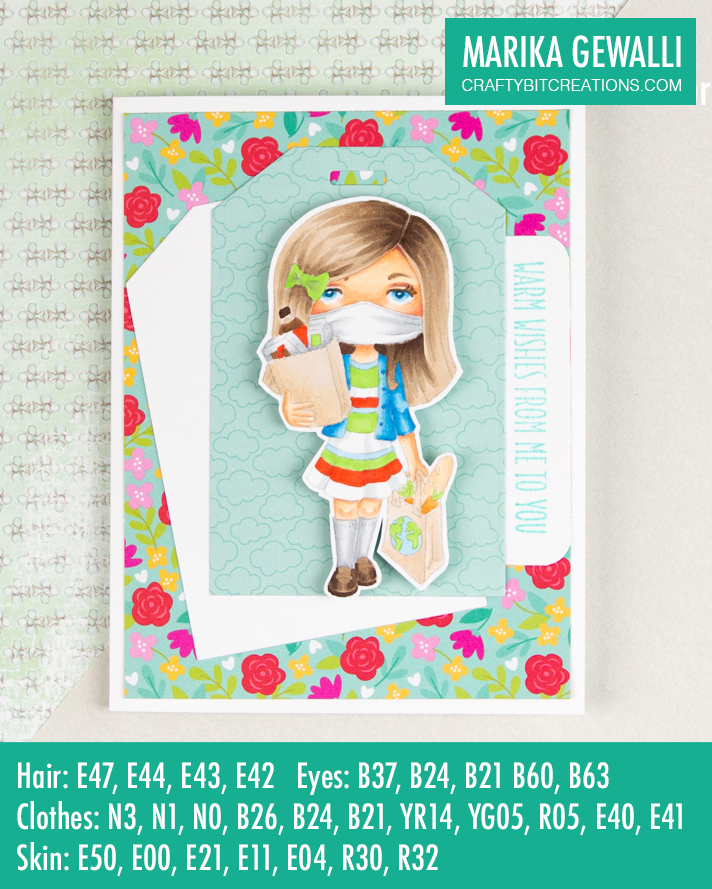
I love Polka Dot Pals and when I had to take the big decision to leave the DT team for Little Miss Muffet Stamps back in late 2016 I did it with a heavy heart. I was even more sad when Barbara closed the door to Little Miss Muffet Stamps a couple of years later. And I was equally happy when I heard that she had taken her Polka Dot Pals to Whimsy Stamps and I could start craft with them again. However due to economical constraints I haven’t been able to purchase any stamps yet.
It is looking a little bit better tho and after picking up Gemma (which is a freebie, have I told you that yet?!) and colored her up I now know that I have to make room in my budget for the other Polka Dot Pals.
I had so much fun, creating her face (she looks a little bit tired/sad tho, so next time I have to make sure the iris is a bit rounder) and picking out the colors. In the back of my mind I knew I wanted to use the Love Notes papers from Doodlebug Design so I tried to pick the green and red to match and a blue that could coordinate.
To create the card I actually didn’t know how it would turn out going into it. I picked out some papers from the pad, one of them had a bunch of tags. I didn’t end up using that paper, but the tag got me digging among my stash for different tags and settled with the Cross-Stitch Tag die by My Favorite things. It’s a one off, but after cutting out my papers I found that the papers in themselves didn’t have enough contrast between them. So I cut out another of the tags, this time in white cardstock, and layered it behind the other one at an angle. And there I got the contrast and the tag got visible and a perfect layer for my focal image.
Hope you enjoy my videos and the card. Btw I have a tiny tiny giveaway on the cardmaking video, more information in the video 🙂
When possible affiliate links are used, this means that I receive a small commission when products are purchased through the links (at no extra cost to you) I use the money to support my blog and youtube channel. If you like my projects and tutorial please consider supporting me by clicking through these links when you shop. Thanks!