I had not one but two birthdays sneak up on me, and needed some quick and simple birthday cards. So I went to a clean and simple layout and just changed up the colors and stamps.
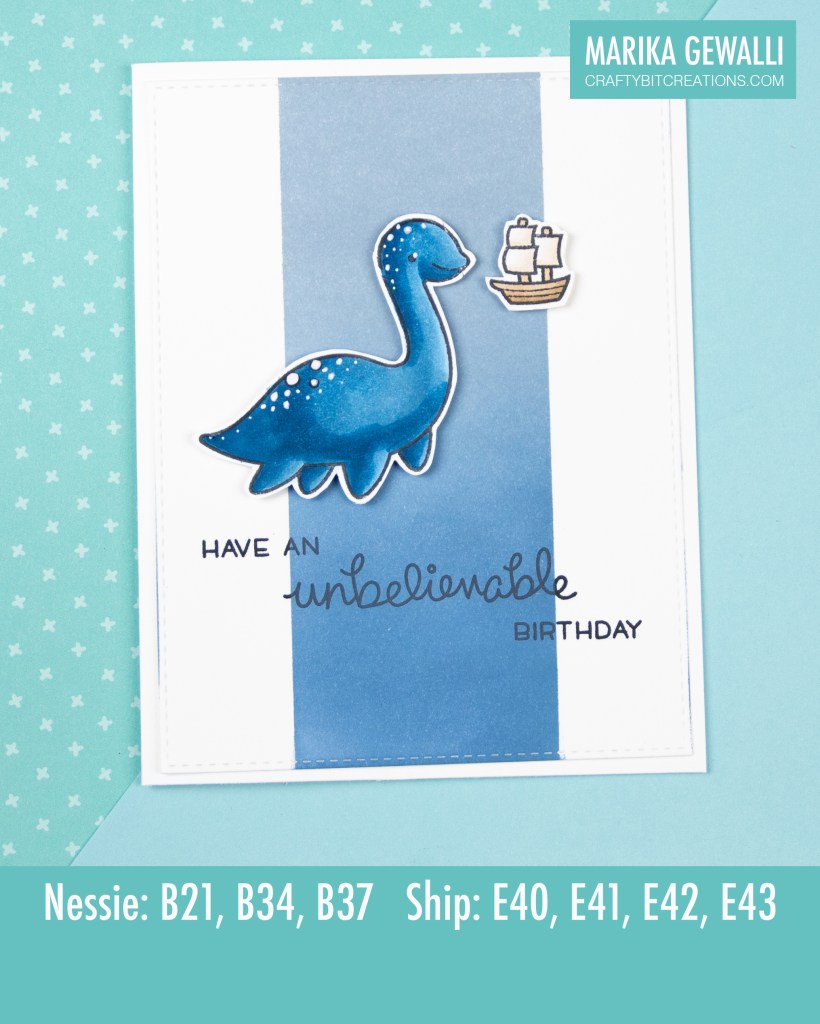
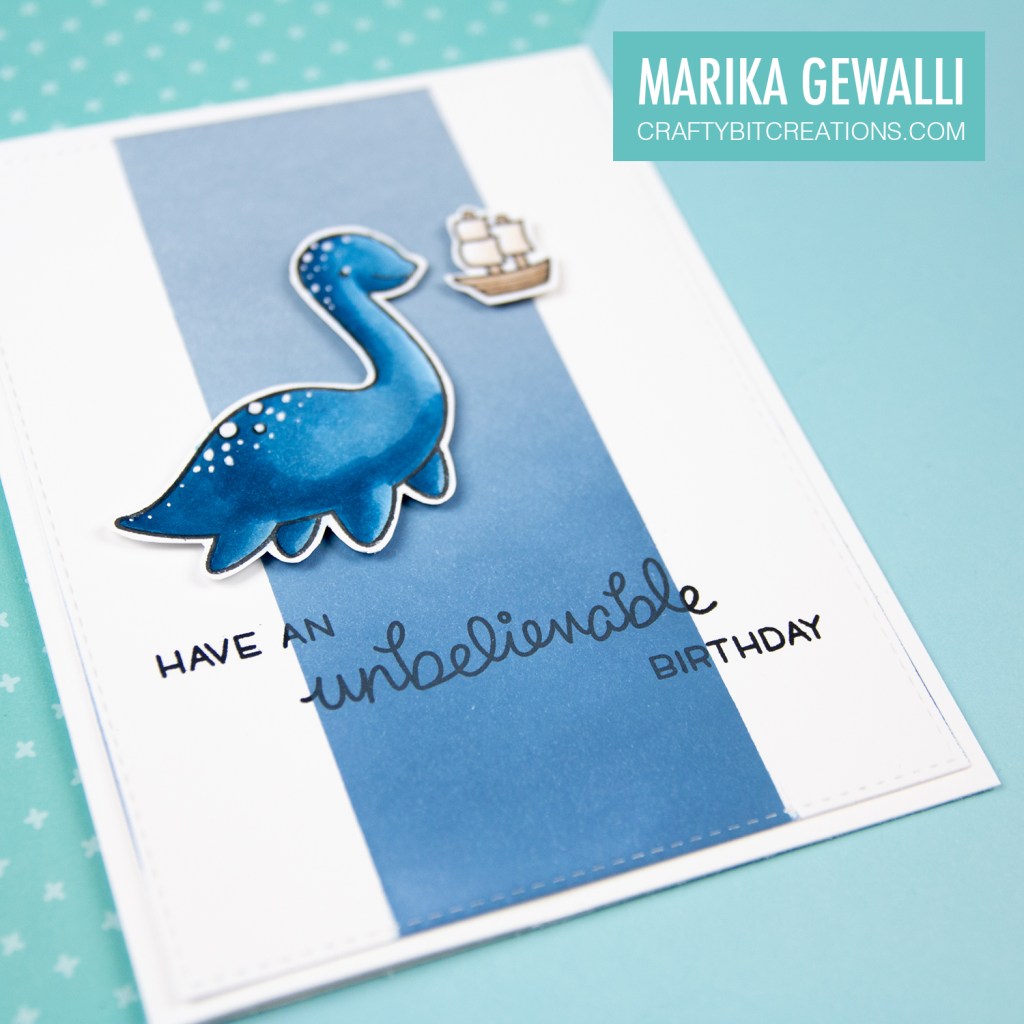
For the video tutorial I made the blue card, this was for my boyfriends brother, so I used the Lovable Legends stamp set from Lawn Fawn. Matched it up with some blue and brown copic coloring and some simple Distress Oxide Ink blending. Very quick and very simple.
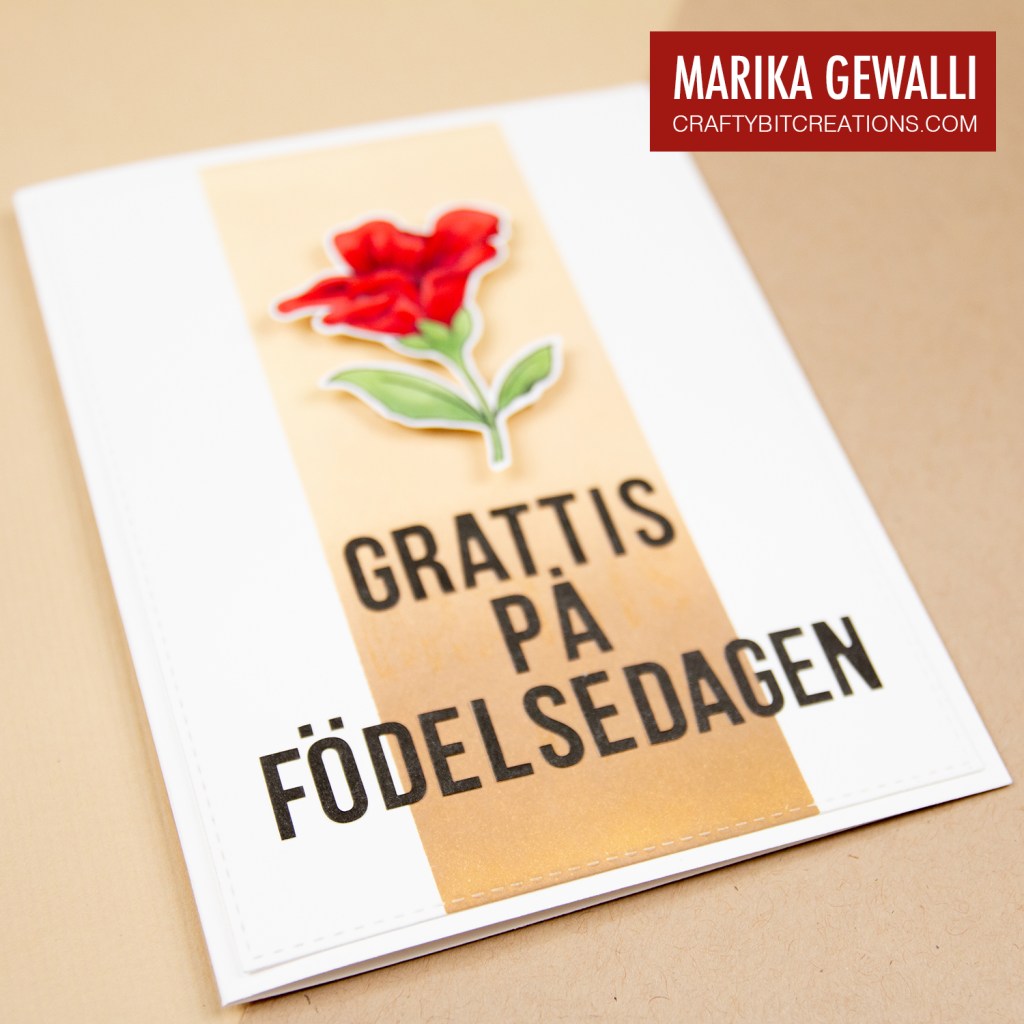
The other card was for my grandmother, and because she is Swedish and don’t speak english I wanted to have a Swedish sentiment. I don’t have any stamps with that, so I’m using some Kelly Purkey/Simon Says Stamp Alphabet Stickers, these are real old one that I got in a Simon Says Stamp Card Kit back in 2012-2013. But you could use any kind of alphabet stickers. I spelled out “Grattis på födelsedagen” which basically means happy birthday in Swedish.
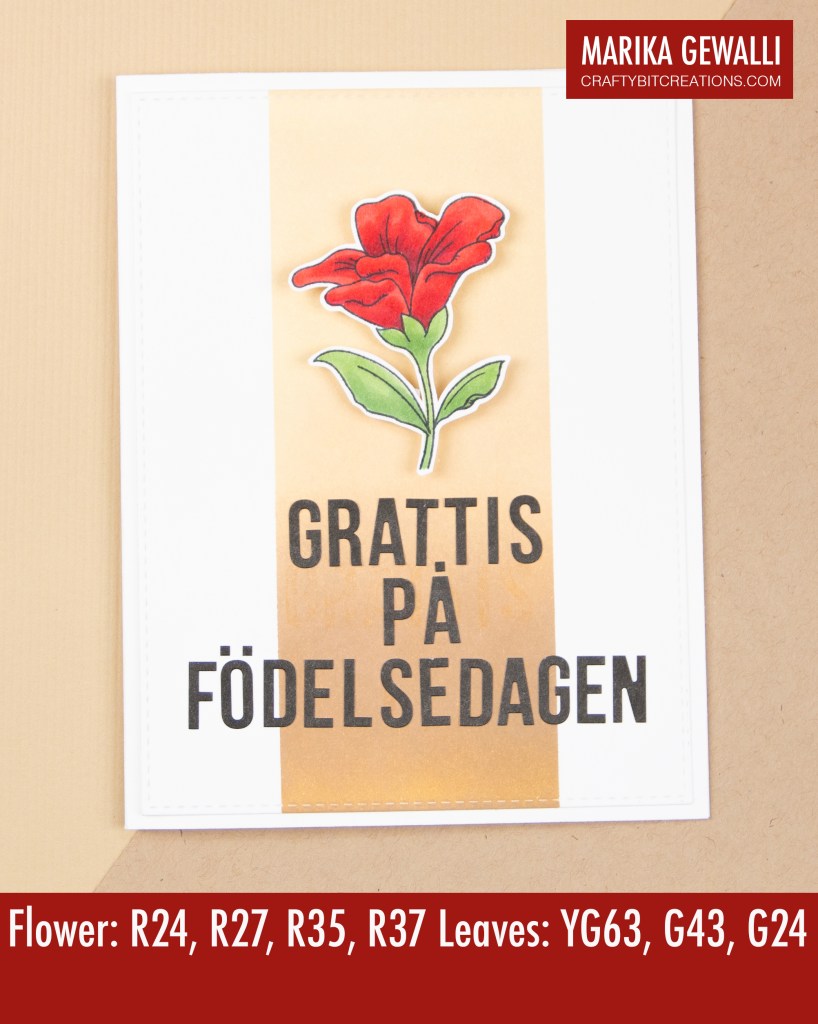
For focal image I’m using a flower from the For All Moms stamp set by Simon Says Stamp. And colored it with copic markers, placing it on the same kind of blended mid border as with the previous card.
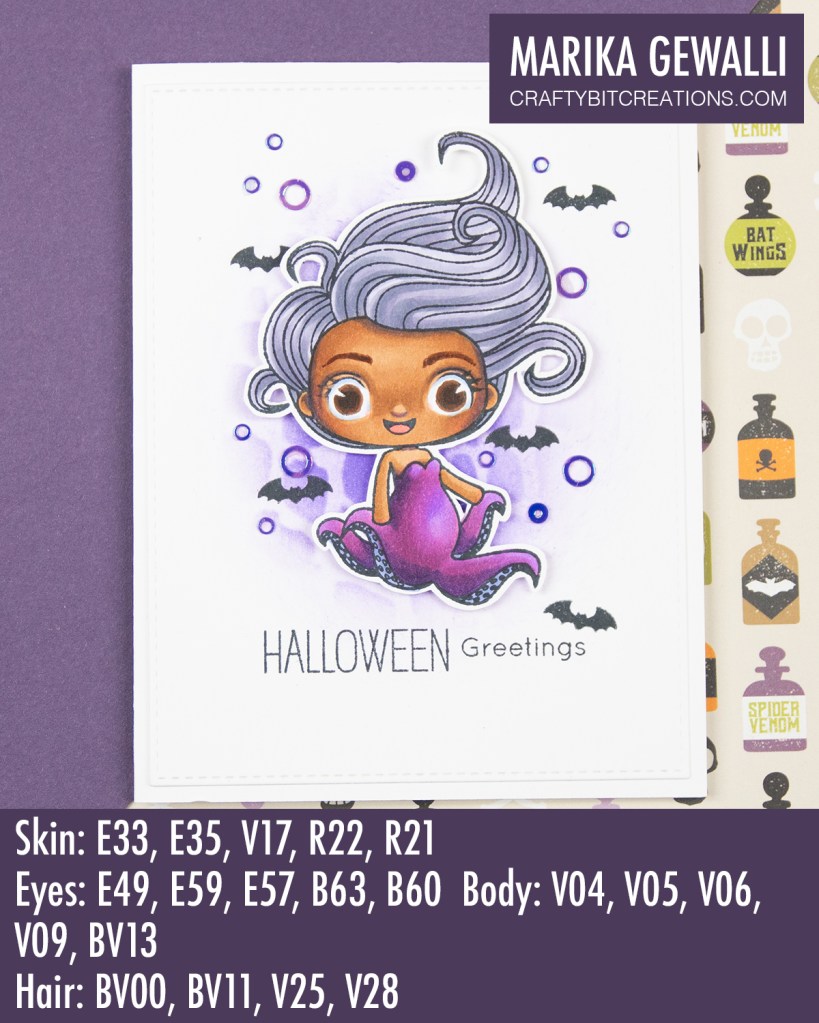
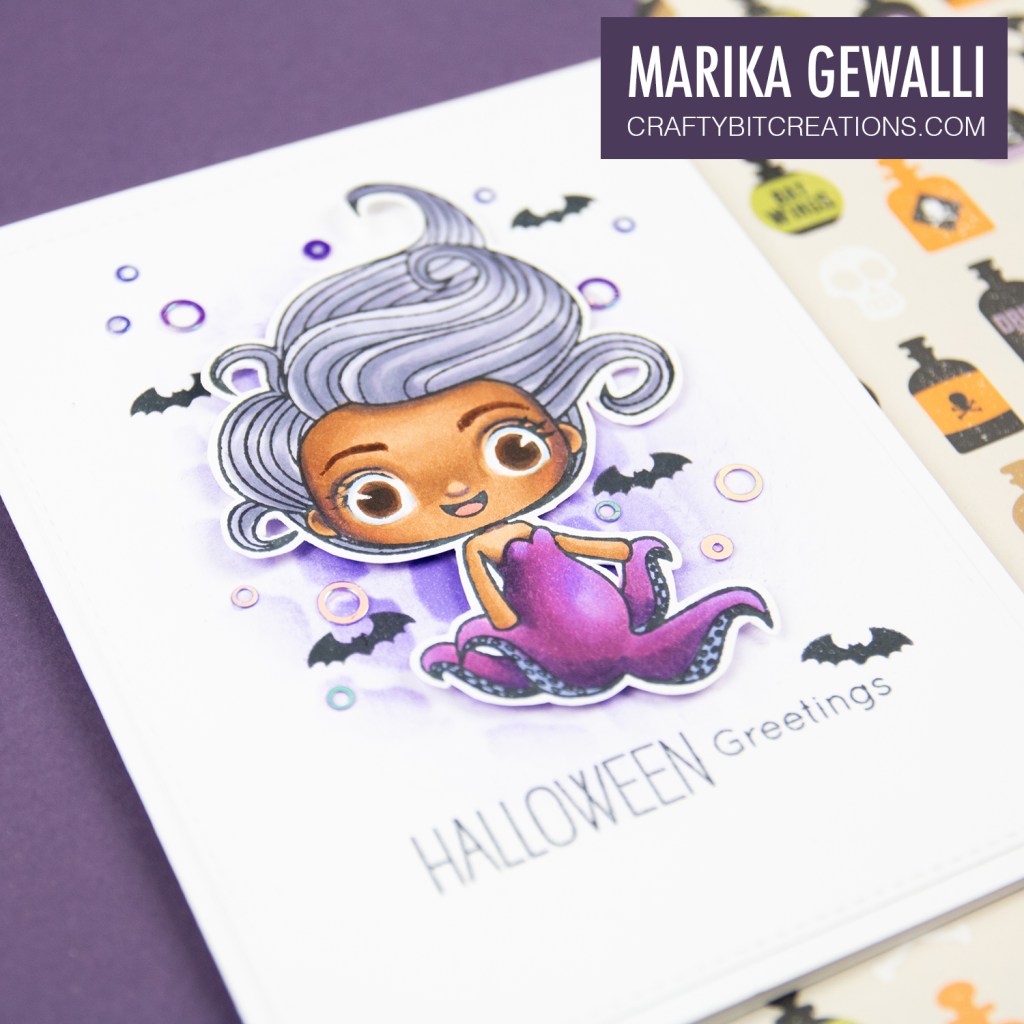
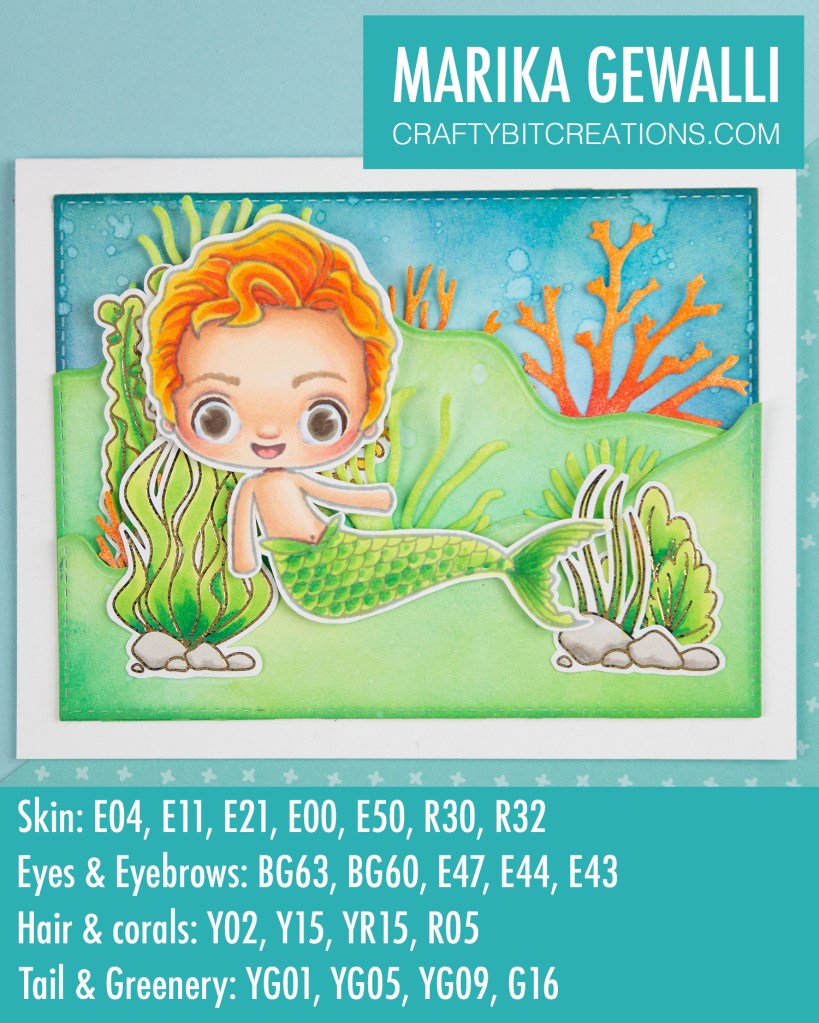
Copic:
Nessie: B21, 34, B37
Ship: E40, E41, E42, E43
Flower: R24, R27, R35, R37
Leaves: YG63, G43, G24
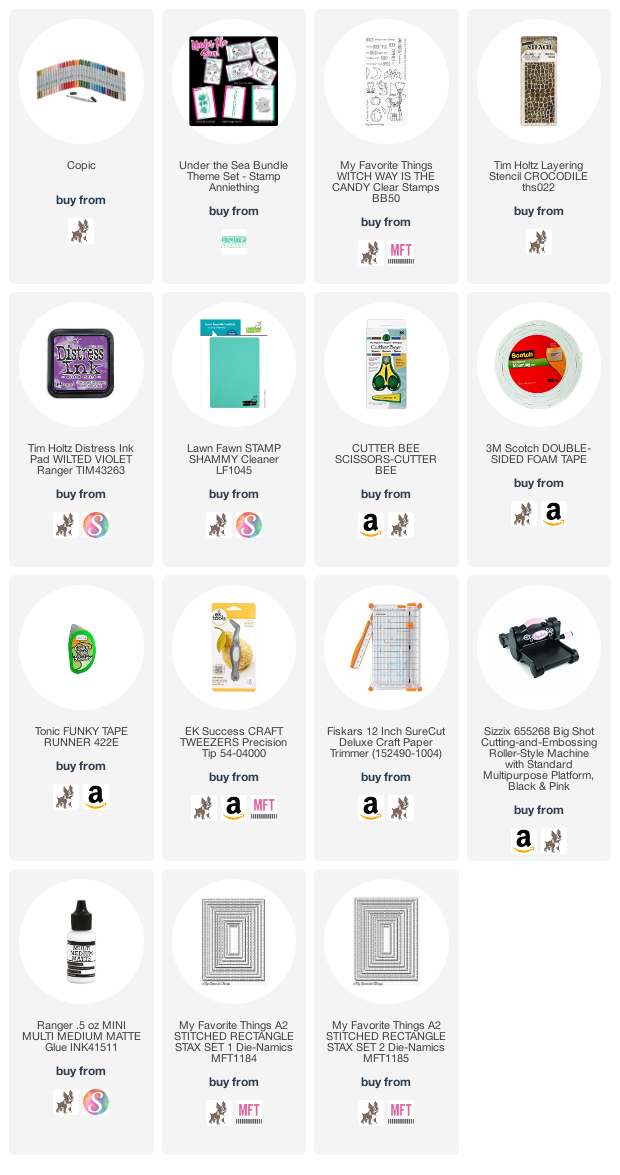
When possible affiliate links are used, this means that I receive a small commission when products are purchased through the links (at no extra cost to you) I use the money to support my blog and youtube channel. If you like my projects and tutorial please consider supporting me by clicking through these links when you shop. Thanks!
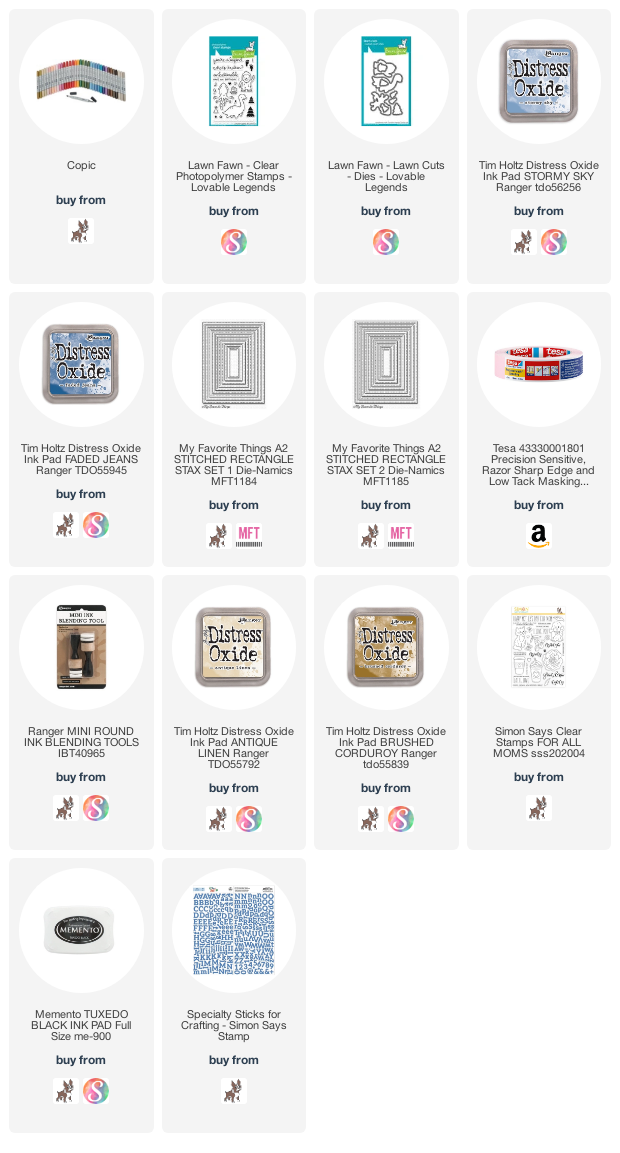
Supplies:
 https://linkdeli.com/widget.js?id=f5e8378456858c916708