
Happy Valentines! Today I have a bit of a longer project. And I know it’s actually valentines today but I believe you can give these kind of love projects all year around and not only on valentines! Also I believe that not only are these suitable to your love but all your loved one can appreciate a project like this.
I actually not only have one project for you, I have another project that I made that coordinates with the accordion card. I’m releasing that video over at Craft World. Craft World is a new craft community that I have been honoured to be asked to be a part of. And all of you can be apart of it too! For free! If you choose to join with this link they will know that I sent you (and I will get a small commission).
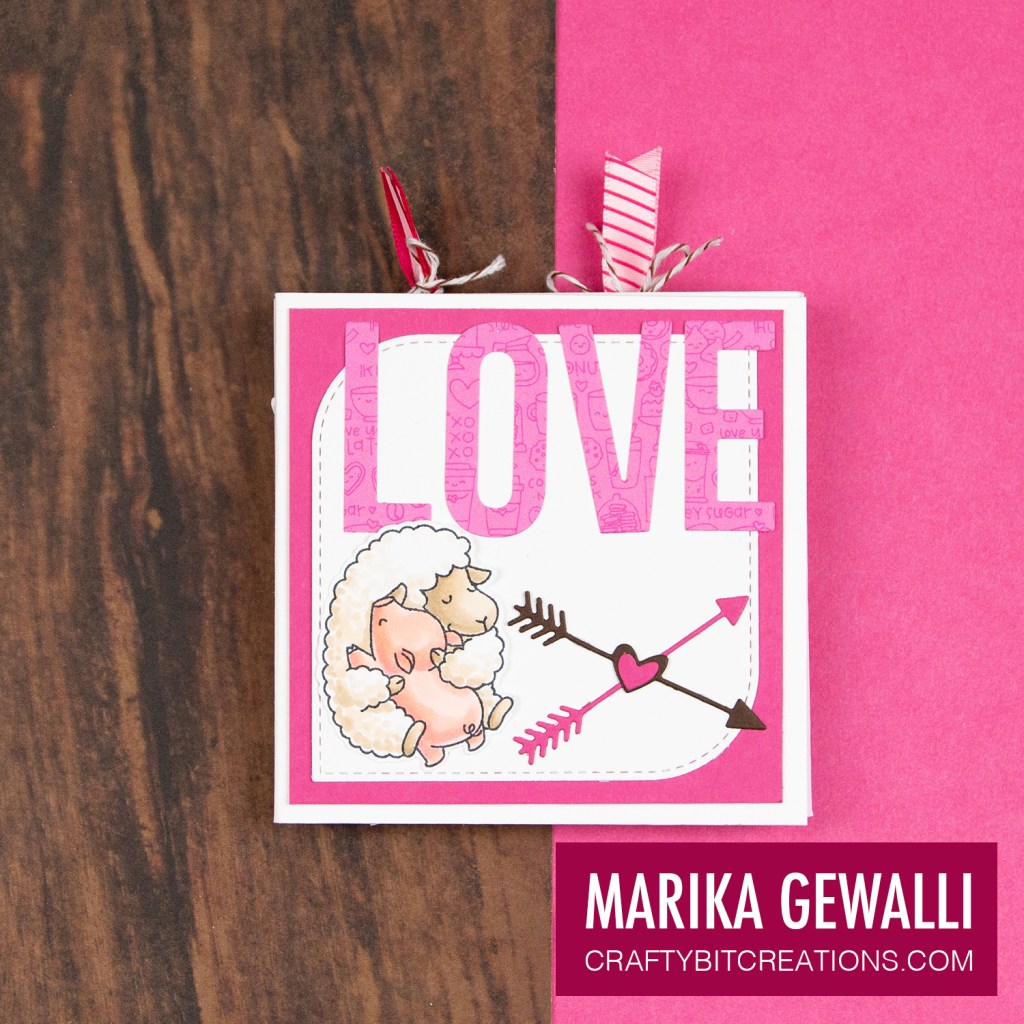
But back to the project here, I have made an accordion card, I have chosen to use one double fold. But you can make it as big as you want!
For the base you need one piece that measure 3 3/4″ x 7 5/8″ and another piece that measure 3 3/4″ x 8 1/8″, if you would make it longer that is the piece you repeat.
You will score the 3 3/4″ x 7 5/8″ piece at 3 3/4″, turn the card stock 180 degrees and score again at 3 3/4″ and that will get you a 1/8″ spine, this is so you can layer and fit more extra pieces in your accordion and still shut it nicely.
The 3 3/4″ by 8 1/82 piece should be scored at 3 3/4″ and 3 7/8″ then turned 180 degrees, flipped and score at 3/8″ and 1/2″. The 3/8″ piece will be the tab that you attached the piece to the other piece, and you score for it on the other side than the 3 3/4″ score as you want it to be folded in the other direction. It’s that piece that makes it an accordion.
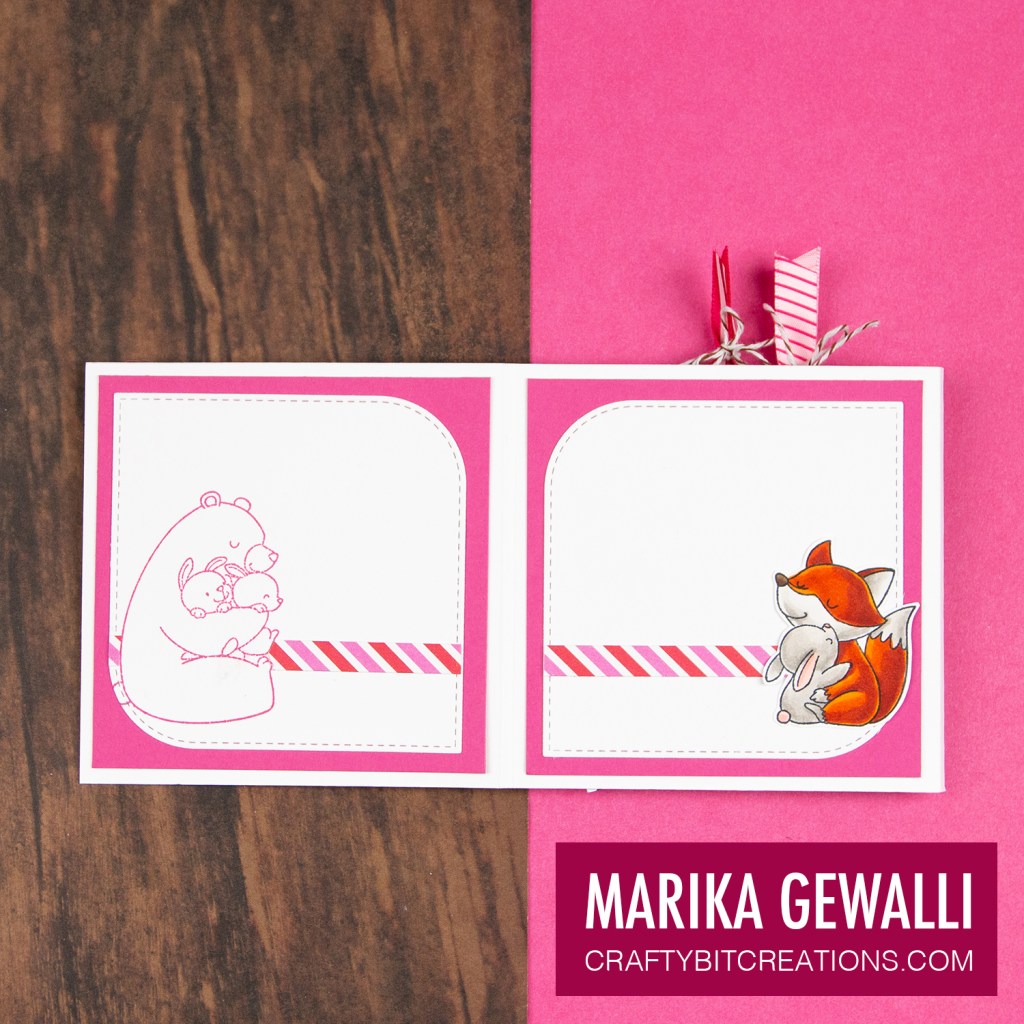
After putting the base together it’s time to decorate. I have based the white base with 3 1/2″ squares out of coloured card stock. I cut out 8 of them decorating all sides of the accordion. I then matted them with a 3 1/4″ square I cut out with the mod square dies, but you can use any dies or just cut them with your paper cutter. One of the colored 3 1/2″ squares is a pocket. I made that by taking a 4 1/4″ x 3 7/8″ piece of card stock, scoring 3/8″ tabs, 2 on the long side and one on the short, leaving a 3 3/4″ square in the middle. Mitring the tabs.so they didn’t overlap when I folded them in.
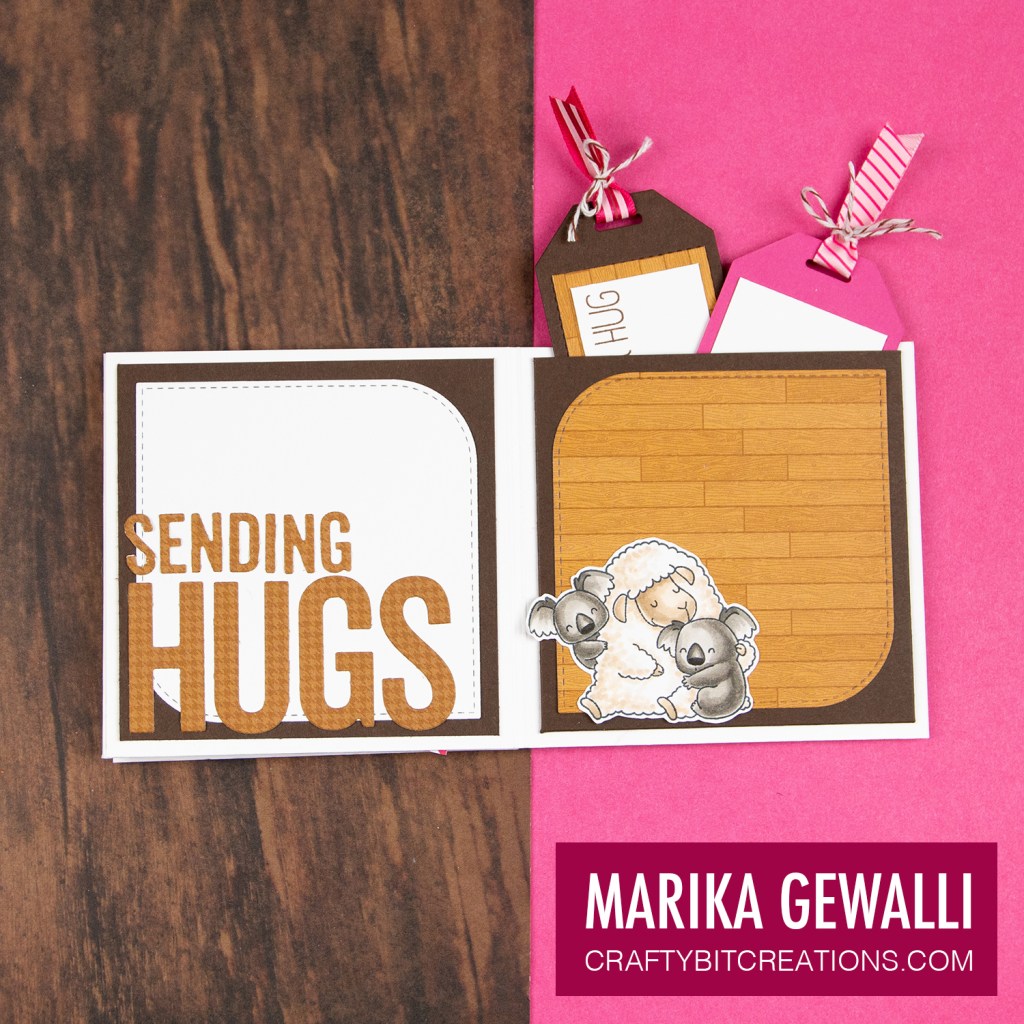
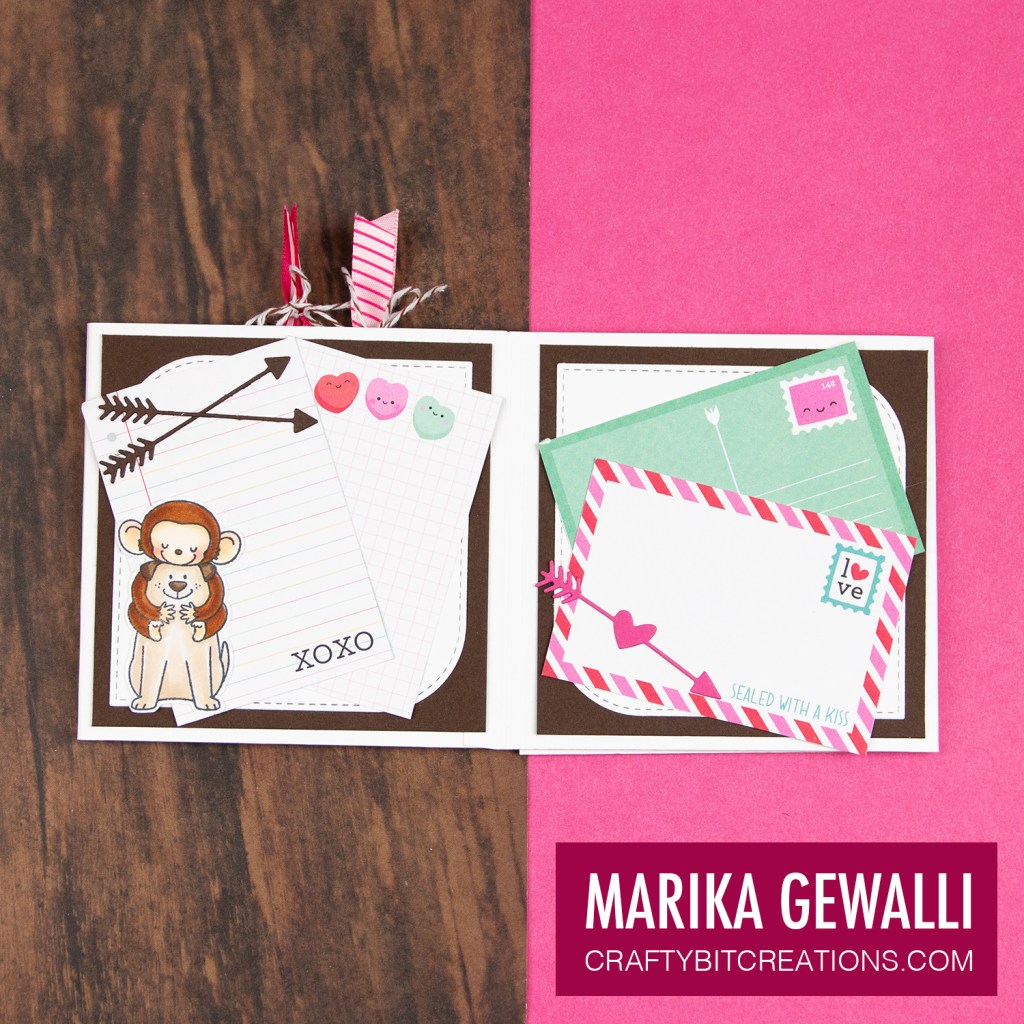
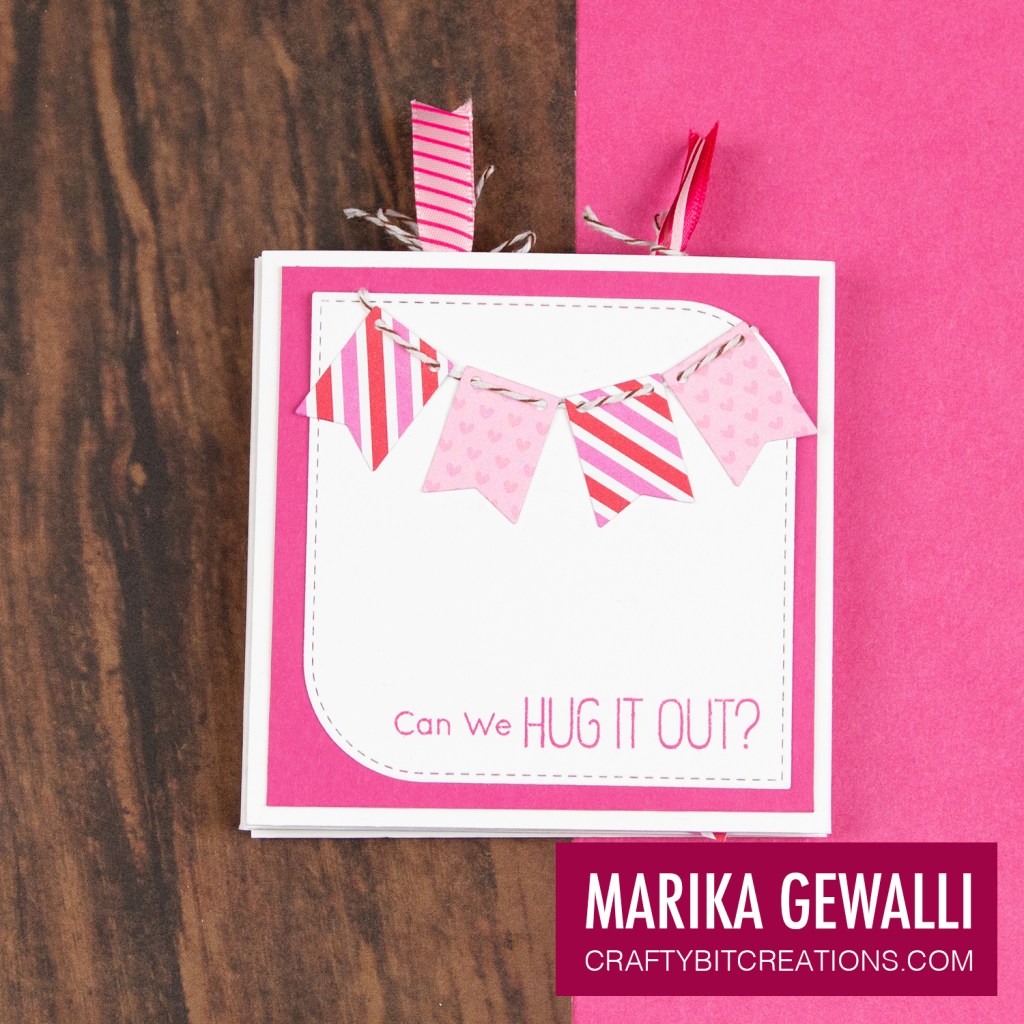
I have mixed using white card stock and pattern paper. For stamps I used the Hug It Out stamp set, both coloring and cutting out images and in some cases just stamping their outlines in coordinating ink.
I choose to go with a pink and brown color combination, both because I love pink but also by using brown you can add more colourful accents and only needing to match the pink. Then I just went crazy playing with a couple of pattern paper packs by Doodlebug Designs and dies, stamps, card stocks and coordinating inks by My Favorite Things.
Hope you enjoyed the video! And again happy valentines! Love you all!
Copic:
W0, W2, W4, W6, W8, W10, E40, E41, E42, E43, E44, E47, E49, R30, R32, R11, R12, E50, E51, E53, E27, E35, E37, E39, E09, E19, YR16, YR18, 0
When possible affiliate links are used, this means that I receive a small commission when products are purchased through the links (at no extra cost to you) I use the money to support my blog and youtube channel. If you like my projects and tutorial please consider supporting me by clicking through these links when you shop. Thanks!
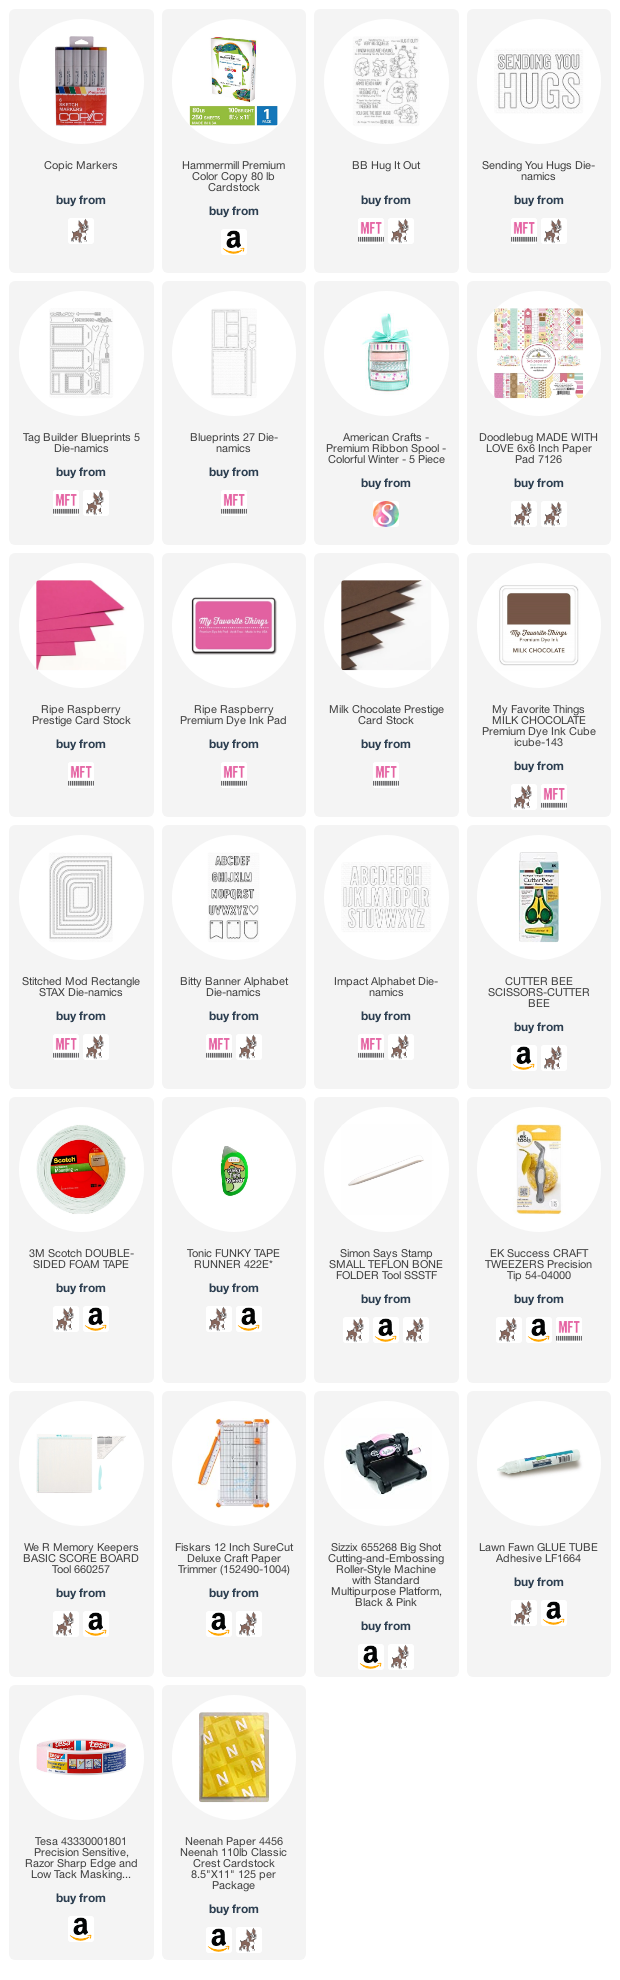
Supplies:
 https://linkdeli.com/widget.js?id=f5e8378456858c916708
