First craft tutorial of the year is a Box Card for Ghirardelli Chocolate Squares. I will also show have to make a matching box envelope with the envelope board by We R Memory Keepers.
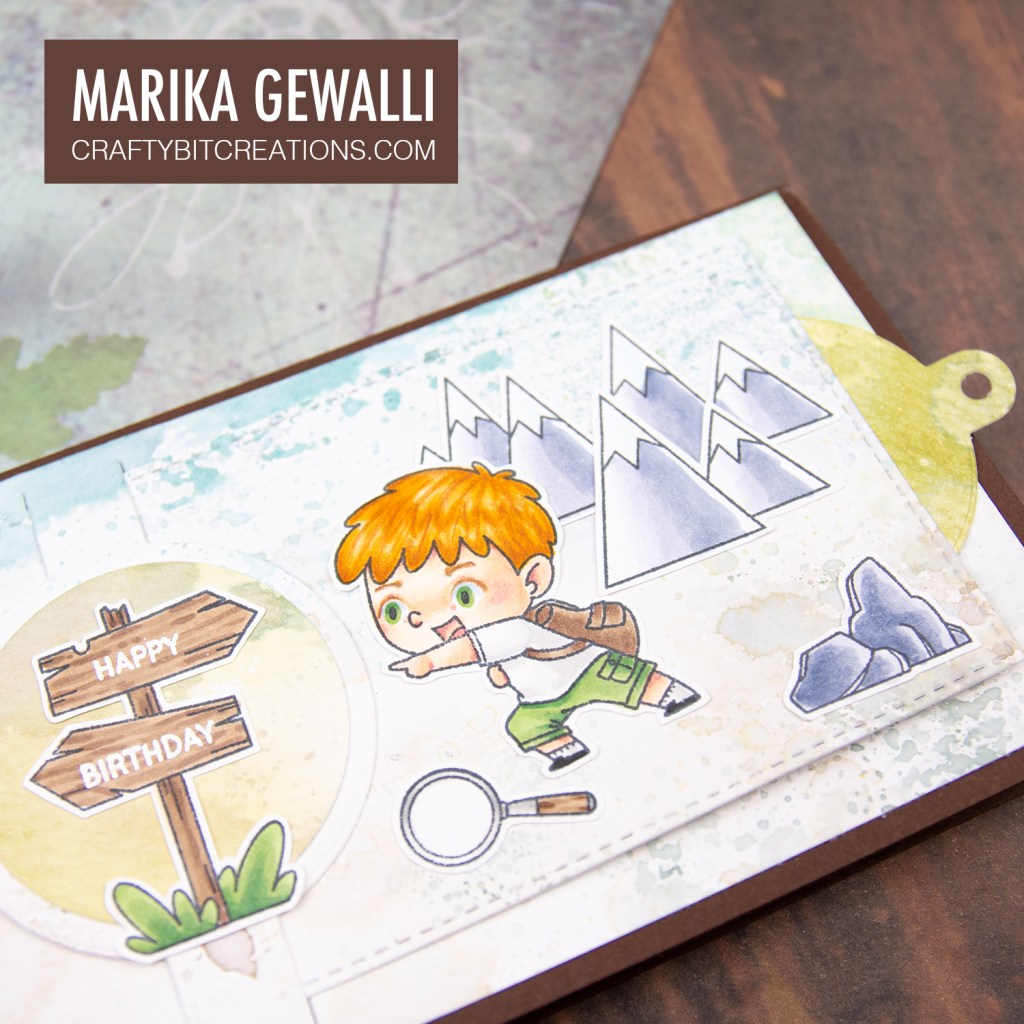
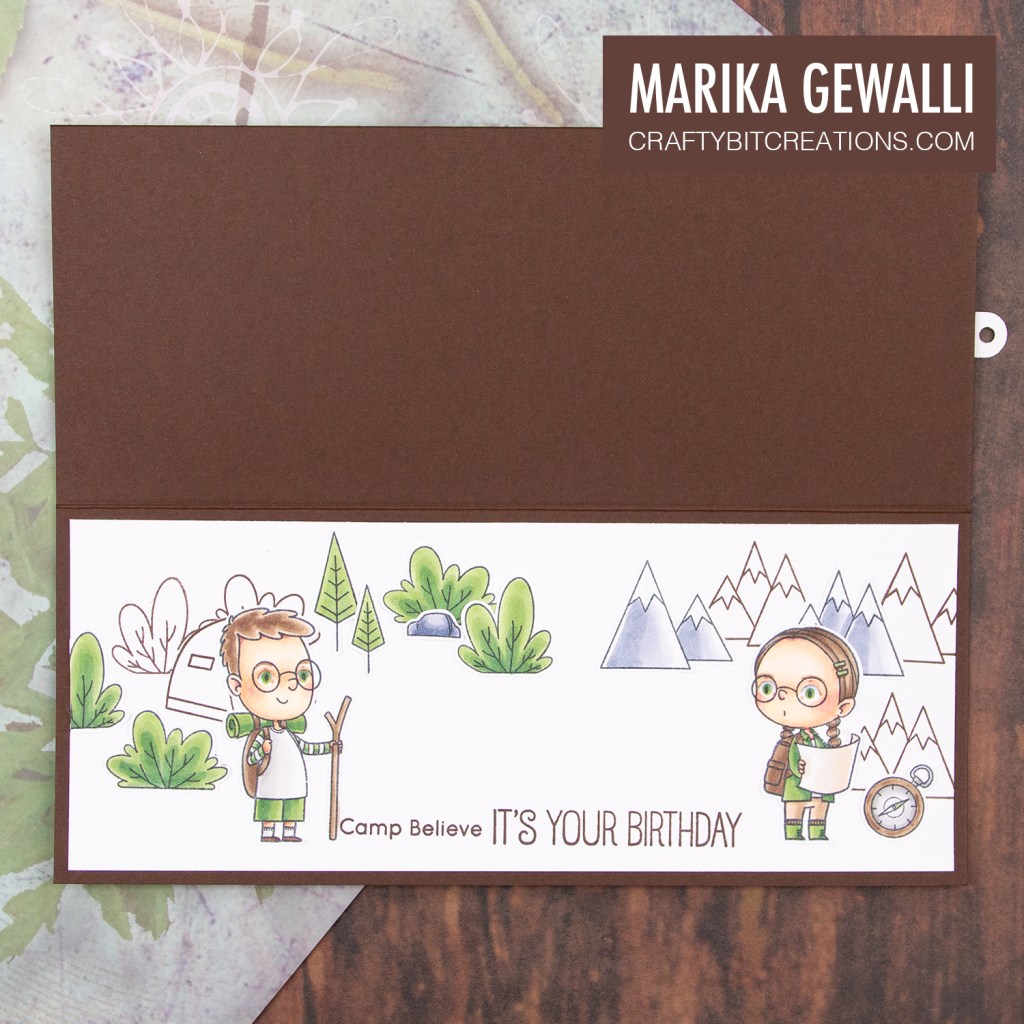
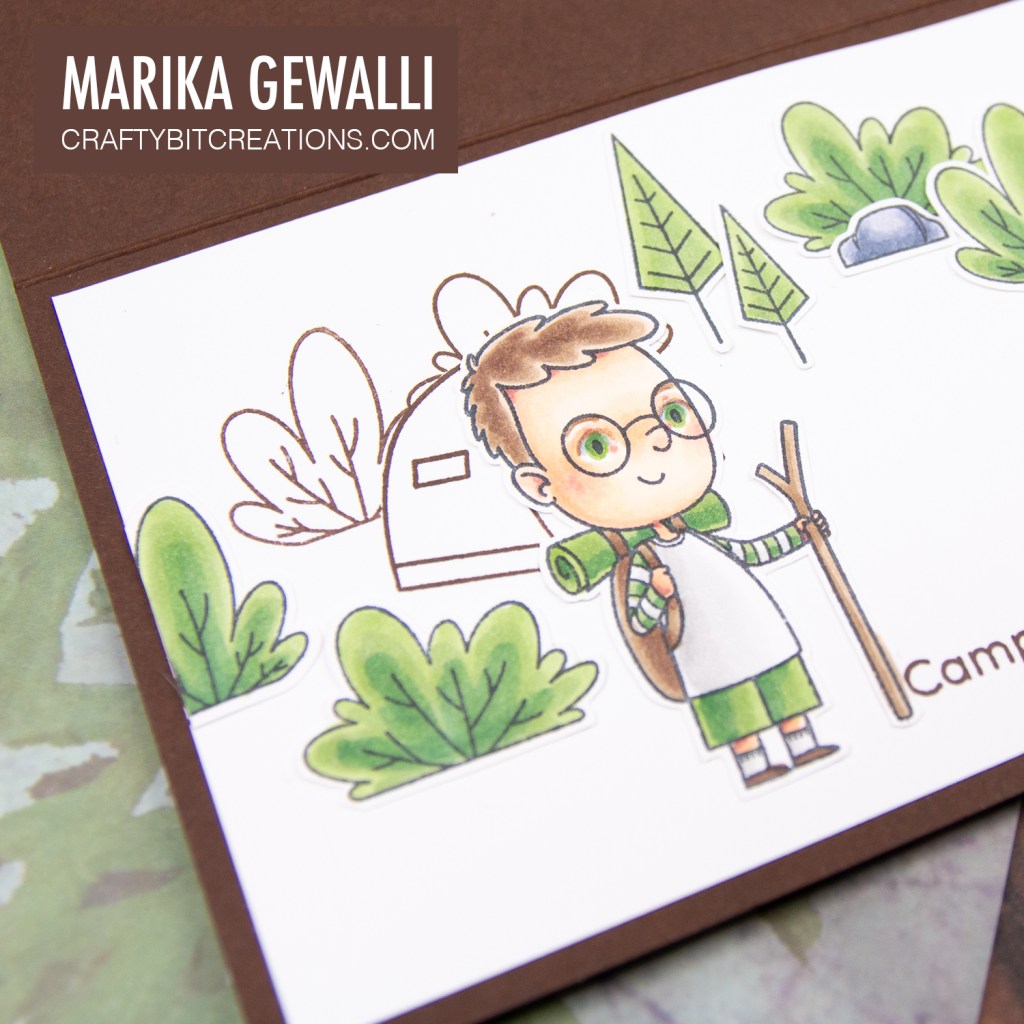
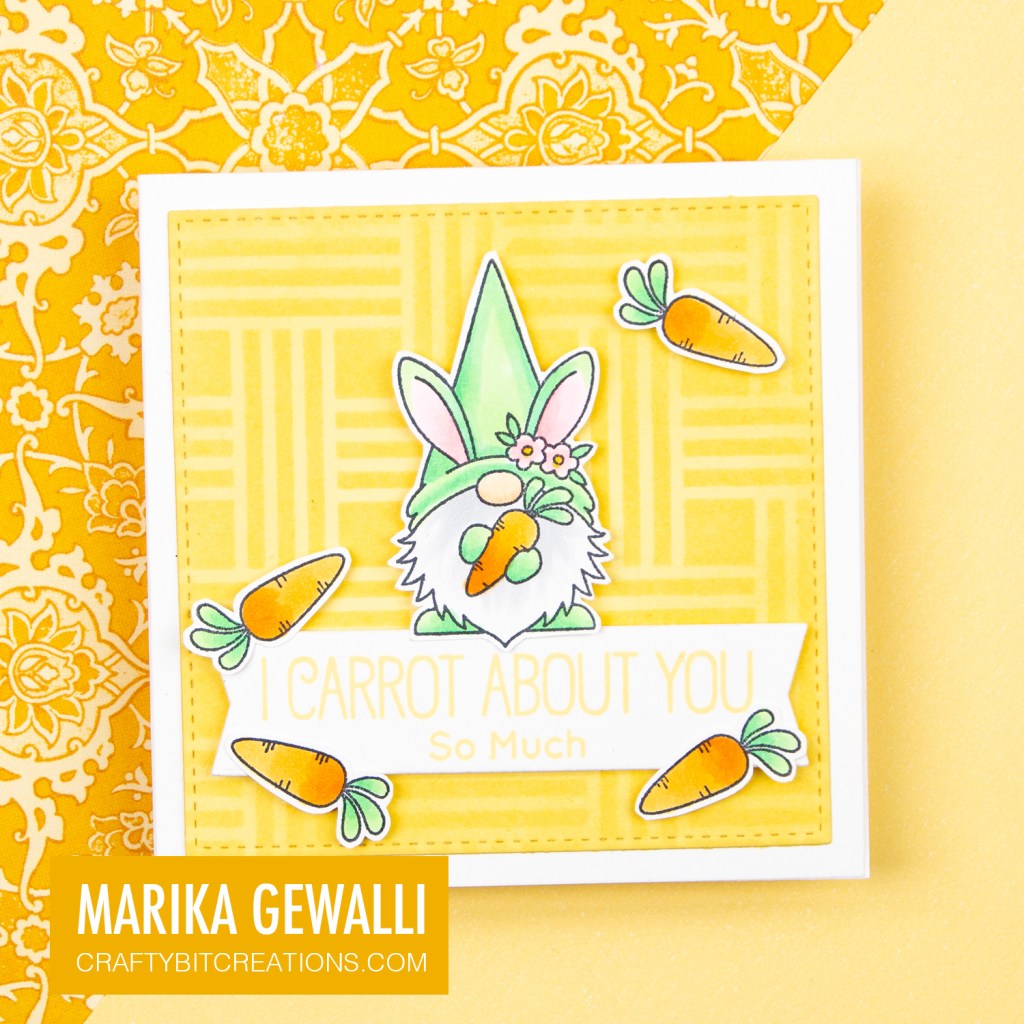
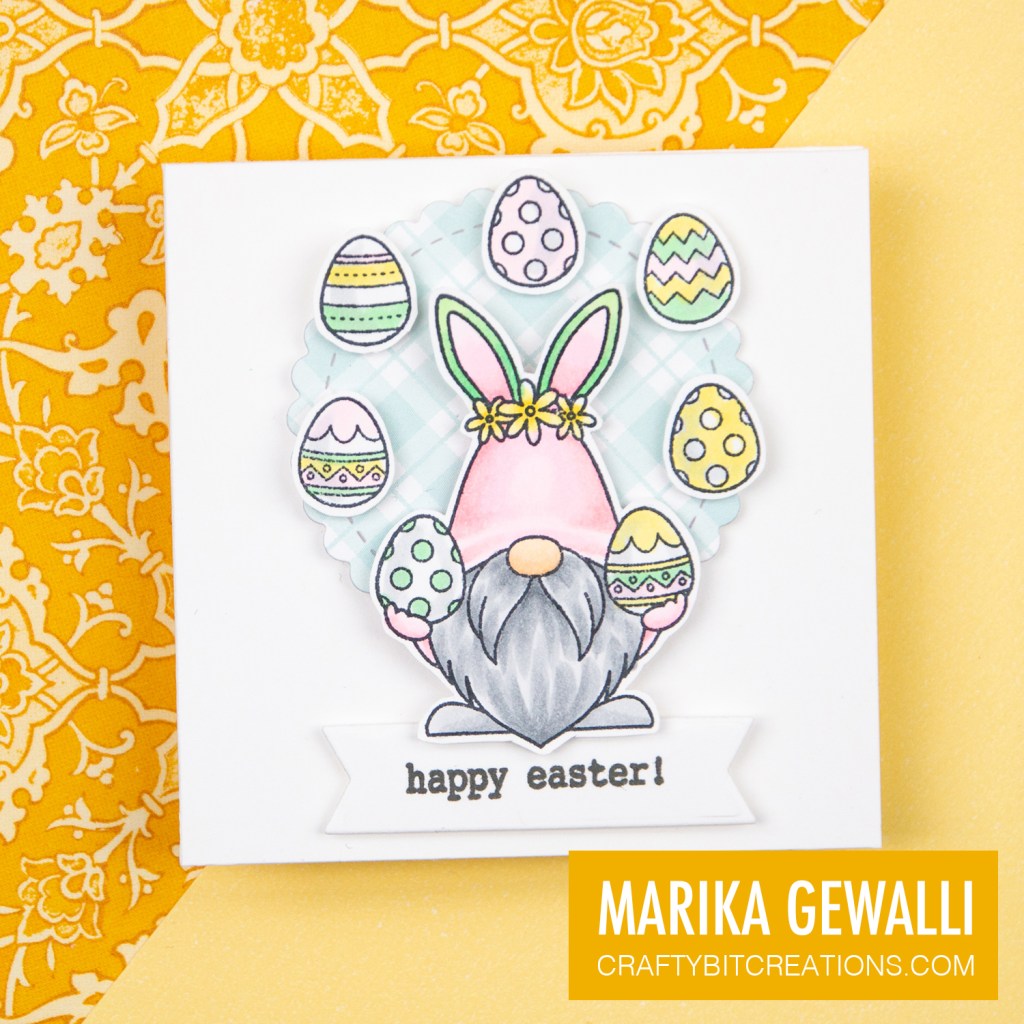
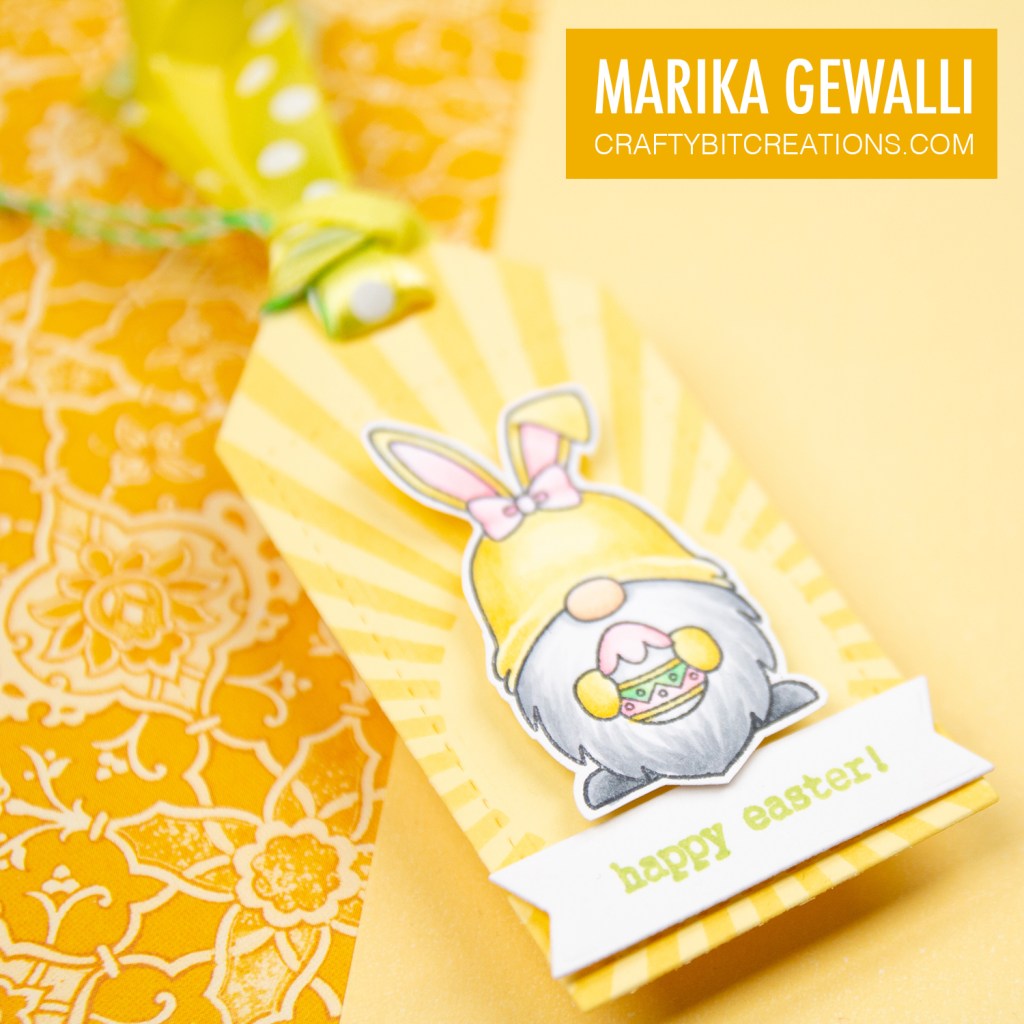
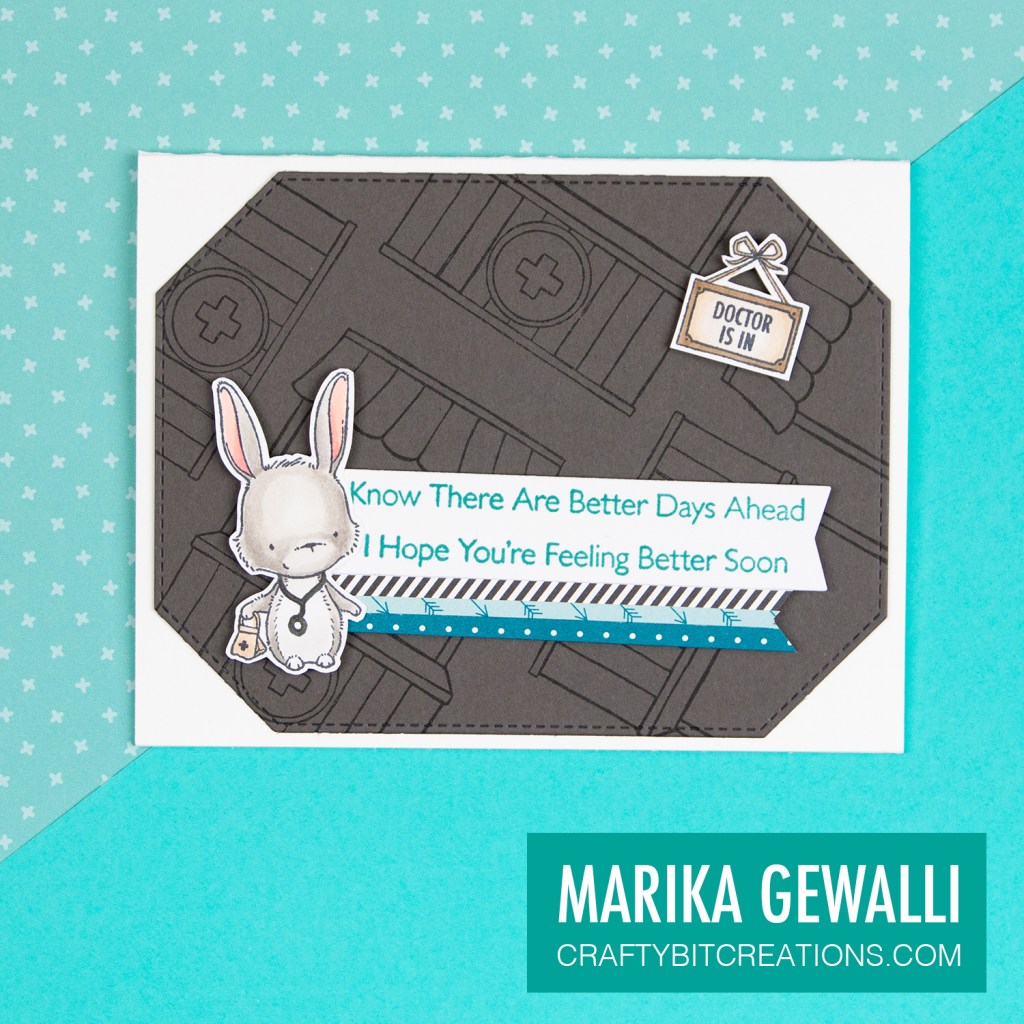
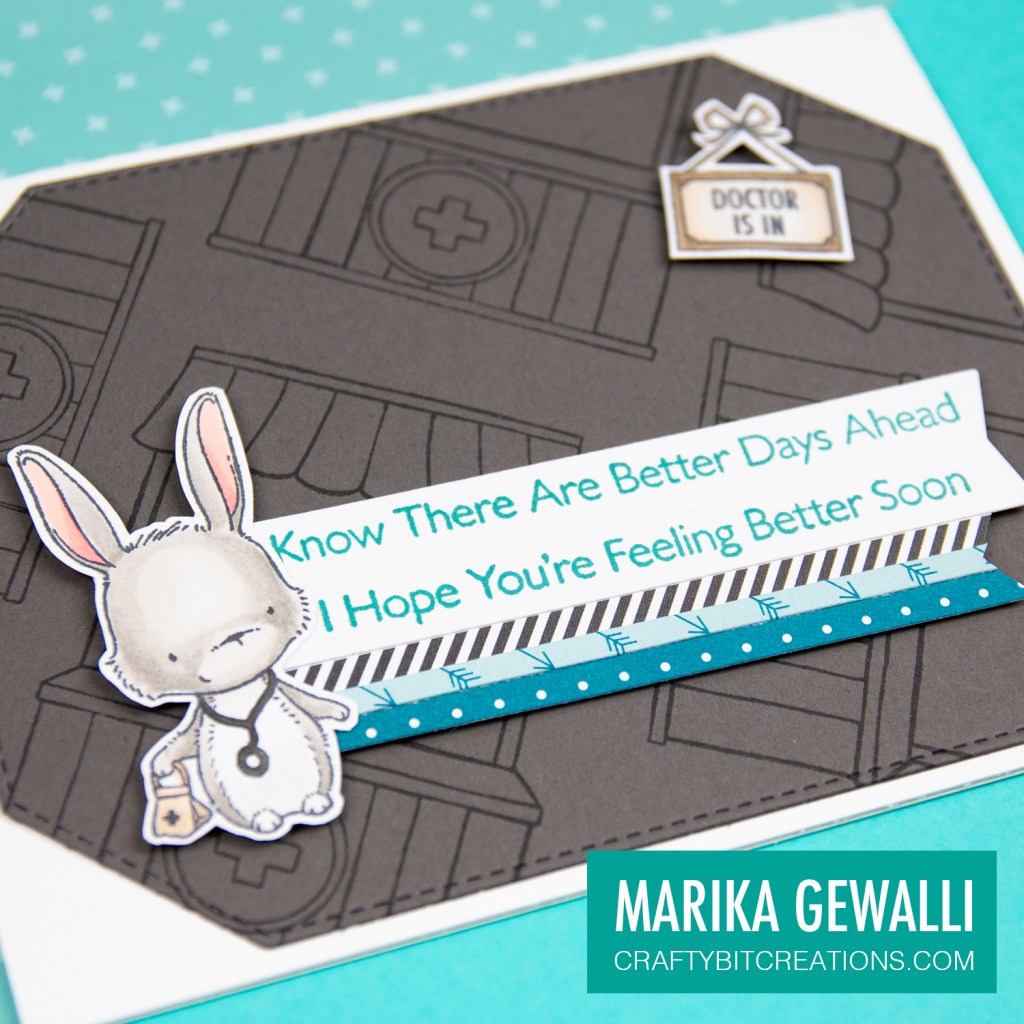
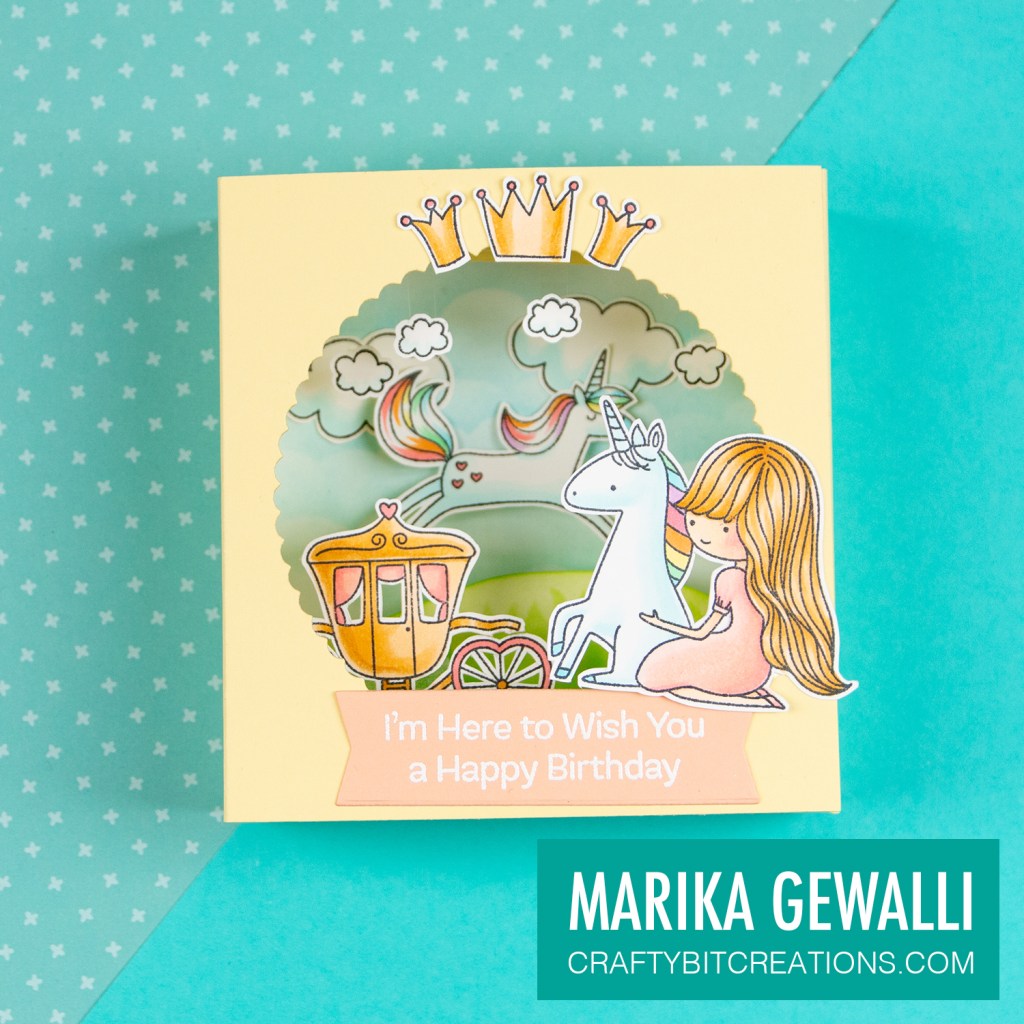
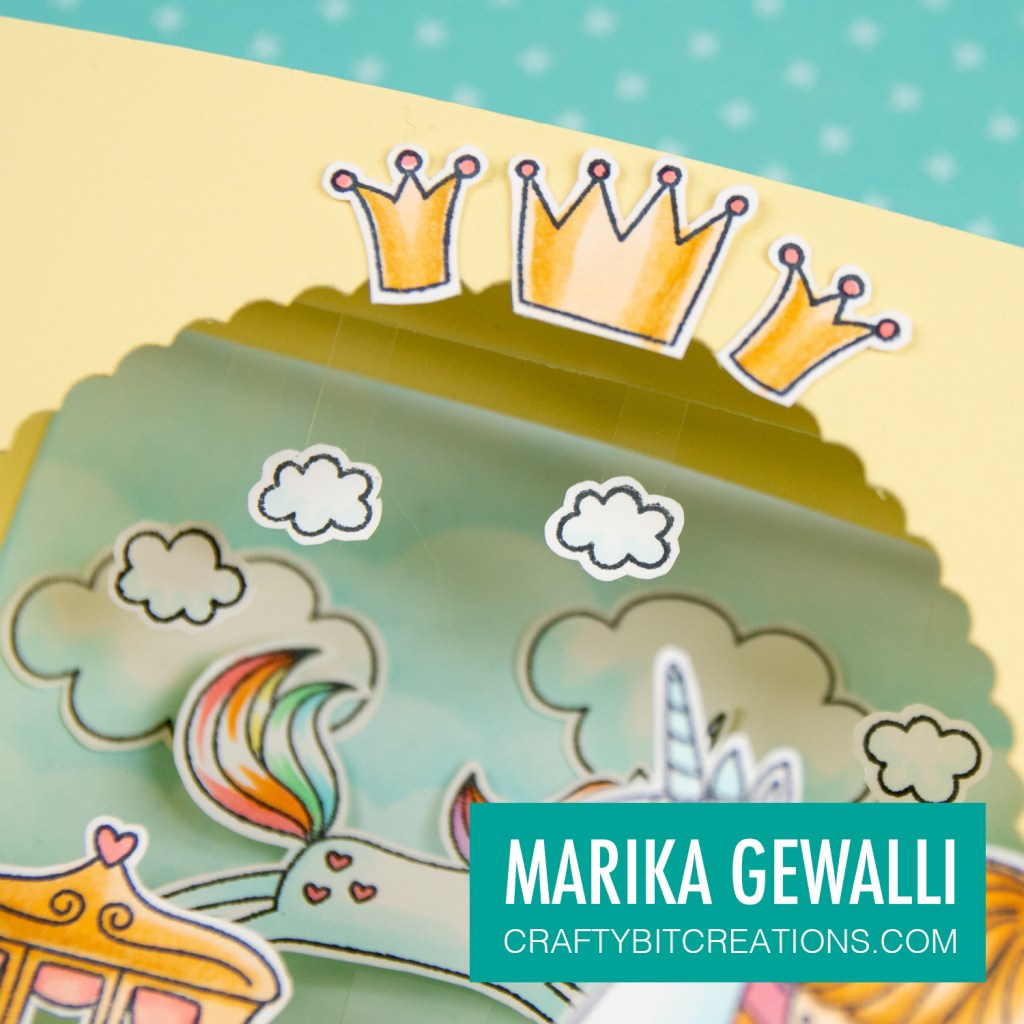
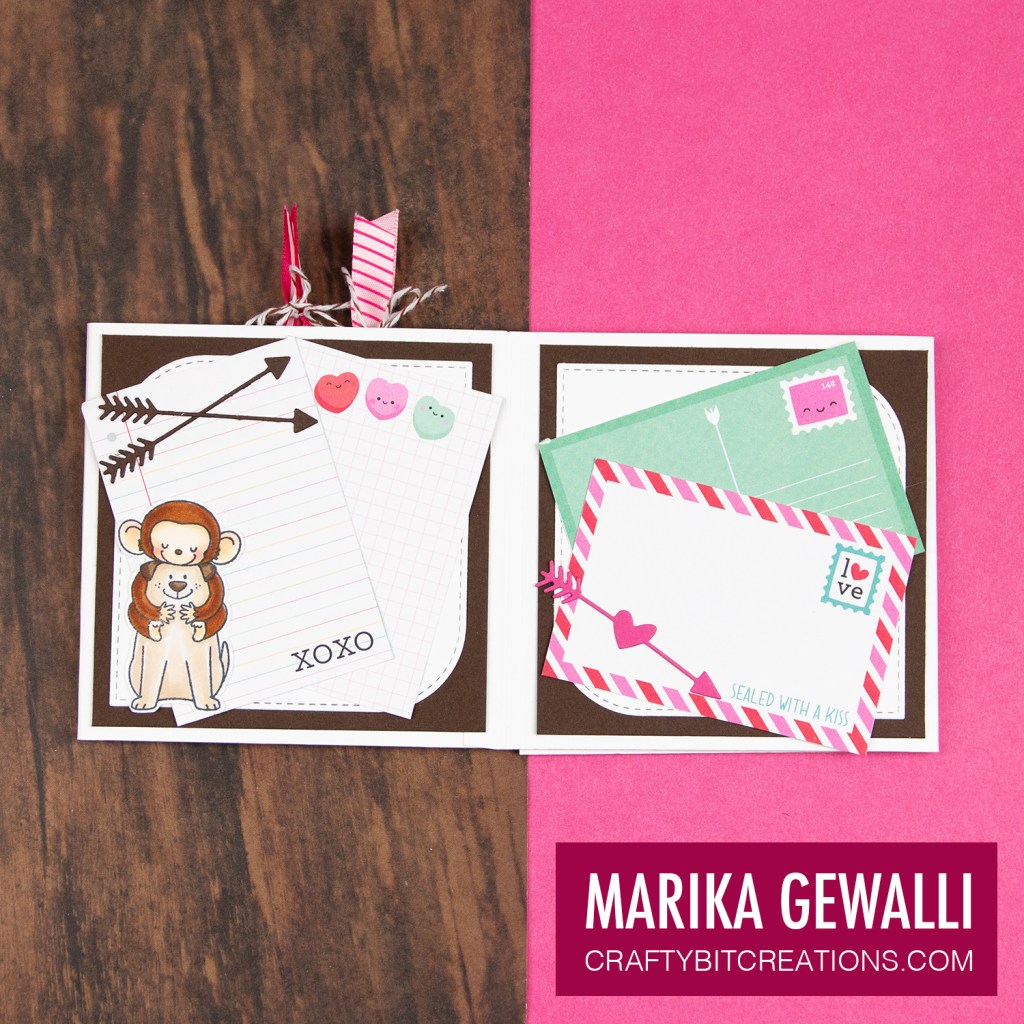
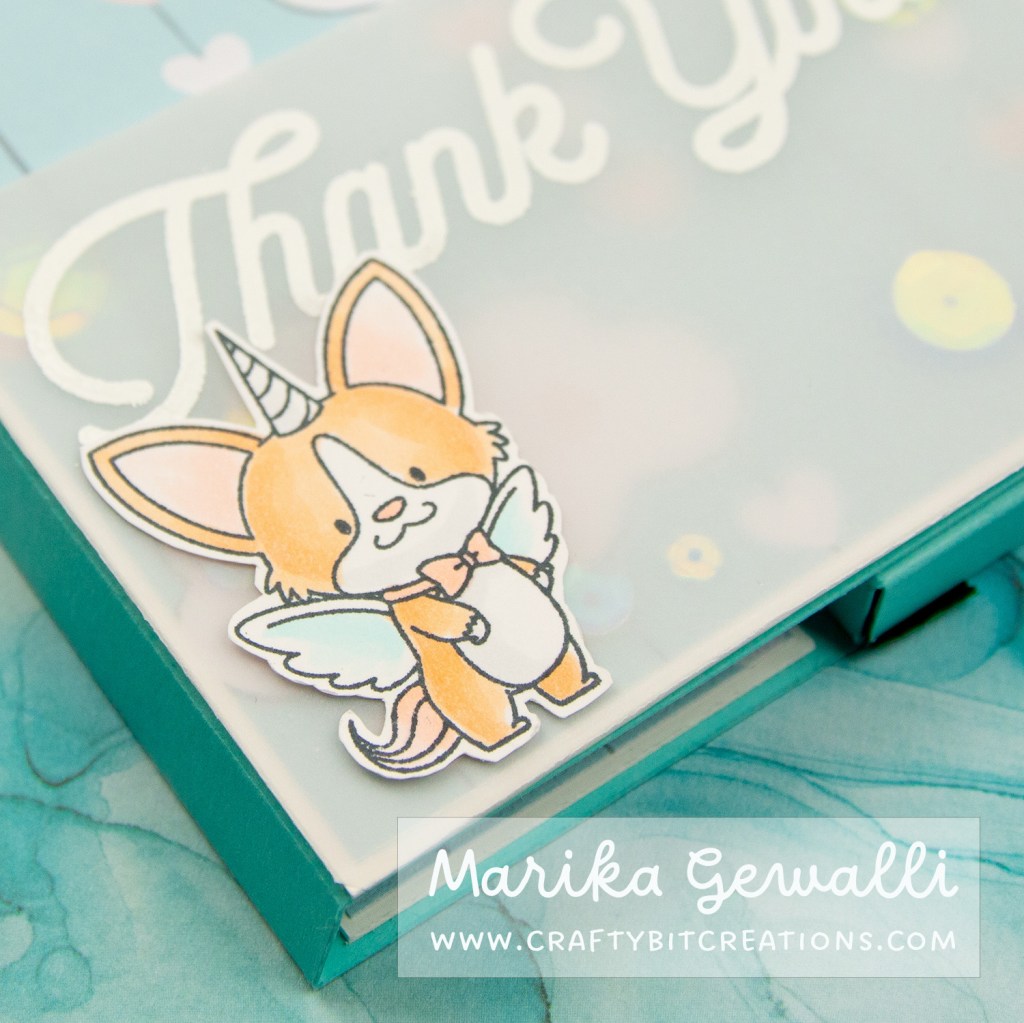
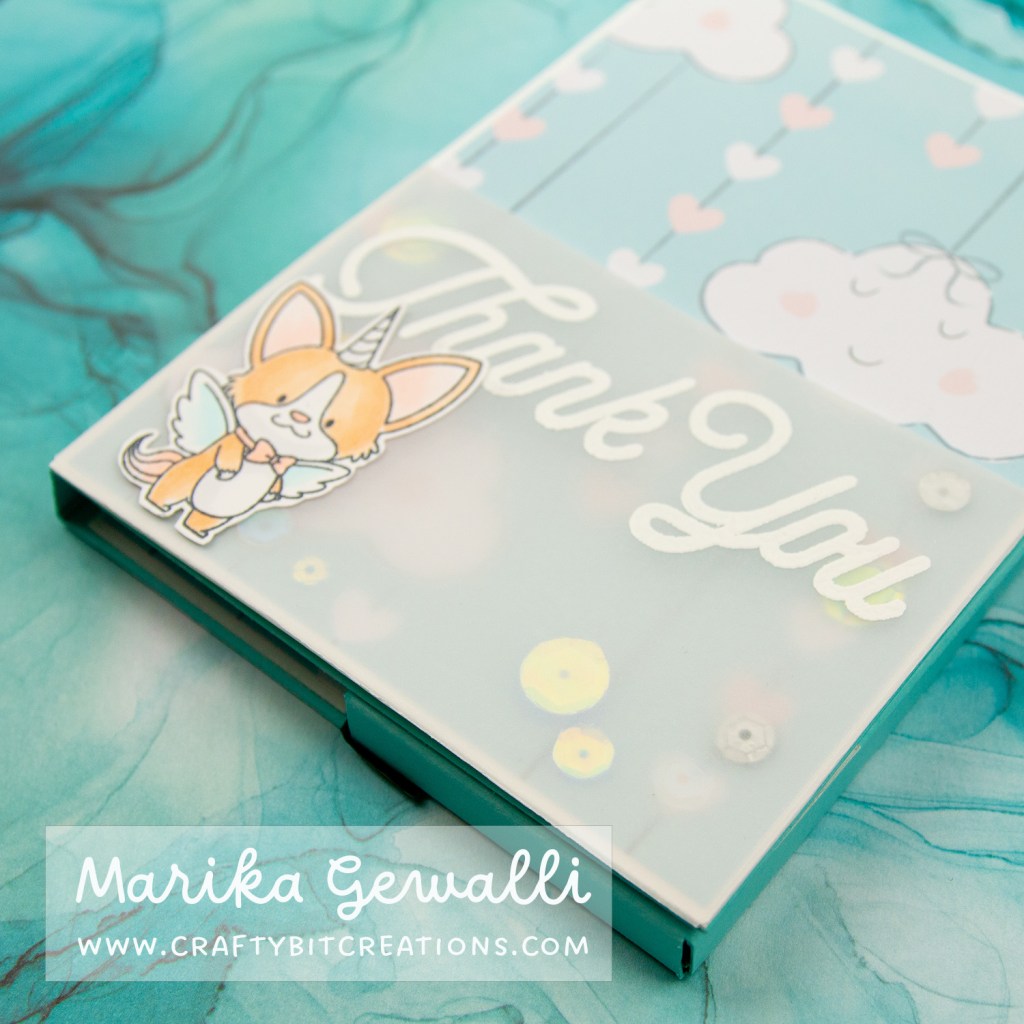
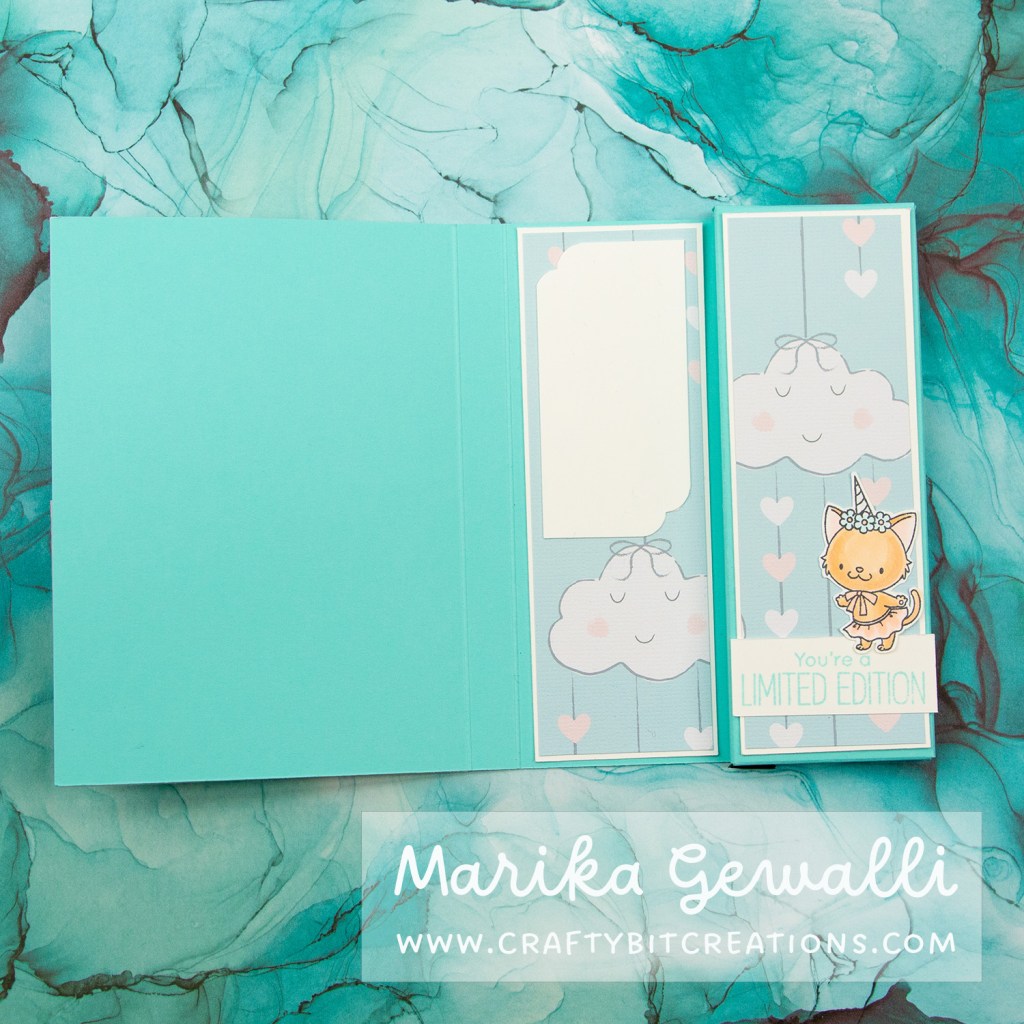
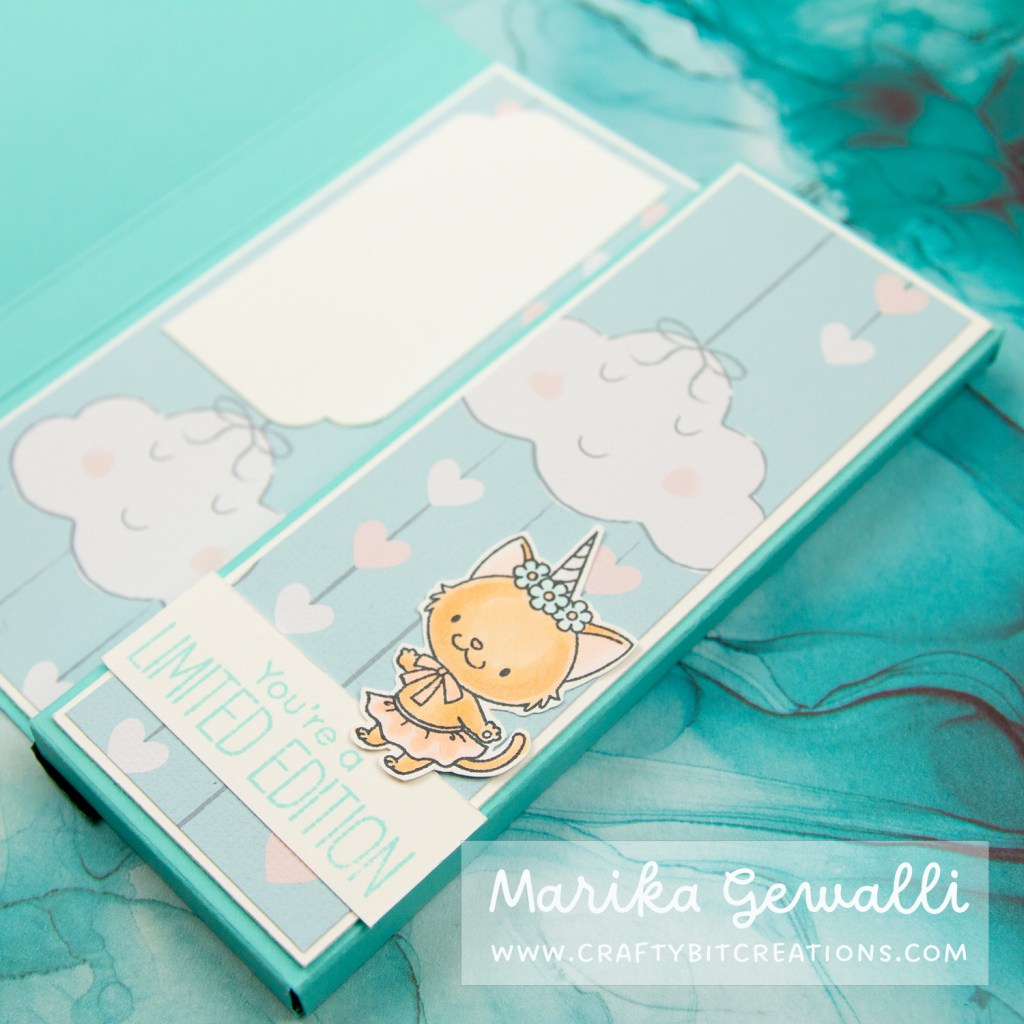
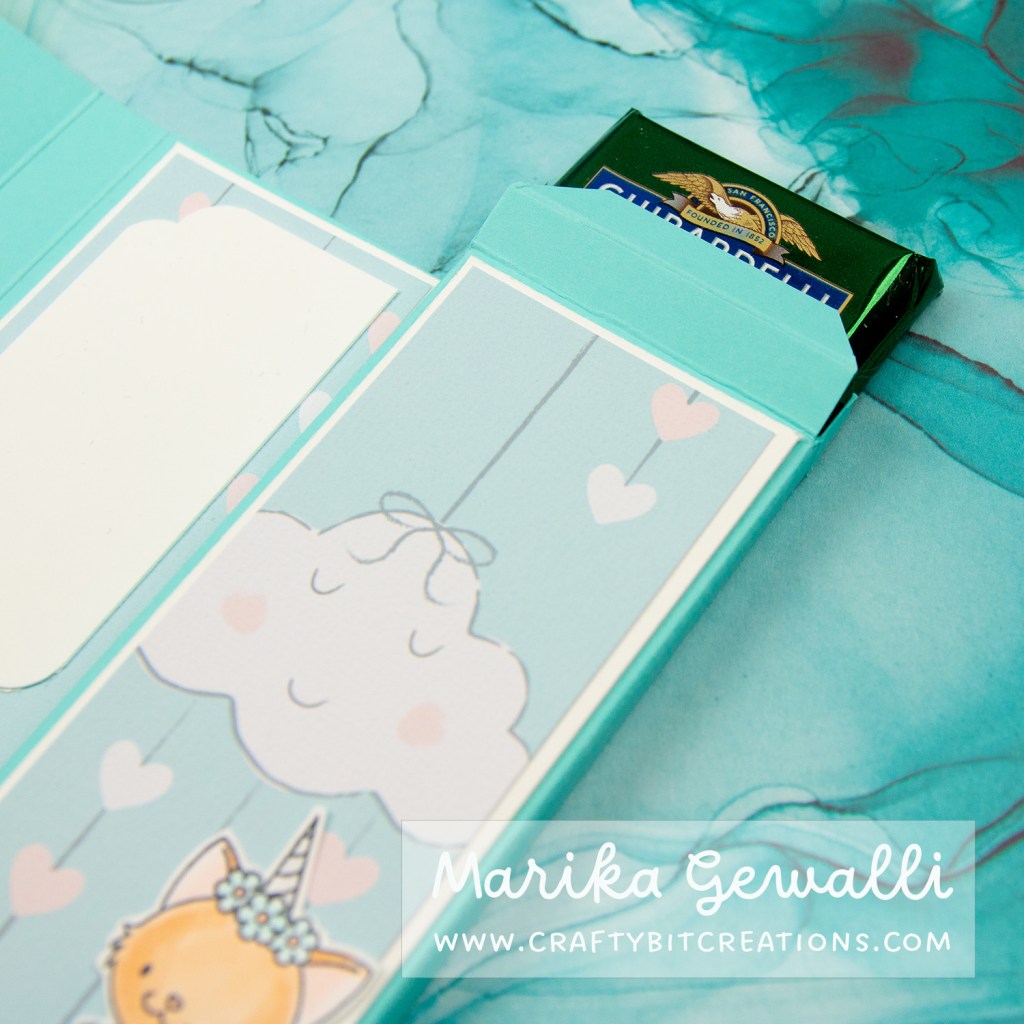
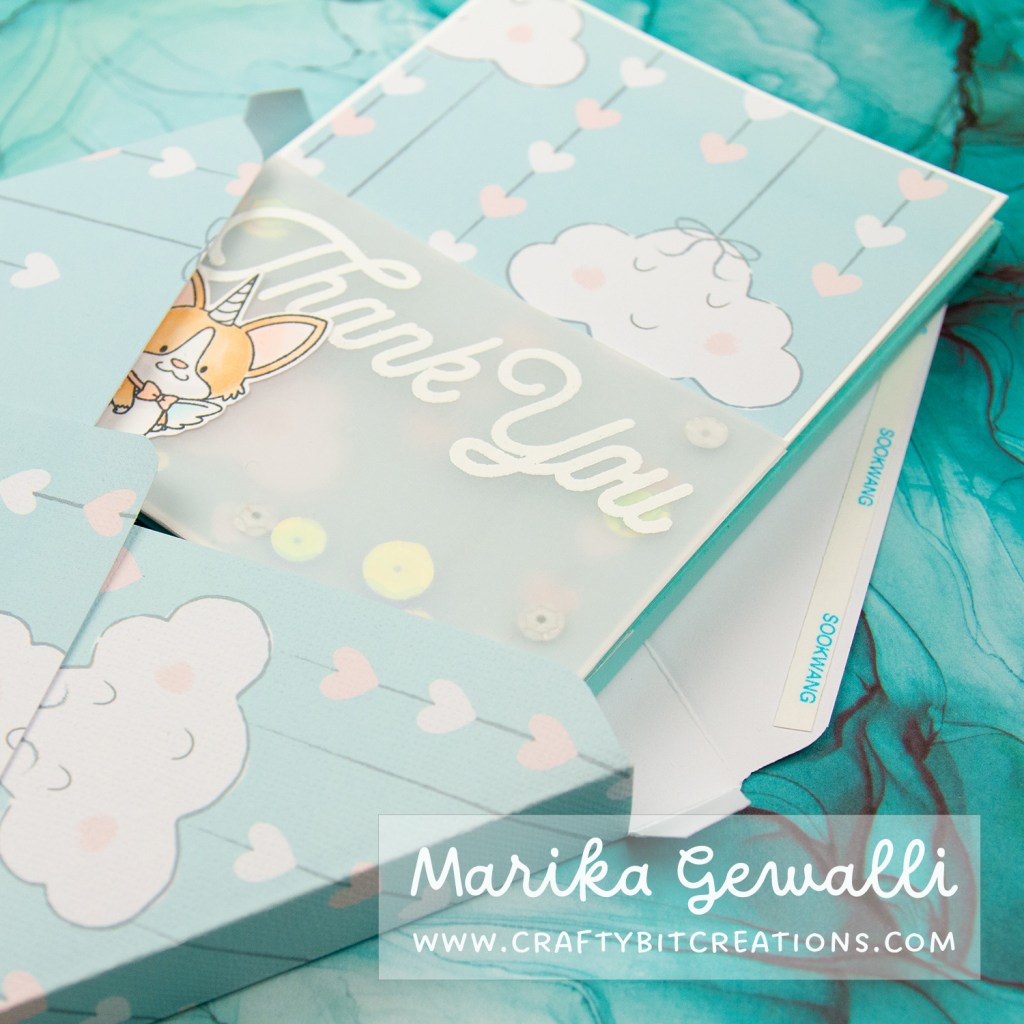
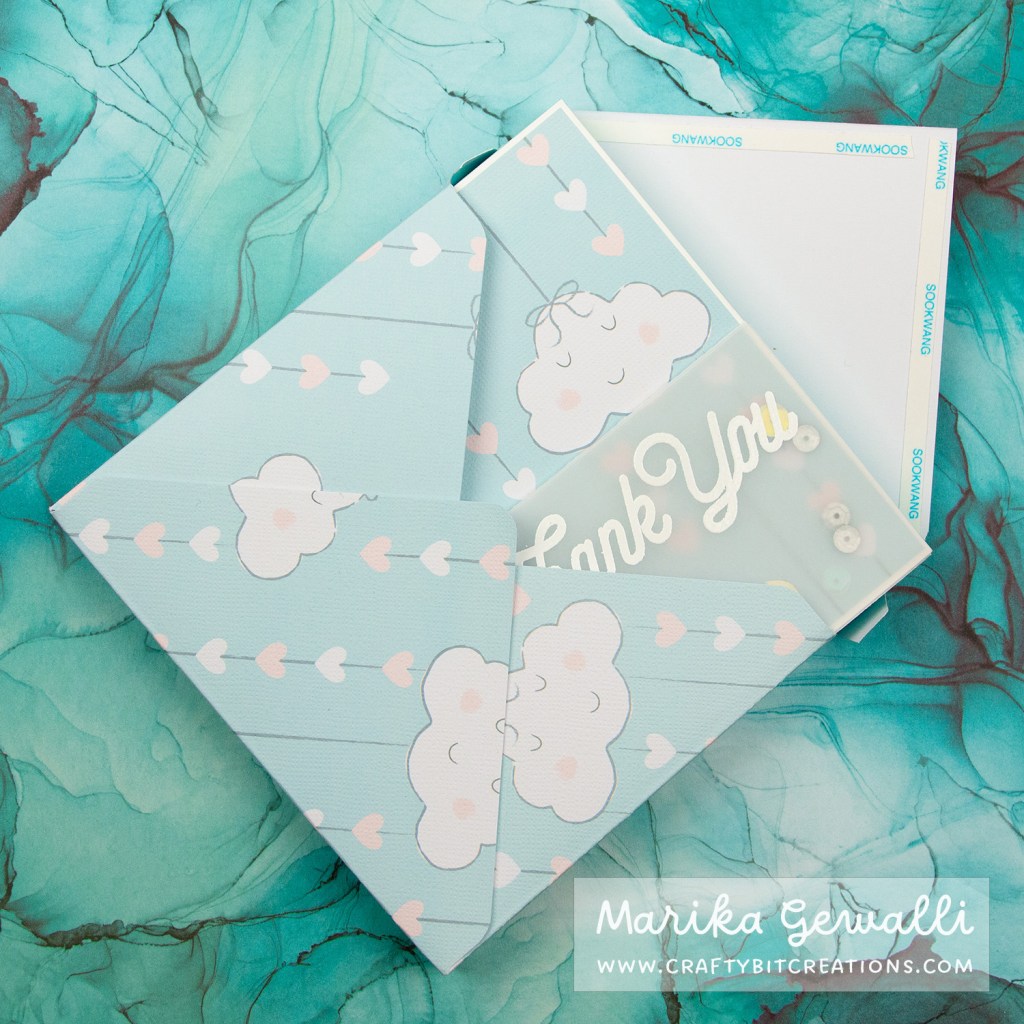
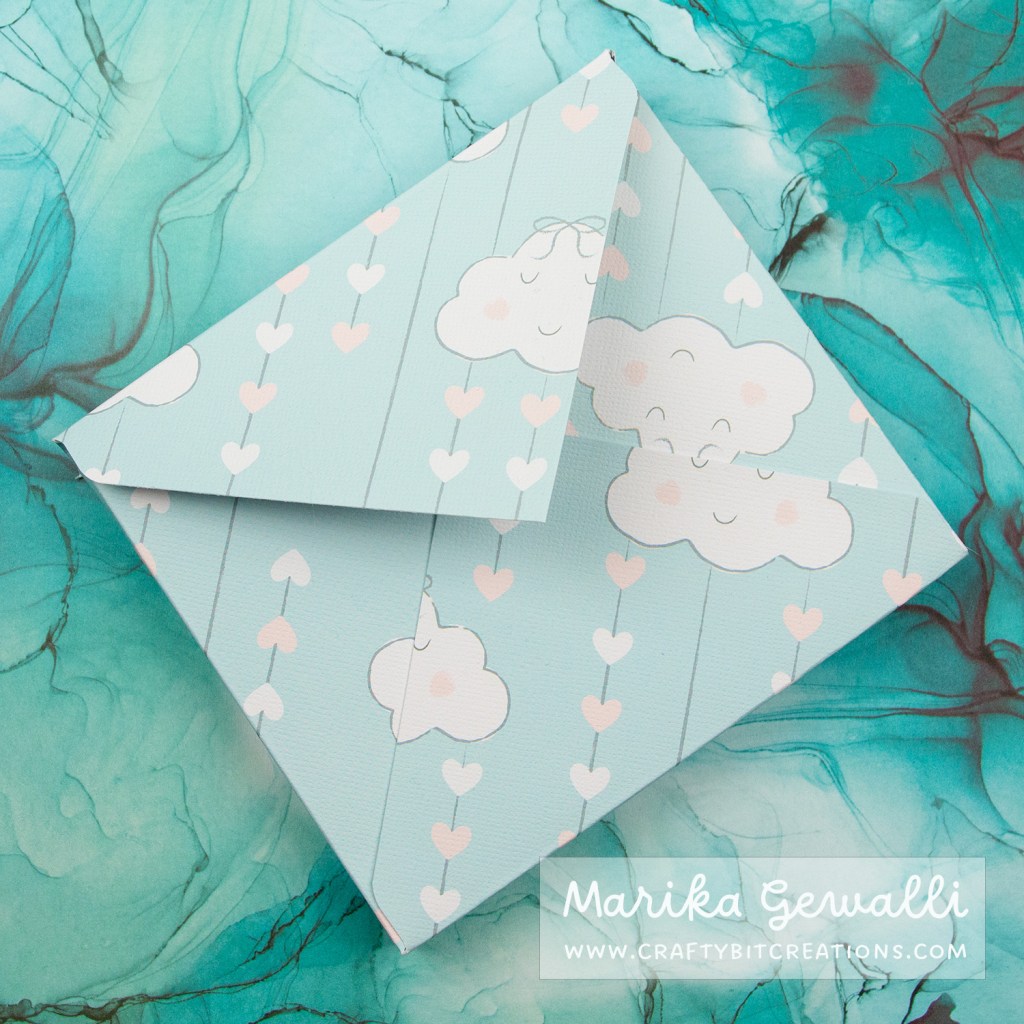
Hi everyone! I’m back with the first craft tutorial this year and in 8 months! It’s been a long hiatus but I’m back and so inspired to craft. In todays tutorial I’m making a thank you card to a dear friend. I wanted to it to be a card and a gift at the same time so decided to send some Ghirardelli Chocolate Squares in a box card. Realised after creating the envelope that I had some extra space, so filled it with to of my favorite muji pens. If you wanna see more like this please comment below, or comment what you rather see.
If you are looking for more box card tutorials two of my own favorites are, Snowed In | Hersey Chocolate Bar Box and Instant Cocoa Box | You’re The Marsmallows To My Cocoa
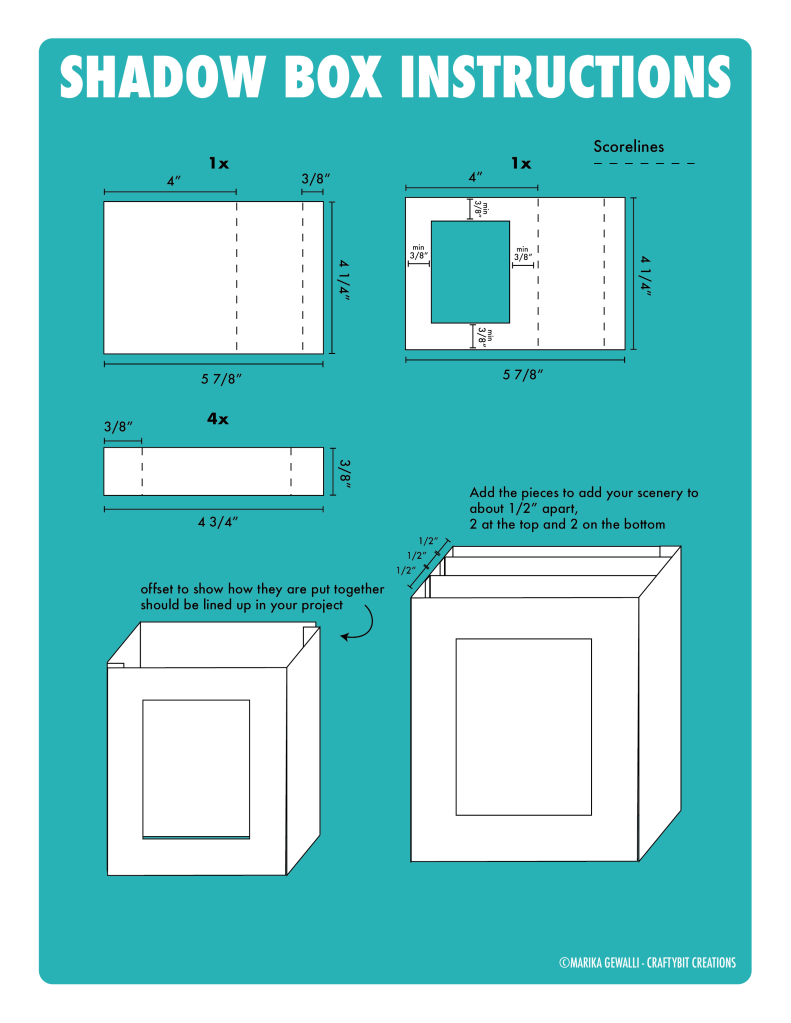
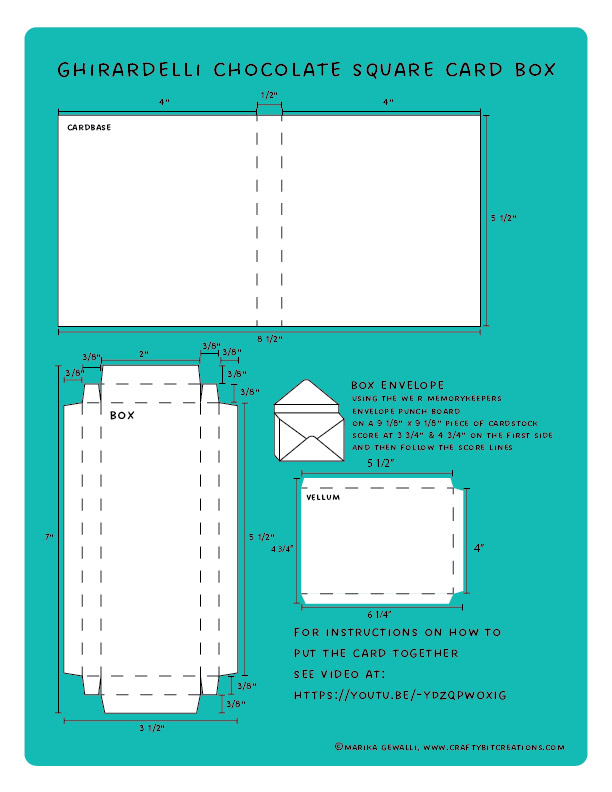
To make it easier for you I have made a little schema on how to cut and score the different pieces. You can either download the pdf HERE. Or just right click and chose save on the jpg below.
Cut dimensions for layers
White card stock, front: 4″ x 5 1/2″
Pattern paper, front: 3 7/8″ x 5 3/8″
Two of white card stock, inside: 1 7/8″ x 5 3/8″
Two of pattern paper, inside: 1 3/4″ x 5 1/4″
Inner sentiment strip: 2″ x 3/4″
Copics:
E11, E21, R01, R00, R000, R0000, B000, B0000
When possible affiliate links are used, this means that I receive a small commission when products are purchased through the links (at no extra cost to you) I use the money to support my blog and youtube channel. If you like my projects and tutorial please consider supporting me by clicking through these links when you shop. Thanks!
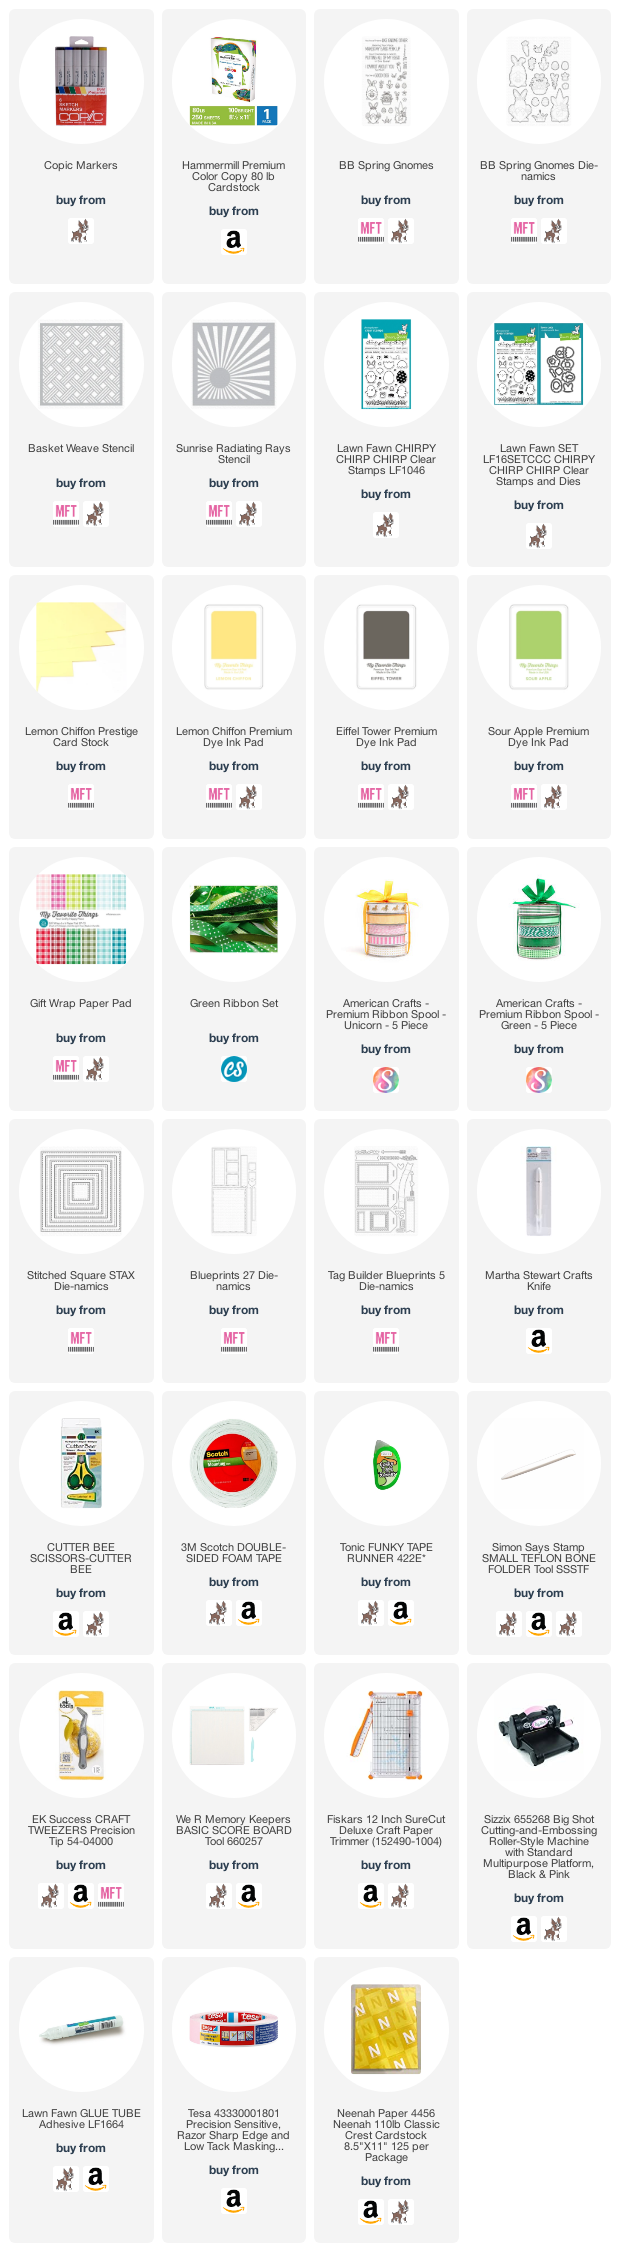
Supplies:
MFT Vellum: MFT
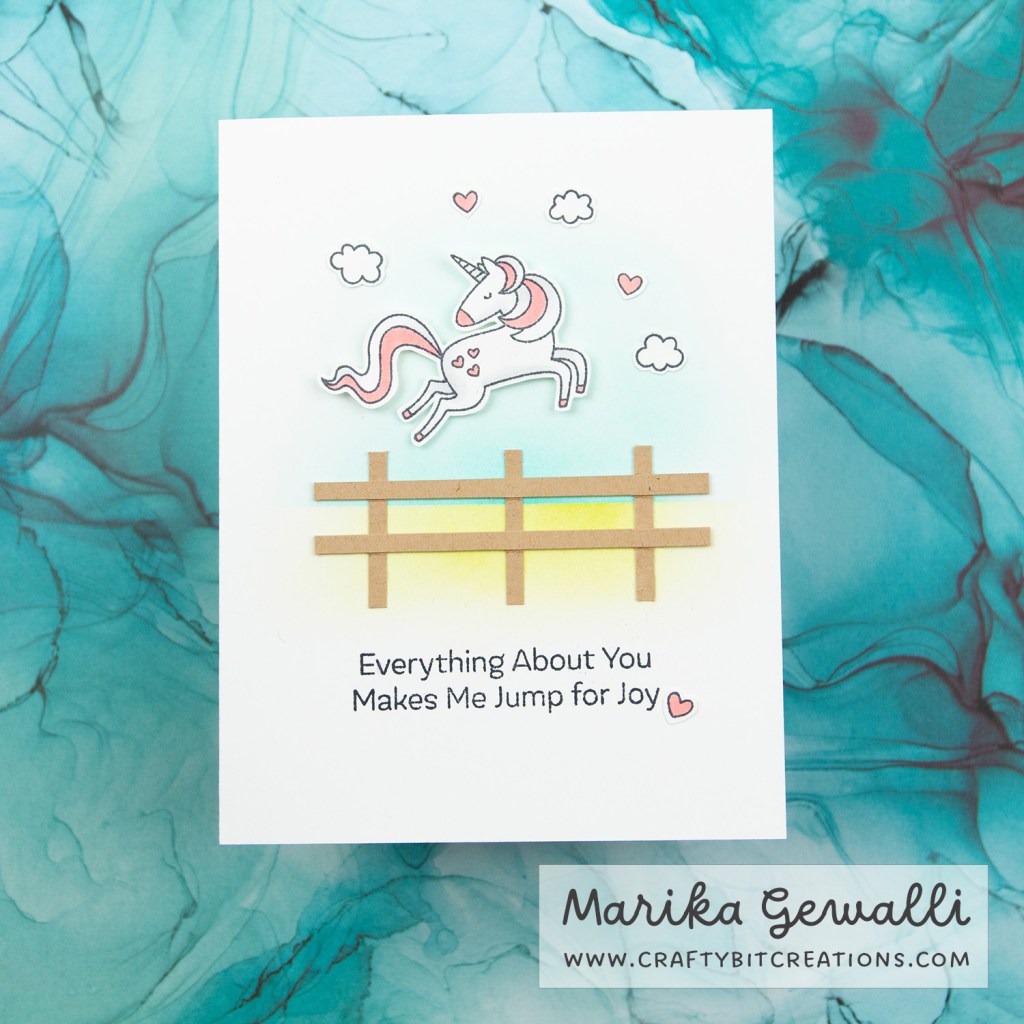
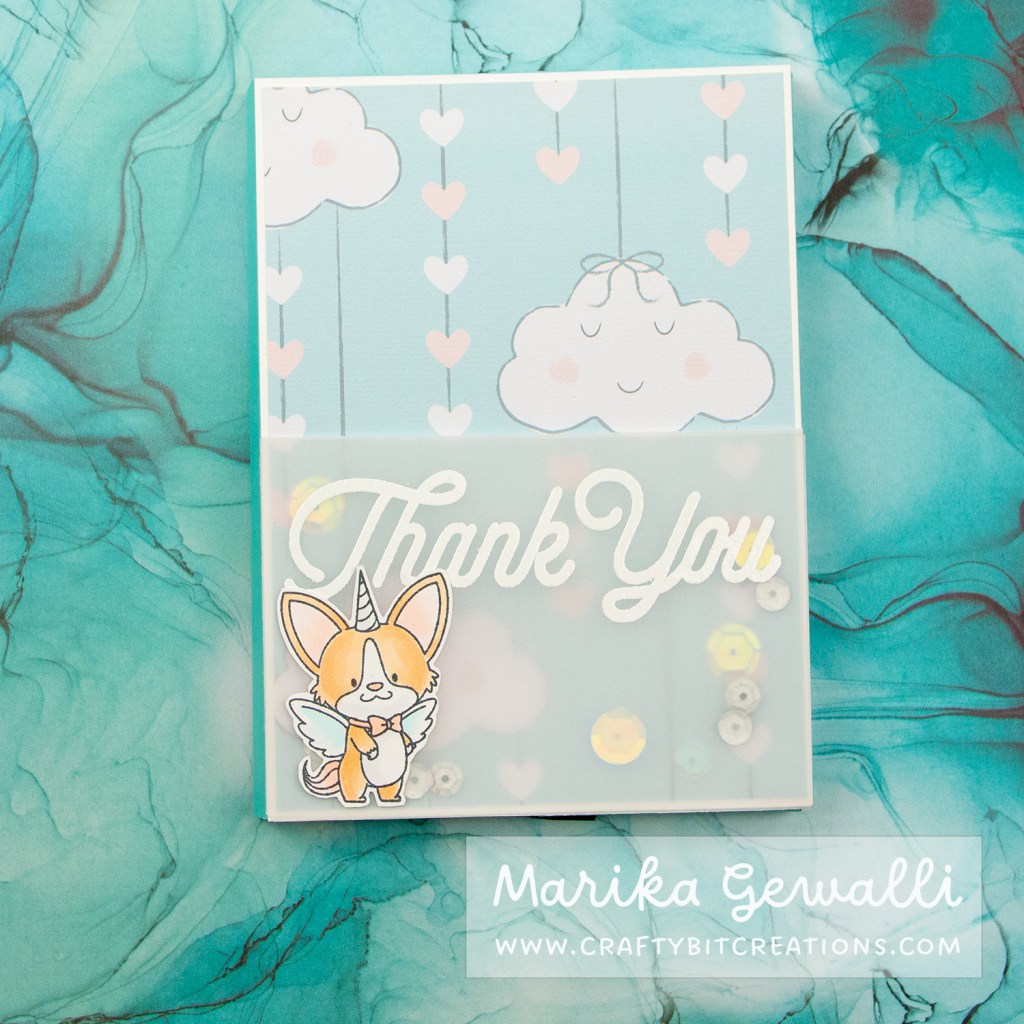
MFT Unicorns and Glitter: MFT SSS
MFT Card Stock Summer Splash: MFT
MFT Ink Summer Splash: MFT SSS
Memento Tuxedo Black: SSS AMZ SBC
WRM Envelope Punch Board: SSS AMZ SBC
Neenah Solar White 80lb: SSS AMZ SBC
Fiskars Trimmer : SSS AMZ
Mini Score Board: SSS AMZ SBC
Teflon Bonefolder: SSS AMZ SBC
Tape Runner: SSS AMZ SBC