
When I saw the Adorable Adventures stamp set I knew I needed it and that it would be awesome for so many occasions. The card that I made today has been growing in my mind for weeks. It wasn’t until I saw the Slimline Challenge – Inside-Out that it fully came together, however I did interpret the challenge wrong so I won’t be able to enter it in the challenge. But hey that’s ok, this card is awesome on it’s own.
As I said the idea has had time to sit with me. A couple of weeks ago I picked out the stamps I wanted to use. I created small piles on my counter (in my almost done craft room, while make a tour as soon as I have the rest done), where I added some card stock, dies and the stamp sets for the cards. I tried to make every pile different in both kind of card but also color scheme.
This card was on the next list but I ended up adding others before just because limited season and similar reasons (like the Spring Gnomes one). But I finally dived in. But I really feel it was a good decision, as I allowed myself to think about it and really get a solid idea for it.
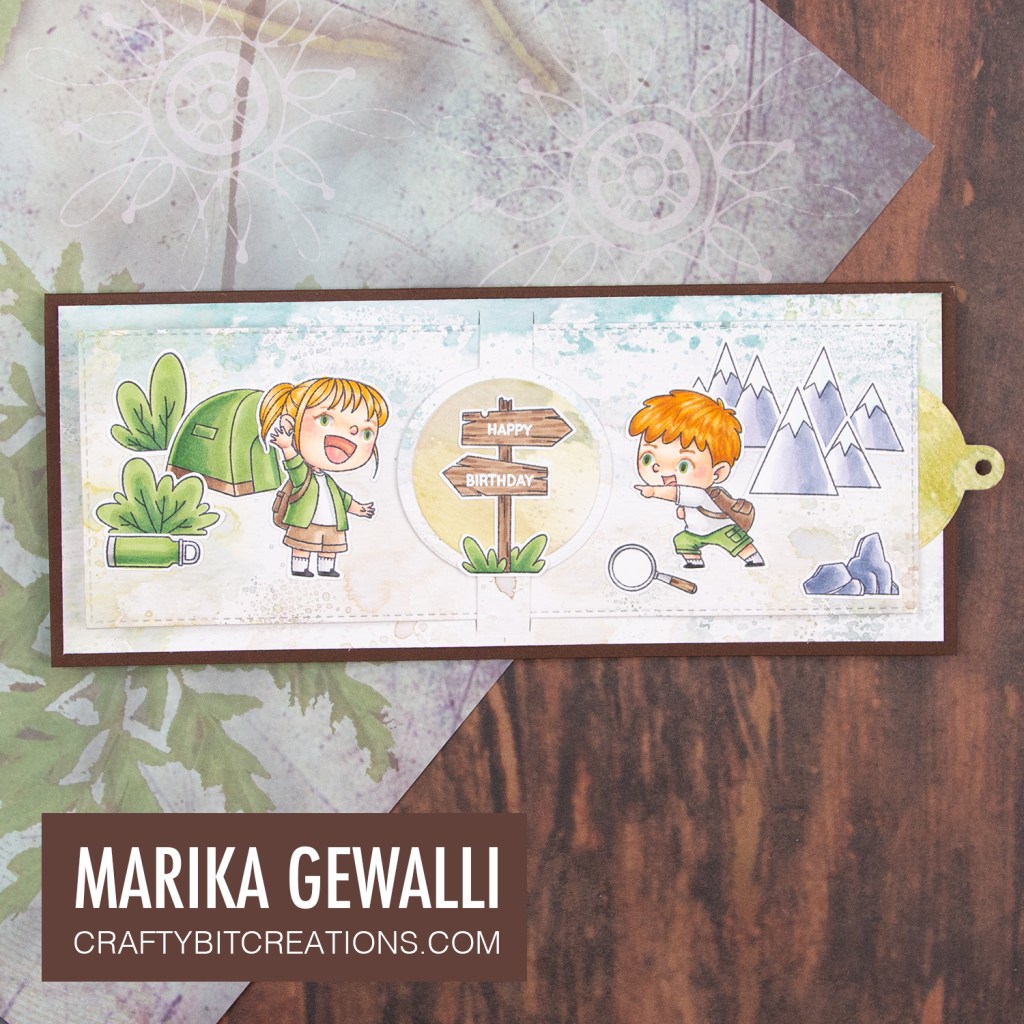
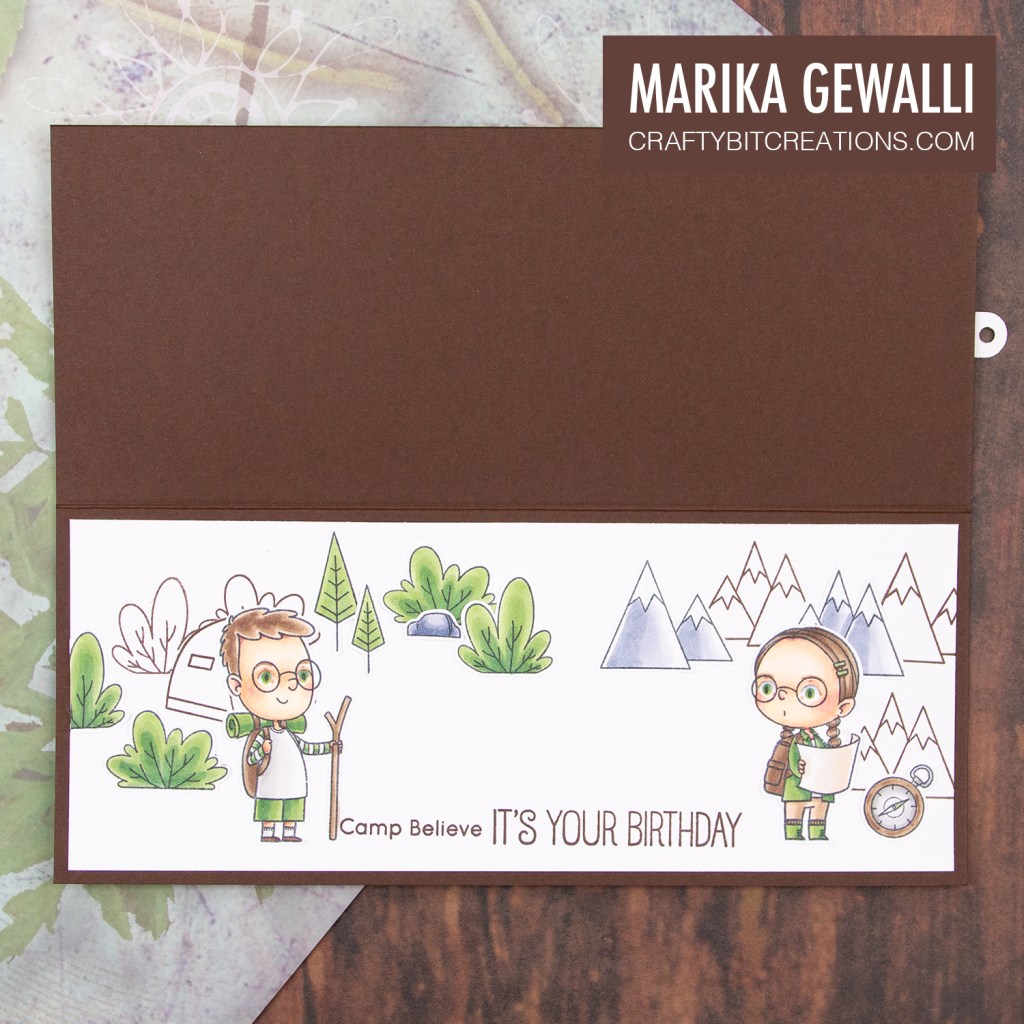
I wanted to build a scene, but at the same time allowing the background to be a little bit diffuse so that the character and the other stamps really pops. So I’ve used one of my favorite techniques, which is ink smooching, specifically doing this with light neutral Distress Inks allowing a lot of the white of the watercolor paper to be seen. I used Weather Wood, Pumice Stone, Shabby Shutters, Iced Spruce and the oh so gorgeous Speckled Egg, on some Tim Holtz Distress Watercolor Cardstock. I made two pieces of 3 1/2″ by 8 1/2″ so that I could use the Slimline Slide In die and cut the tag from one of them and the slide in belly band on the other, which I cut down to 3 1/4″ by 8 1/4″.
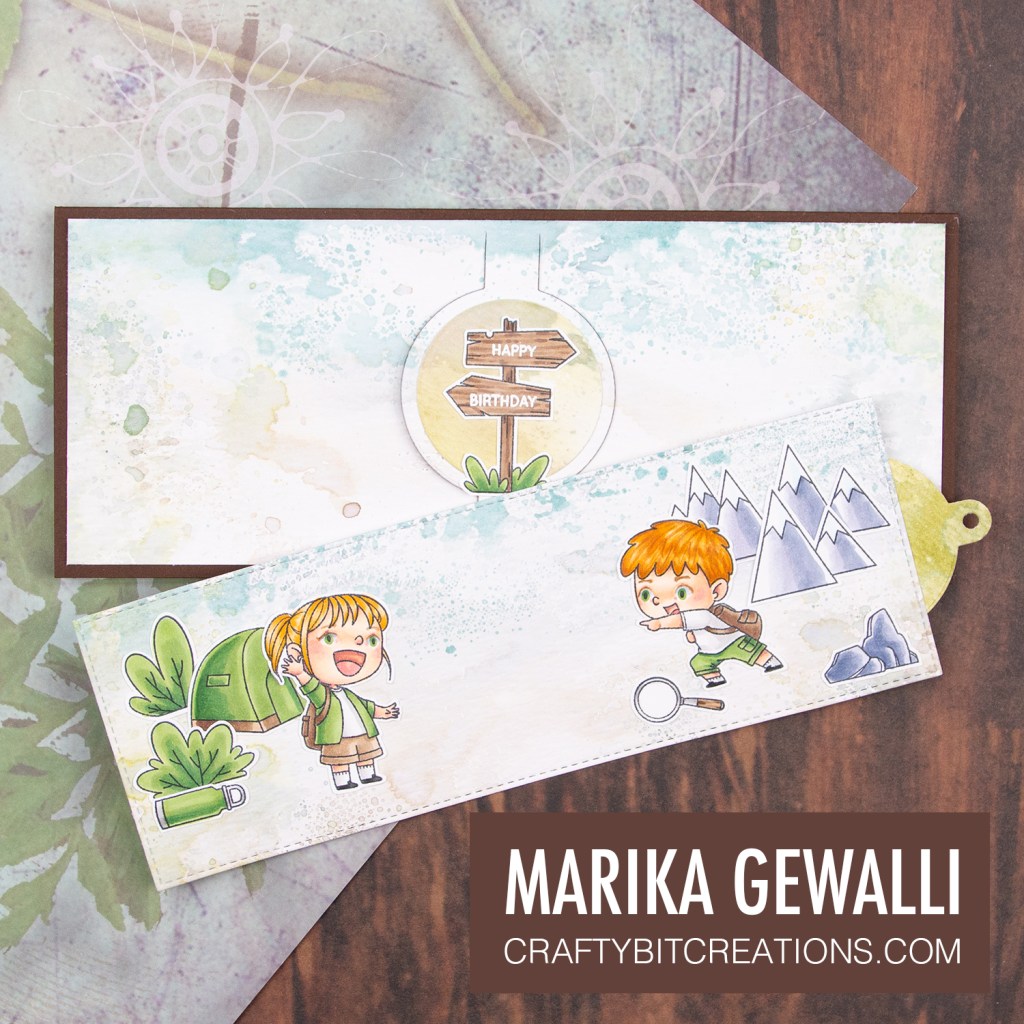
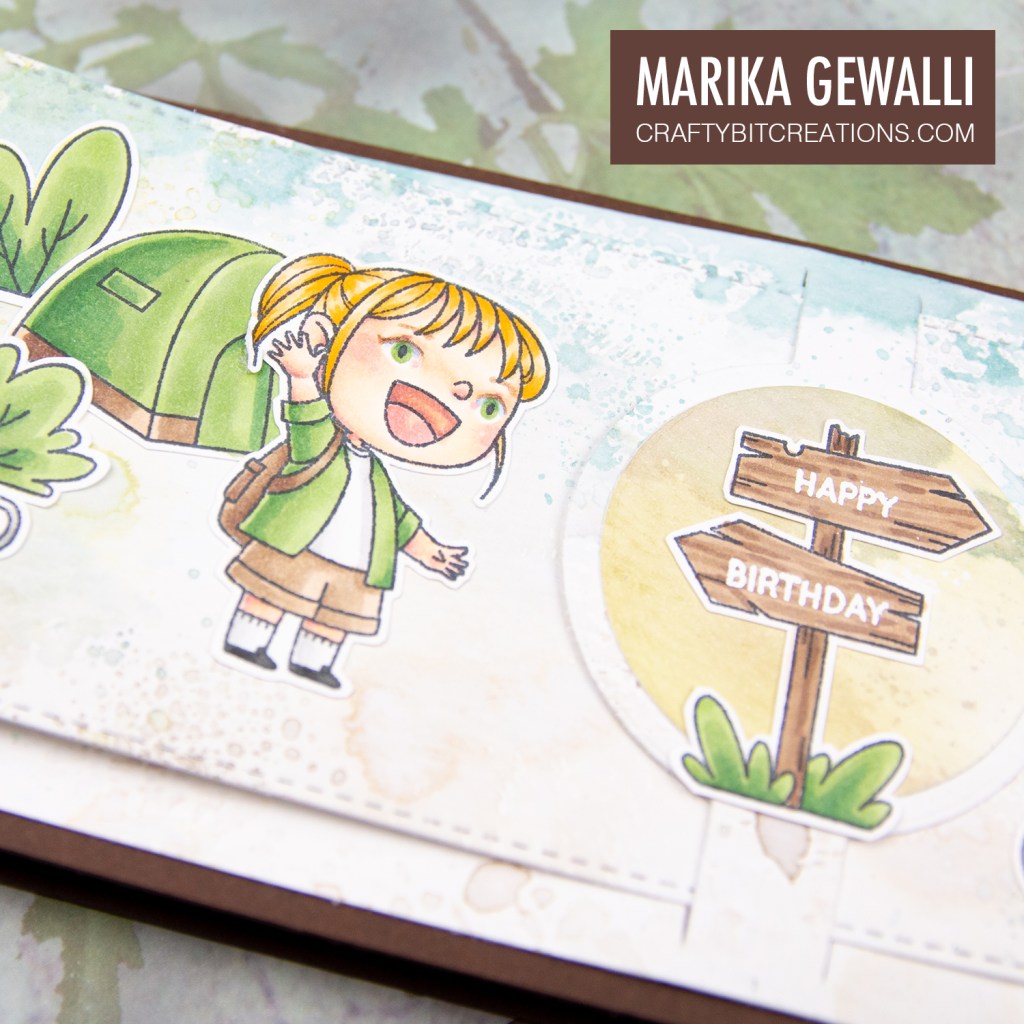
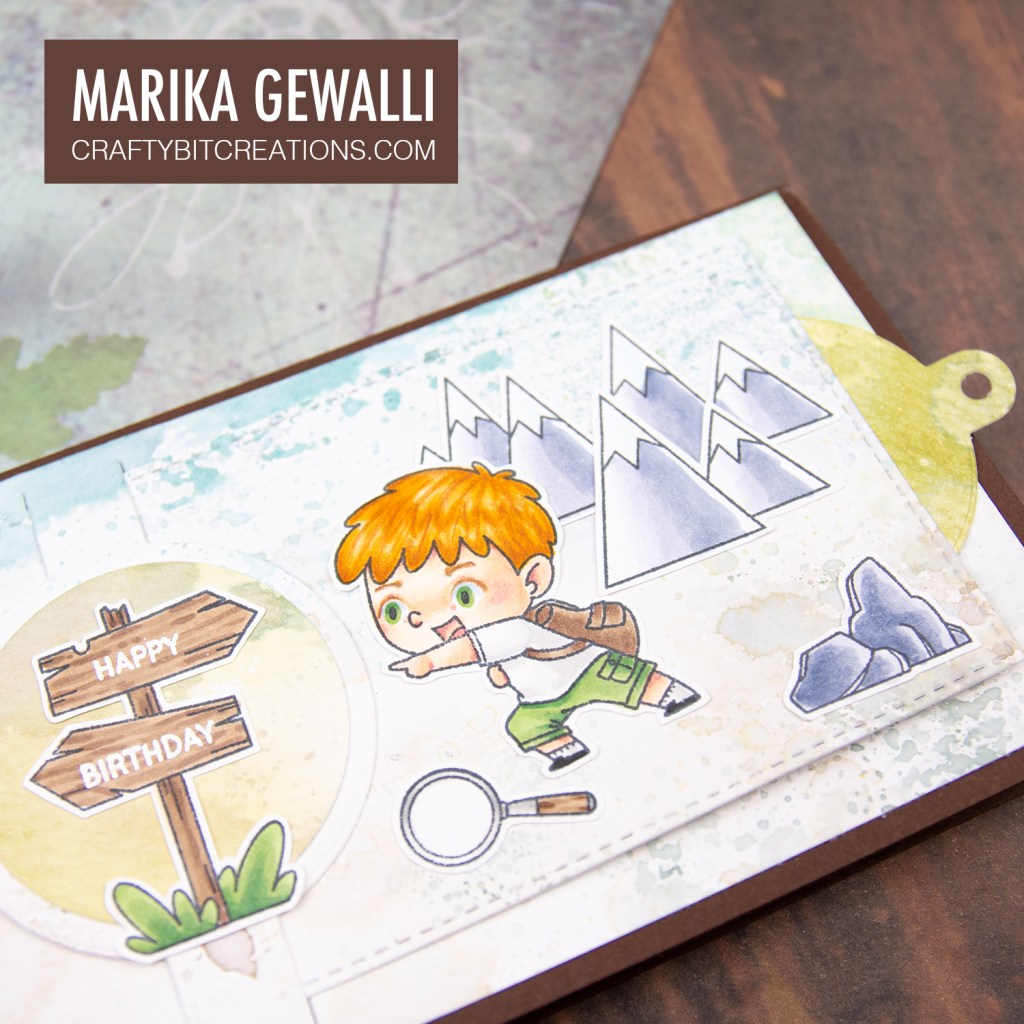
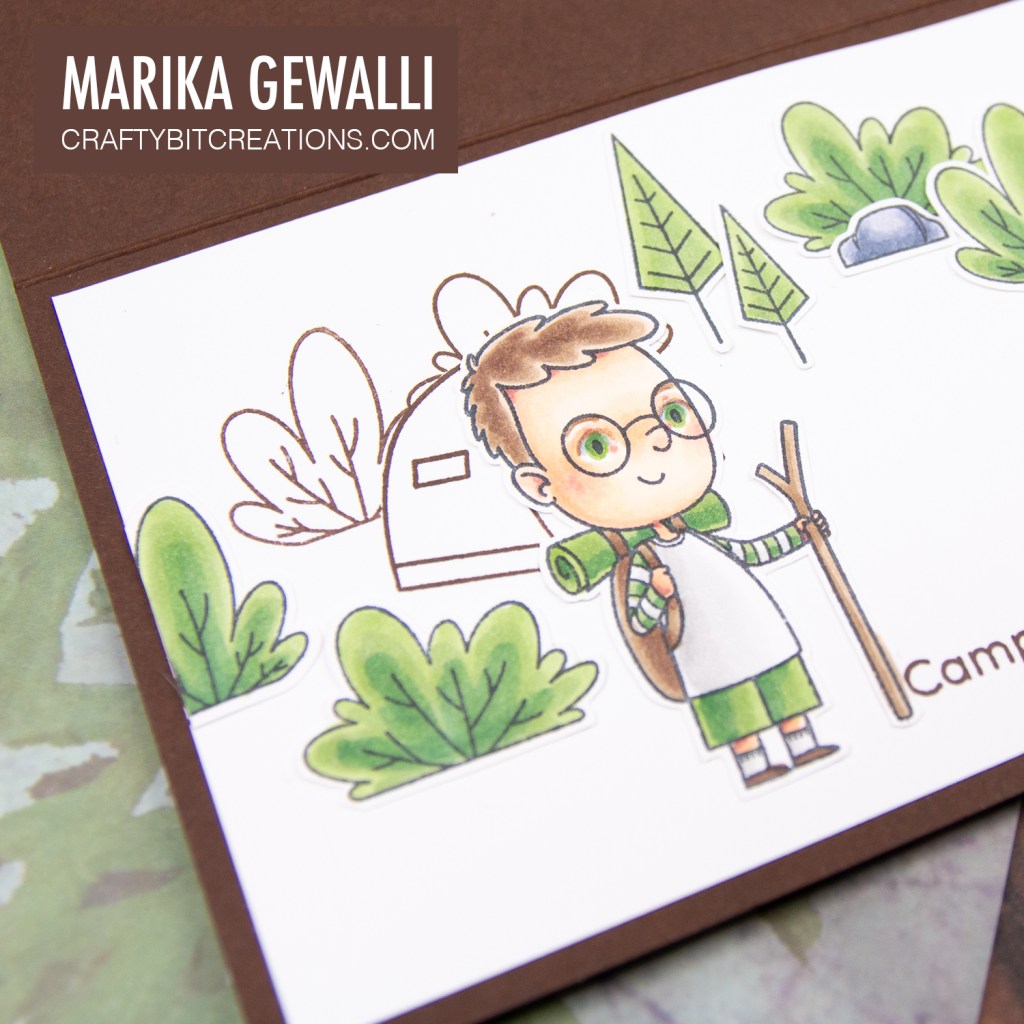
I then created the scene on the tag, a little forest on the left side with a tent and a character. On the right side I built a mountain scene with another character. On the little belly band on the main piece I added a little circle (from another ink smooched piece in just the green colors) and on top of that the sign stamp that I colored like wood and then white embossed happy birthday.
I built a similar scene on the inside on top of a 3 1/4″ by 8 1/4″ piece of white neenah. However I mixed stamping just the outlines in Milk Chocolate ink and adding some of the left over copic colored images. I left the middle empty to have somewhere to write a message. You could also write a secret message on the backside of the tag on the outside also.

I loved making this card, hope you liked watching the videos too!
Copic:
G46, YG63, G43, BV20, BV23, BV25, B0000, E40, E41, E42, E43, E44, E47, T0, T2, T4, T6, T8
When possible affiliate links are used, this means that I receive a small commission when products are purchased through the links (at no extra cost to you) I use the money to support my blog and youtube channel. If you like my projects and tutorial please consider supporting me by clicking through these links when you shop. Thanks!
Supplies:
