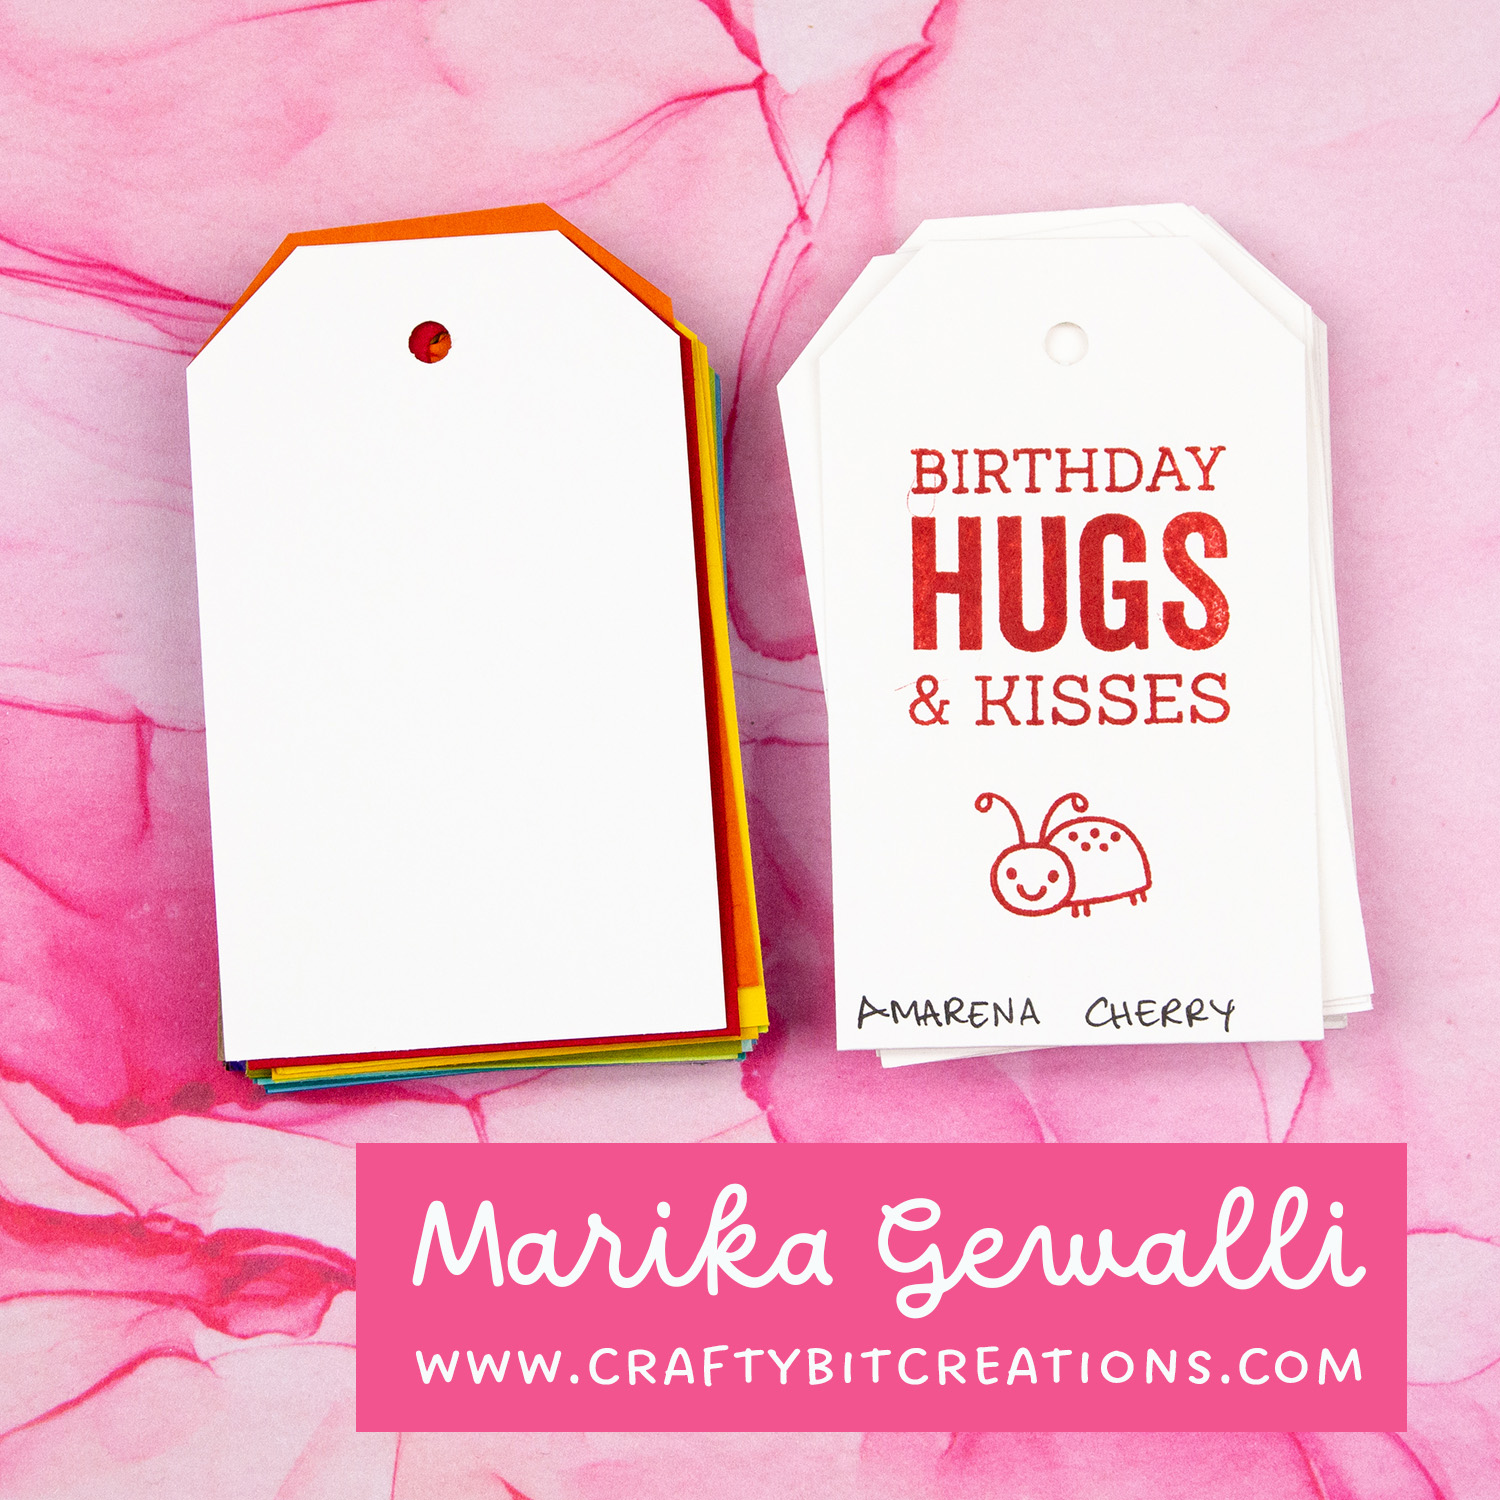
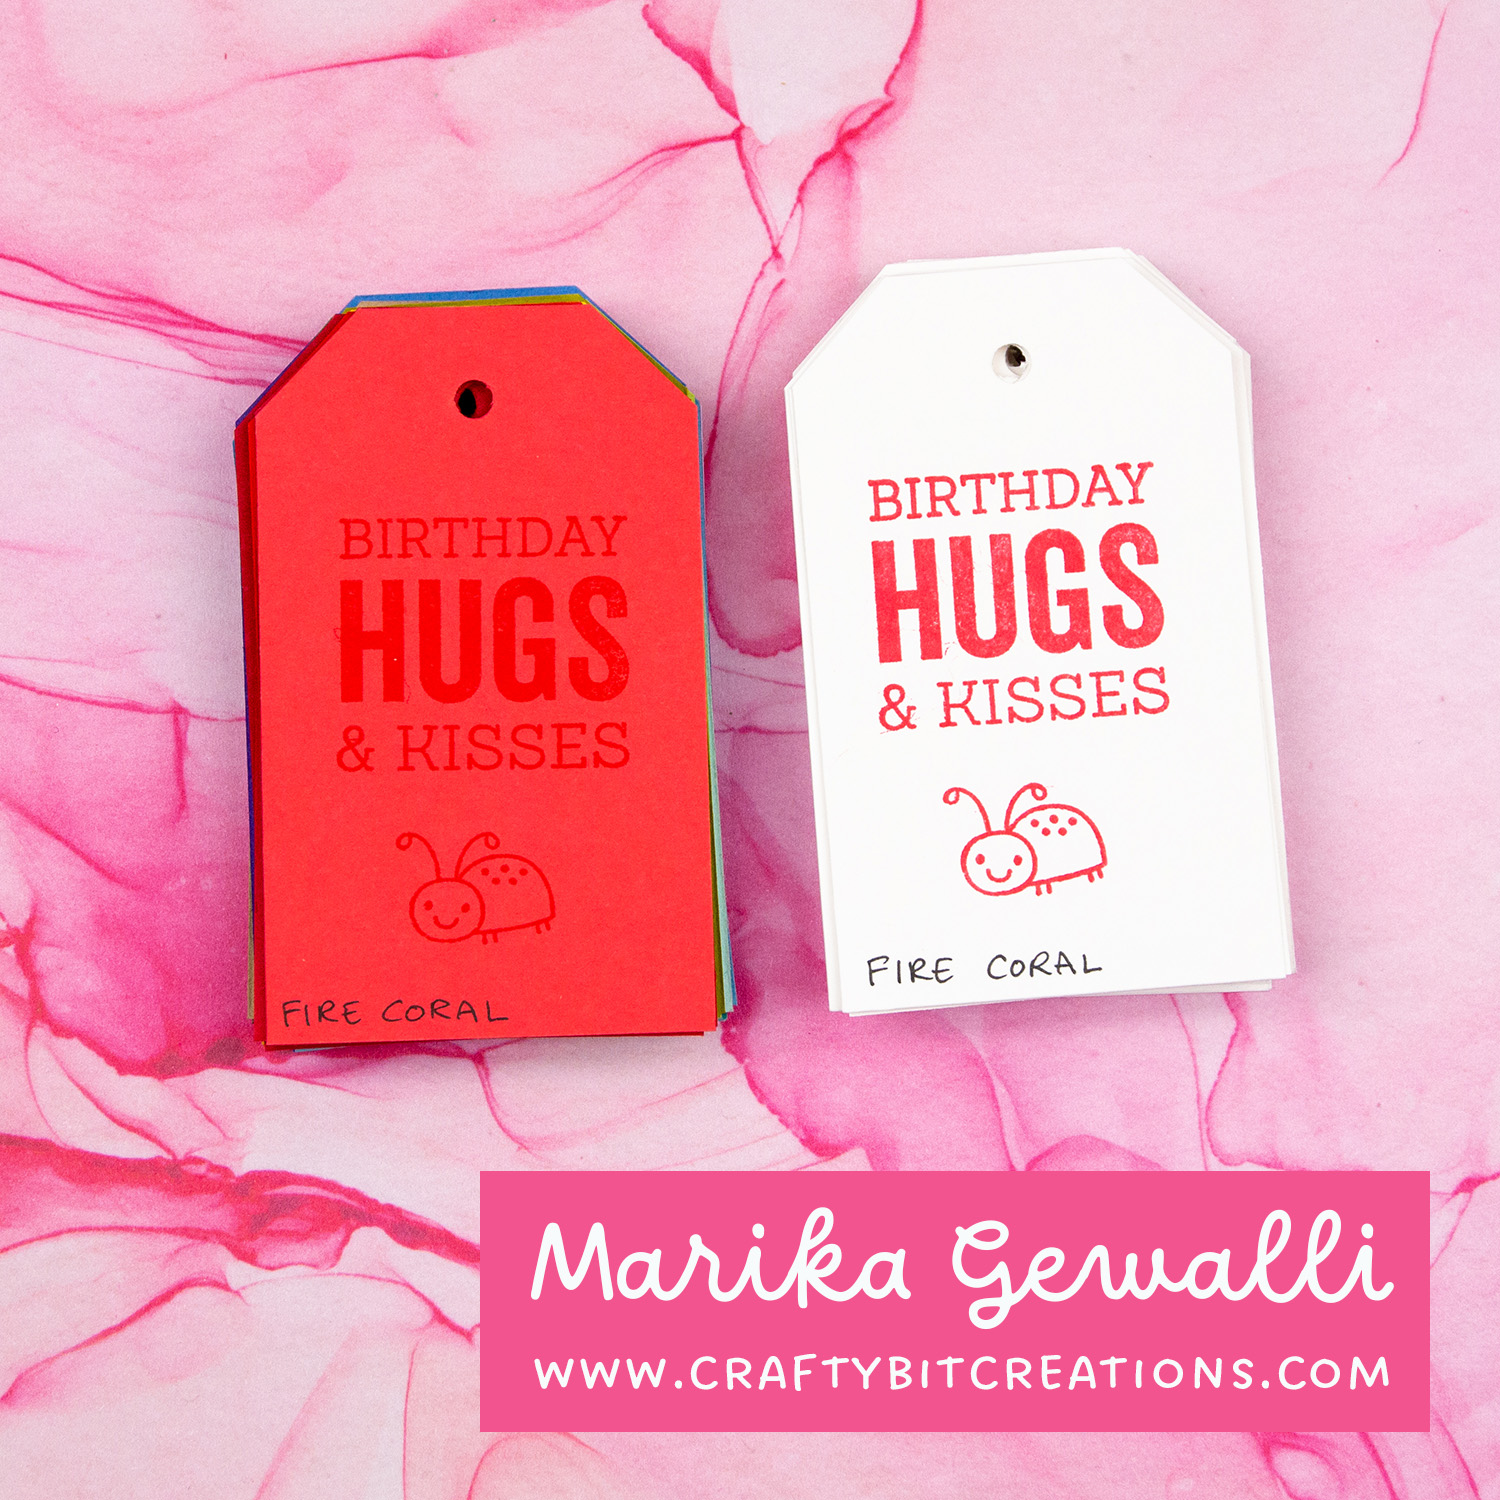
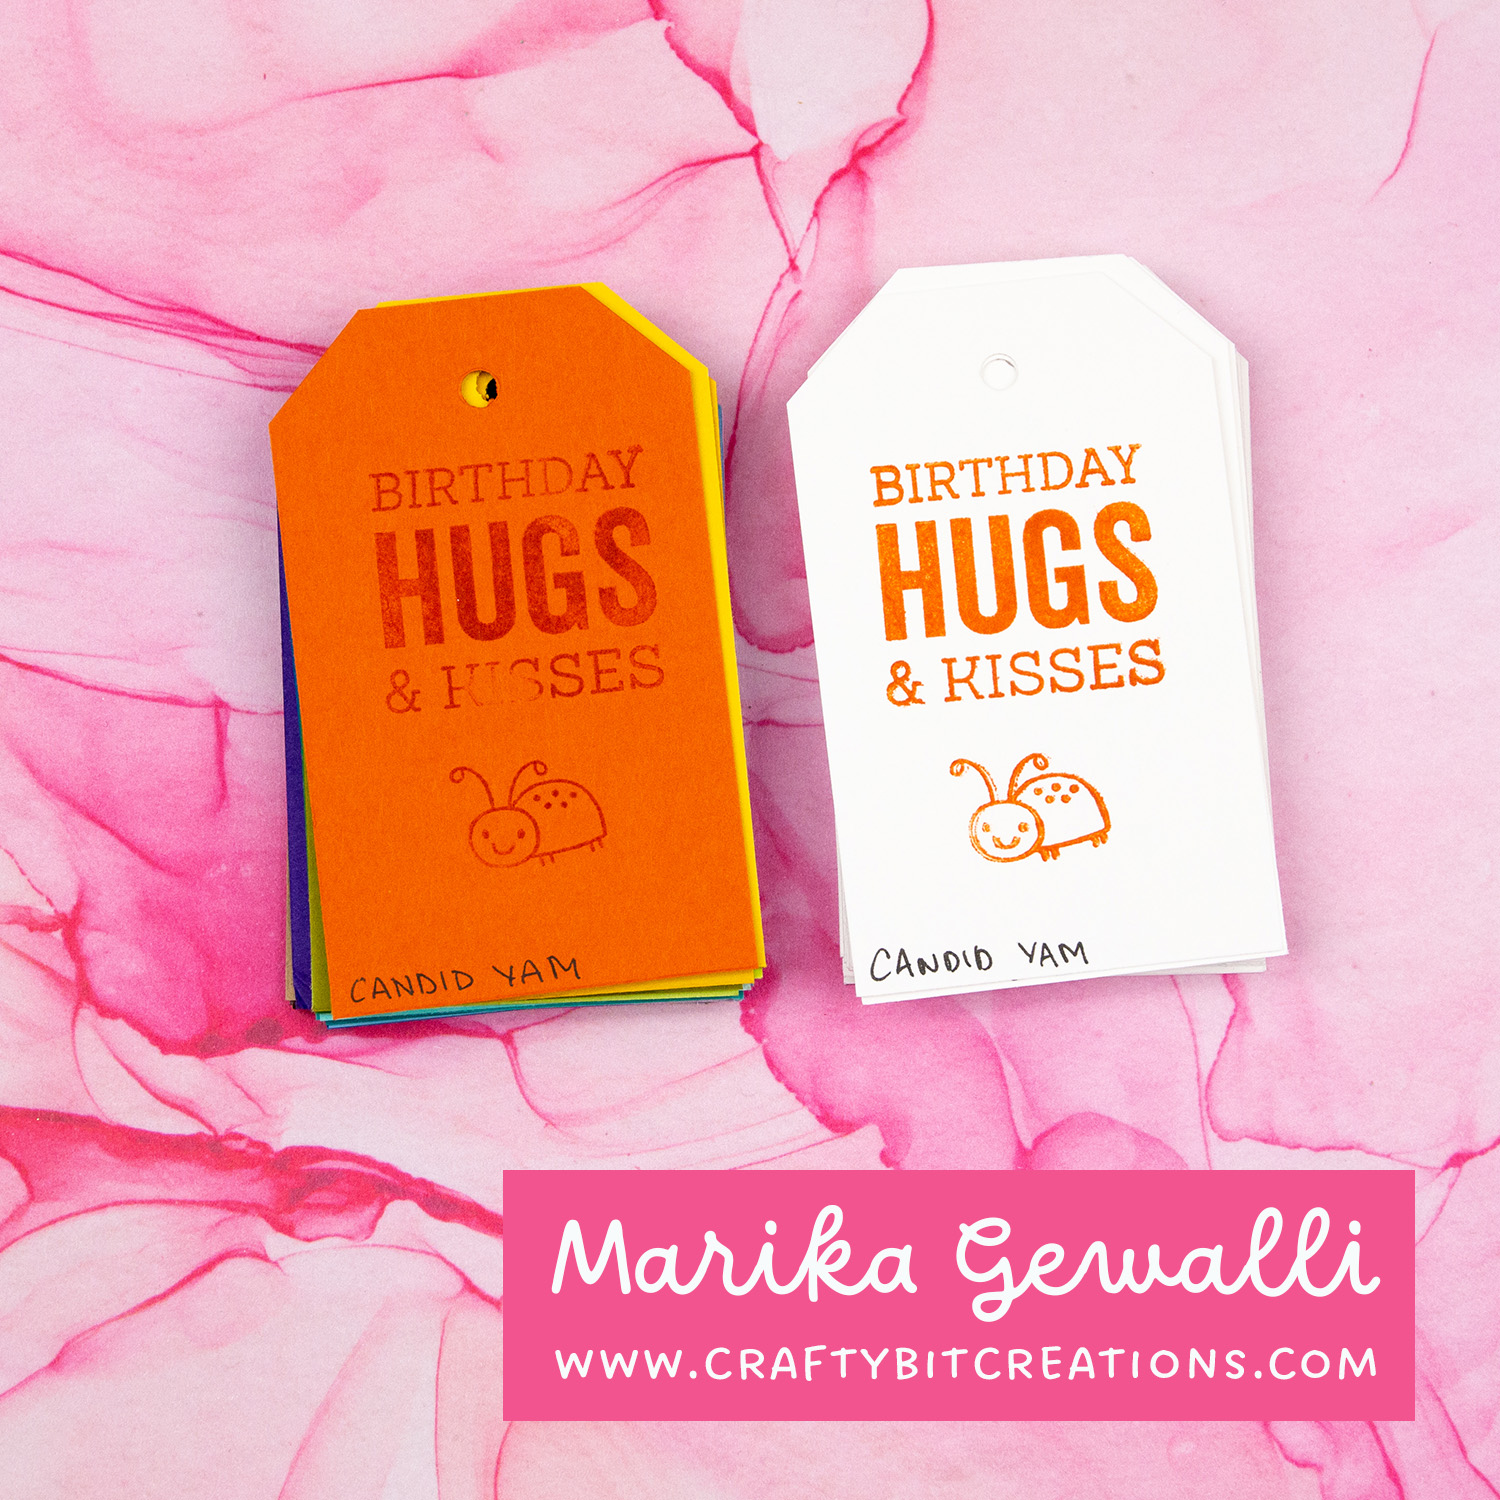
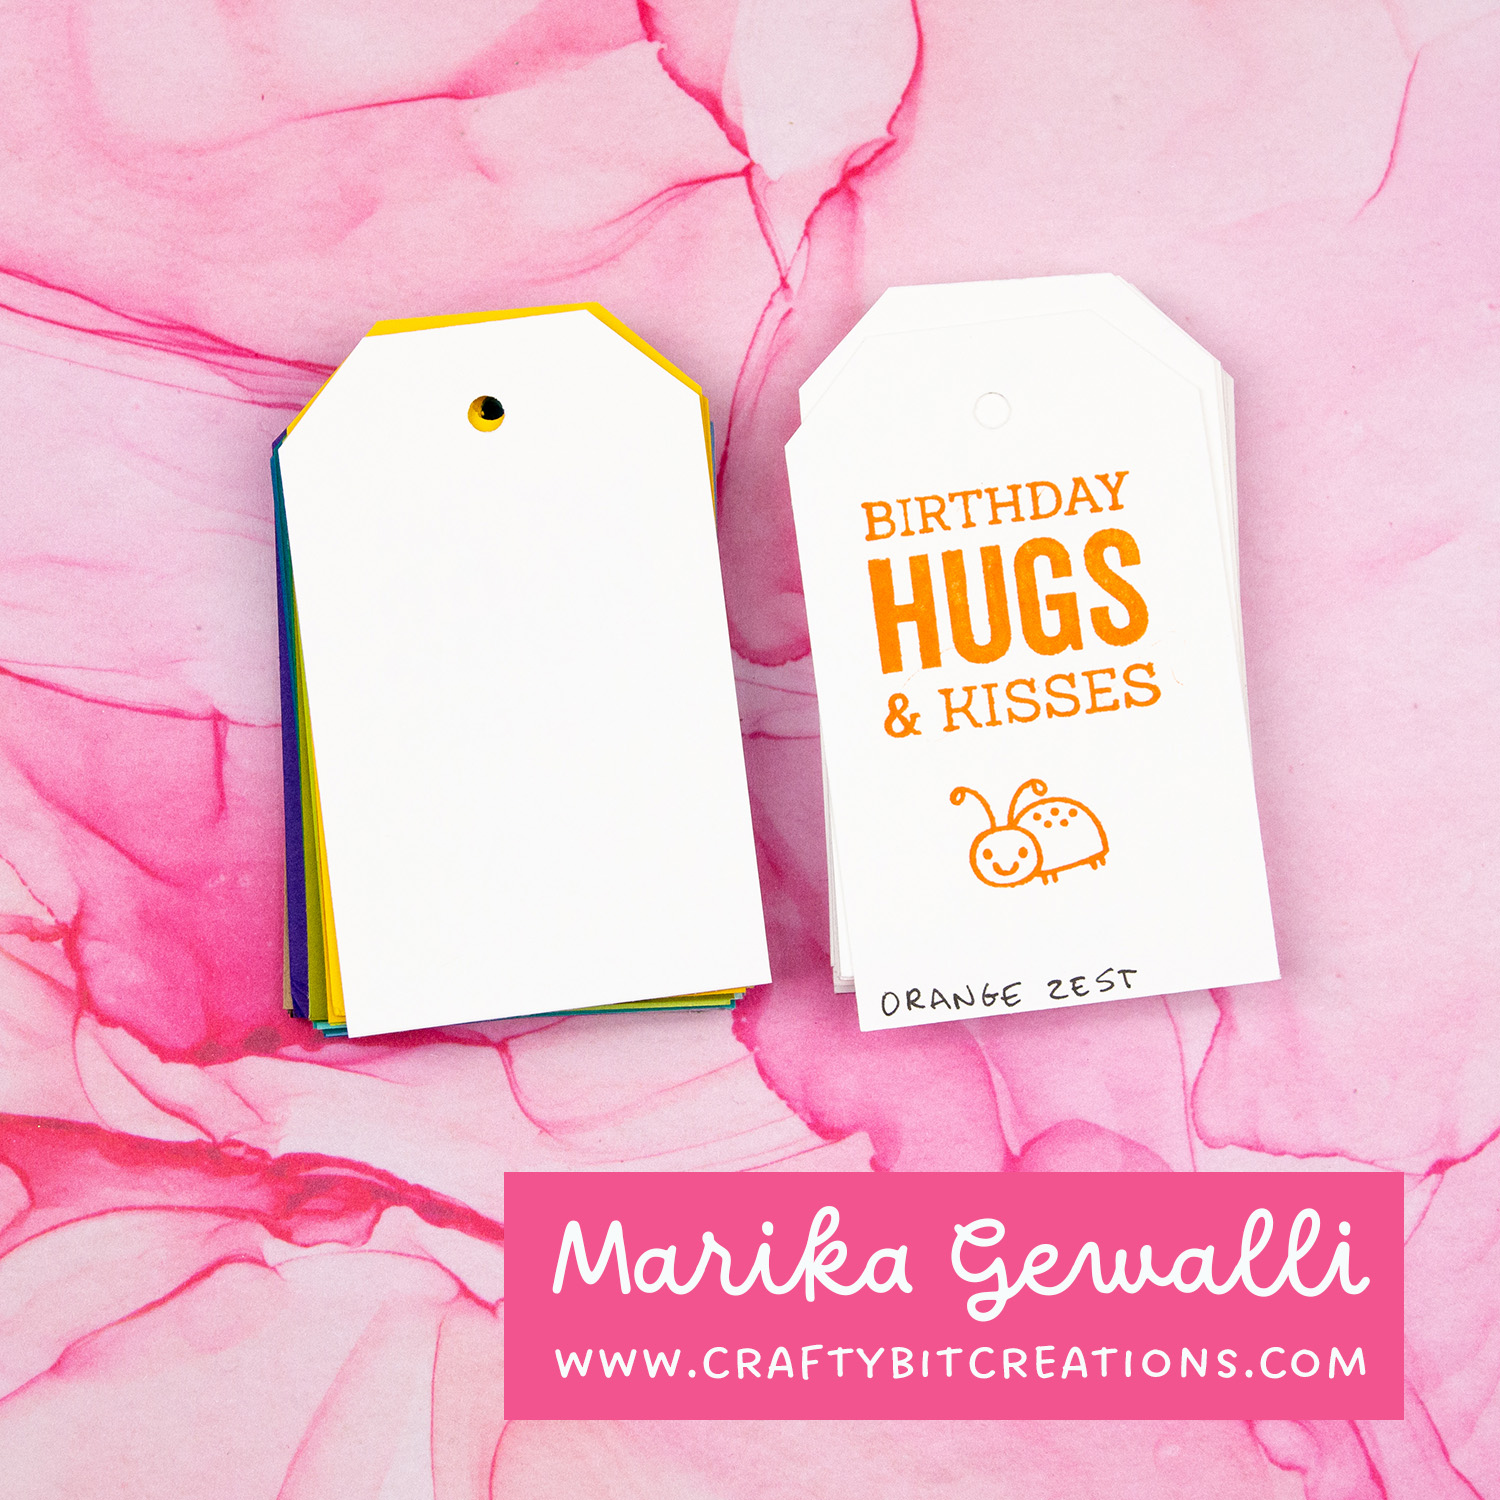
This was an awesome release from My Favorite Things! So many wonderful stamps. Think my favorite is the fairies, Fairy Special, who can say no to fairies. However I also love the new Stacey Yacula stamp Sunshine Friends, specifically the cute bees! Did you have any favorites from this release? If you want to see what I have done with these supplies, all projects I’ll make with them will be found HERE.
When possible affiliate links are used, this means that I receive a small commission when products are purchased through the links (at no extra cost to you) I use the money to support my blog and youtube channel. If you like my projects and tutorial please consider supporting me by clicking through these links when you shop. Thanks!
Supplies
MFT Thank You Die-namics: MFTSSS MFT Fairy Special: MFTSSS MFT You’re My Sunshine: MFTSSS MFT Dog Squad: MFTSSS MFT Better Together: MFTSSS MFT Top of the World: MFTSSS MFT Cloudy with a Chance of Rain Die-namics: MFTSSS MFT Stay Cool Die-namics: MFTSSS MFT SPECtacular: MFTSSS MFT Shout It from the Rooftops: MFTSSS MFT Sweet Señorita: MFTSSS MFT Sunshine Friends: MFTSSS
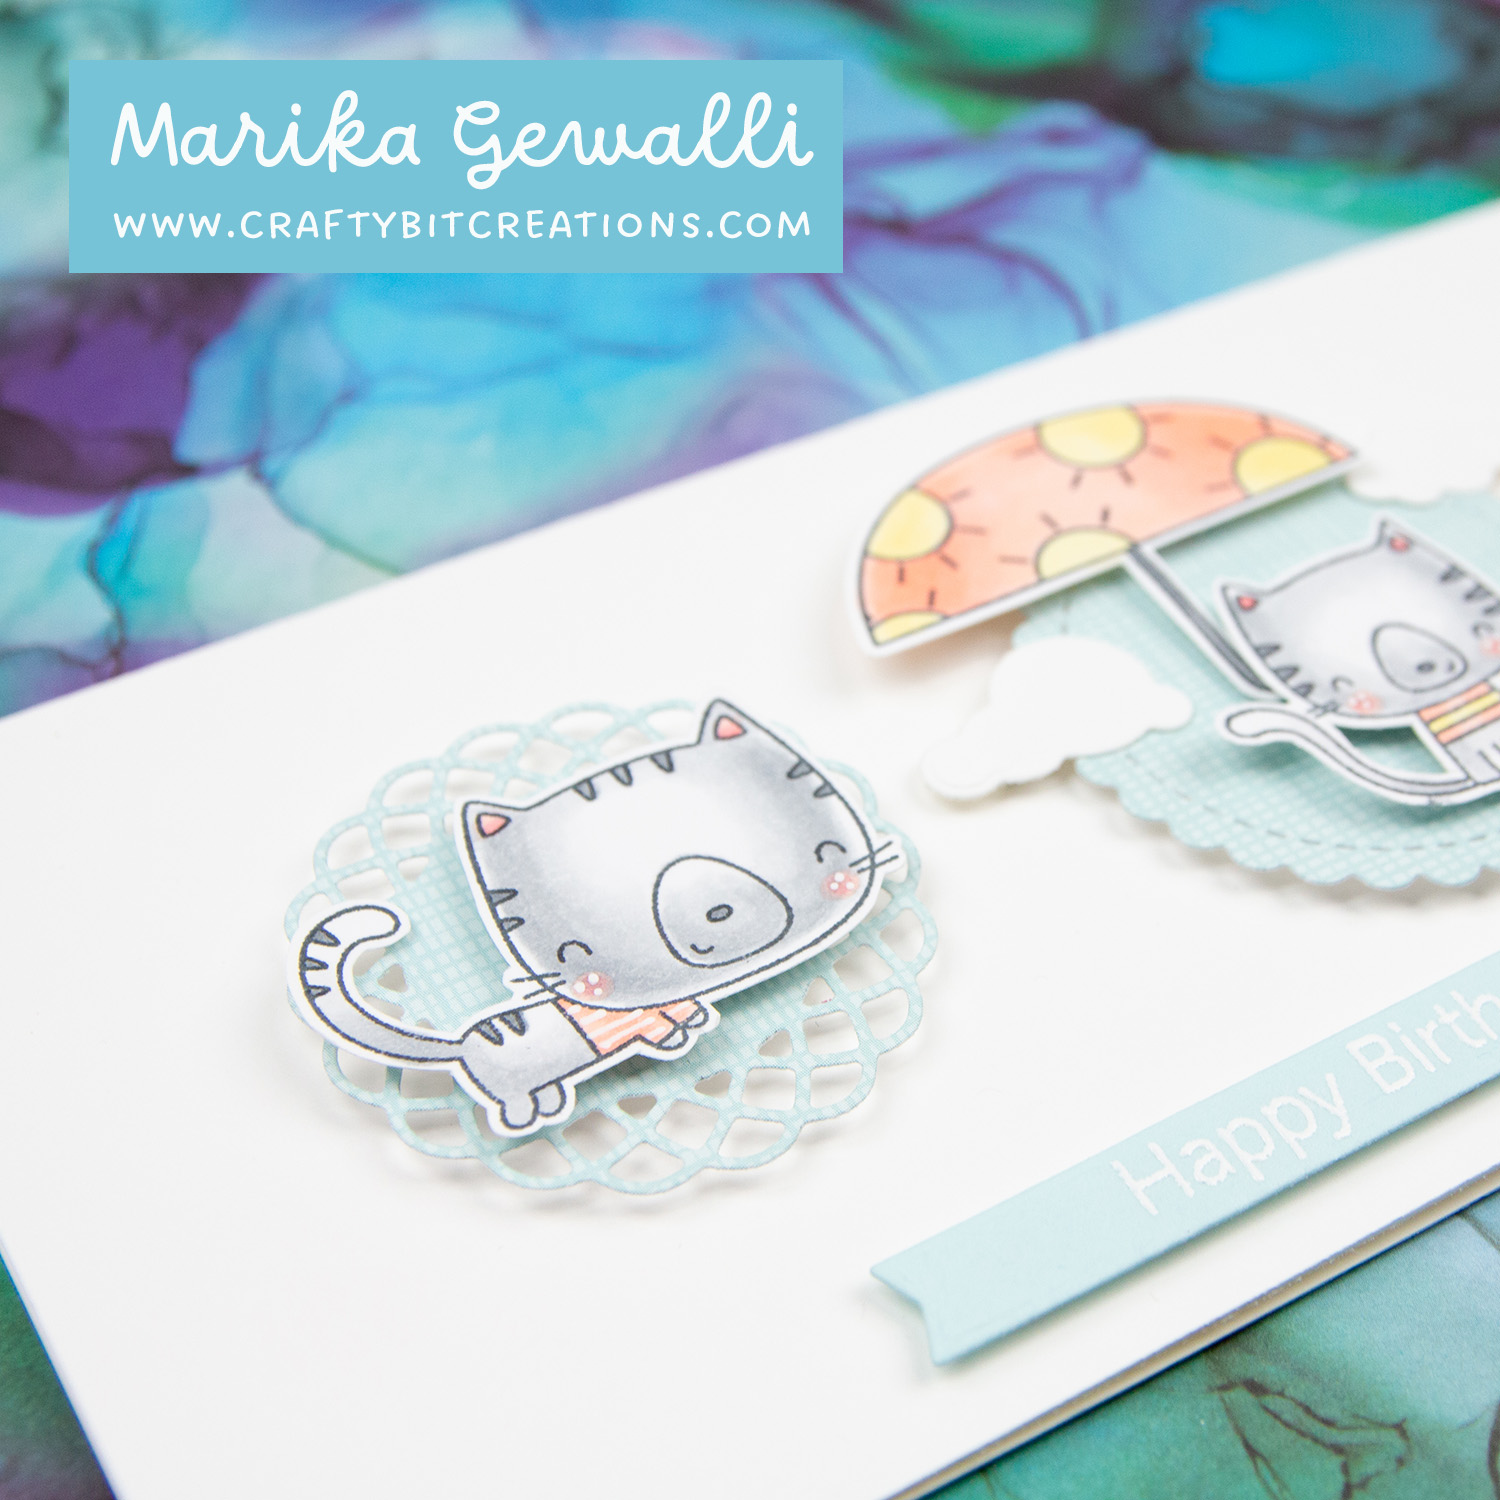
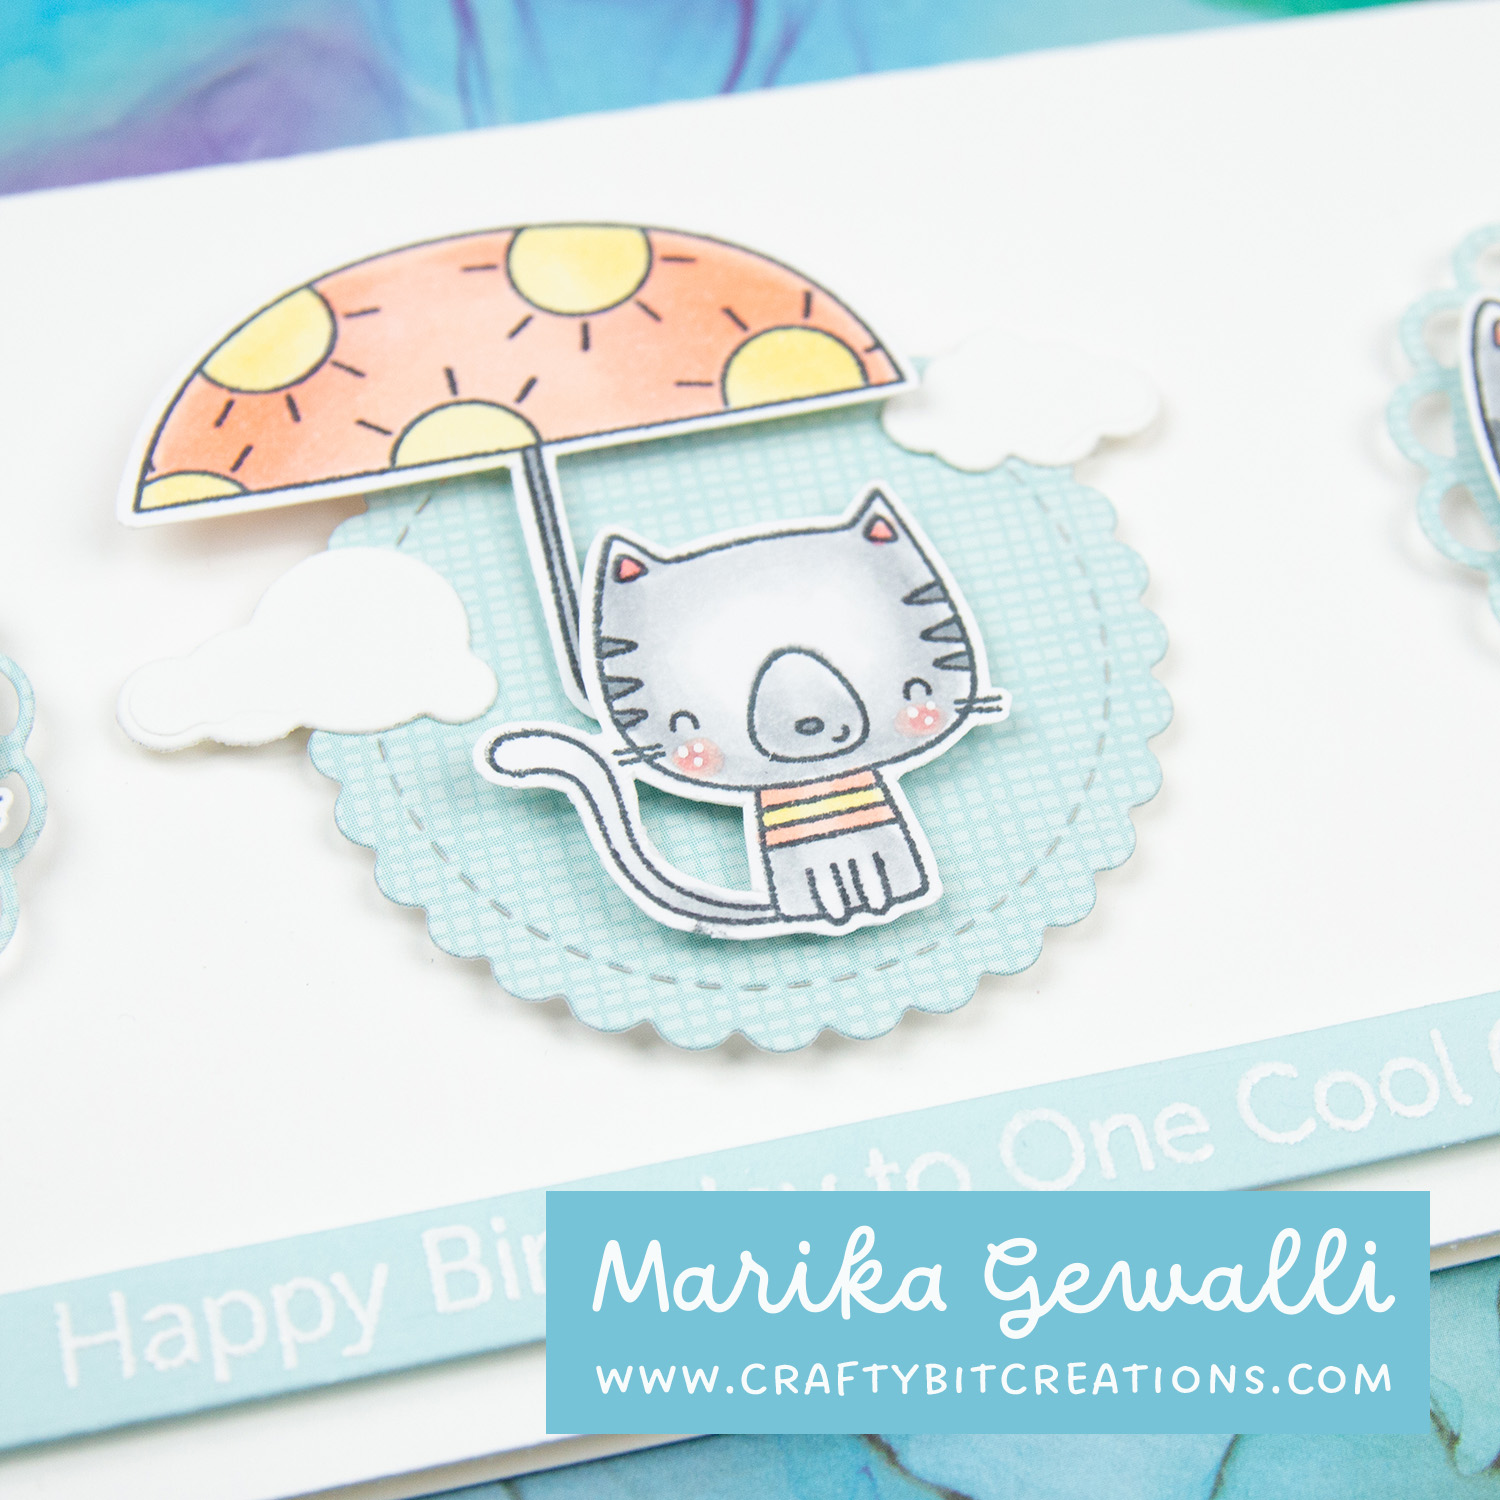
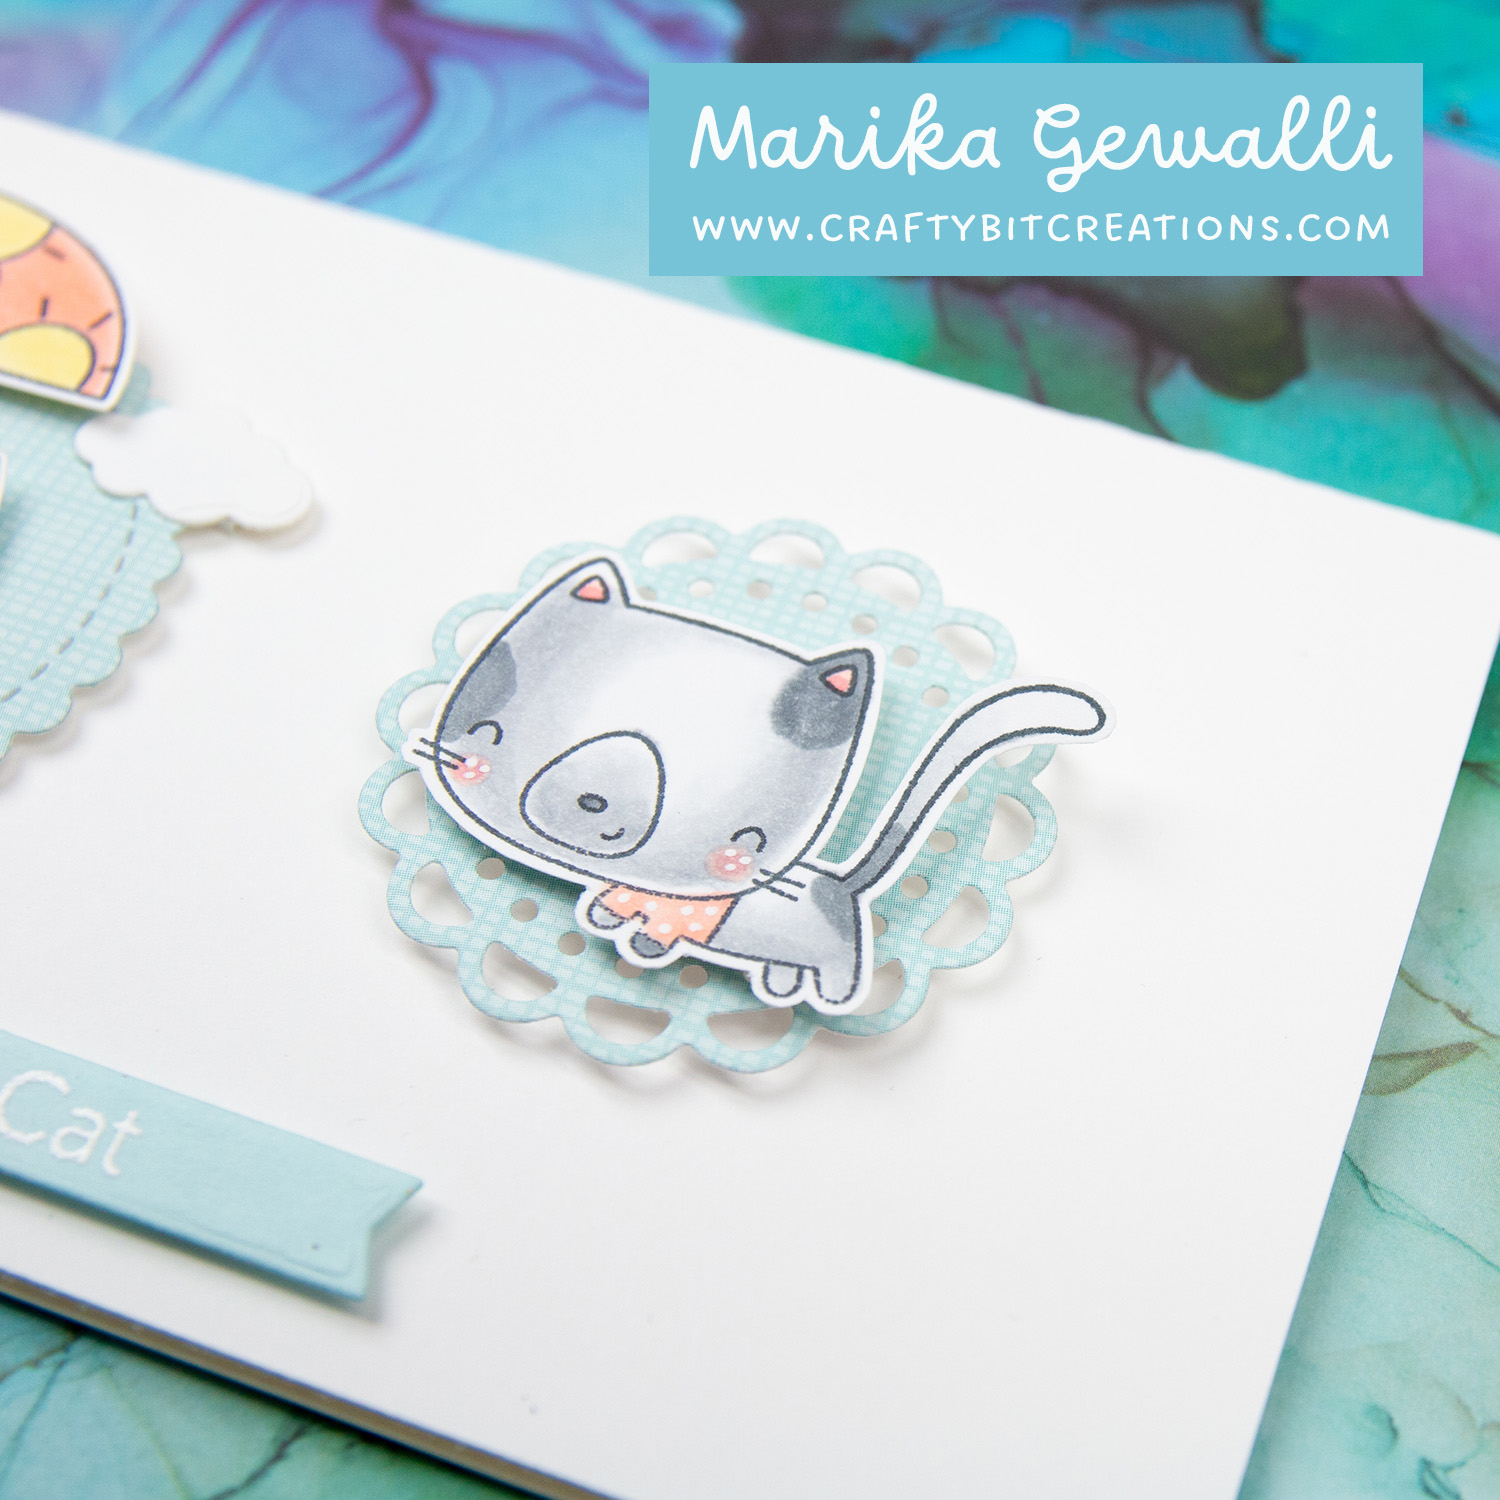
The My Favorite Things Sketch Challenge 589 was a fairly simple one. It was well balanced and I this time around I felt I wanted to stay in the box. I have these gorgeous dies, that sadly is retired, that are circles and have some details. I cut them from the Colorful Canvas Paper Pad and choose to go with the Sno Cone matching paper. And I thought that they would be perfect to add as backgrounds, backgrounds for these super cute cats from the newly released You’re My Sunshine stamp set. I really thought that they would be perfect as there is two cats in the same size that is facing each other and one that is facing straight.
The straight facing cat is a little small though, so I also stamped up the umbrella to give the center piece a little bit more. I did mask in the sun from the stamp set on the umbrella to give that some more details. To finish of the center piece I added some clouds from the Cloudy with a Chance of Rain Die-namics that was the free with $60 in this months release. For the sentiment I went with “Happy Birthday to one Cool Cat” which I white heat embossed onto some Sno Cone cardstock and cut it out with a flag die from the Blueprints 27 Die-namics. If you want to see the other challenges that I have joined you can find them HERE.
When possible affiliate links are used, this means that I receive a small commission when products are purchased through the links (at no extra cost to you) I use the money to support my blog and youtube channel. If you like my projects and tutorial please consider supporting me by clicking through these links when you shop. Thanks!
Supplies
MFT Sunshine Friends: MFTSSS Colorful Canvas Paper Pad: MFTSSS MFT Sno Cone Card Stock: MFT Hero Arts White Embossing Powder: SSSAMZSBC
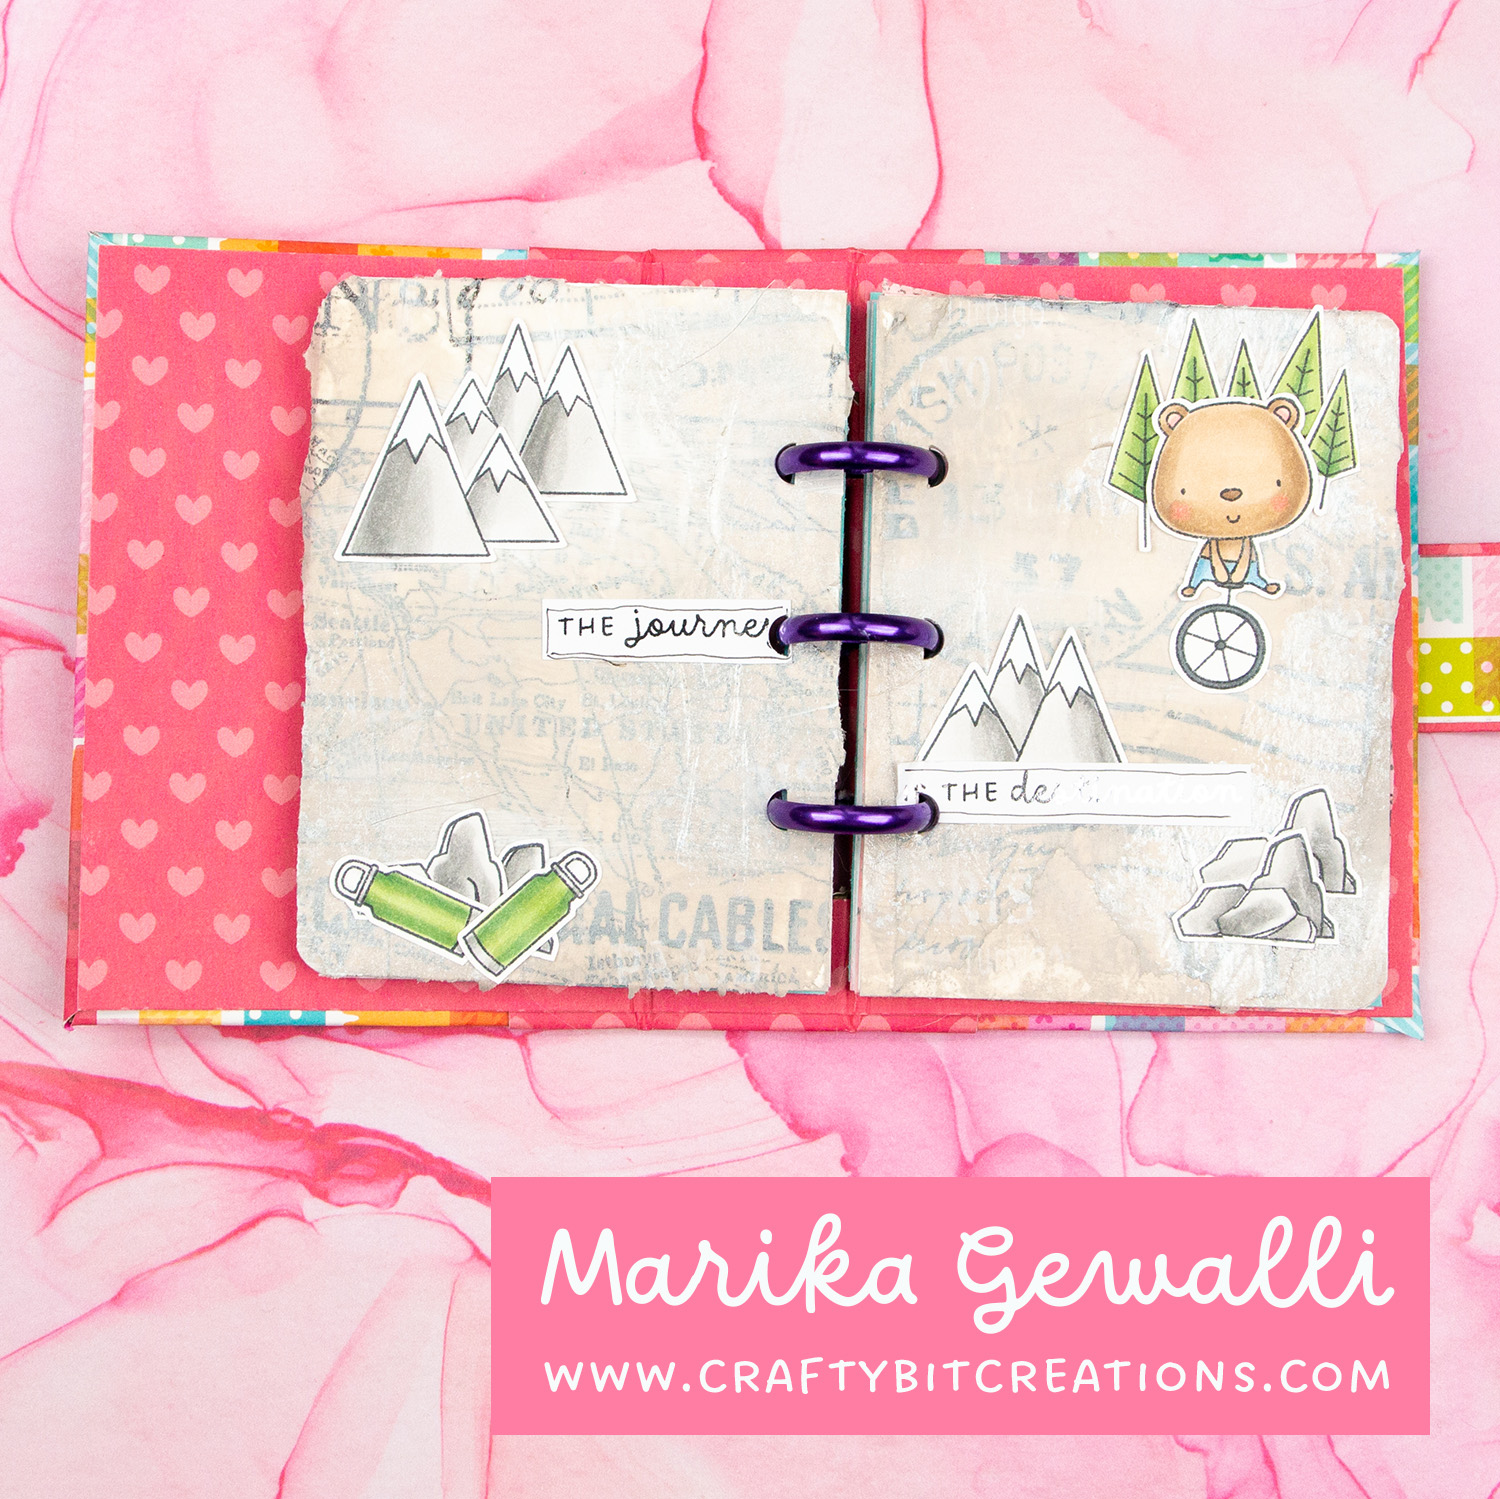
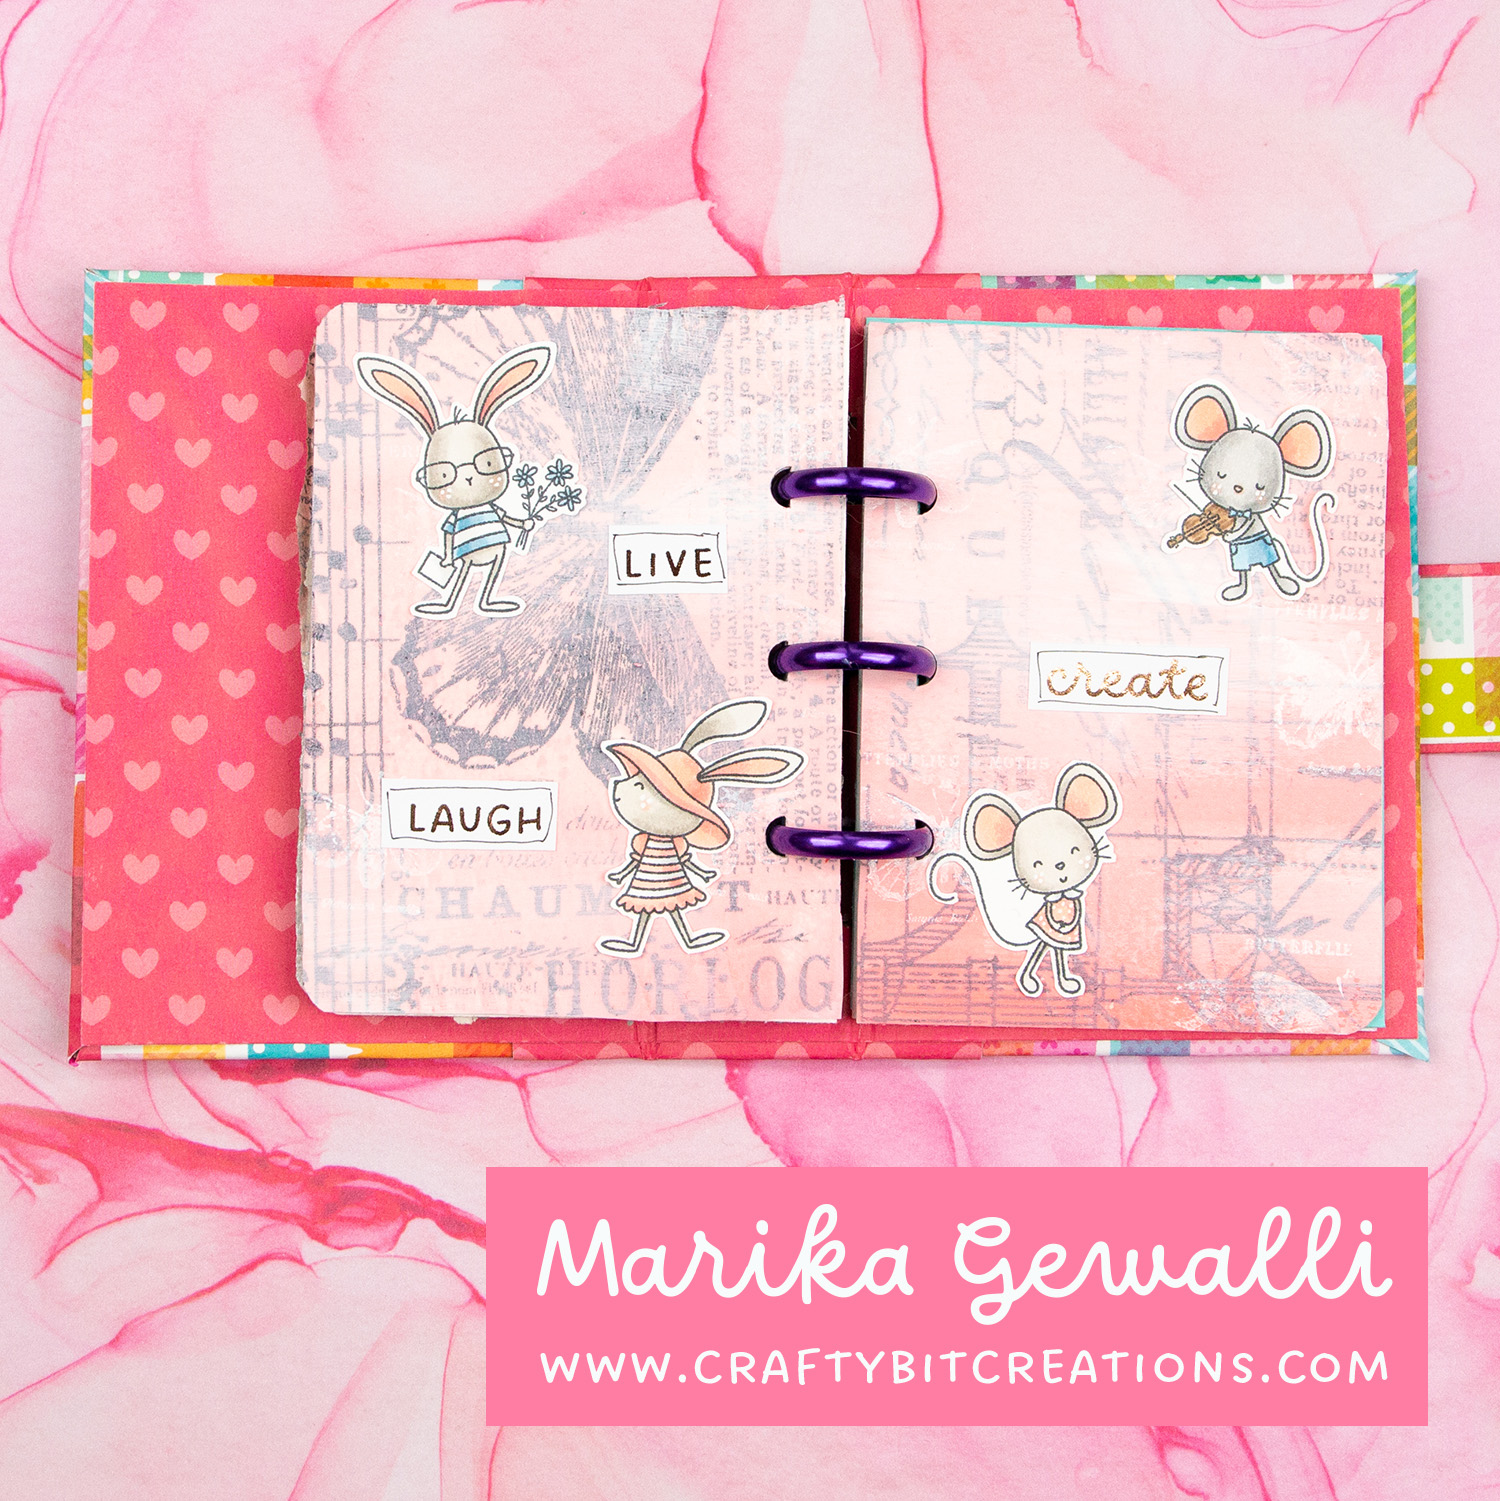
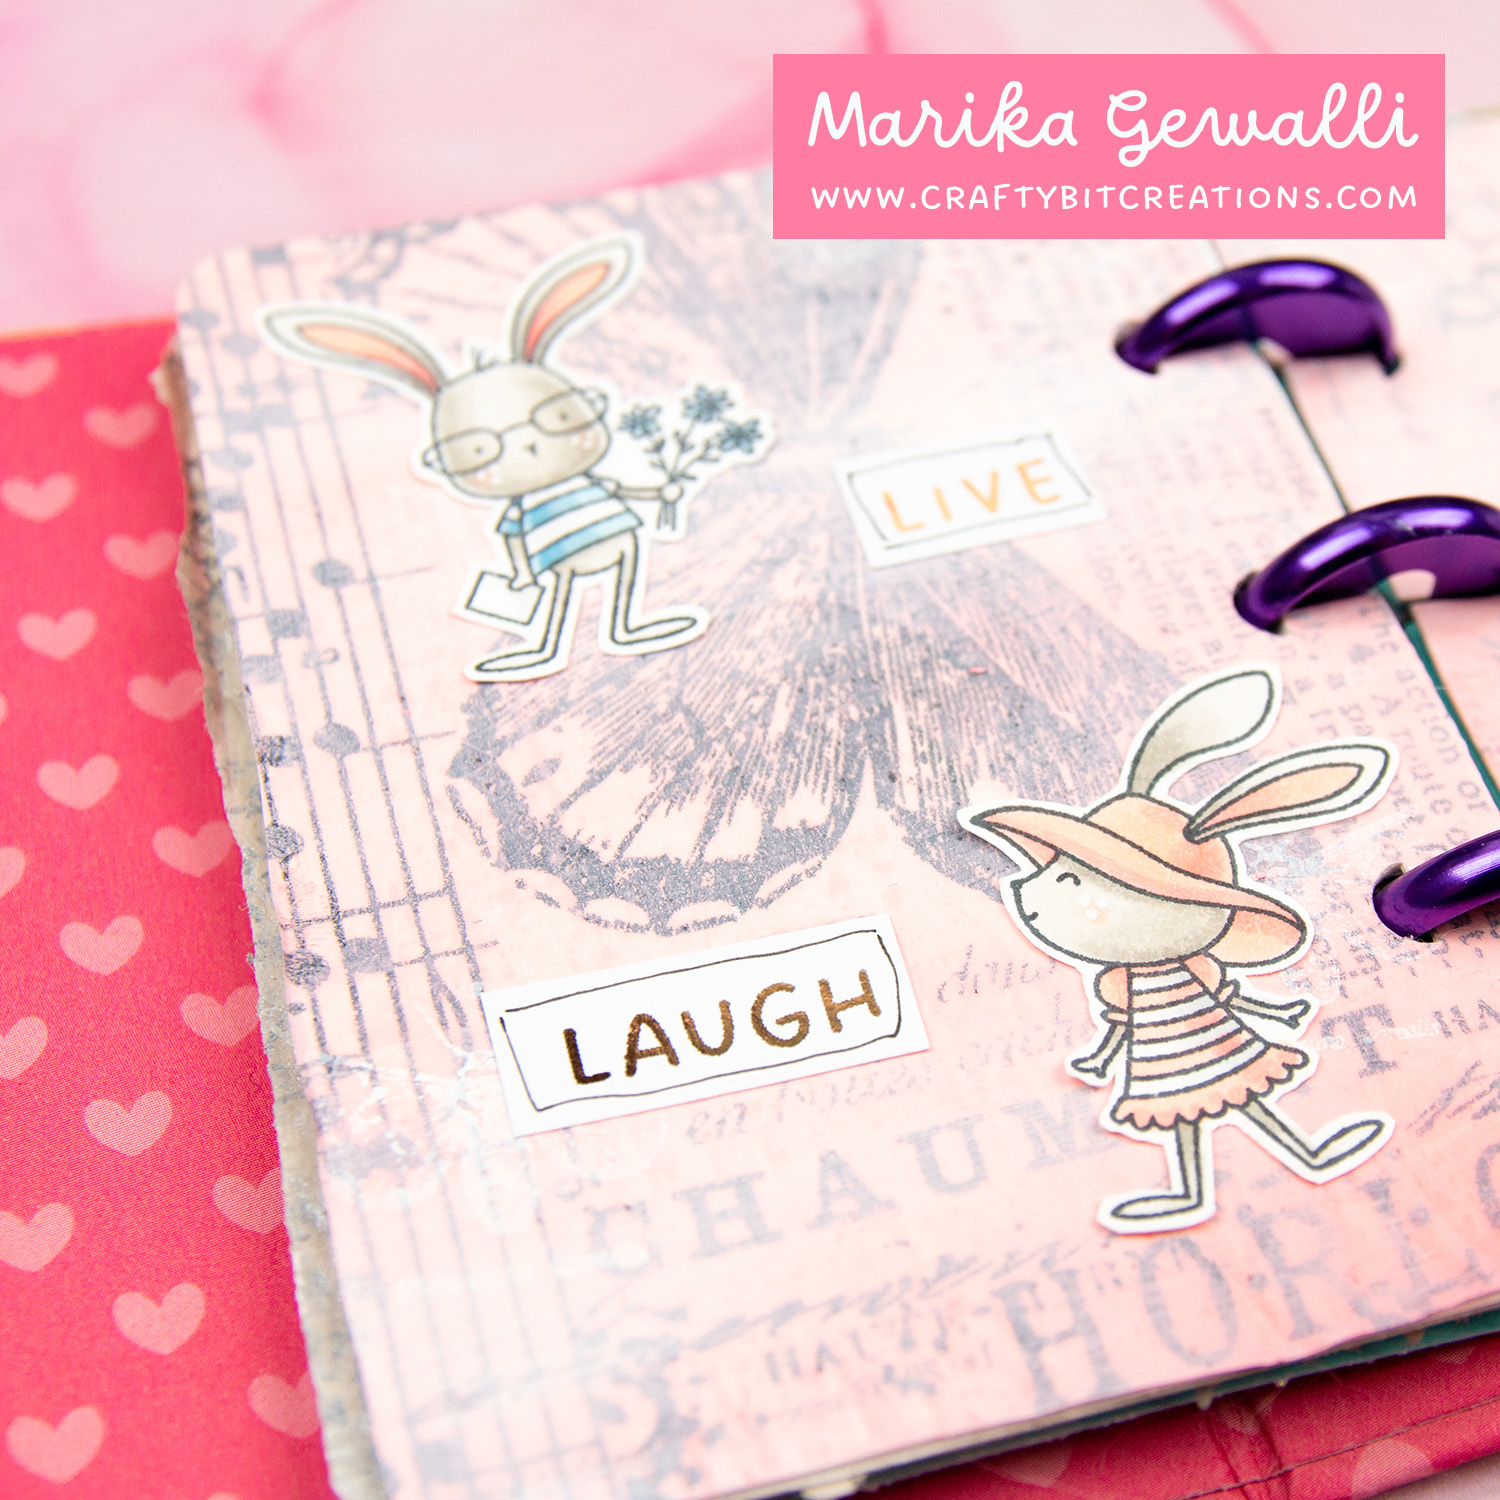
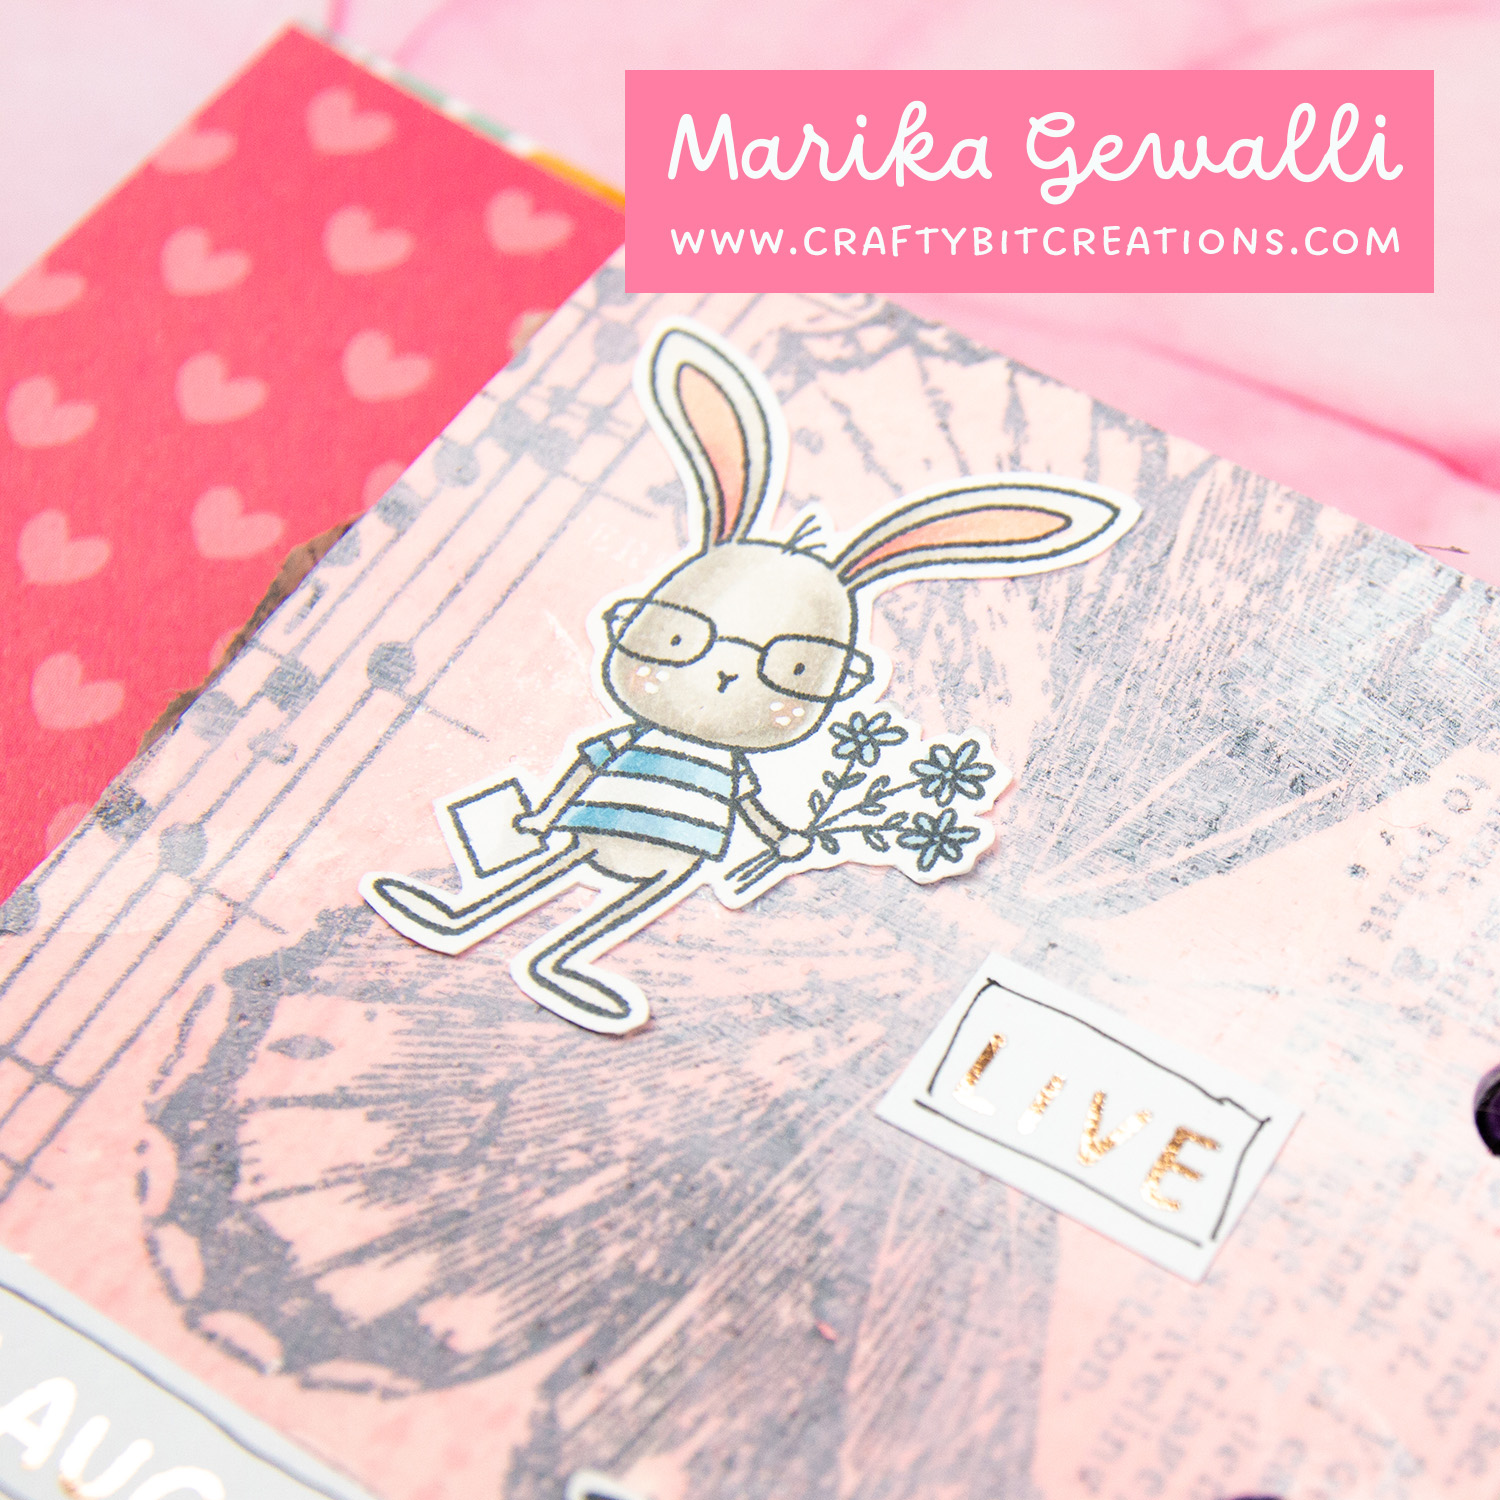
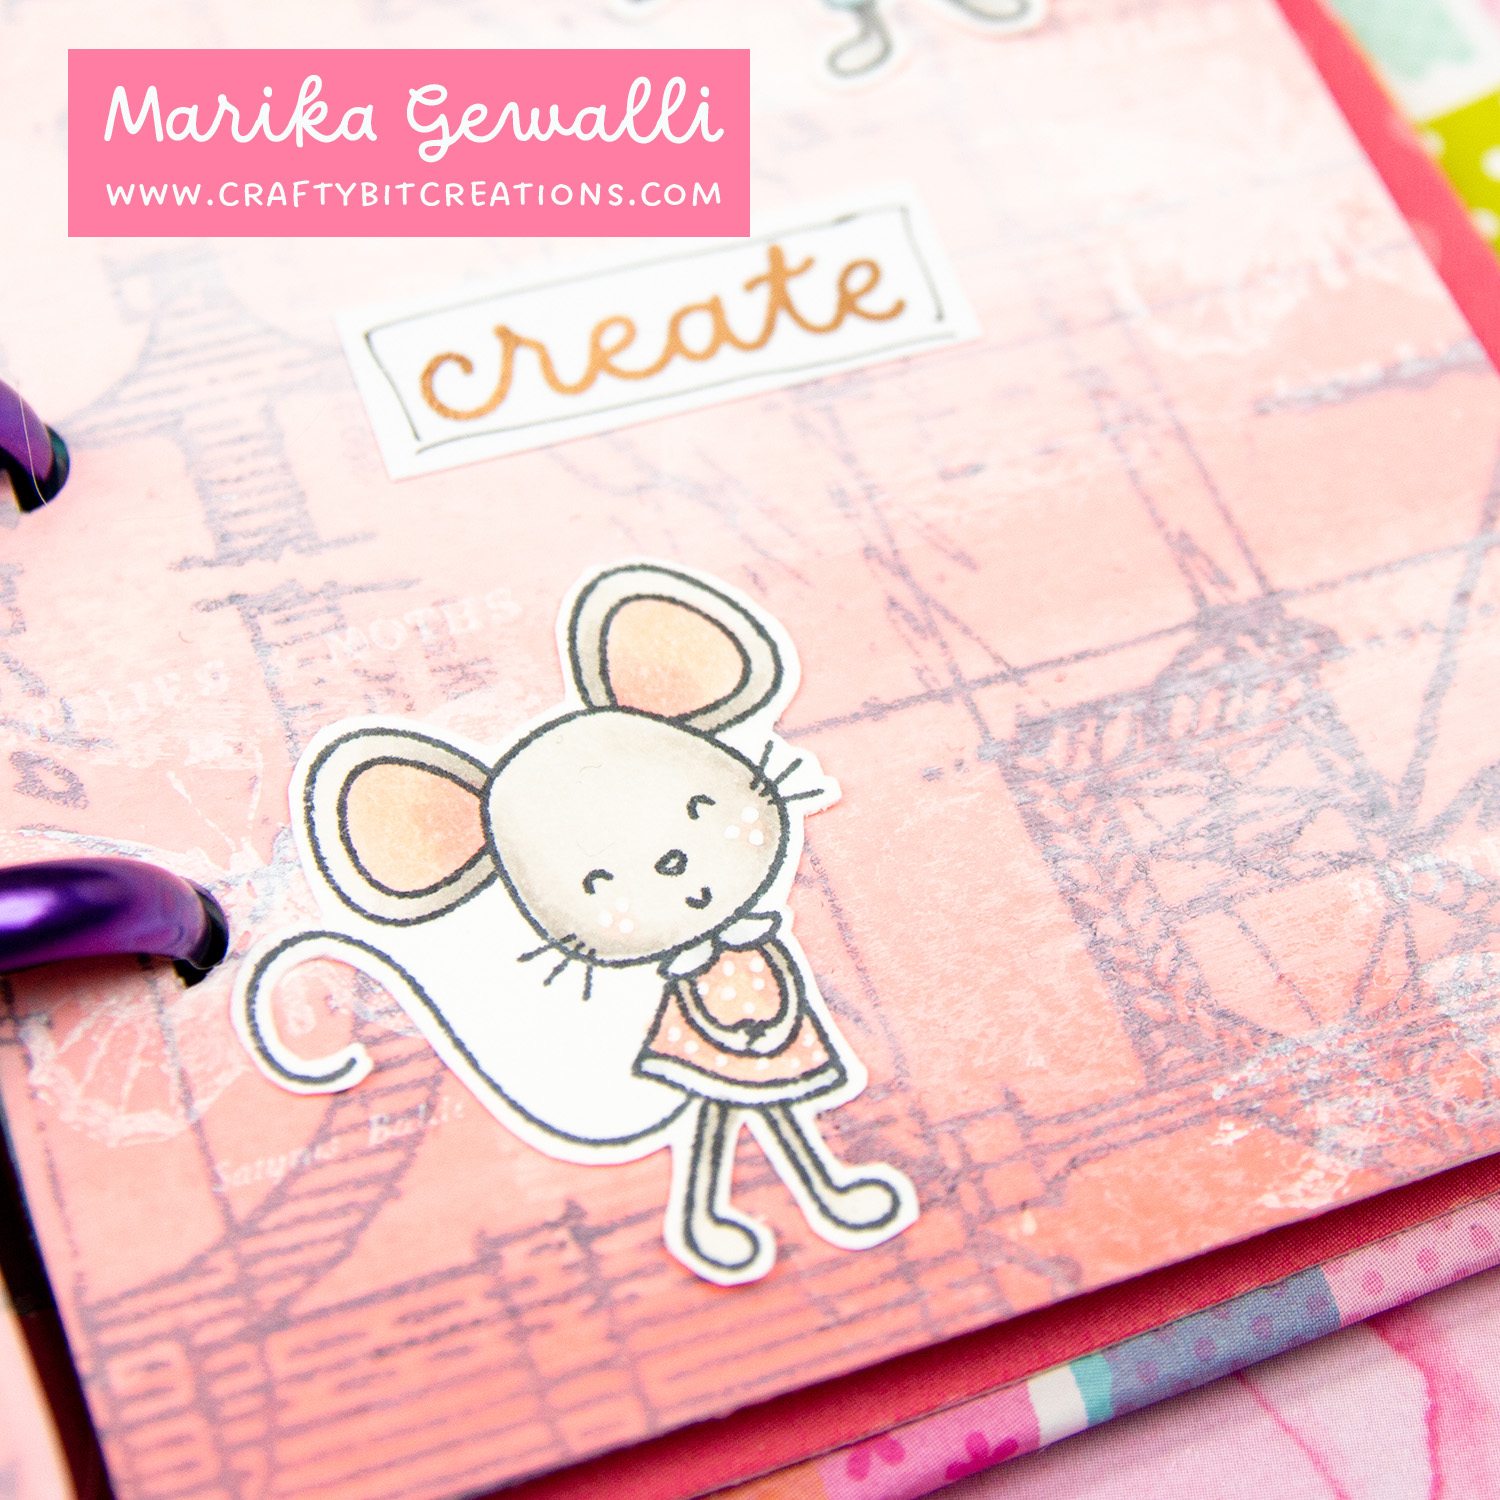
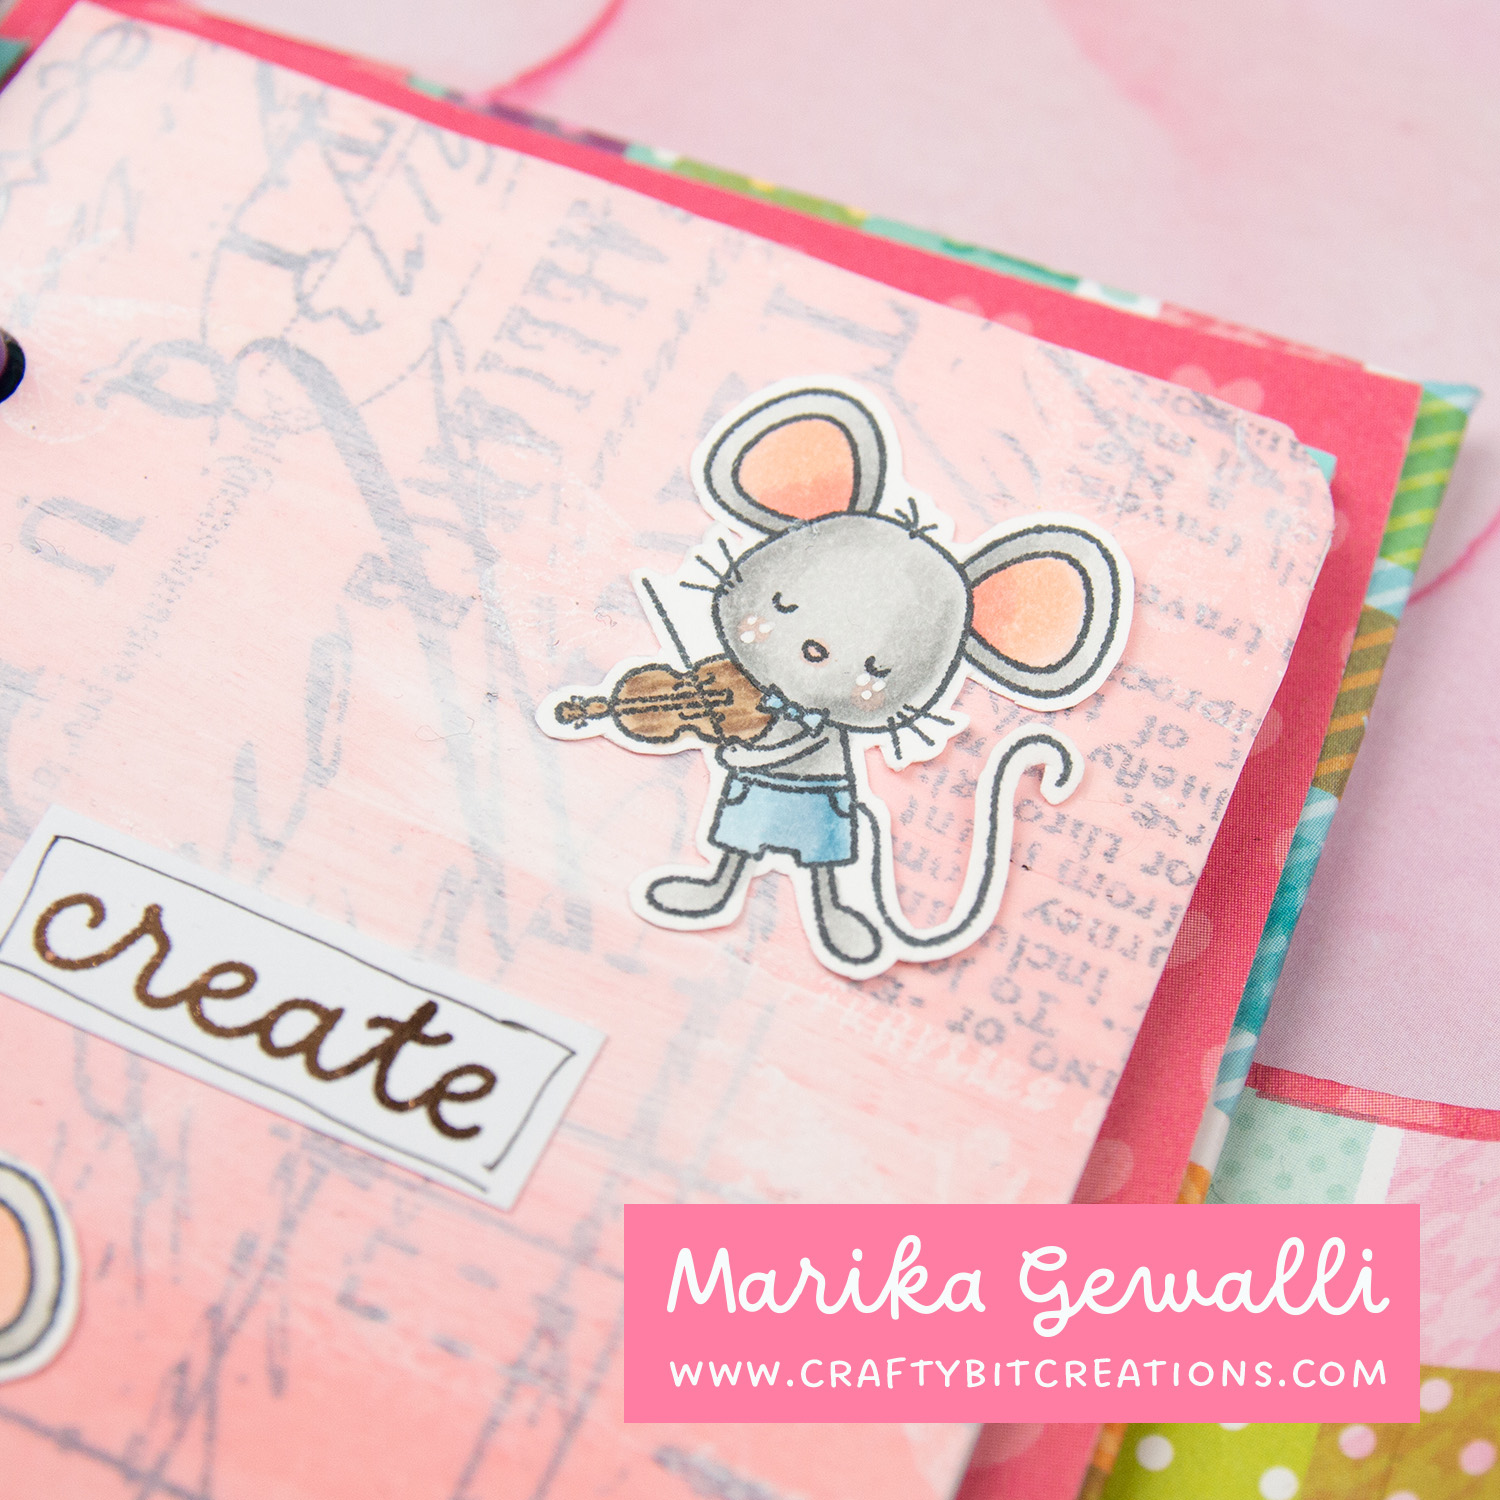
I’m a big fan of Vicky Papaioannou and her style of art journals. The are a perfect mix of messy and control. So decided to use that style but in a mini format and with my stamps and coloring that I love. My mini art journal will be a hodge podge of different styles as I play and learn, but I’m ok with that. My word of the year is creativity and that is what I will embrase.
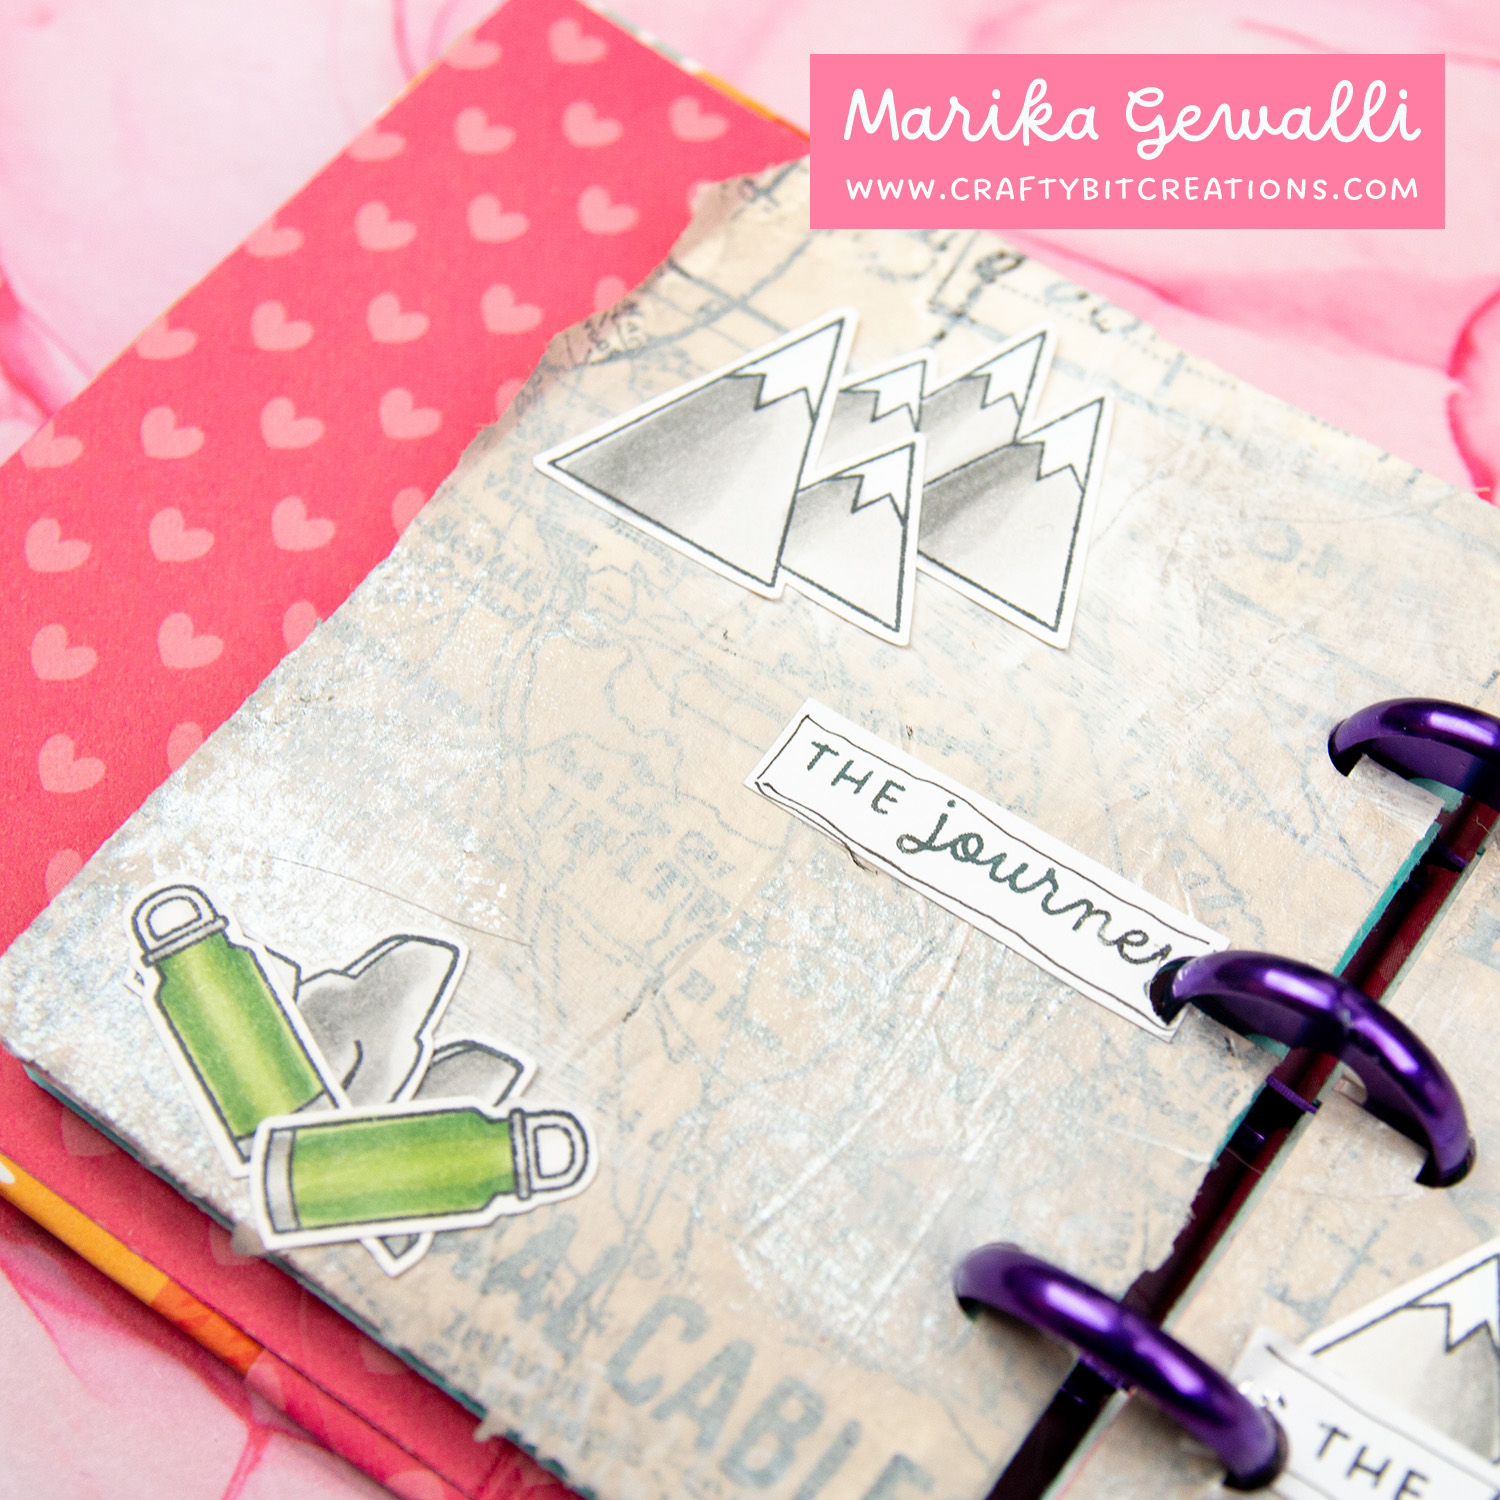
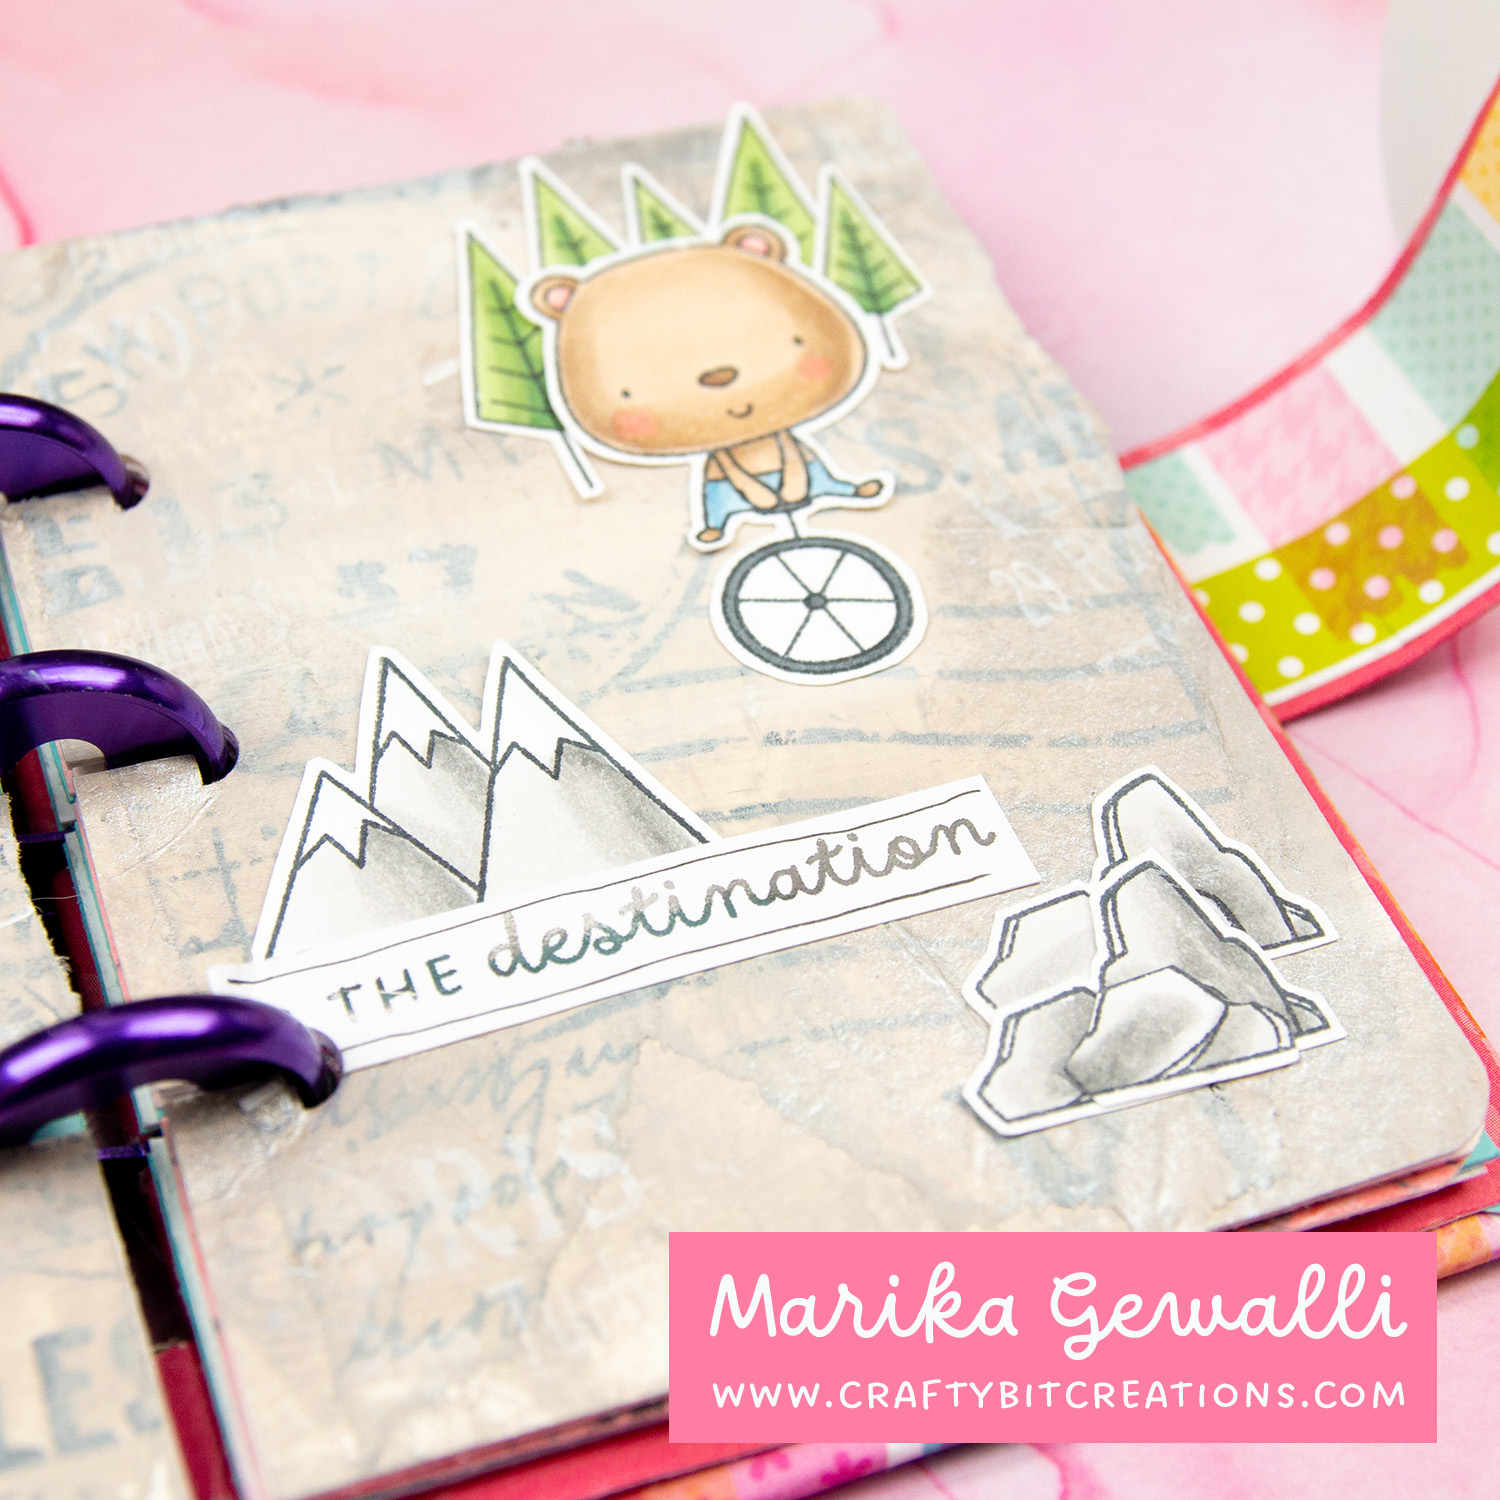
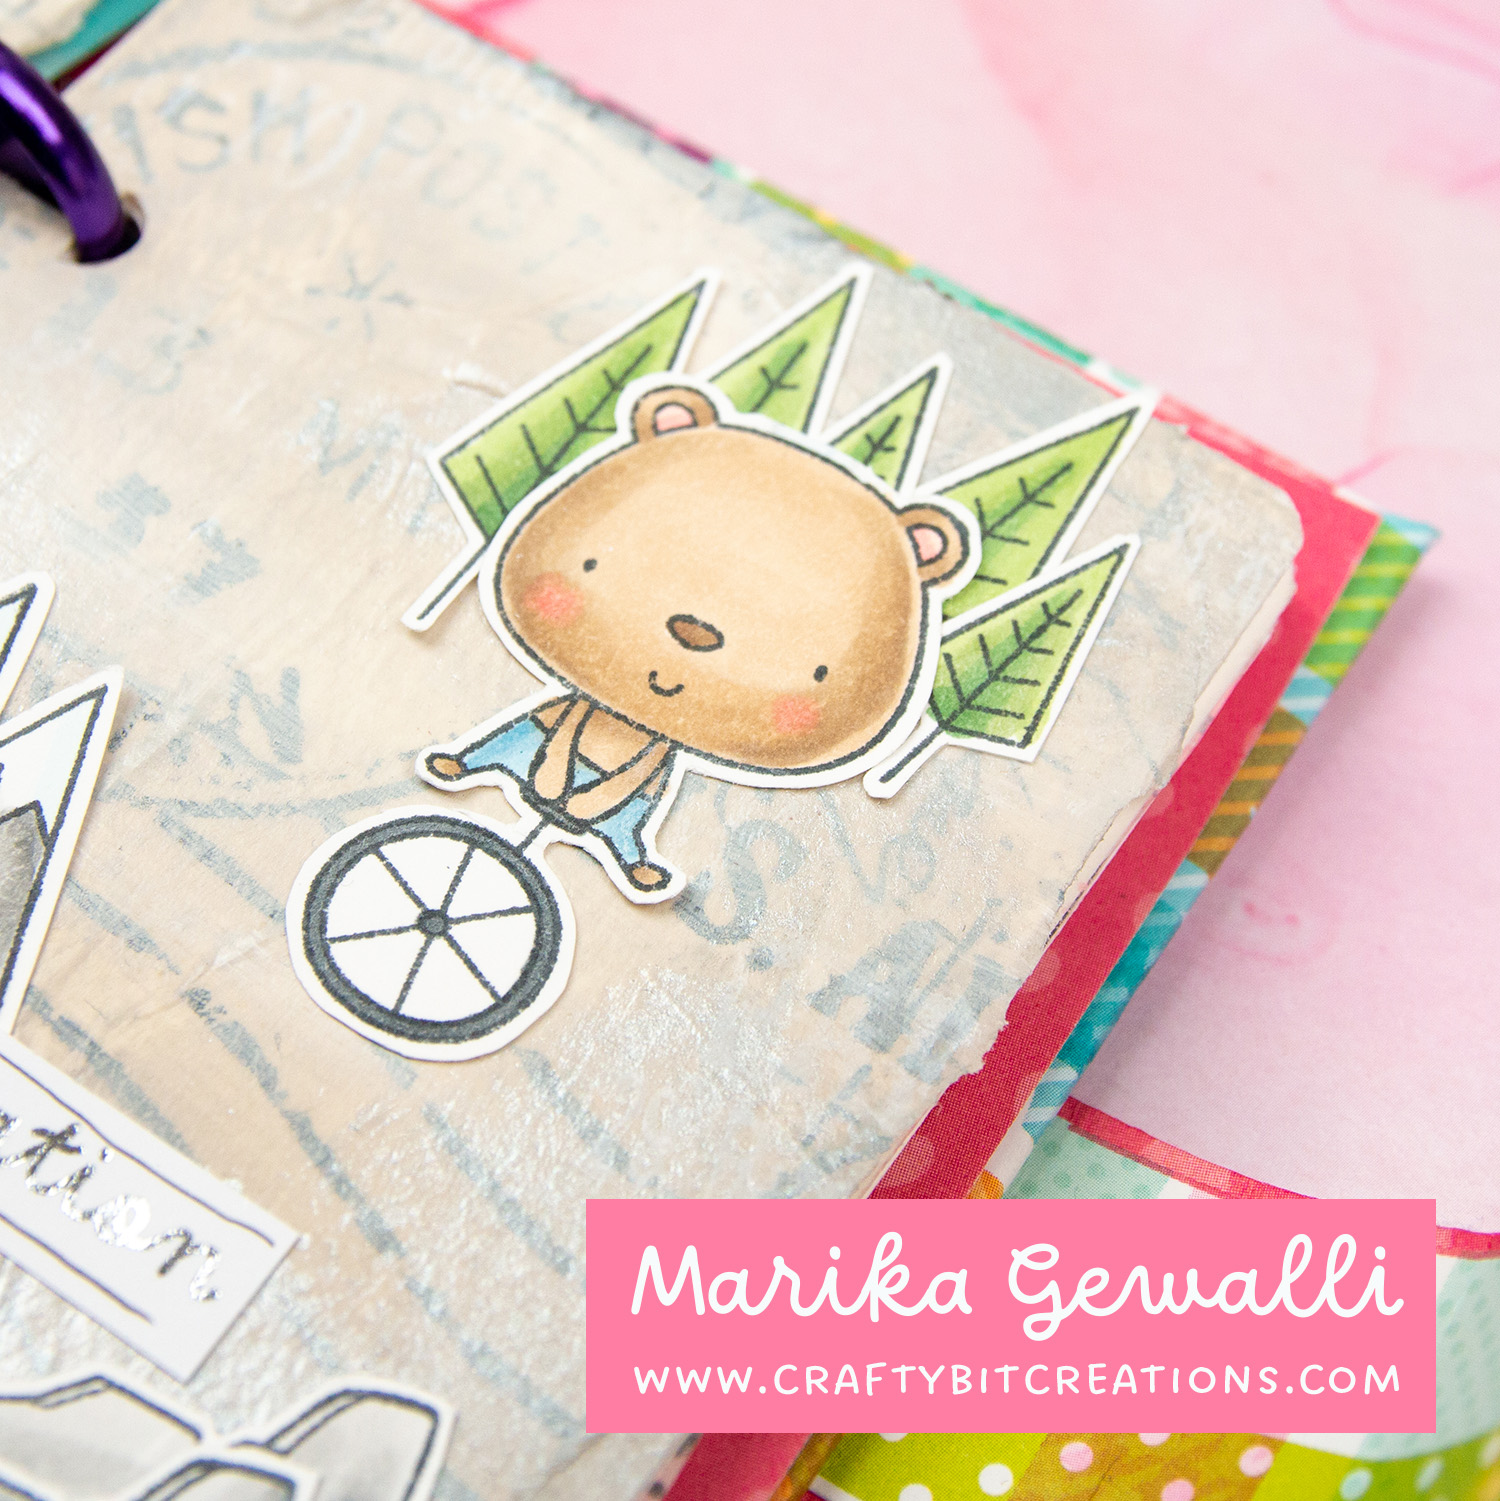
Todays two layouts started with my left over images. I always color a bunch more images than I need when I do a project, so that I have them there if I feel I need to pivot. And I save all of those images in little bowls on my craft table. Well they are starting to become a lot so I decided to use some of them up.
I love the little stones and mountains (that comes from a recently retired stamp set) so the first layout got a pumice stone background together with a postage tissue paper as the idea was travel. I did add a circus artist as he was on a unibike, but I did cut off his hat to make it look more travel related.
For my second layout I started with the sentiment “Love, Laugh, Create” from my own Sentiment Strip cards (which you can buy from HERE) and decided to use the violin playing mouse. I did also add the bunnies from the same stamp set to fill out the place. For color I used abandoned coral paint mixed with some white gesso to mimic tattered rose, and I painted that over the “Melange” tissue paper that I had. If you want to see more art journal layouts I have made you can find all of them HERE
When possible affiliate links are used, this means that I receive a small commission when products are purchased through the links (at no extra cost to you) I use the money to support my blog and youtube channel. If you like my projects and tutorial please consider supporting me by clicking through these links when you shop. Thanks!
Supplies
MFT You’re the Main Event: MFTSSS MFT Im So in Love with You, Still: MFTSSS Dina Wakley White Gesso: SSSAMZ Tim Holtz Distress Paint Abandoned Coral: SSSAMZ Tim Holtz Stampers Anonymous Moth Study: SSSAMZSBC Tim Holtz Distress Paint Pumice Stone: SSS Idea-ology – Tim Holtz – Collage Paper – Entomology: SSSAMZSBC Idea-ology – Tim Holtz – Collage Paper – Travel: SSSAMZSBC Craftybit Creations – Sentiment Strips – Positivity: ETZ
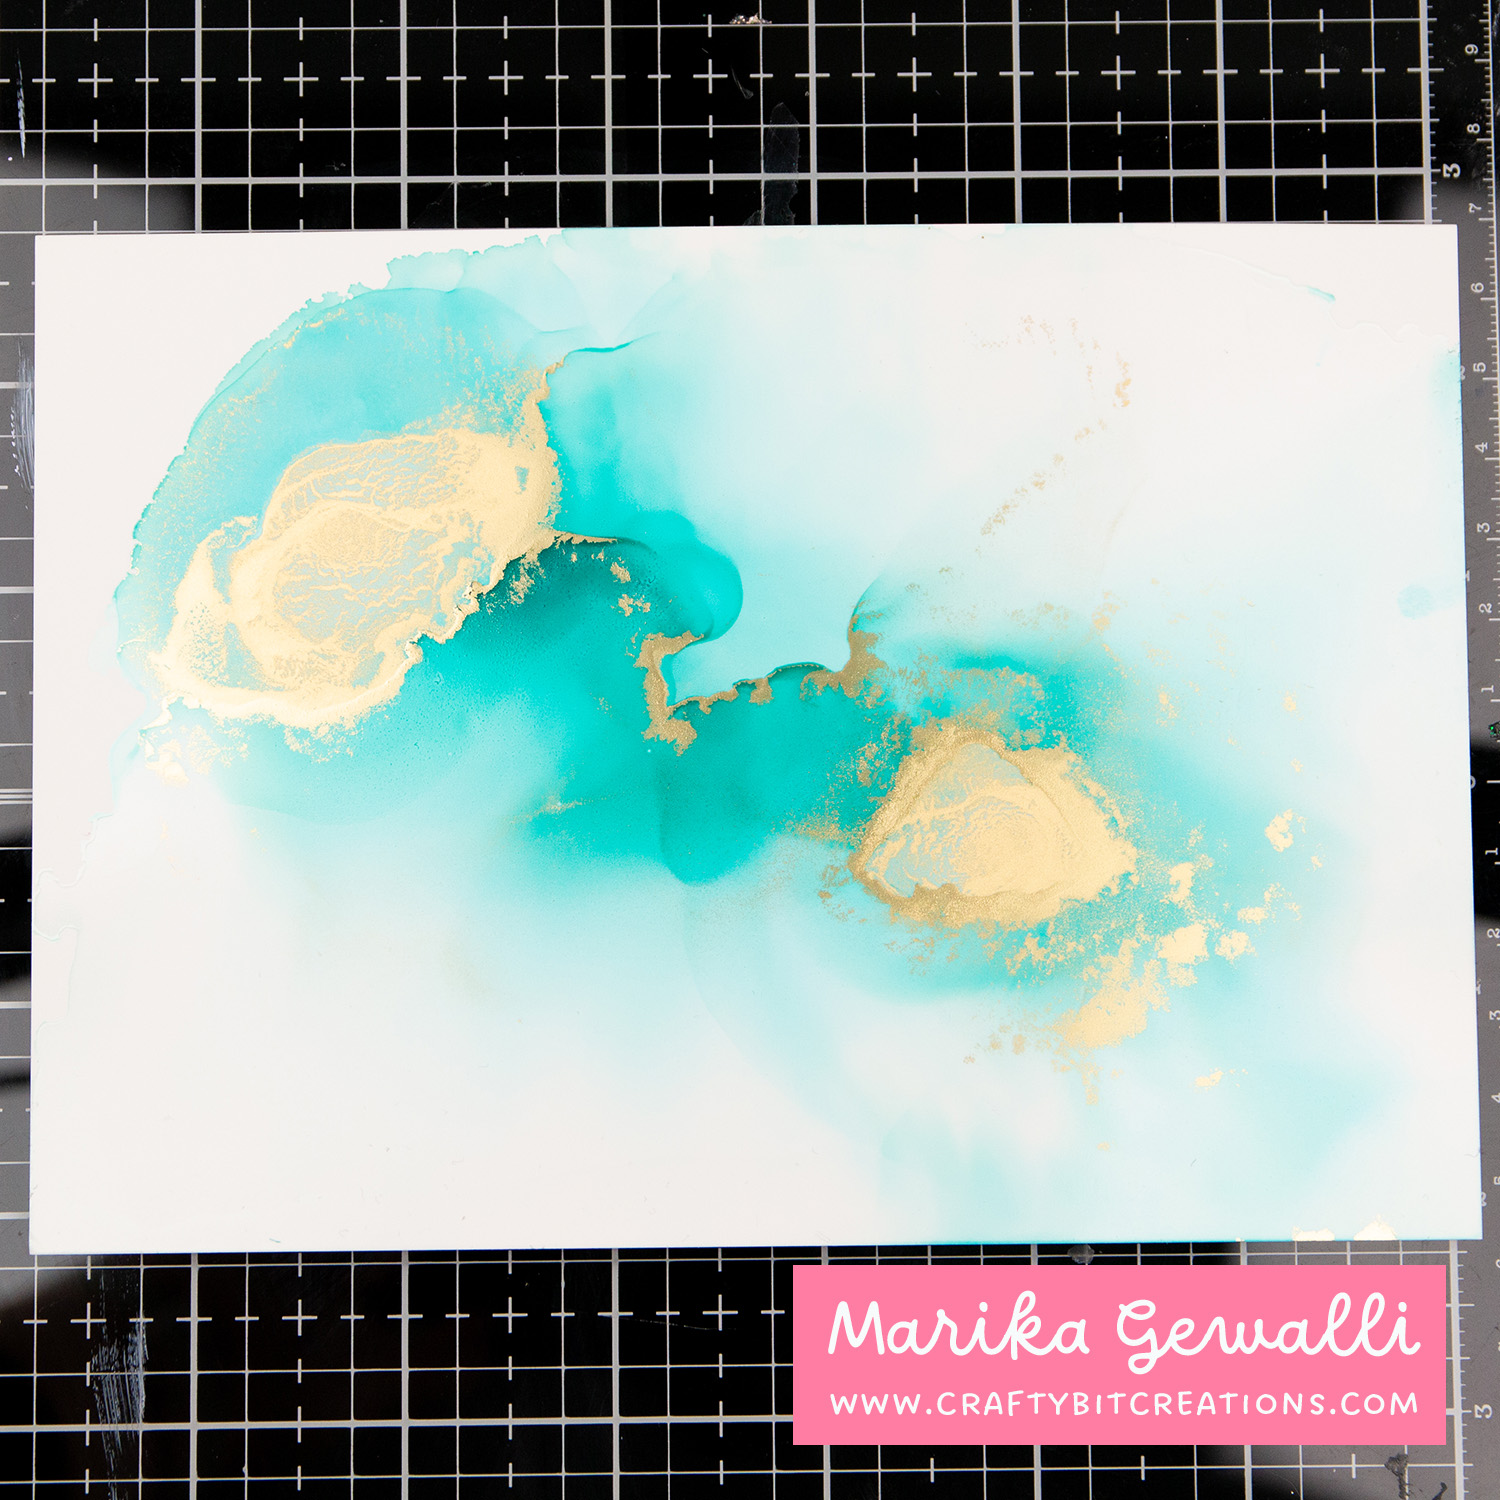
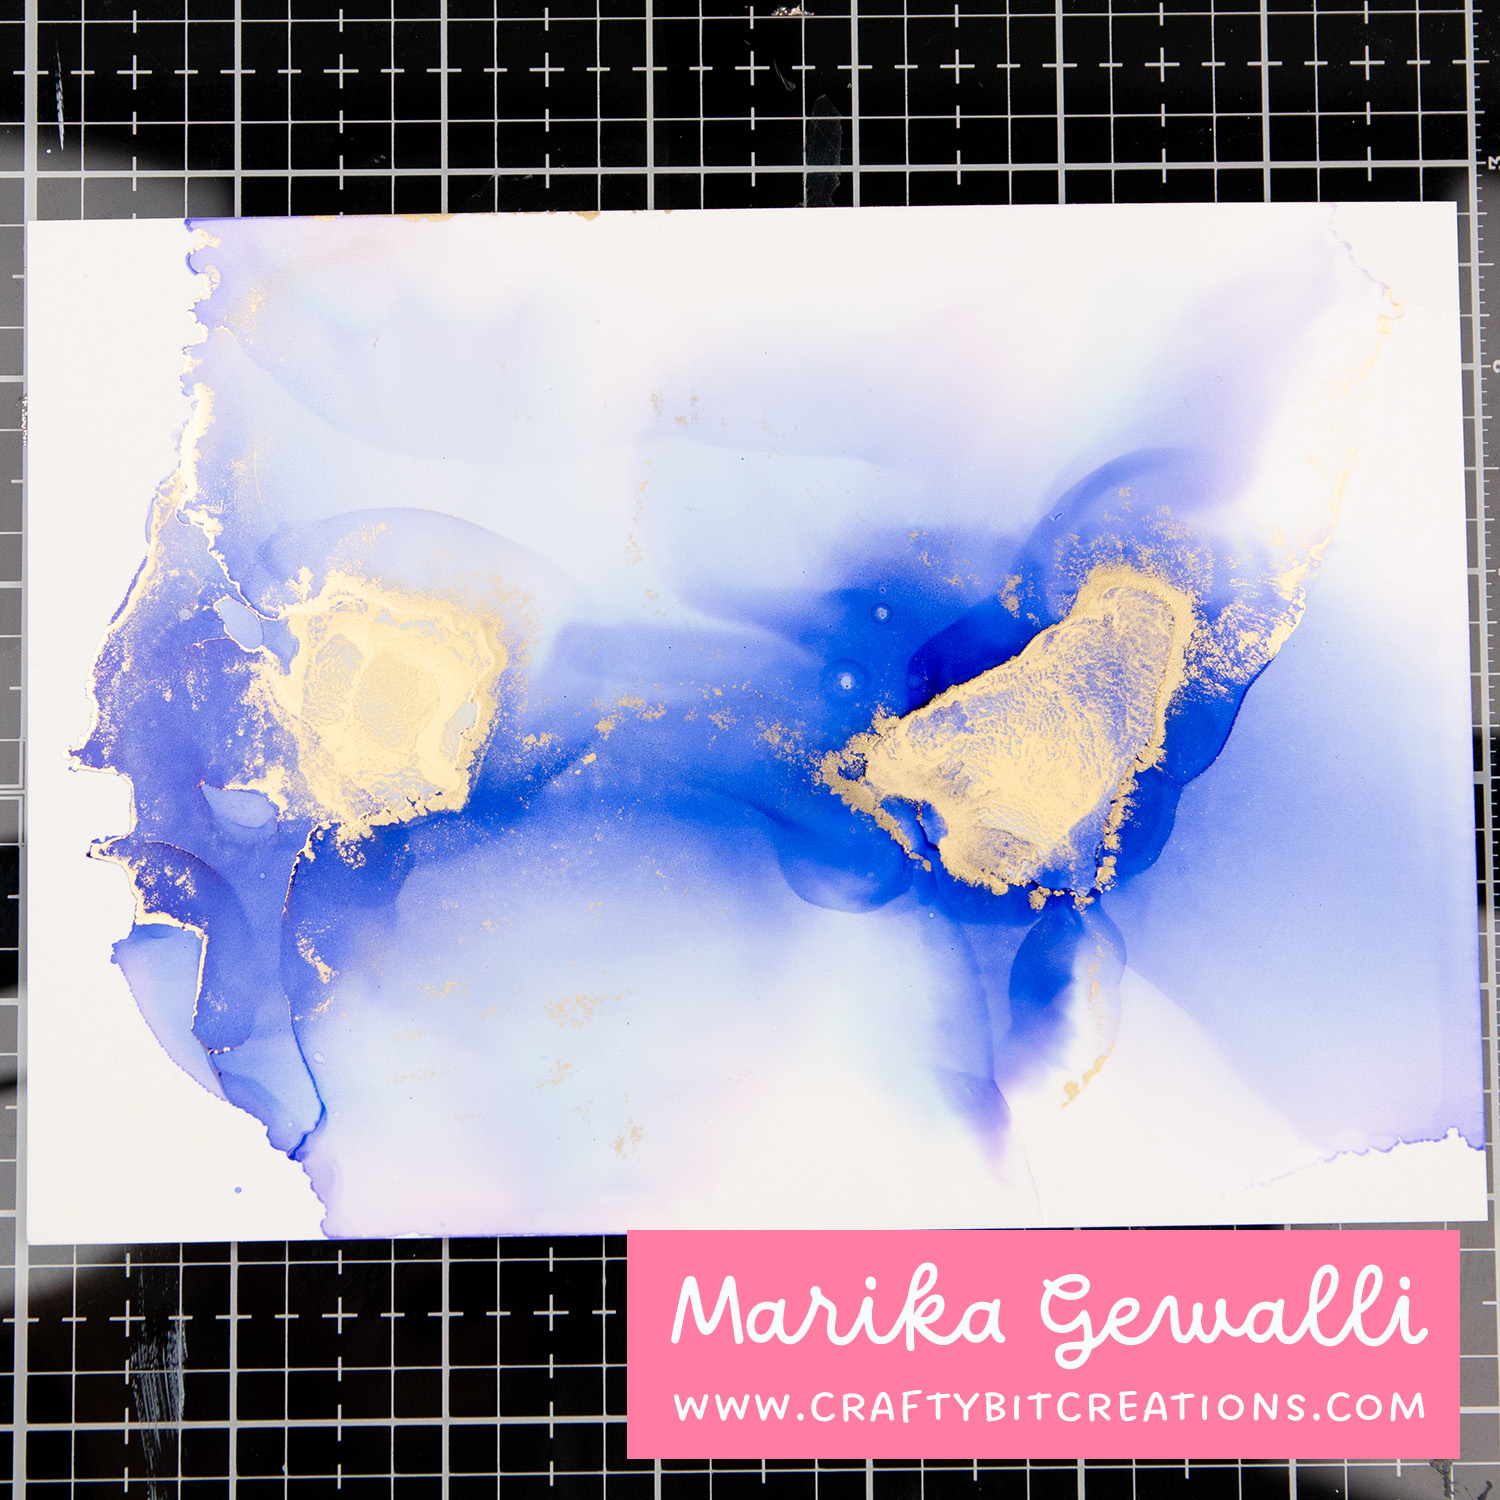
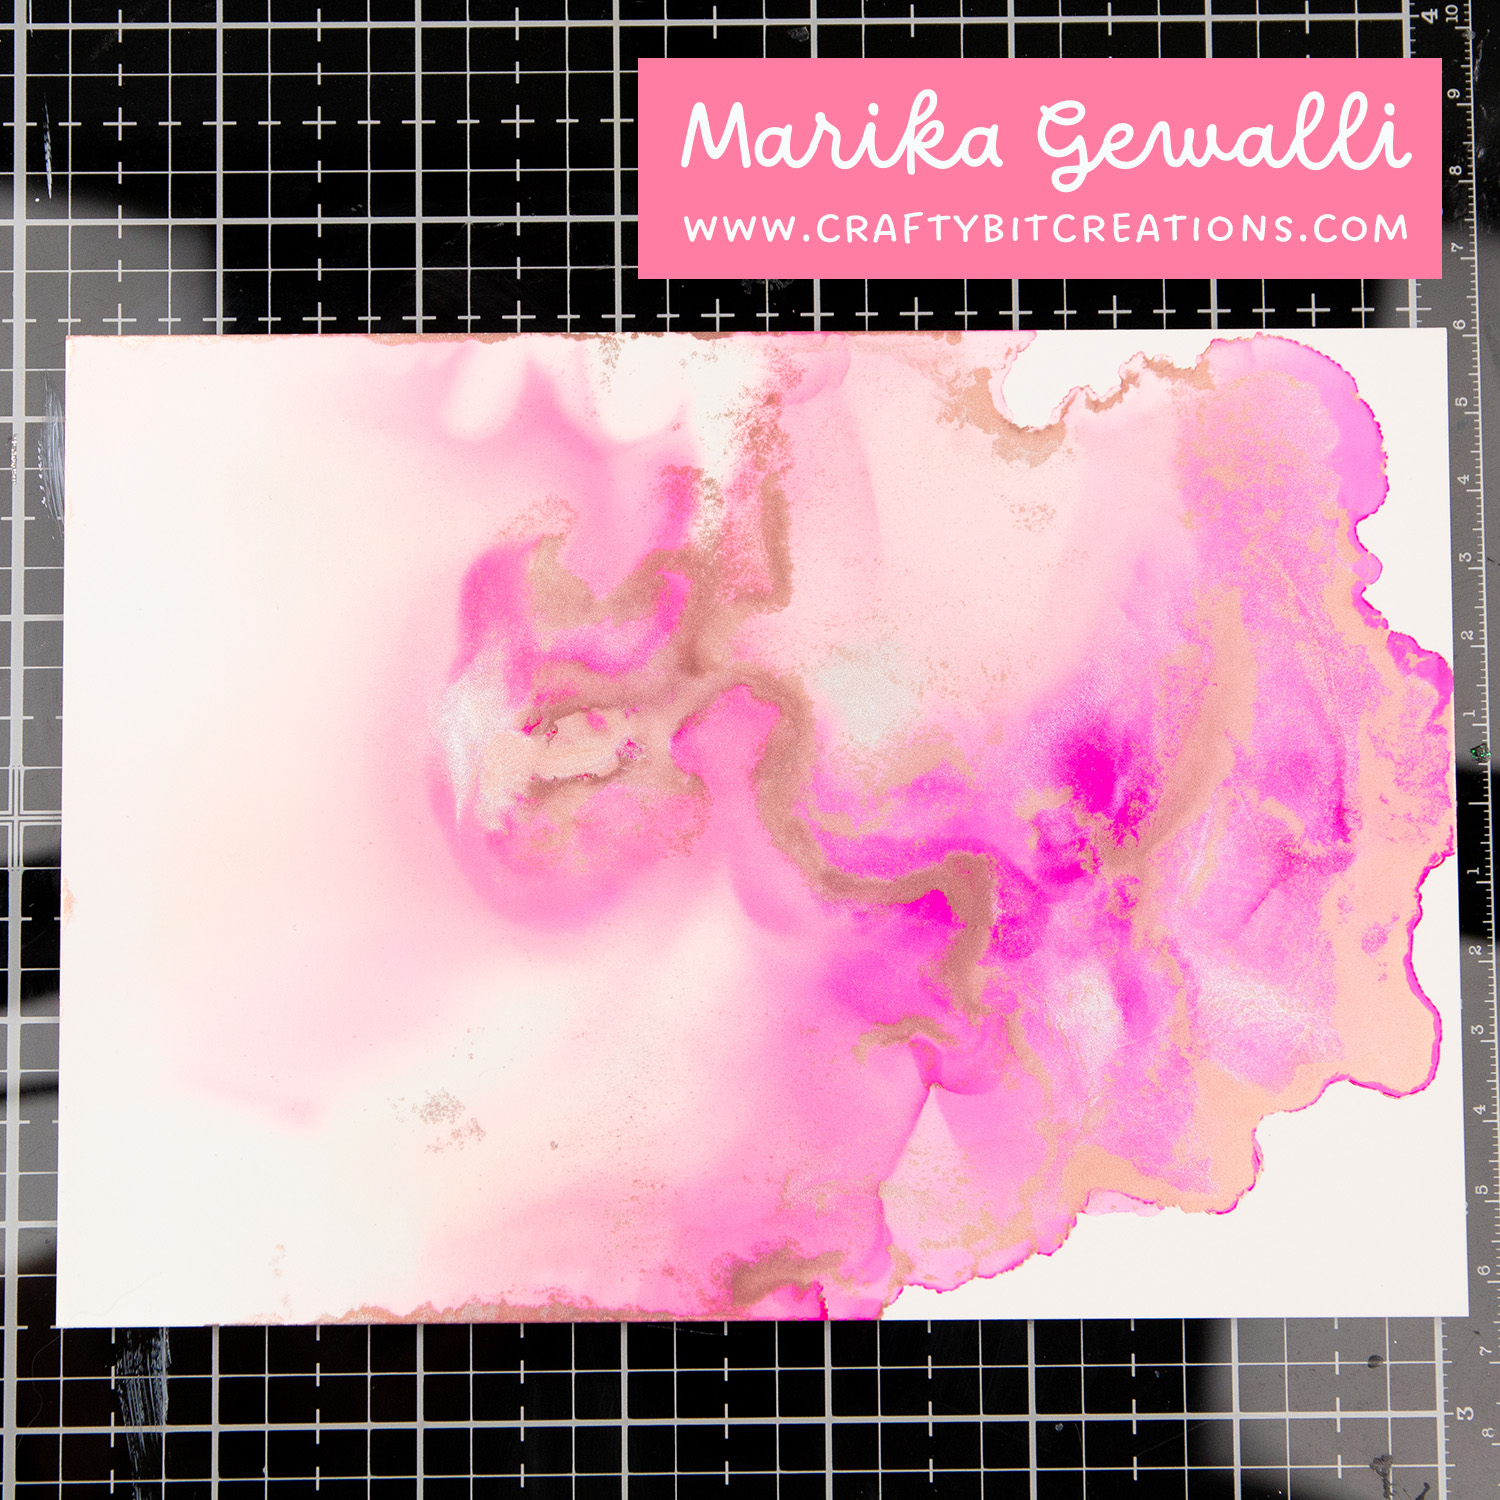
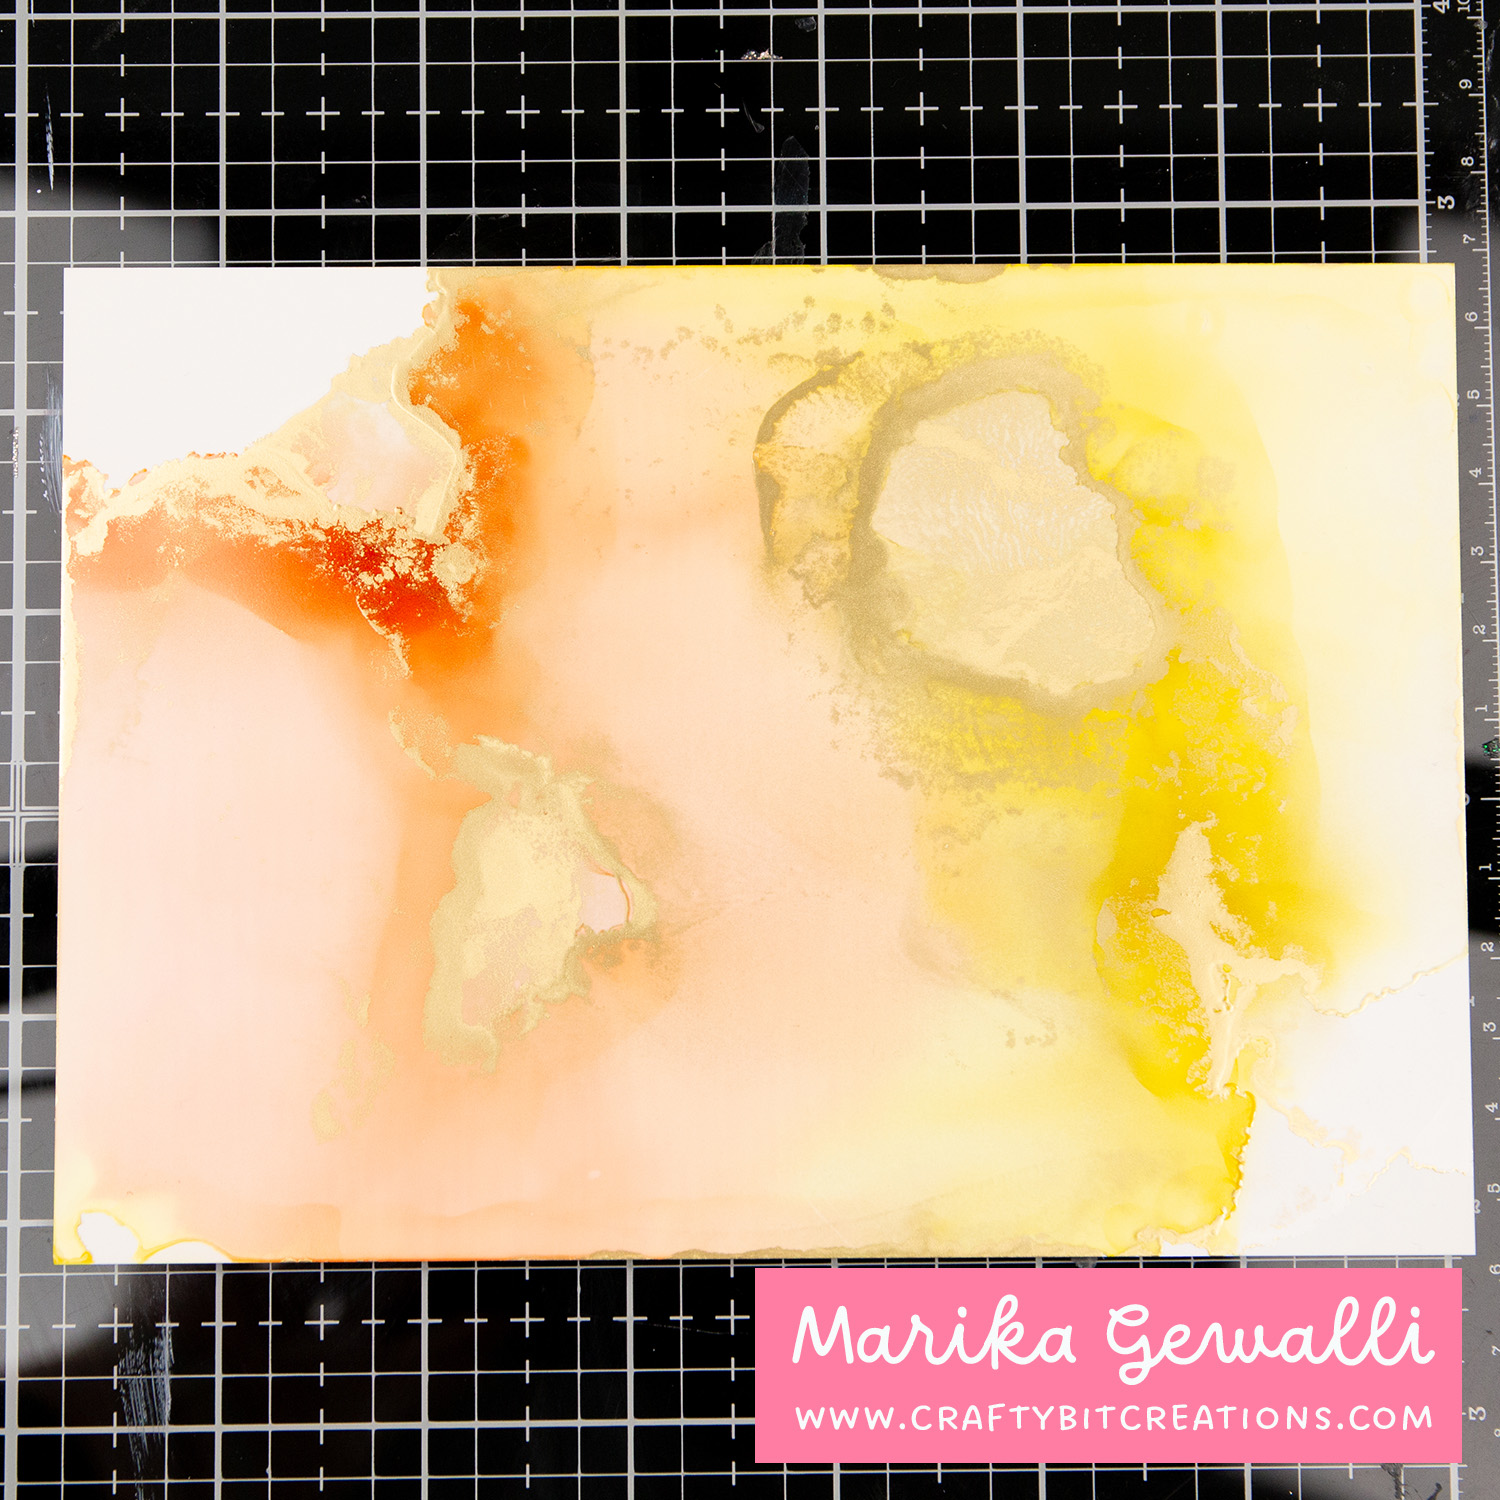
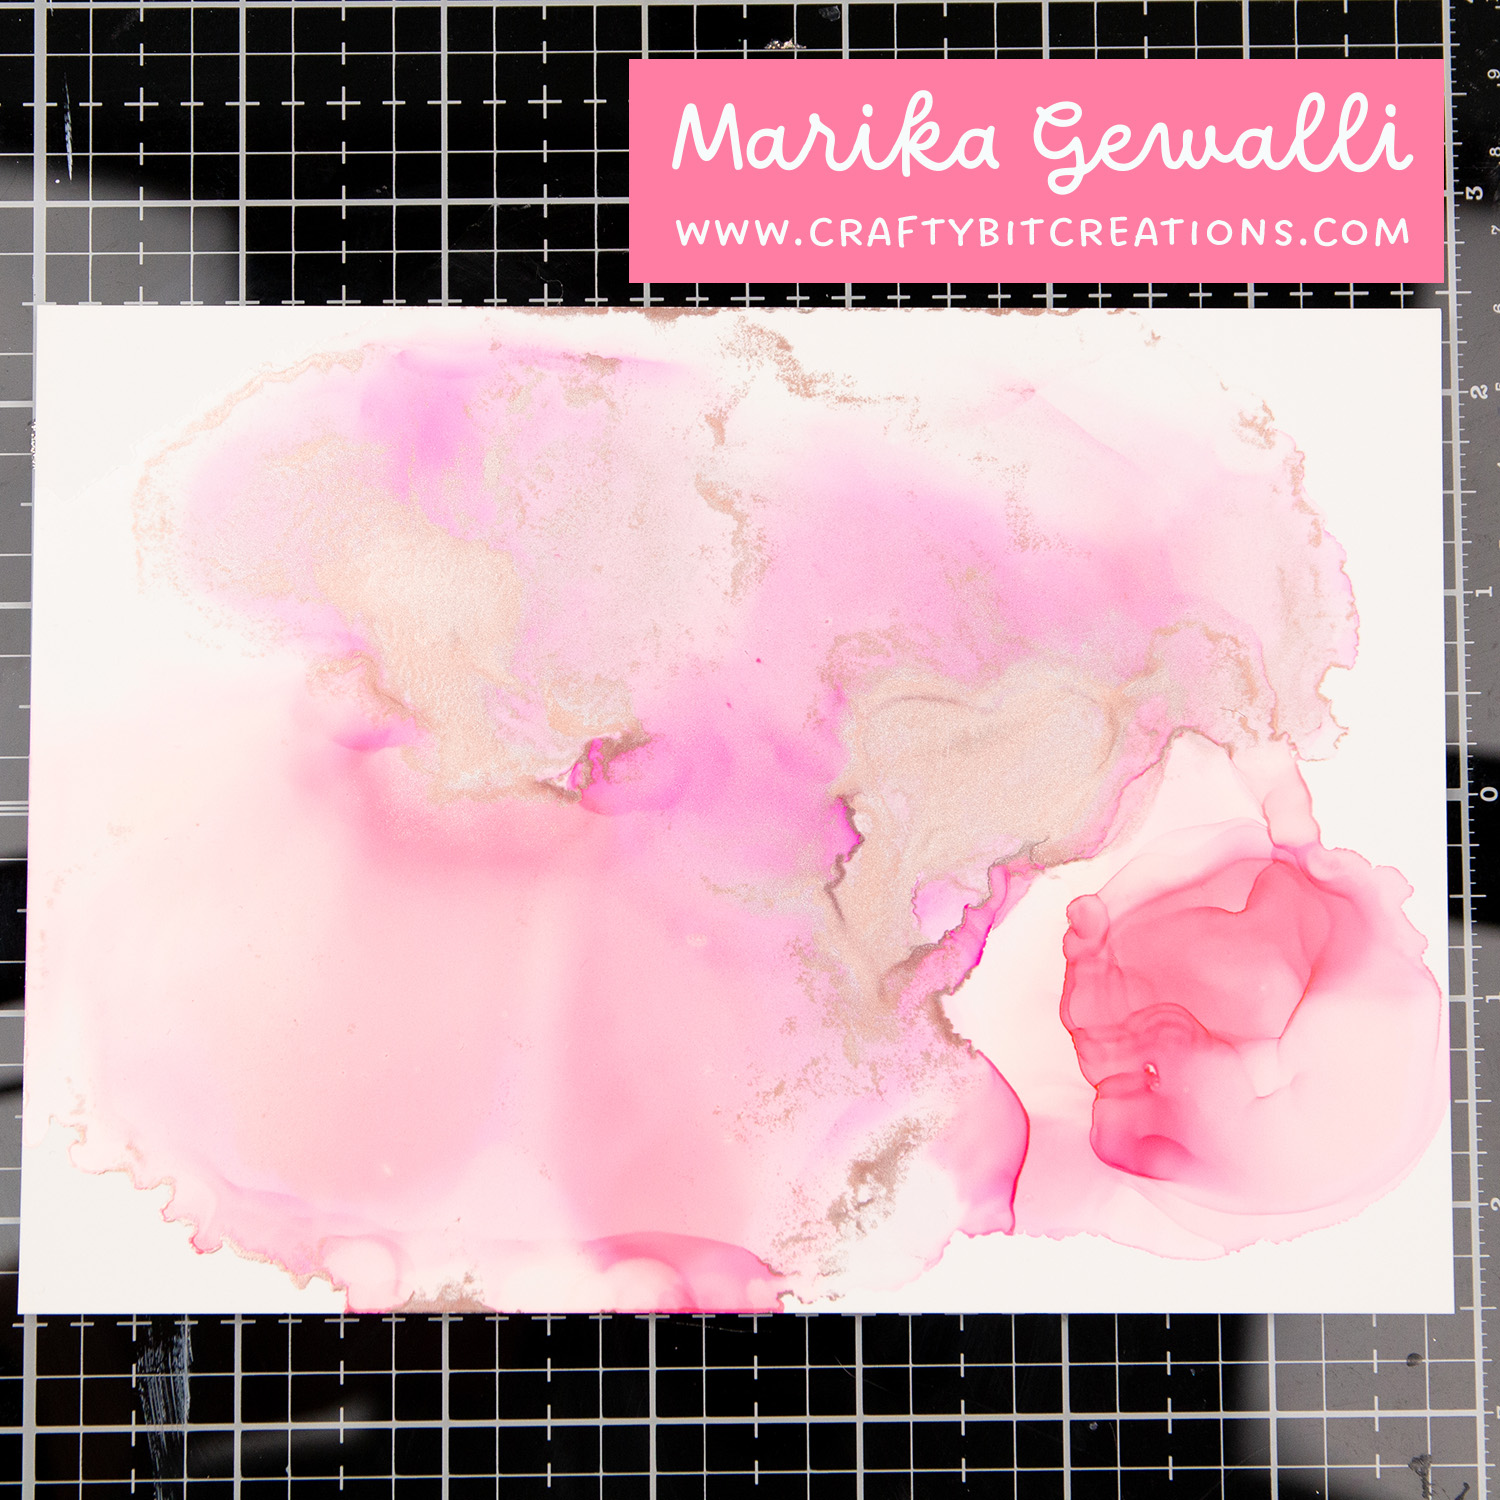
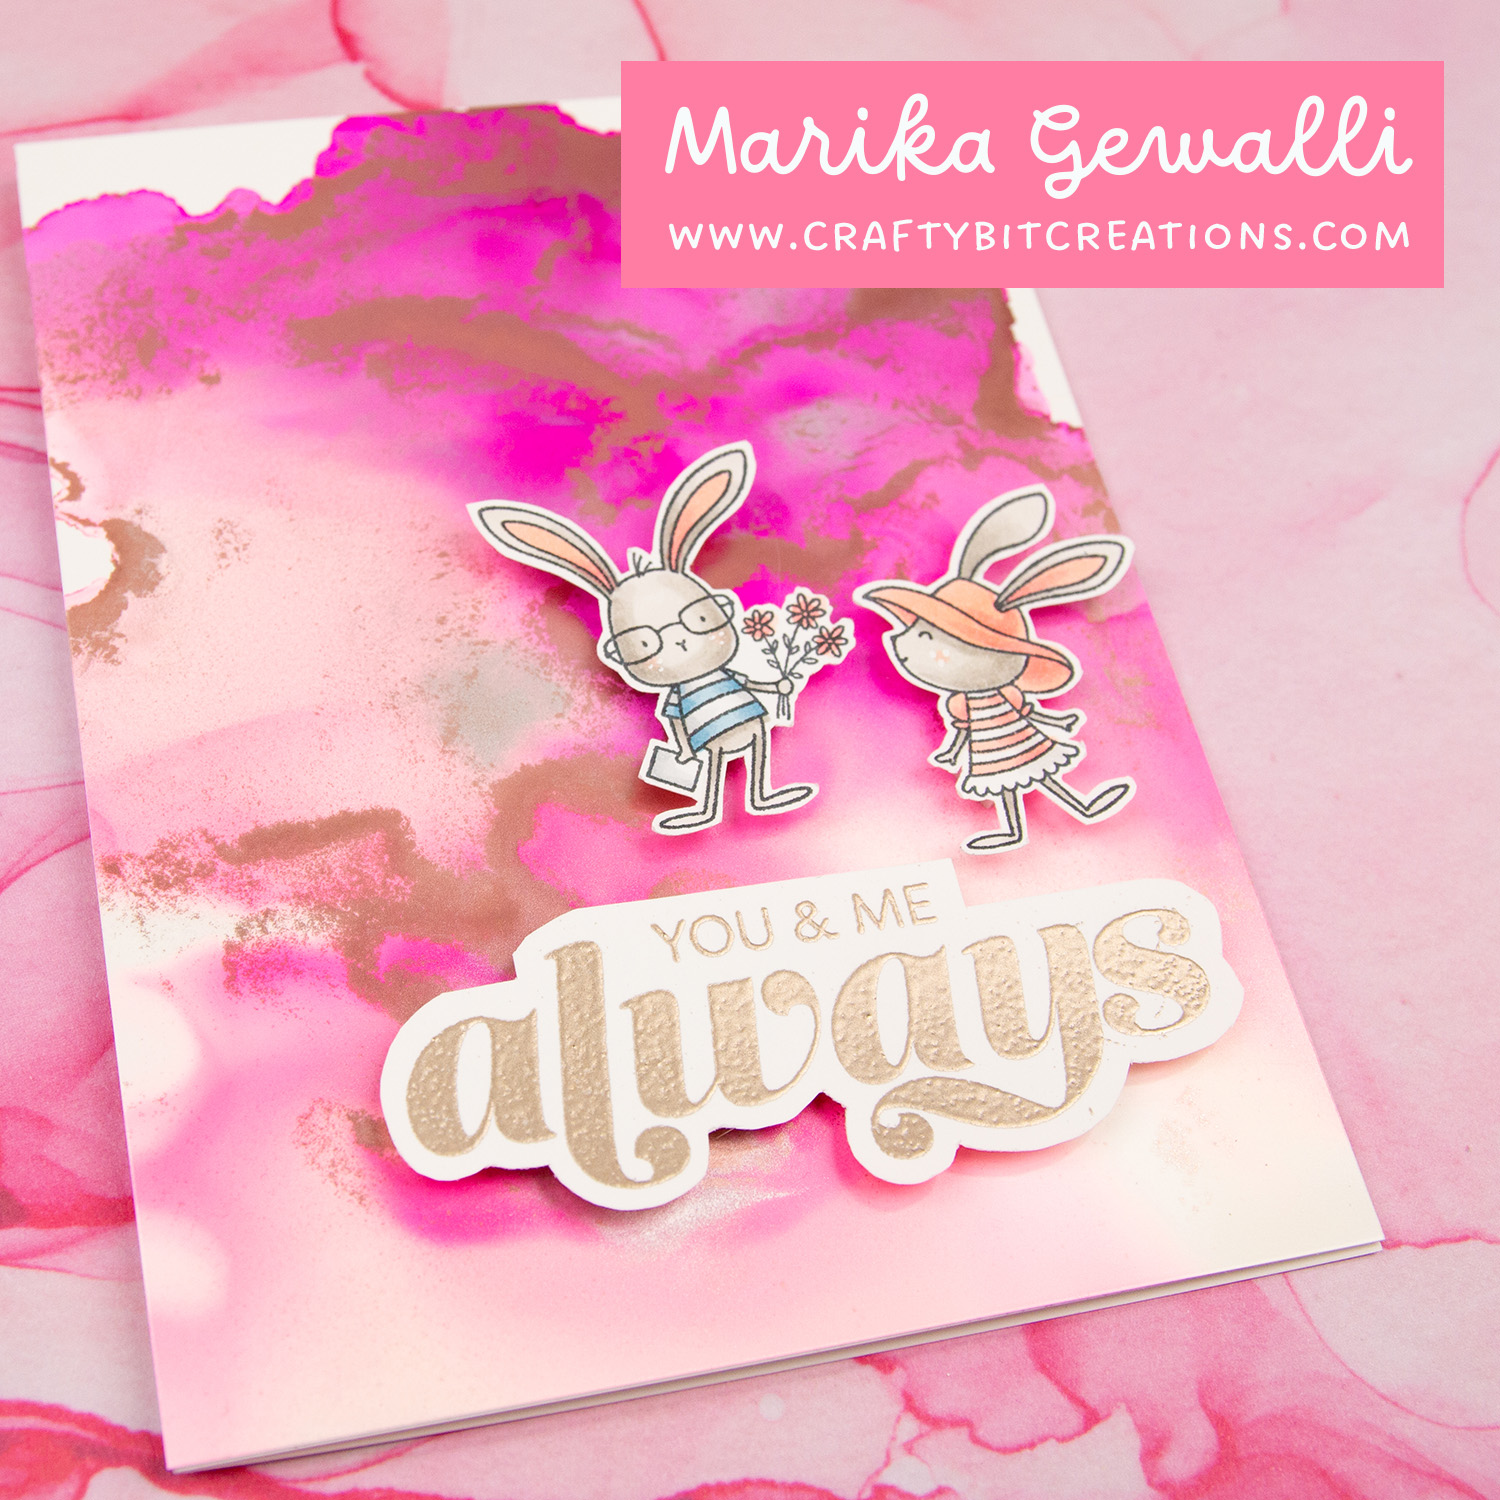
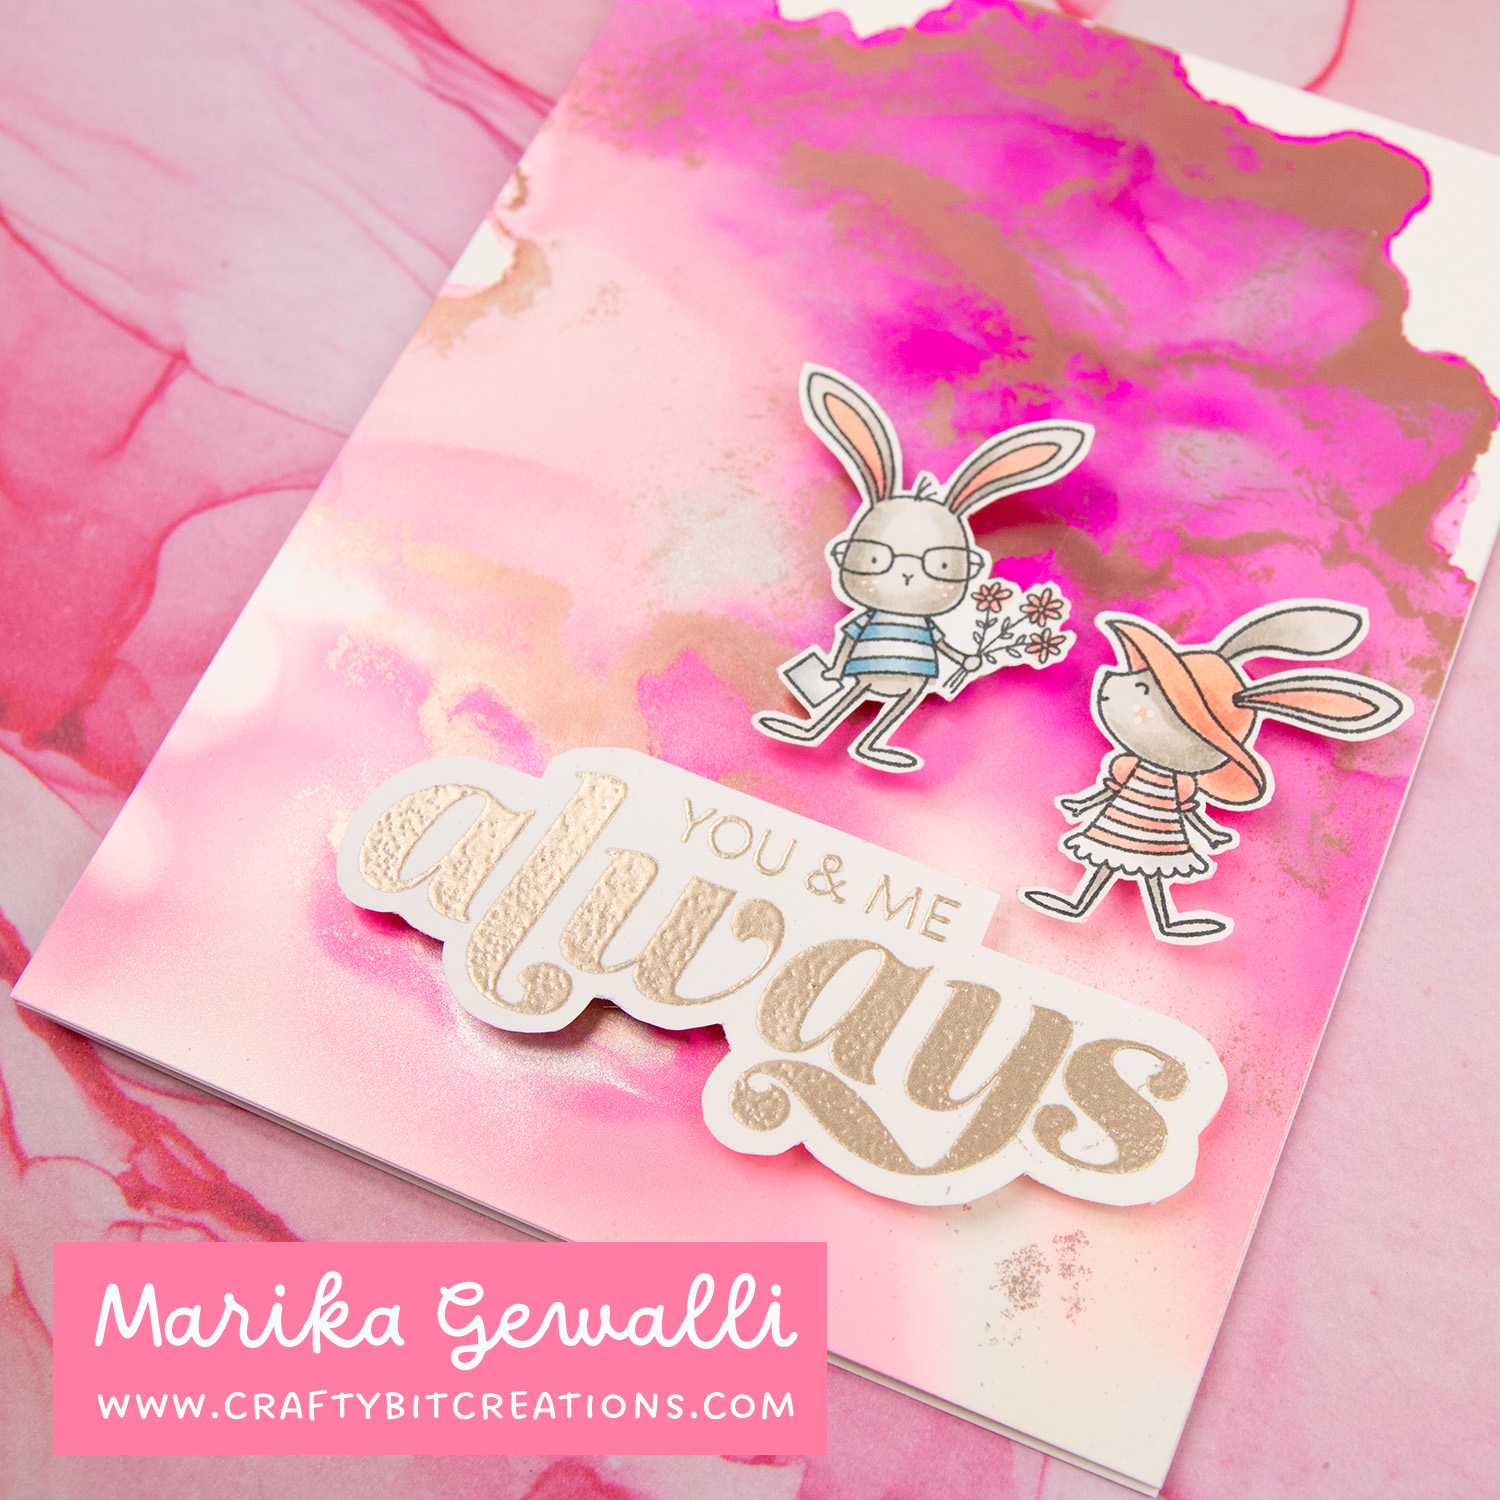
I have all of these alcohol inks in my stash but I never use them. One of the reason is that I only bought the inks (and some mixatives) and when using them on yupo you only get very colorful results. And I felt that my backgrounds was so over powering, I wanted a more soft alcohol ink background.
But a little while ago I picked some Alcohol Blending Solution and a alcohol ink air blower and I finally found some time to play with them. And it was so much fun! The only regret I have is that I didn’t pick up more yupo paper, as now I’m all out and I just want to make more backgrounds!
To get soft backgrounds there is a couple of things you want to do. The first is pour a nice blob of alcohol blending solution on your yupo, this will help the ink move faster (it’s like when you cover your watercolor cardstock in water before going in with your watercolors). Then you add a drop or two of your ink of choice and then start blowing. When you gotten a nice layer started you can add alloys and continue to blow around the ink and the alloys. A little goes a long way. For more tips see the video!
Which background was your favorite? My favorite is a tie between the Mermaid one and the Indigo one.
When possible affiliate links are used, this means that I receive a small commission when products are purchased through the links (at no extra cost to you) I use the money to support my blog and youtube channel. If you like my projects and tutorial please consider supporting me by clicking through these links when you shop. Thanks!
Supplies
Tim Holtz Alcohol Inks Gumball: SSSAMZSBC Tim Holtz Alcohol Inks Fiesta: SSSAMZSBC Tim Holtz Alcohol Inks Flamingo: SSSAMZ Tim Holtz Alcohol Inks Dandelion: SSSAMZSBC Tim Holtz Alcohol Inks Valencia: SSSAMZ Tim Holtz Alcohol Inks Indigo: SSSAMZSBC Tim Holtz Alcohol Inks Mermaid: SSSAMZSBC Alcohol Blending Solution: SSSAMZSBC Alcohol Ink Air Blower: SSSAMZSBC Tim Holtz Yupo Paper 5 x 7: SSSAMZSBC Ranger Liquid Platinum Embossing Powder: SSSAMZSBC MFT Straight from the Heart: MFTSSS MFT Im So in Love with You, Still: MFTSSS
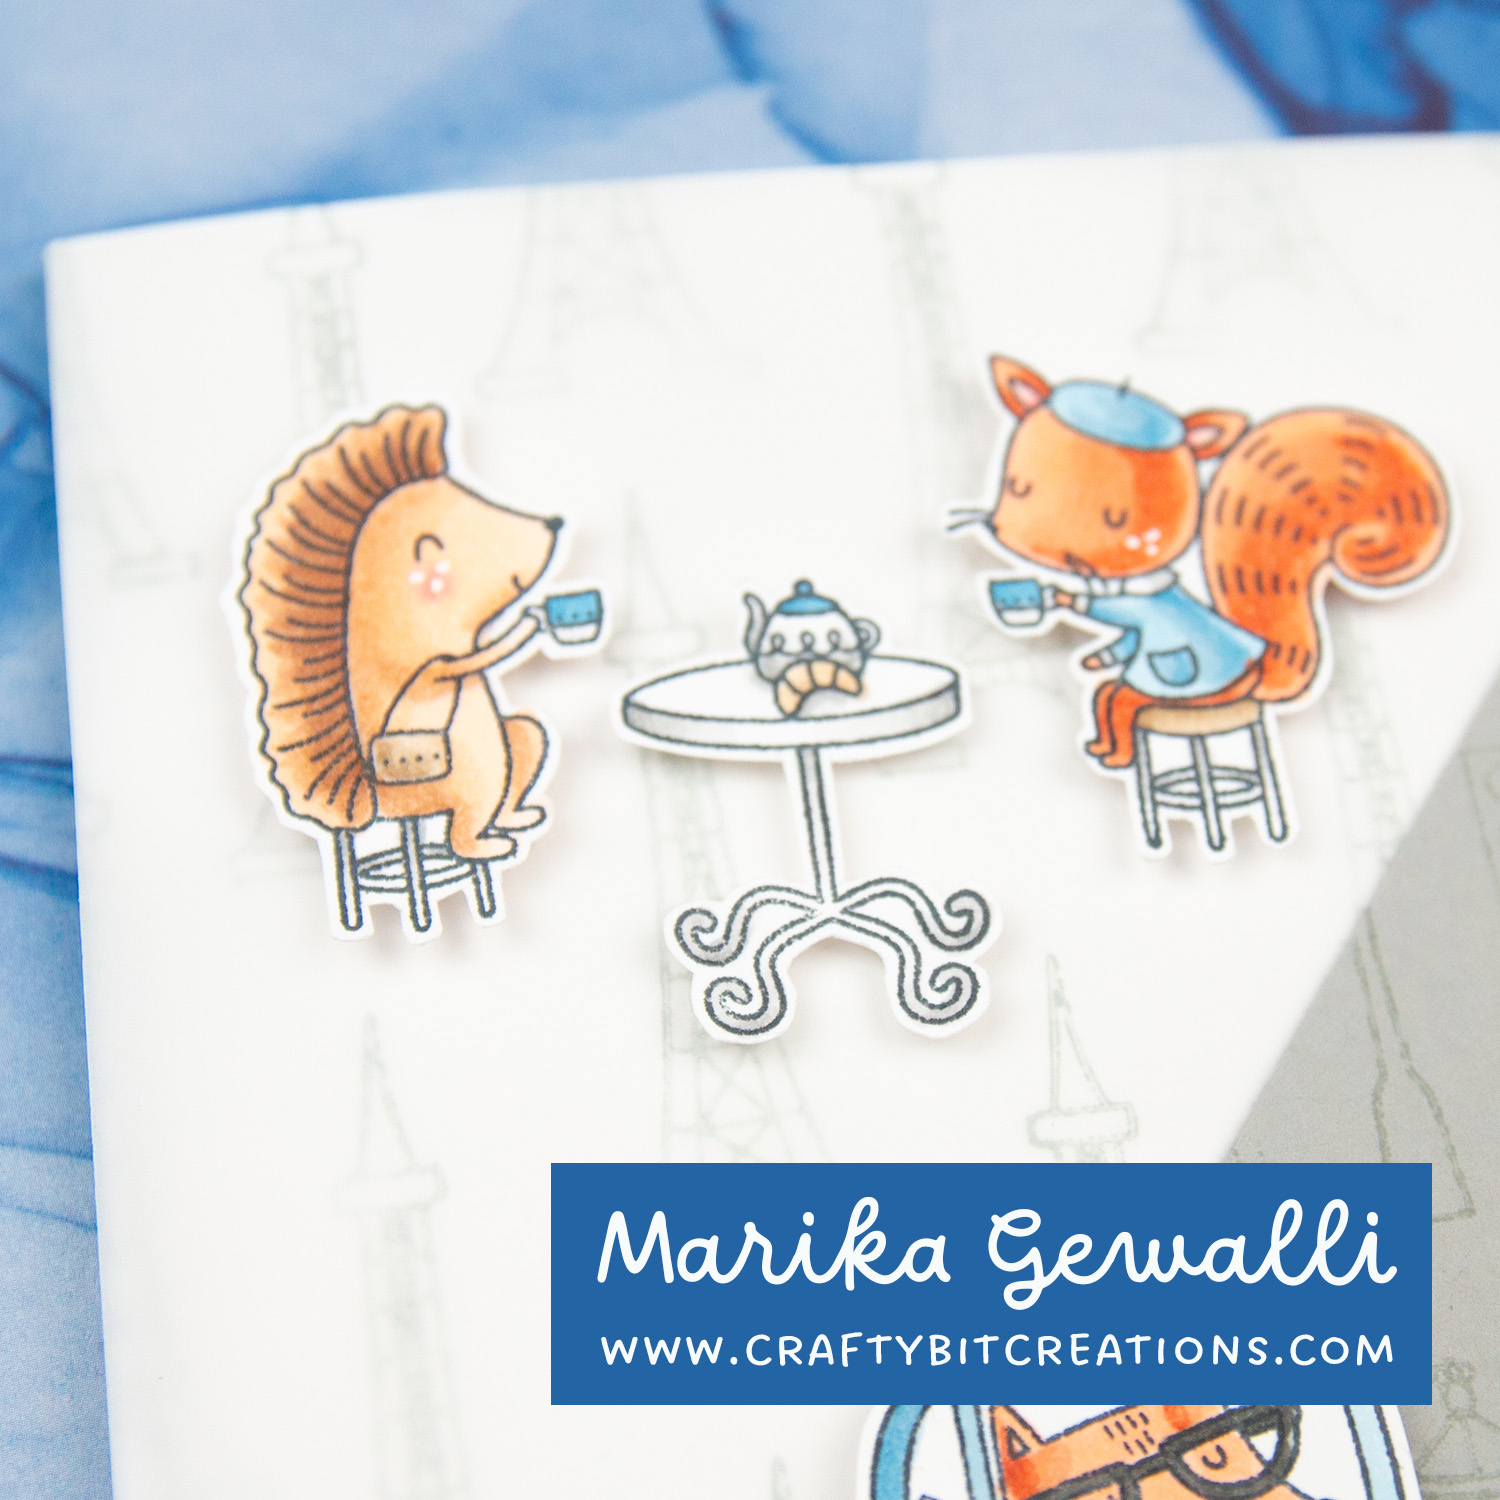
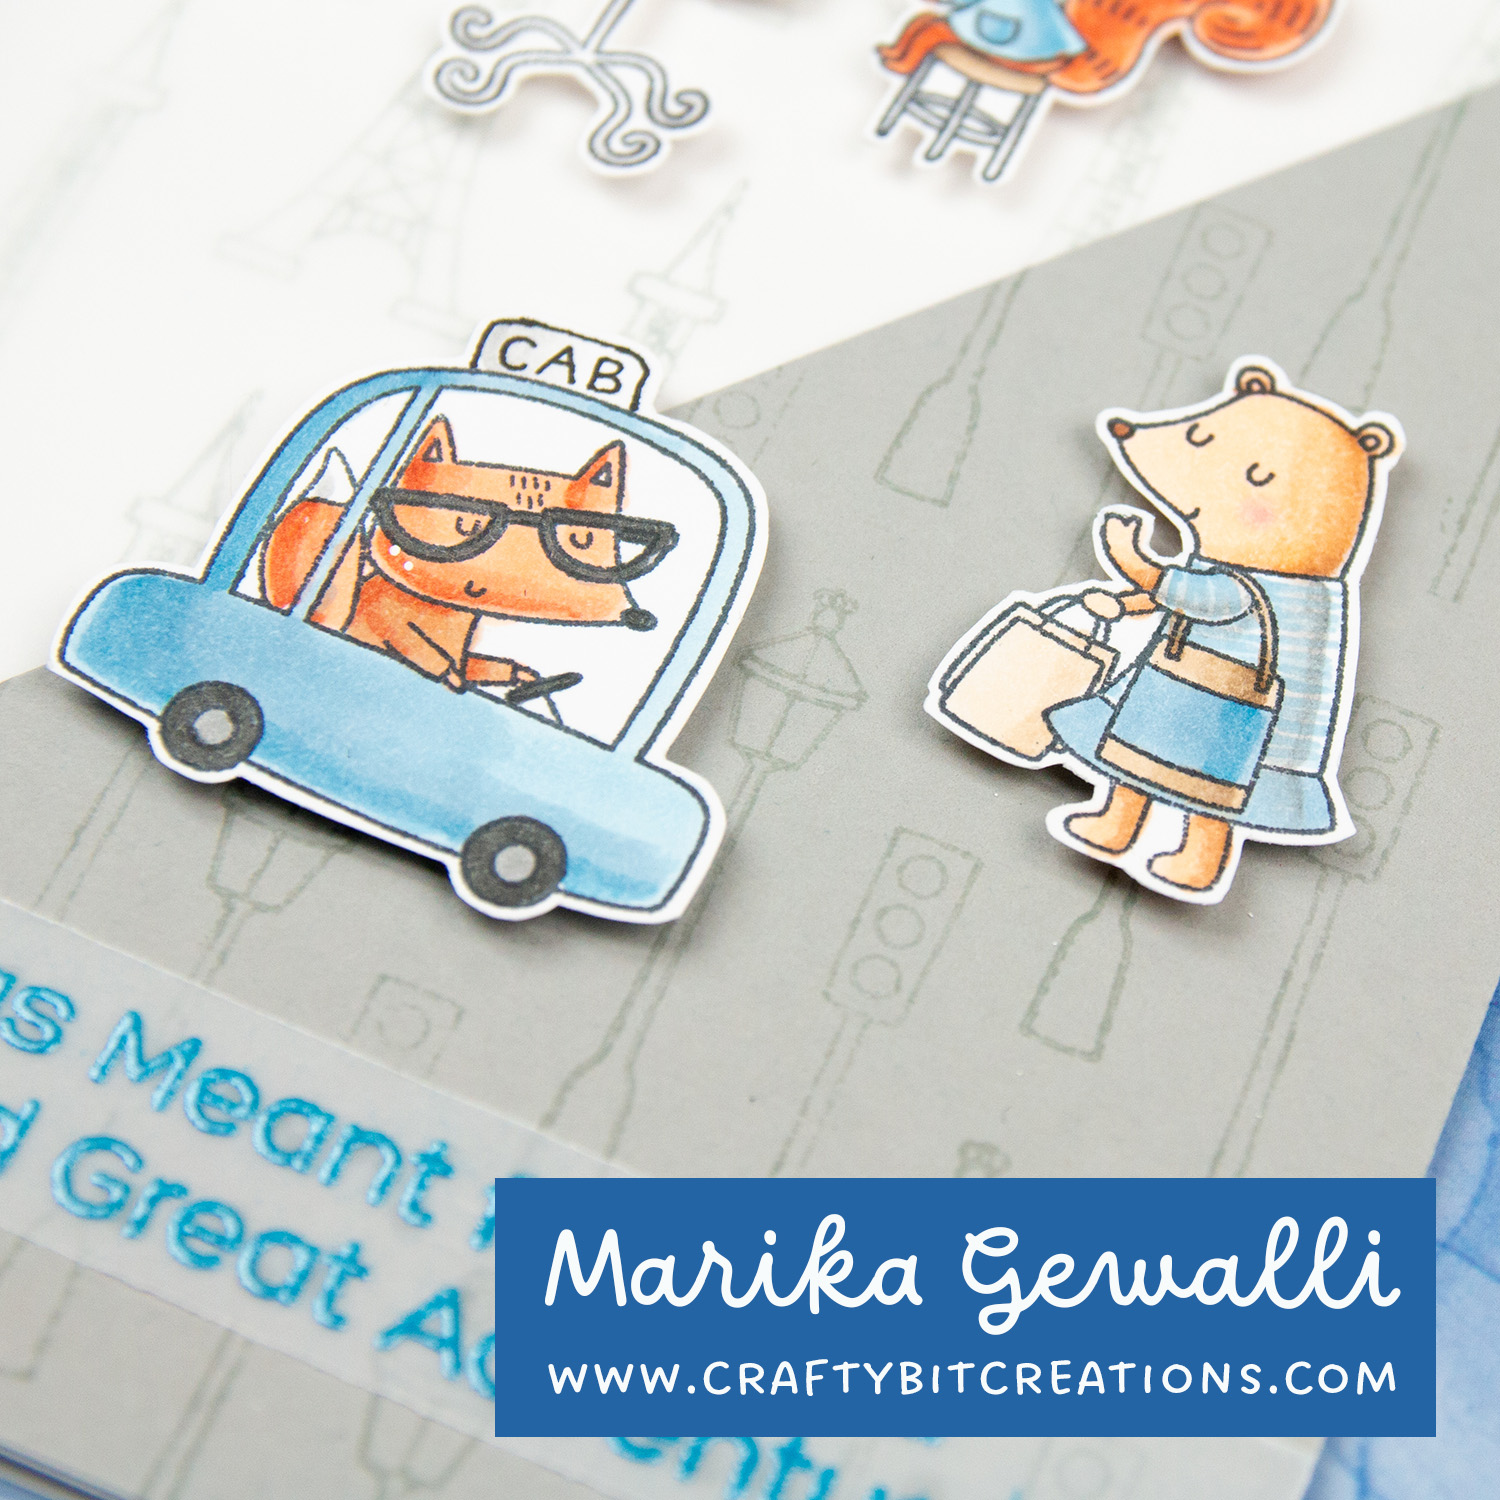
Mondays are dedicated for the My Favorite Things Sketch Challenges. And this week it’s Sketch Challenge 588 and the 14th I have taken part of since the start of the year! This weeks challenge I felt would be perfect to tell a story, it reminded me of a story box in a manga book. I’ve been wanting to use the Travel Buddies stamp set, I bought it with one card in mind but that one didn’t come out the way I wanted. So when this challenge came along I knew I needed to use it.
I did a couple of modification to the stamp set to make it fit into my story a little bit better. The little car got a cab sign. And the shopping bear lost what I think is a credit card (or money) so it would look like she was waving the car down. For the background I used cement cardstock and ink. But the ink I did stamp of on a separate paper to make it a little bit lighter. In the end I felt that the eiffel towers still was a little to dominant so I added some vellum to lighten them a little bit more. And lastly I uses some vellum and some blue embossing powder for the sentiment. Hope you enjoy the card!
If you want to see more of the challenges that I have followed, you can find all HERE.
When possible affiliate links are used, this means that I receive a small commission when products are purchased through the links (at no extra cost to you) I use the money to support my blog and youtube channel. If you like my projects and tutorial please consider supporting me by clicking through these links when you shop. Thanks!
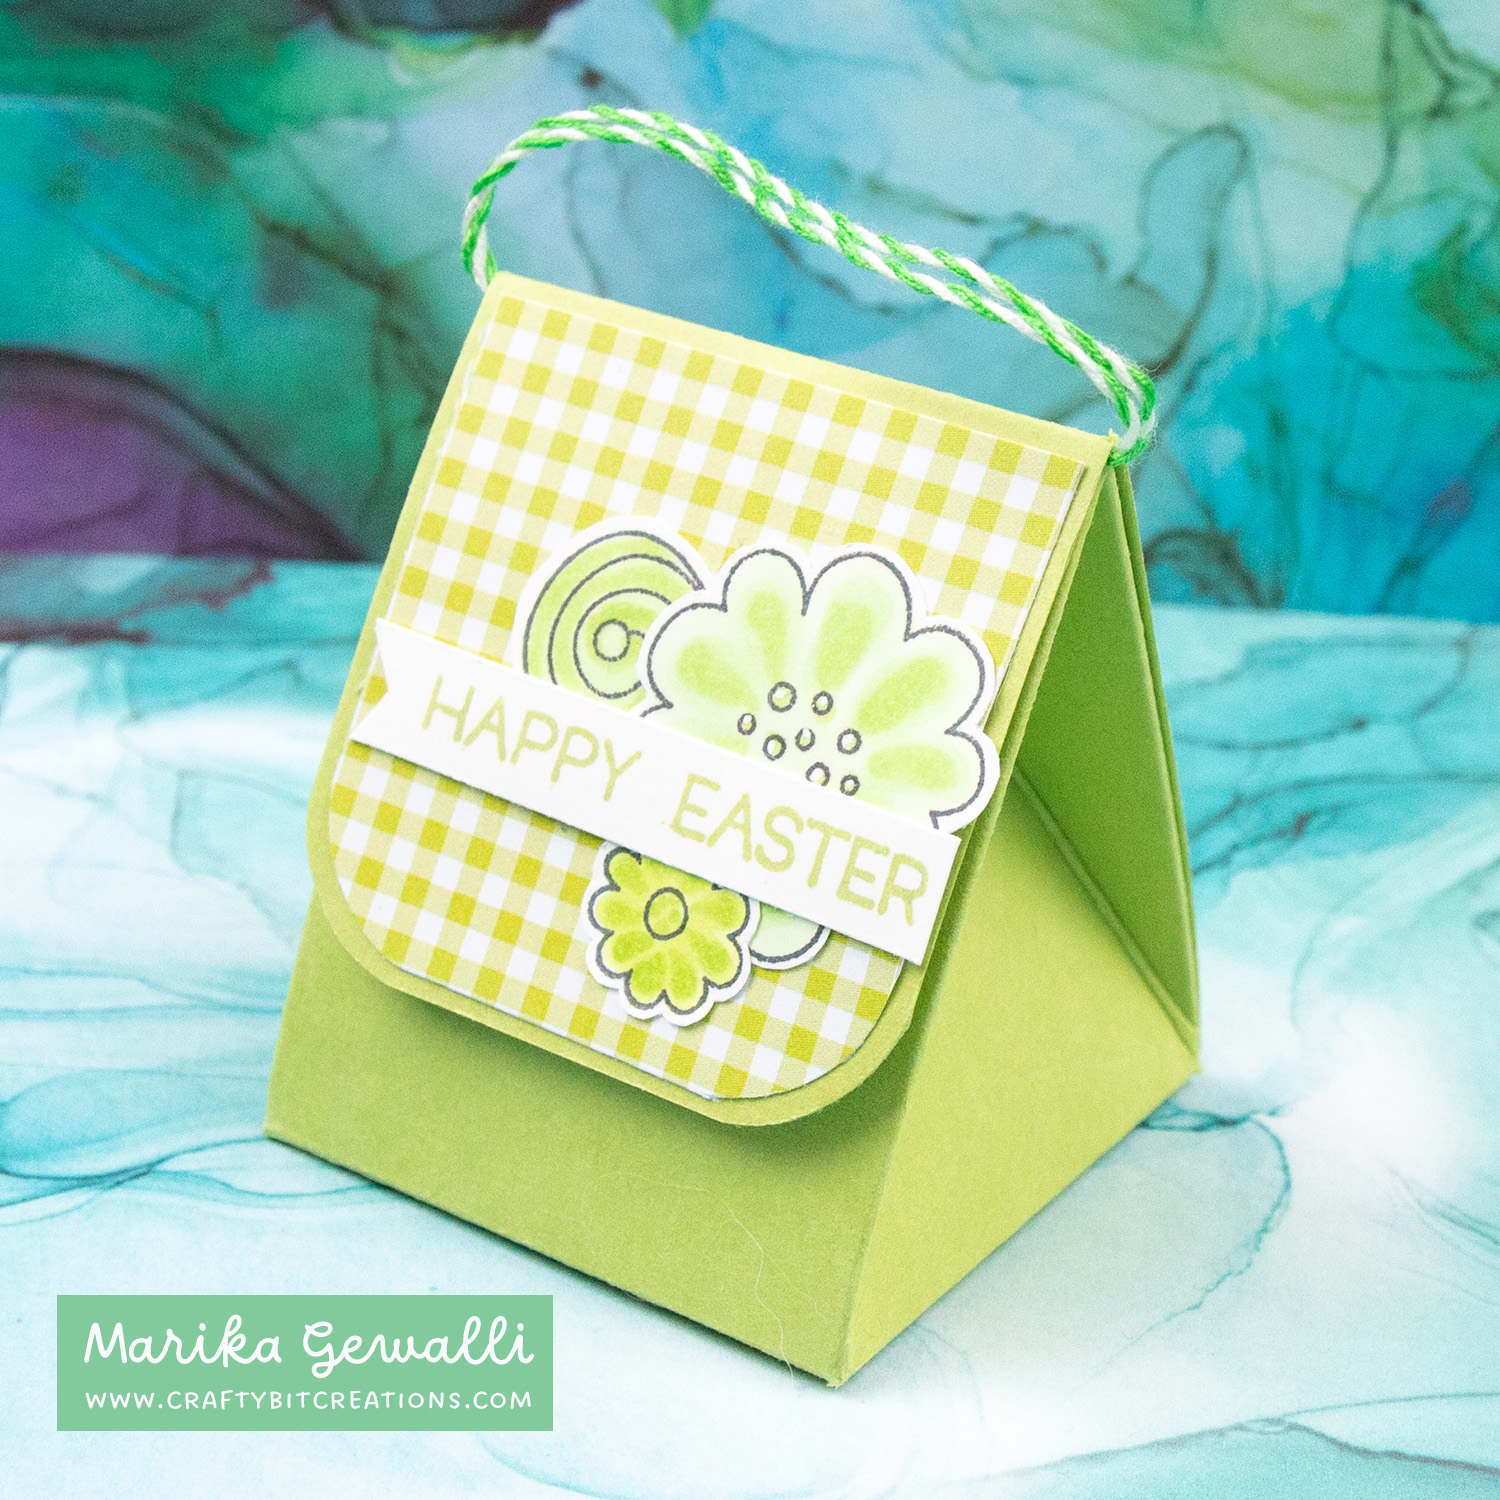
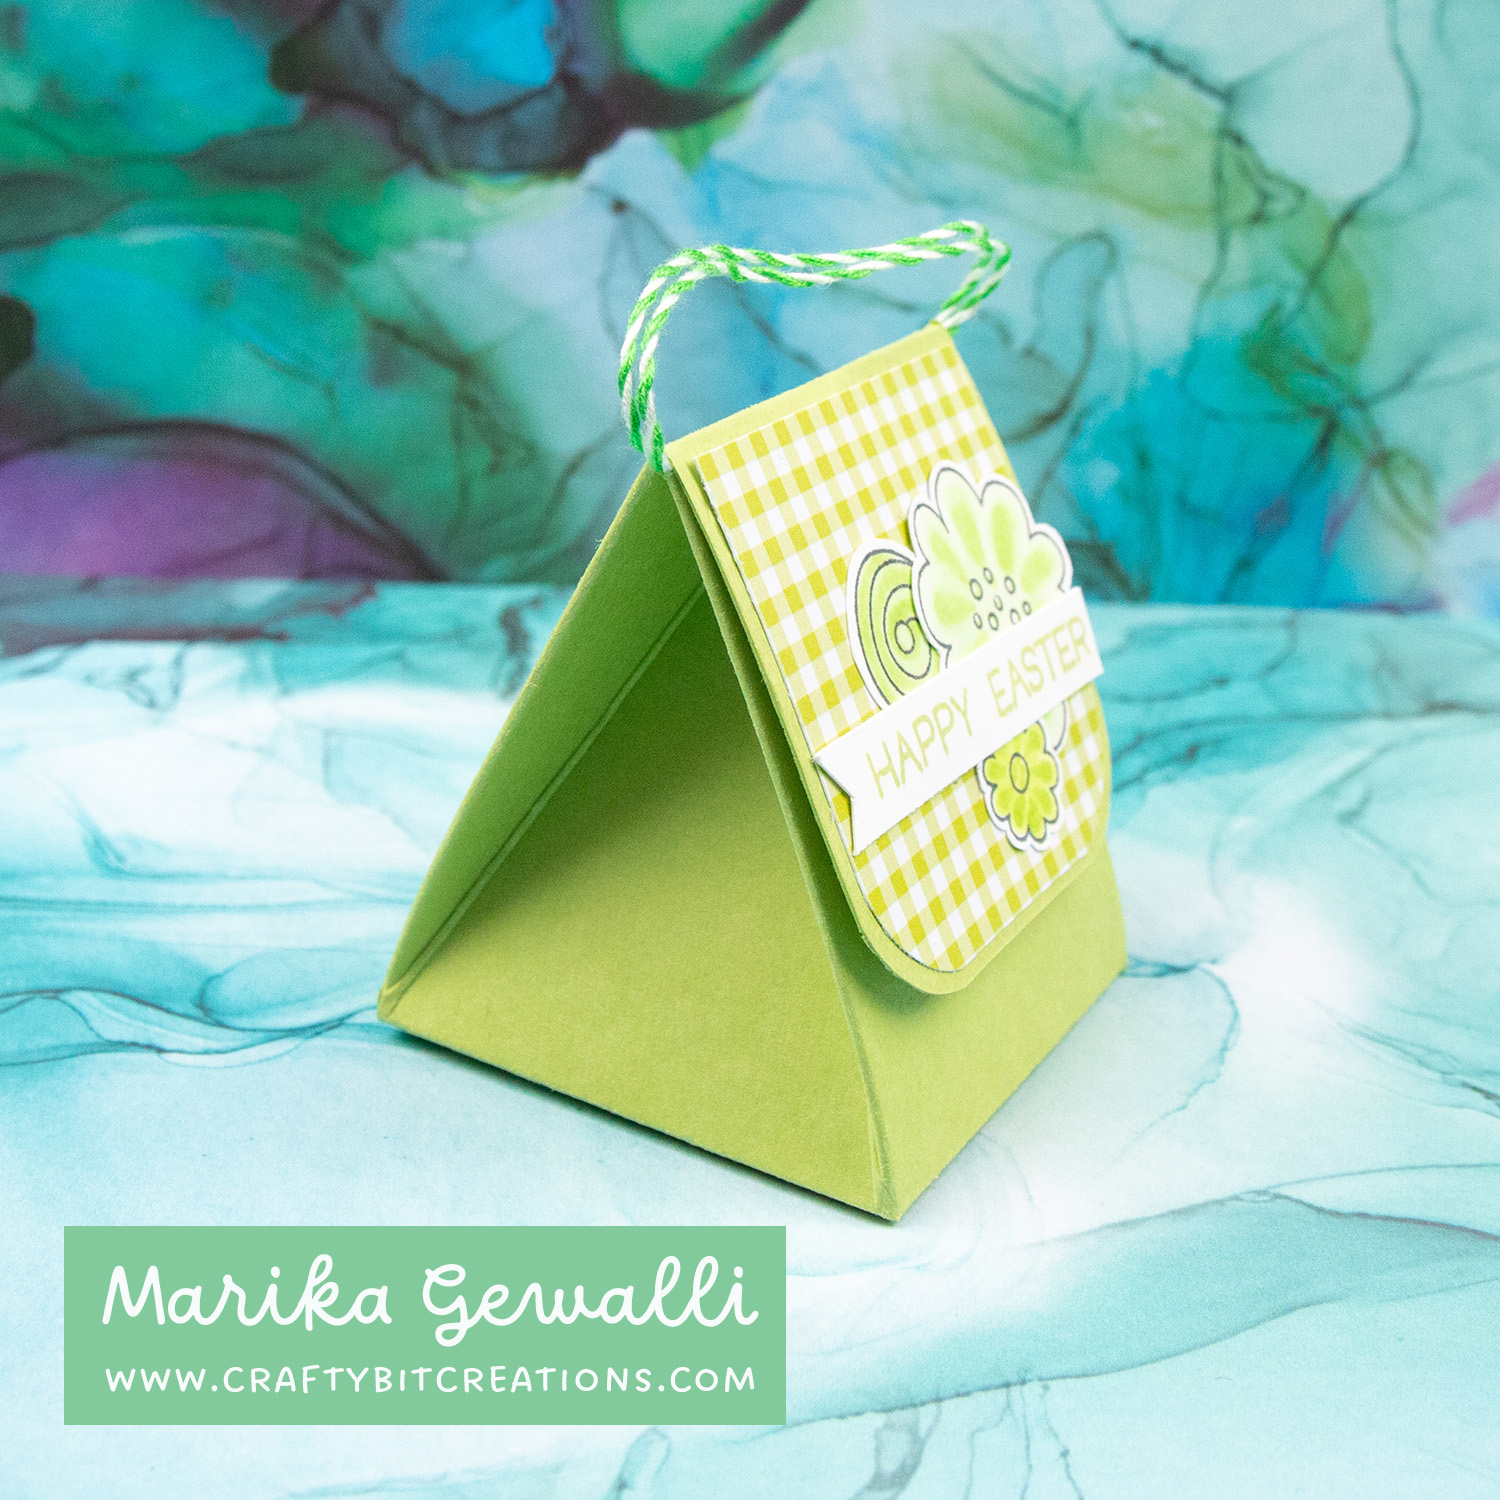
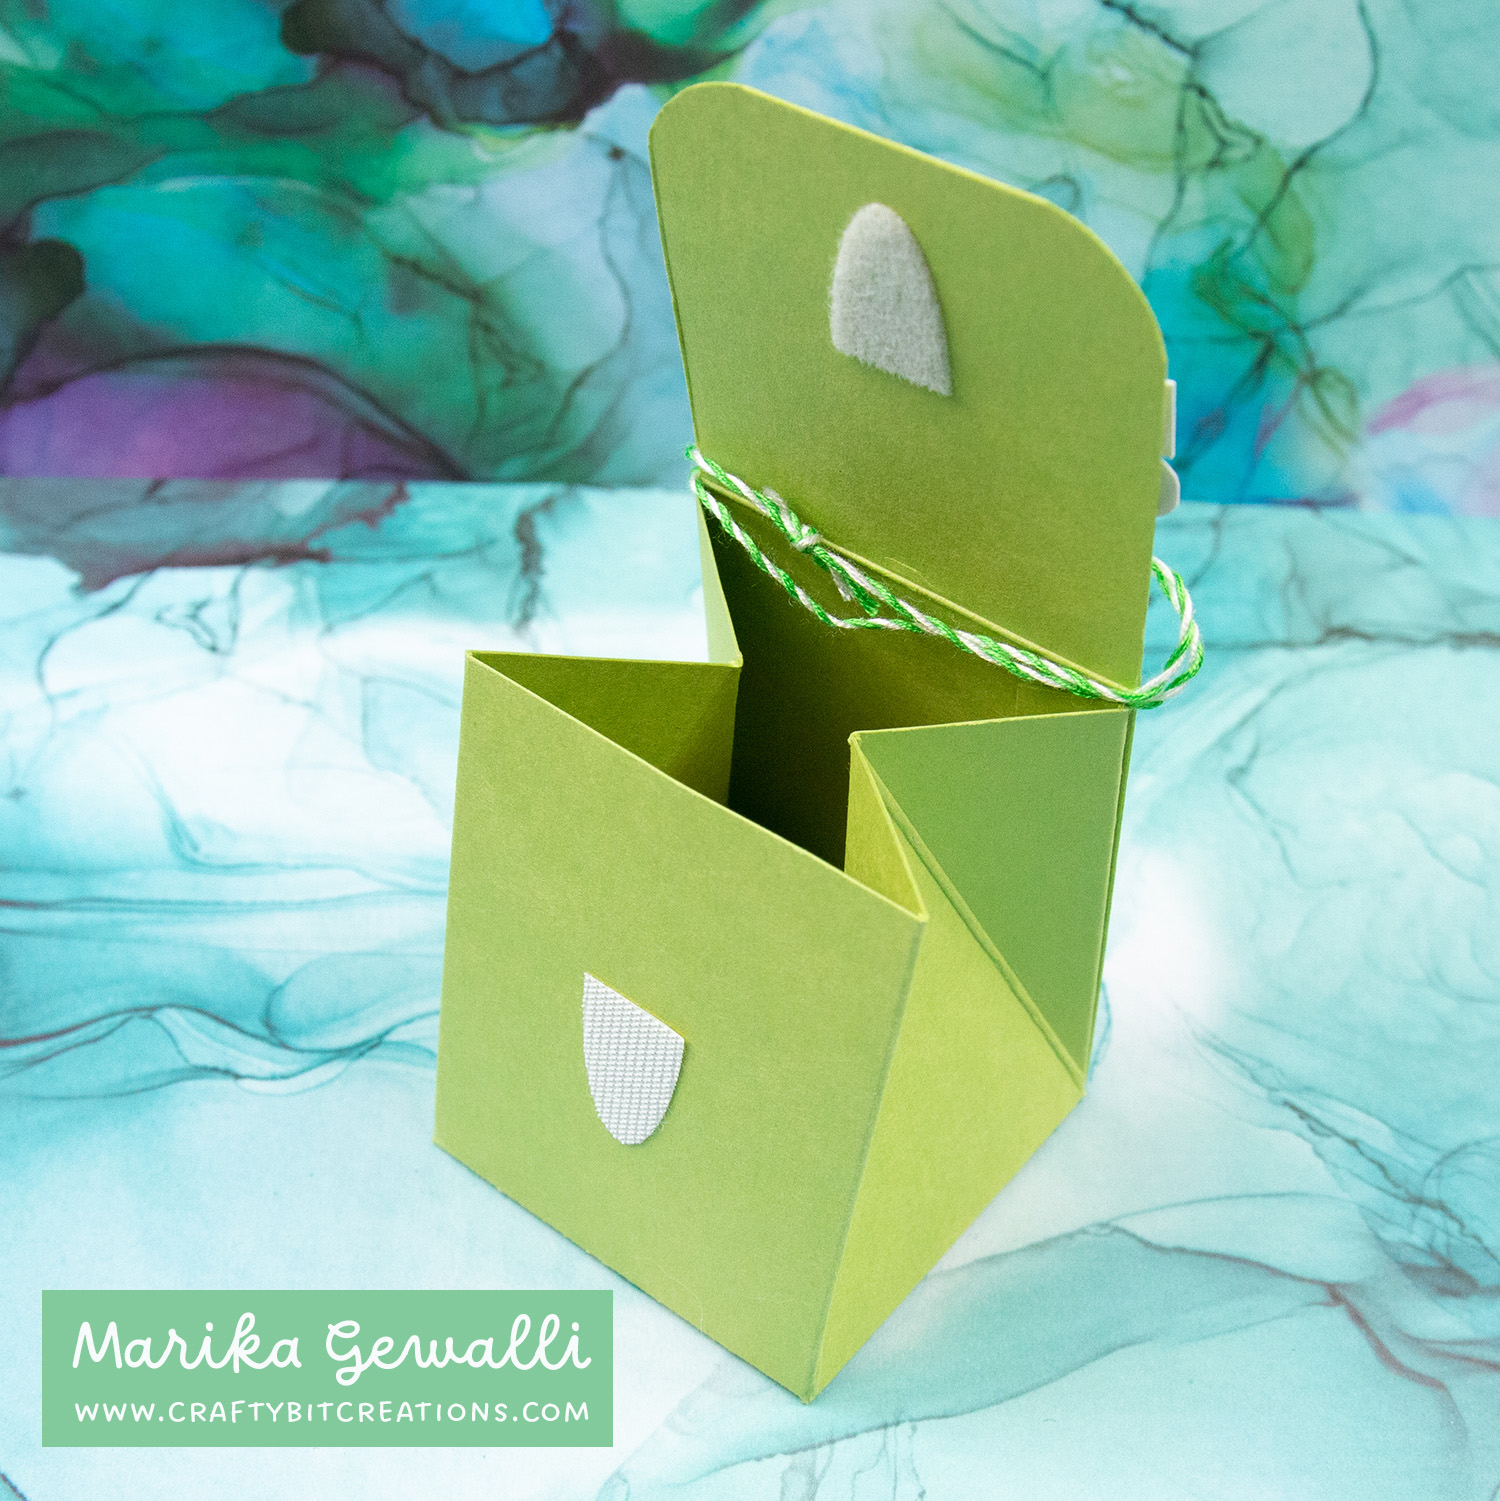
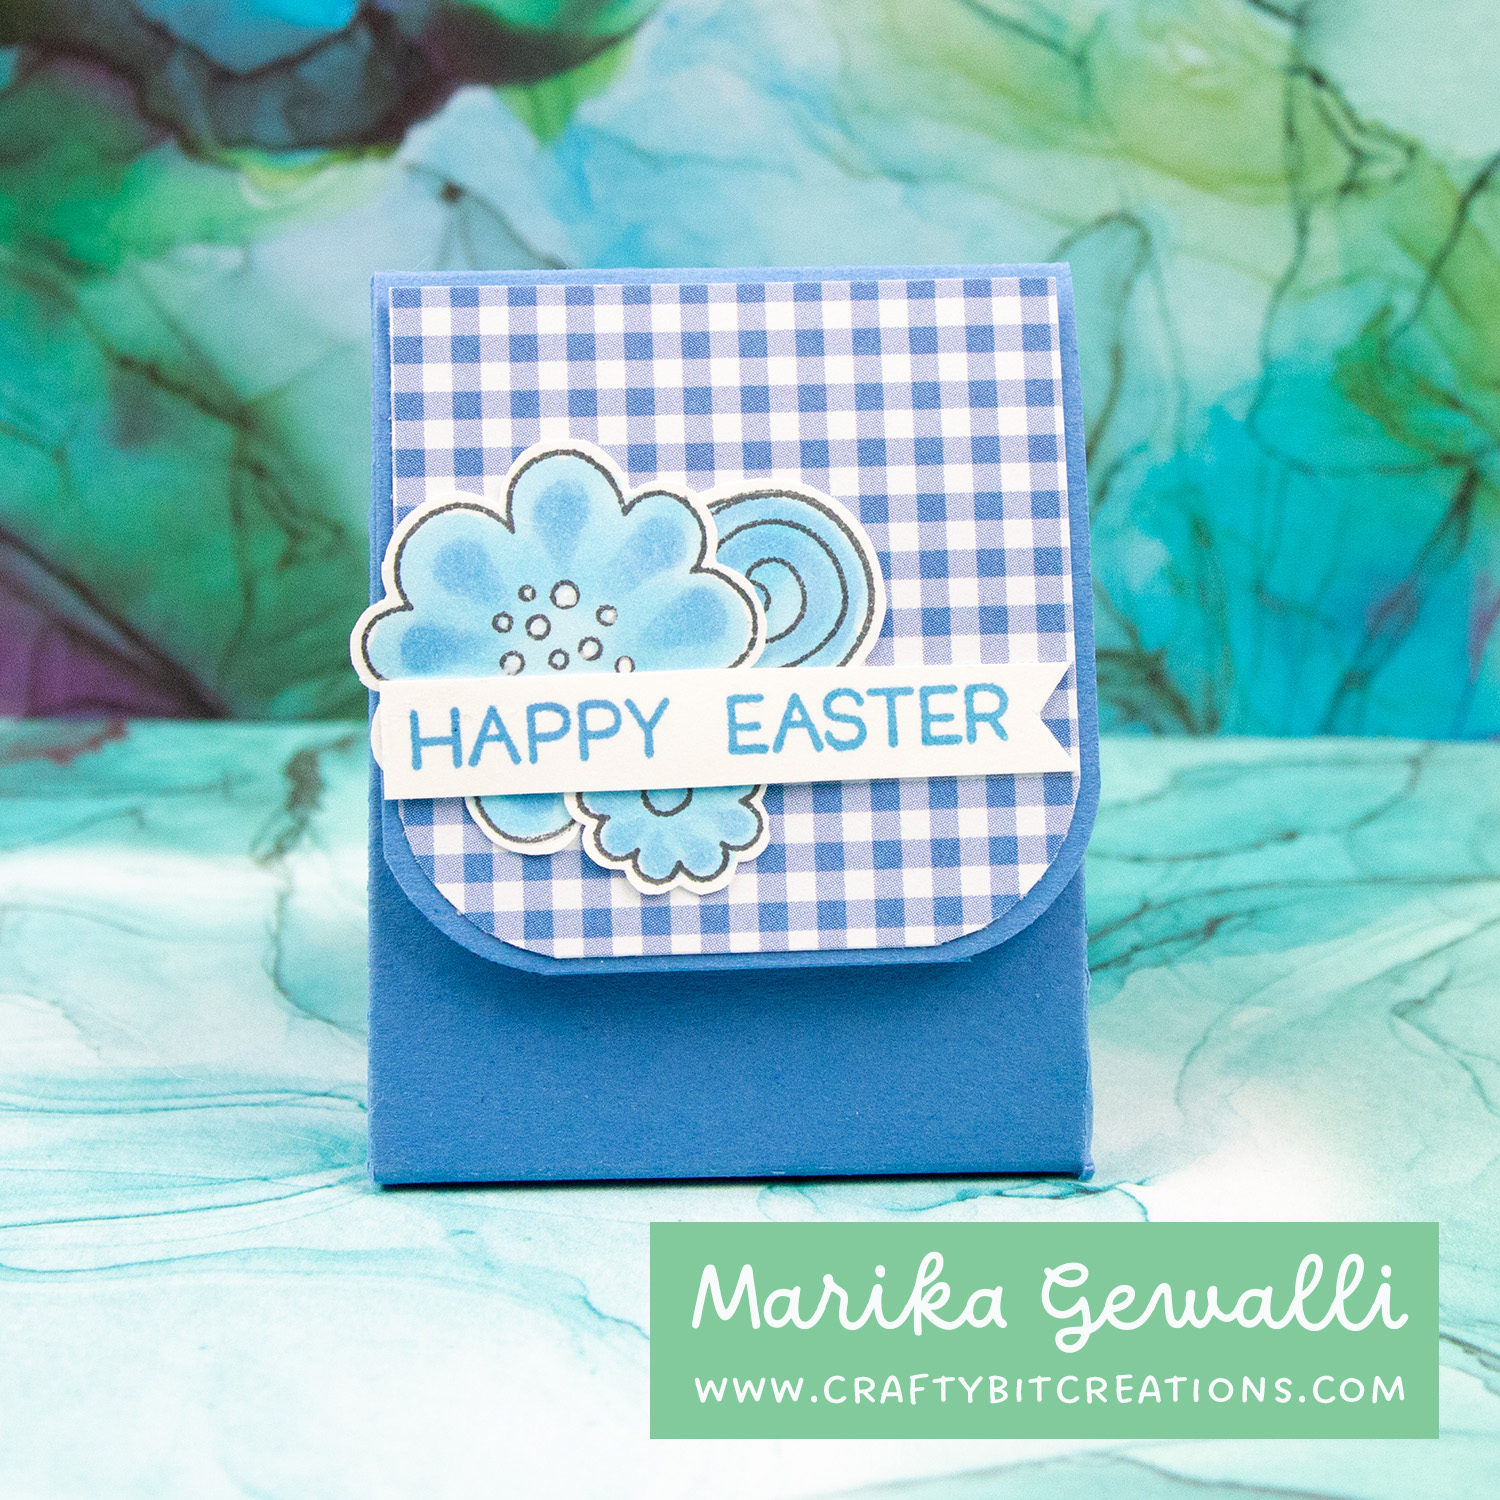
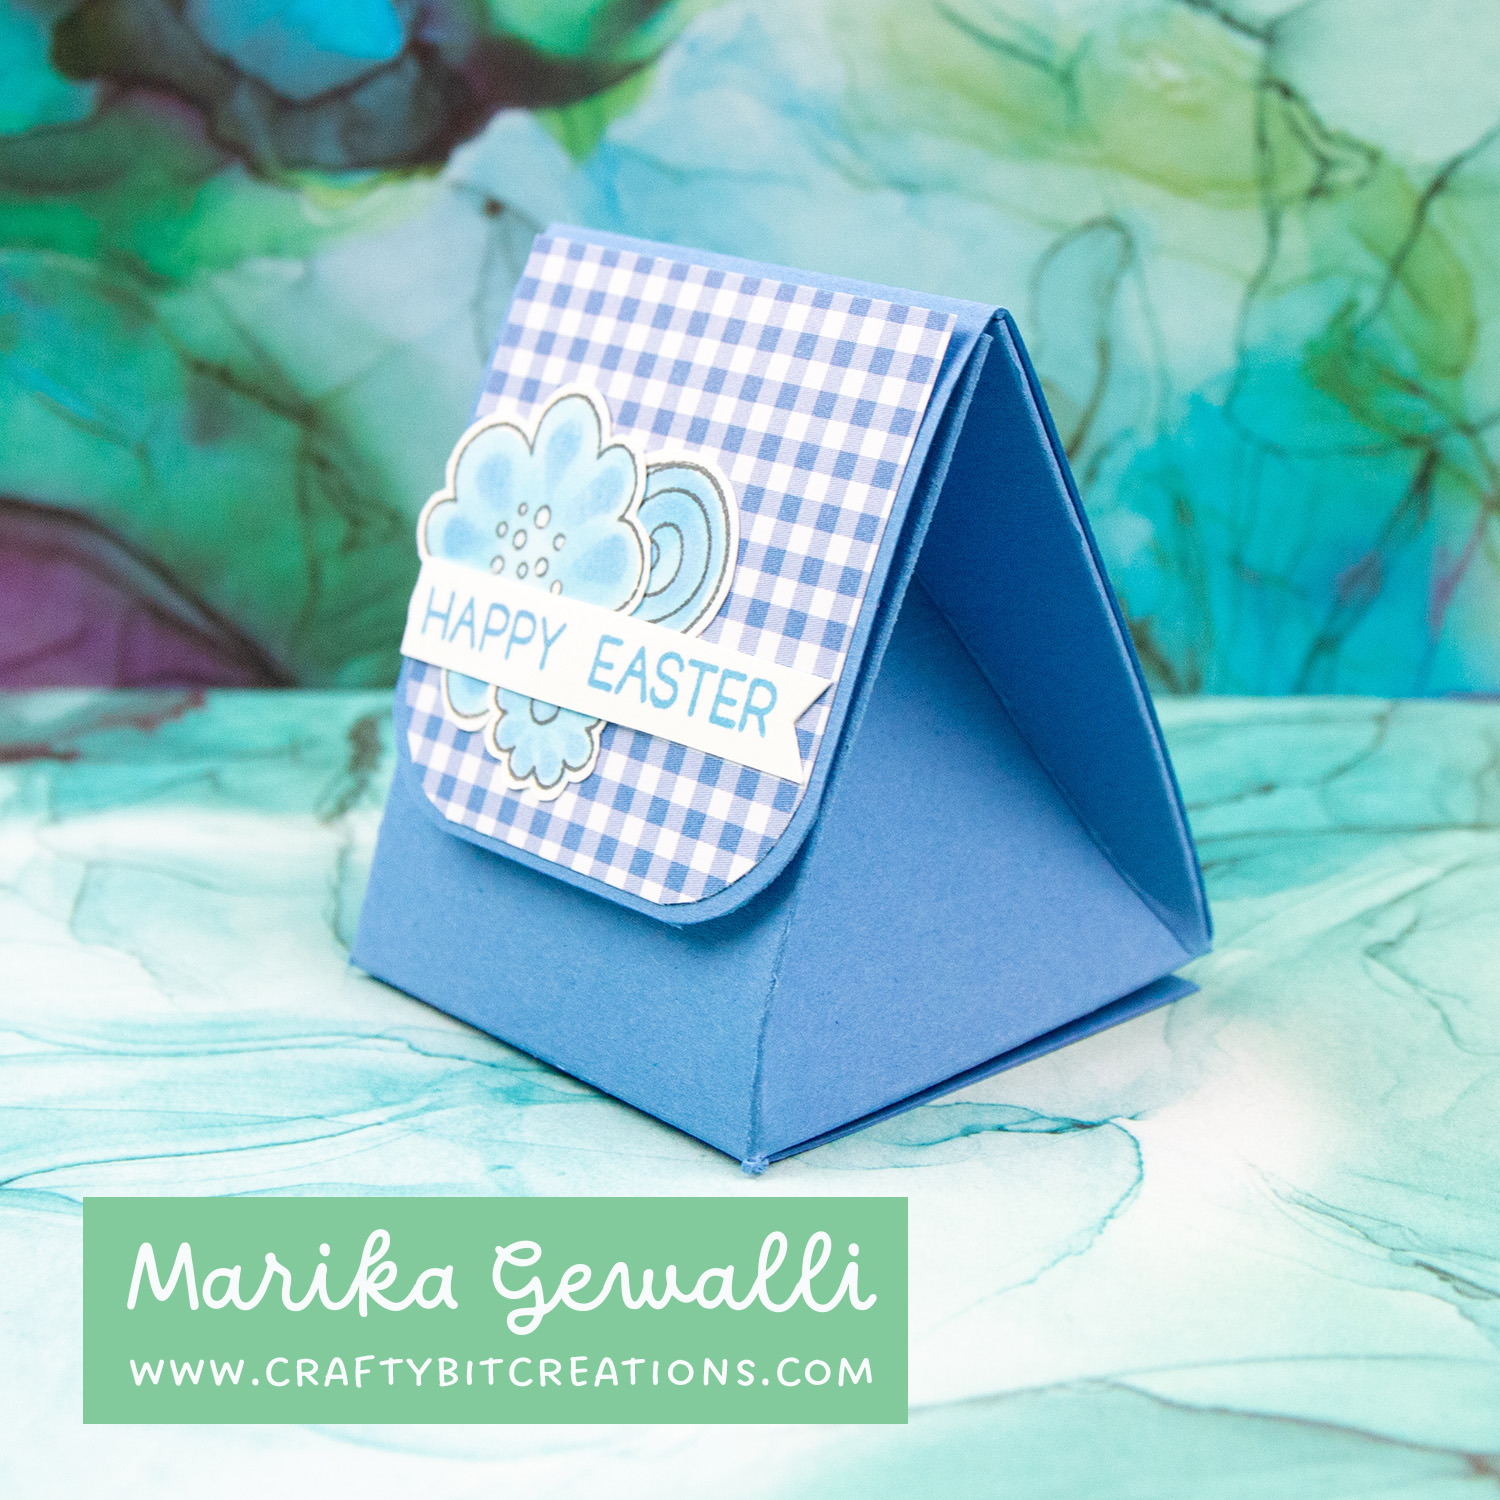
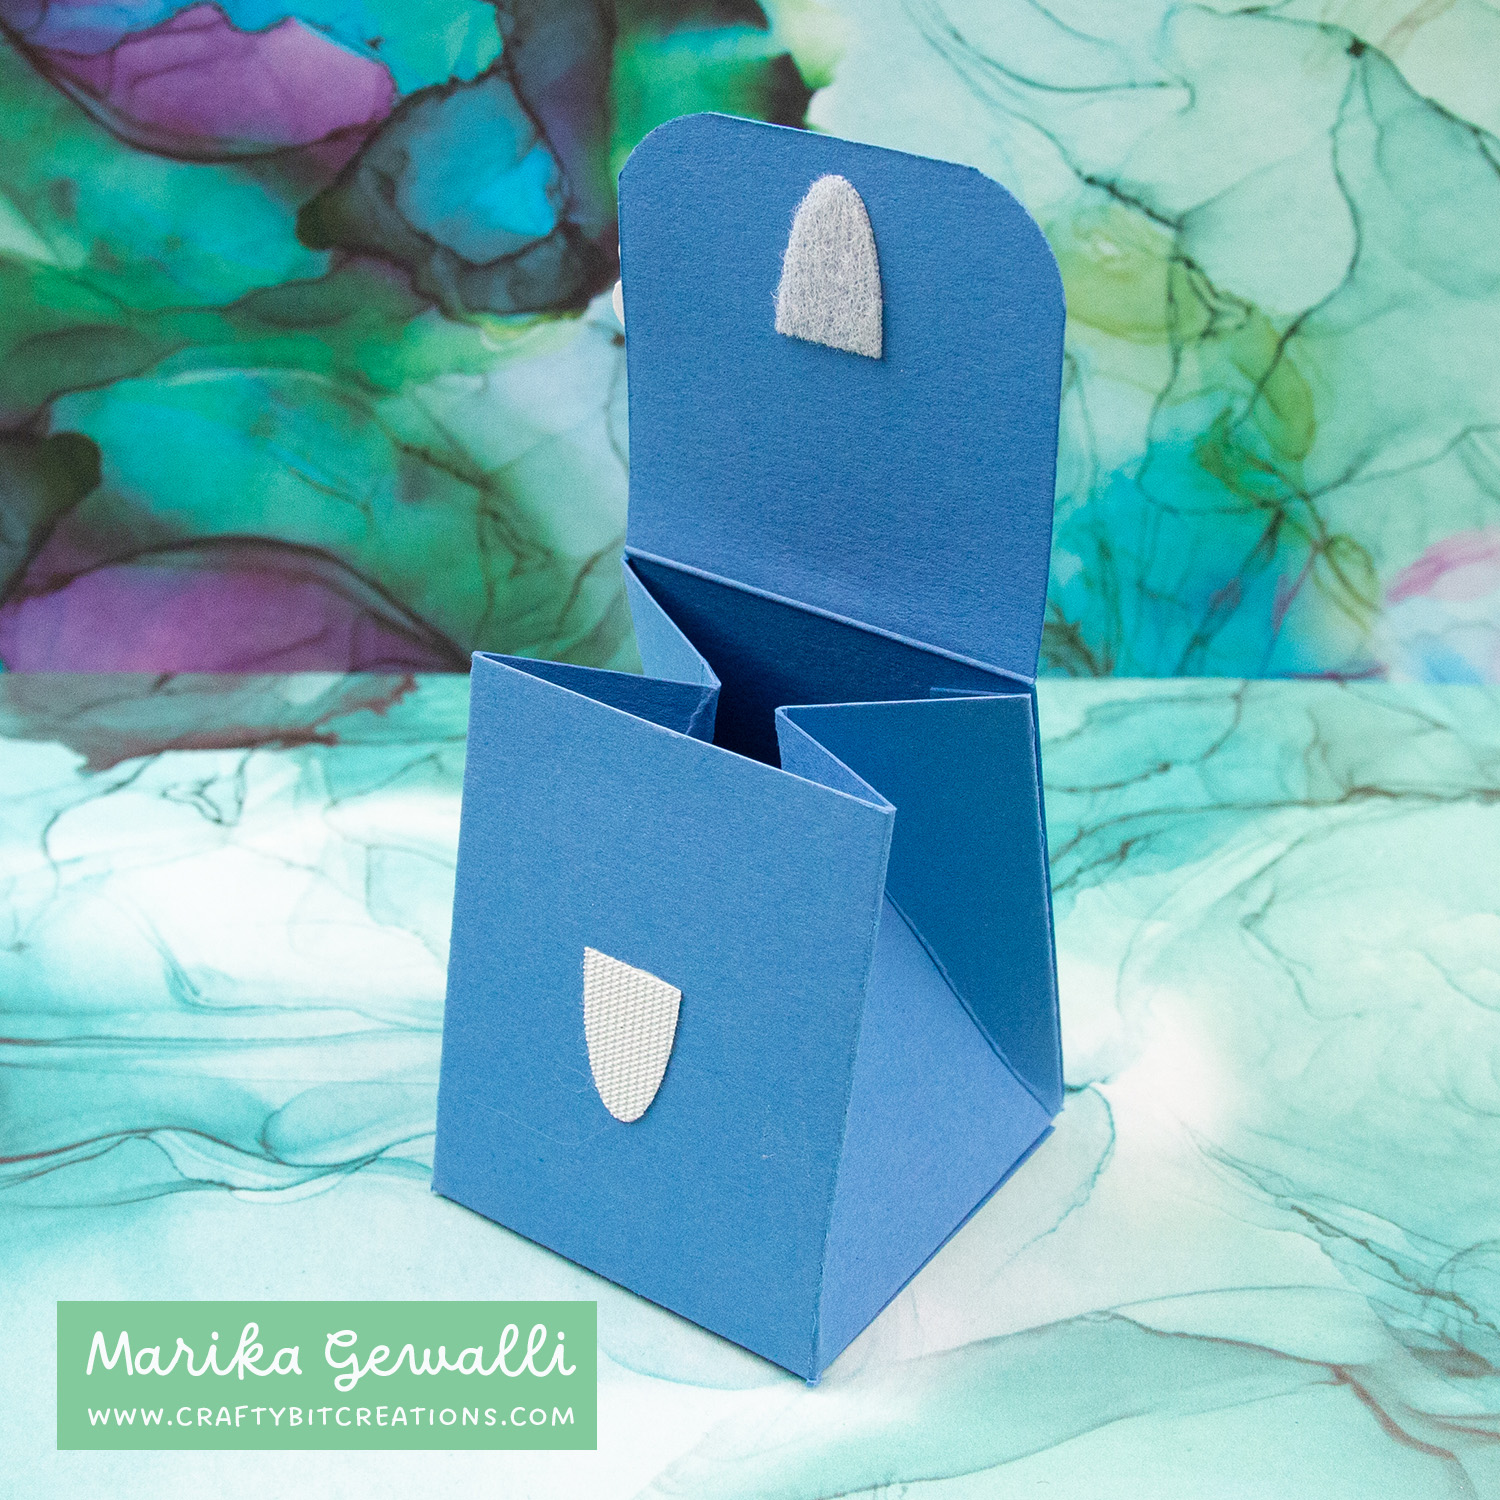
This is my last easter project for the year, I hope you have enjoyed them. This is an easter mini clutch box and they are made to fit 6 Lindt Mini Chocolate Eggs. But they can fit anything small that you could think of. You can also go the clutch version or add a “handle” and make it a purse.
You can follow the template above or you can download the pdf HERE and the free templates & cut files HERE. If you enjoy the tutorial and want to see more you can find all of my boxes with video tutorials, templates and cut files HERE.
Copic
YG11, YG23, YG01, YG25, B12, B23
When possible affiliate links are used, this means that I receive a small commission when products are purchased through the links (at no extra cost to you) I use the money to support my blog and youtube channel. If you like my projects and tutorial please consider supporting me by clicking through these links when you shop. Thanks!
Supplies
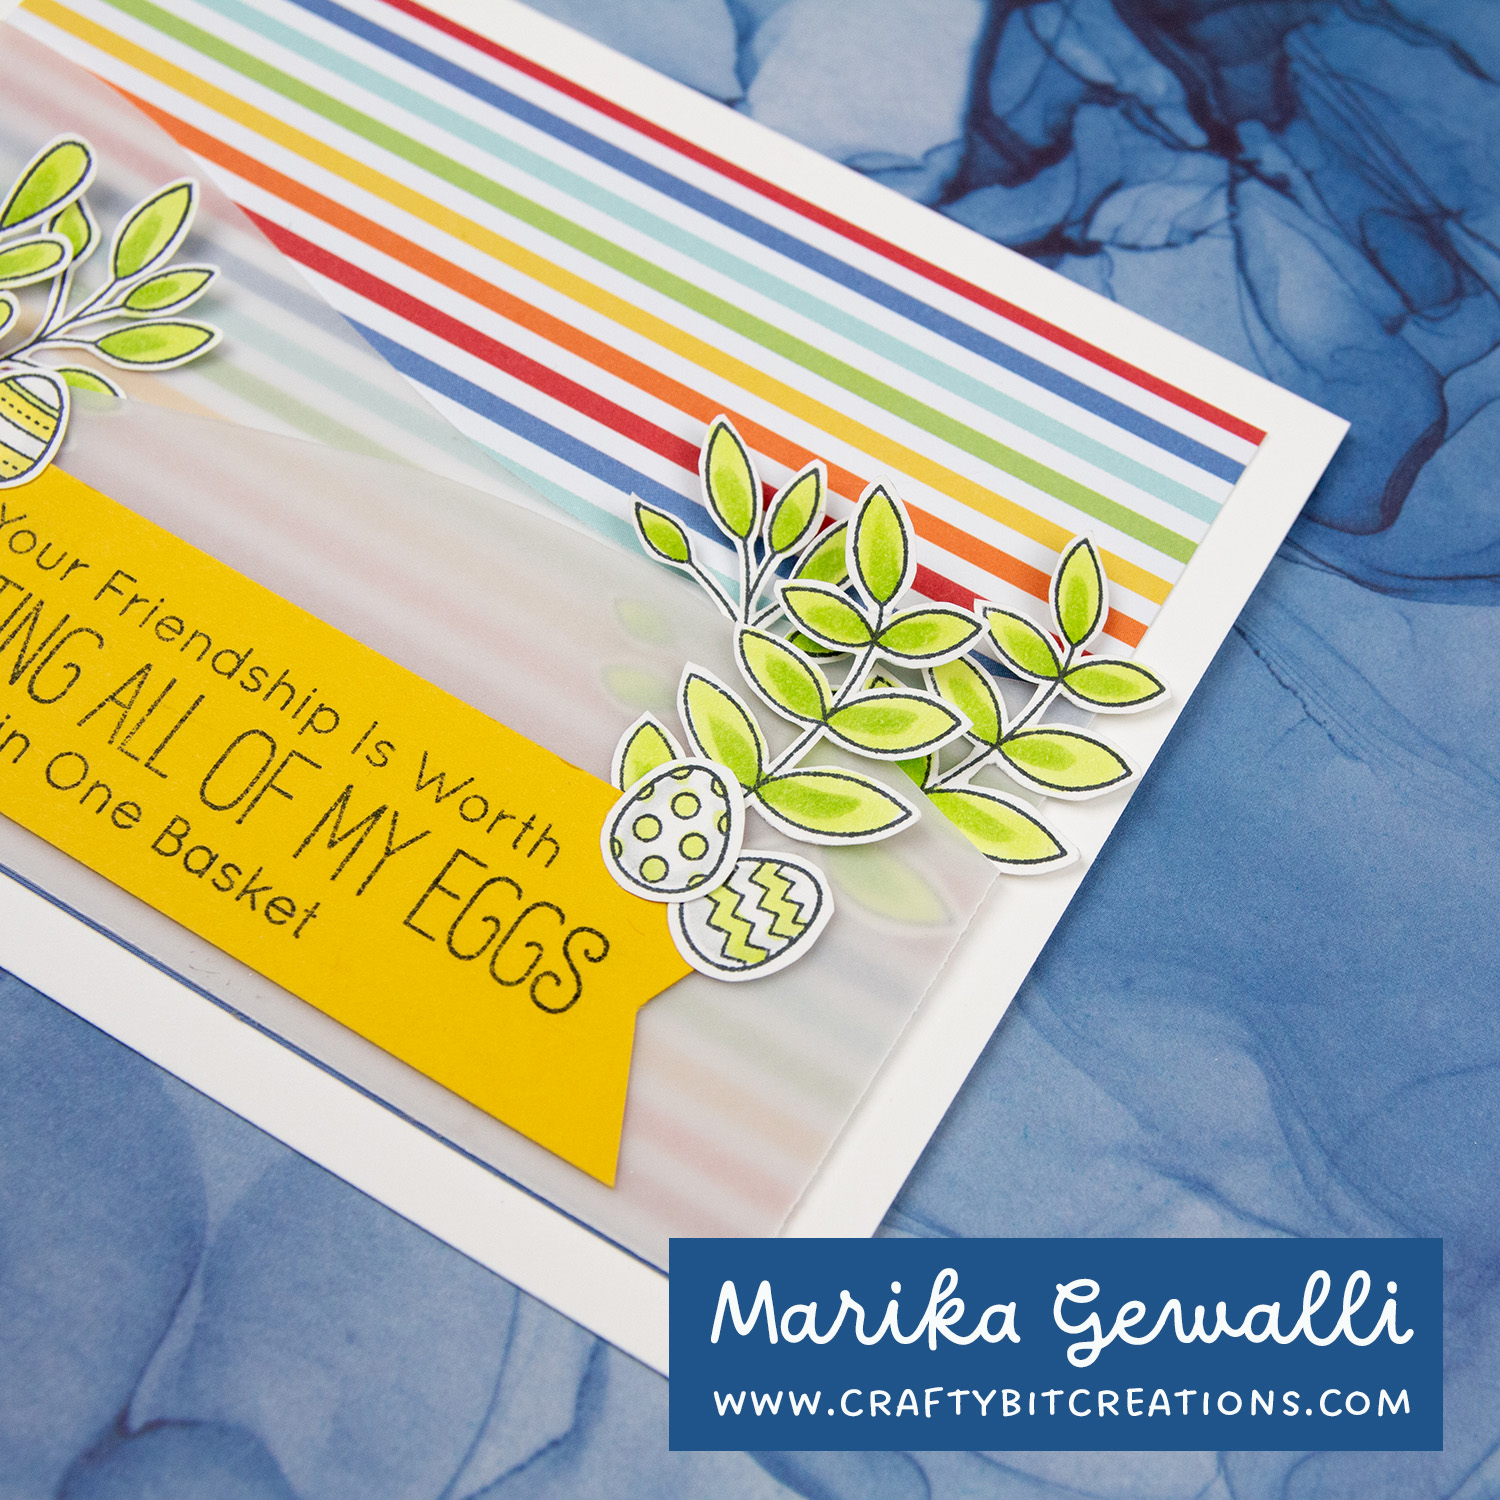
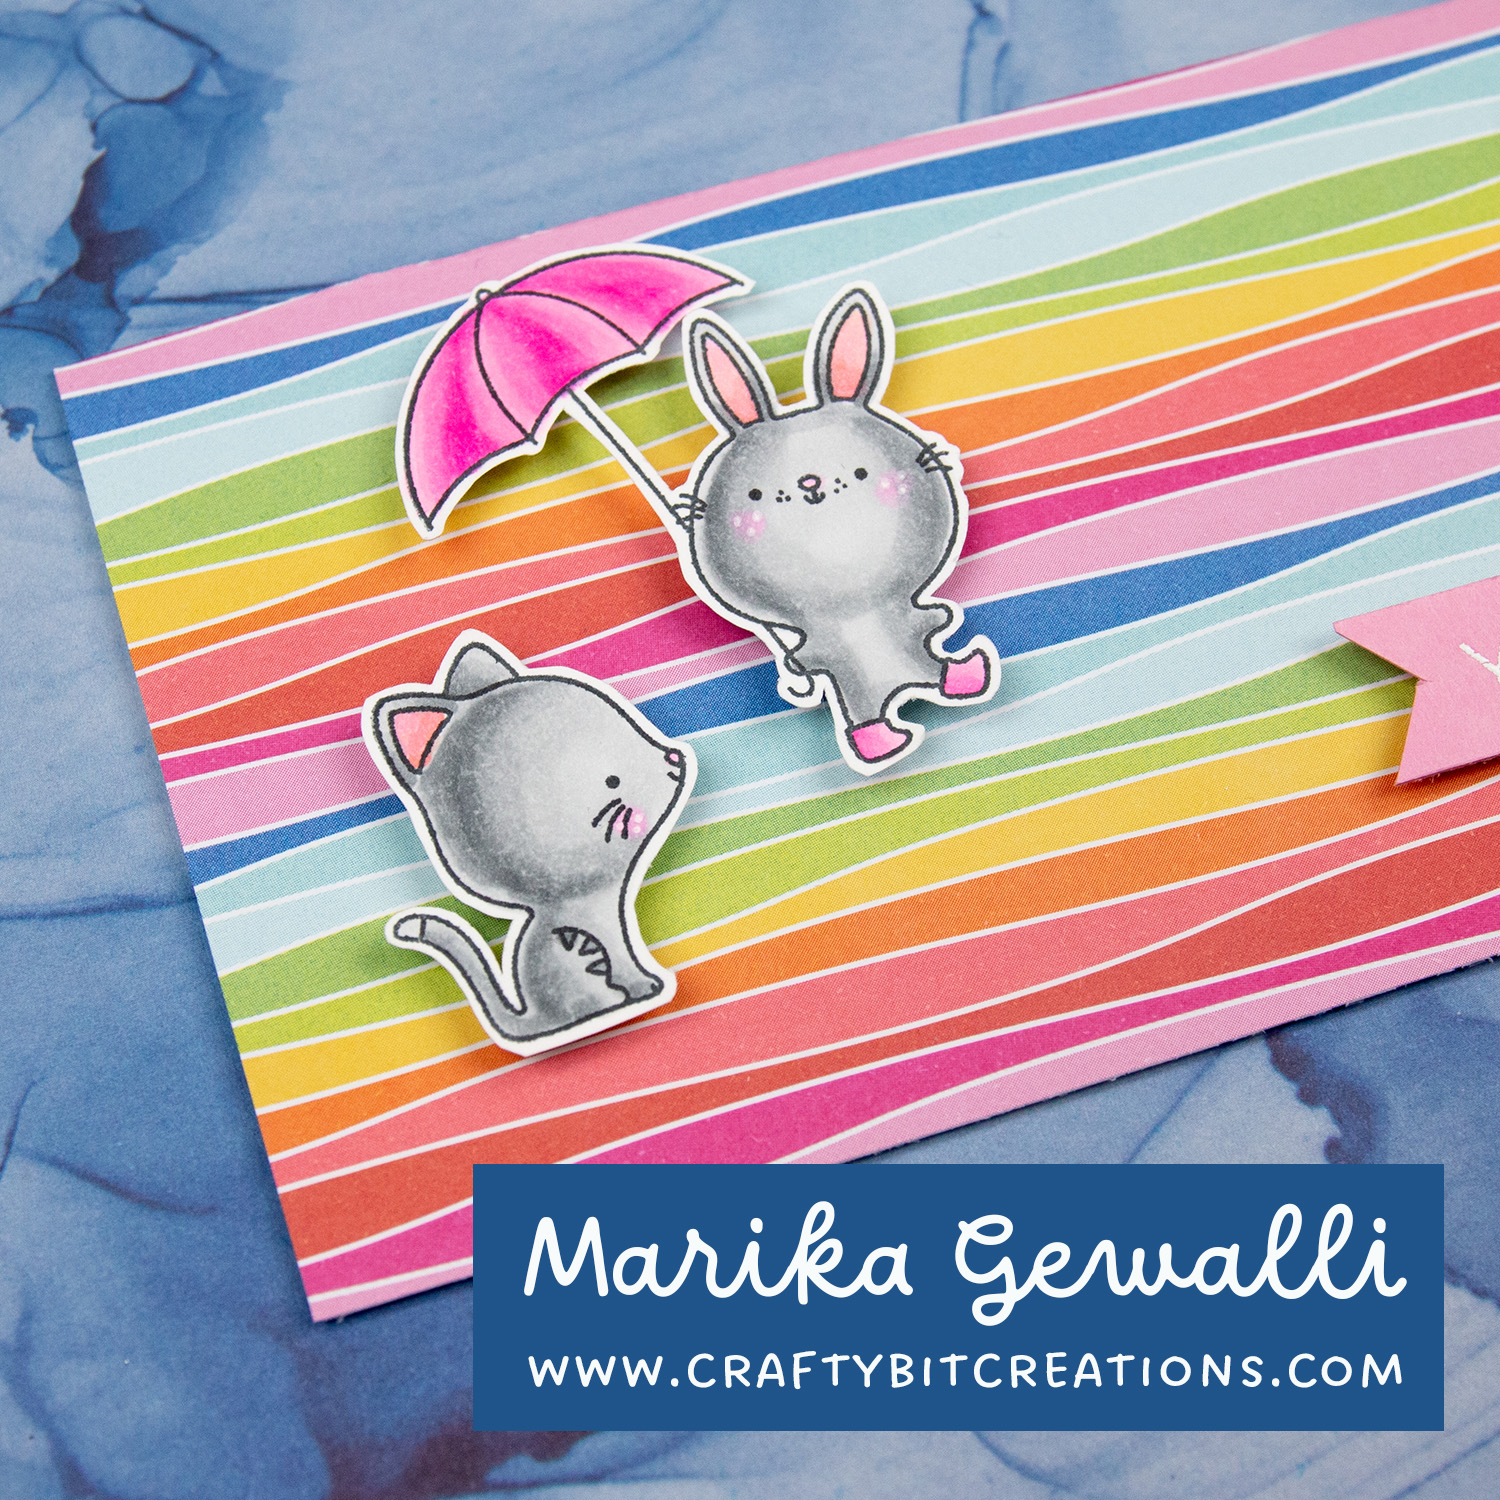
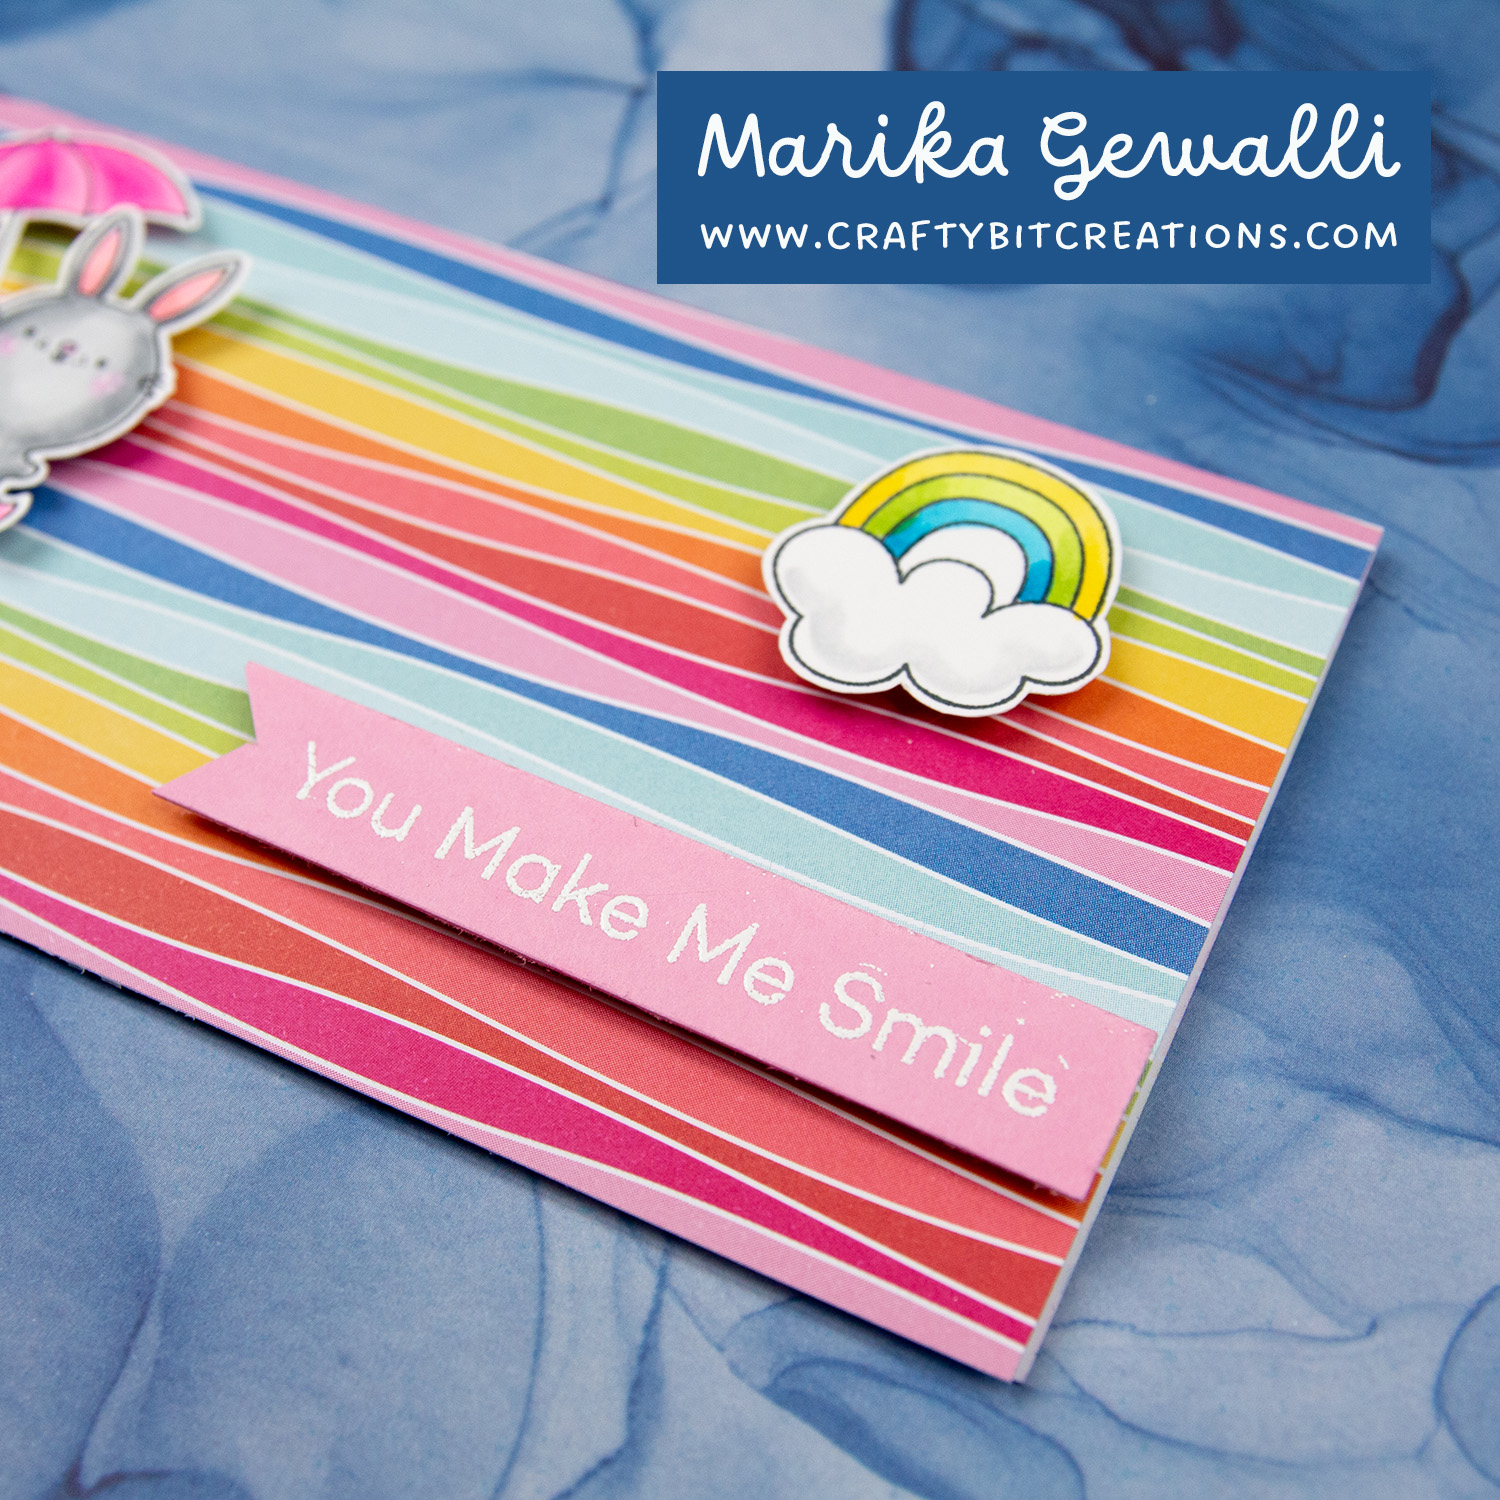
MFT Floral Whimsy: MFTSSS MFT Sending Sunshine and Smiles: MFTSSS Happy Patterns Paper Pad: MFTSSS MFT Something Blue Card Stock: MFT MFT Something Blue Premium Dye Ink Cube: MFTSSS MFT Sour Apple Card Stock: MFT MFT Sour Apple Ink: MFTSSS Fiskars Trimmer : SSSAMZ Cutter Bee Scissors: SSSAMZSBC Sookwang Tape 1/4”: SSSAMZ We R Memorykeepers Corner Chomper: SSSAMZSBC Twine: SSSAMZSBC MFT On-Point Precision Glue Pen: MFT
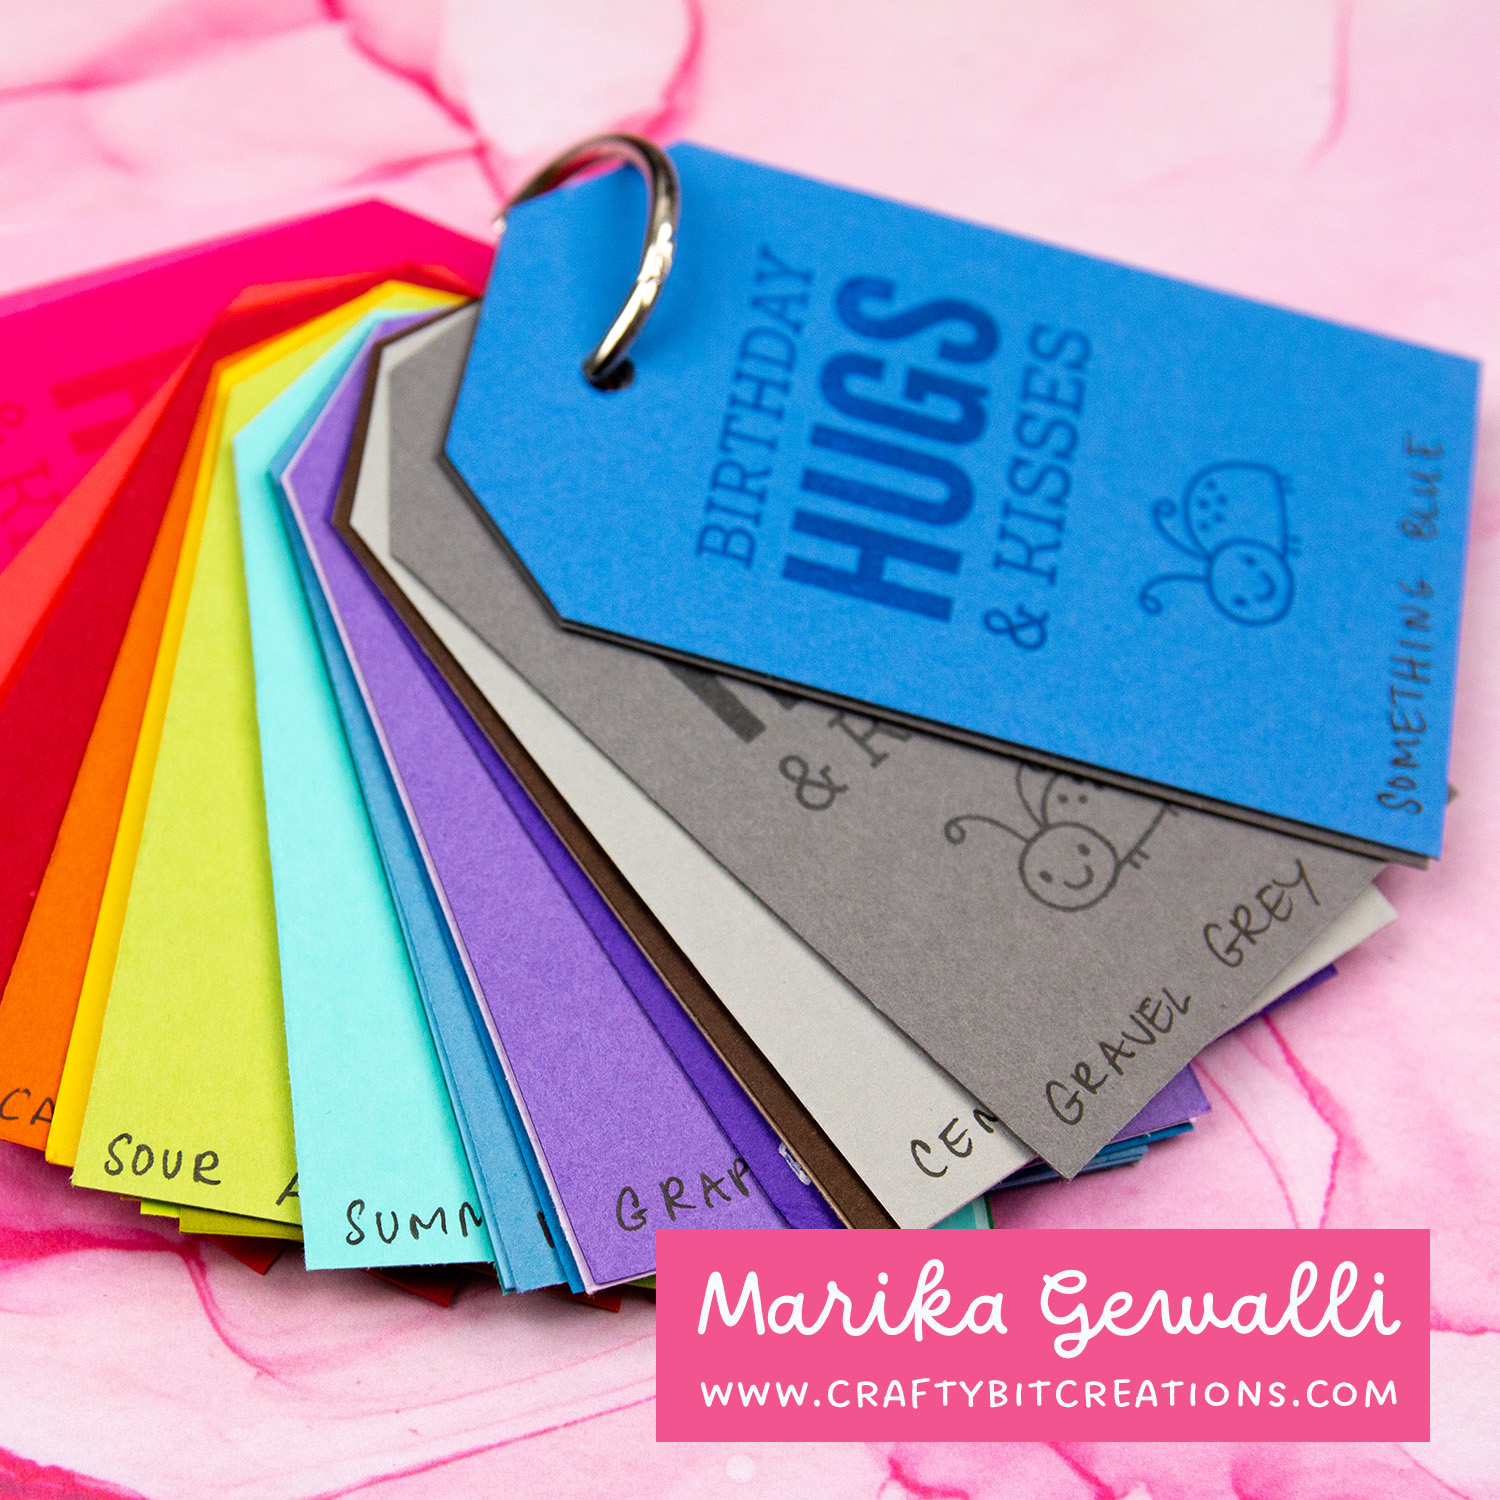
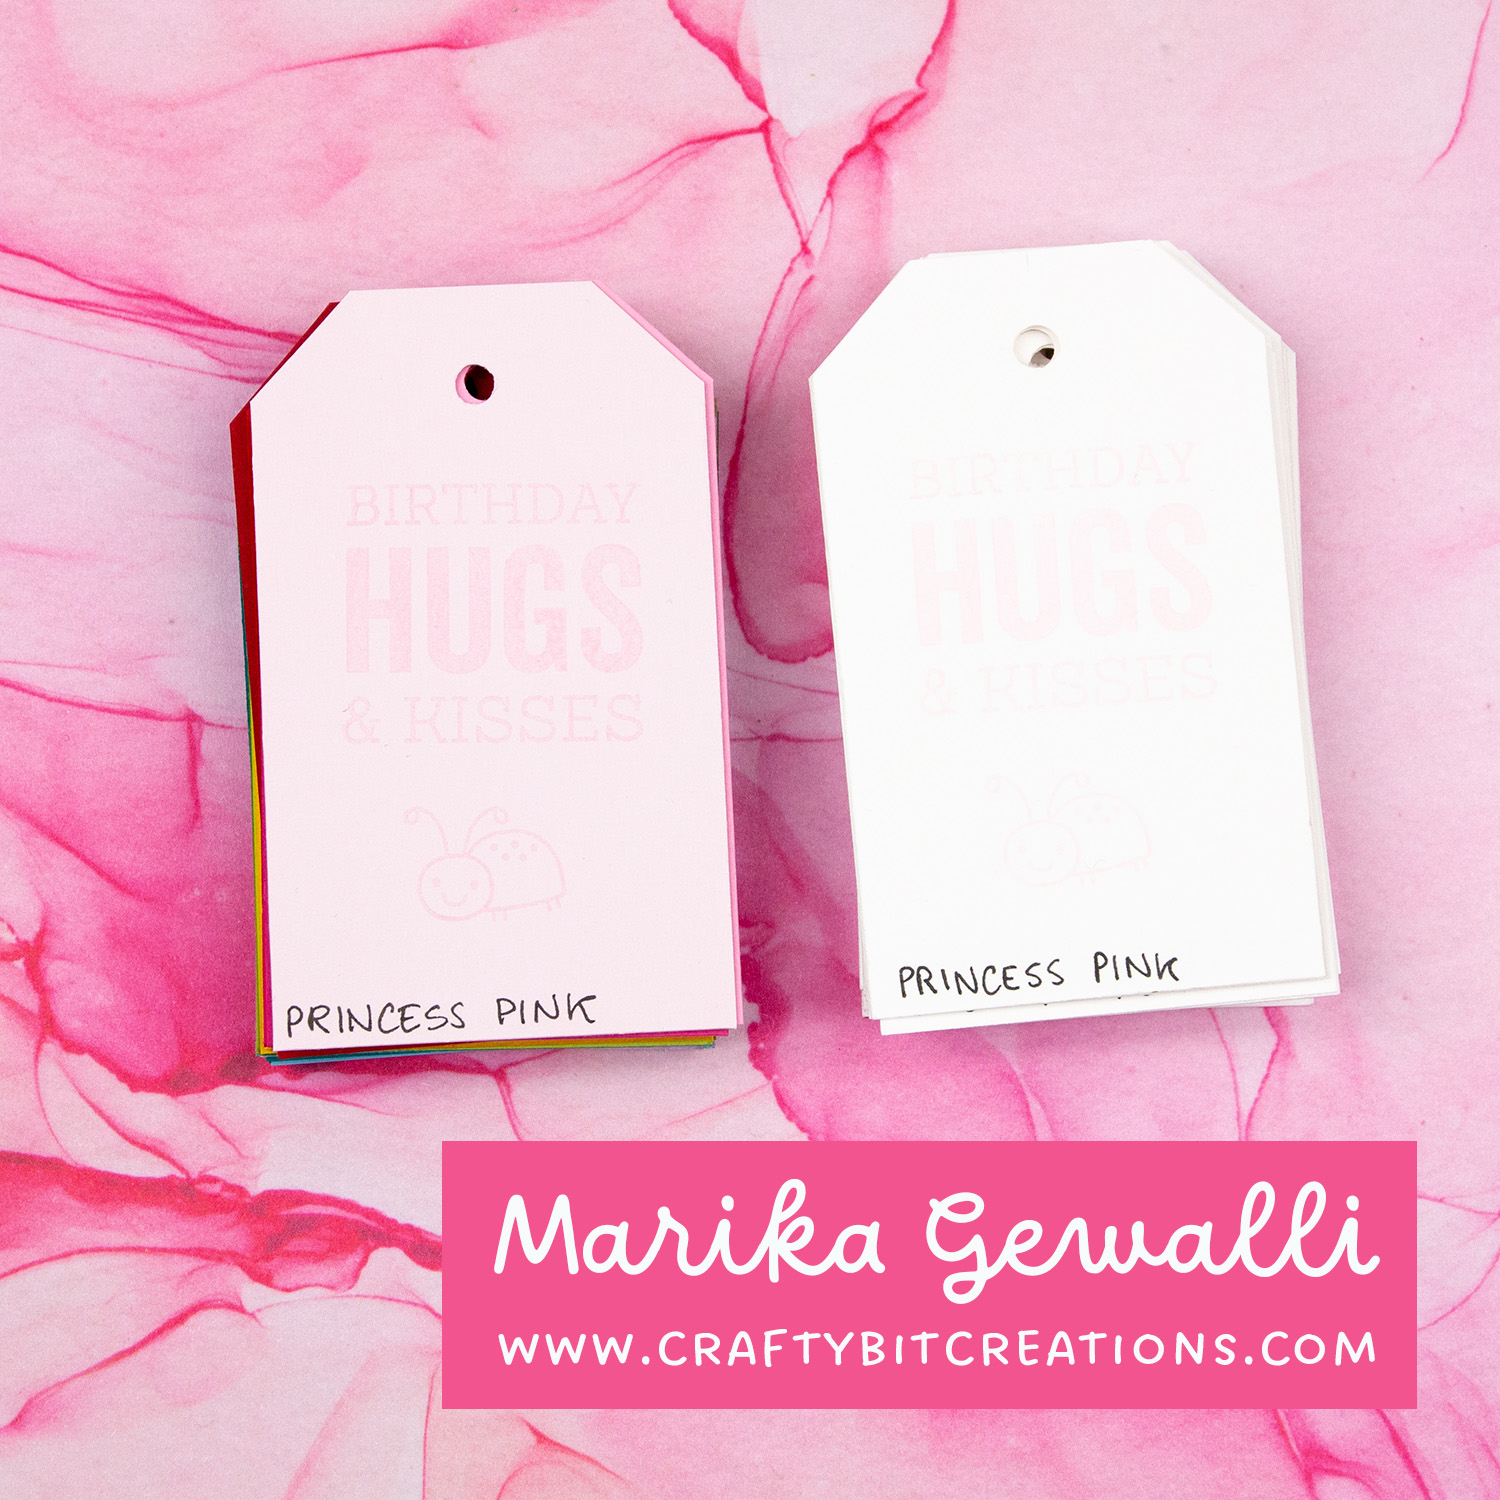
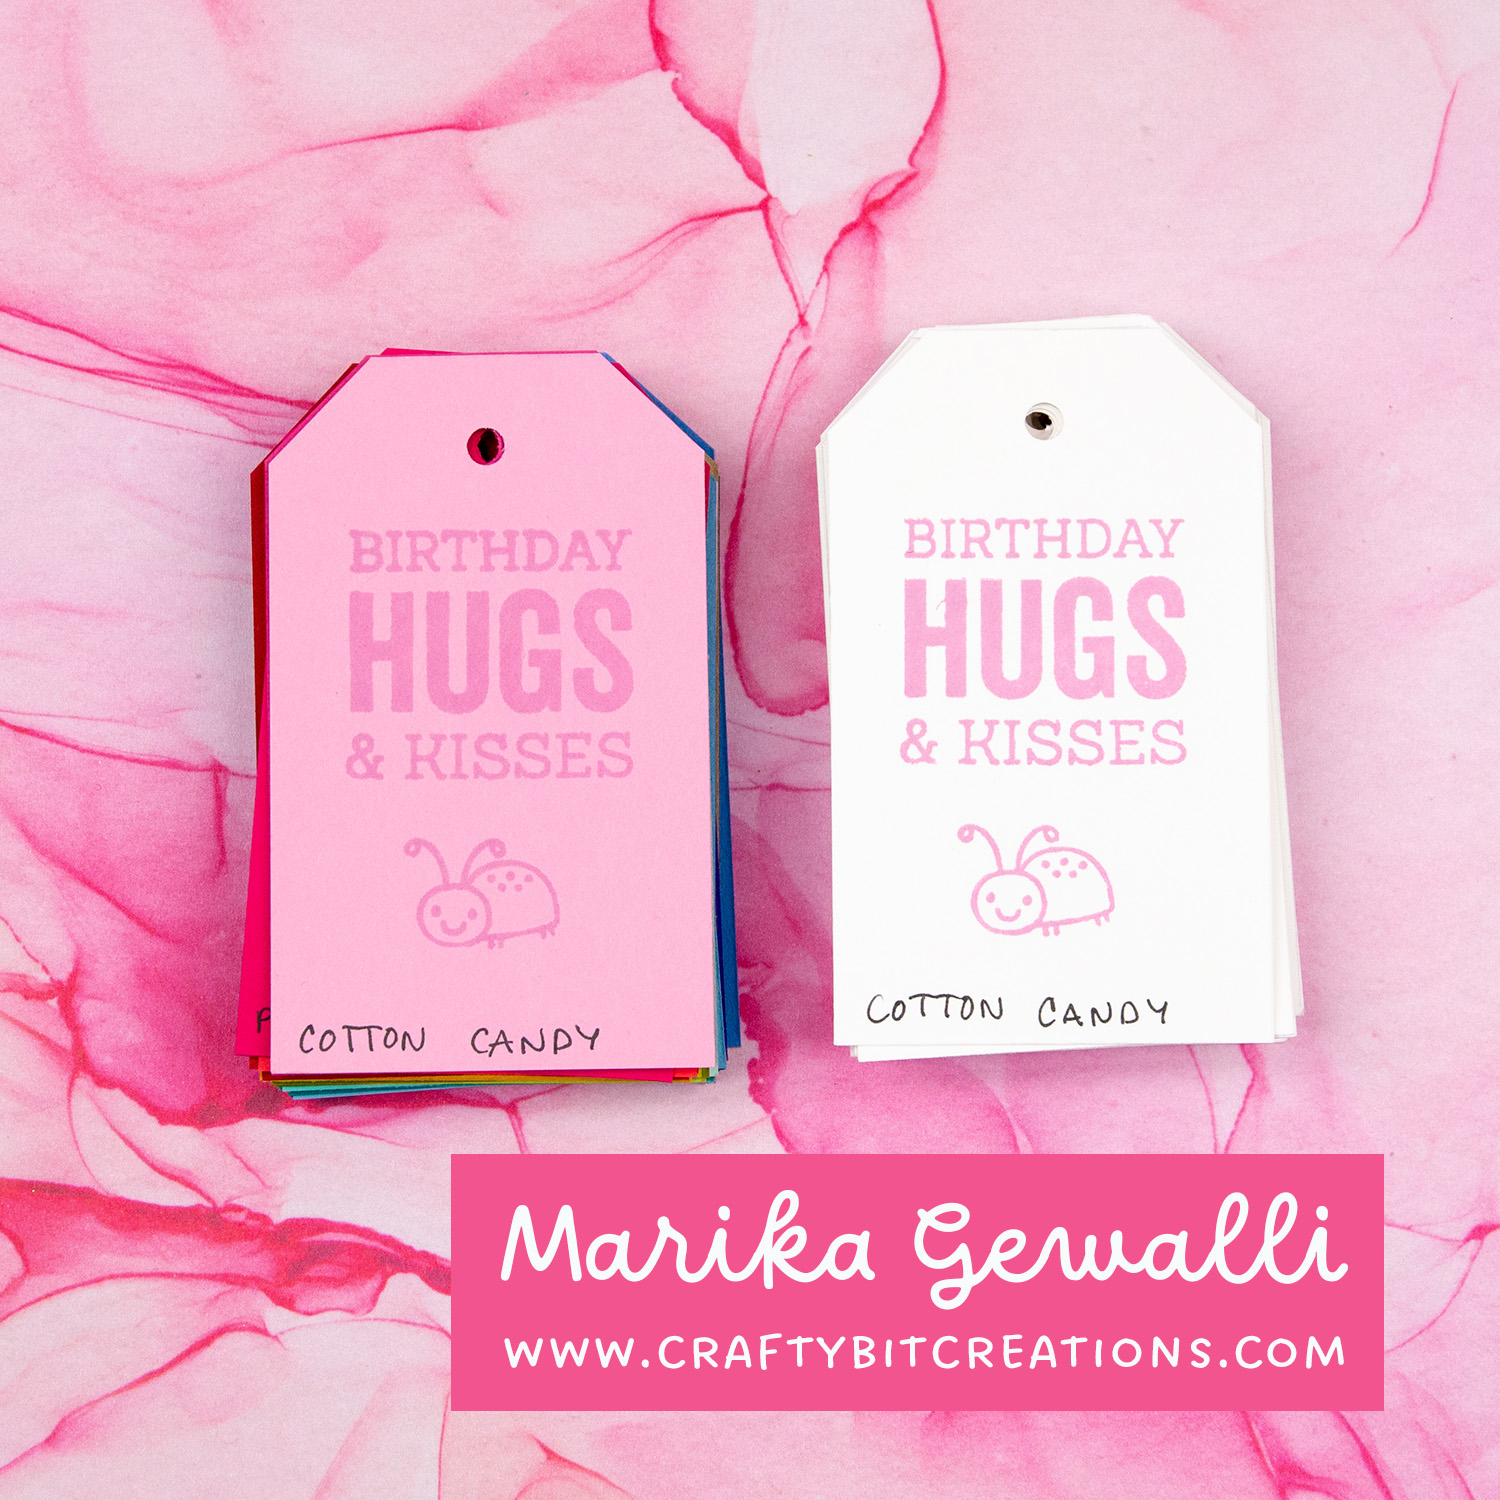
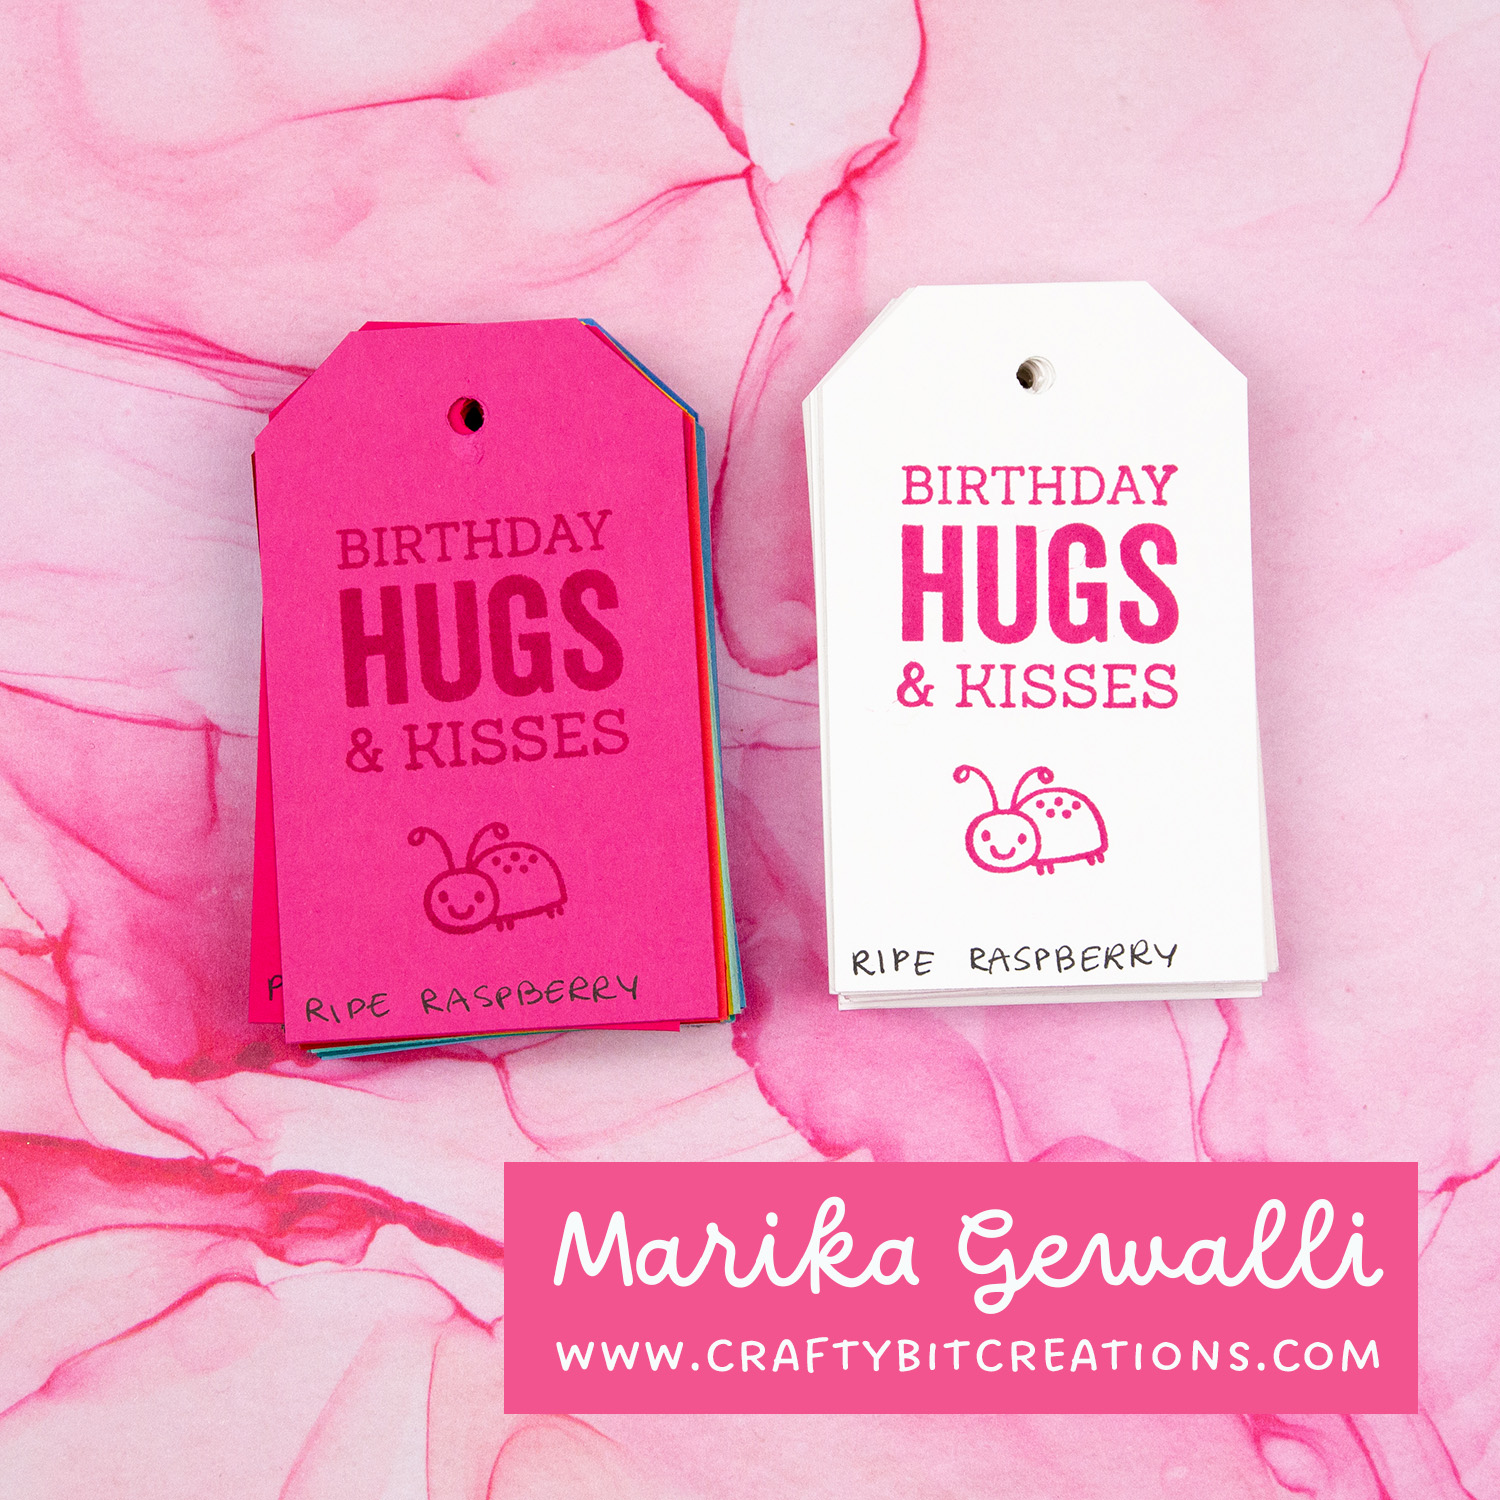
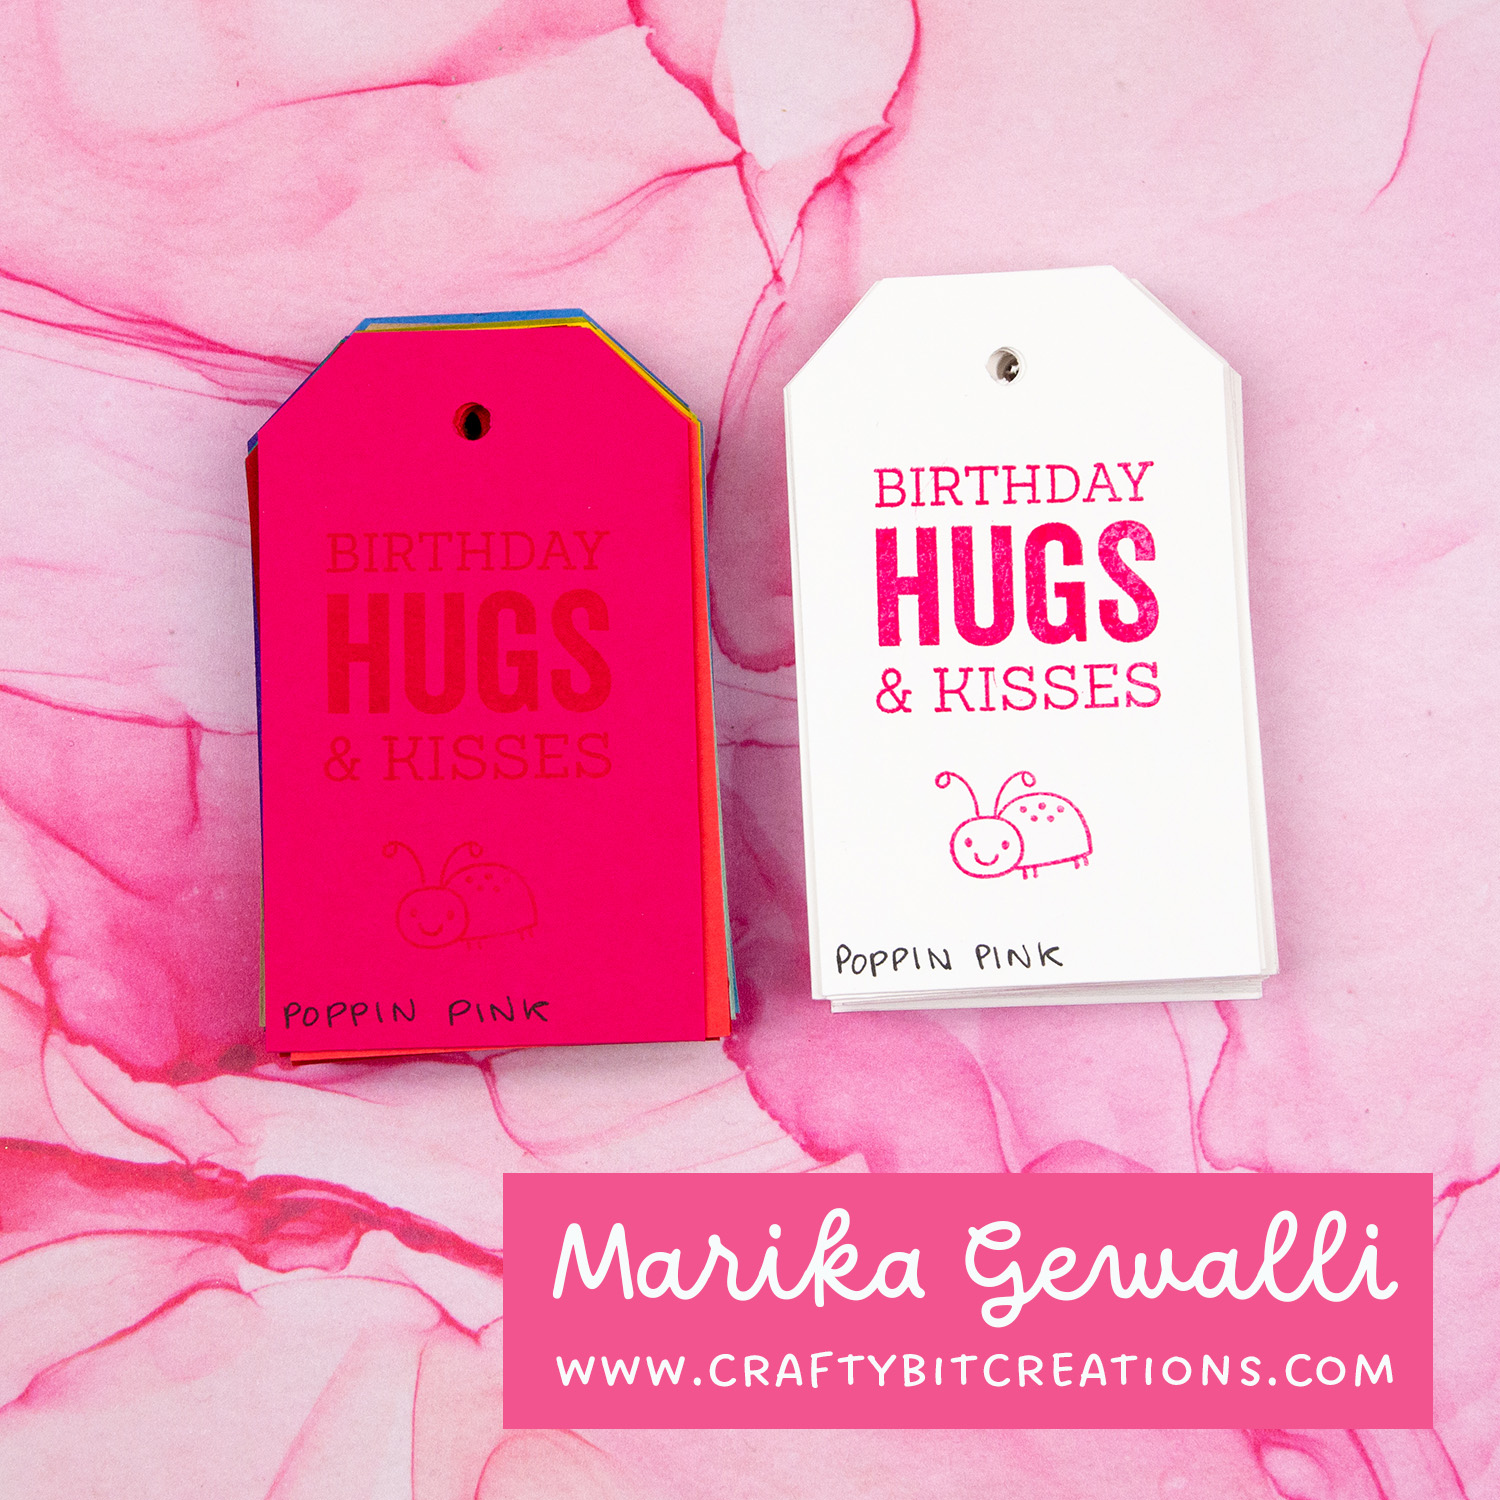
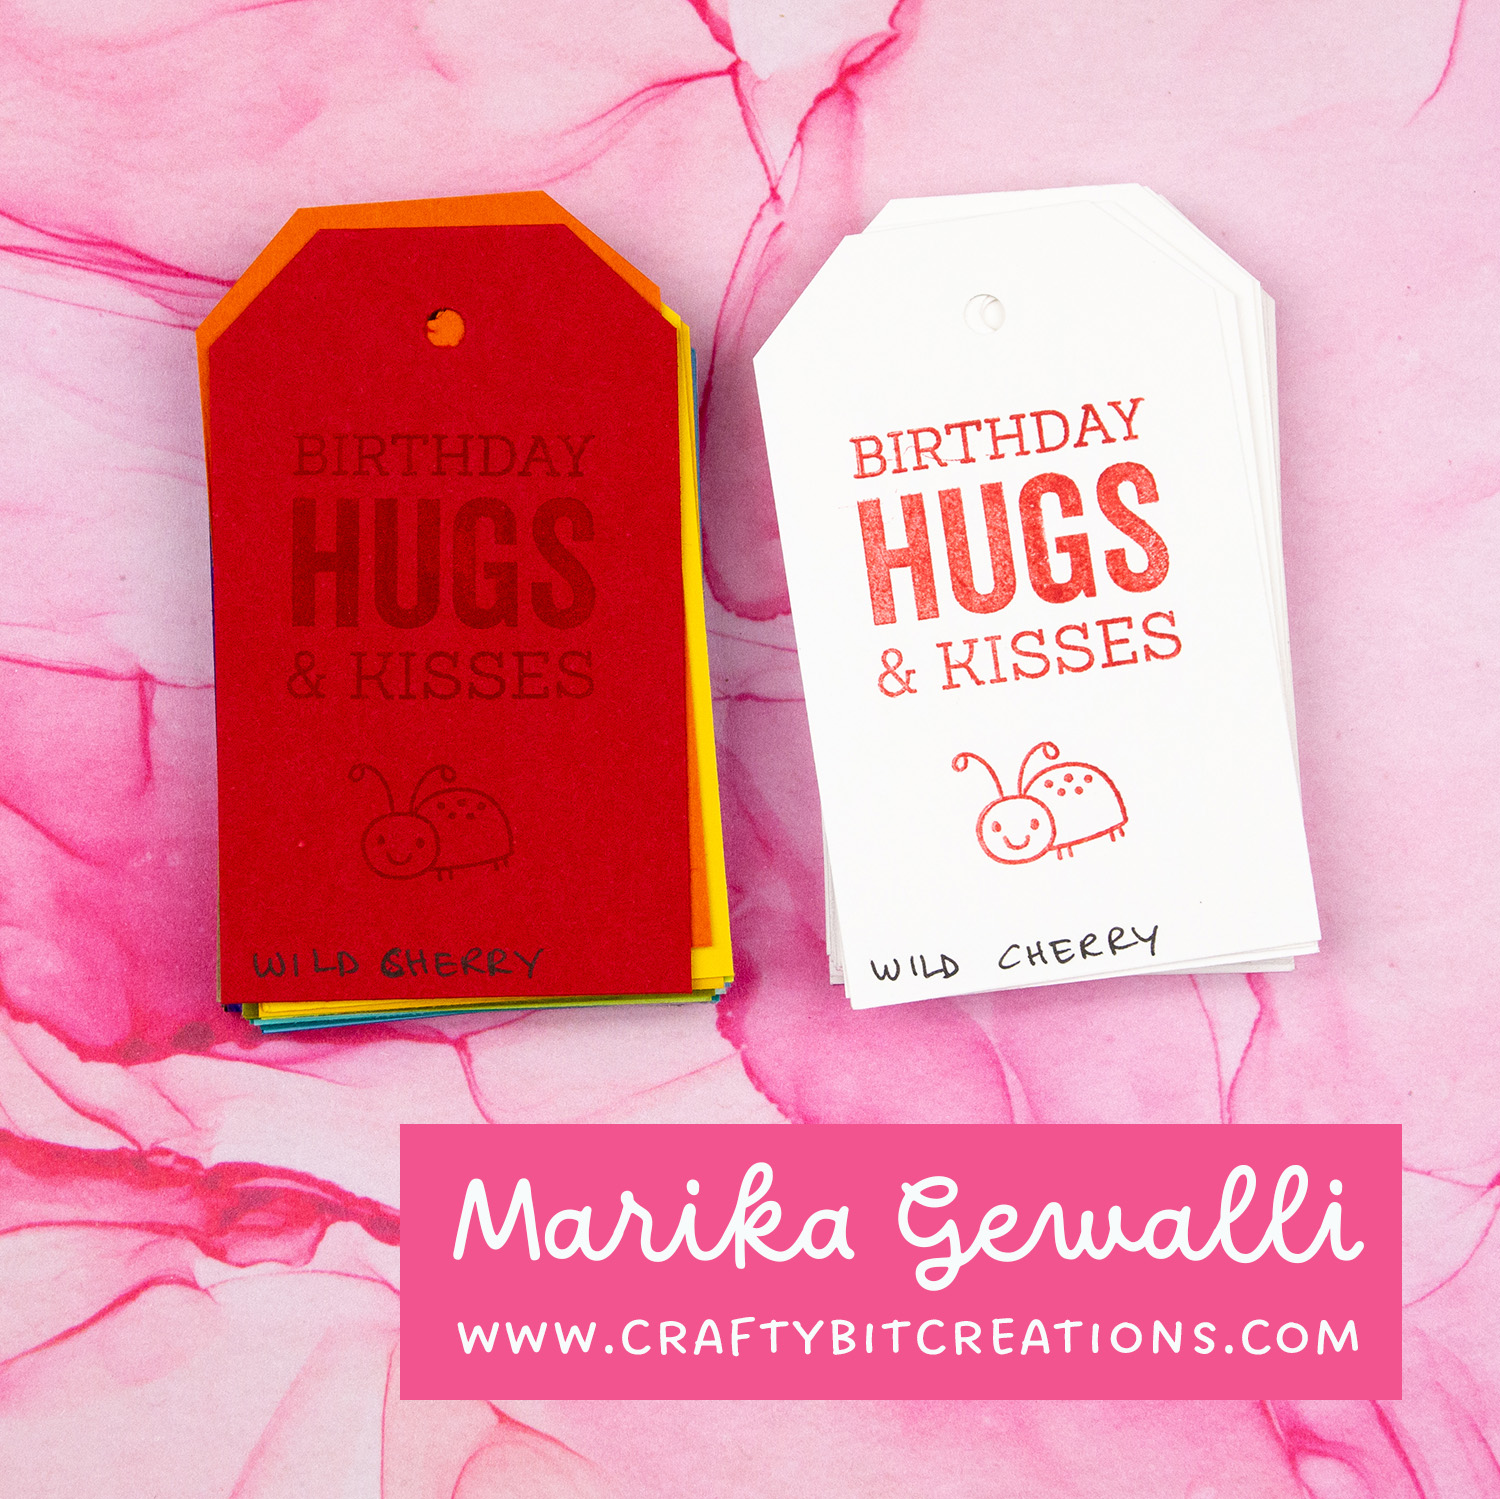
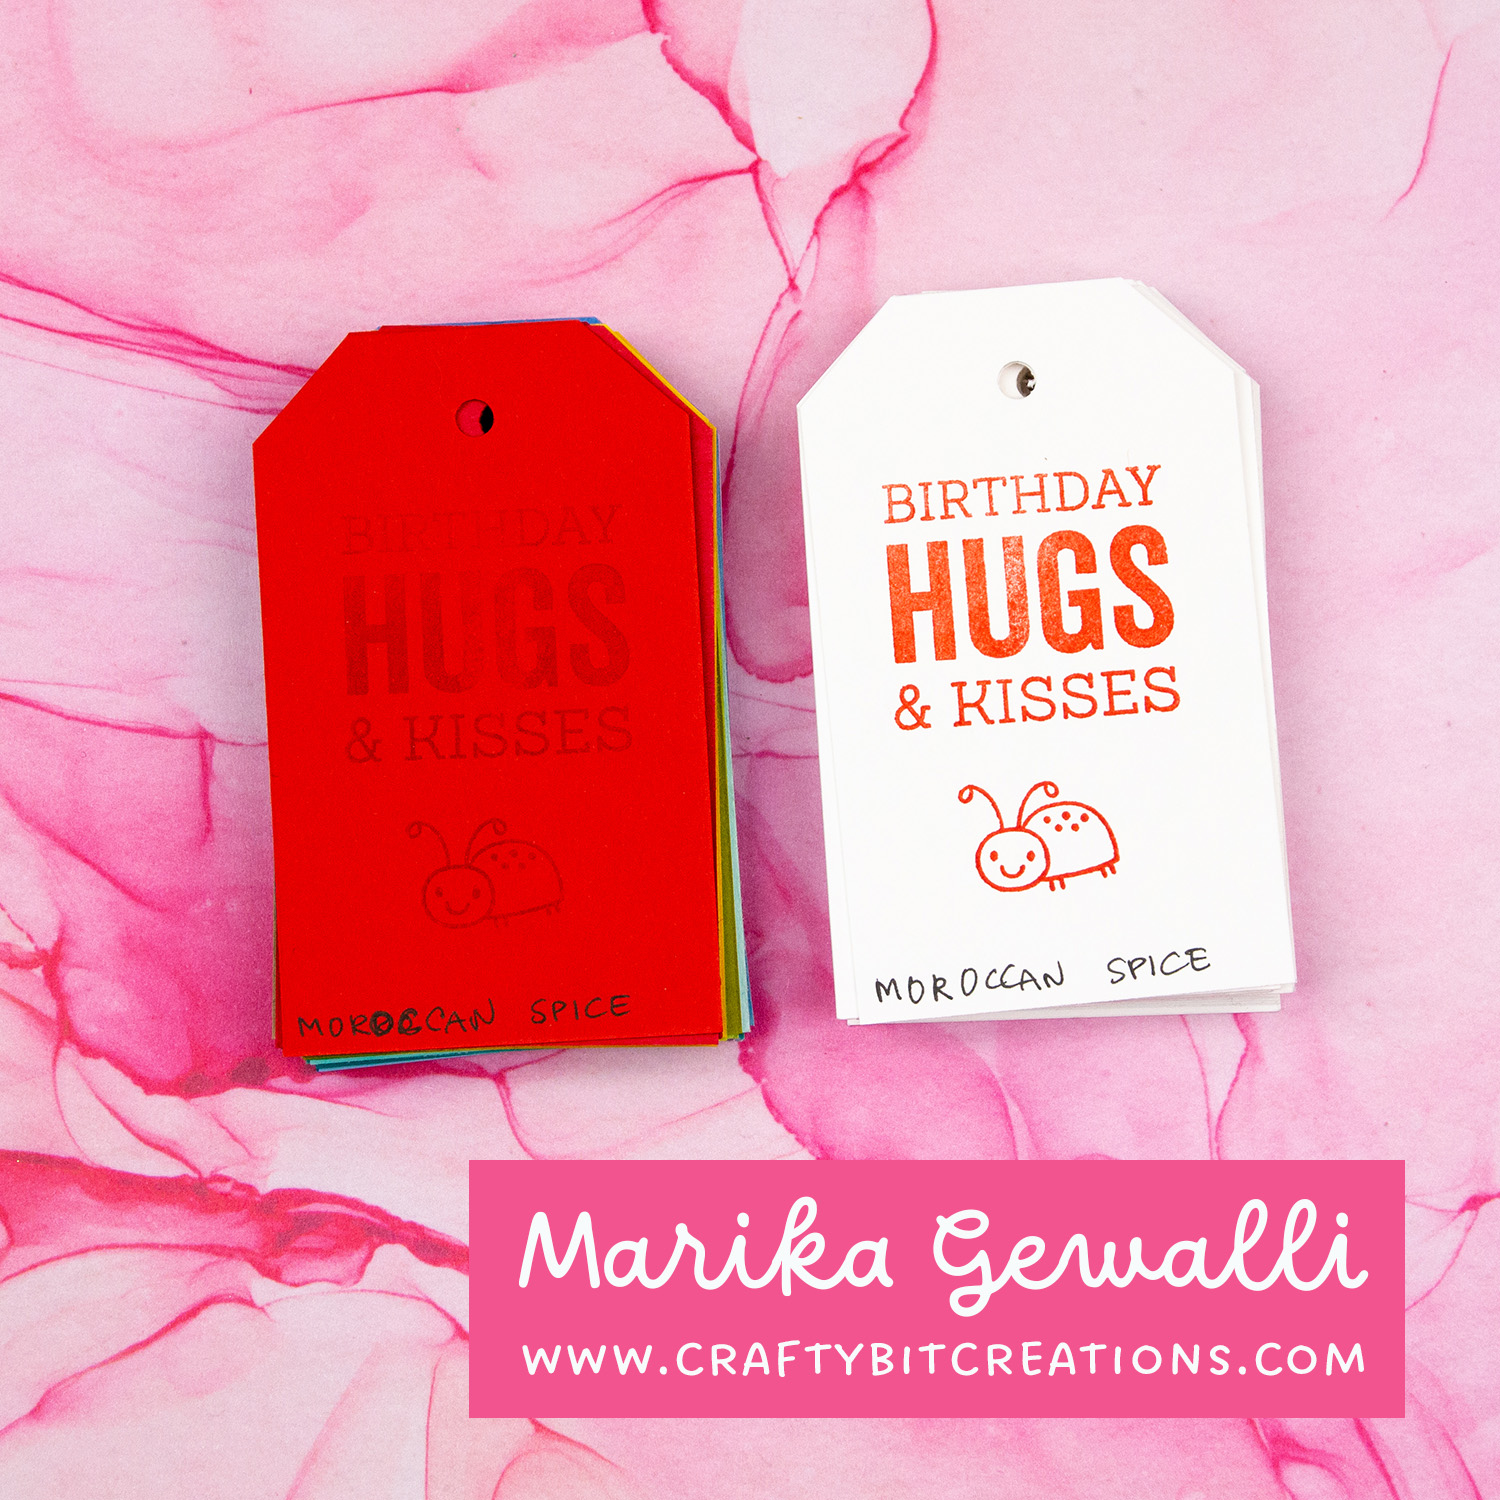
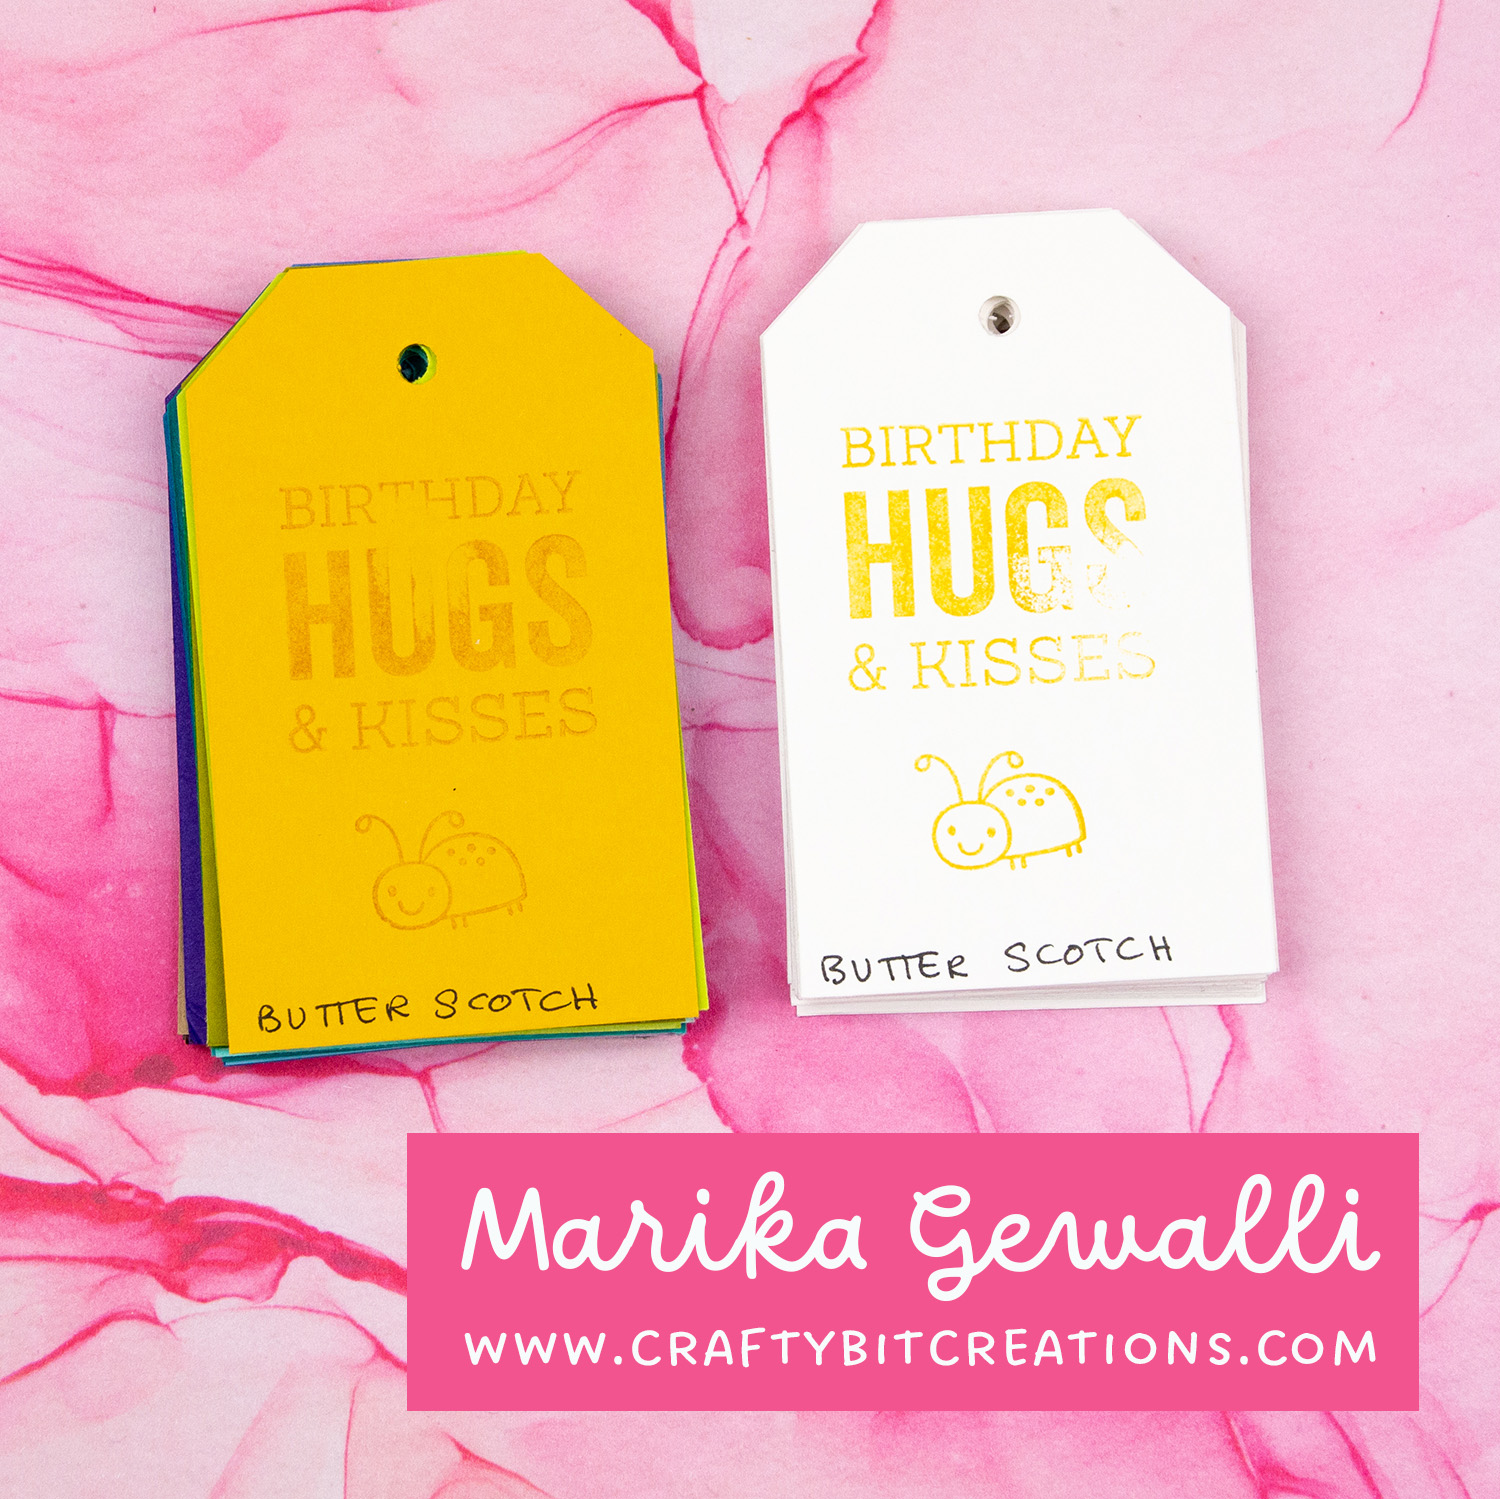
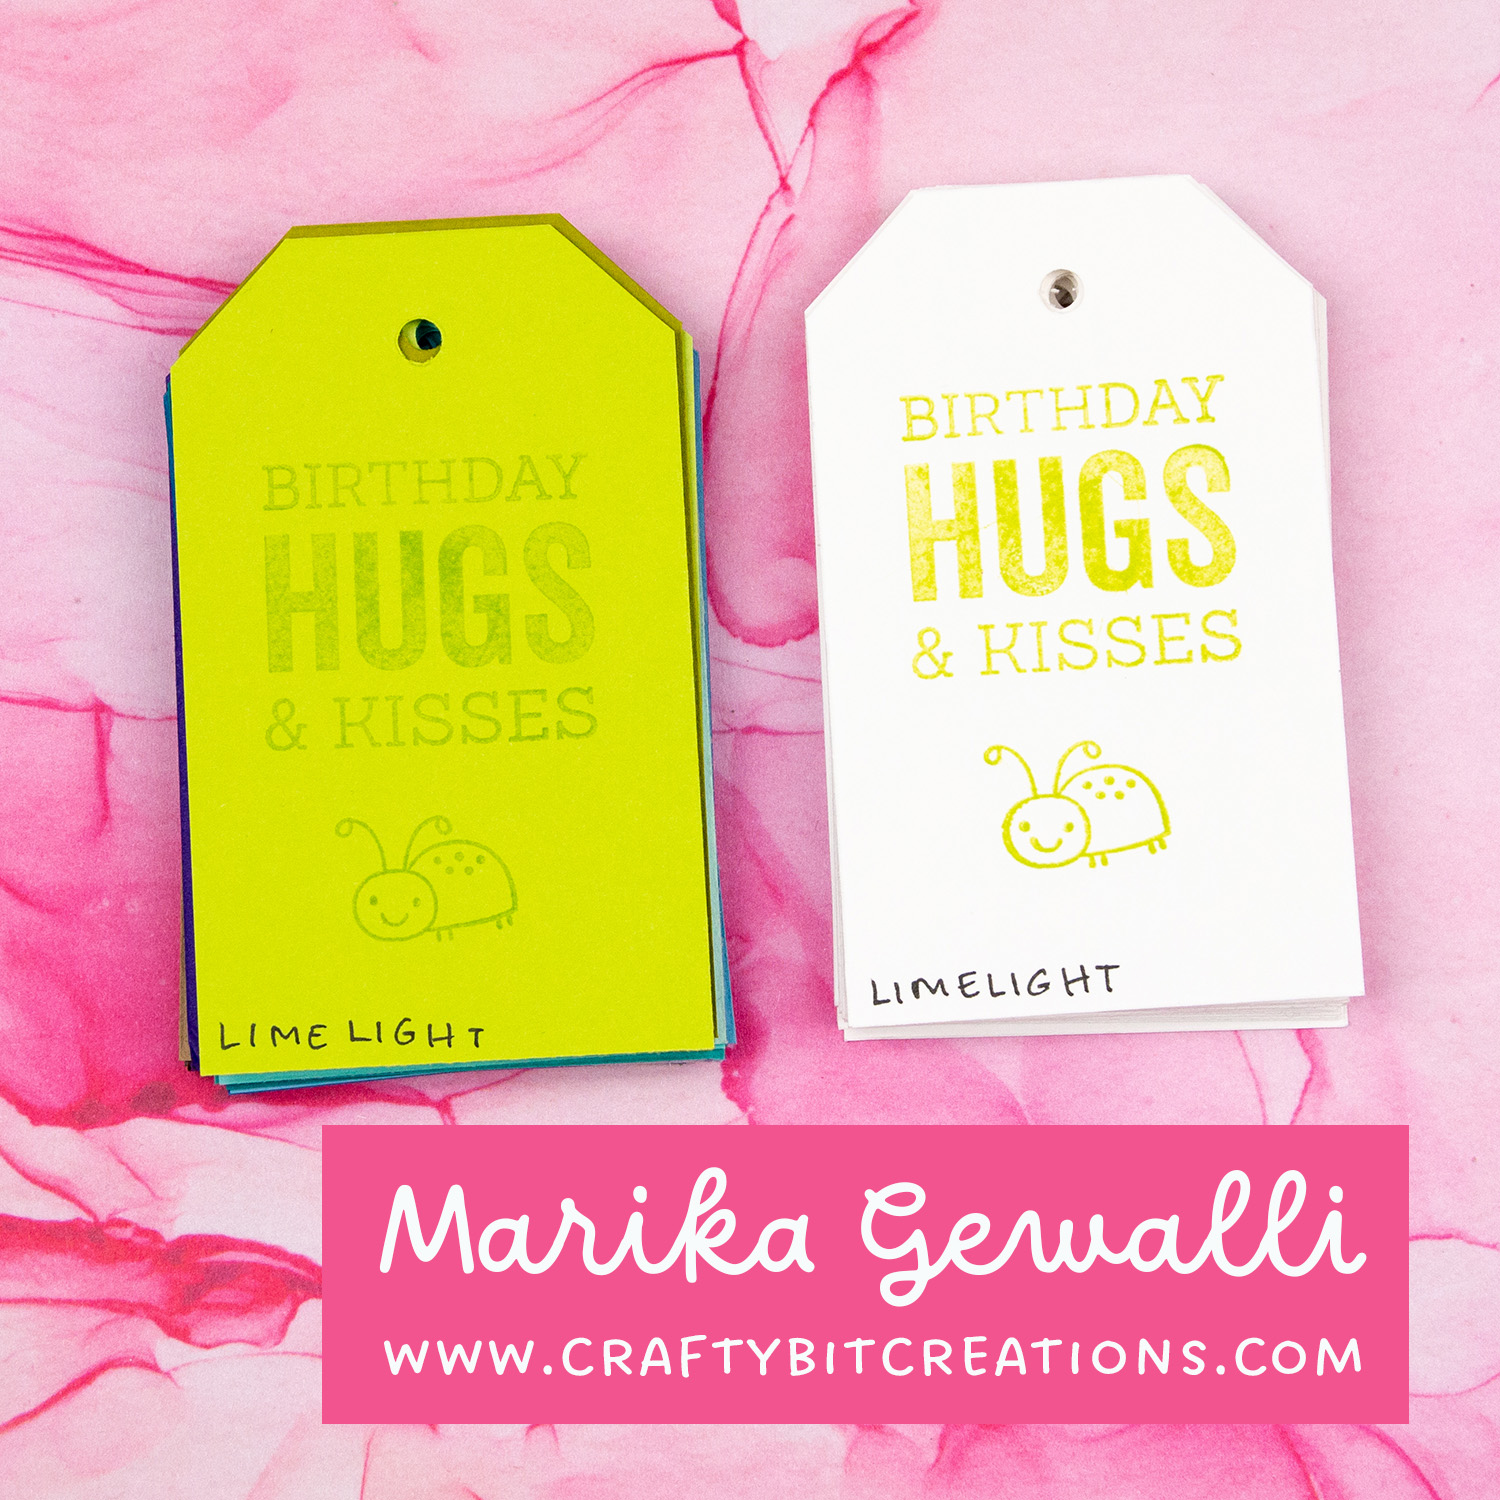
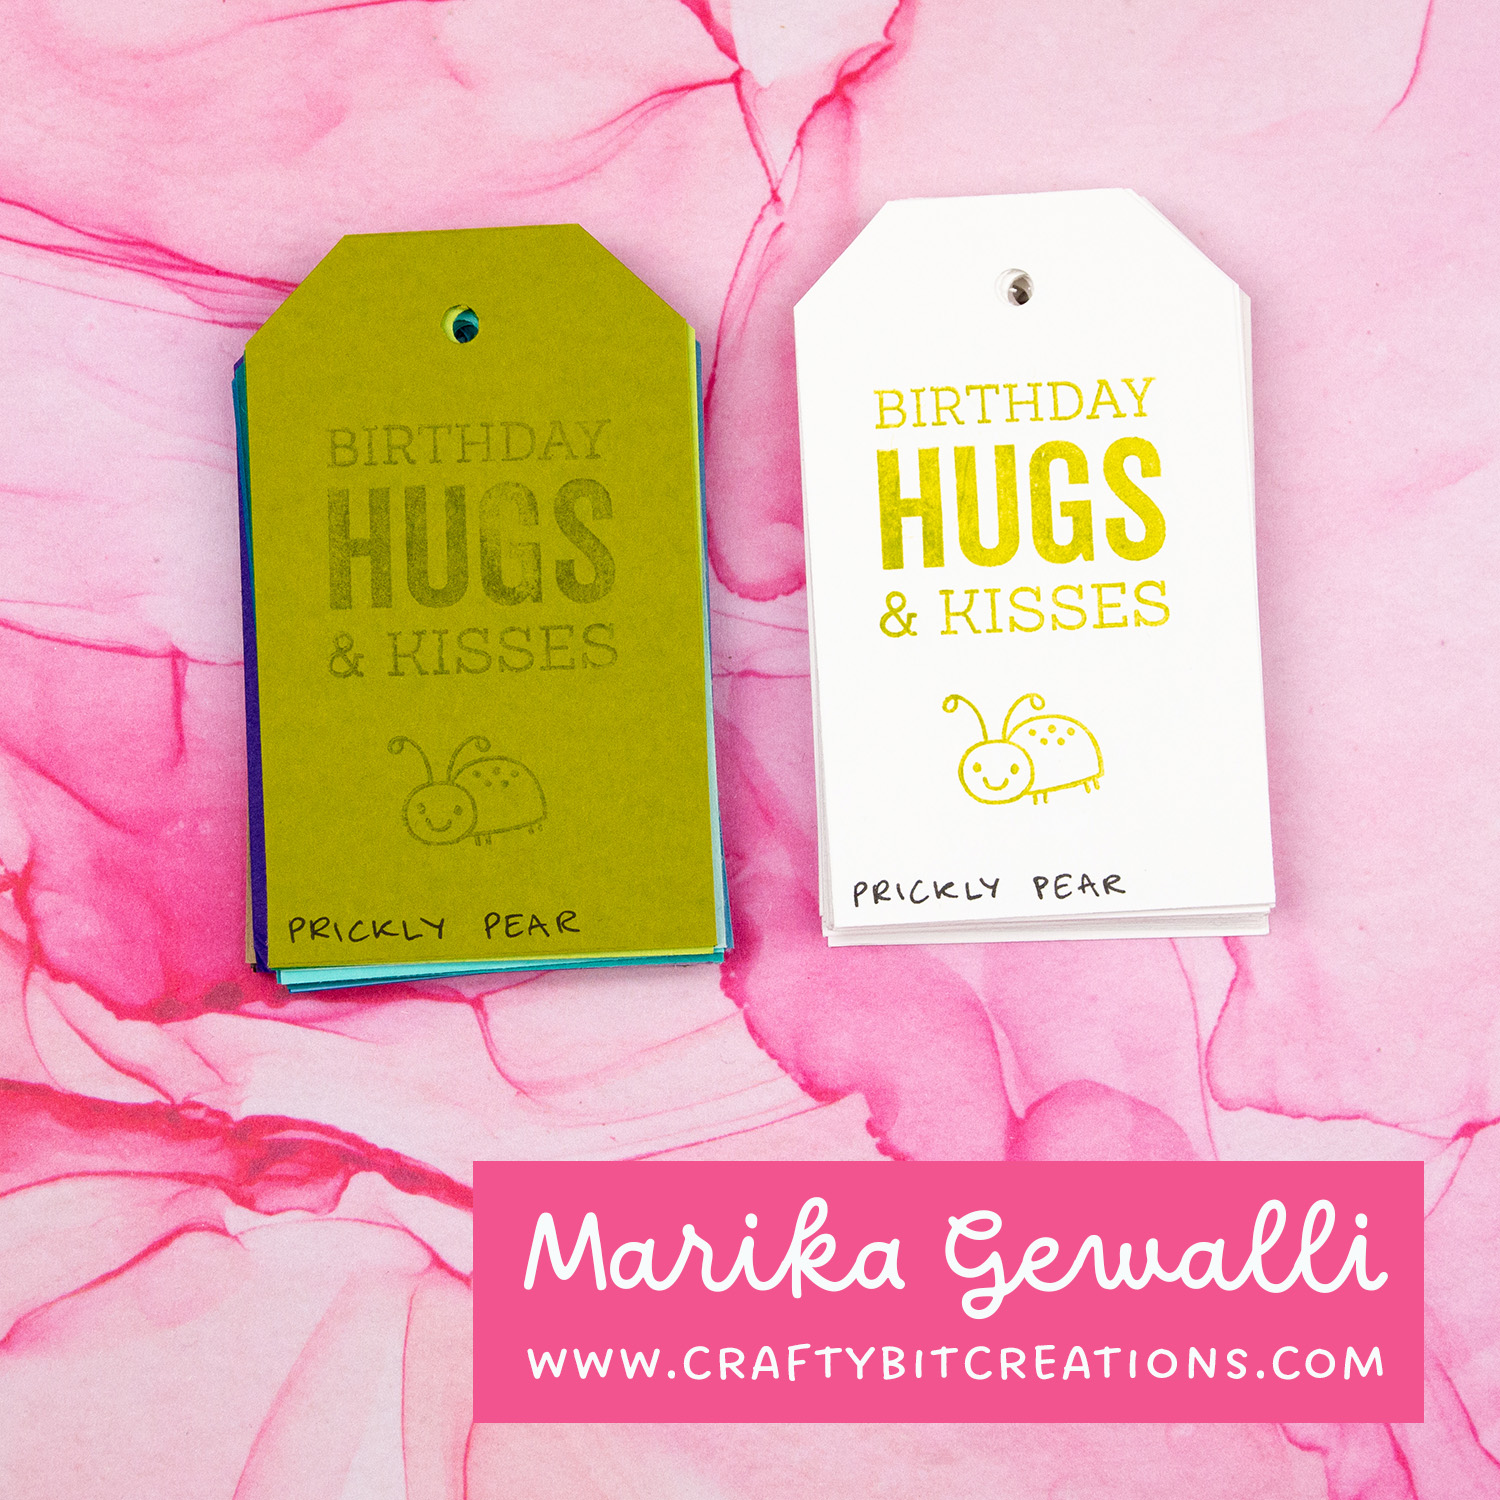
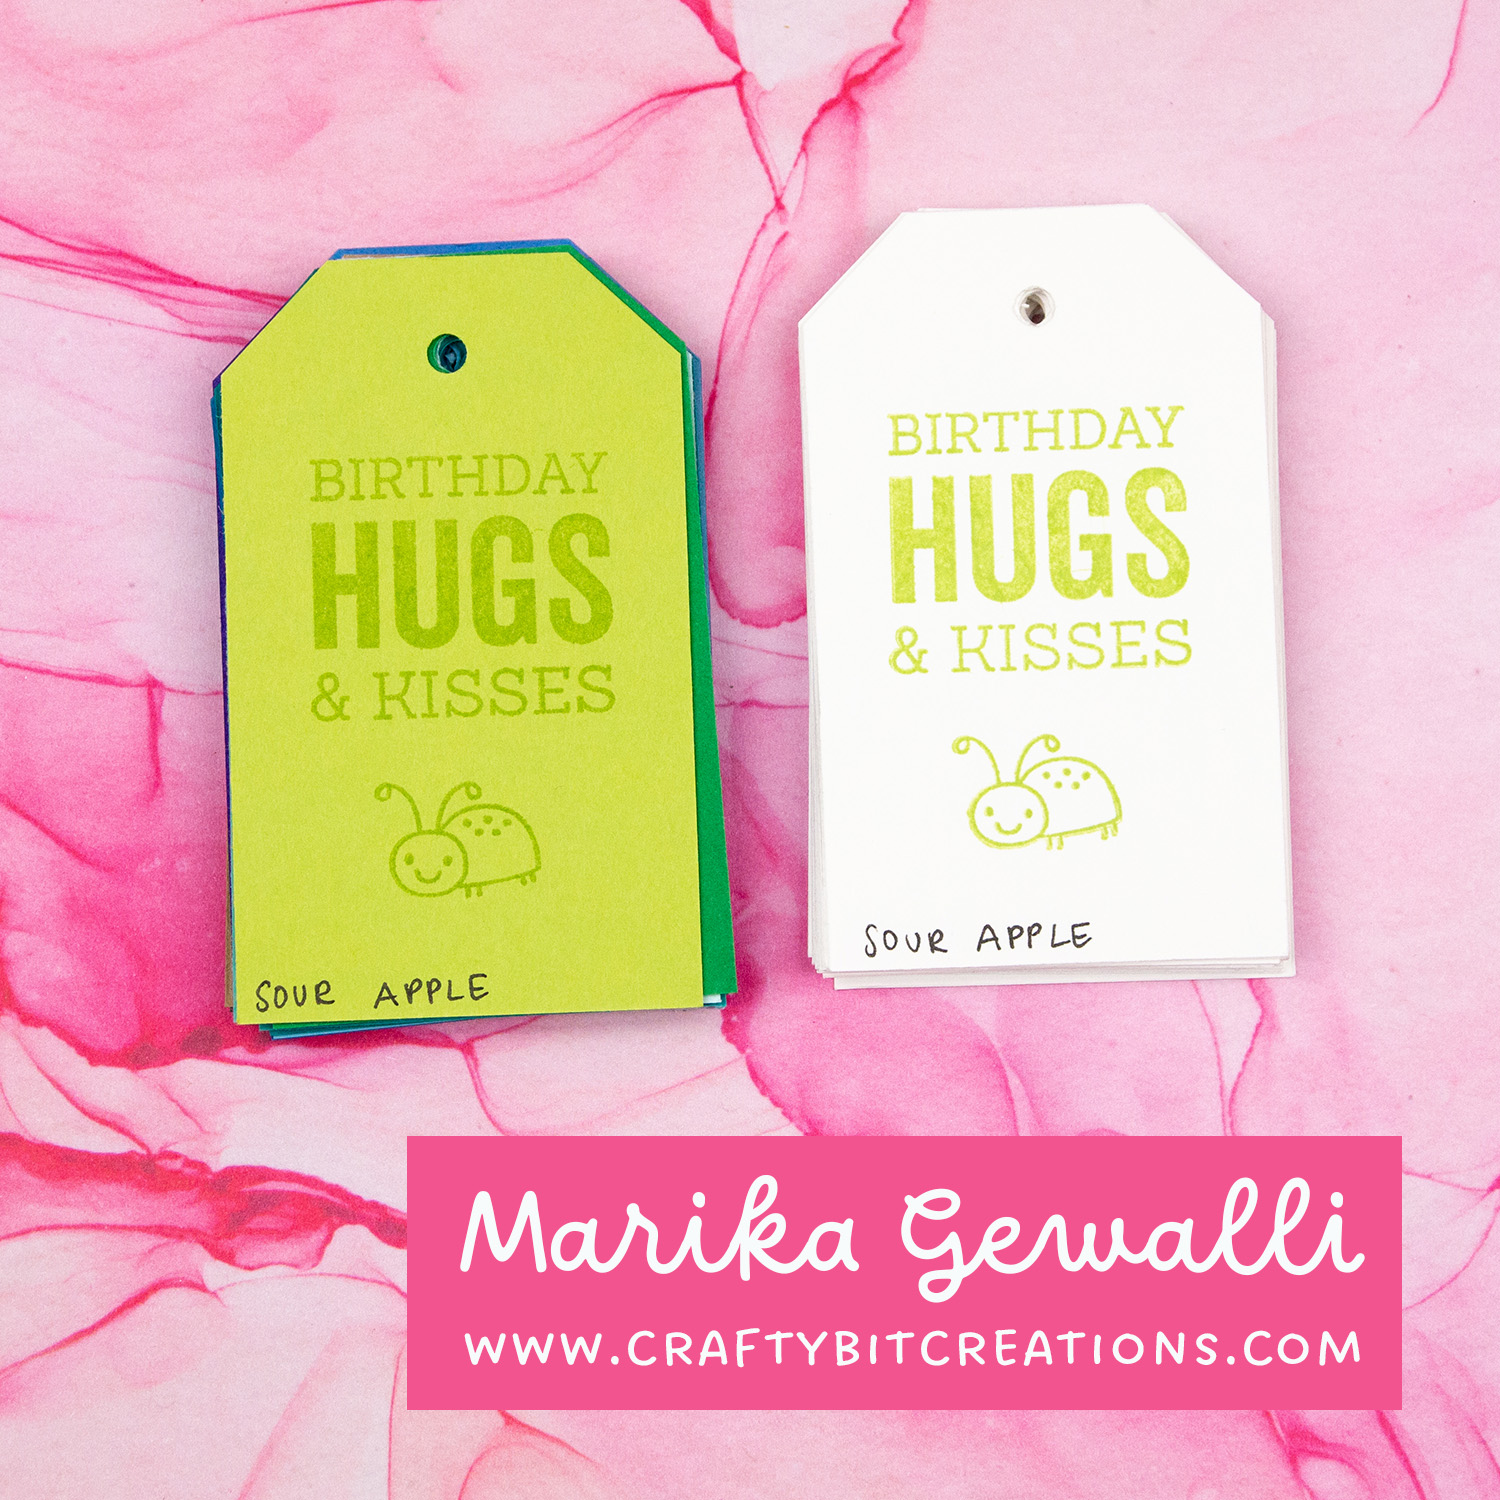
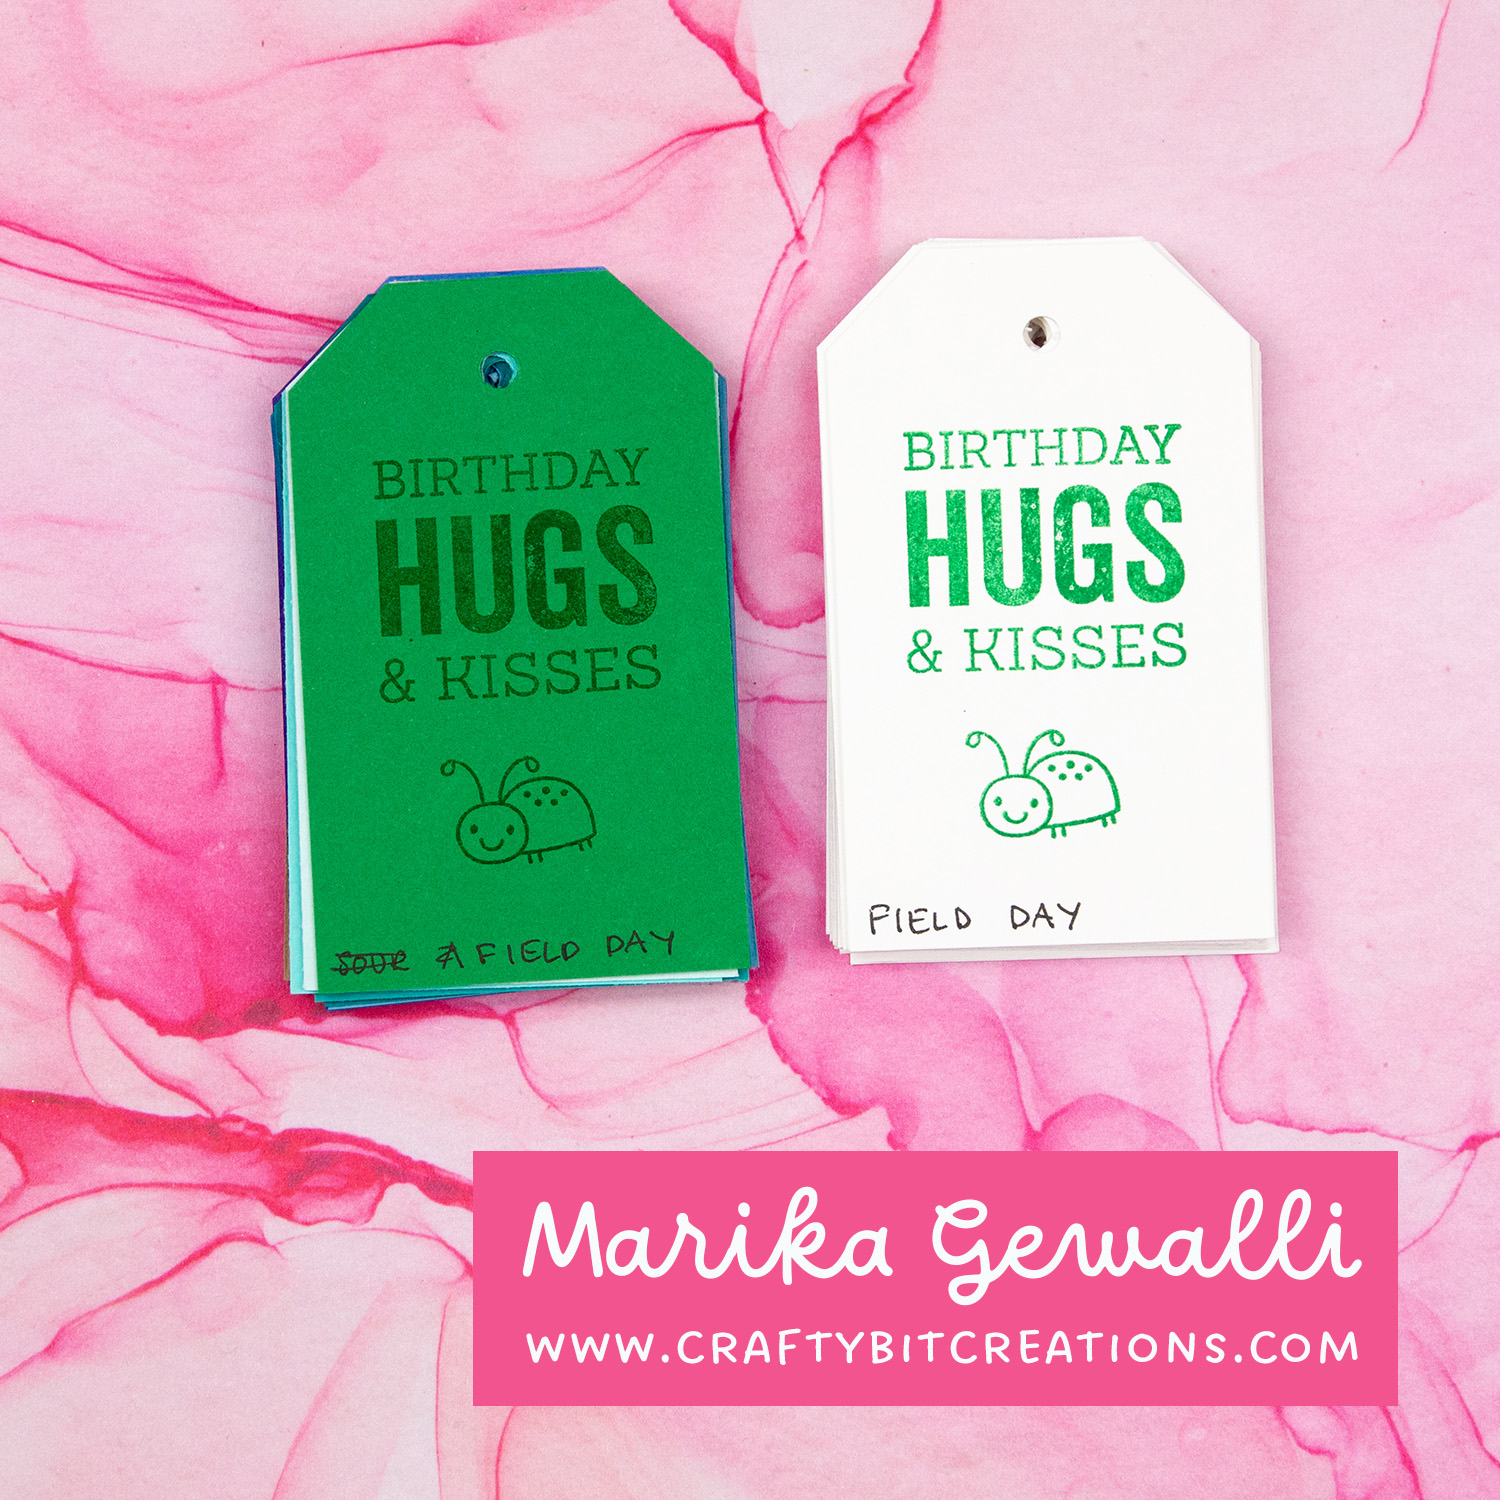
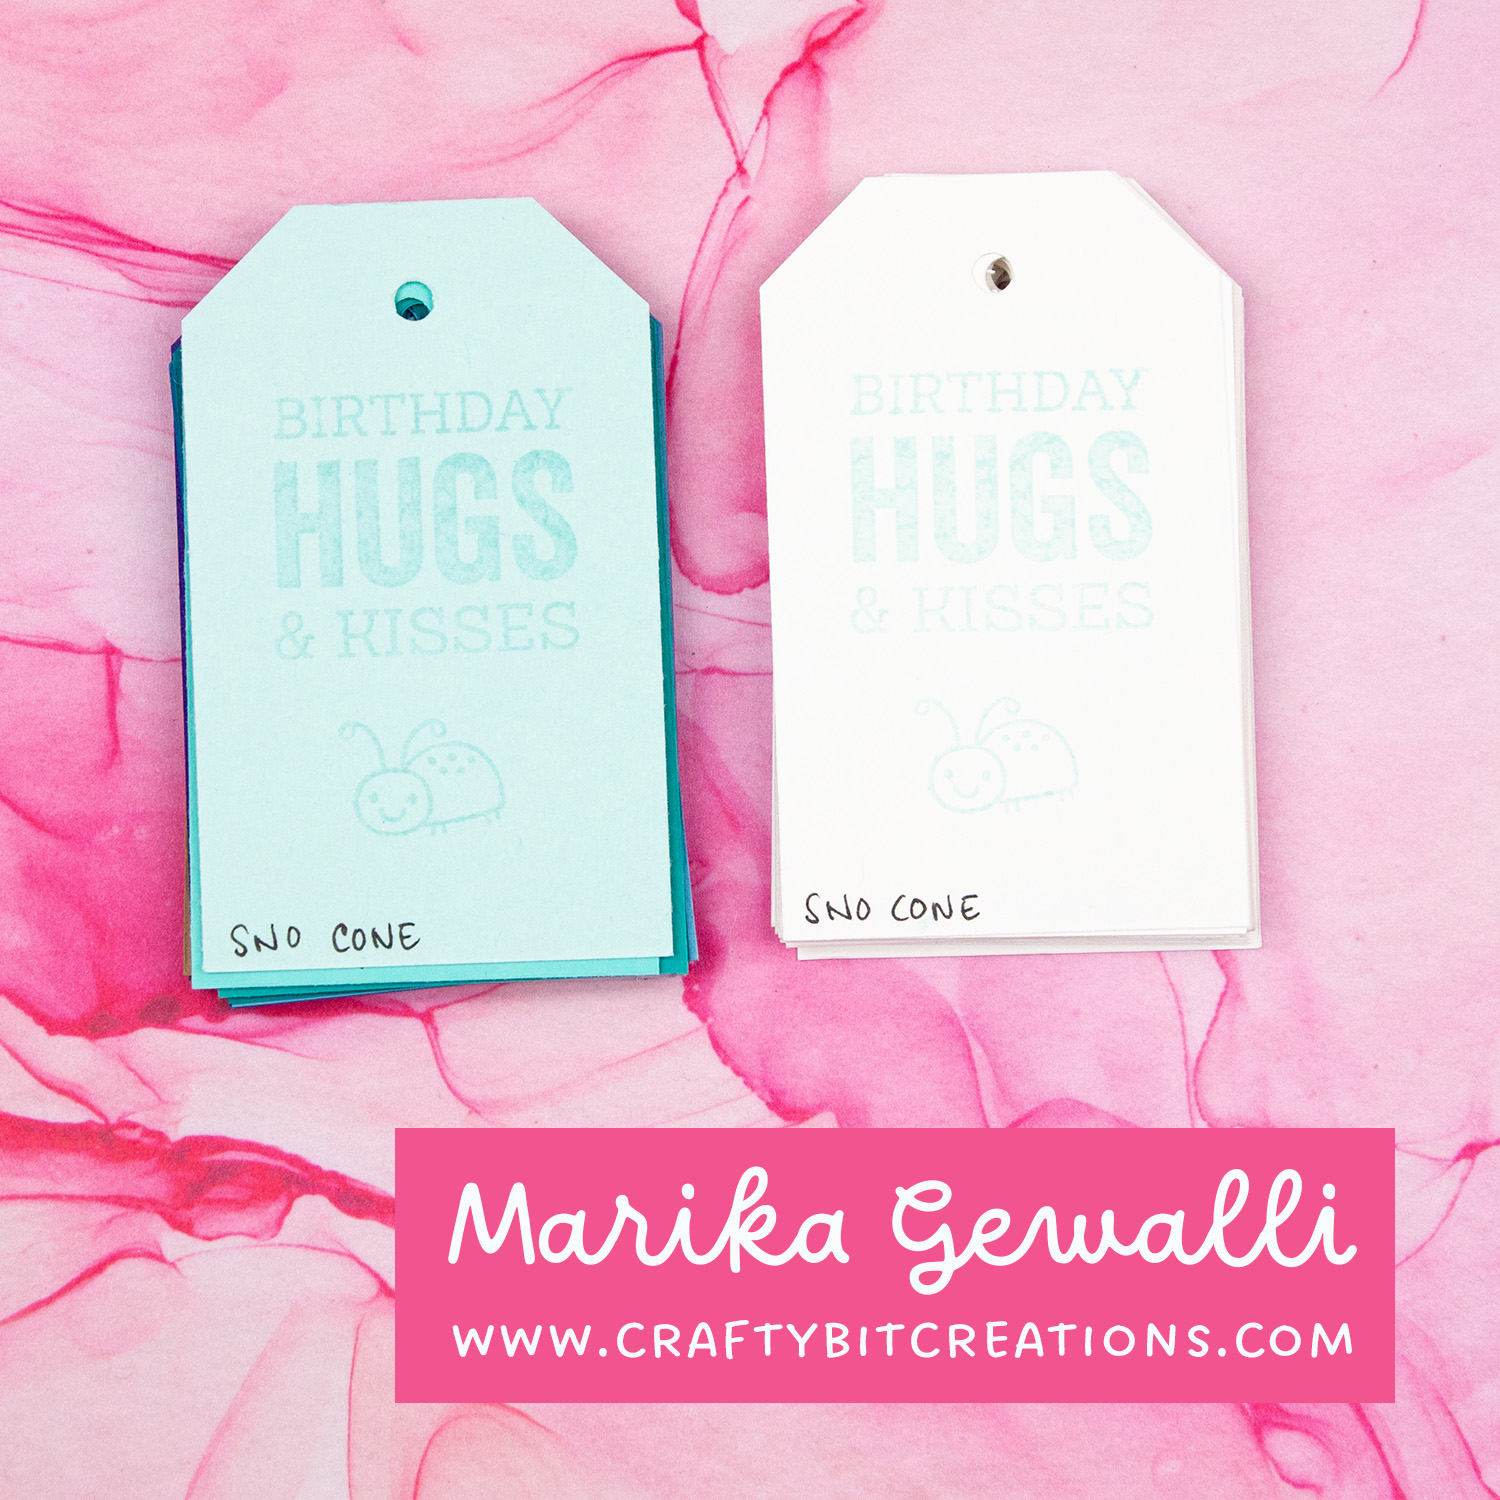
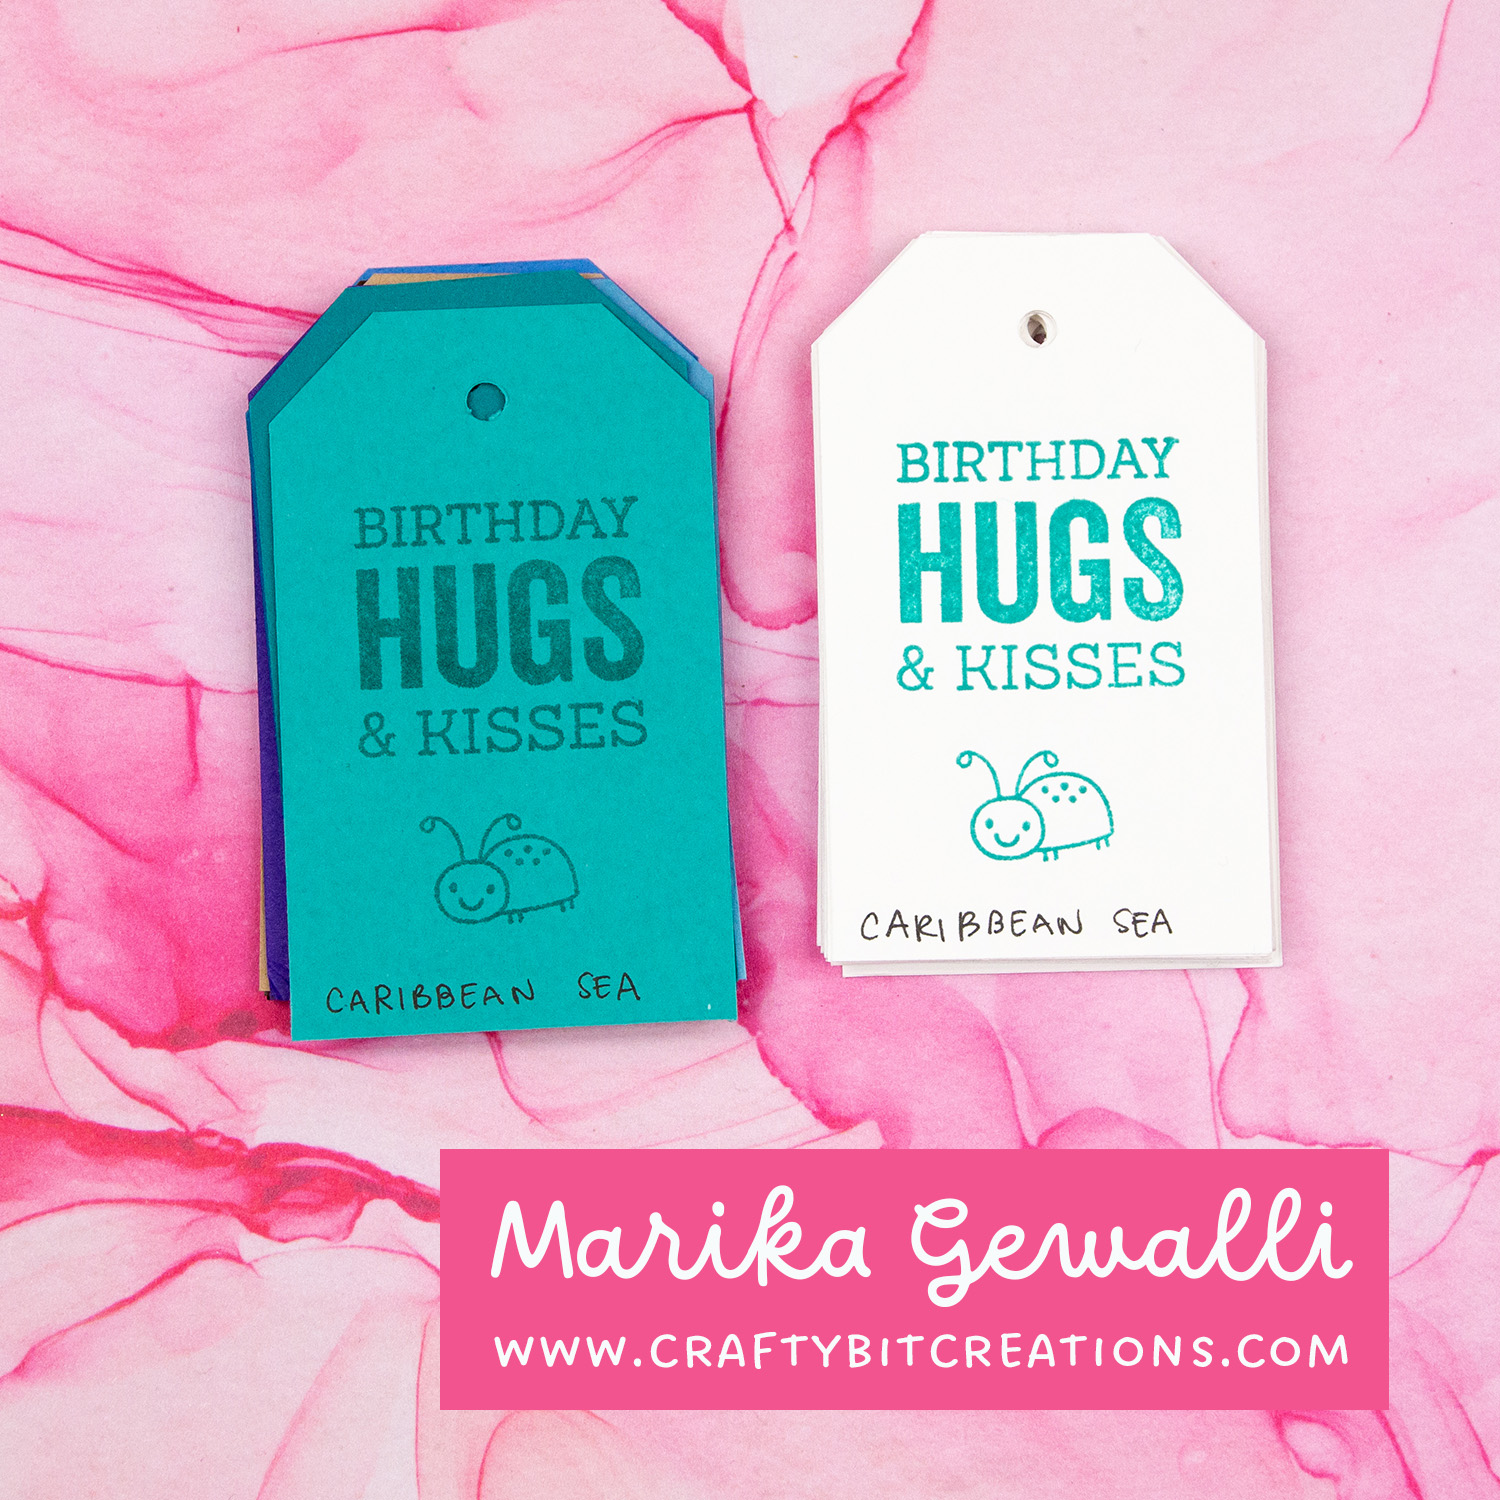
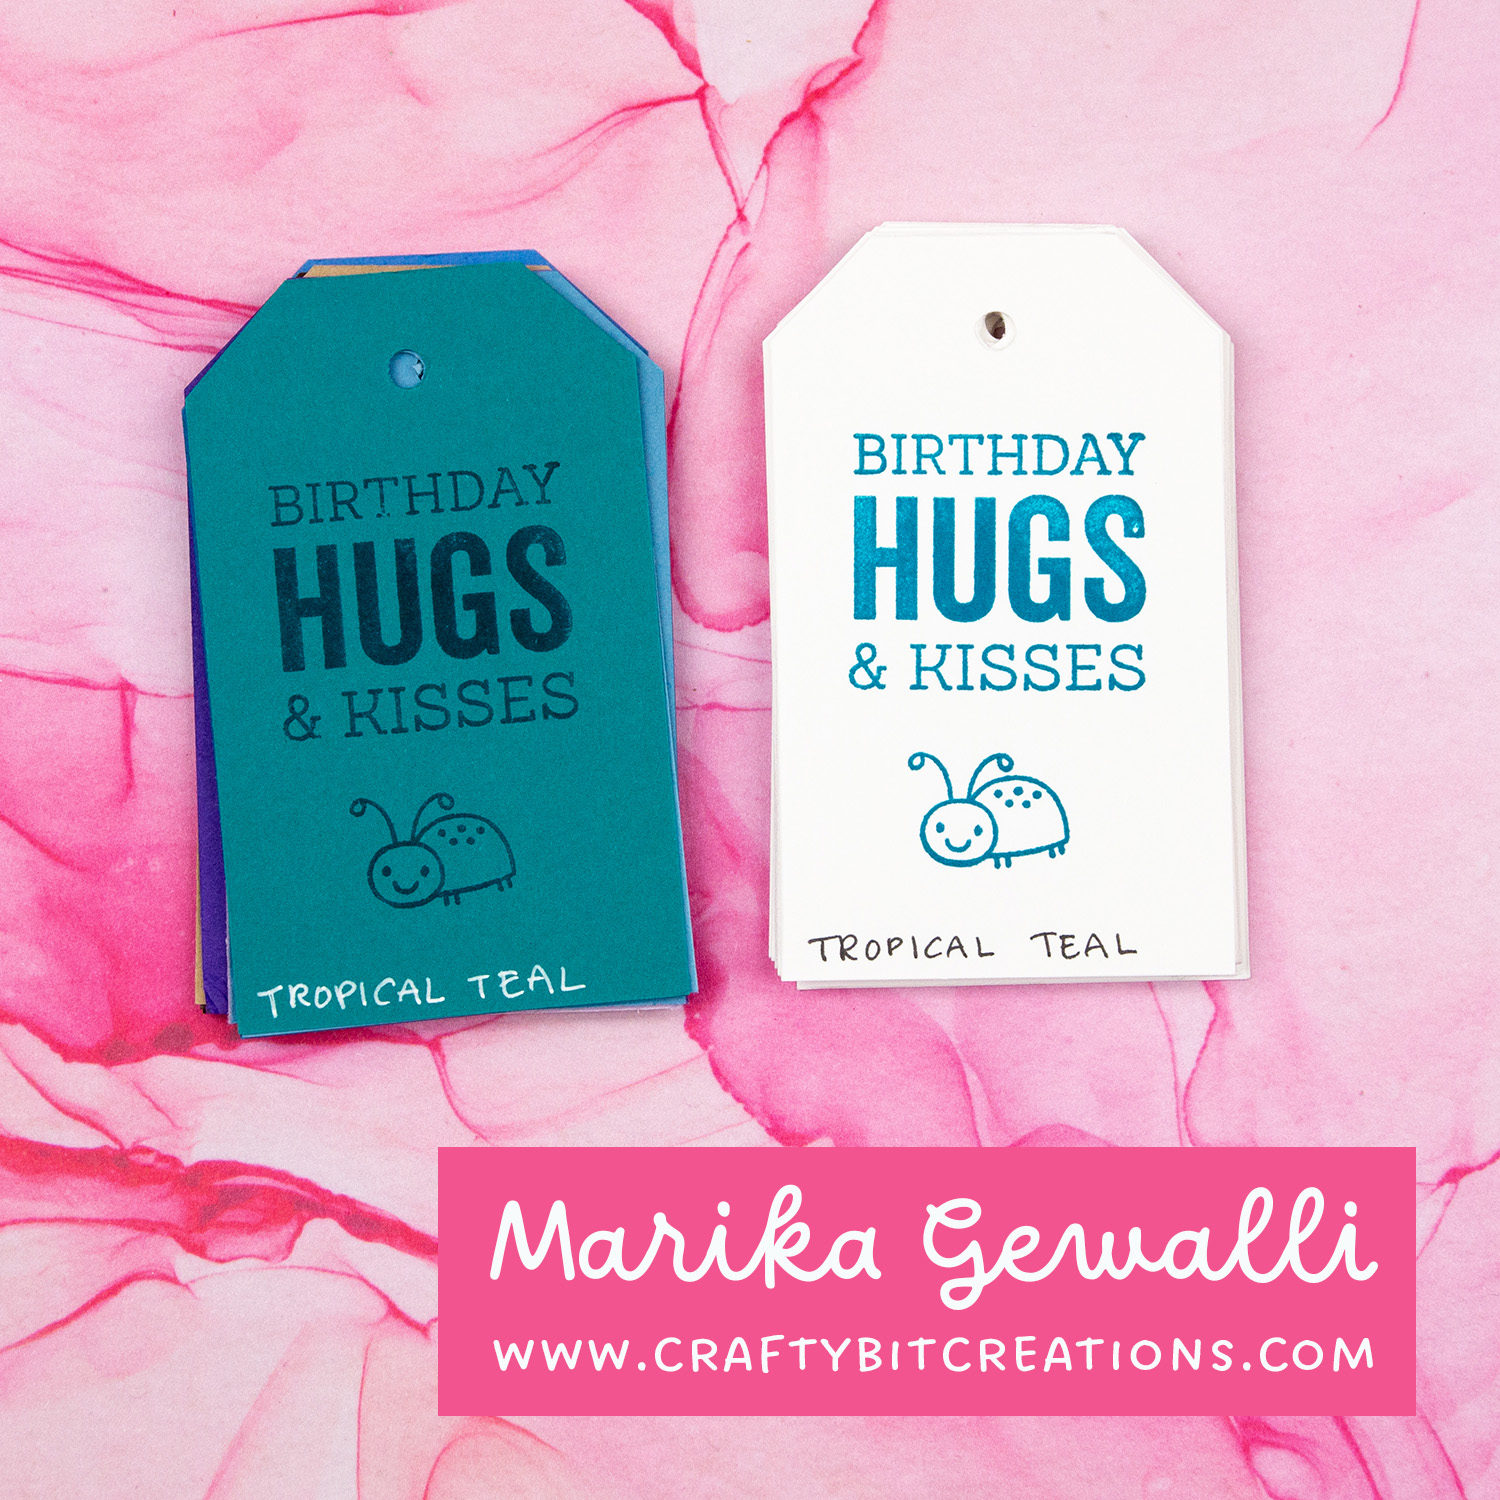
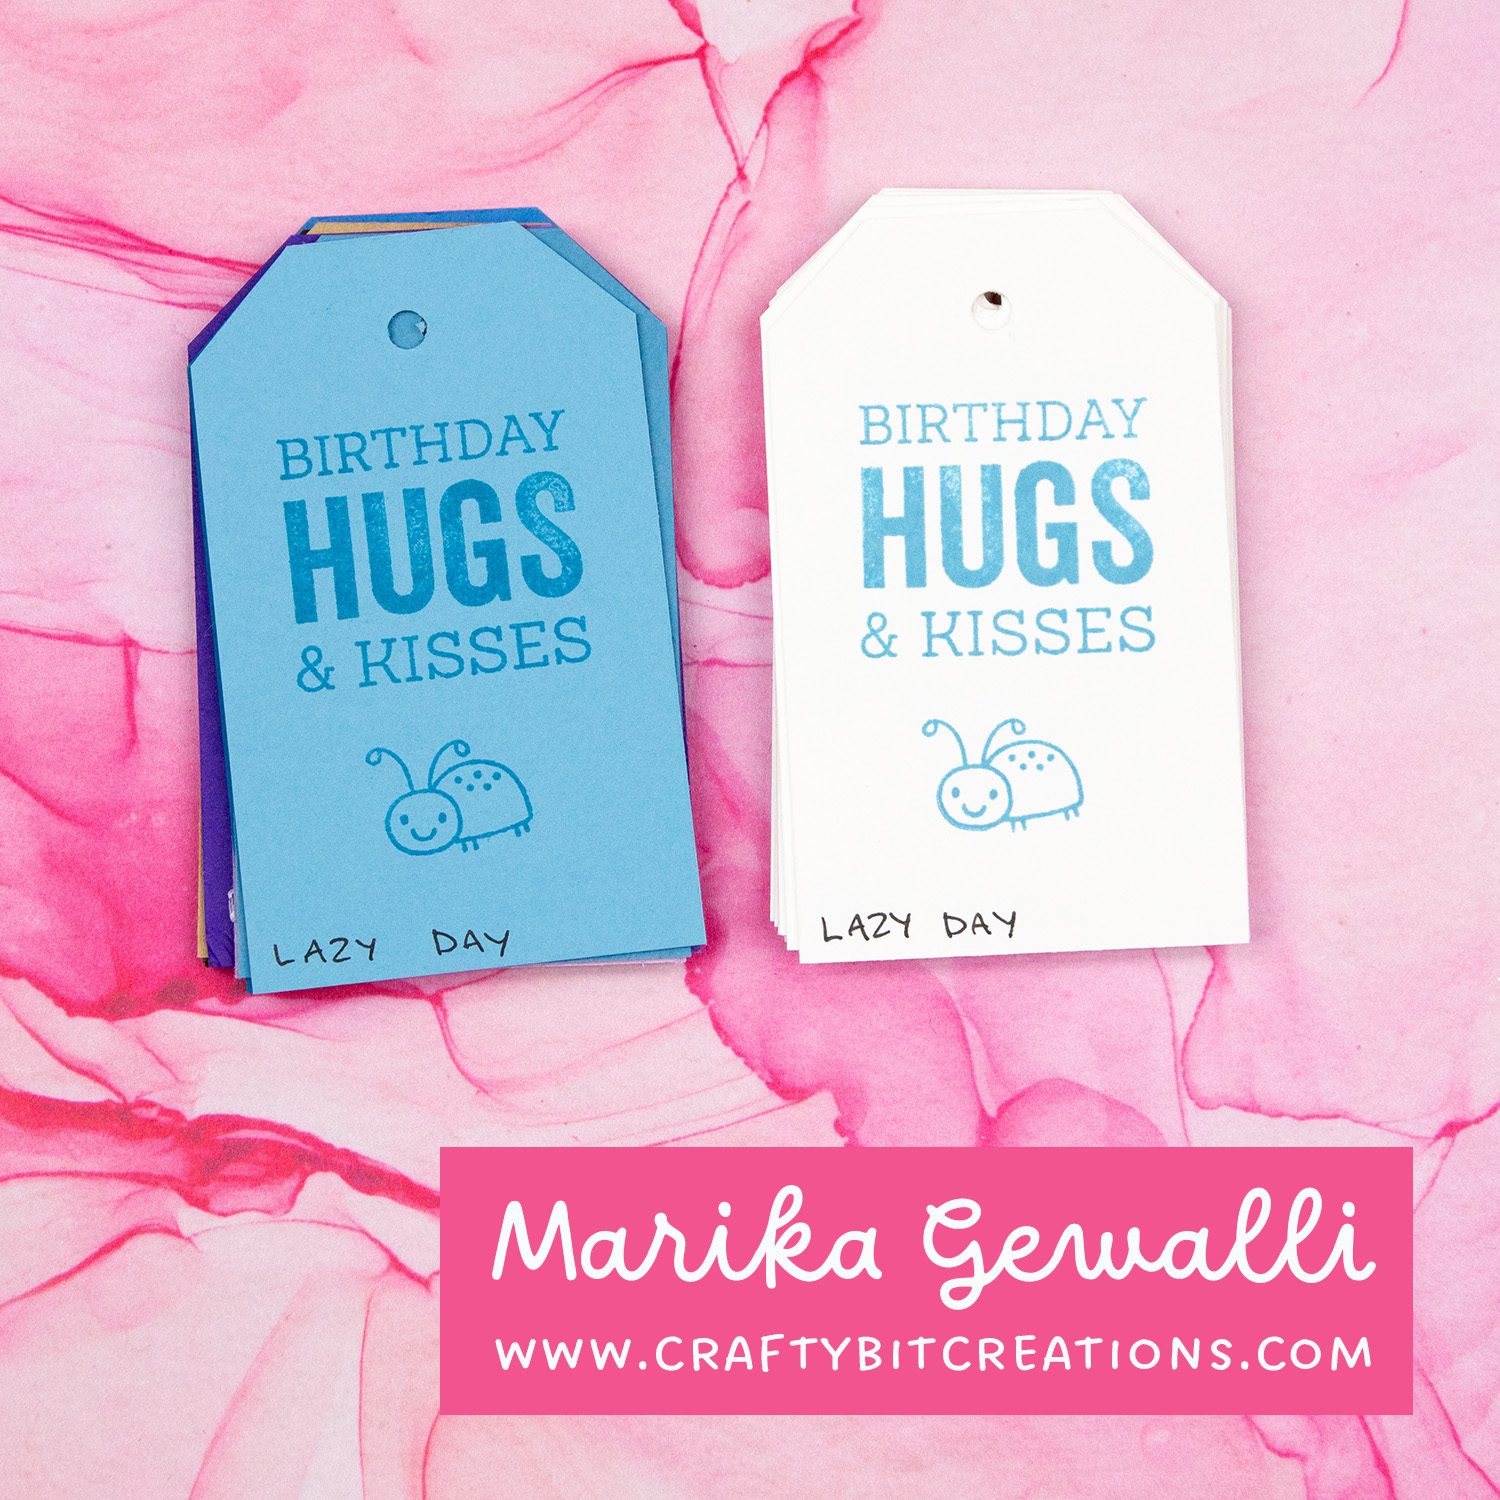
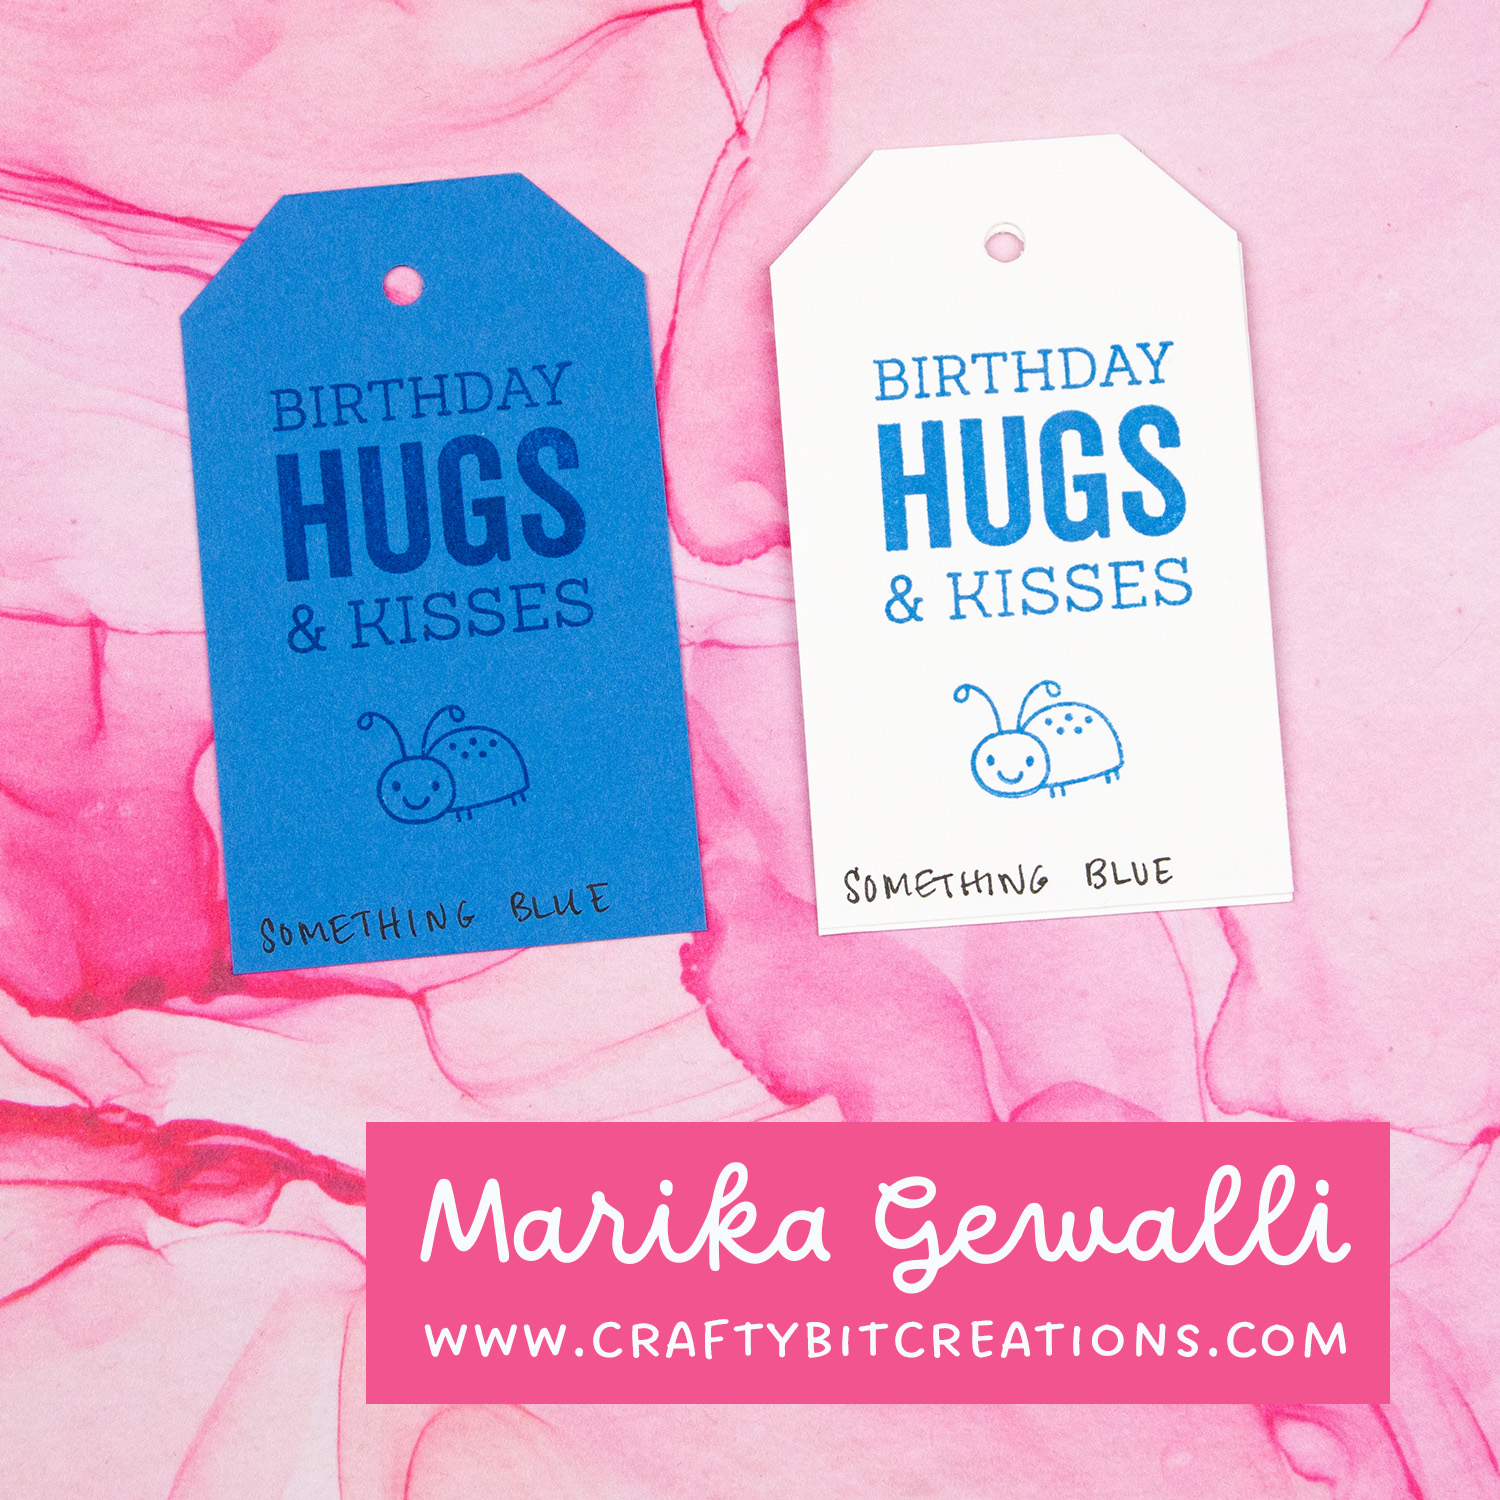
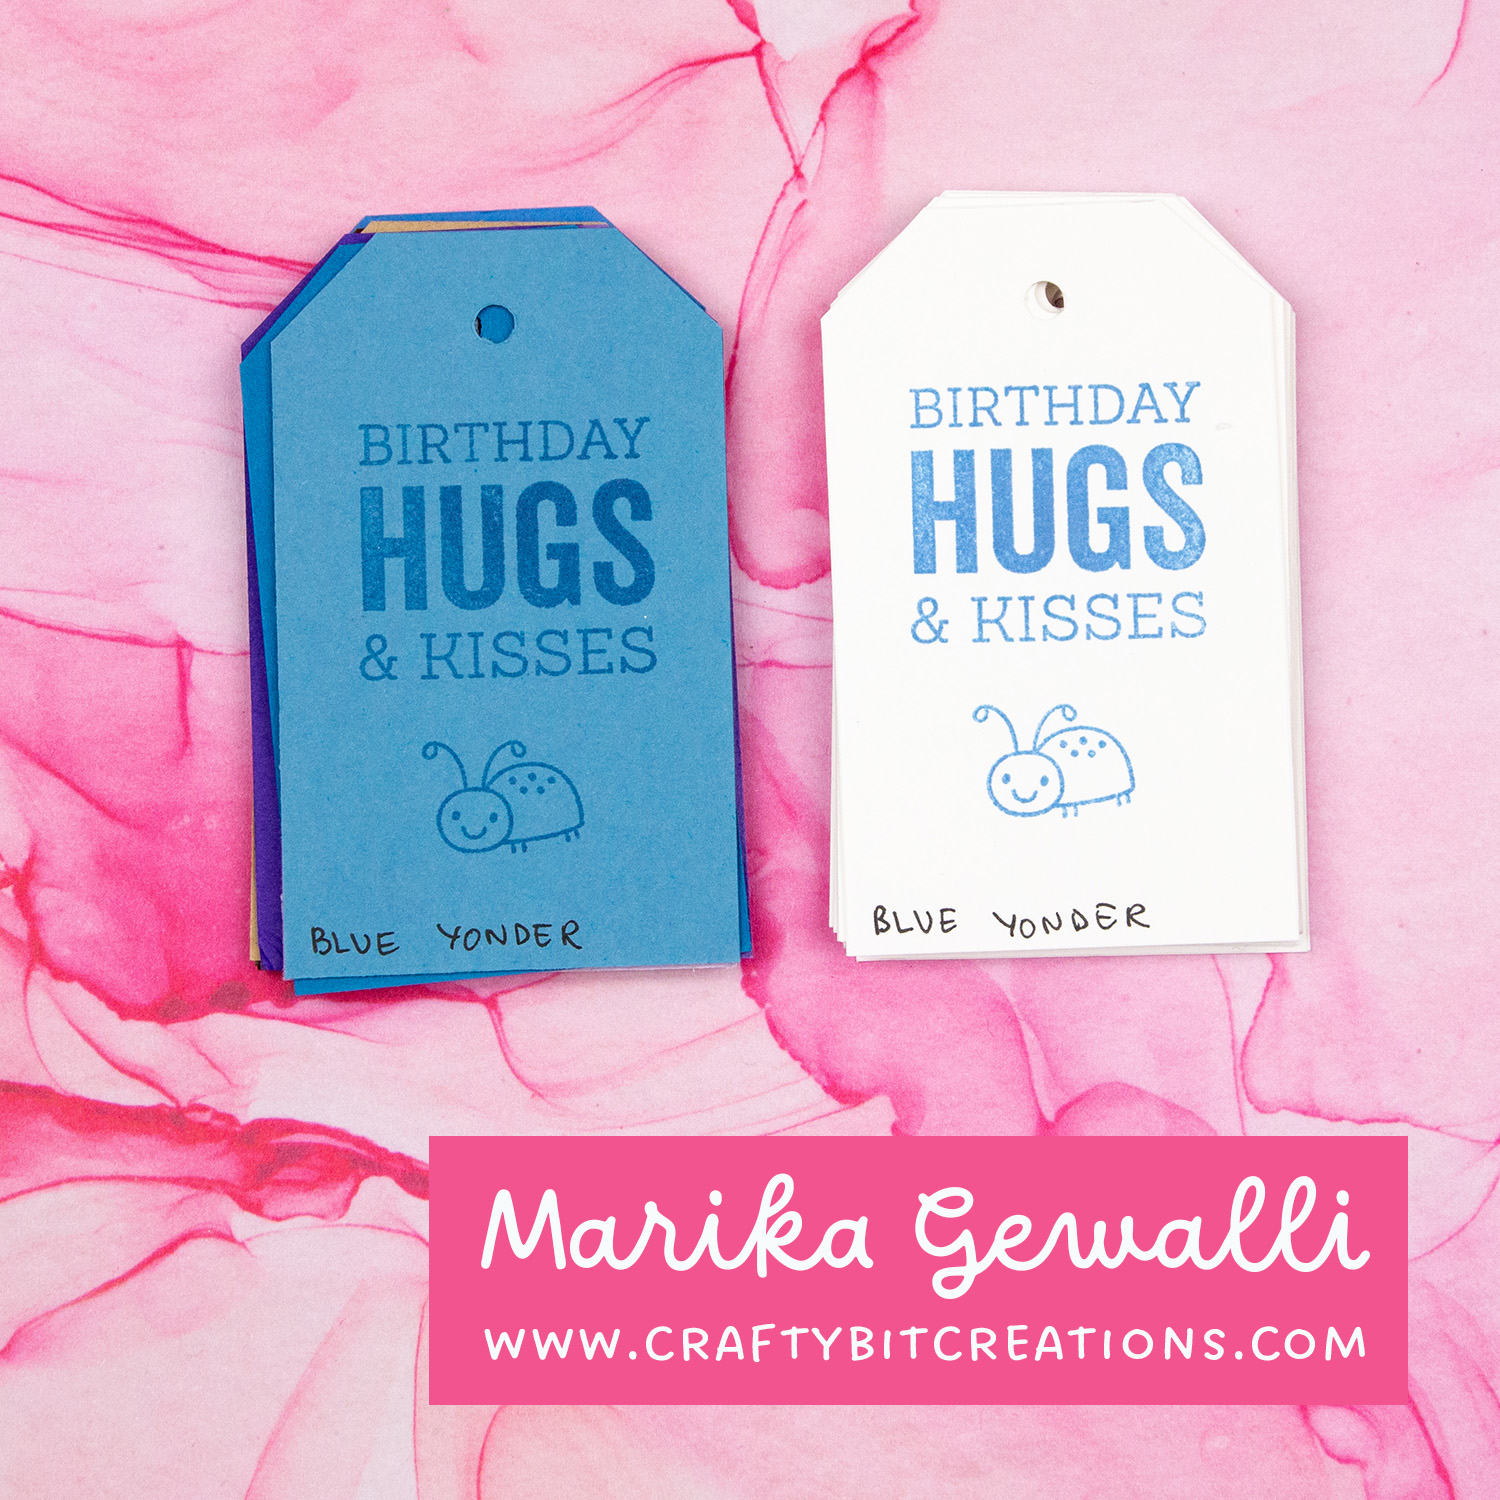
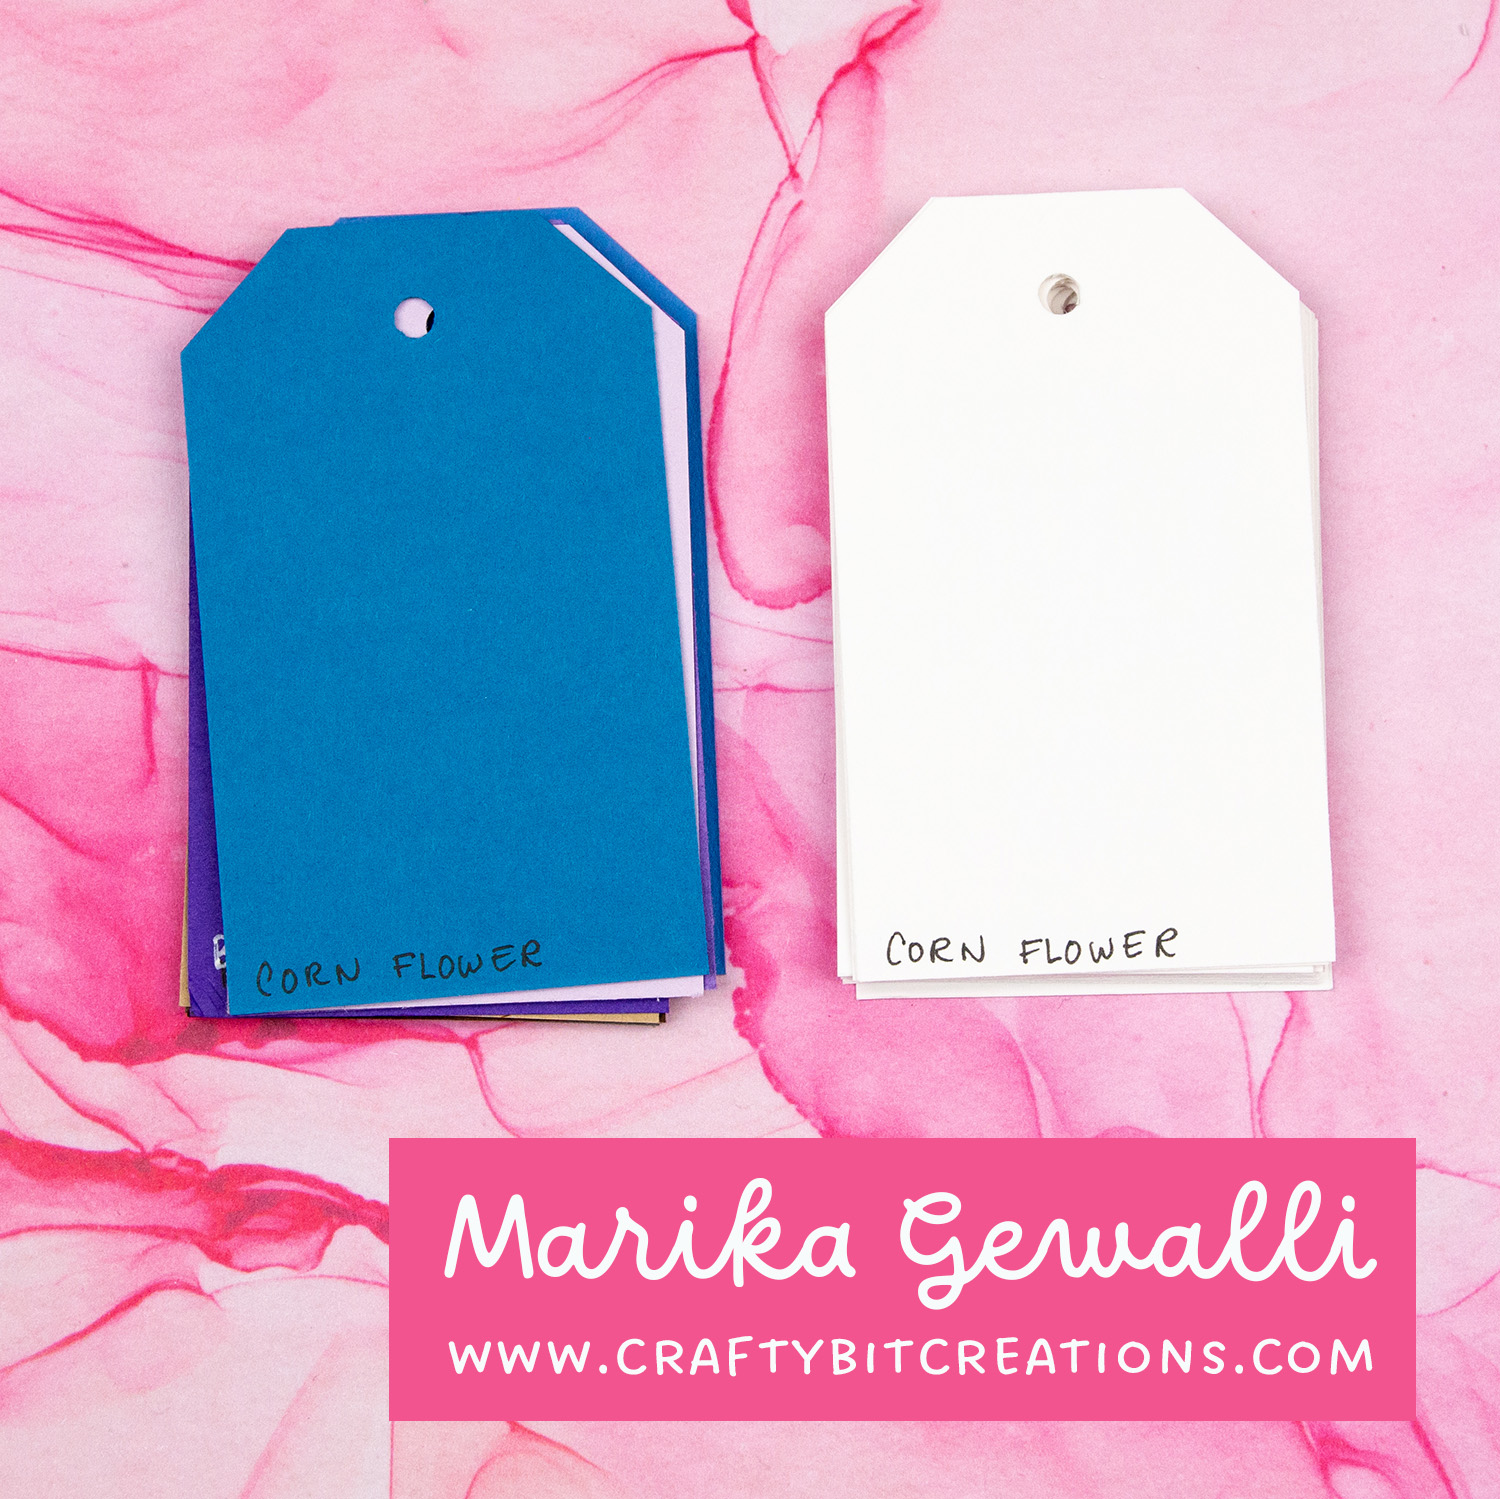
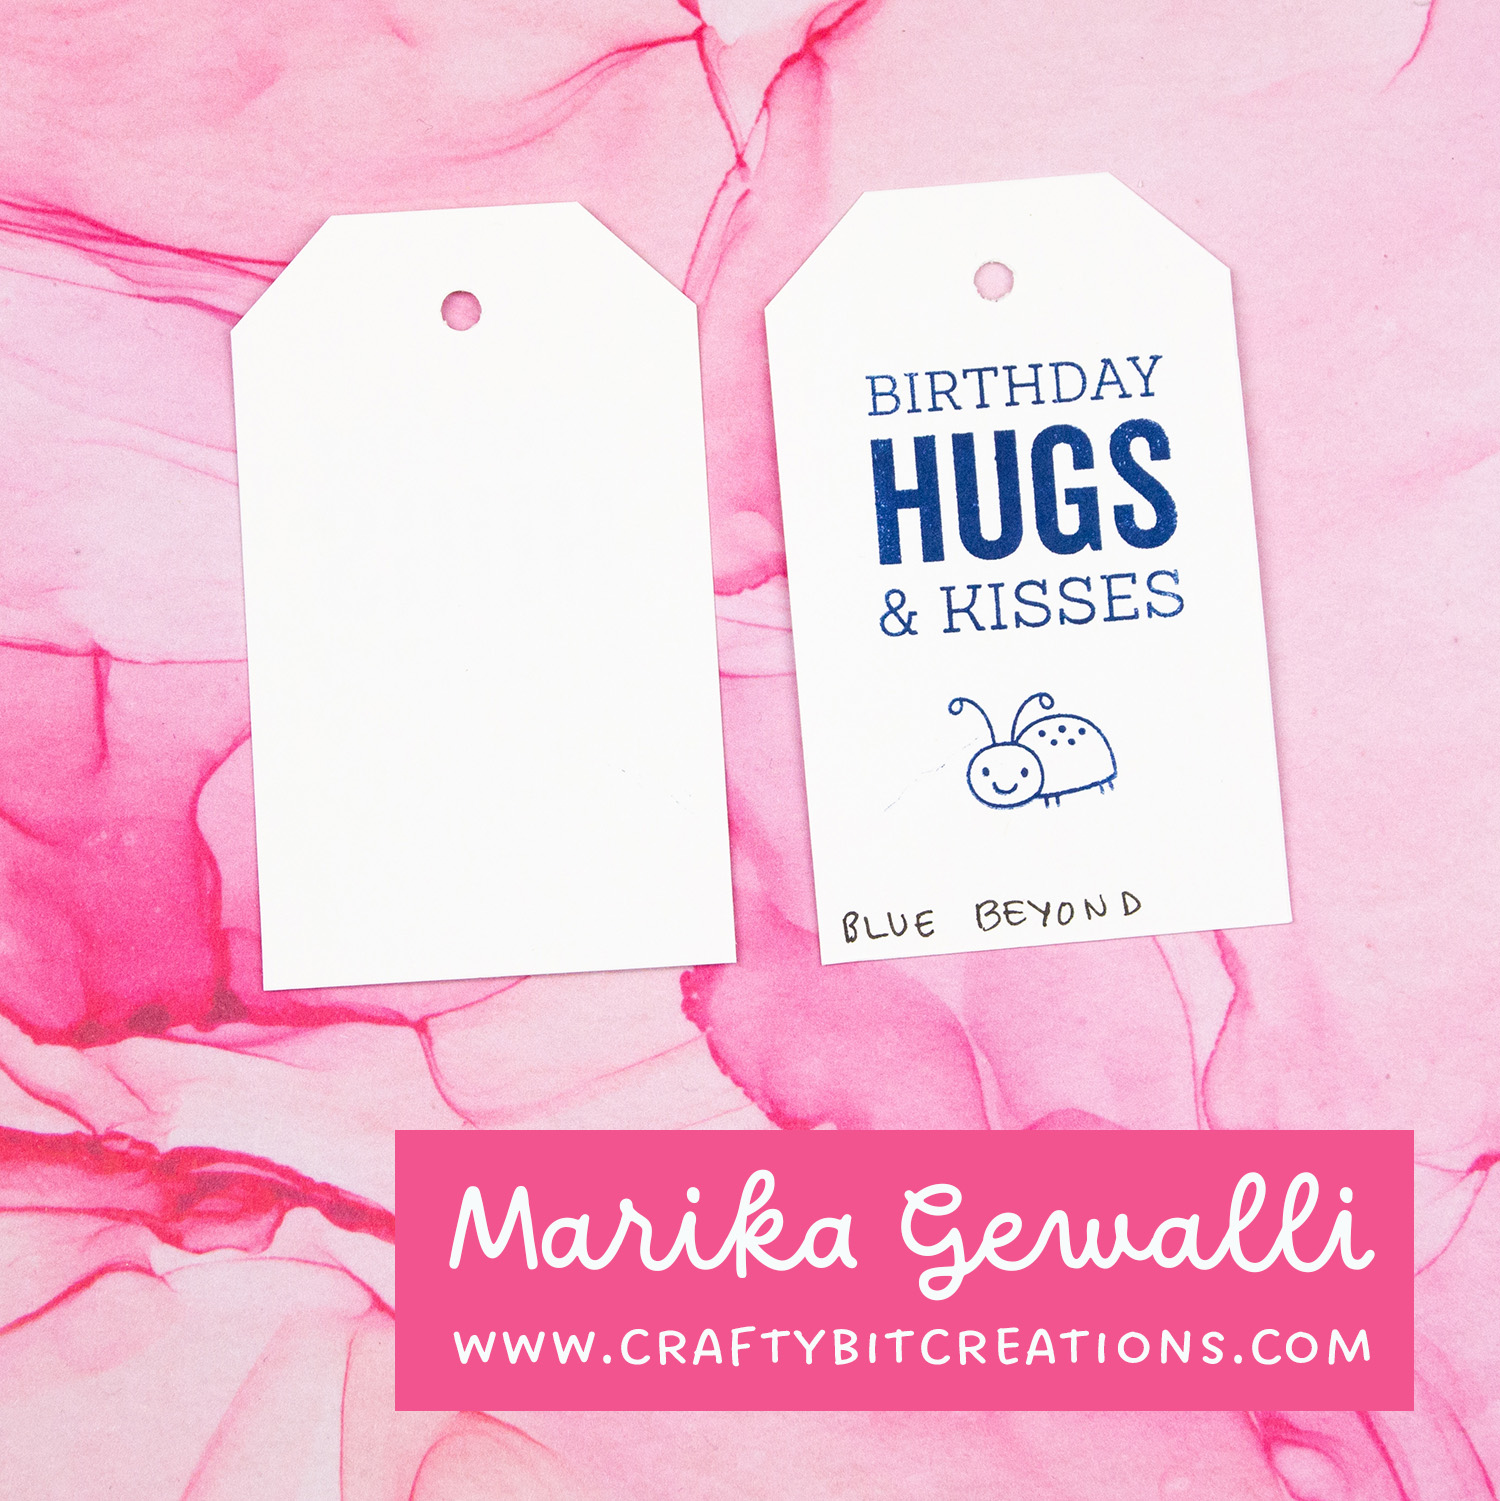
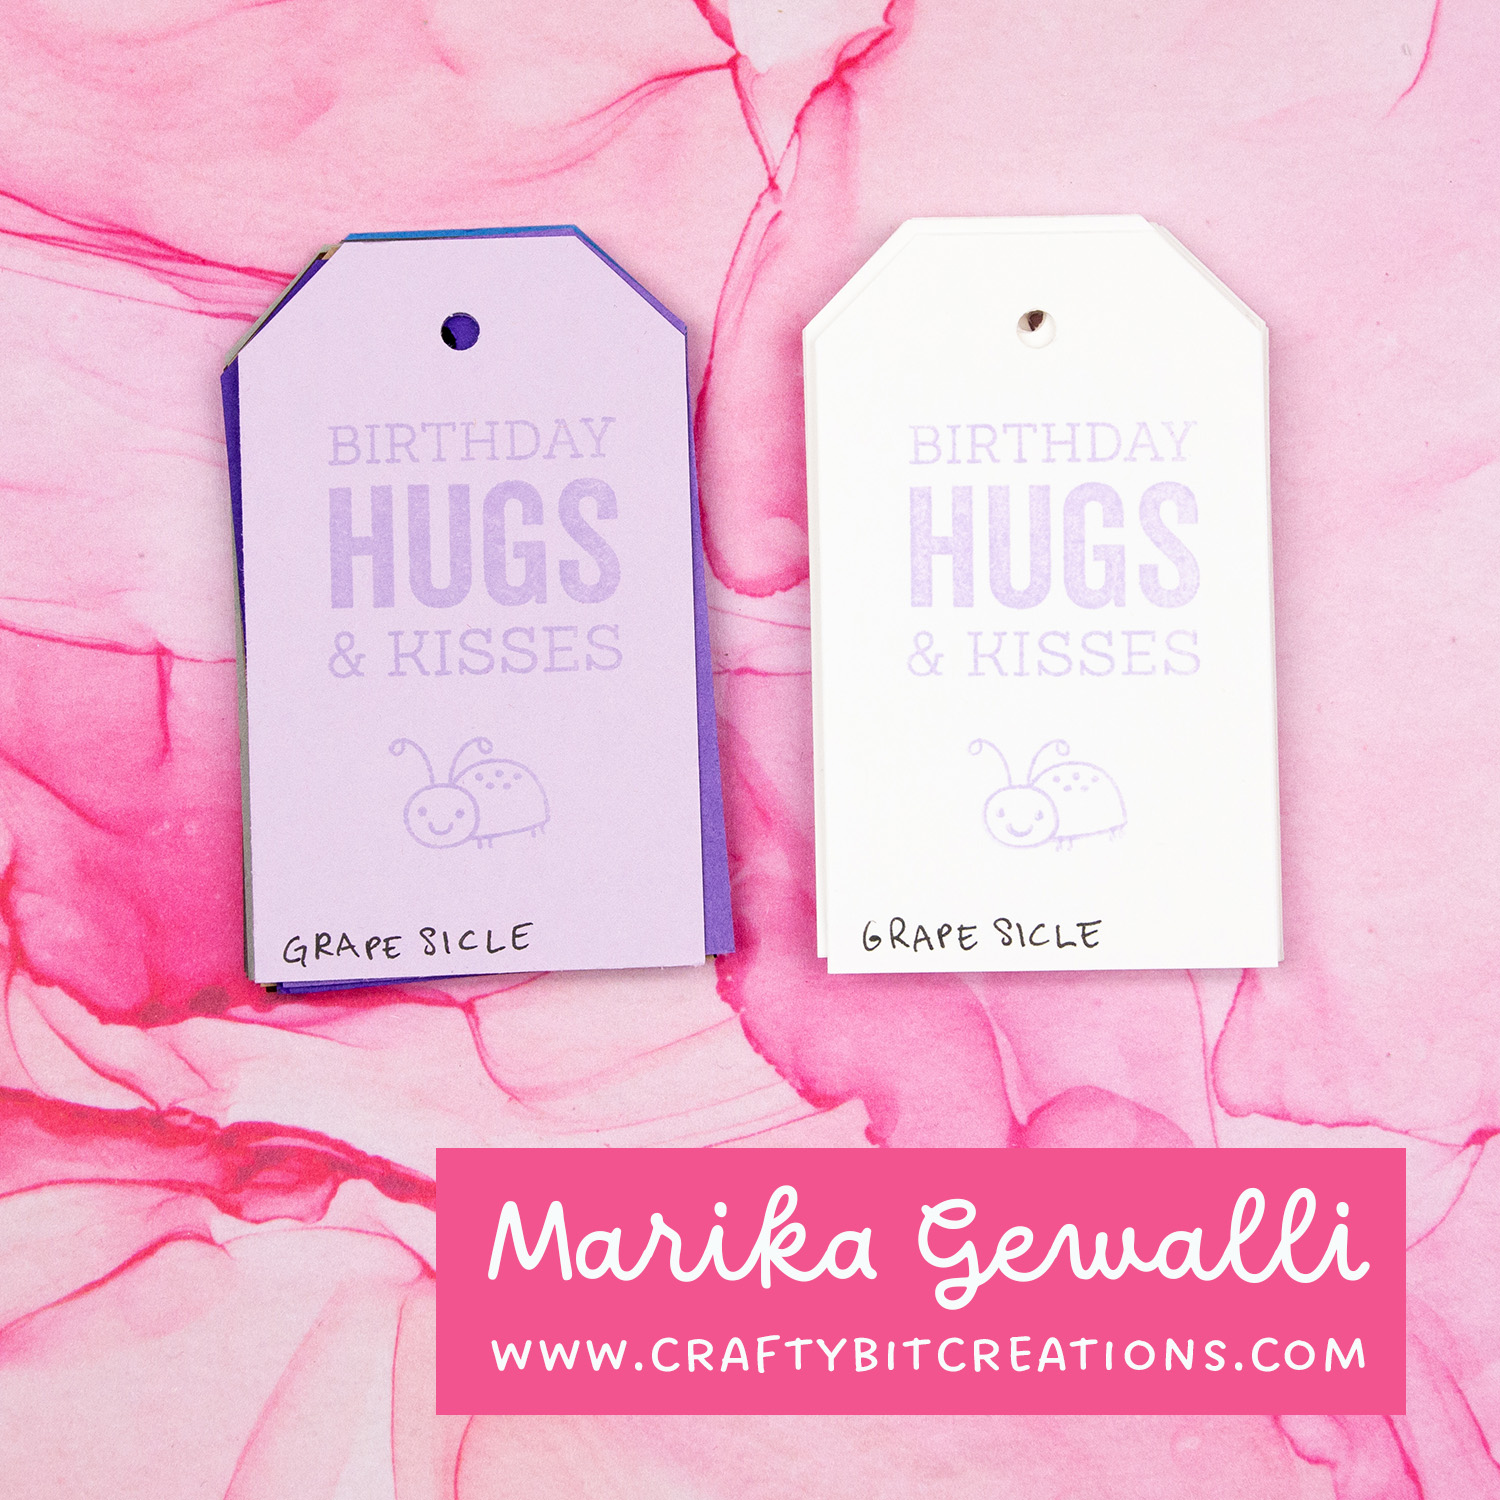
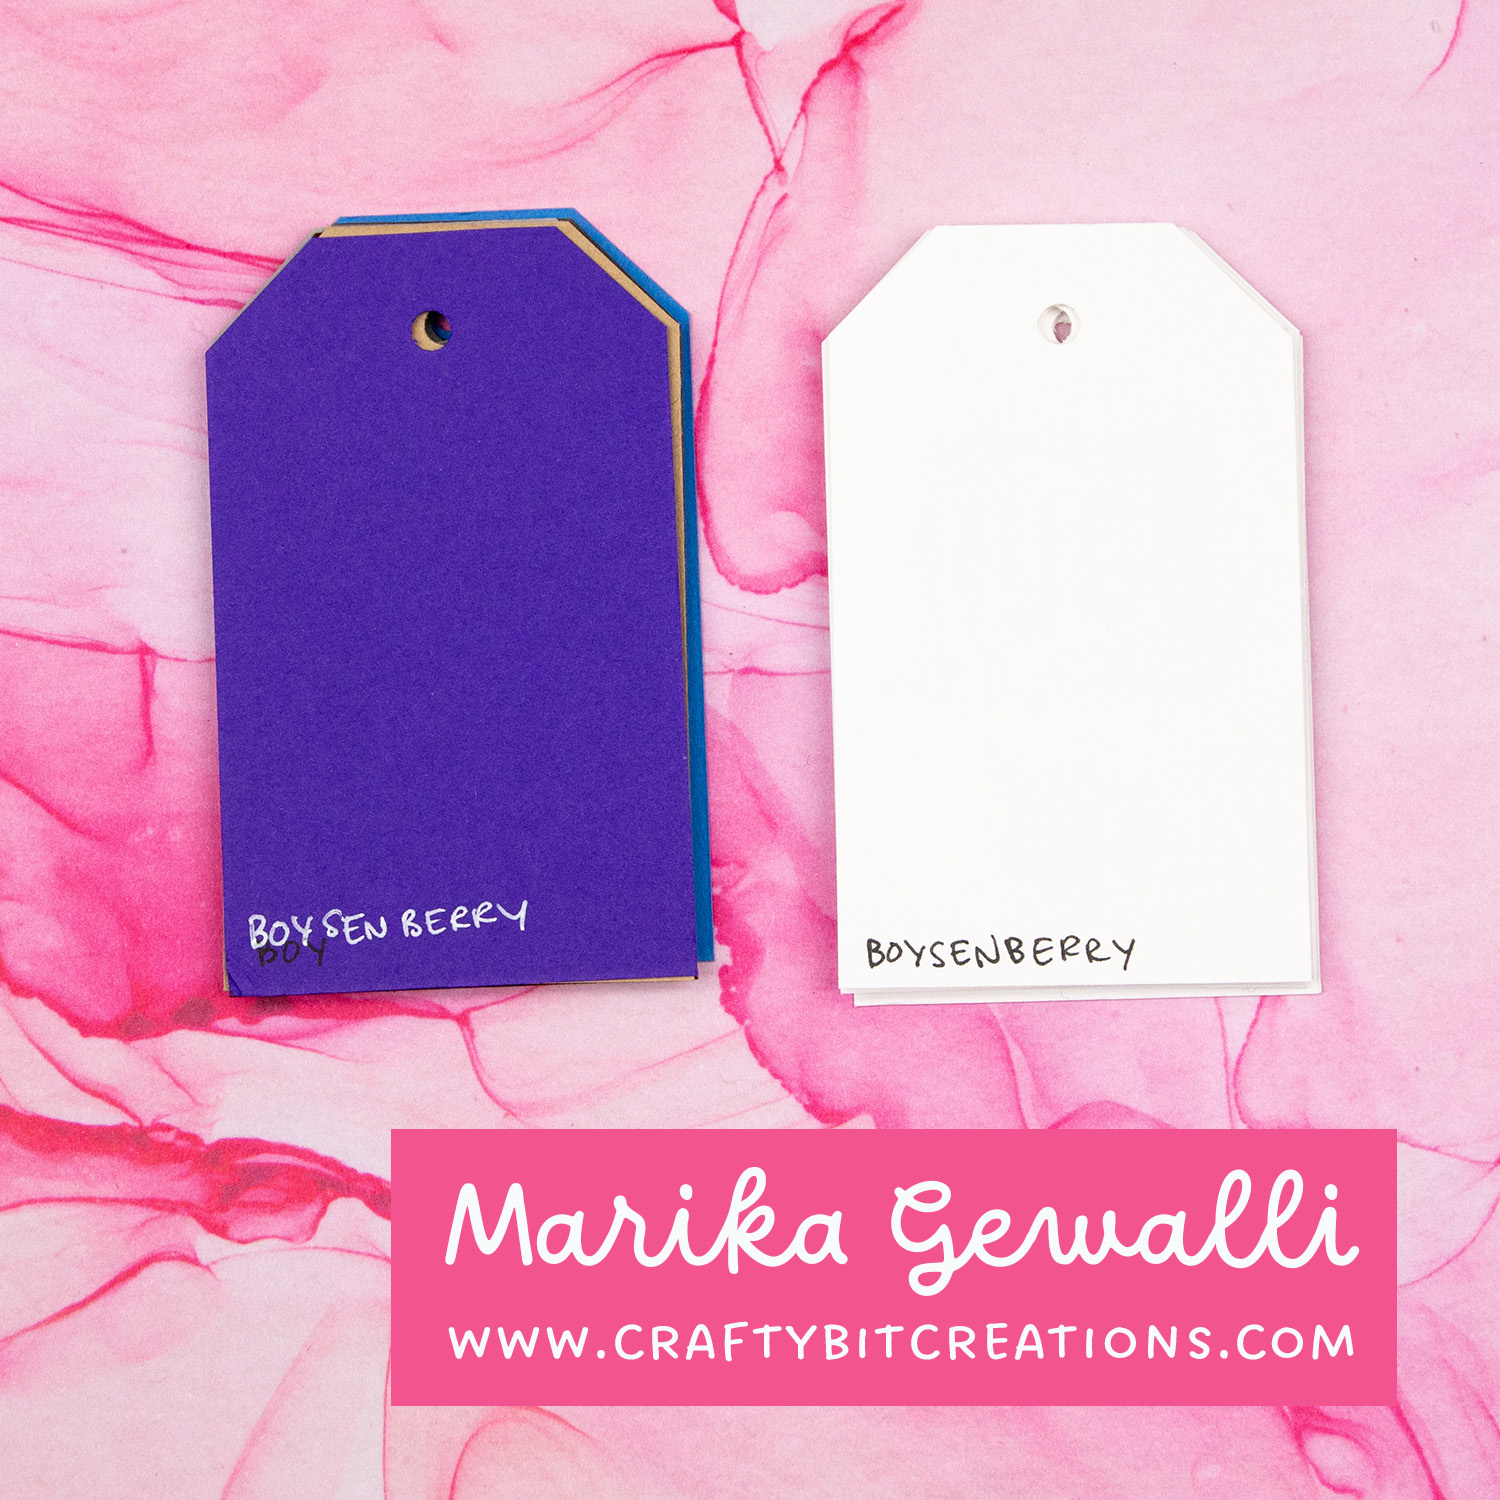
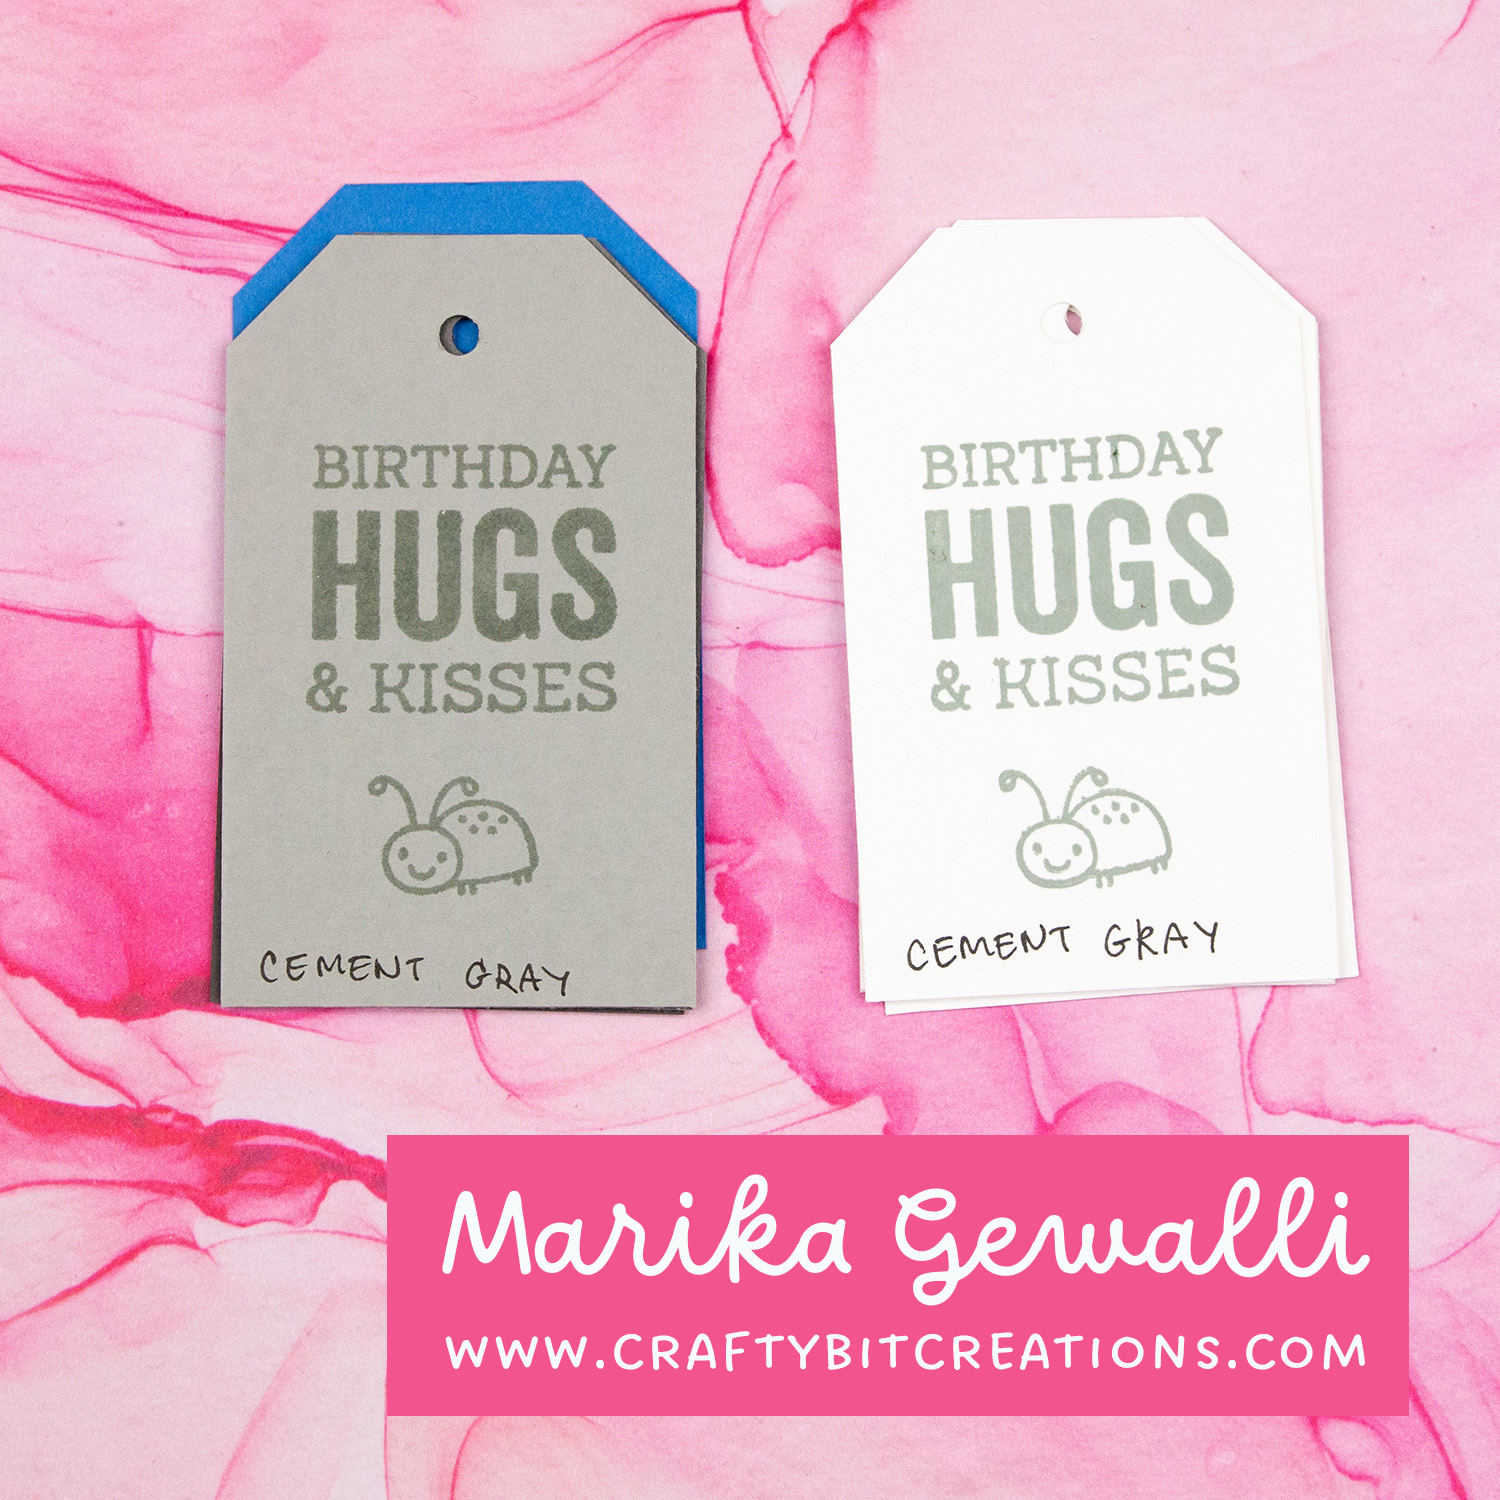
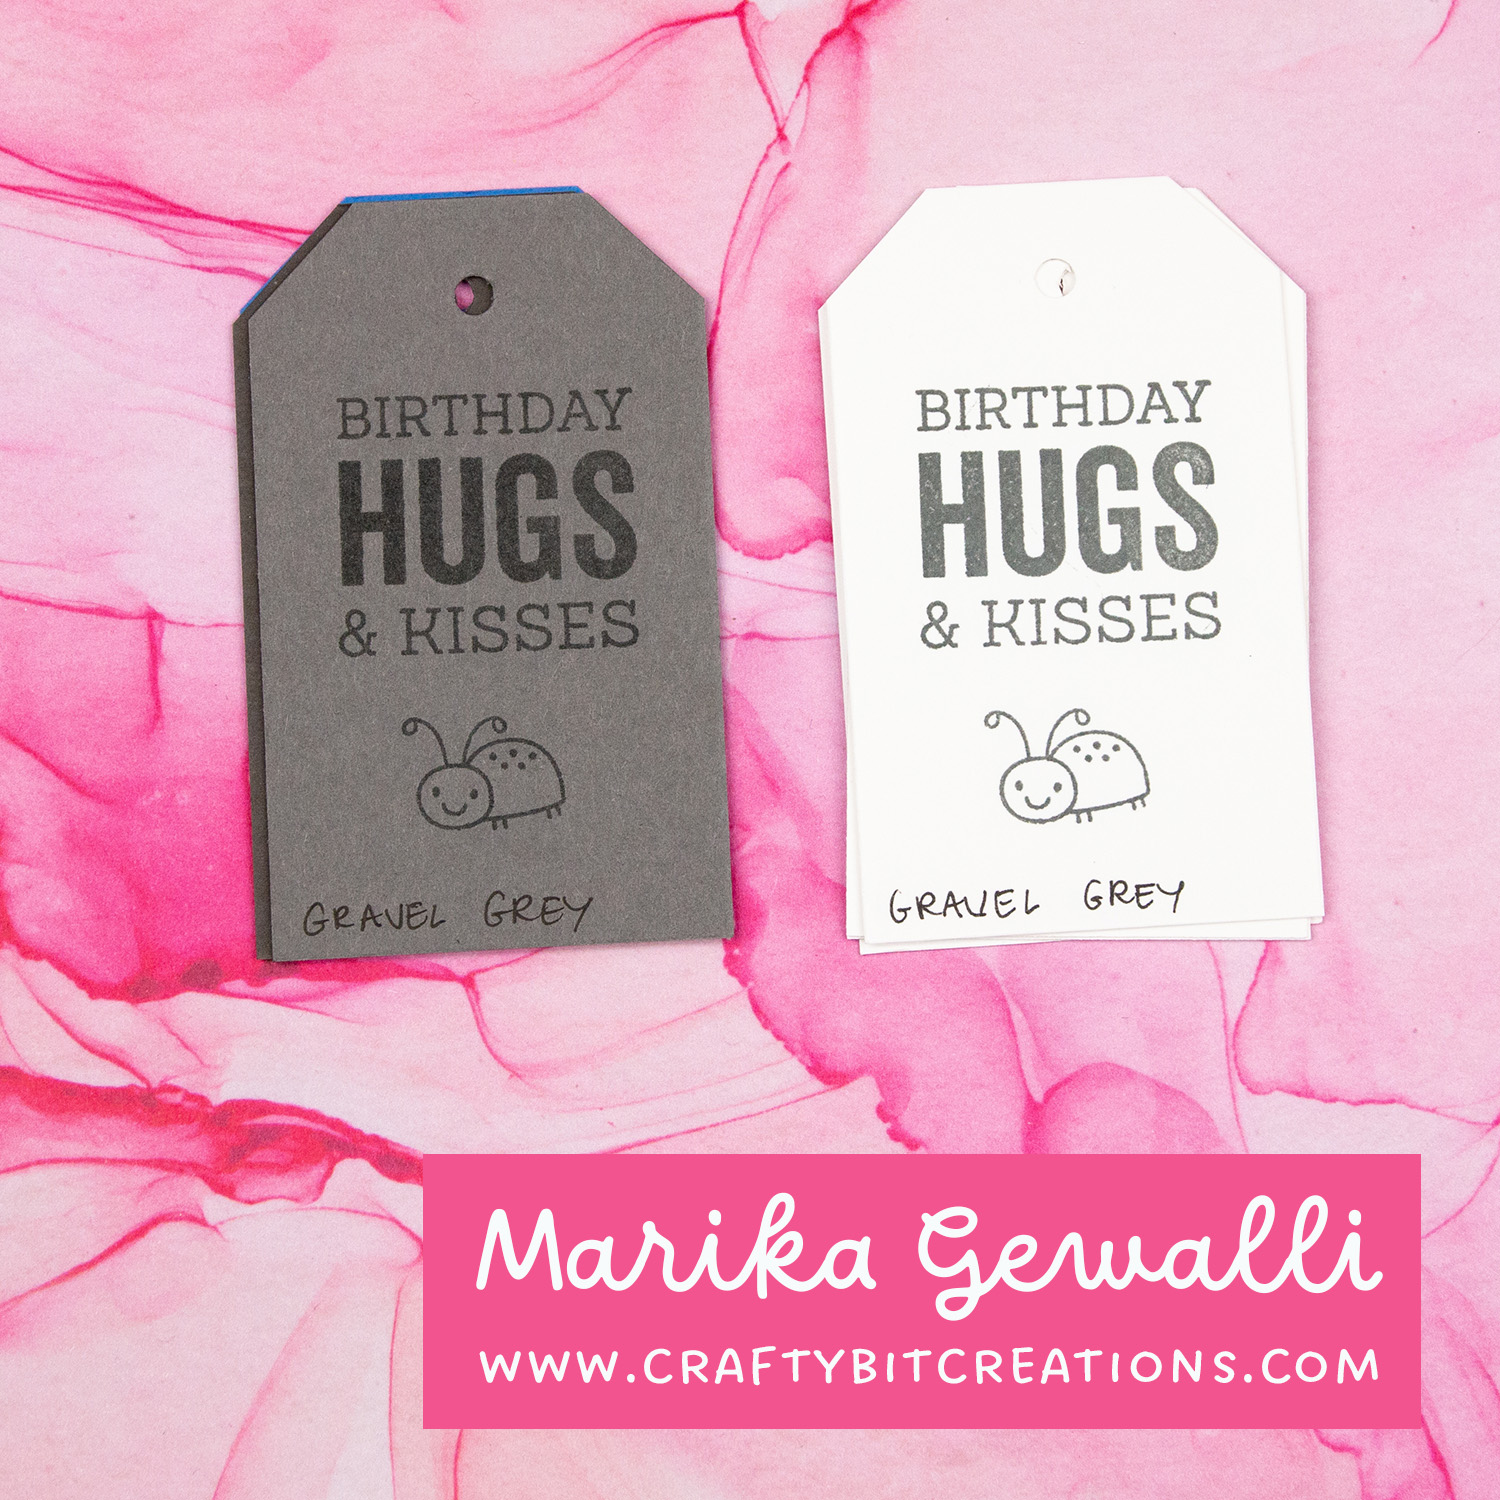
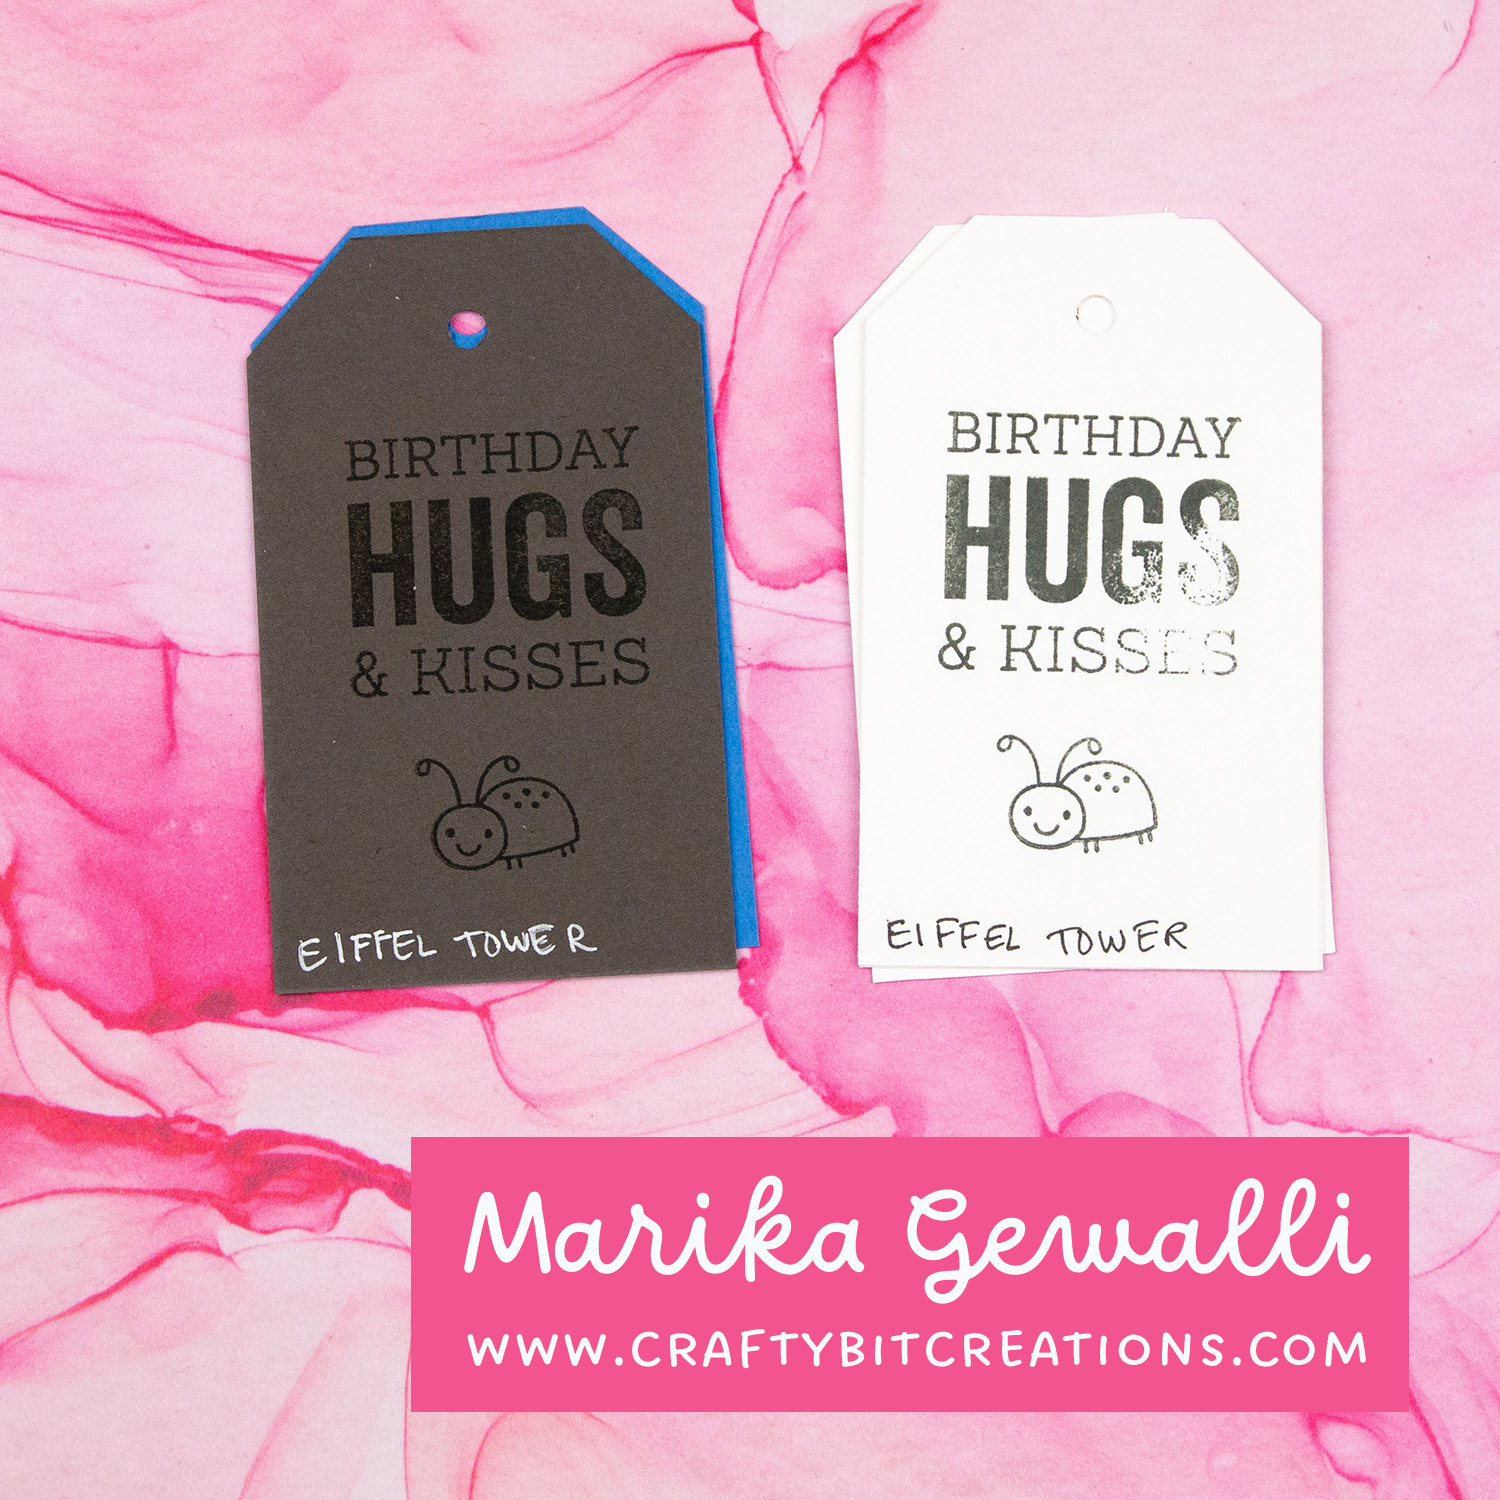
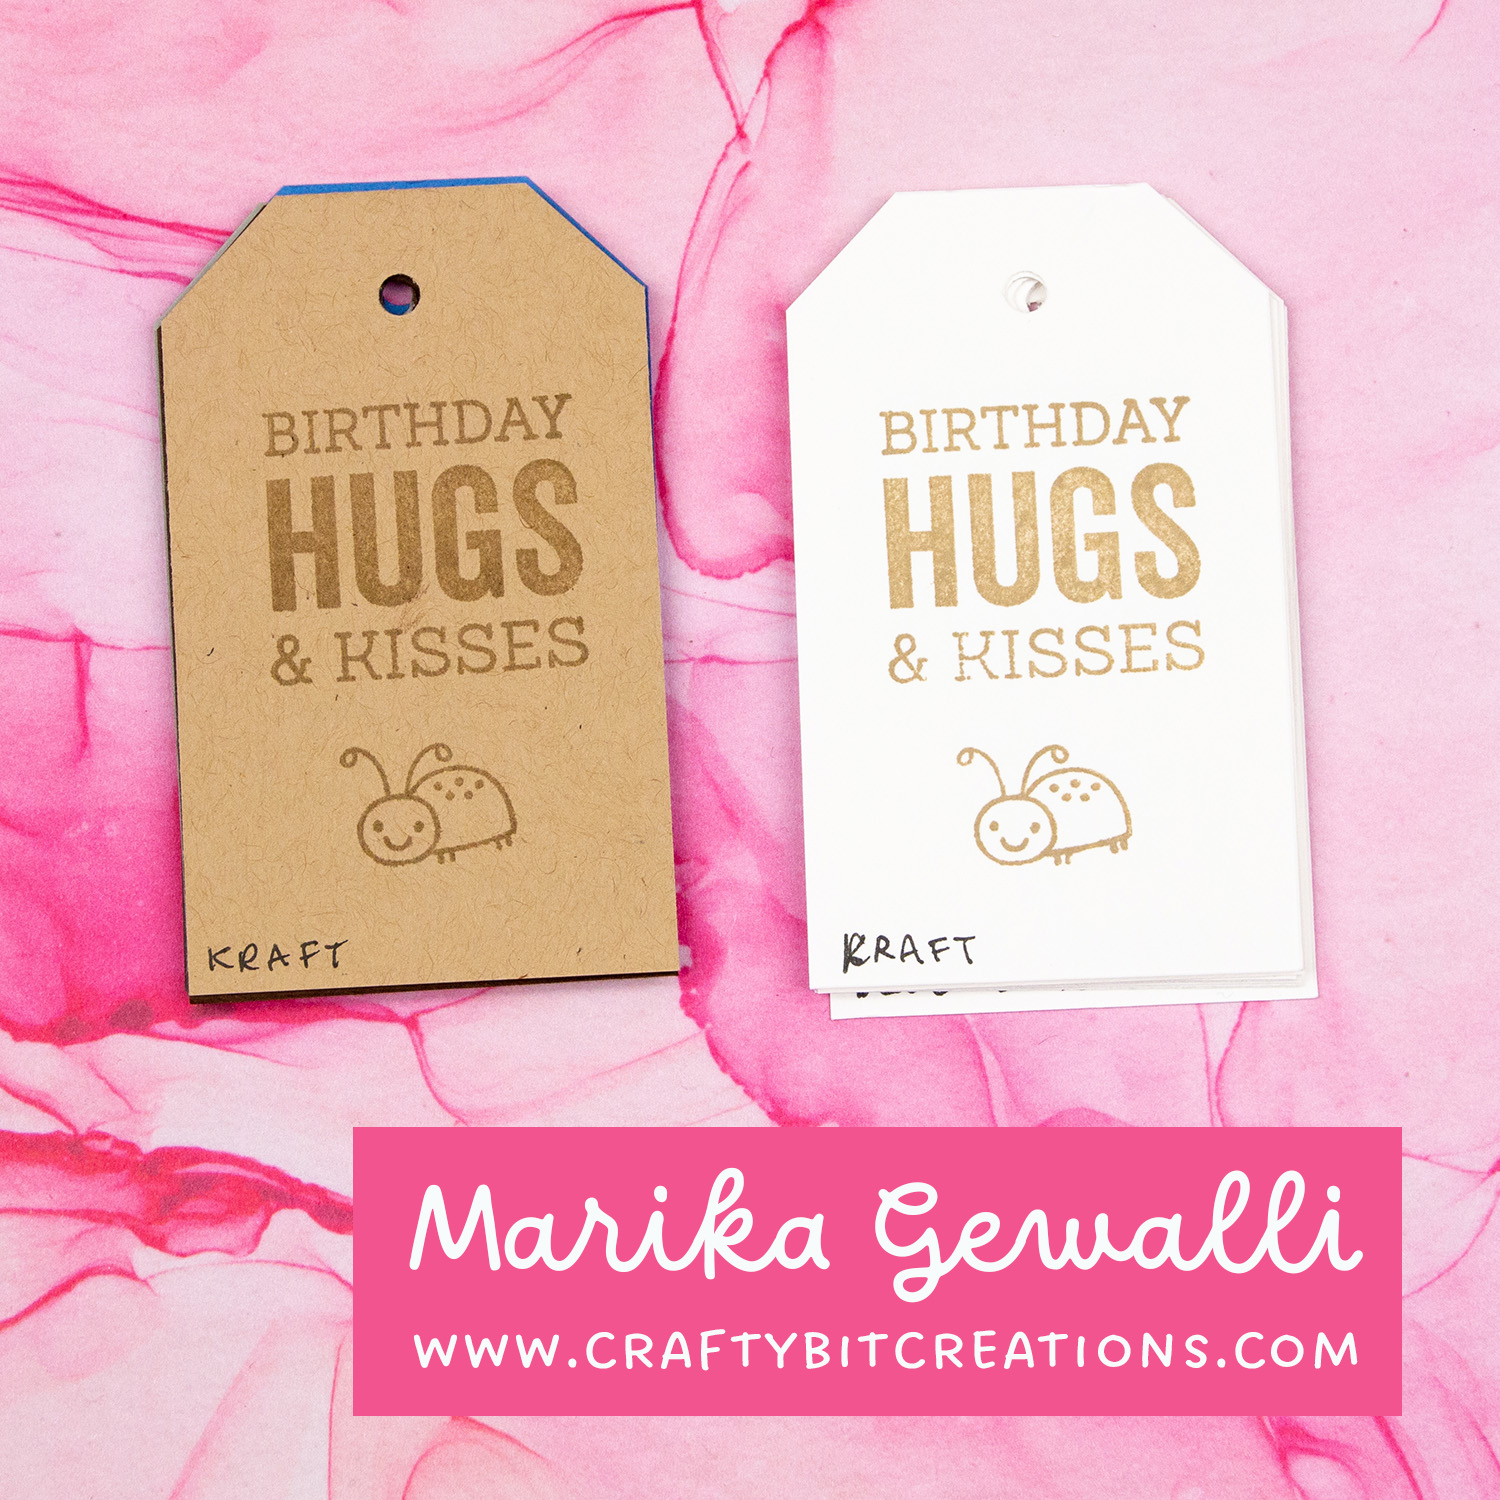
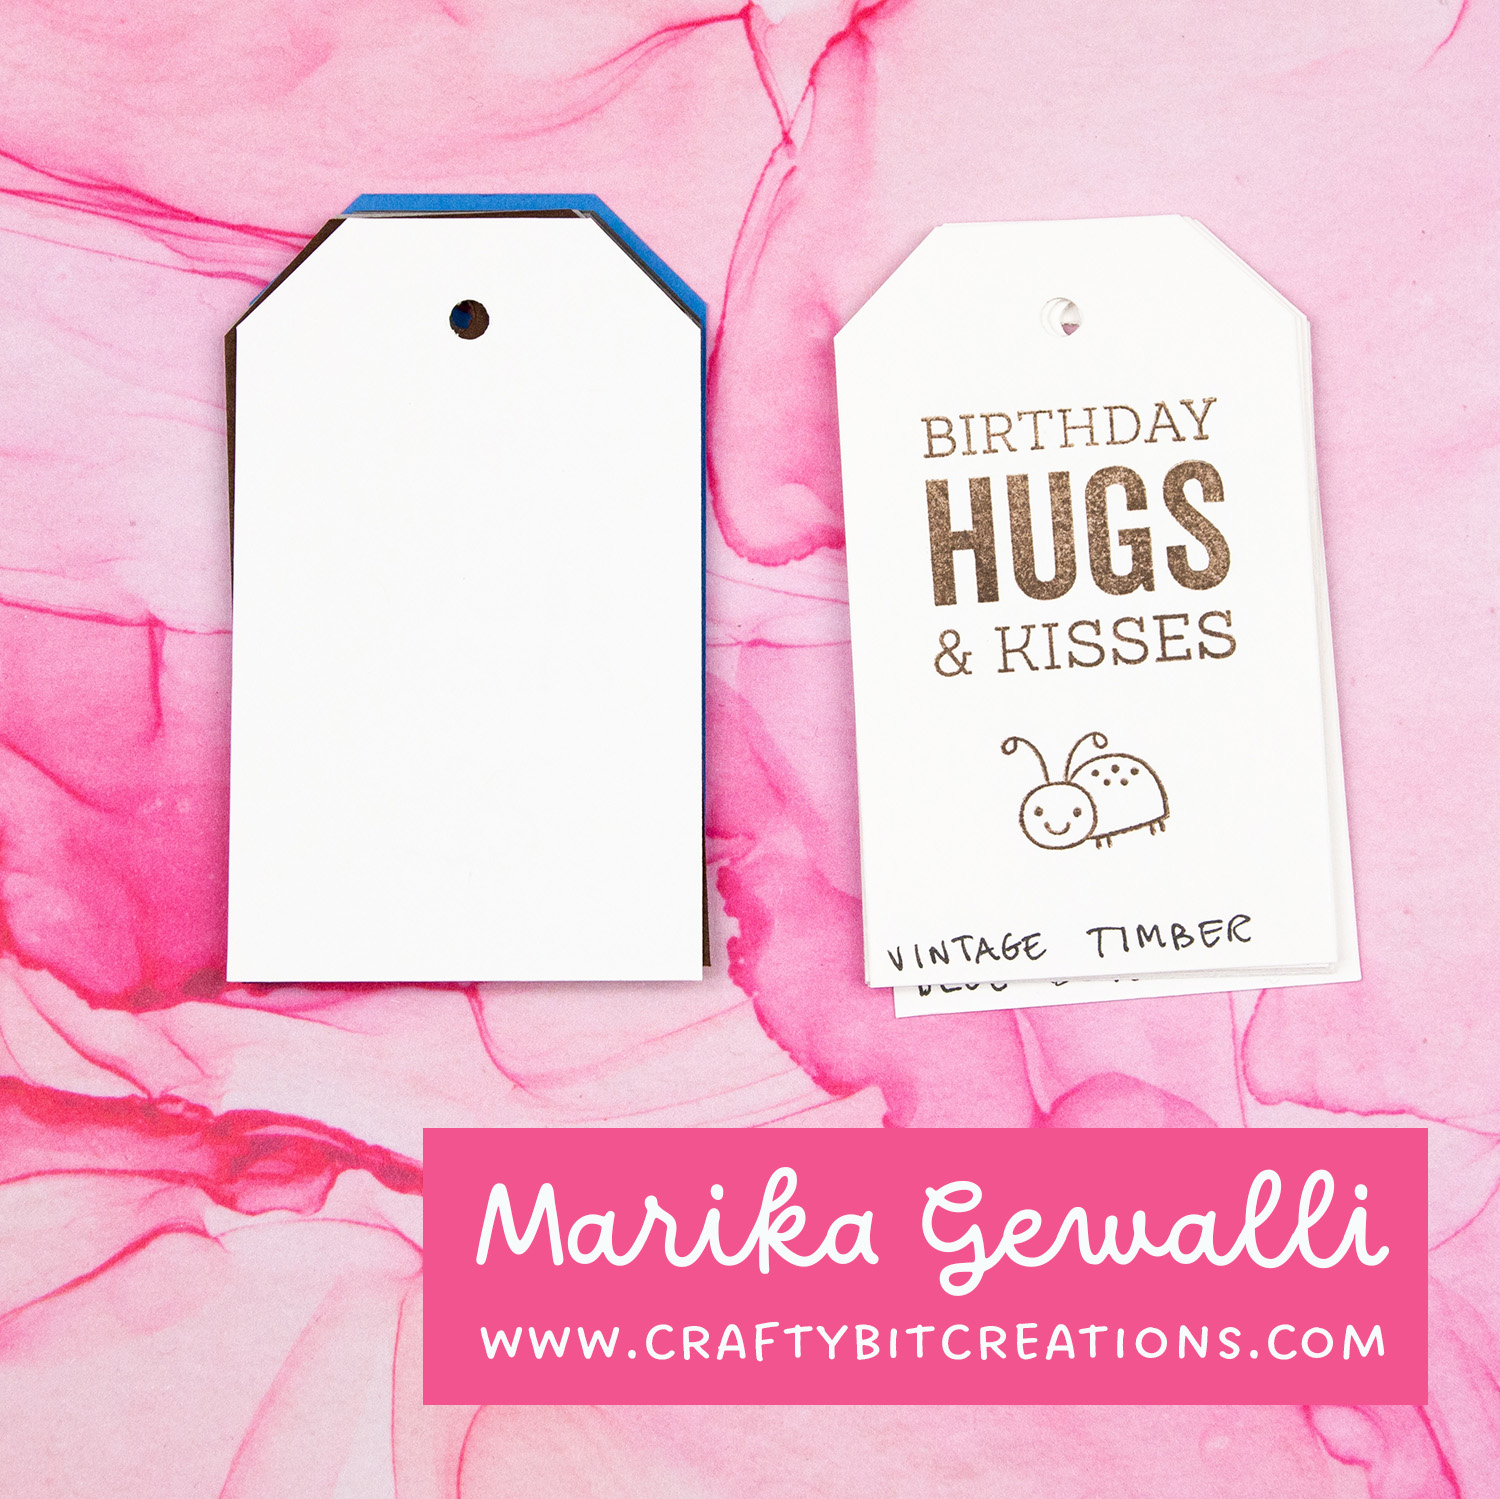
I have almost all the My Favorite Things inks, however I find myself reaching towards the same colors over and over. So I thought by having some swatches I would have a better overview over my inks and might use more of them! Down below you can see all the swatching in a video, all the swatches on photos and a schema for the swatches I made. Also you can download the template and cutfiles for the the swatches.
If you want the templates, cutfiles and pdf you can find them HERE.
When possible affiliate links are used, this means that I receive a small commission when products are purchased through the links (at no extra cost to you) I use the money to support my blog and youtube channel. If you like my projects and tutorial please consider supporting me by clicking through these links when you shop. Thanks!
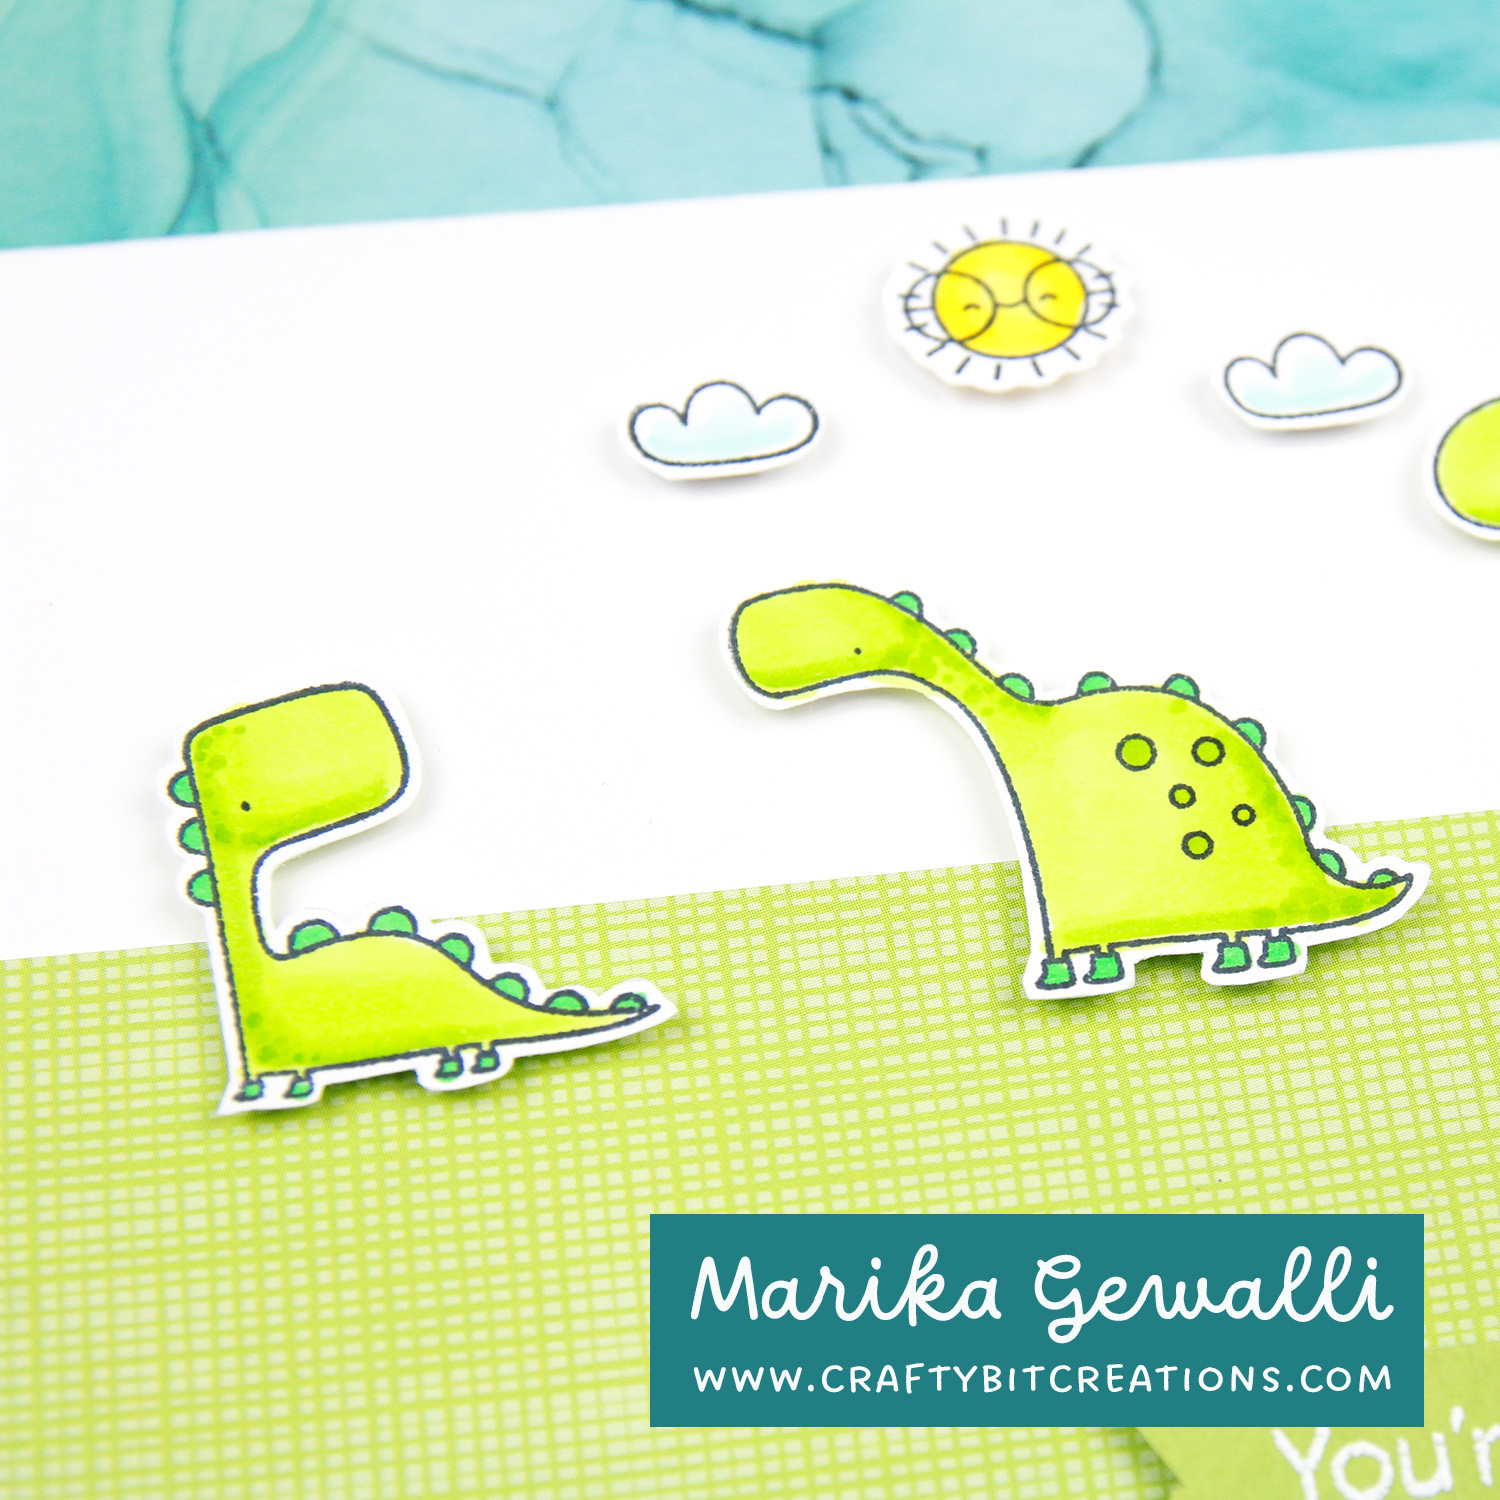
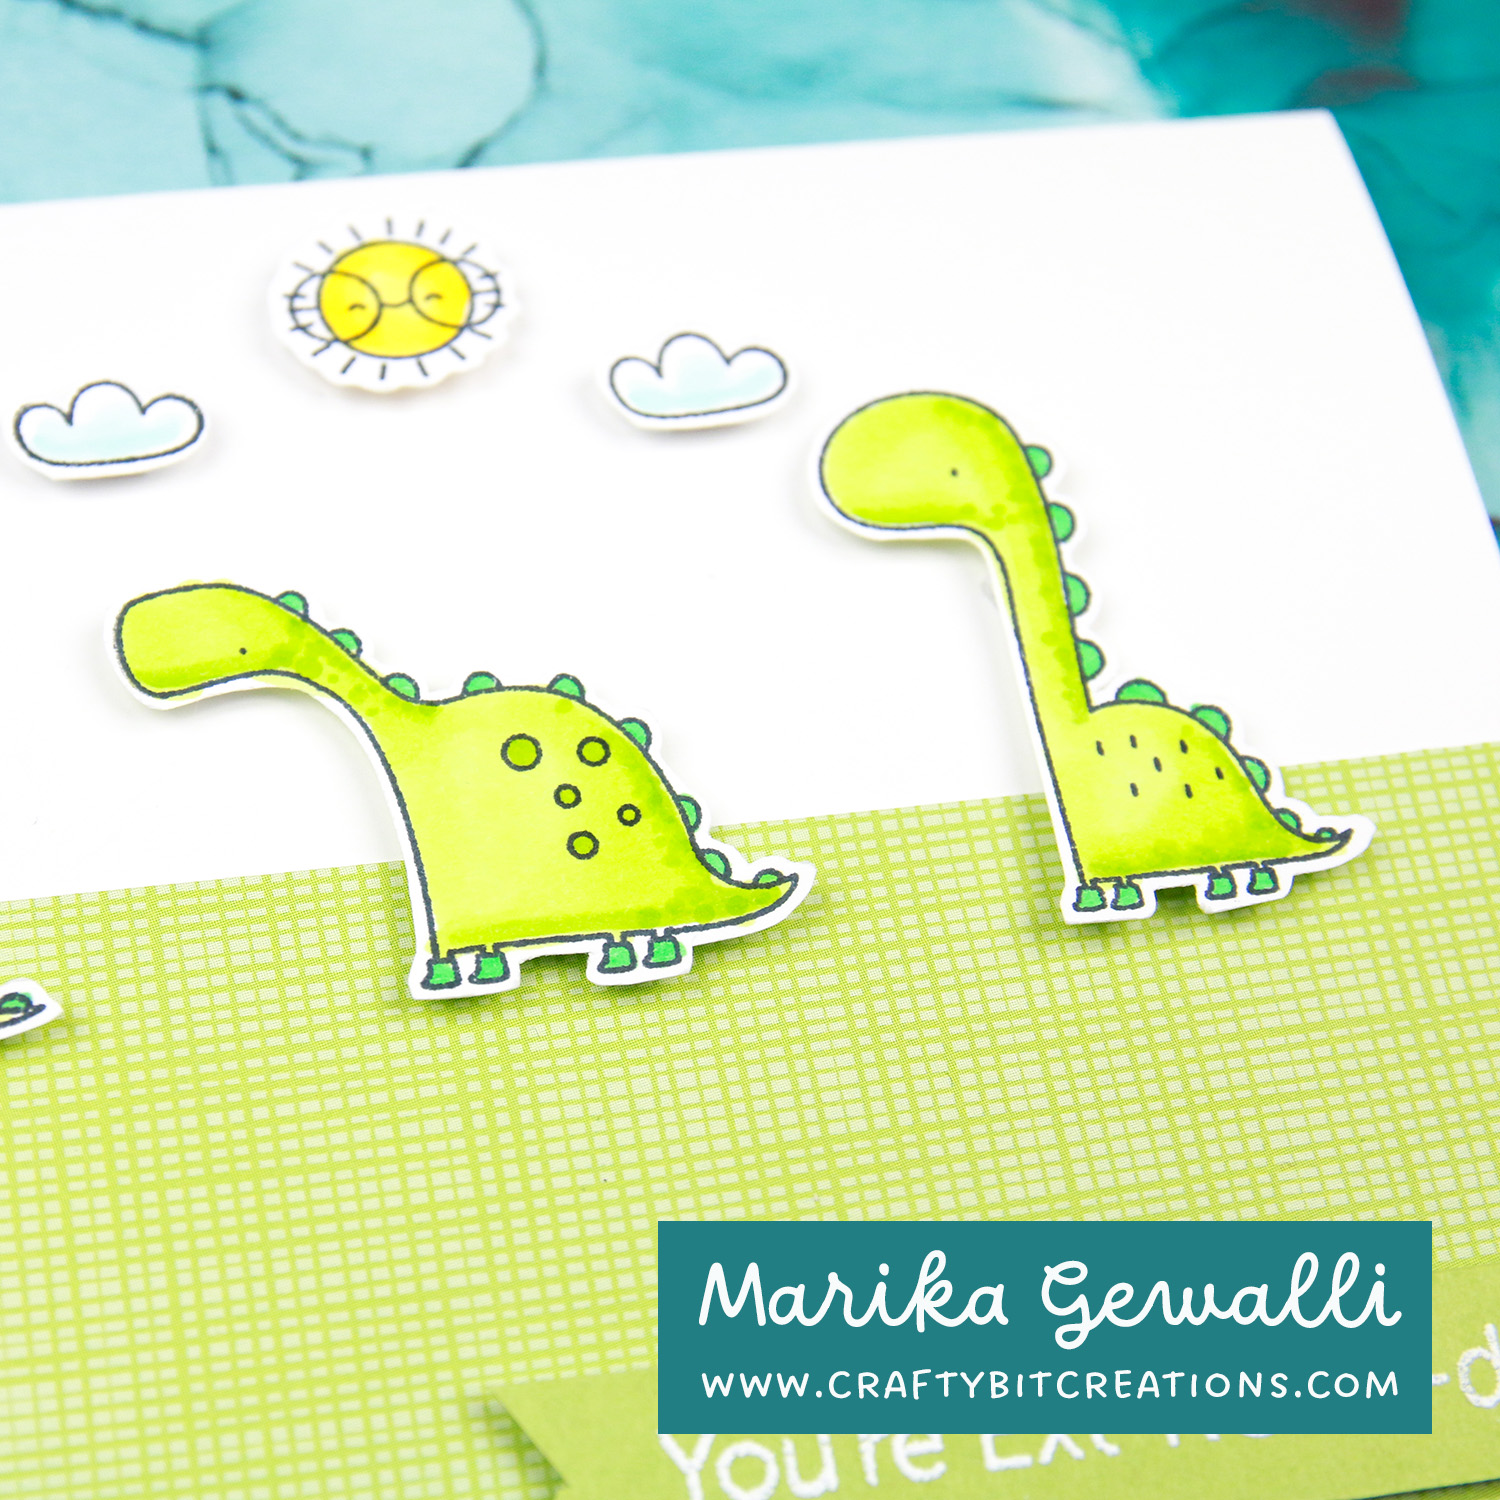
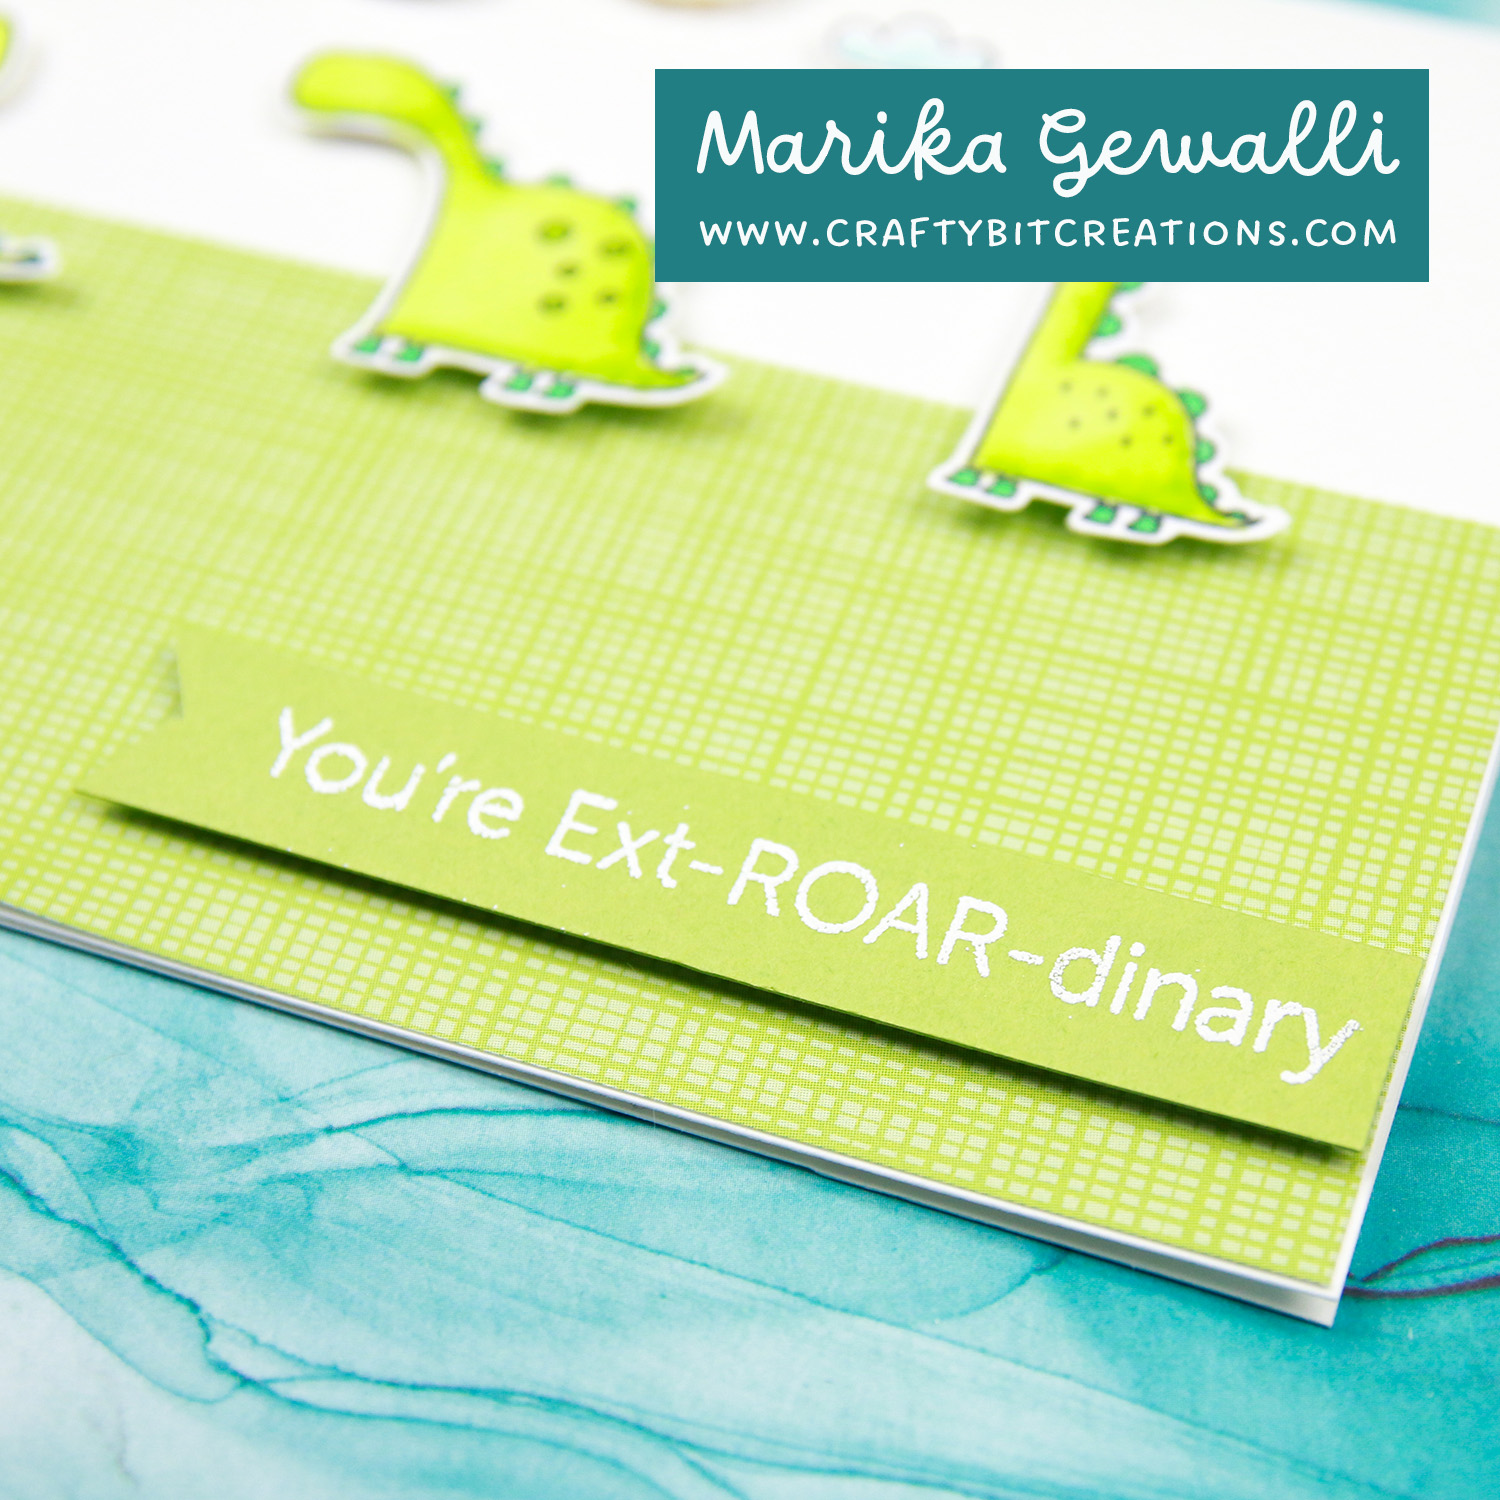
Have been having so much fun creating with these sketch challenges, and sketch challenge 587 wasn’t different. This time around I followed it to a T, only different was turning it 90°, to use it in landscape mode.
I have been wanting to use these little dinos since I picked them up and finally found a great and simple way to use them. This card is almost monochromatic, but I felt it would be little bit odd to do a green sun and clouds. But I kept mostly to green to make it soft to the eyes. And as always I matched the sentiment card stock to the pattern paper. Also colored the dinos with my favorite greens YG01 and YG25. And just made a couple of layers of YG01 for a better blend, and of course making little dots for texture.
And as usually you can find all the previous sketch challenges I have entered HERE.
When possible affiliate links are used, this means that I receive a small commission when products are purchased through the links (at no extra cost to you) I use the money to support my blog and youtube channel. If you like my projects and tutorial please consider supporting me by clicking through these links when you shop. Thanks!
Supplies
MFT You’re Ext-ROAR-dinary: MFTSSS Colorful Canvas Paper Pad: MFTSSS
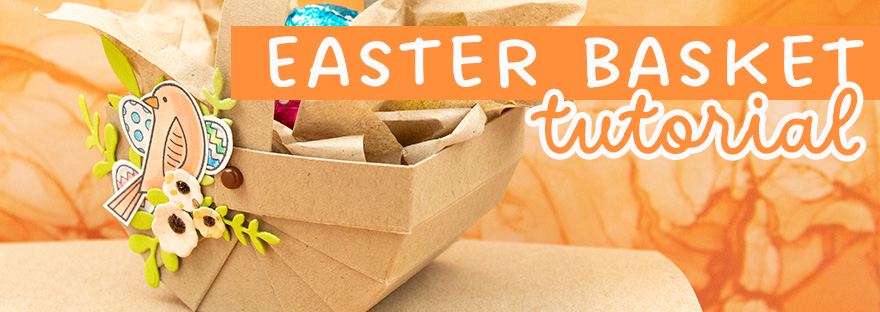
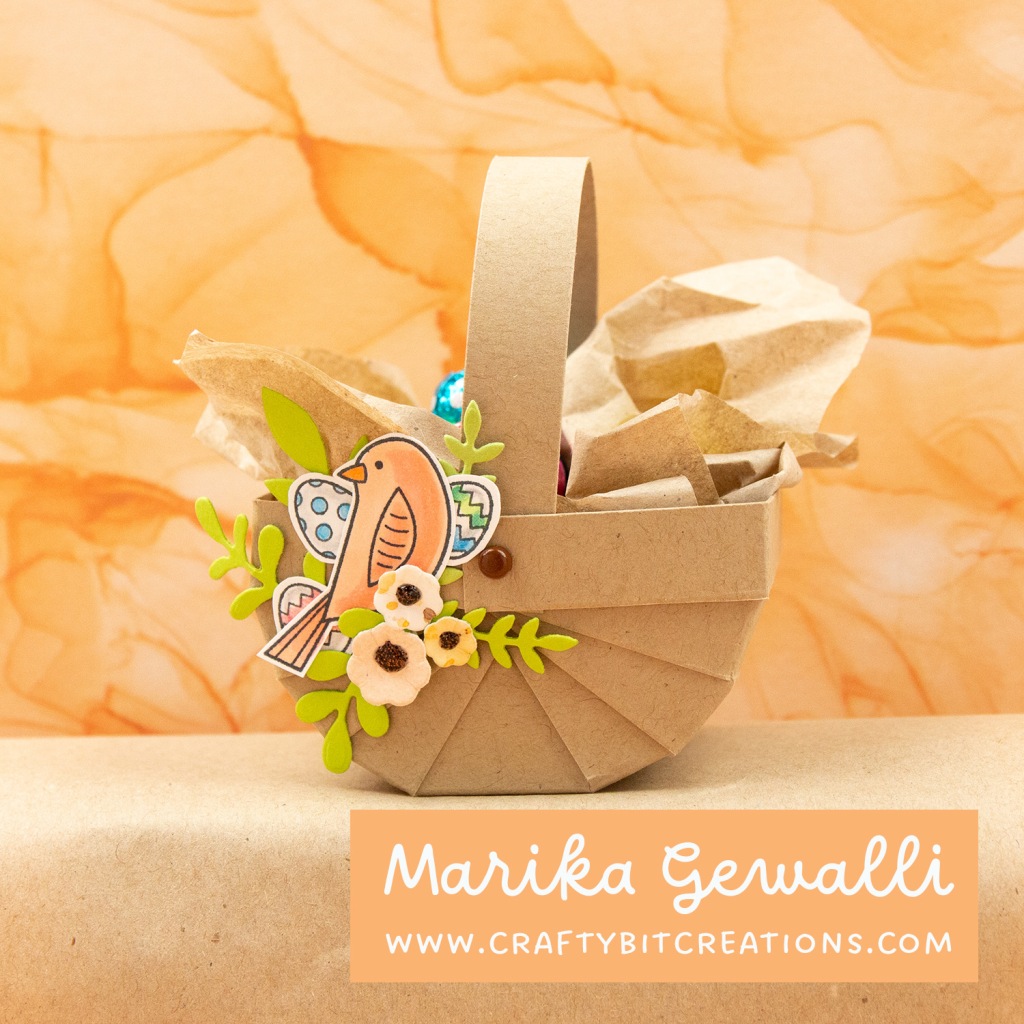
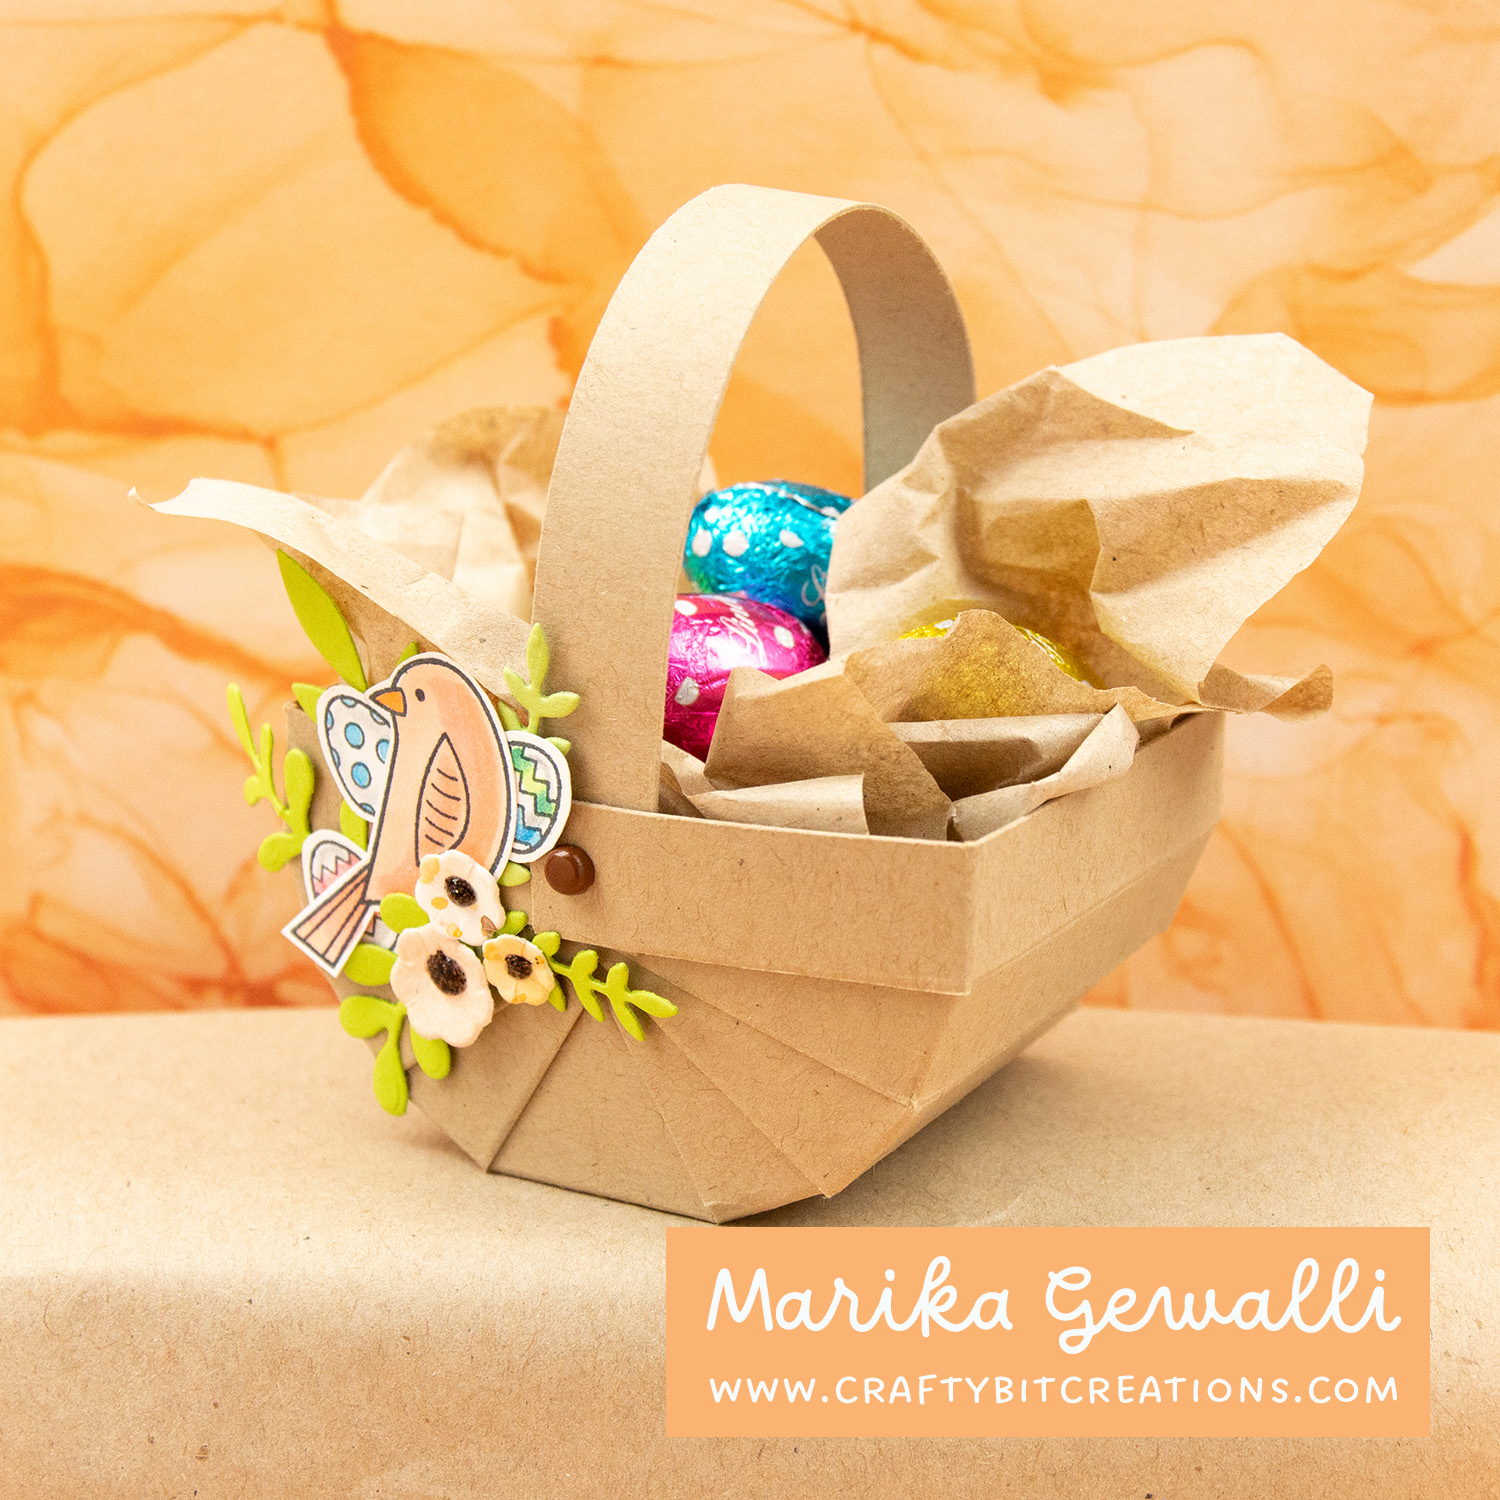
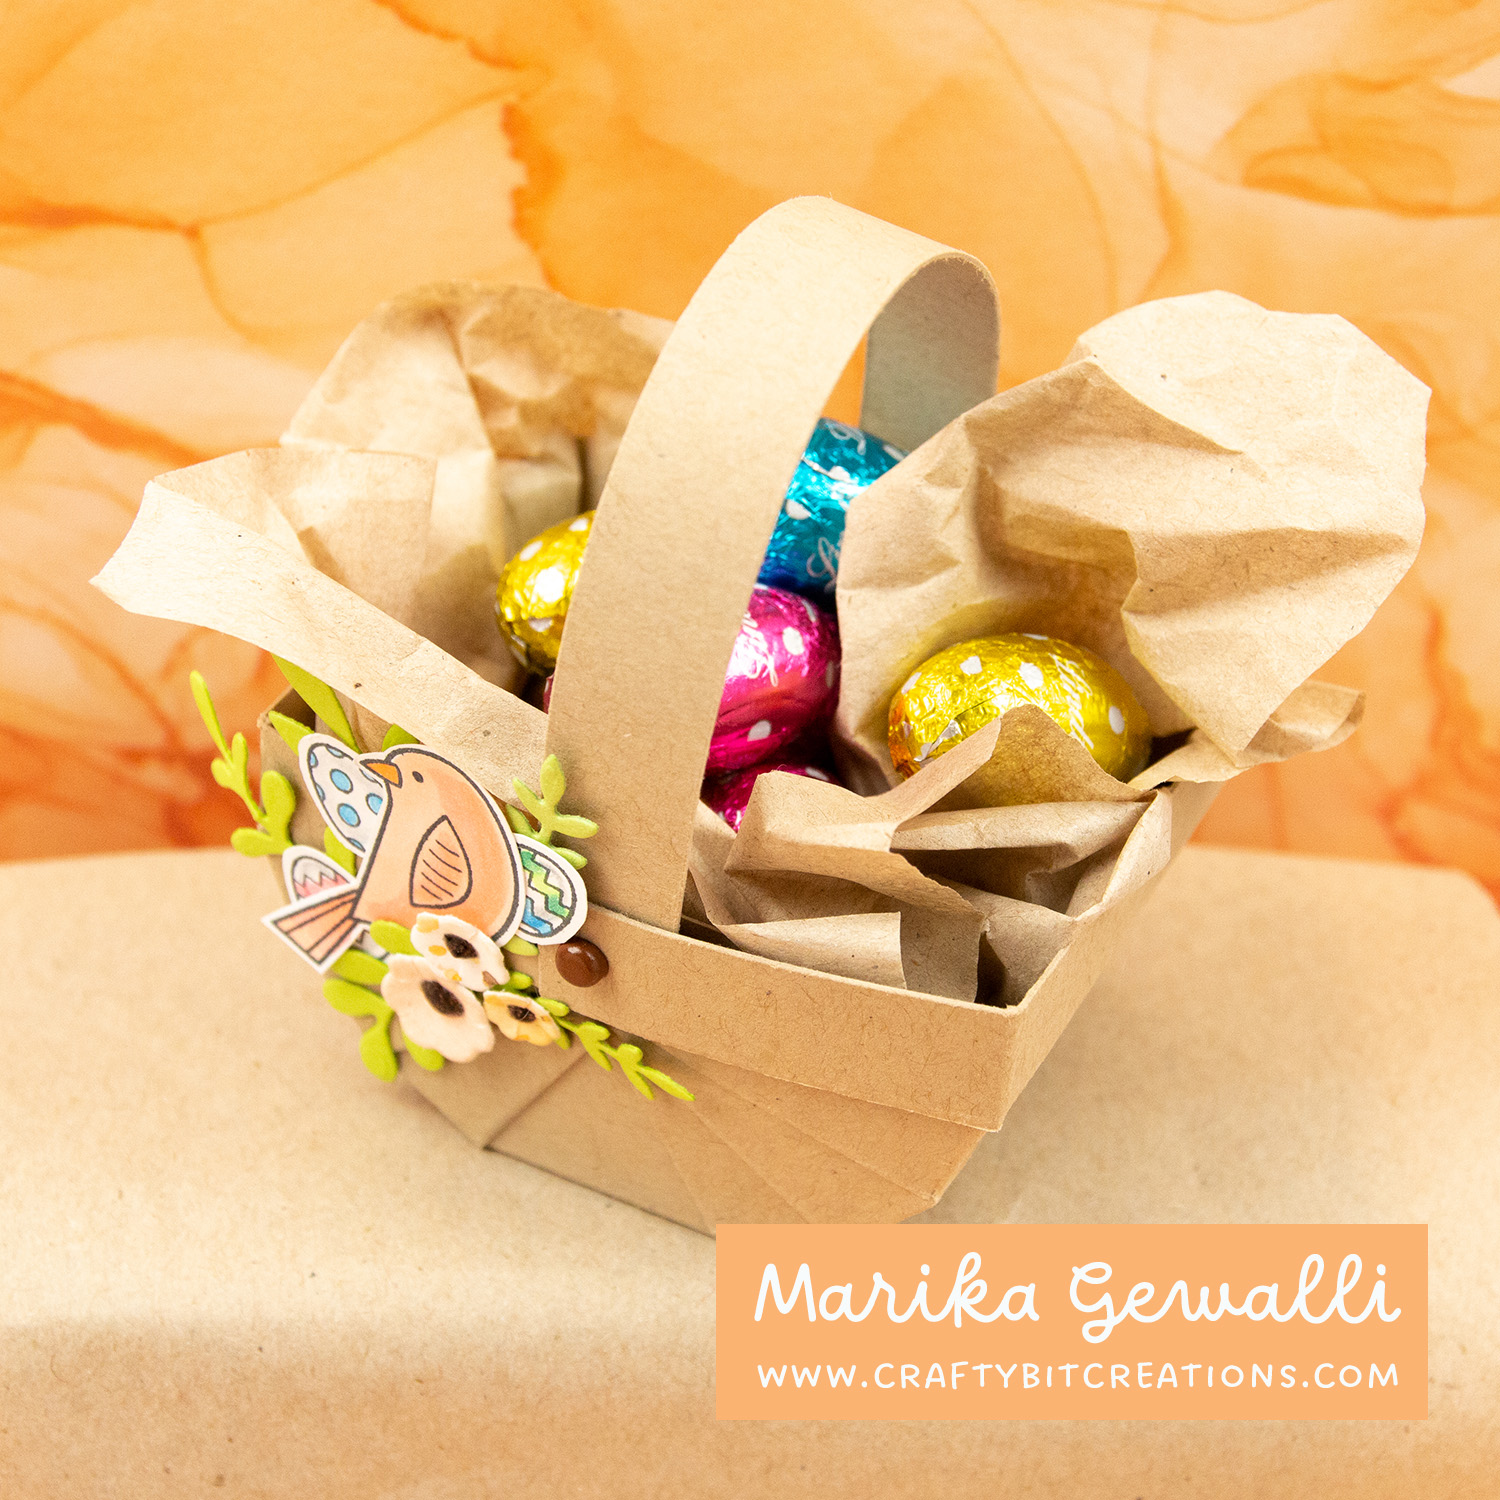
As easter is coming closer and closer, I have another easter project for you. This mini easter basket is super simple to make and perfect as a little easter table gift, or something to make for a child. I have filled mine with Lindt mini chocolate eggs, but as long as it is small you can fill it with anything. It even can hold a regular egg.
What you need to make this is half a sheet of cardstock. Cut it at 5″. The 5″ piece should be cut to 5 1/4″ and the 1/2″ piece should be cut to 6″. For assemble instructions see the video below and the schema.
When possible affiliate links are used, this means that I receive a small commission when products are purchased through the links (at no extra cost to you) I use the money to support my blog and youtube channel. If you like my projects and tutorial please consider supporting me by clicking through these links when you shop. Thanks!
Supplies
Spring Gnomes: MFTSSS Birds of a Feather Die-namics: MFTSSS MFT Fab Foliage Die-namics: MFTSSS MFT Kraft Cardstock: MFT MFT On-Point Precision Glue Pen: MFT Large Score Board: SSSAMZSBC Fiskars Trimmer : SSSAMZ
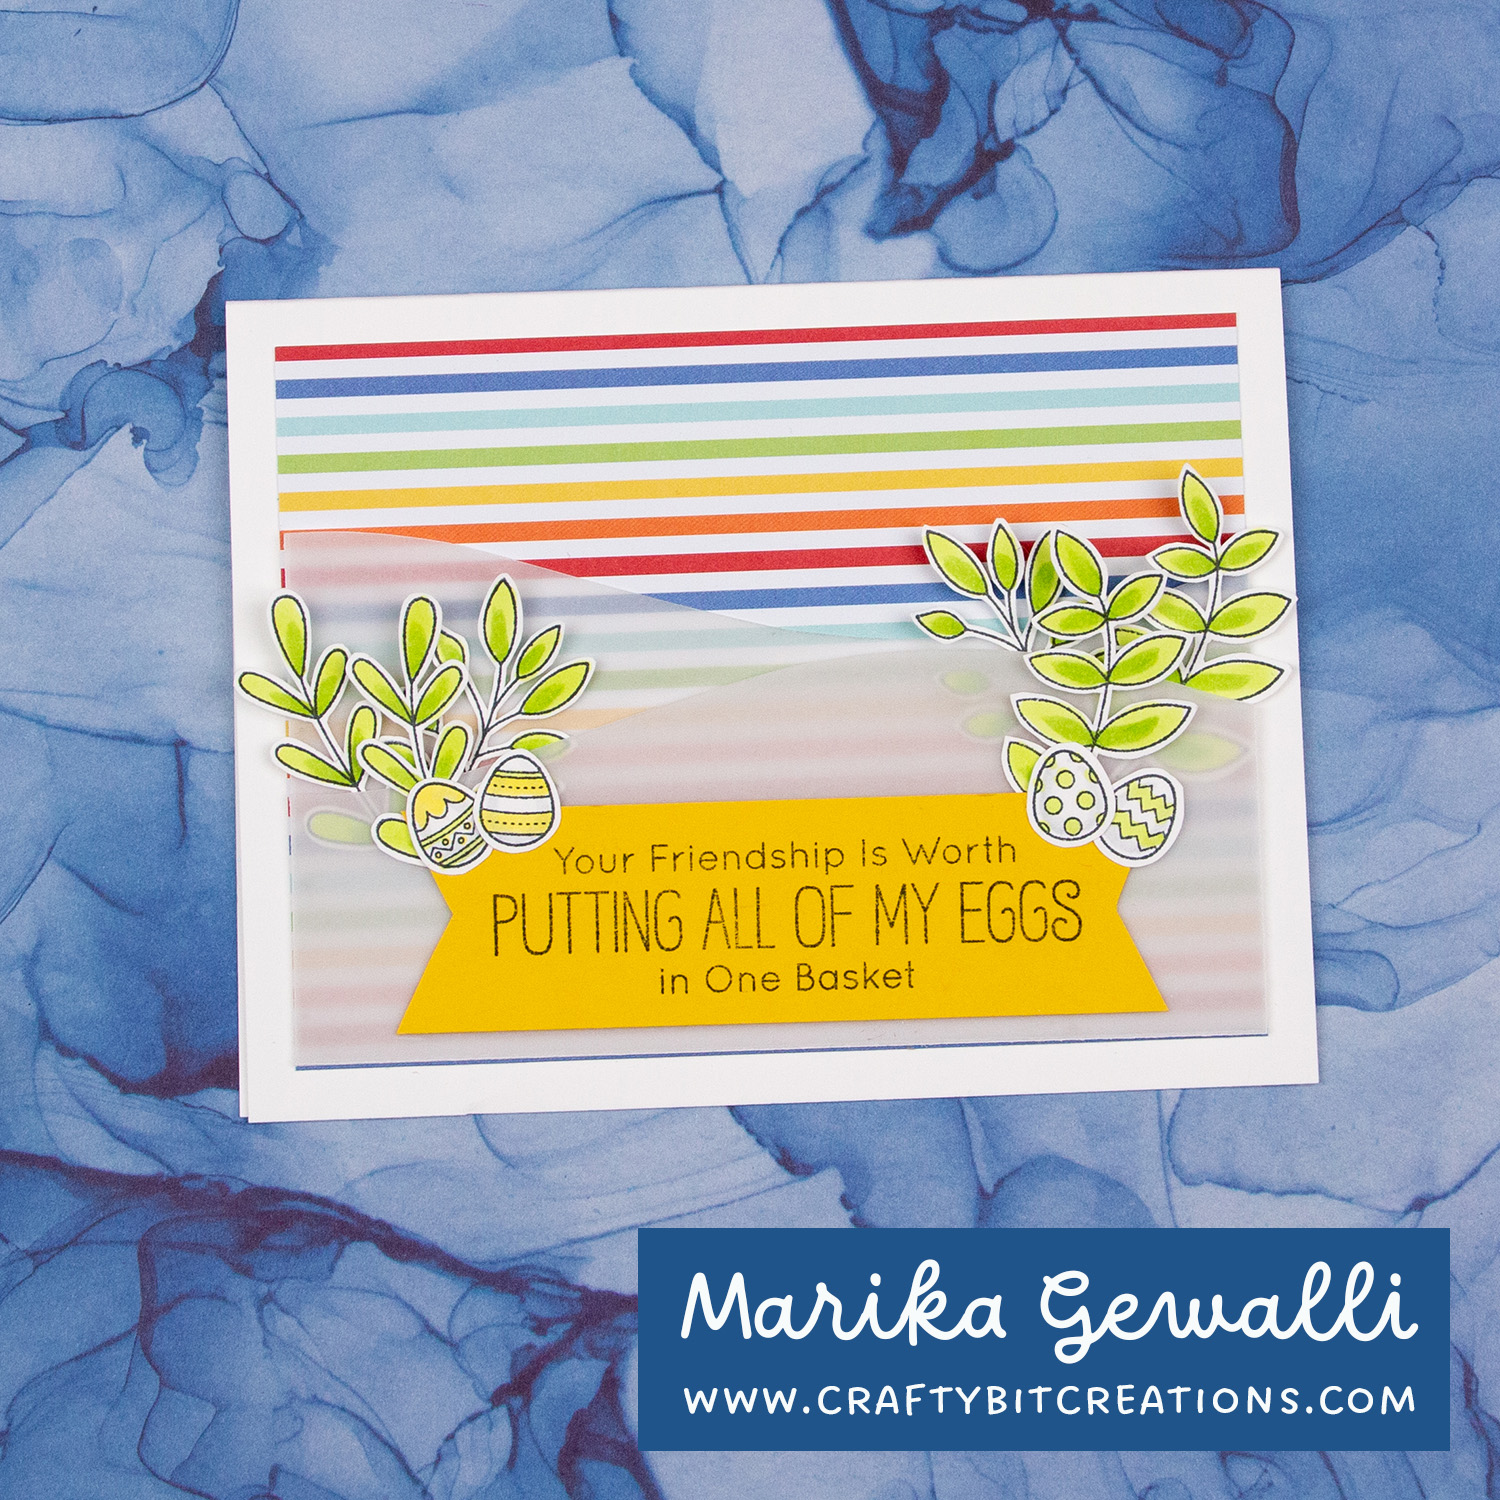
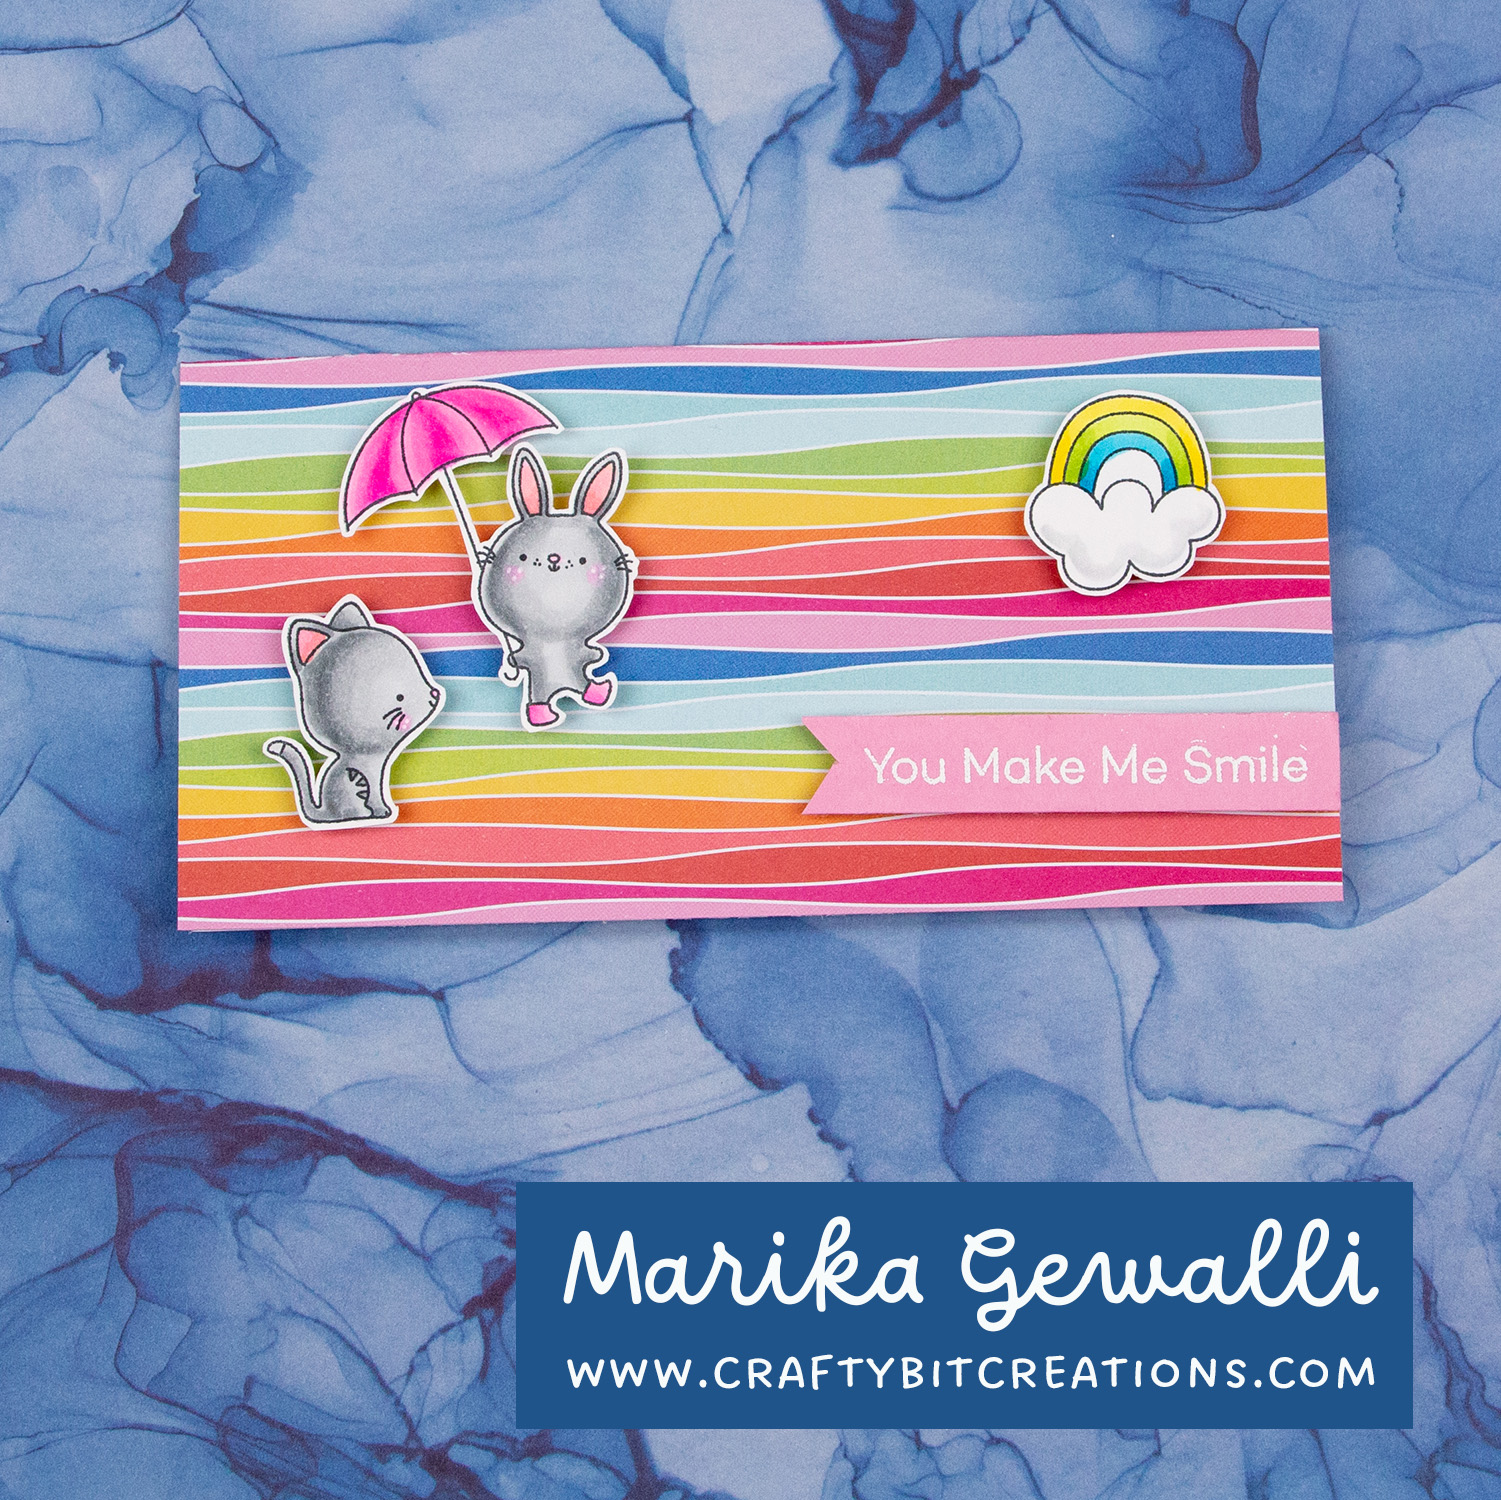
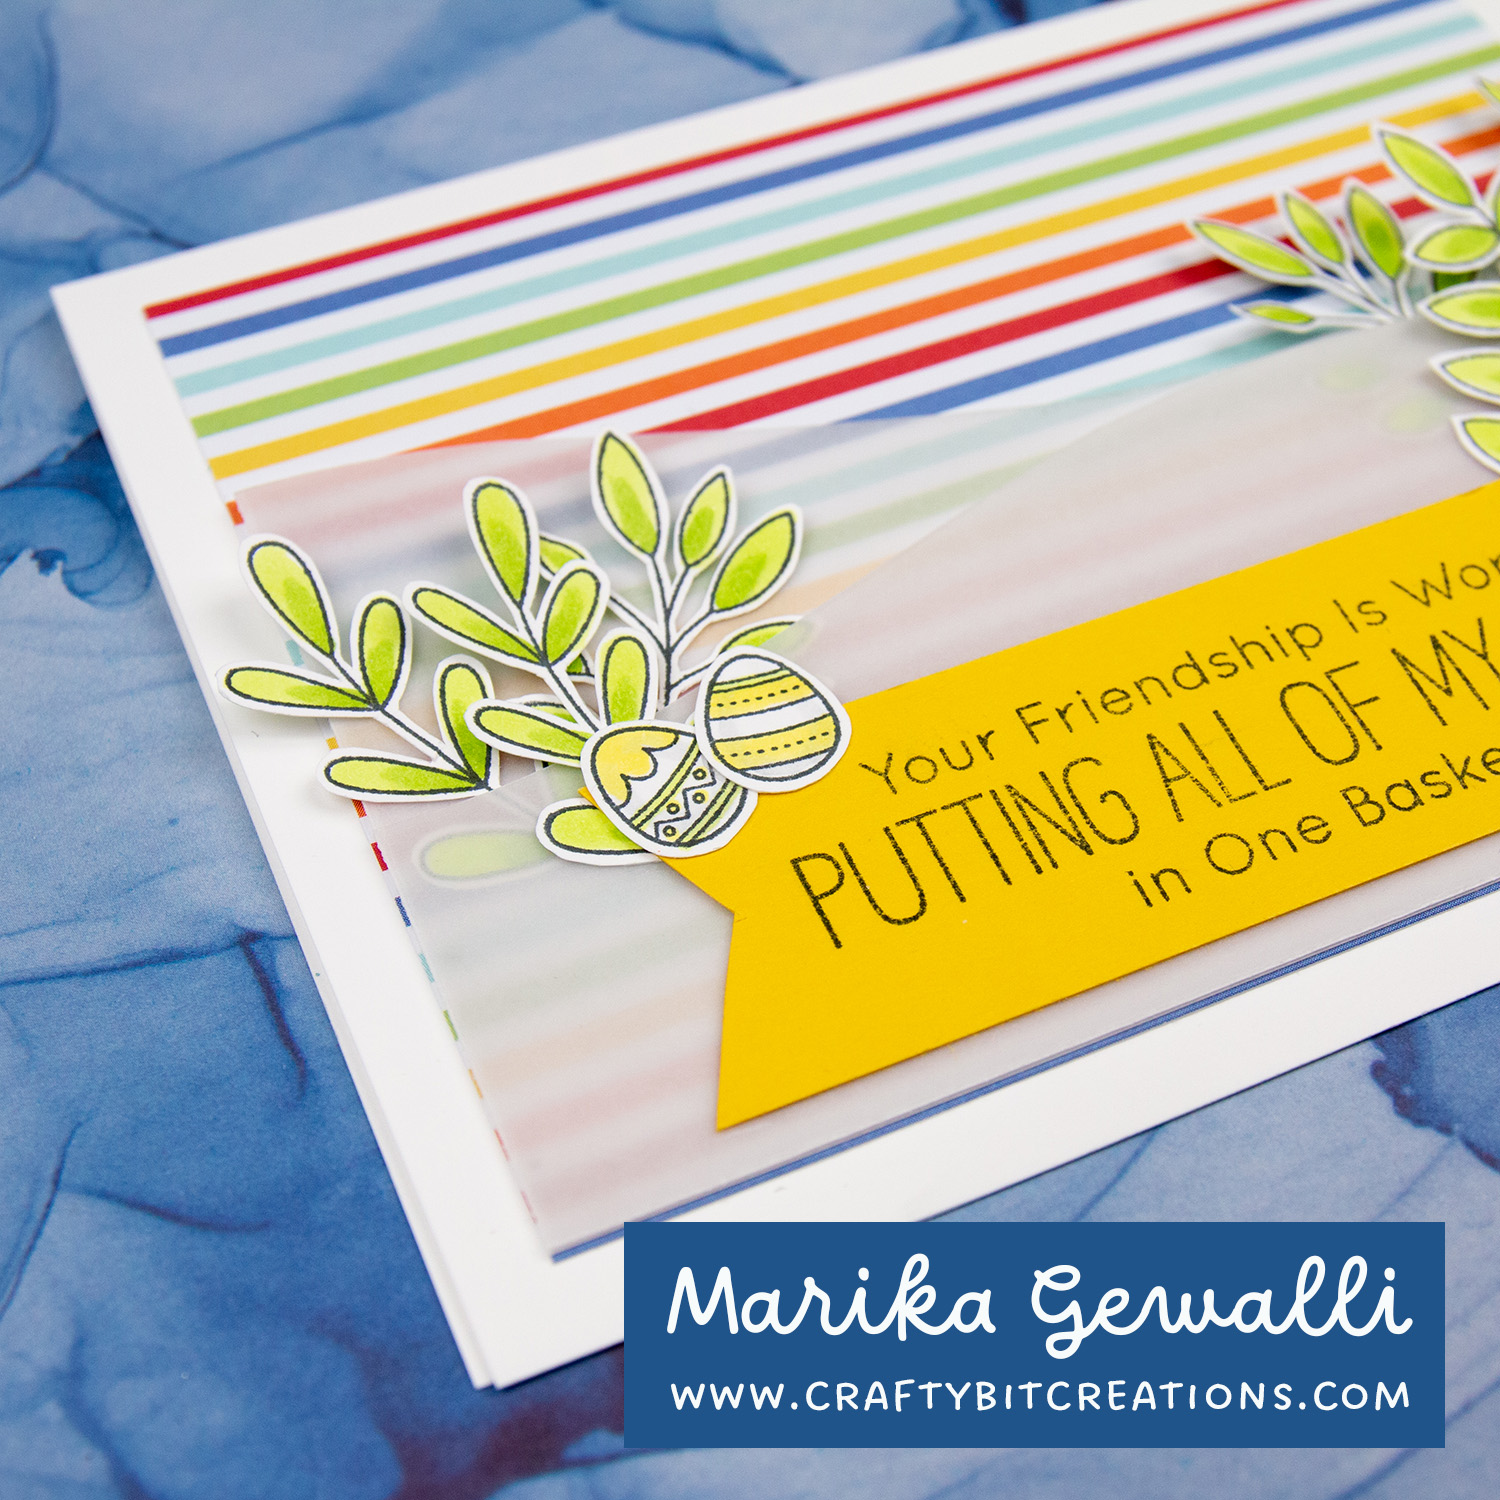
I completely love the Happy Patterns Paper Pad, it’s so bright and rainbow! It also have quite a lot of contrast with the bright colors together but also the bright white areas. I sometimes struggle using those kind of papers and I thought I’ll take the bull by it’s horns so to say. So today I’m showing you two ways of using bright pattern papper for my cards.
When possible affiliate links are used, this means that I receive a small commission when products are purchased through the links (at no extra cost to you) I use the money to support my blog and youtube channel. If you like my projects and tutorial please consider supporting me by clicking through these links when you shop. Thanks!