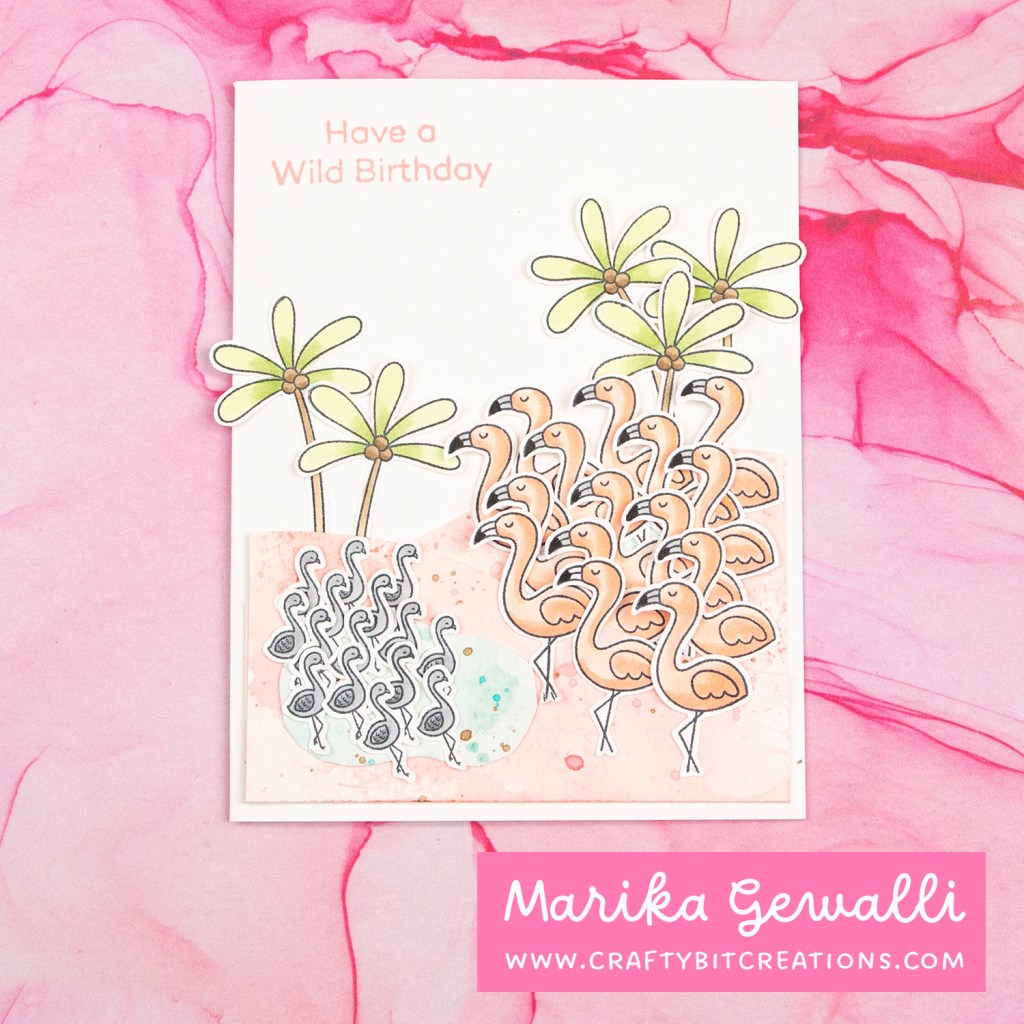
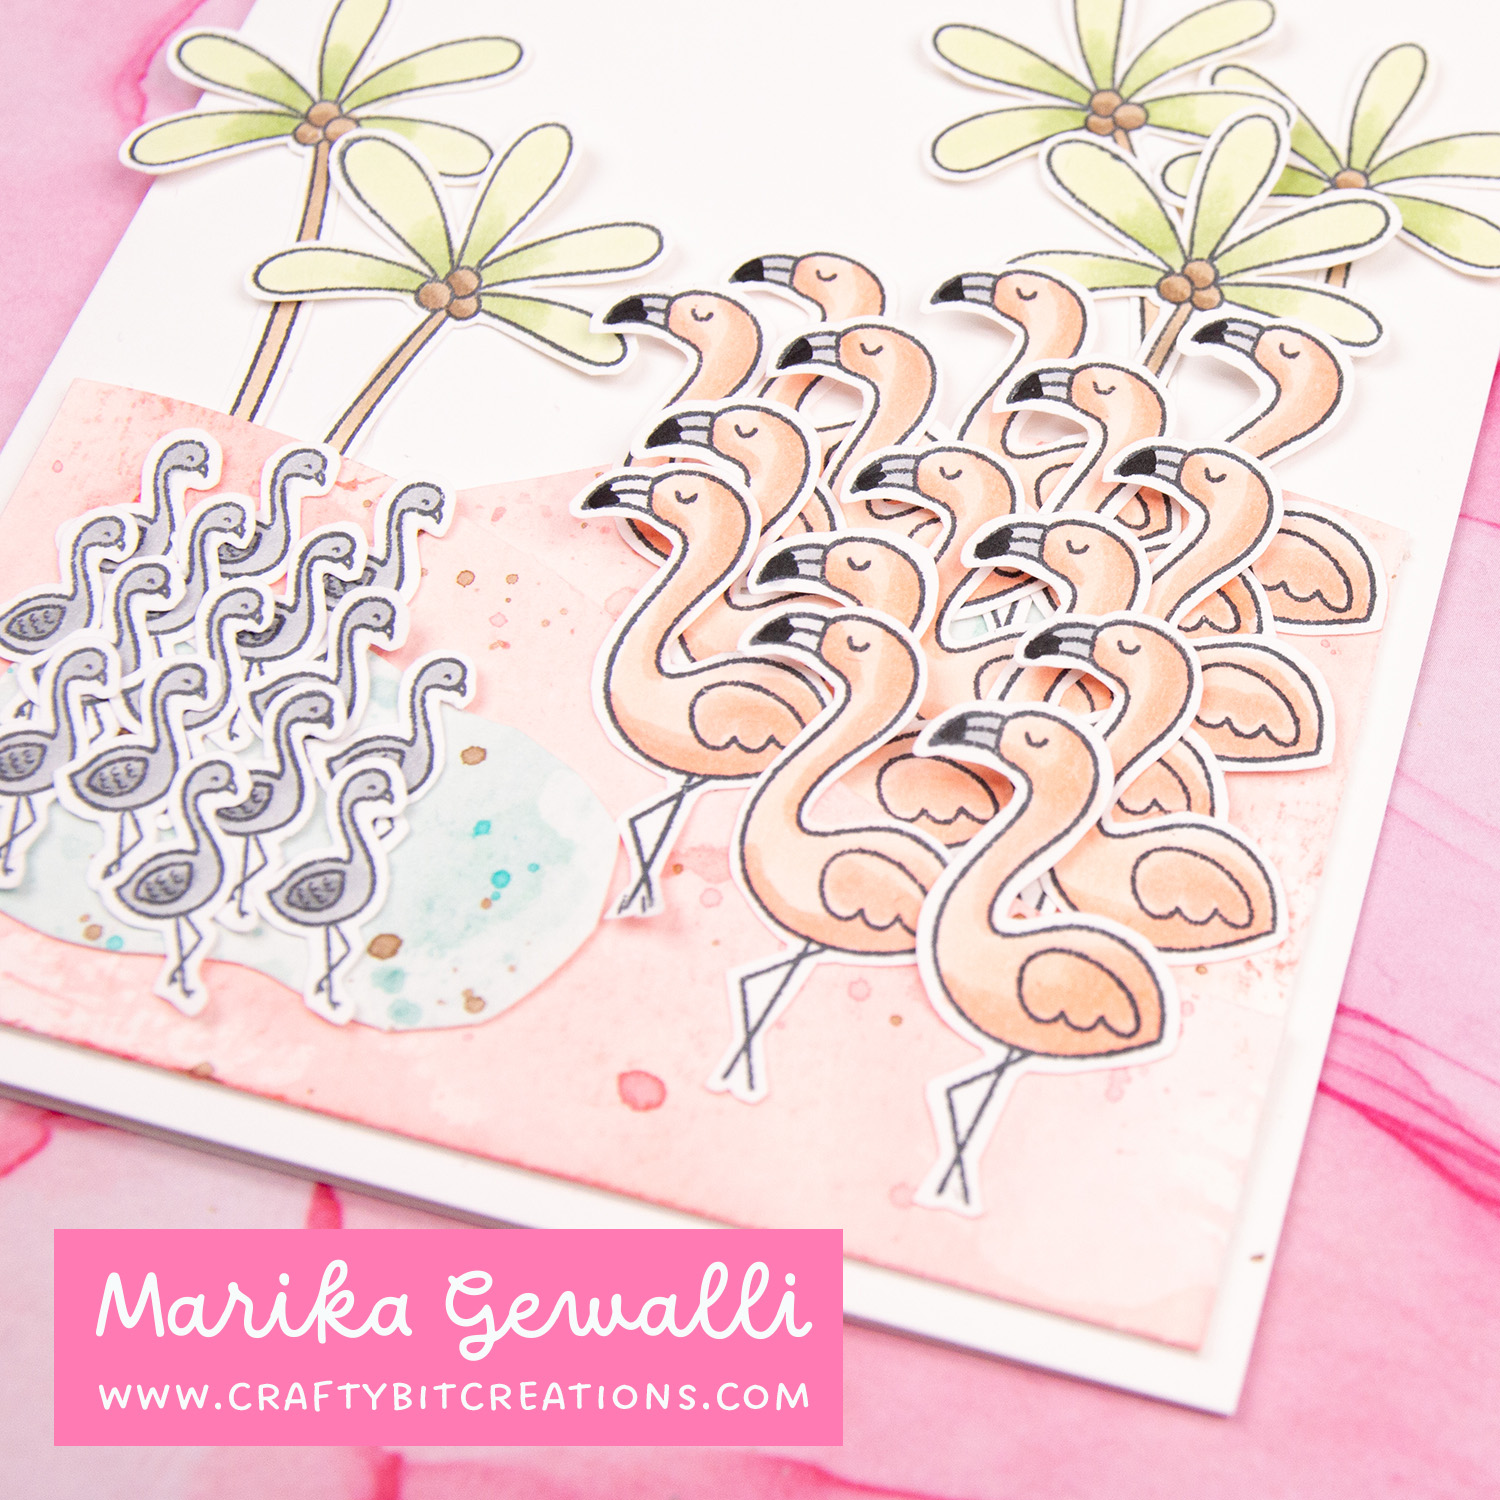
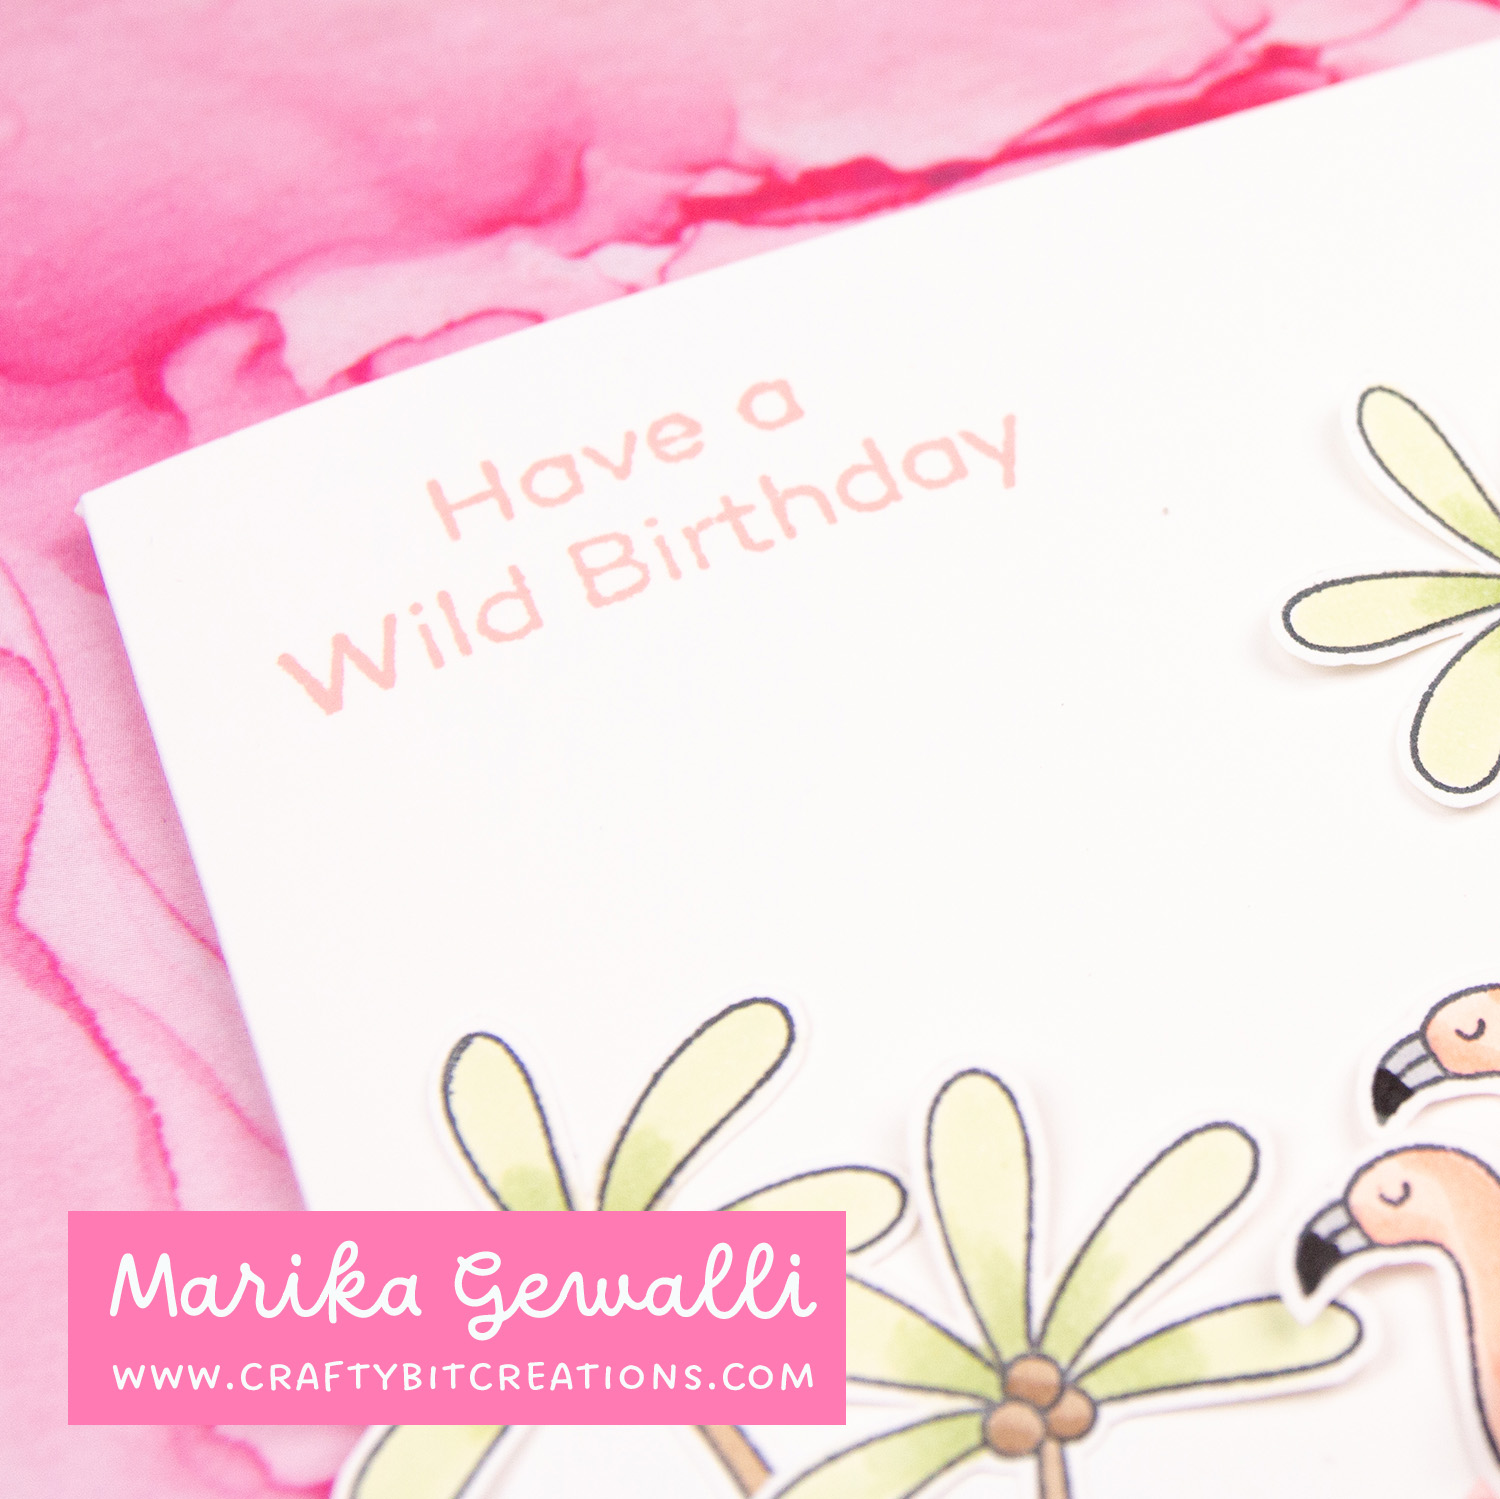
Did you know that a group of flamingos is called a flamboyance? Flamboyance, what a wonderful word! This card was inspired by flamingos, I recently found out that one of my siblings love flamingos, so I decided to make a birthday card! And when I think of flamingos I see in my mind those big watery fields that they wade through. So I wanted to make a flamboyance of flamingos.
I started by coloring and cutting out a lot of flamingos, I chose to go with the flamingo from Paradise Pals stam set. And also the smaller flamingo that came with the Top of the World stamp set as I felt they would work great for baby flamingos! I also colored five palm trees to help building a scene.
I then did my favorite smooching technique to make some hills and some water features. And put the card together. It was a real fun card to make and I hope you like it and like the video tutorial.
When possible affiliate links are used, this means that I receive a small commission when products are purchased through the links (at no extra cost to you) I use the money to support my blog and youtube channel. If you like my projects and tutorial please consider supporting me by clicking through these links when you shop. Thanks!
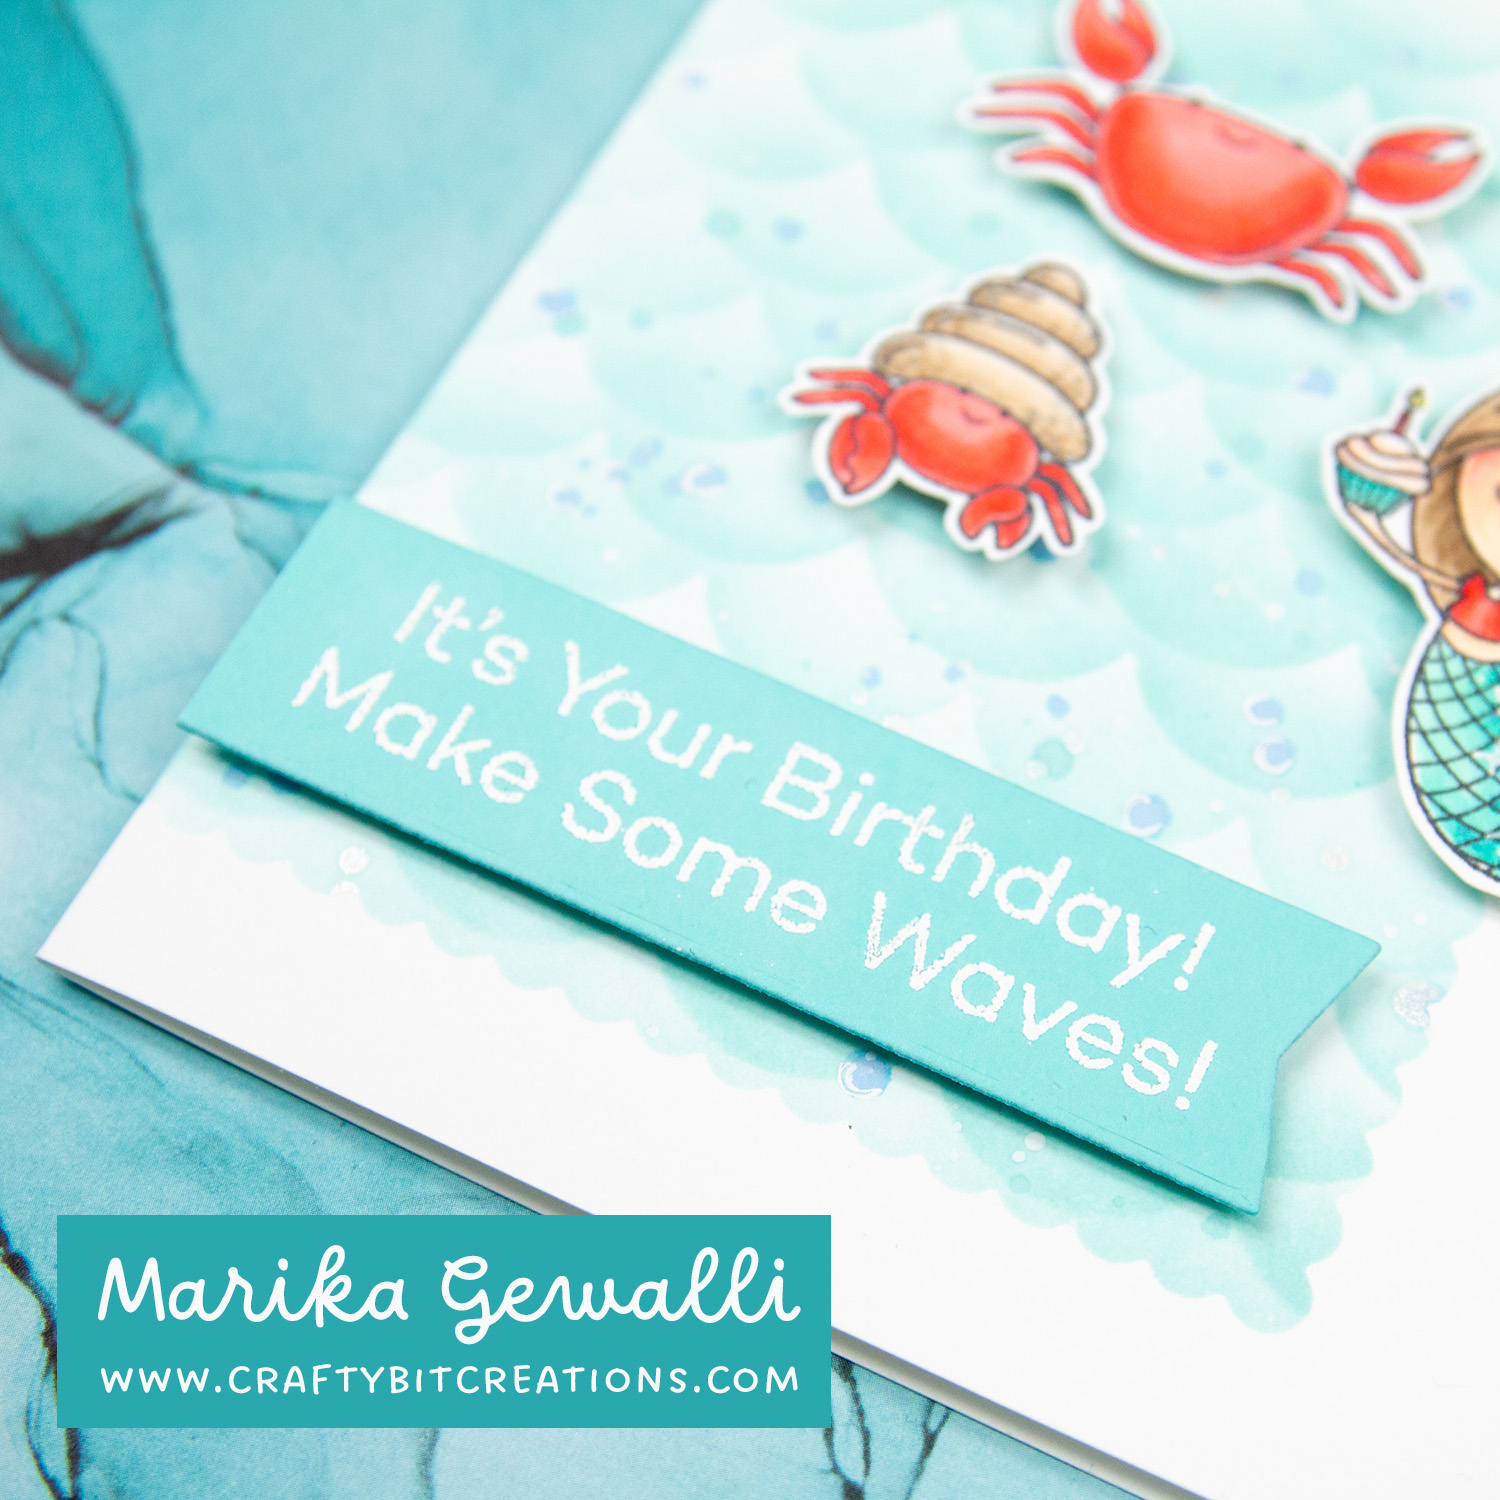
The sketch challenge 590 is out on My Favorite Things. I had saved the Bubbly Birthday for May but this sketch was just too perfect for them to not use them. I colored one of them and then combined the mermaid with the Island Shell-ebration stamp set as they go so good together!
For the background I used my favorite ink color Sno Cone and blended it over the Classic Edges Stencil in a square that I masked out with the background die from the Blueprints 27 and some masking paper. I did buy the Classic Edges Stencil to use it for waves. I also added some splatters in Caribbean Sea Ink, Cornflower Ink, White Gesso and some Silver Shimmering Water color for texture. Not sure about that choice, but I’m ok with it.
I finished it off with my usual white heat embossed sentiment on colored cardstock. This time I choose to go with the Summer Splash Cardstock and I love the contrast. If you want to see the other my favorite sketch challenges I have entered you can find them HERE.
When possible affiliate links are used, this means that I receive a small commission when products are purchased through the links (at no extra cost to you) I use the money to support my blog and youtube channel. If you like my projects and tutorial please consider supporting me by clicking through these links when you shop. Thanks!
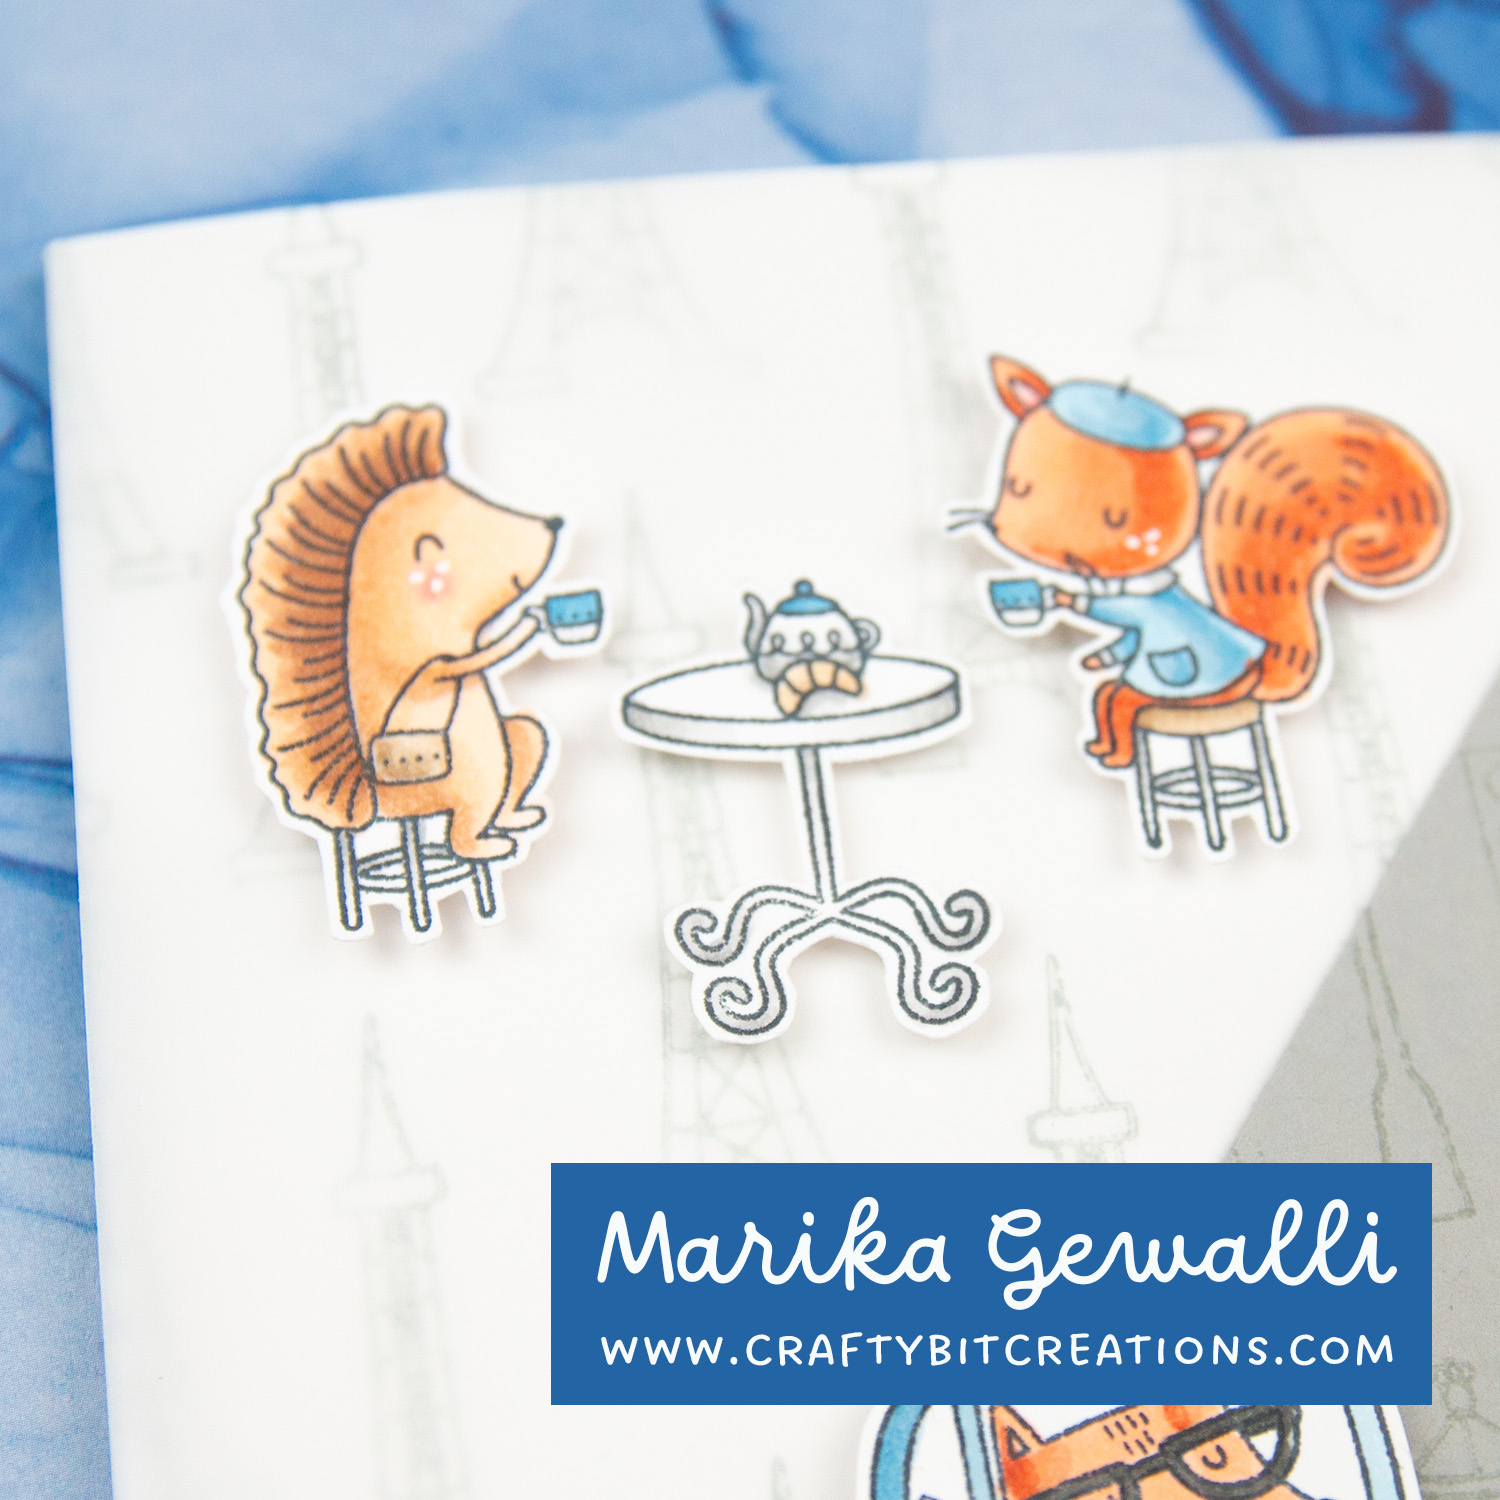
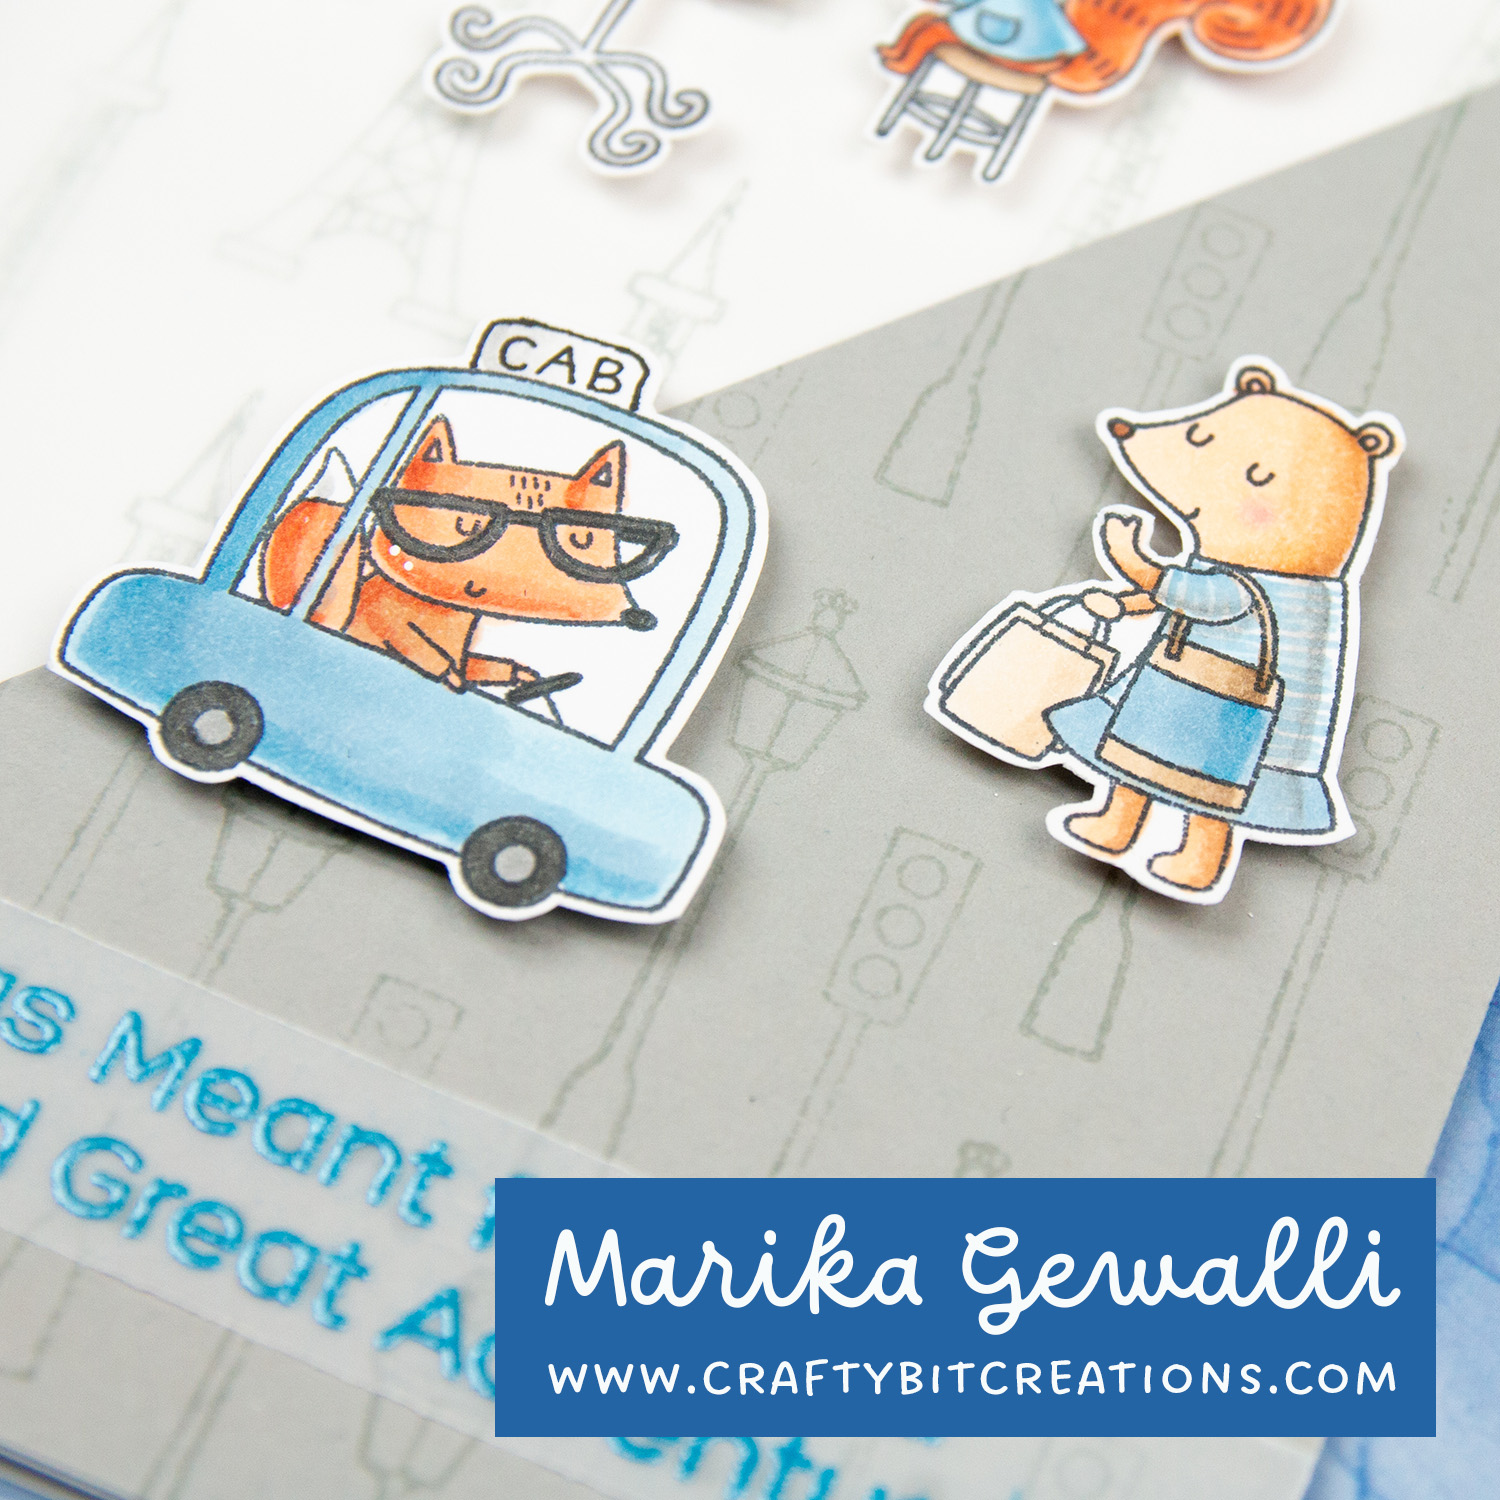
Mondays are dedicated for the My Favorite Things Sketch Challenges. And this week it’s Sketch Challenge 588 and the 14th I have taken part of since the start of the year! This weeks challenge I felt would be perfect to tell a story, it reminded me of a story box in a manga book. I’ve been wanting to use the Travel Buddies stamp set, I bought it with one card in mind but that one didn’t come out the way I wanted. So when this challenge came along I knew I needed to use it.
I did a couple of modification to the stamp set to make it fit into my story a little bit better. The little car got a cab sign. And the shopping bear lost what I think is a credit card (or money) so it would look like she was waving the car down. For the background I used cement cardstock and ink. But the ink I did stamp of on a separate paper to make it a little bit lighter. In the end I felt that the eiffel towers still was a little to dominant so I added some vellum to lighten them a little bit more. And lastly I uses some vellum and some blue embossing powder for the sentiment. Hope you enjoy the card!
If you want to see more of the challenges that I have followed, you can find all HERE.
When possible affiliate links are used, this means that I receive a small commission when products are purchased through the links (at no extra cost to you) I use the money to support my blog and youtube channel. If you like my projects and tutorial please consider supporting me by clicking through these links when you shop. Thanks!
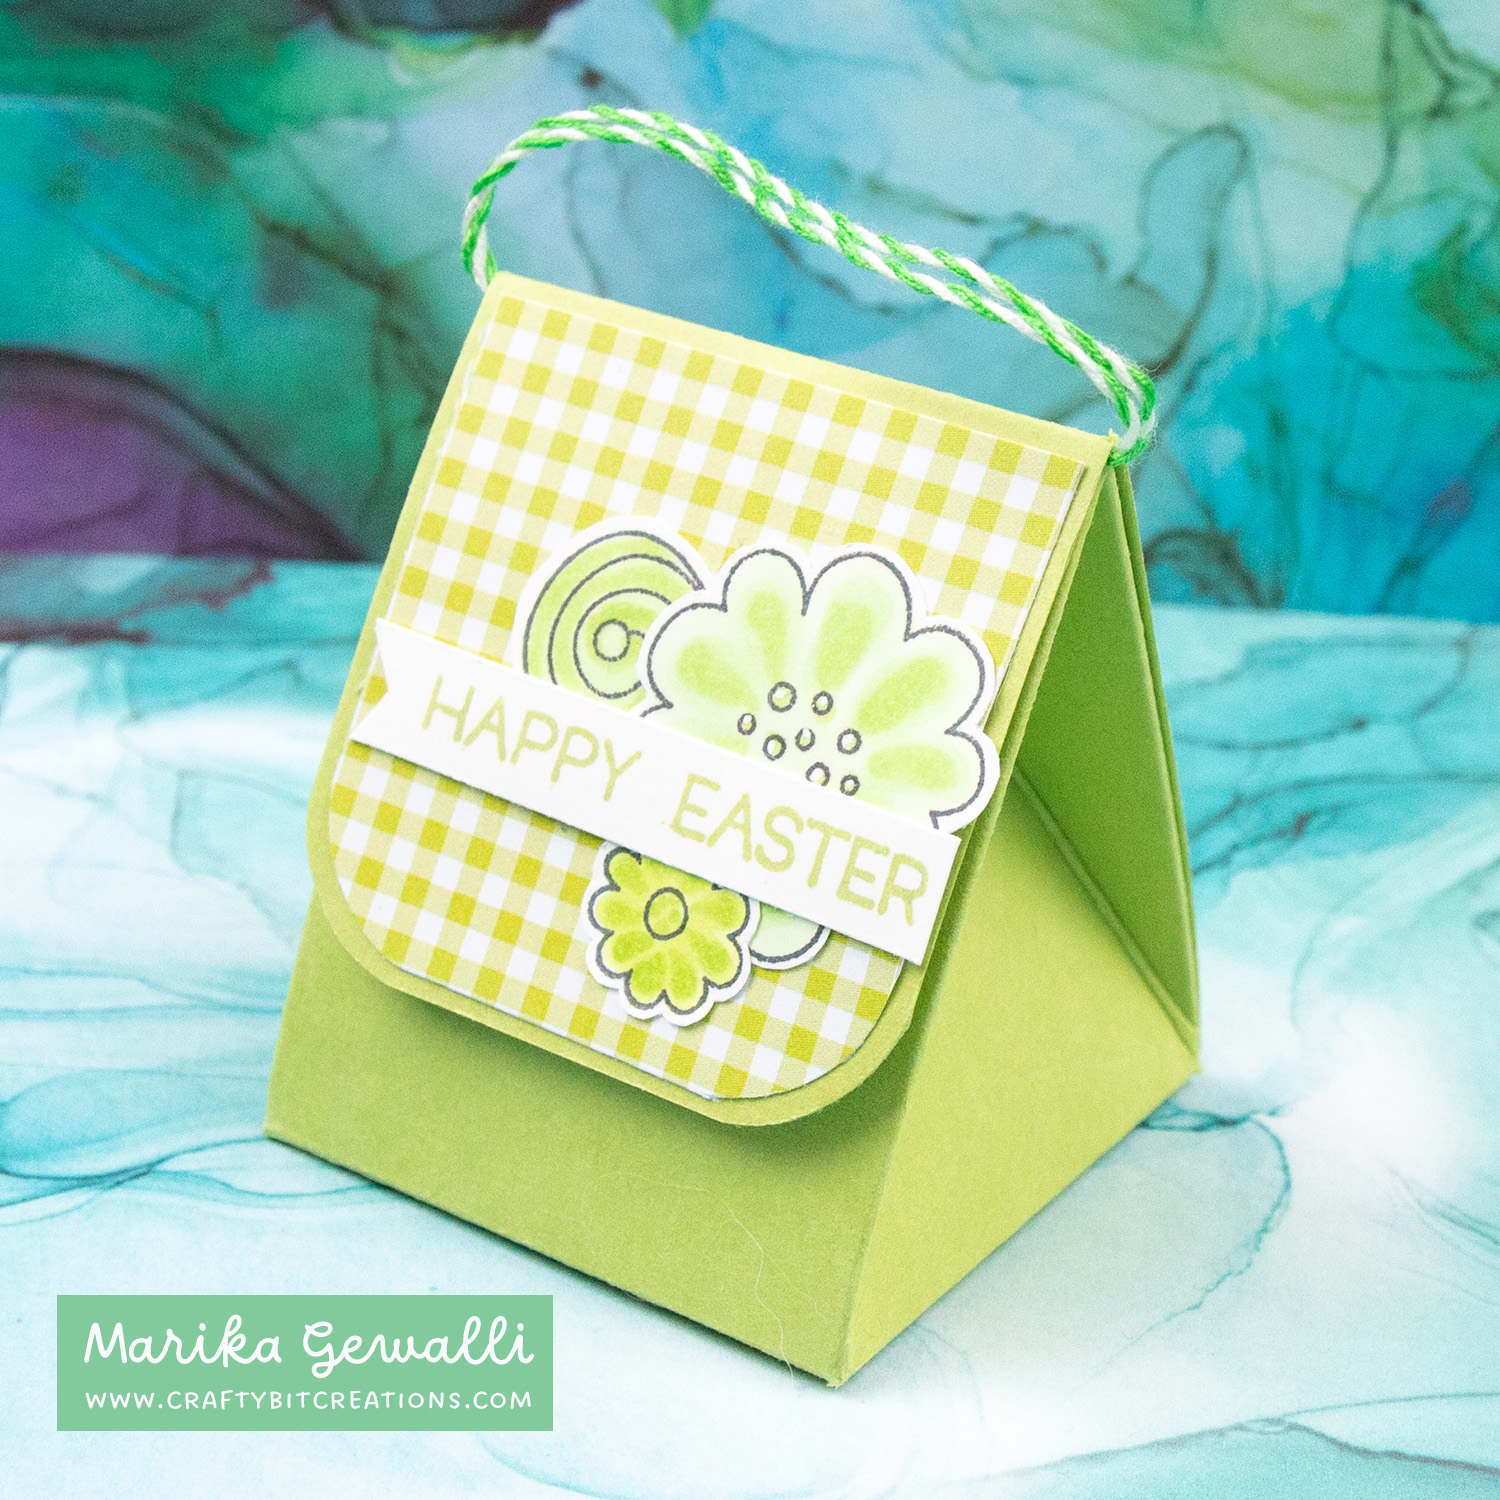
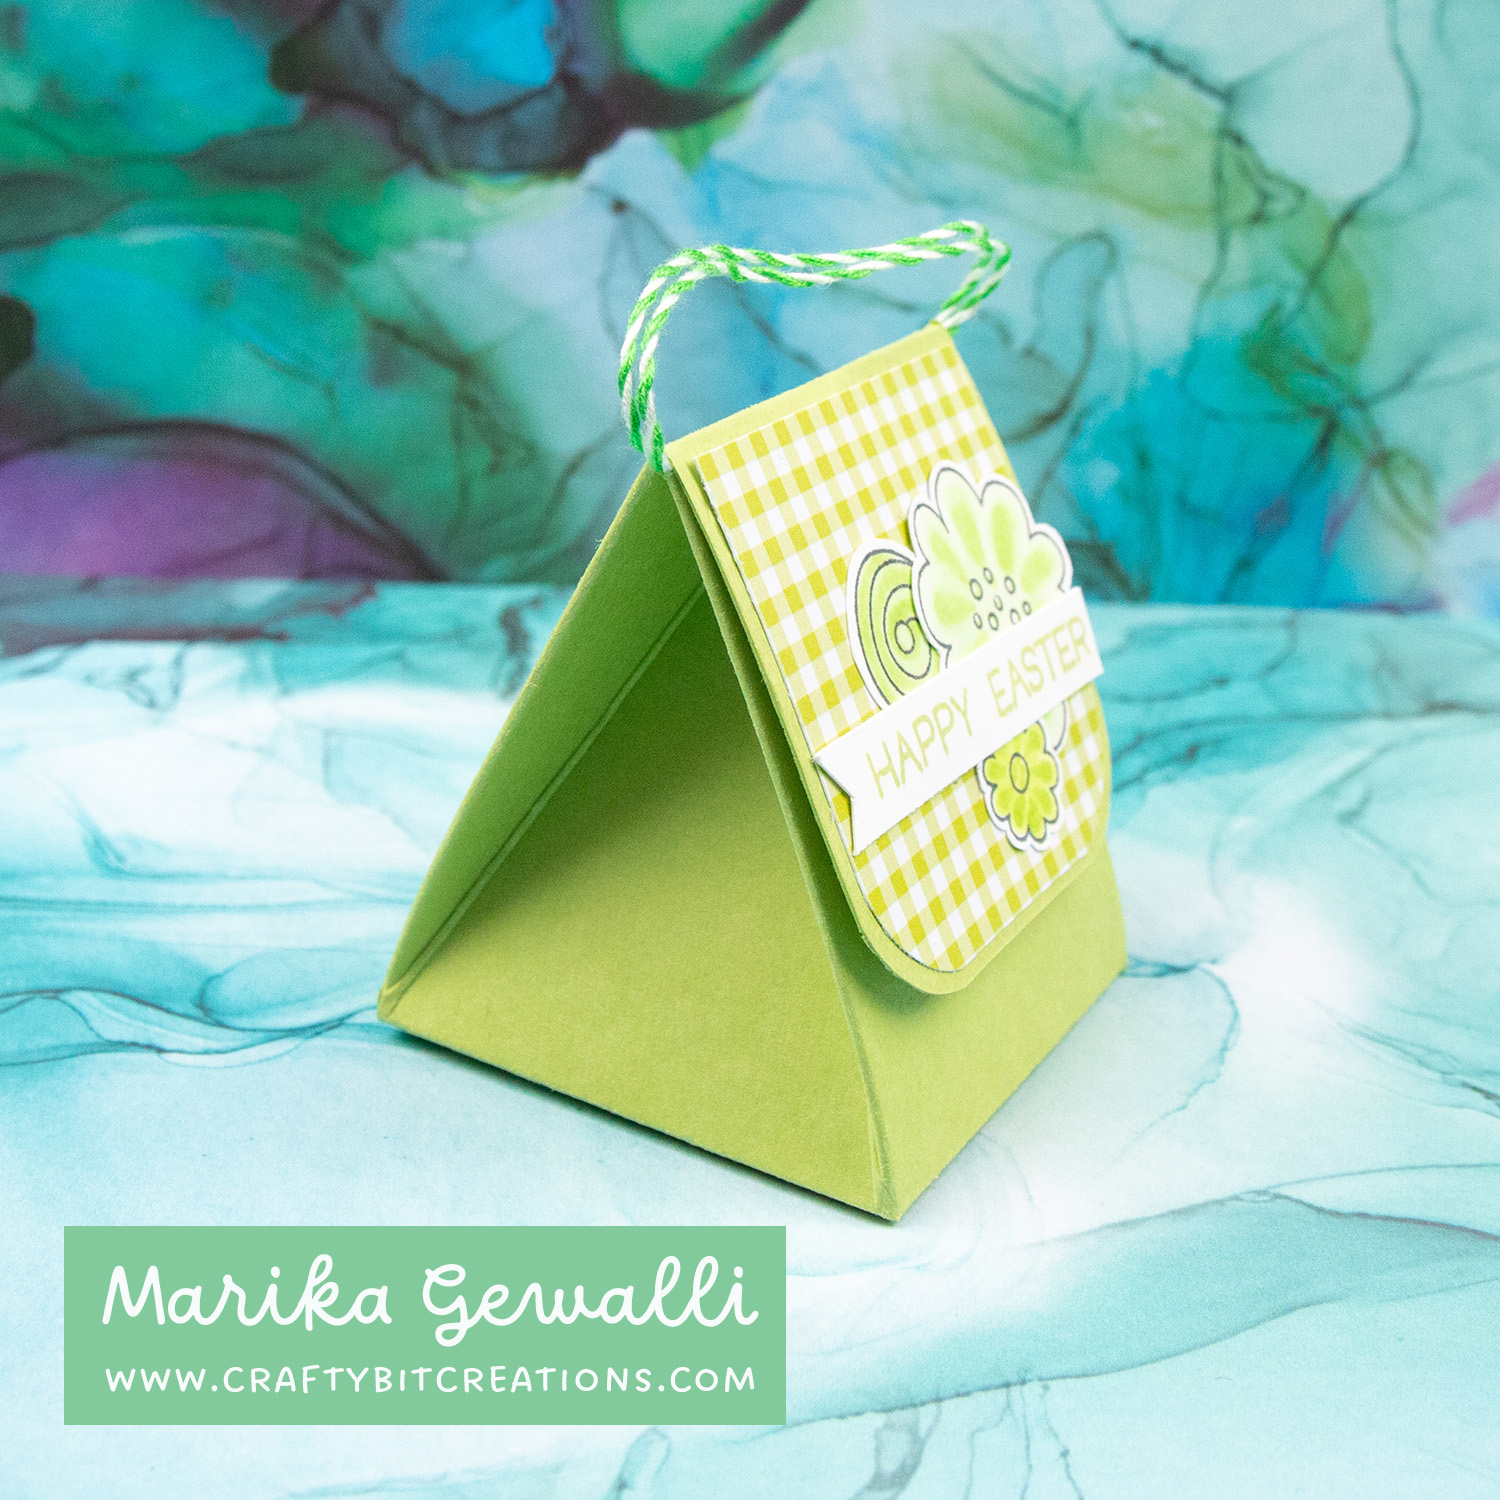
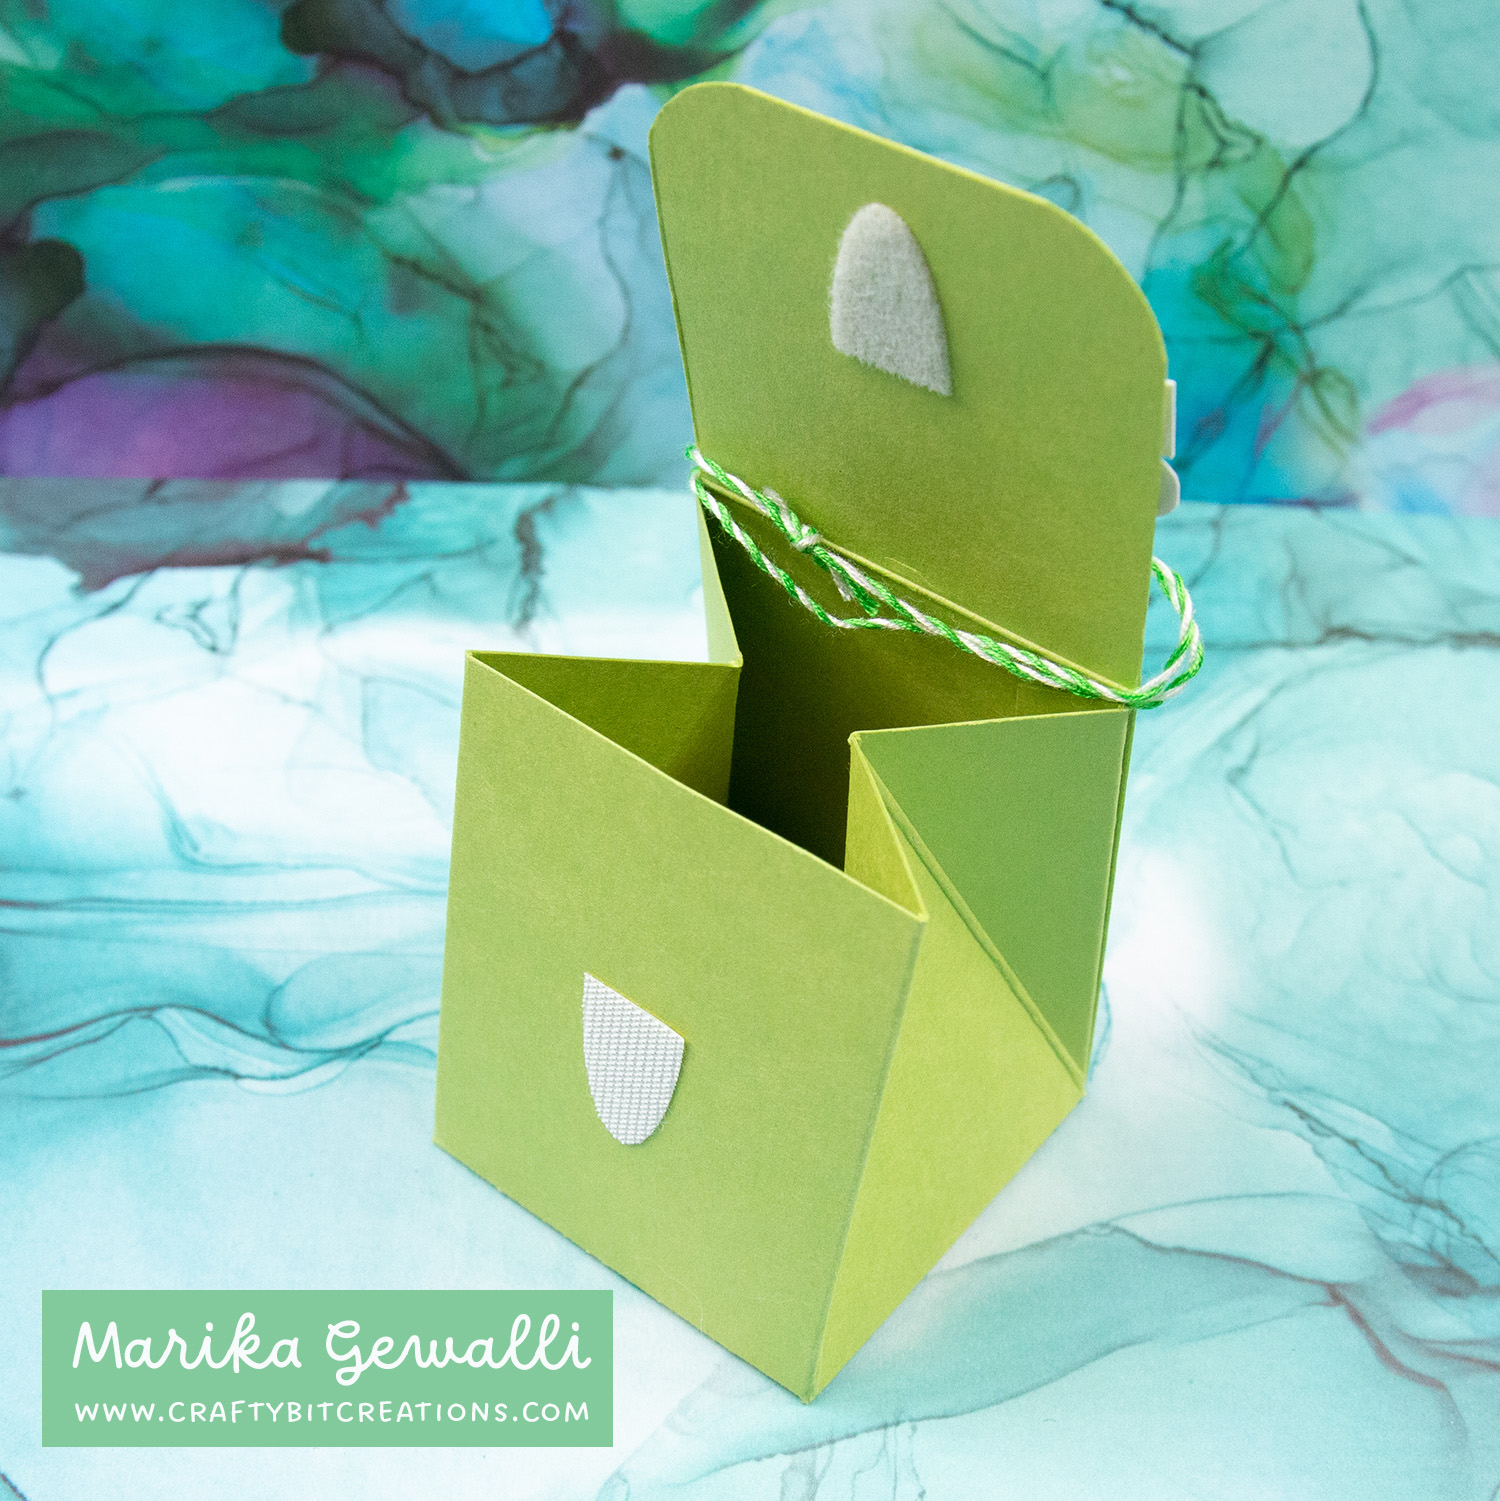
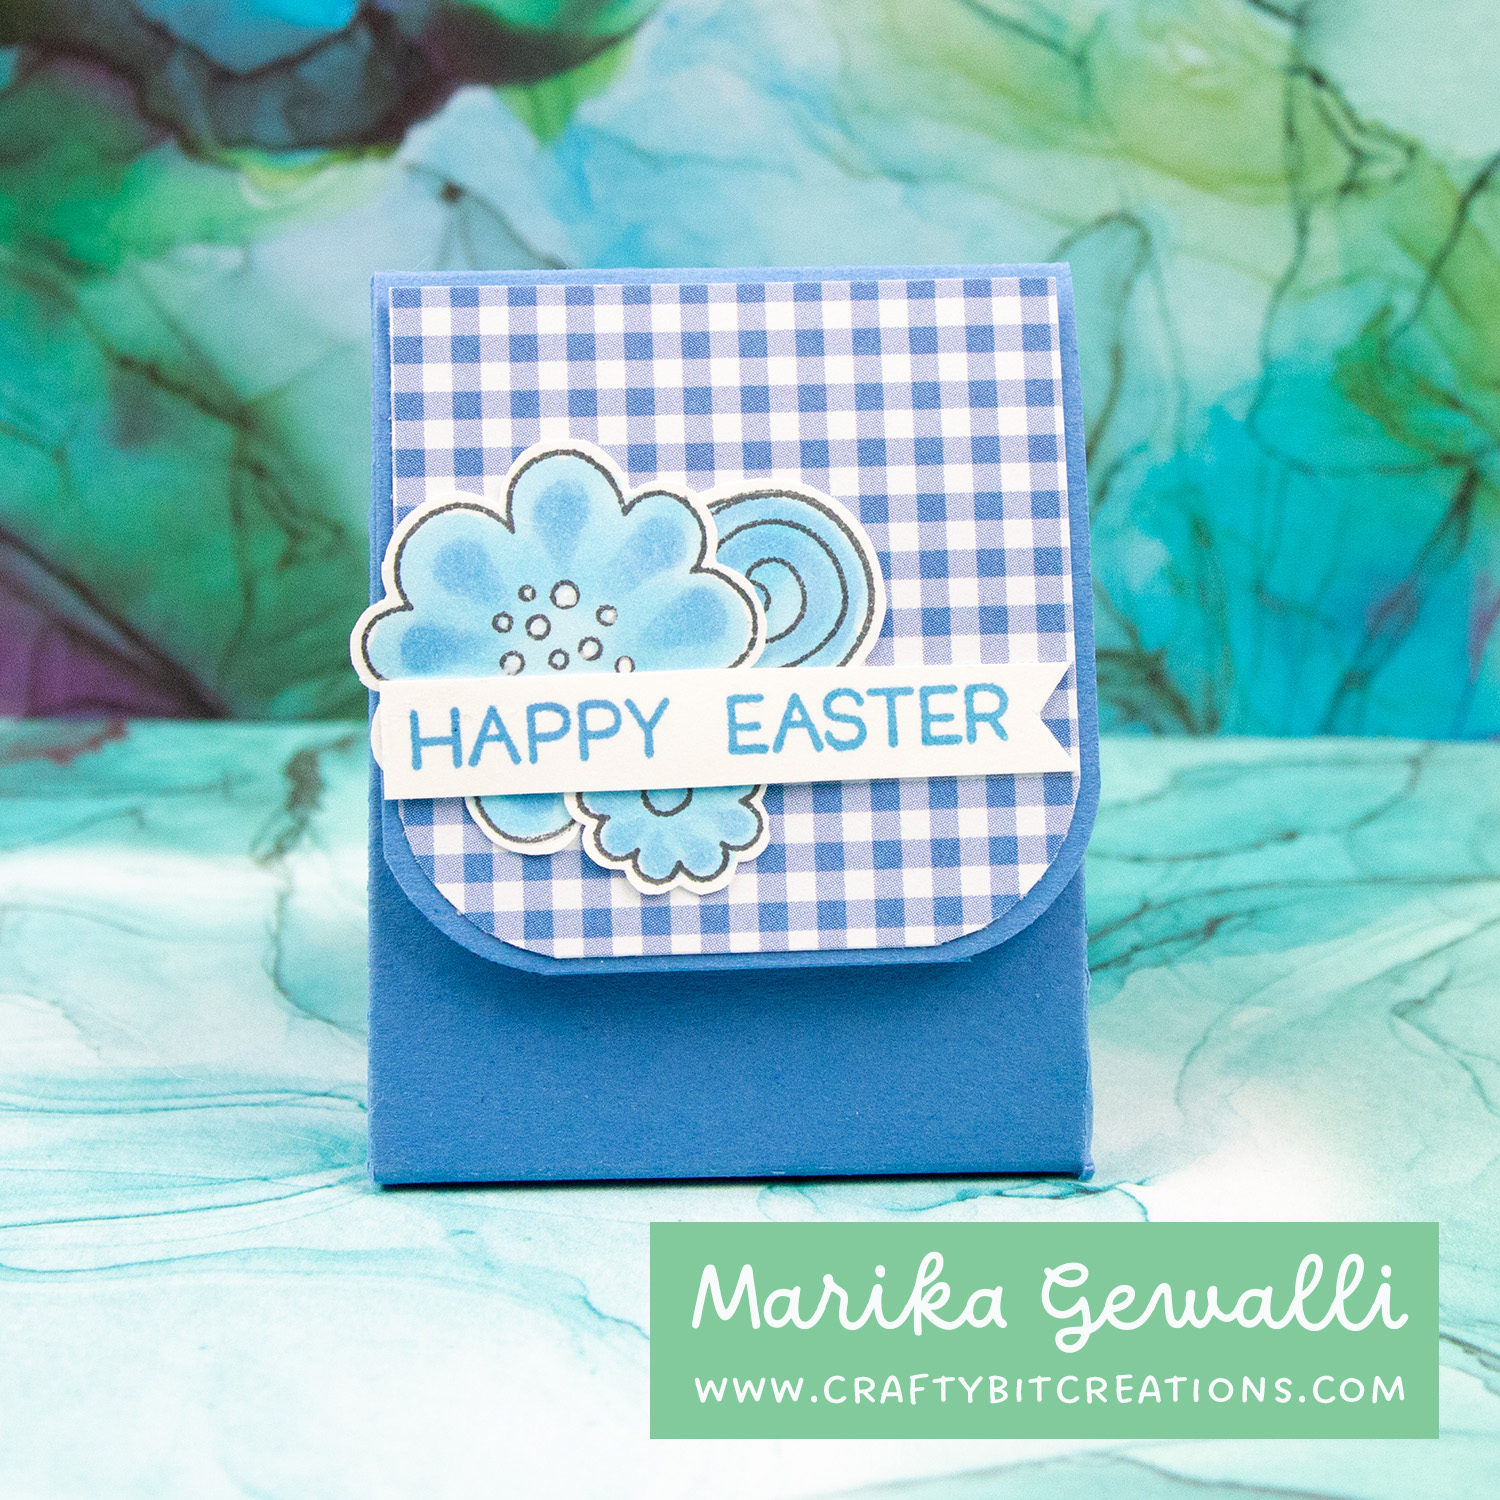
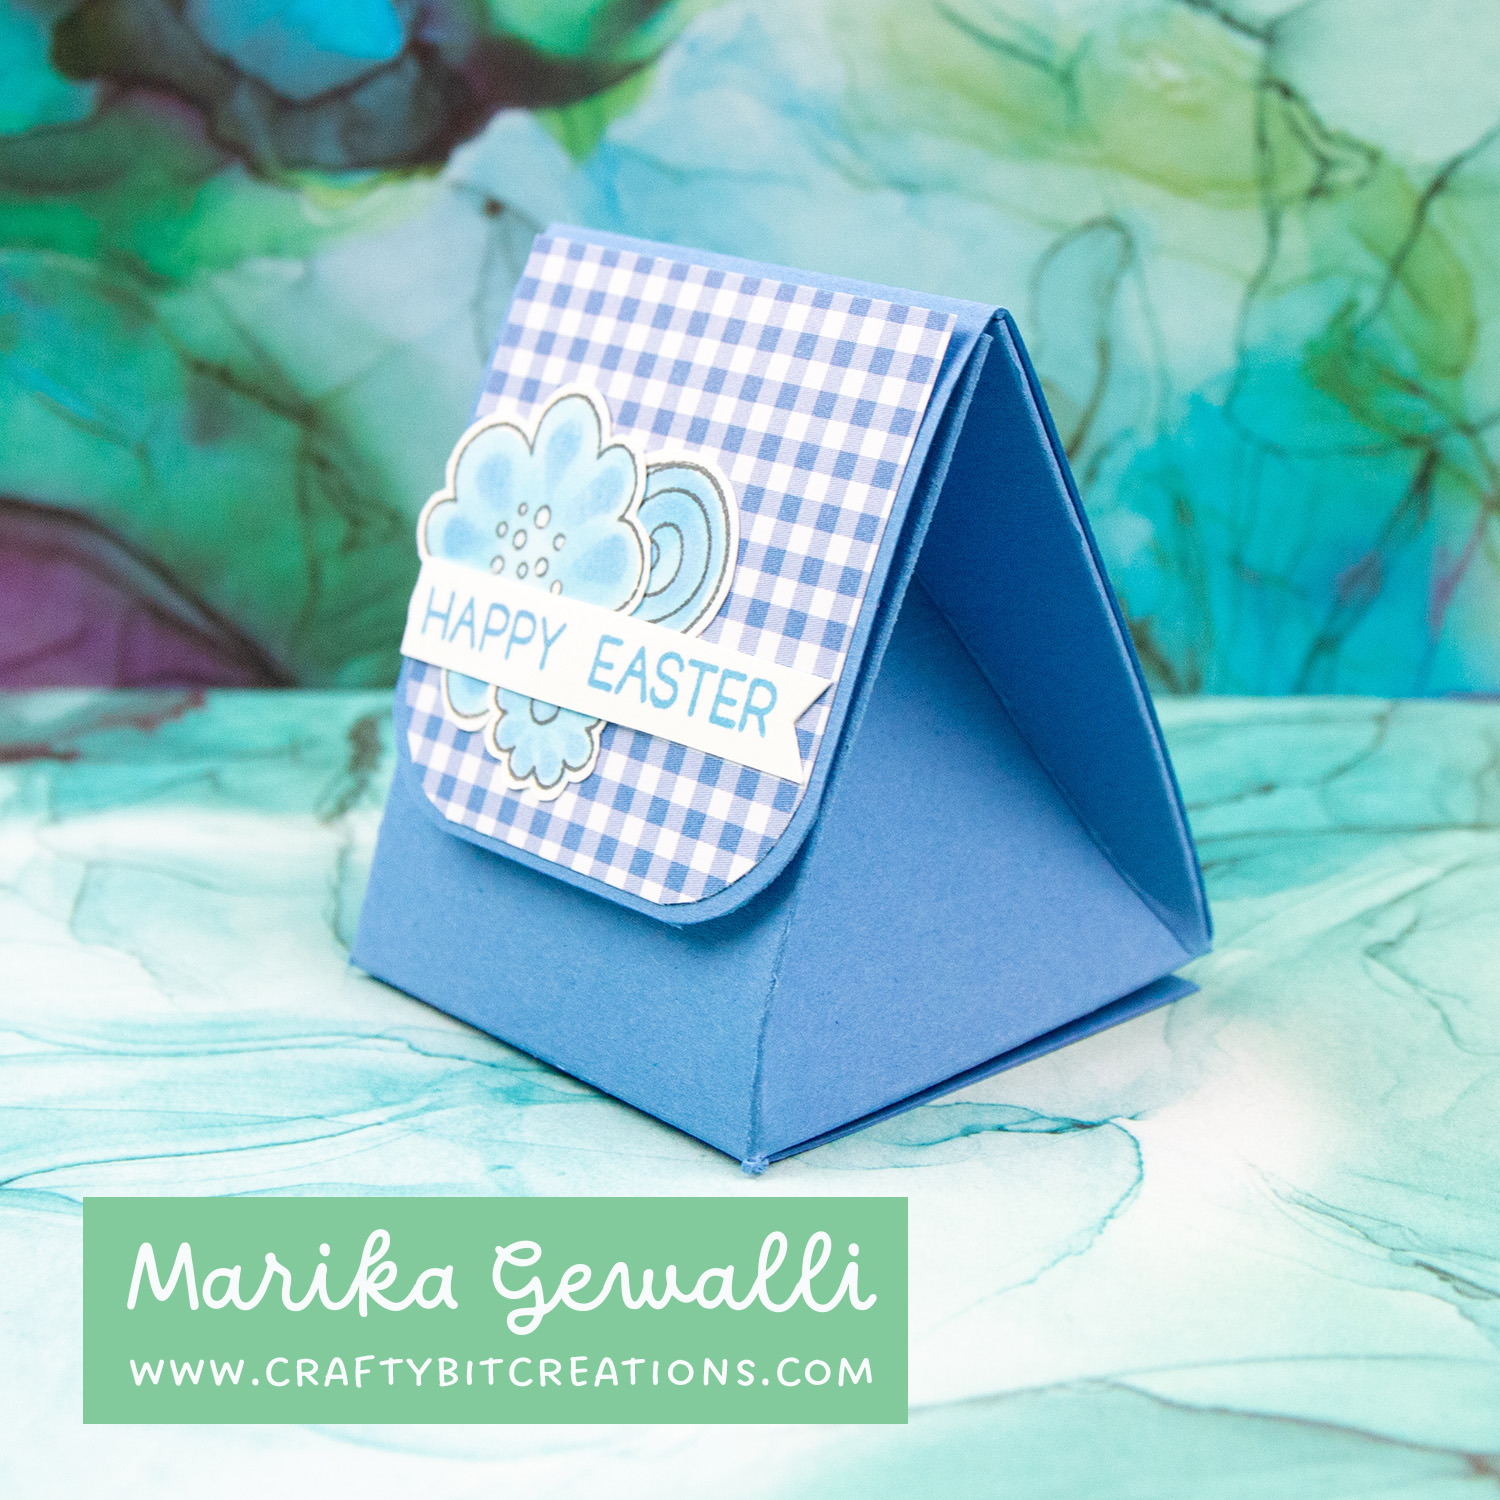
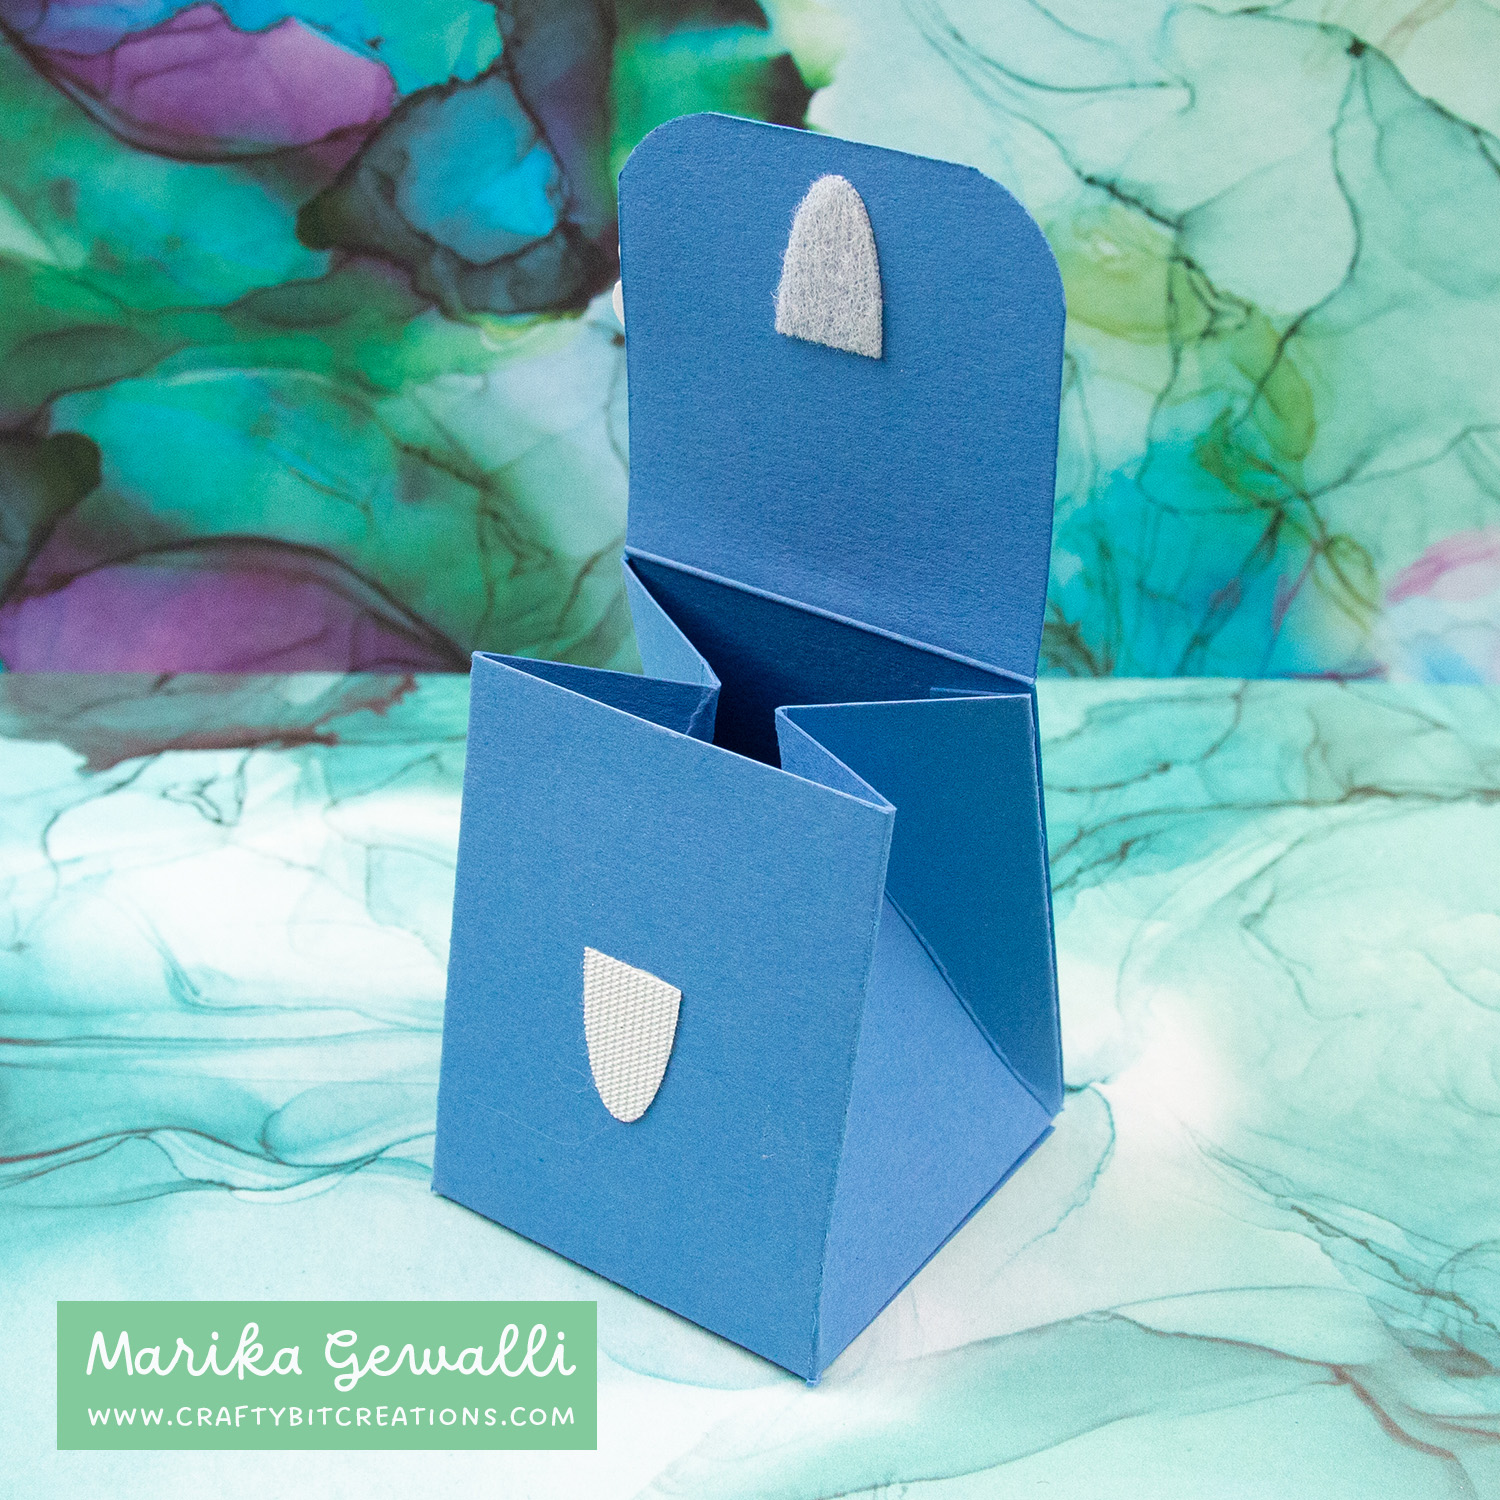
This is my last easter project for the year, I hope you have enjoyed them. This is an easter mini clutch box and they are made to fit 6 Lindt Mini Chocolate Eggs. But they can fit anything small that you could think of. You can also go the clutch version or add a “handle” and make it a purse.
You can follow the template above or you can download the pdf HERE and the free templates & cut files HERE. If you enjoy the tutorial and want to see more you can find all of my boxes with video tutorials, templates and cut files HERE.
Copic
YG11, YG23, YG01, YG25, B12, B23
When possible affiliate links are used, this means that I receive a small commission when products are purchased through the links (at no extra cost to you) I use the money to support my blog and youtube channel. If you like my projects and tutorial please consider supporting me by clicking through these links when you shop. Thanks!
Supplies
MFT Floral Whimsy: MFTSSS MFT Sending Sunshine and Smiles: MFTSSS Happy Patterns Paper Pad: MFTSSS MFT Something Blue Card Stock: MFT MFT Something Blue Premium Dye Ink Cube: MFTSSS MFT Sour Apple Card Stock: MFT MFT Sour Apple Ink: MFTSSS Fiskars Trimmer : SSSAMZ Cutter Bee Scissors: SSSAMZSBC Sookwang Tape 1/4”: SSSAMZ We R Memorykeepers Corner Chomper: SSSAMZSBC Twine: SSSAMZSBC MFT On-Point Precision Glue Pen: MFT
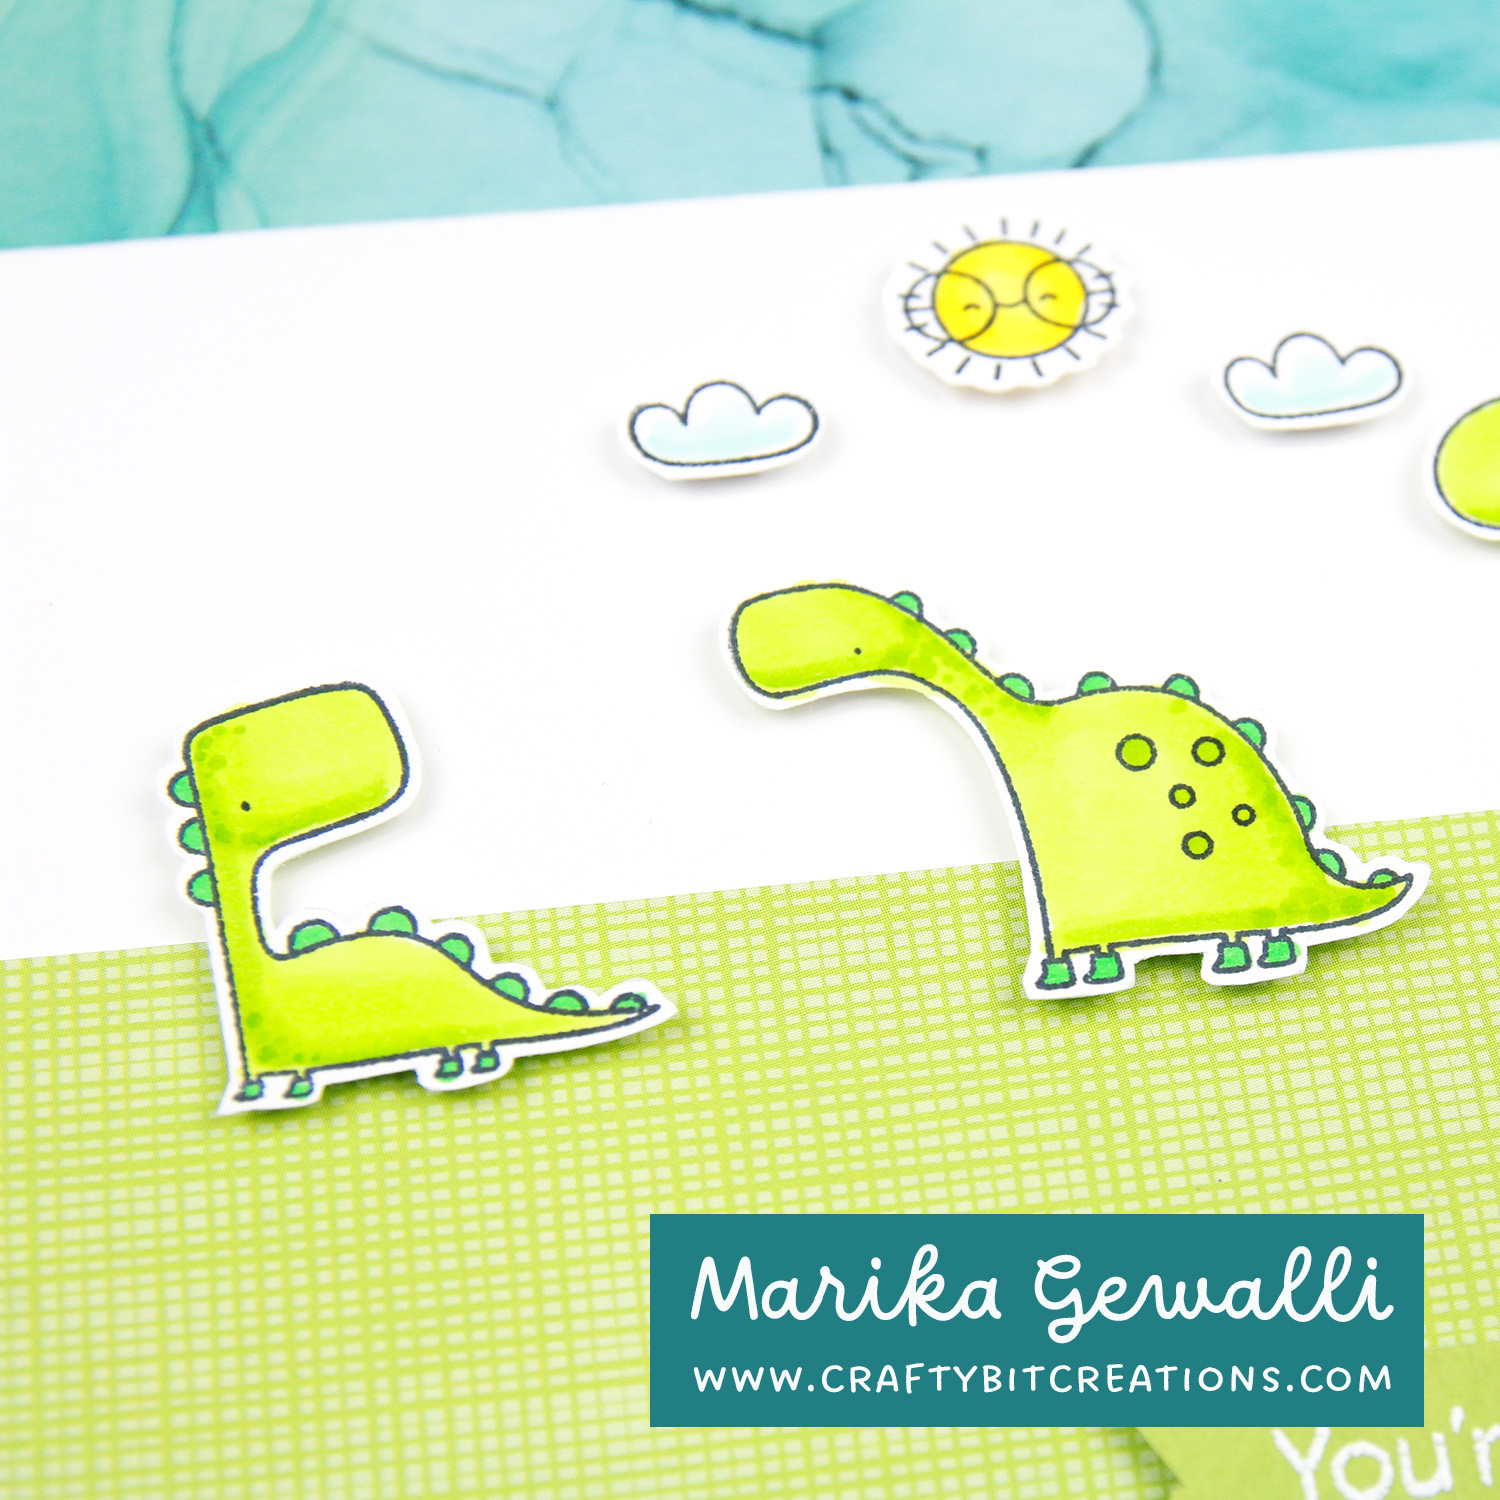
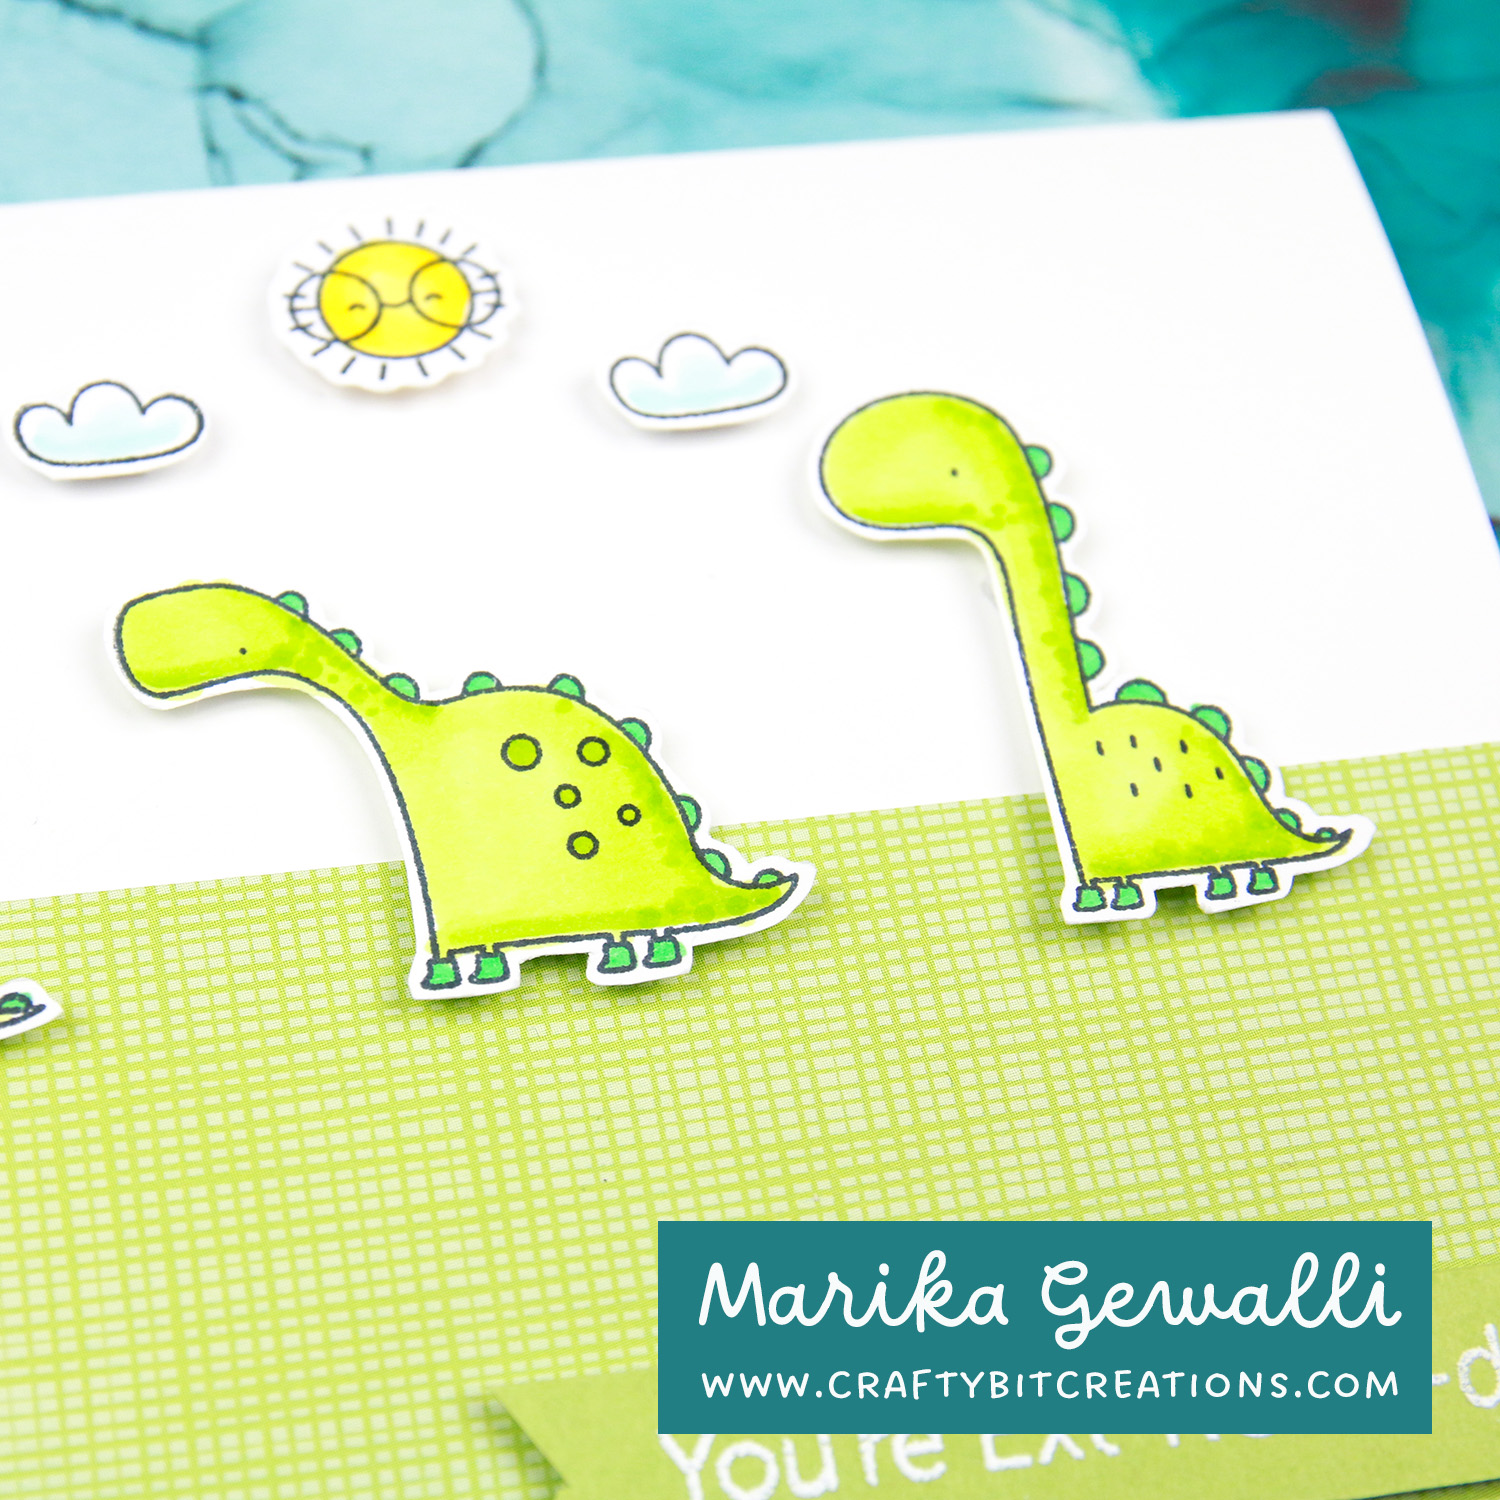
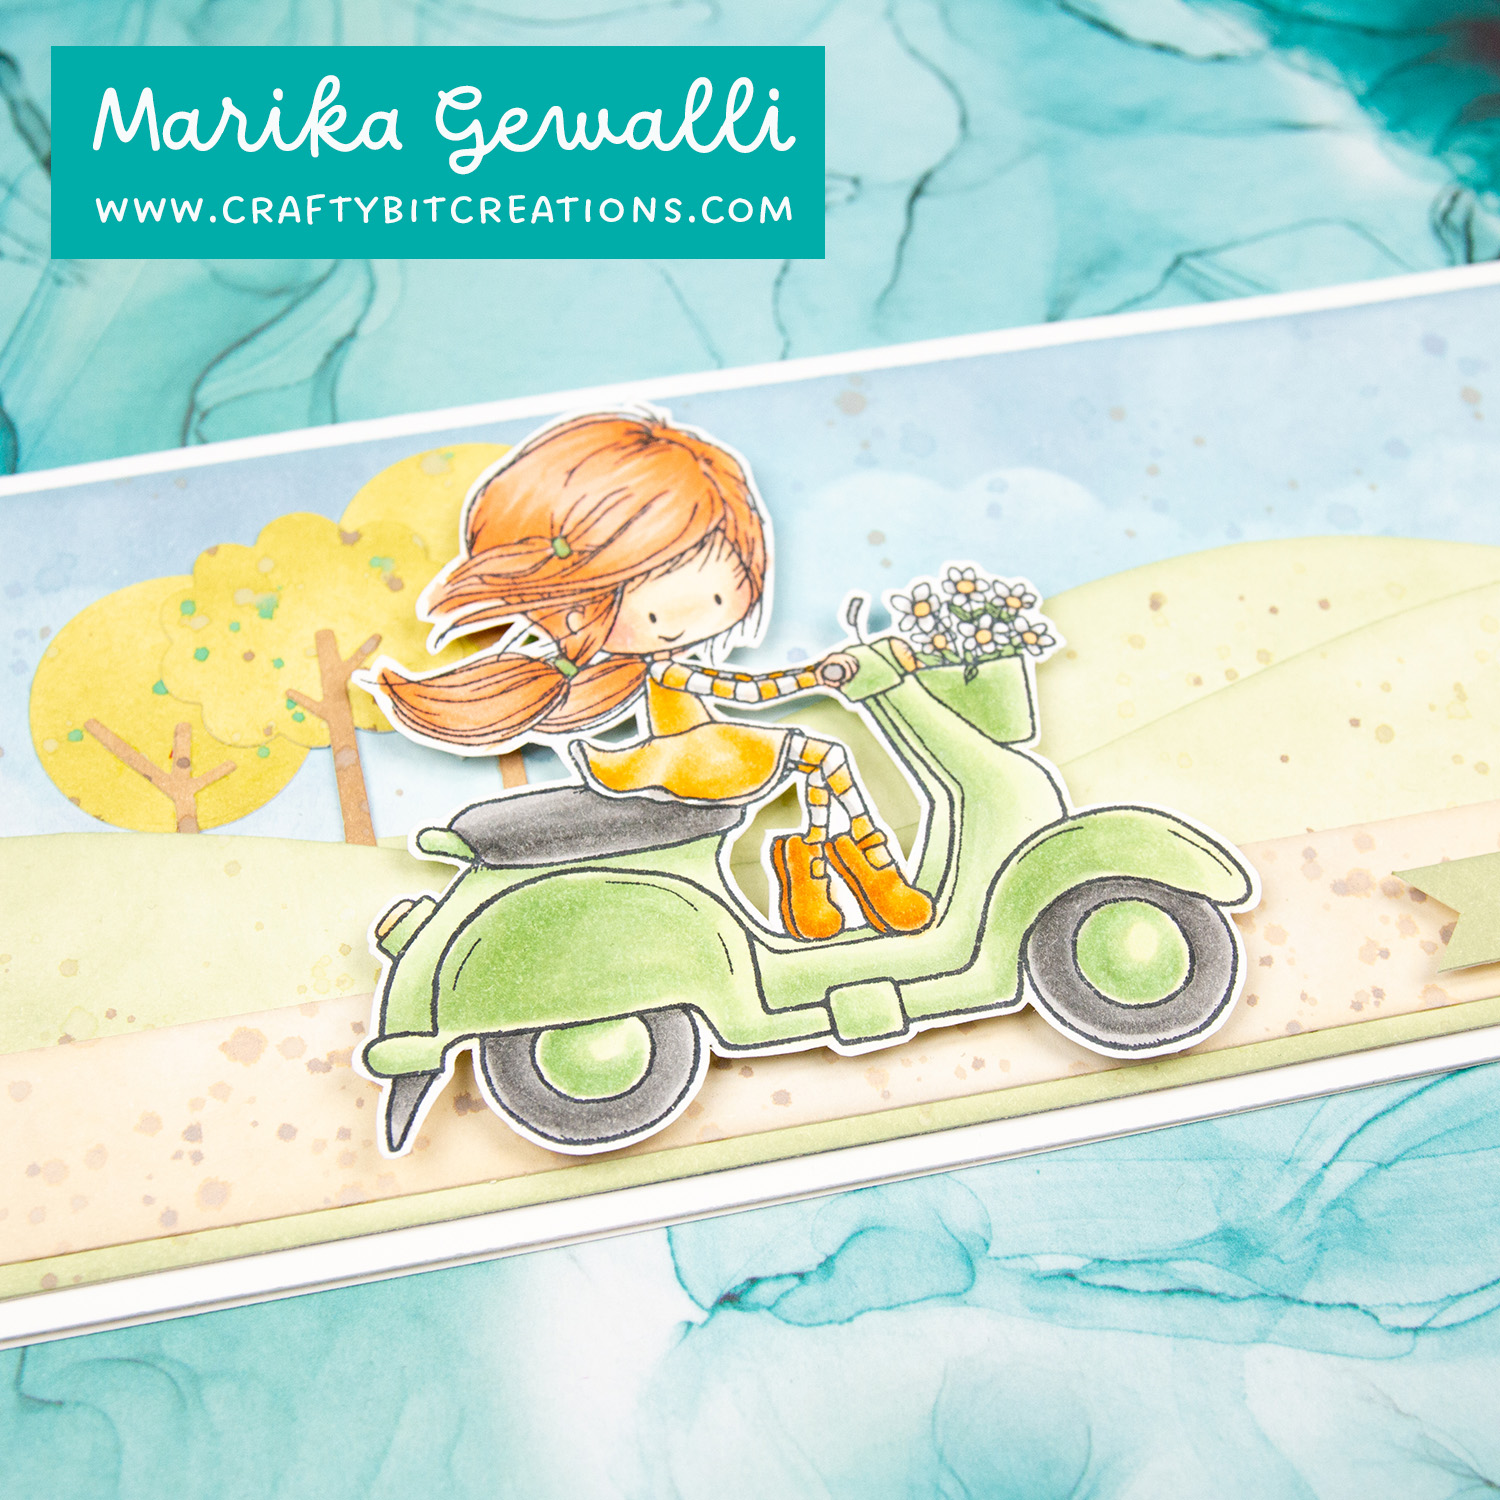
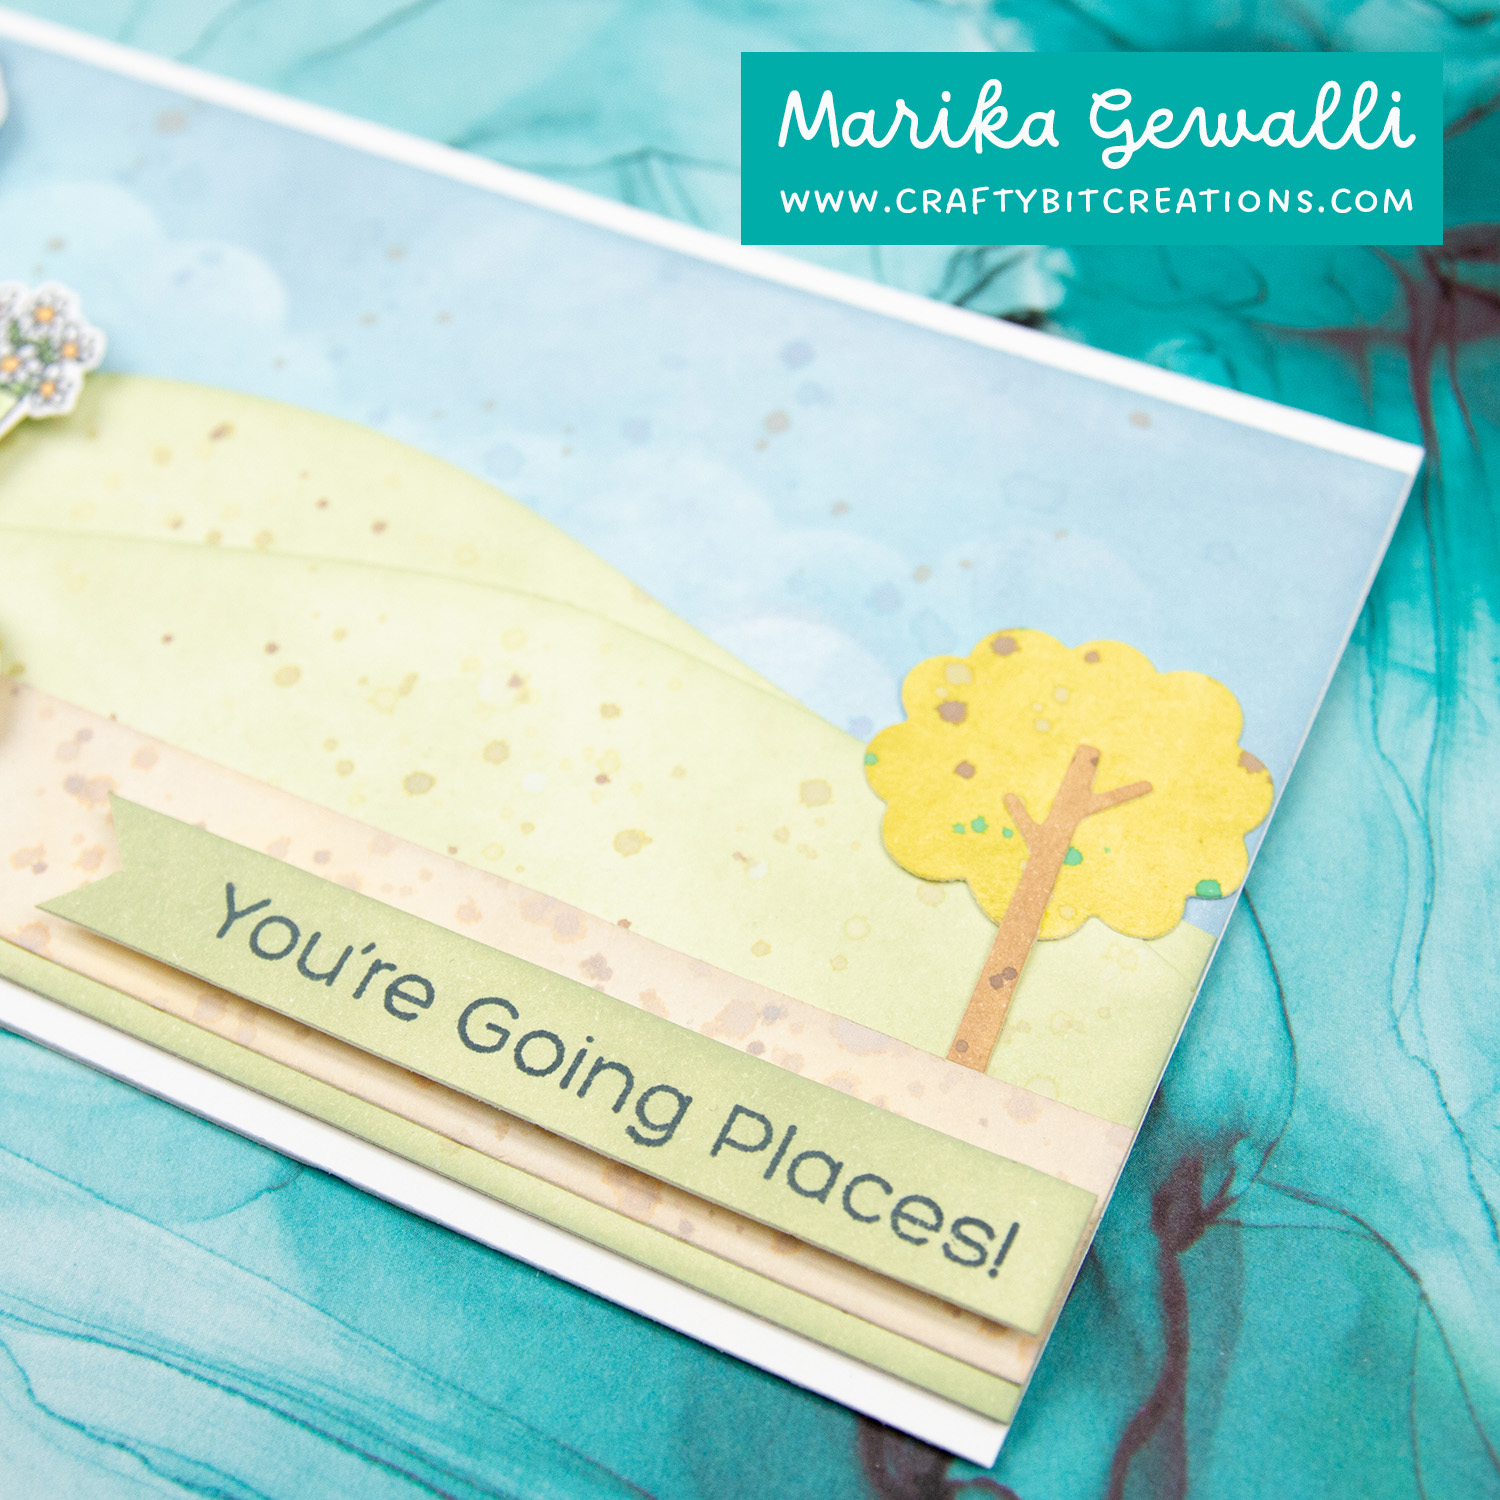
Have been having so much fun creating with these sketch challenges, and sketch challenge 587 wasn’t different. This time around I followed it to a T, only different was turning it 90°, to use it in landscape mode.
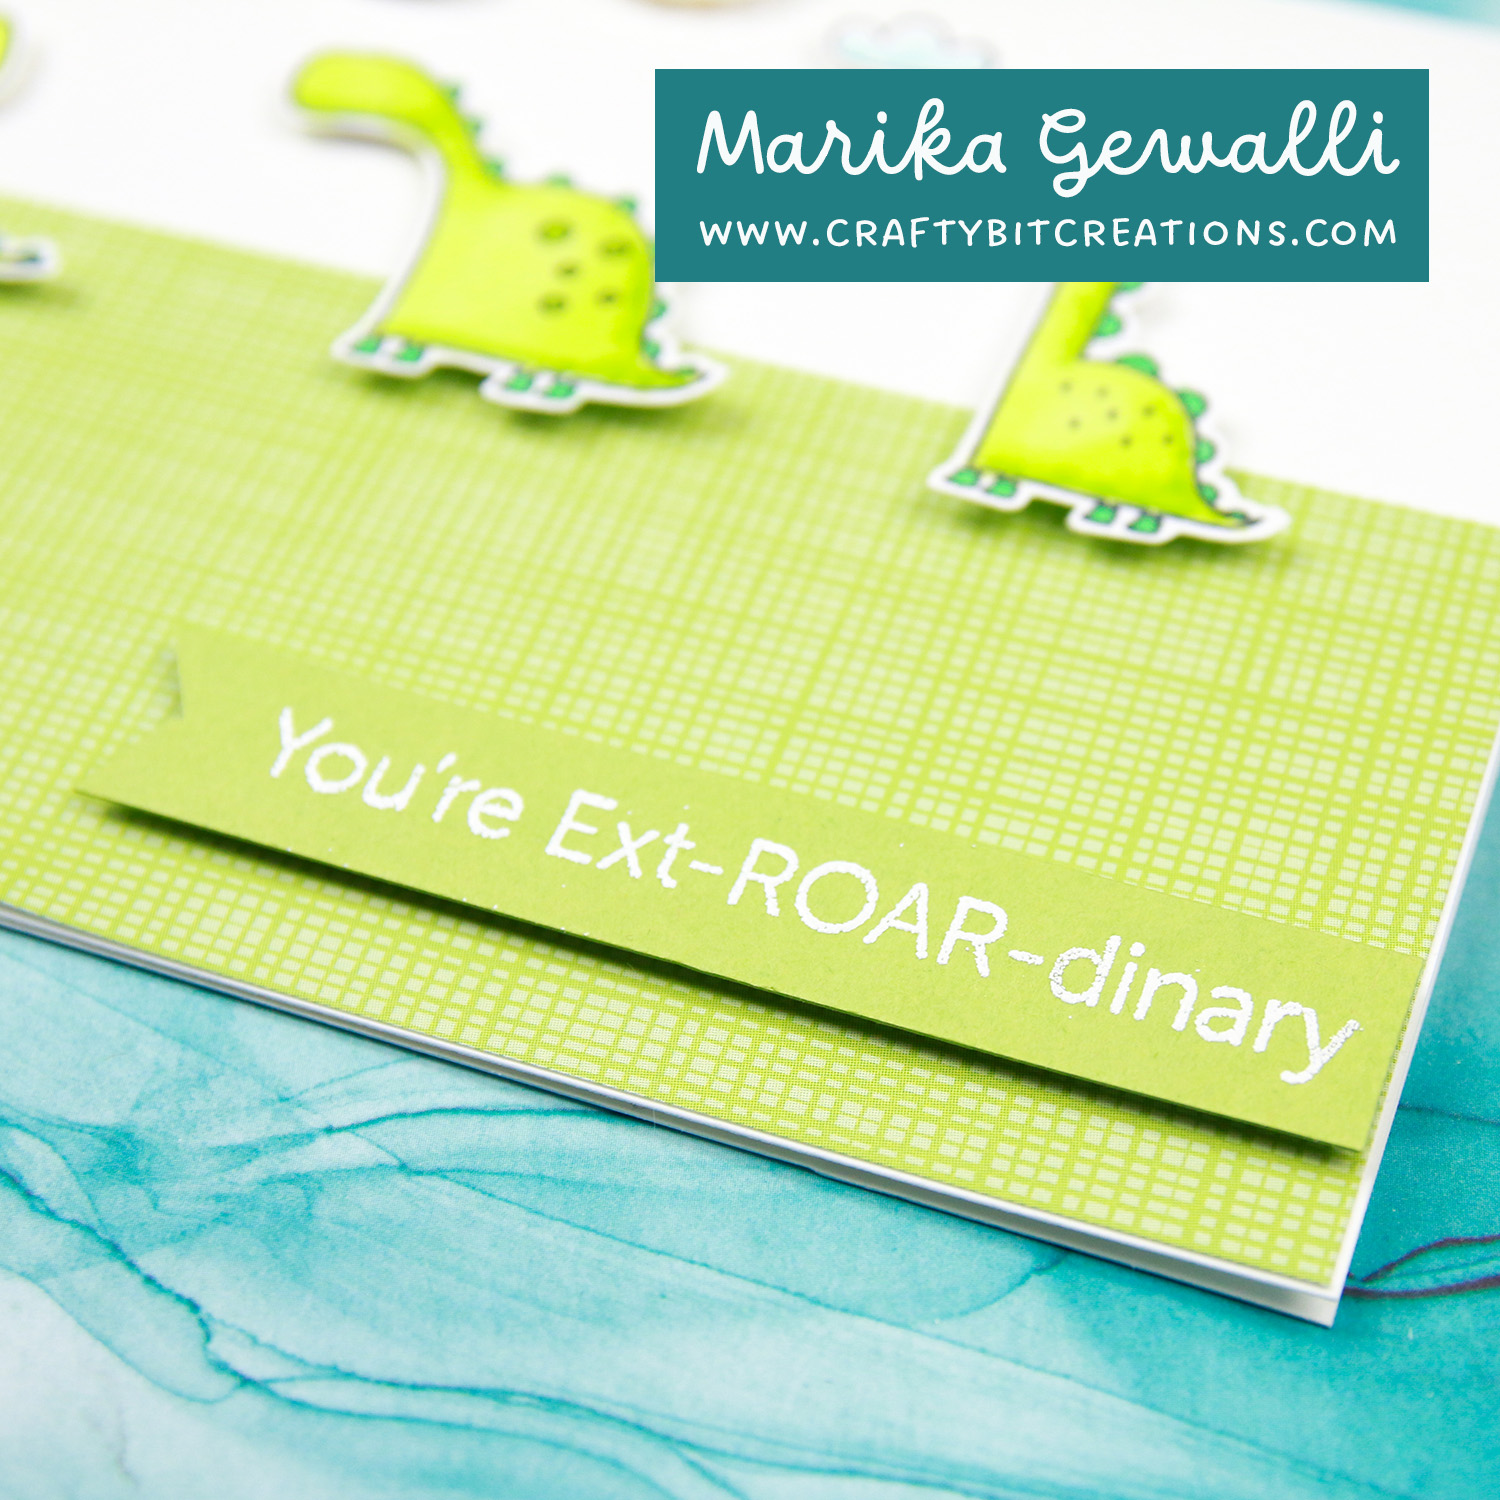
I have been wanting to use these little dinos since I picked them up and finally found a great and simple way to use them. This card is almost monochromatic, but I felt it would be little bit odd to do a green sun and clouds. But I kept mostly to green to make it soft to the eyes. And as always I matched the sentiment card stock to the pattern paper. Also colored the dinos with my favorite greens YG01 and YG25. And just made a couple of layers of YG01 for a better blend, and of course making little dots for texture.
And as usually you can find all the previous sketch challenges I have entered HERE.
When possible affiliate links are used, this means that I receive a small commission when products are purchased through the links (at no extra cost to you) I use the money to support my blog and youtube channel. If you like my projects and tutorial please consider supporting me by clicking through these links when you shop. Thanks!
Supplies
MFT You’re Ext-ROAR-dinary: MFTSSS Colorful Canvas Paper Pad: MFTSSS
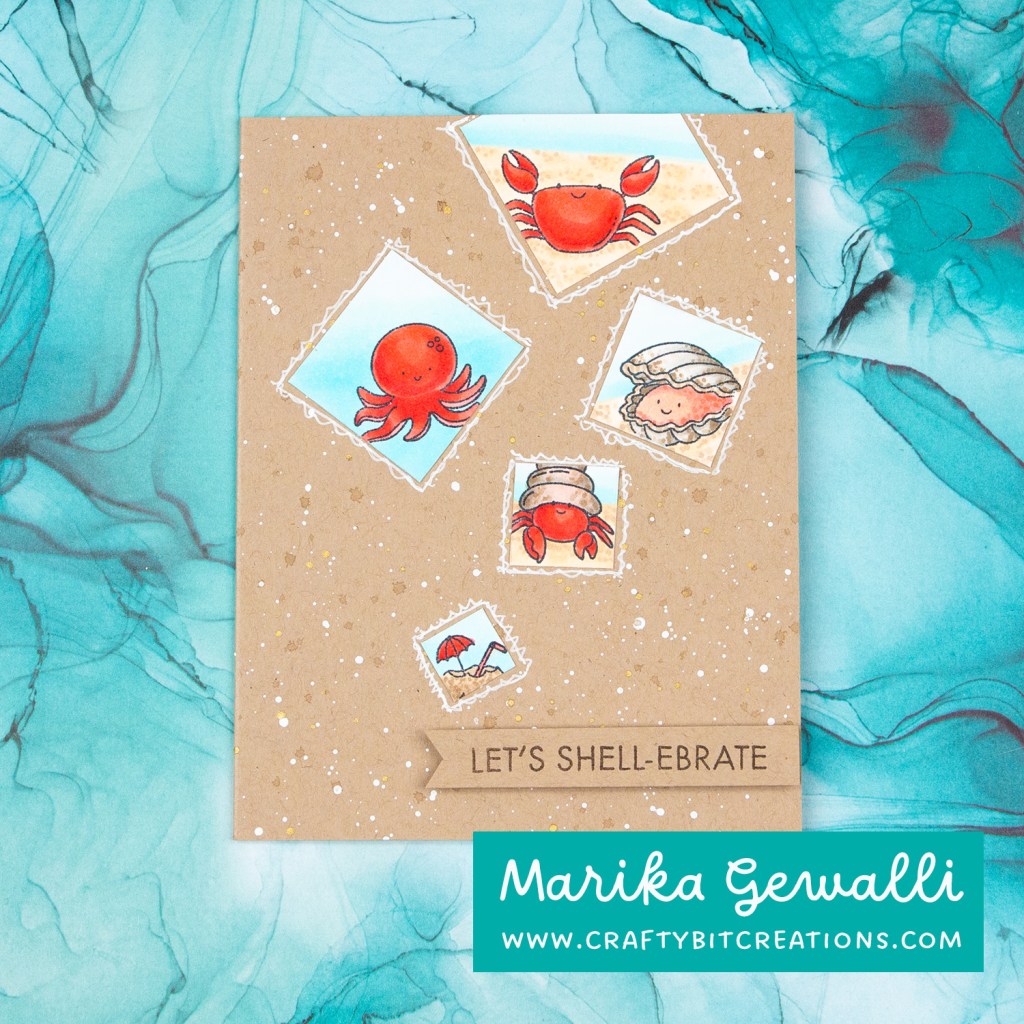
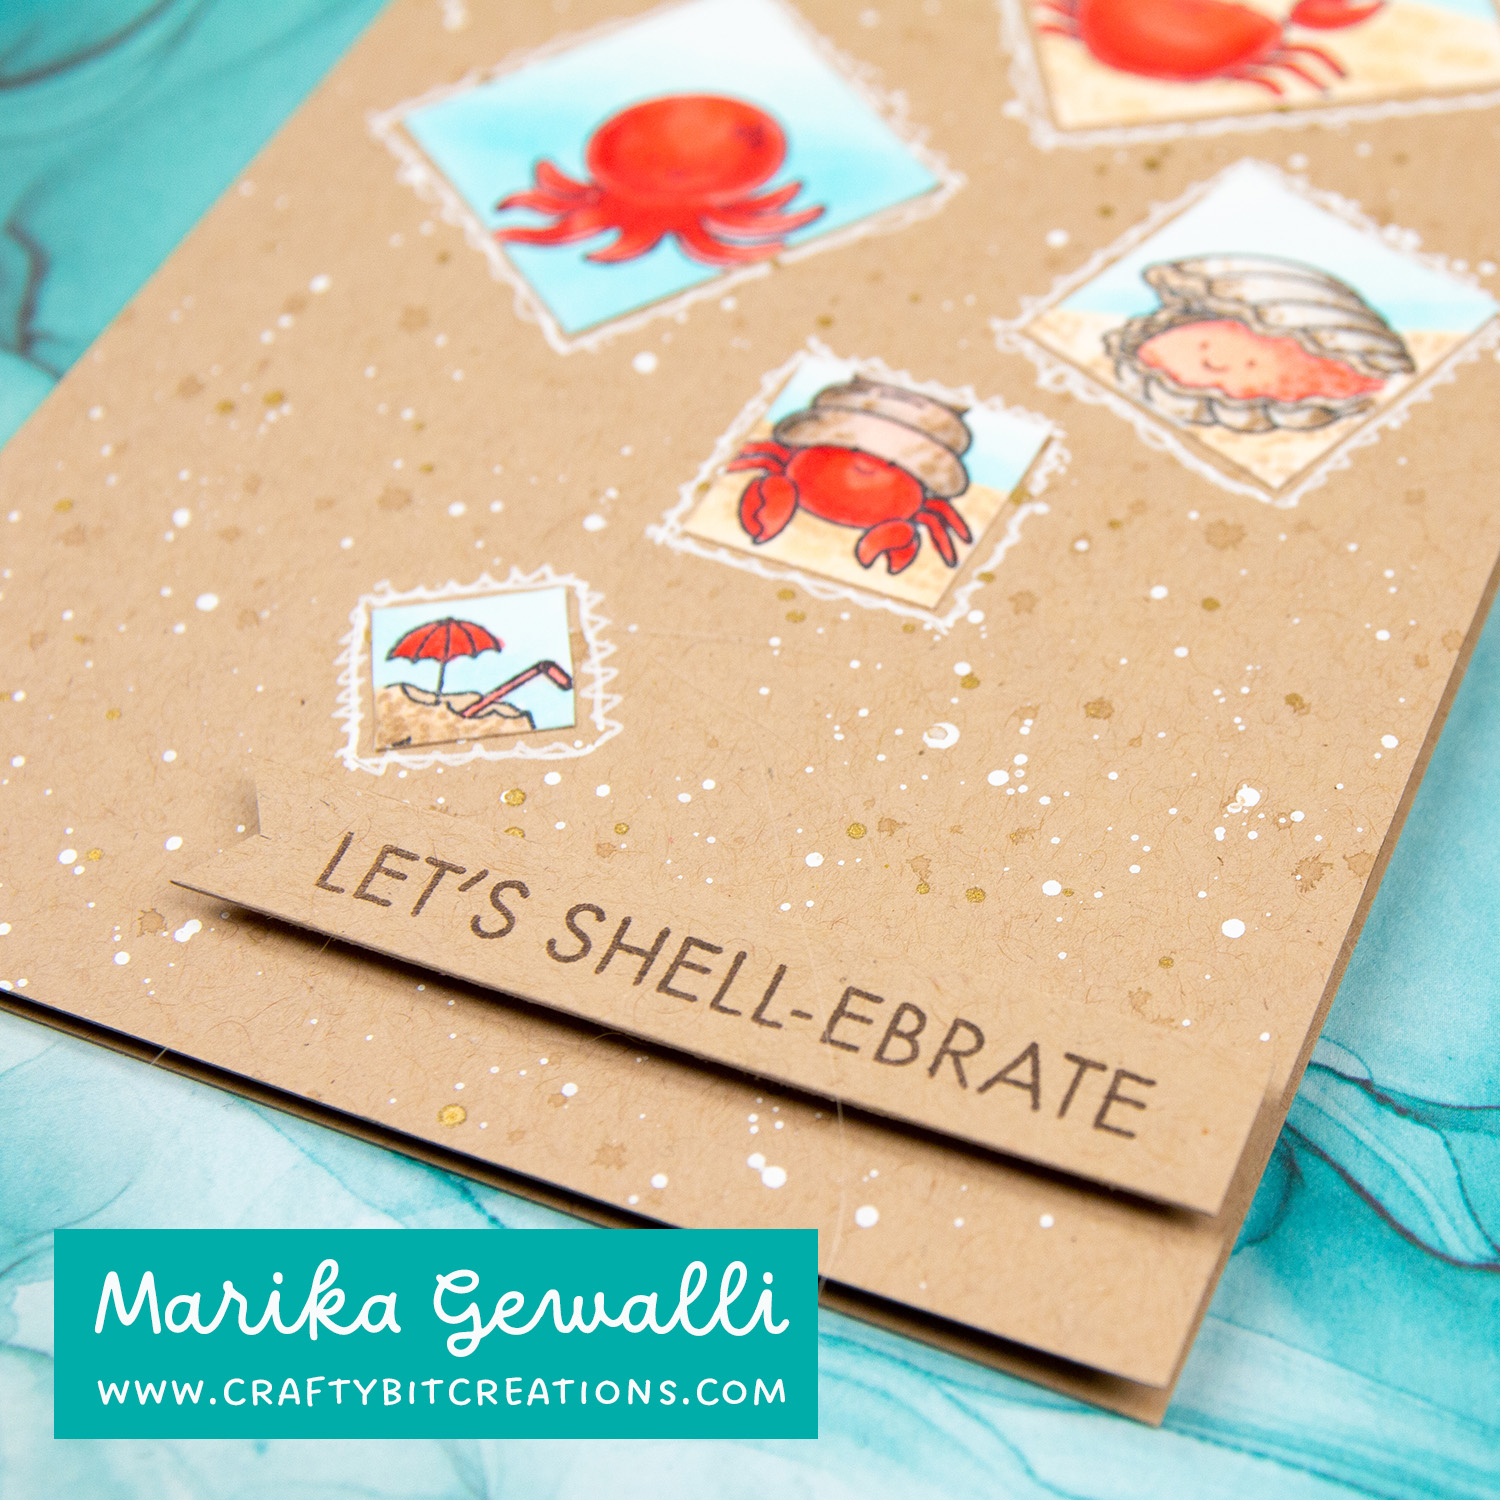
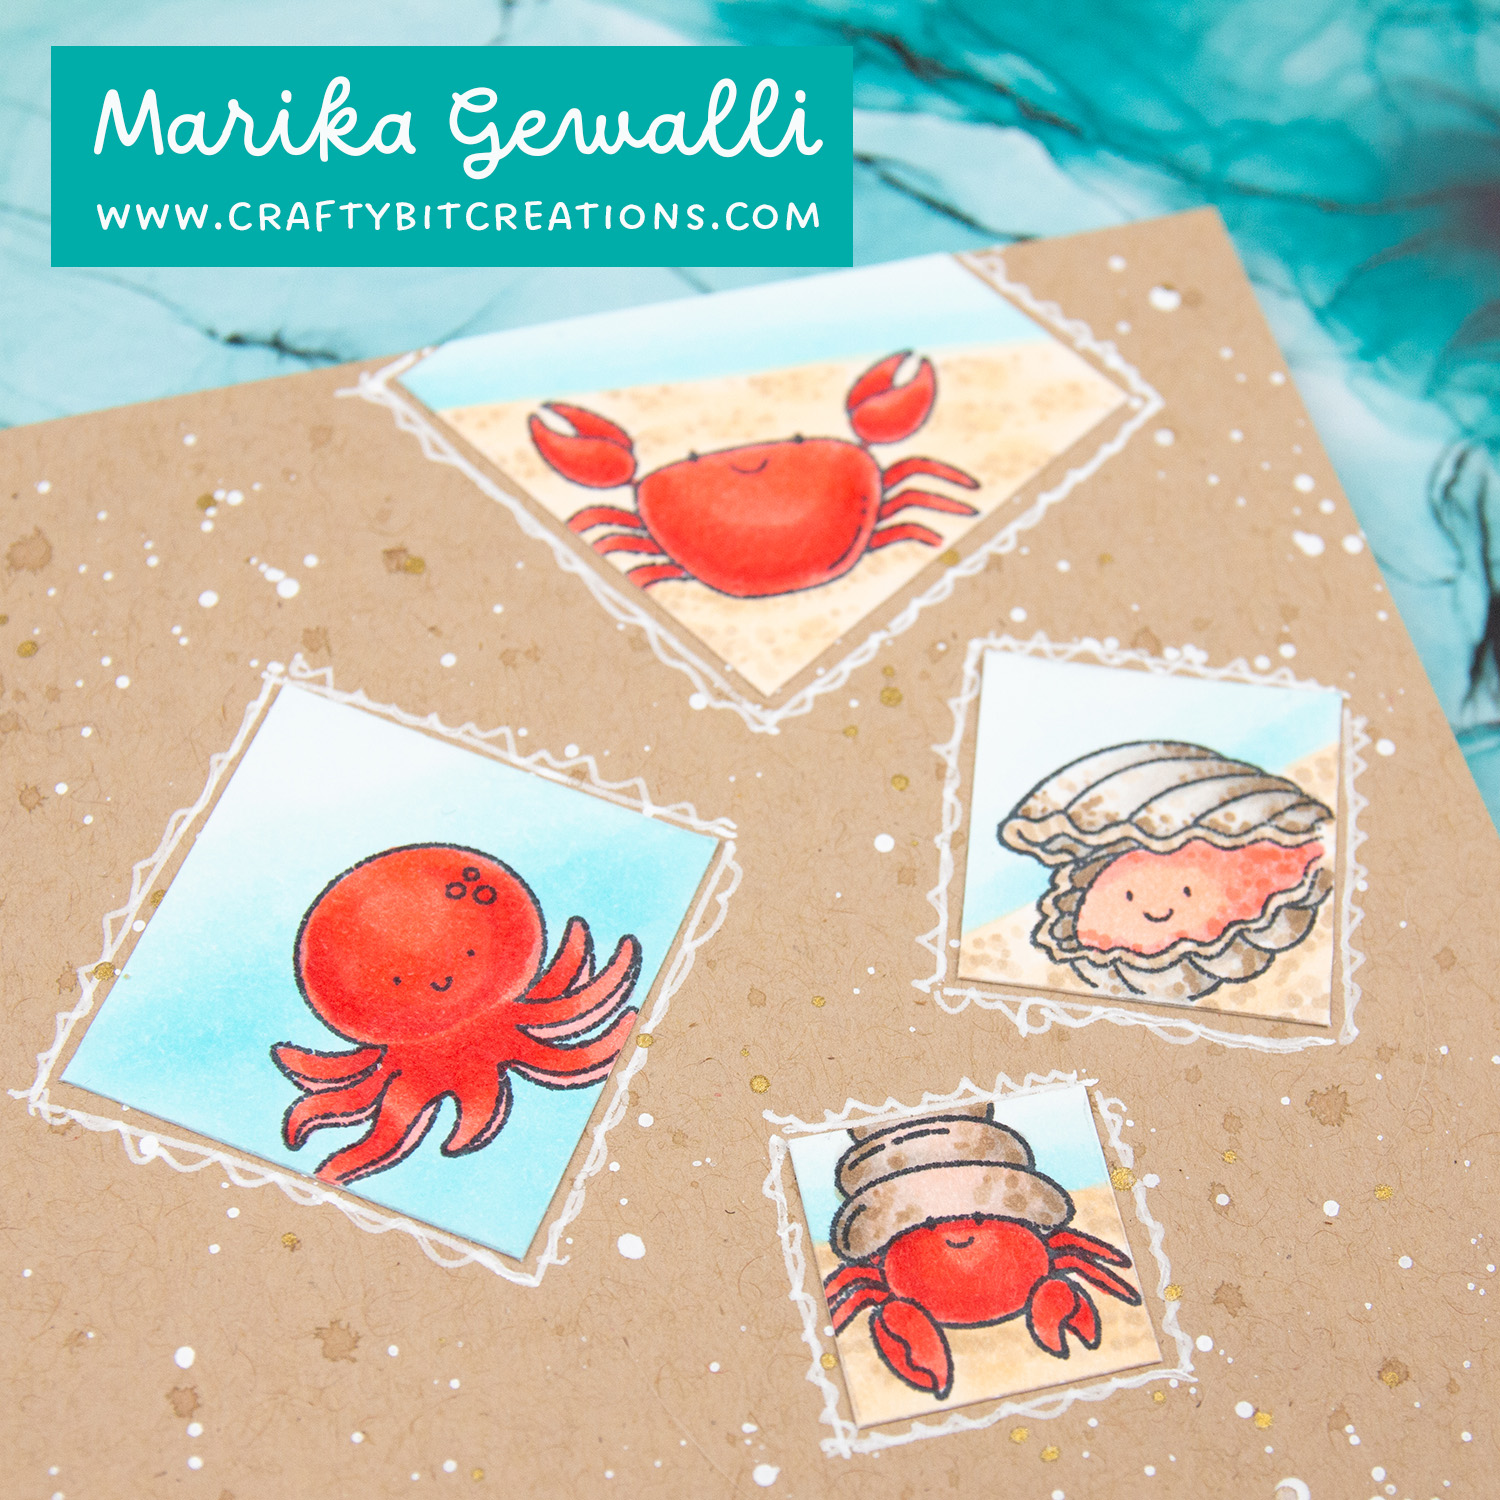
When working with sketch challenges I try think out of the box. Working with sketch challenge 585 I really had to think. I did try another one before settling on this one. When seeing the challenge my first thought went to bubbles or balloons but I felt that was so on the nose. After playing a bit I decided to go with squares that was falling. And into those squares I stamped some of the creatures from the IslandShell-ebrations Stamp Set.
When it come to the card base I decided that it would be fun to make it look like sand. So I grabbed a sheet of kraft card stock and made a card base out of that. But I wanted some more texture and decided to splatter some white gesso, some kraft ink and finally some golden watercolor. For my sentiment I used the kraft card stock just plain and then I stamped the sentiment with some Vintage Timber Ink as I wanted the sentiment to have a little more darkness than kraft on kraft. After attaching my squares I felt they needed something extra to stand out, and as I love white gel pen on craft I draw some scribbles around the images. And that is the card! How did you like it? Wanna see more challenge entries? You’ll find them HERE.
When possible affiliate links are used, this means that I receive a small commission when products are purchased through the links (at no extra cost to you) I use the money to support my blog and youtube channel. If you like my projects and tutorial please consider supporting me by clicking through these links when you shop. Thanks!
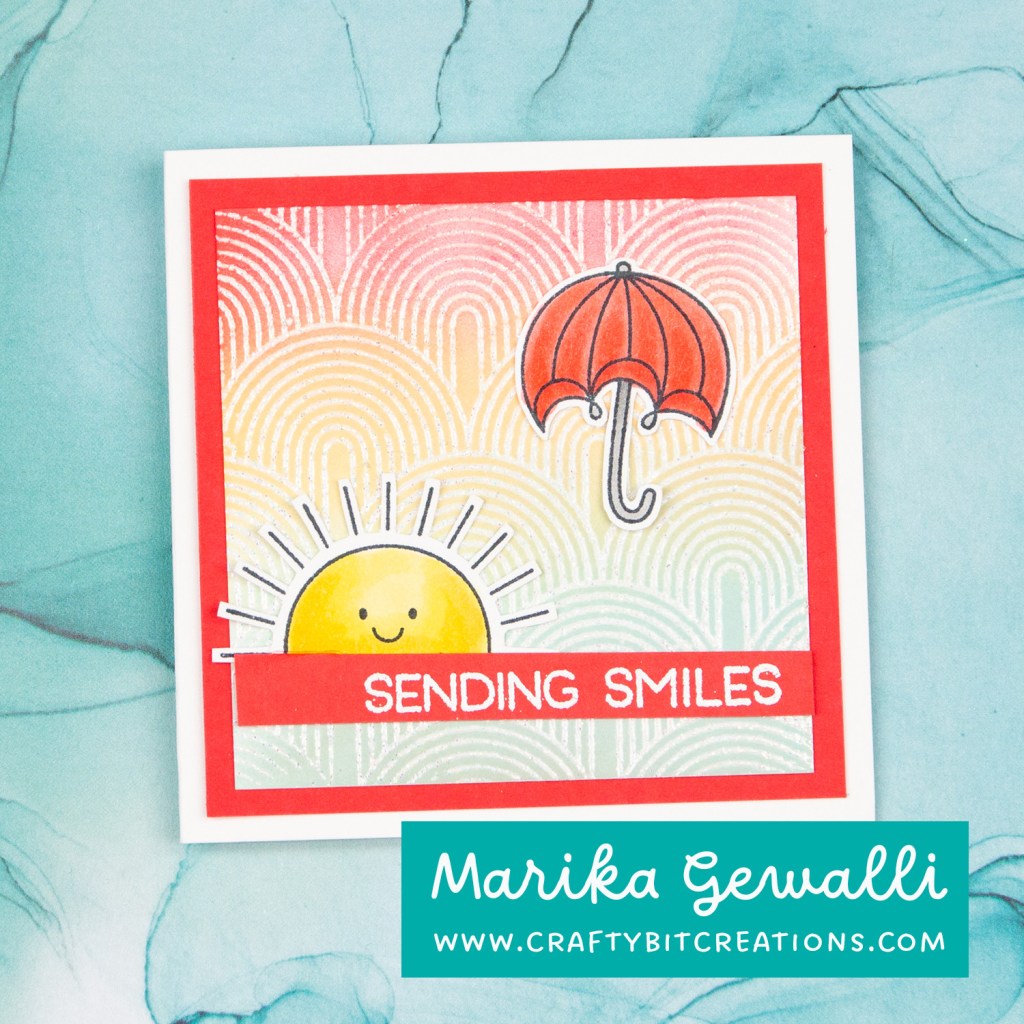
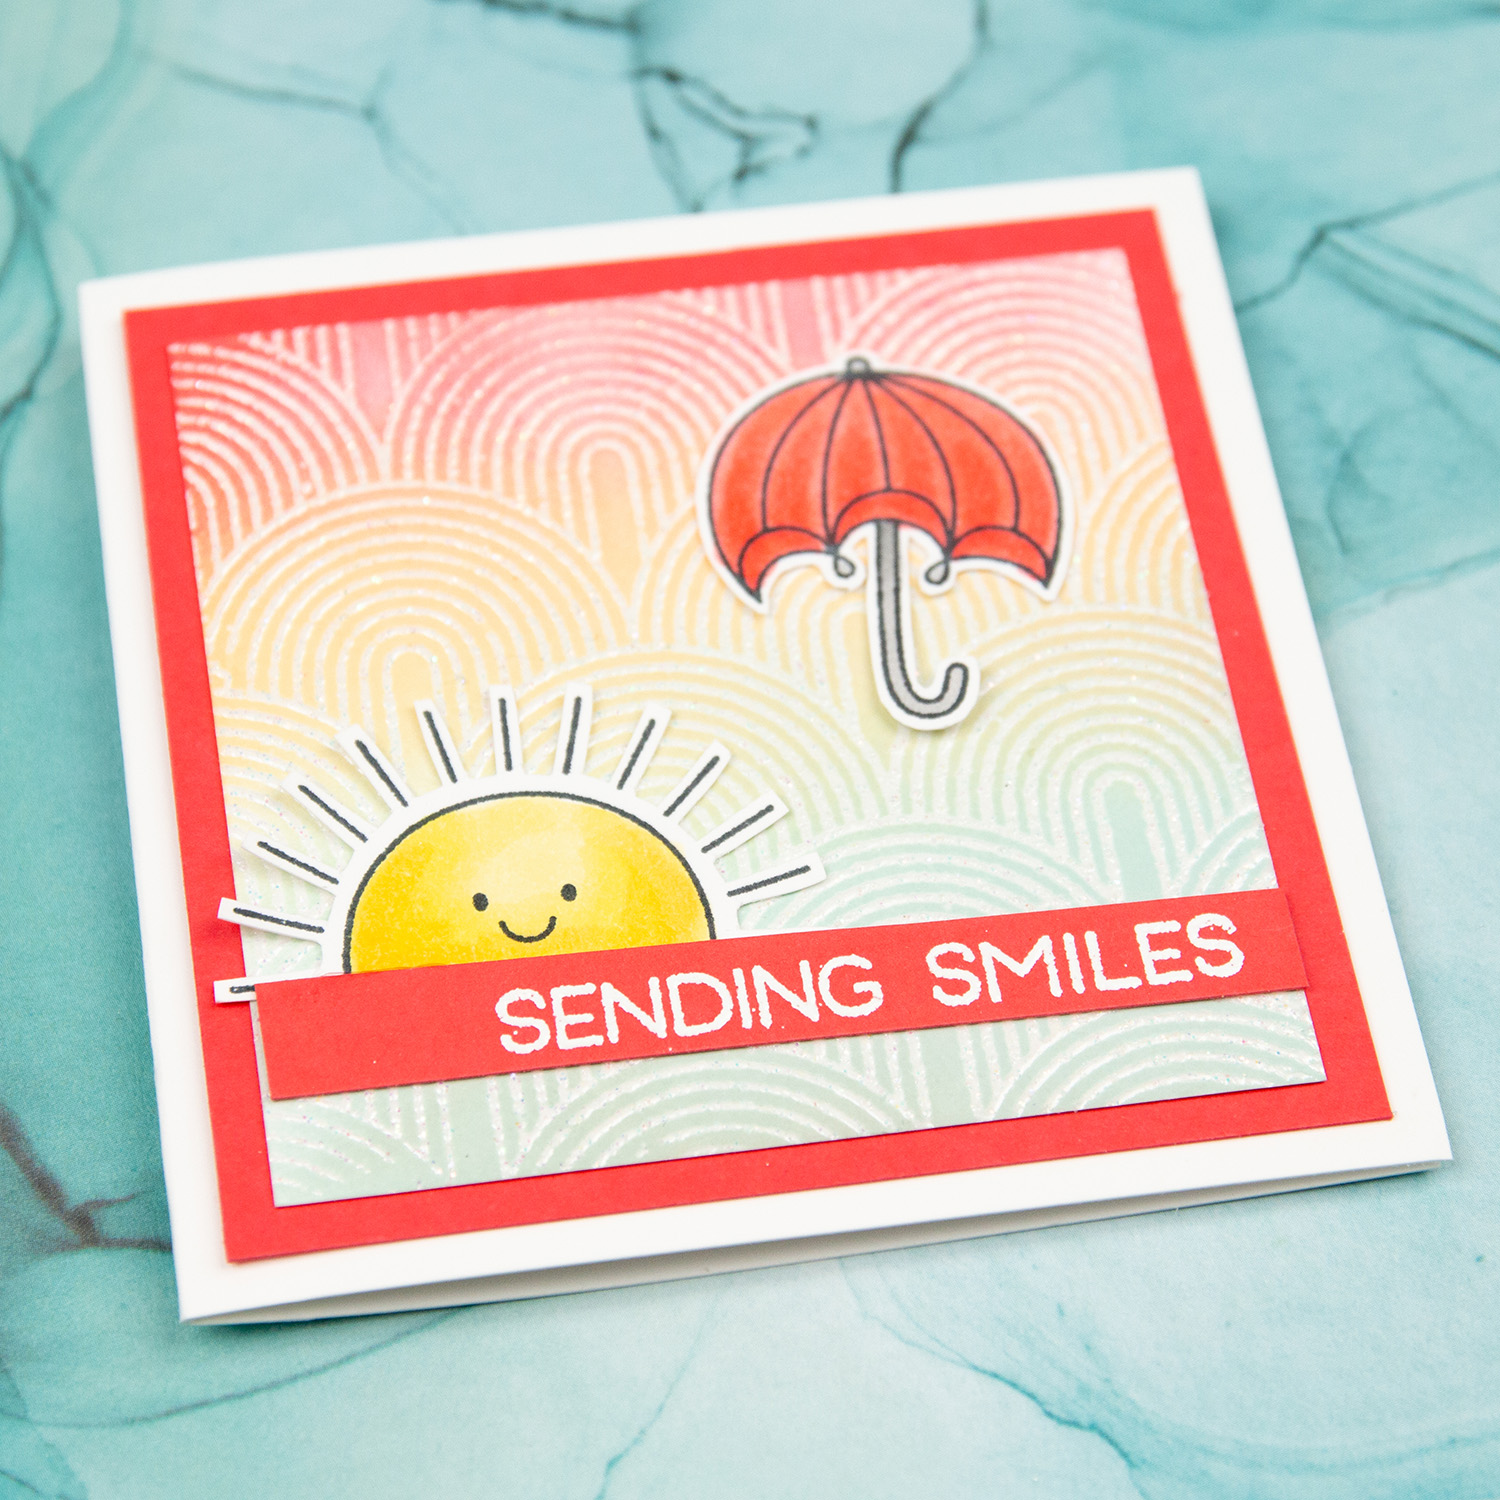
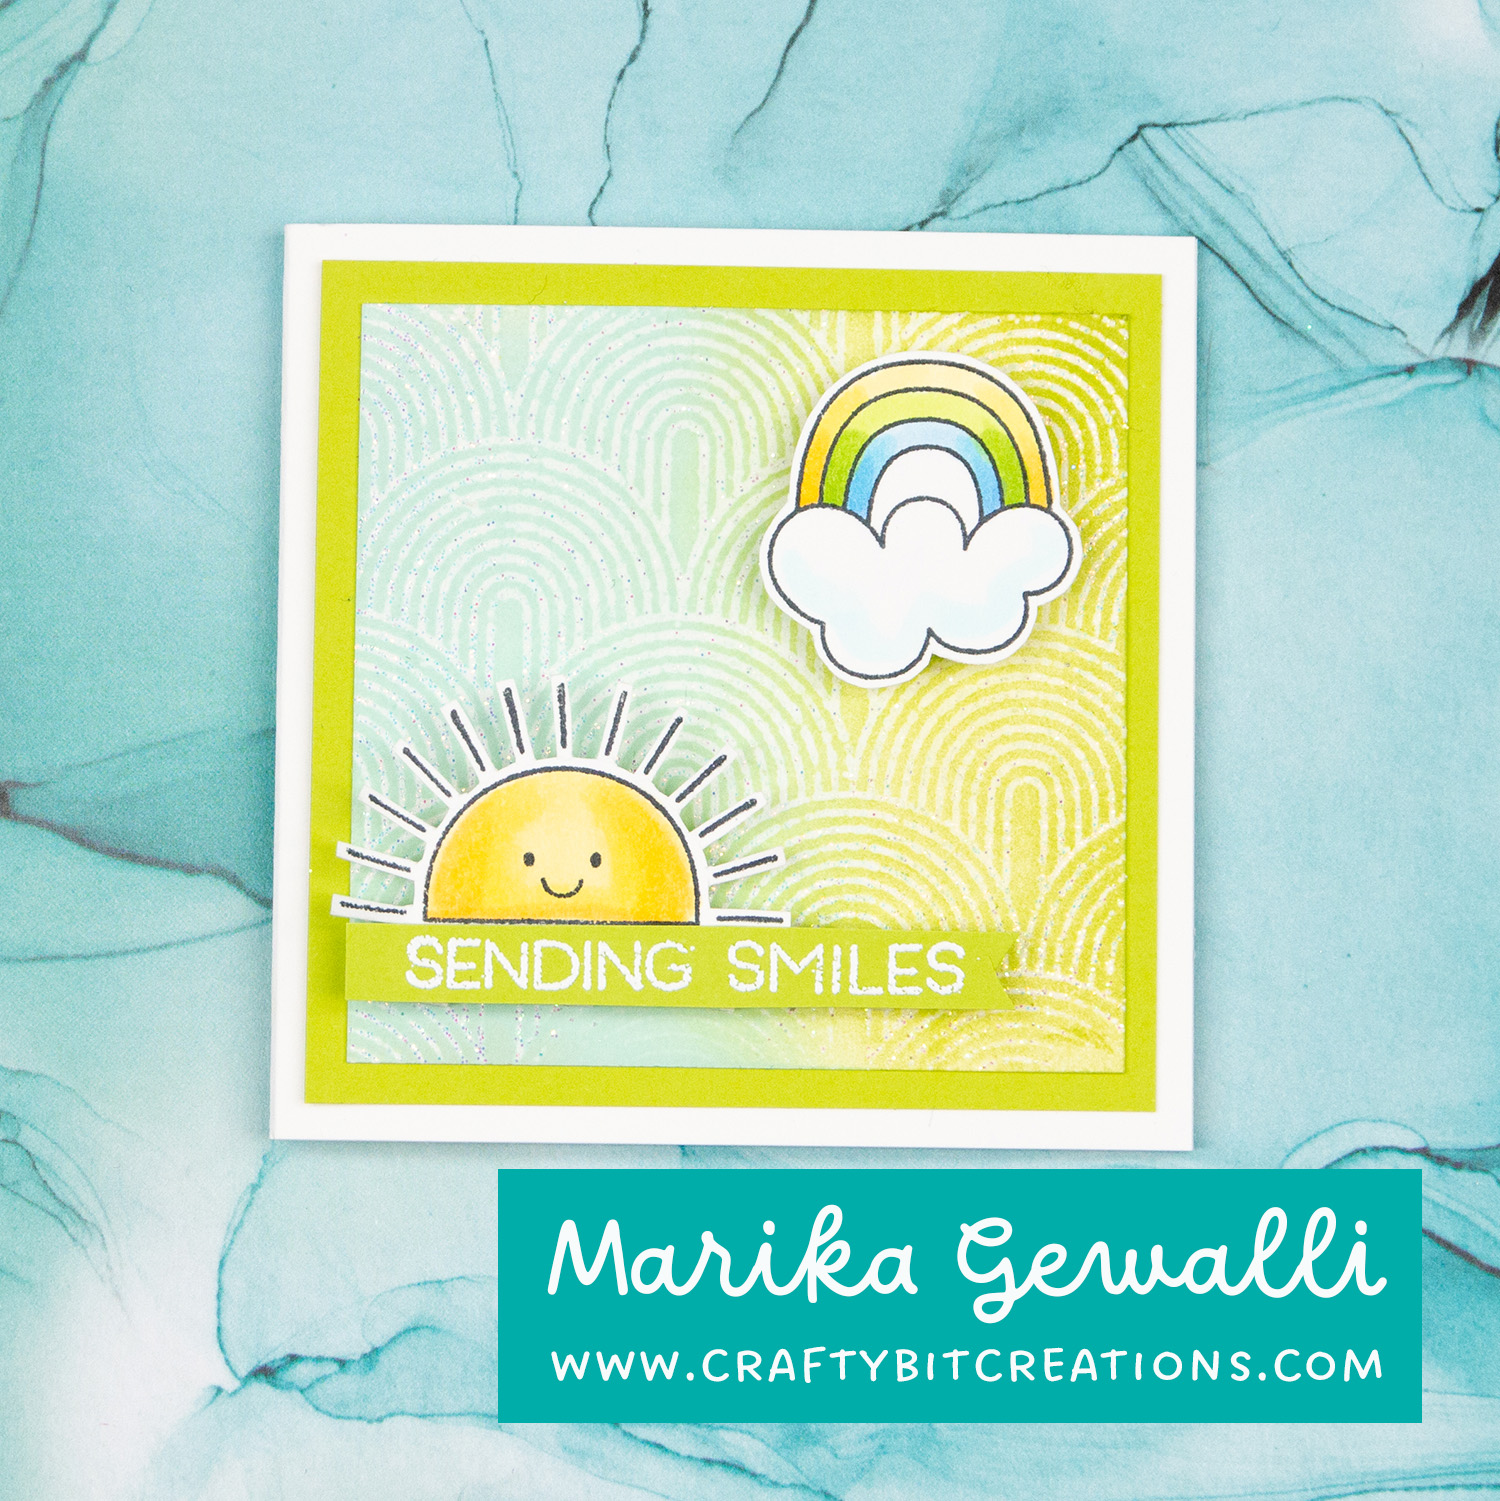
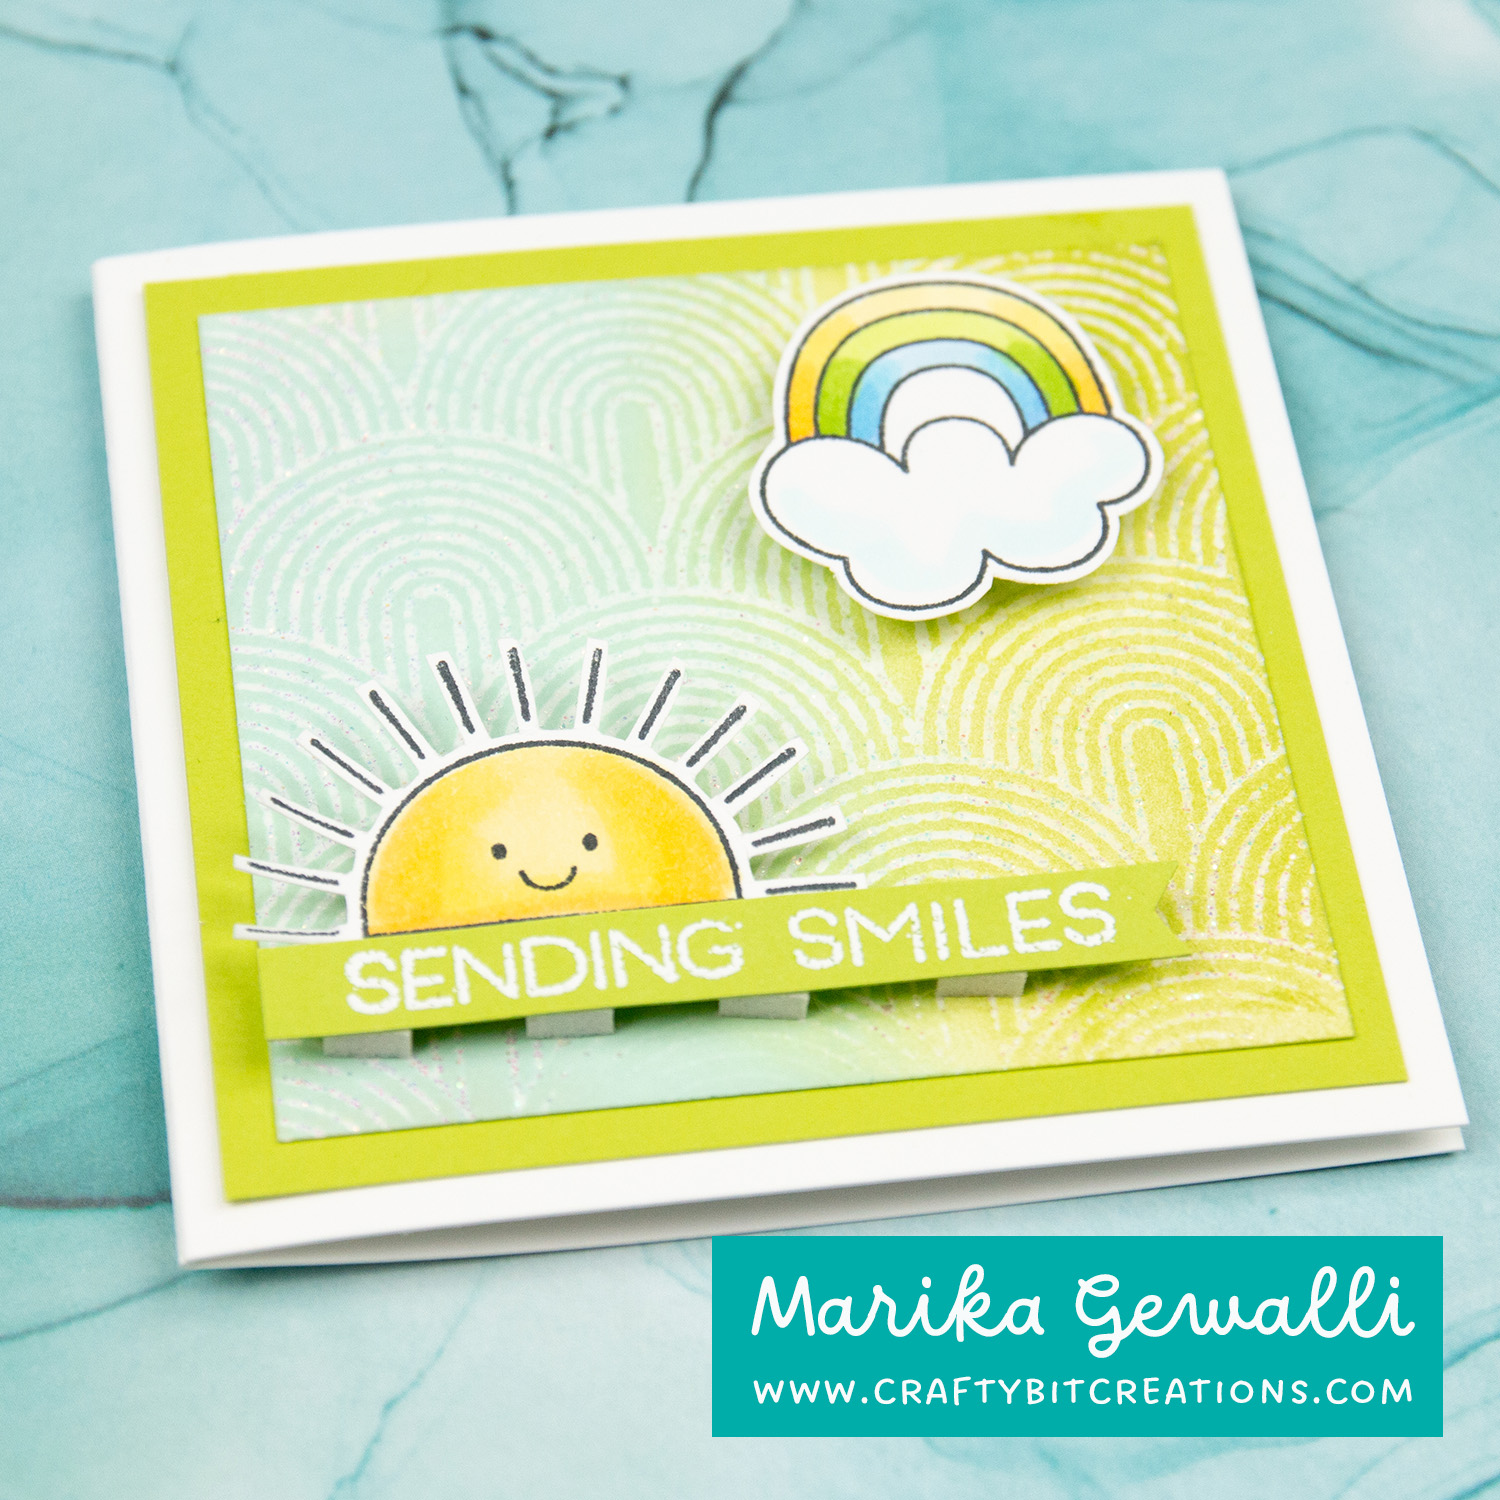
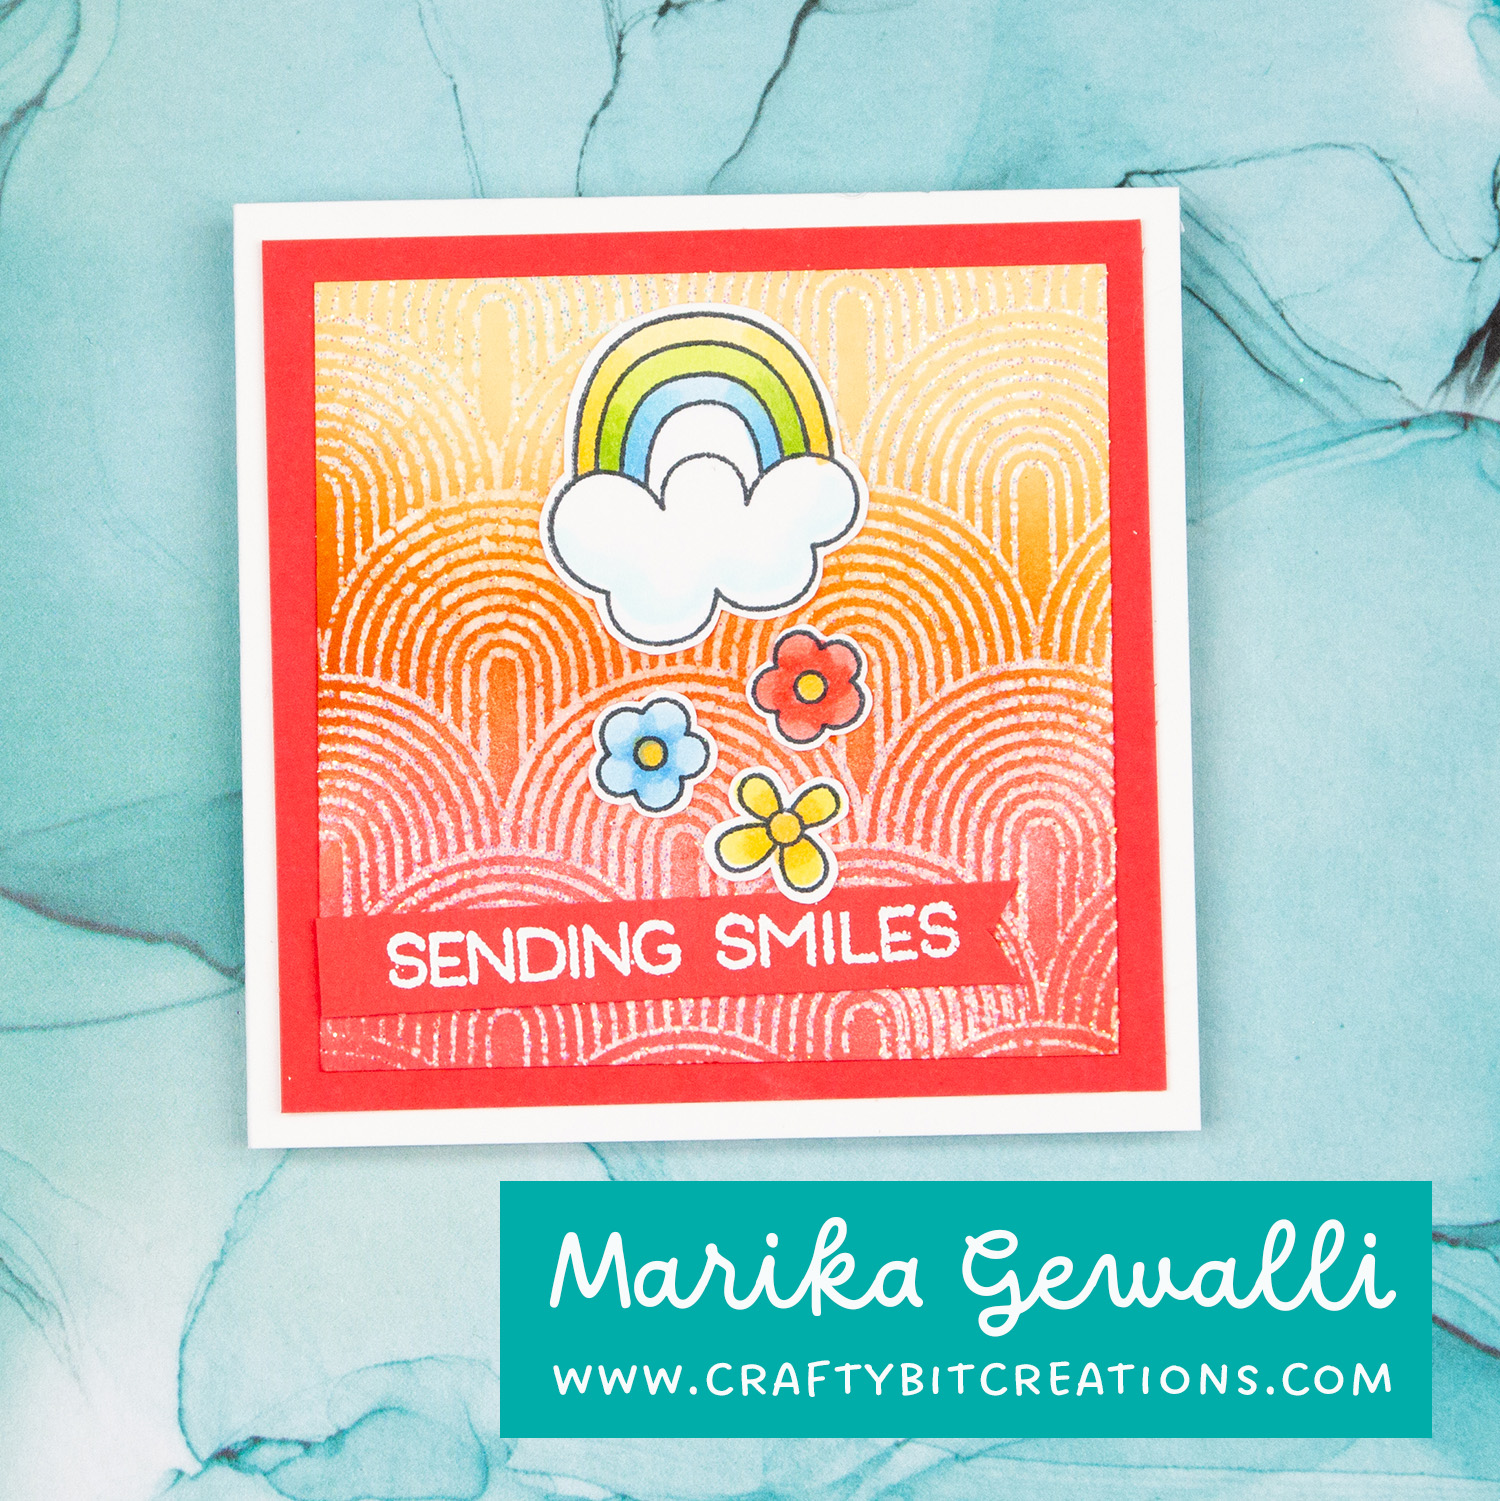
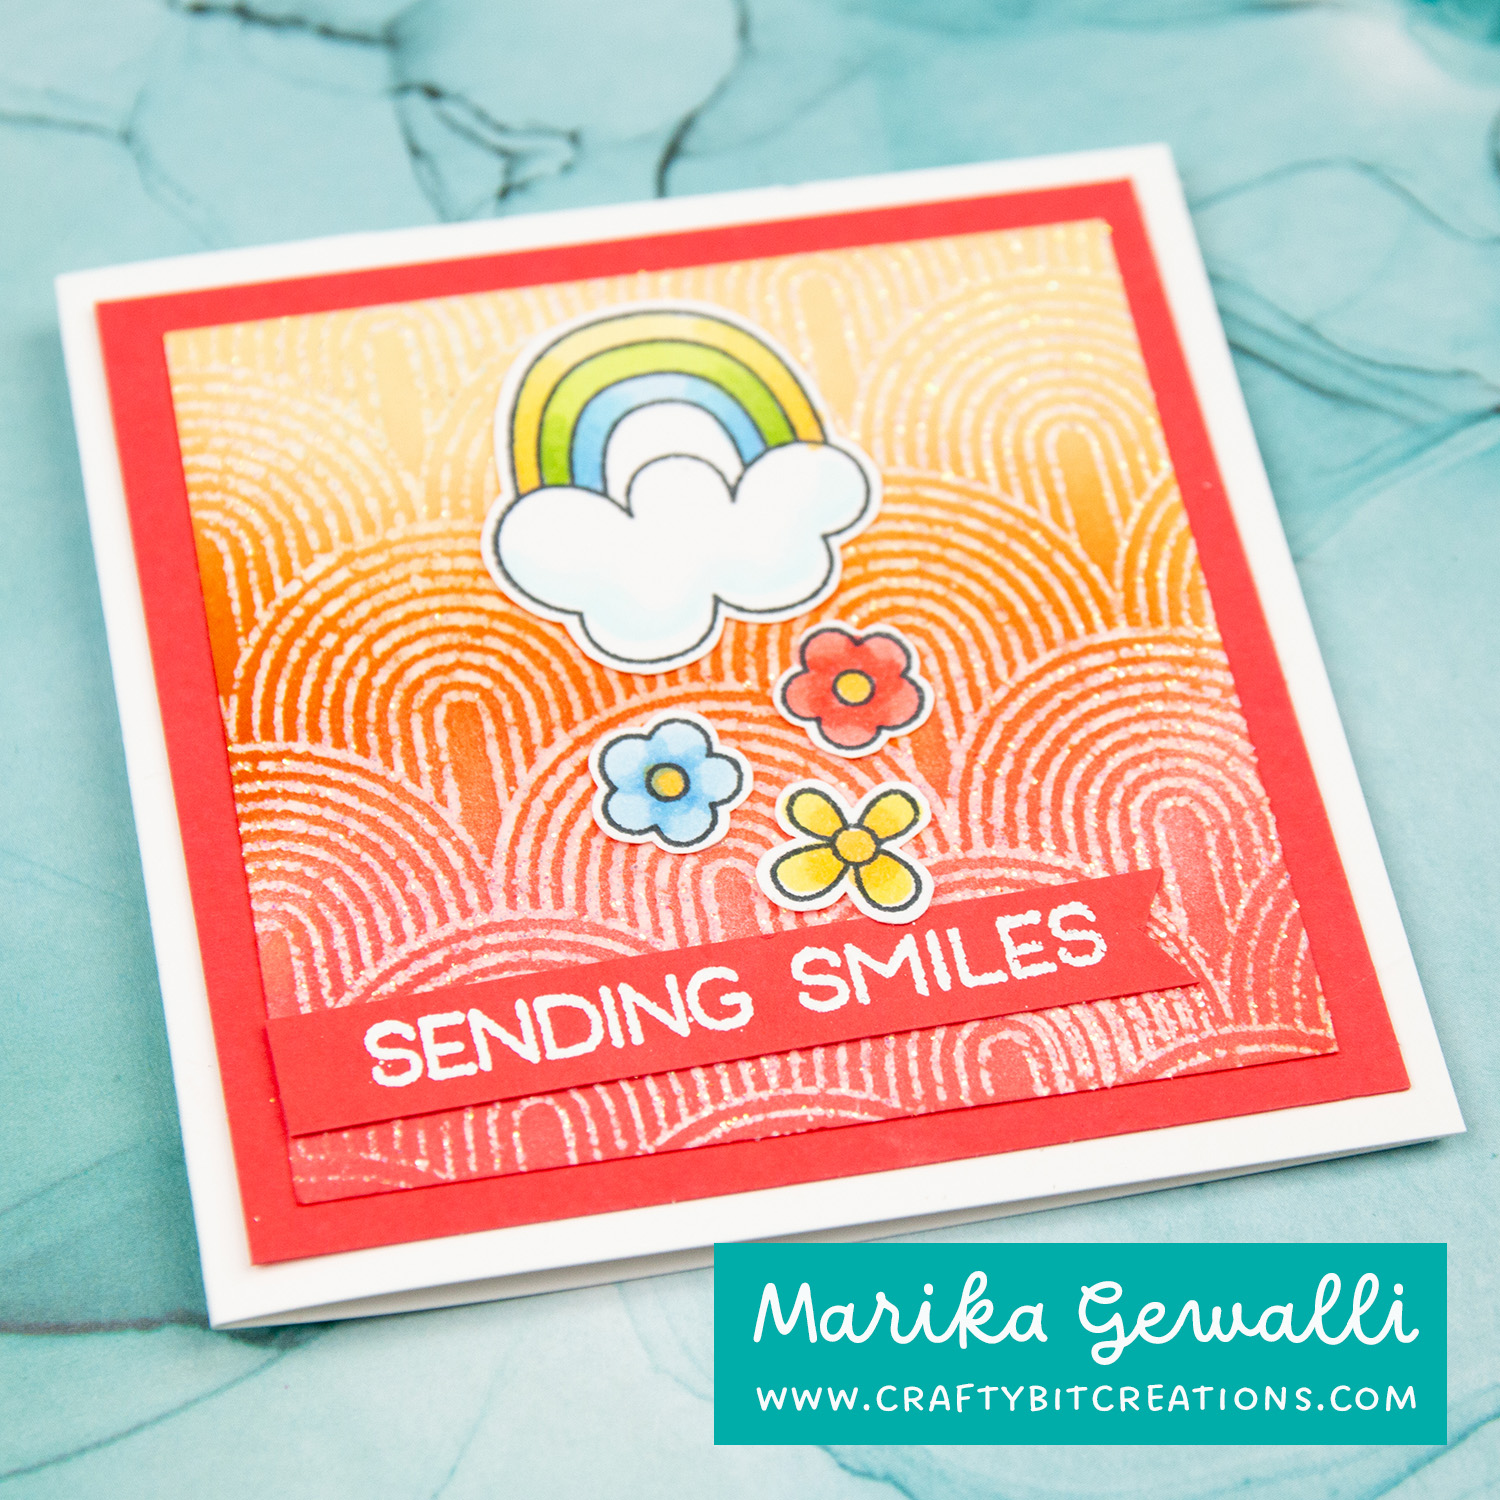
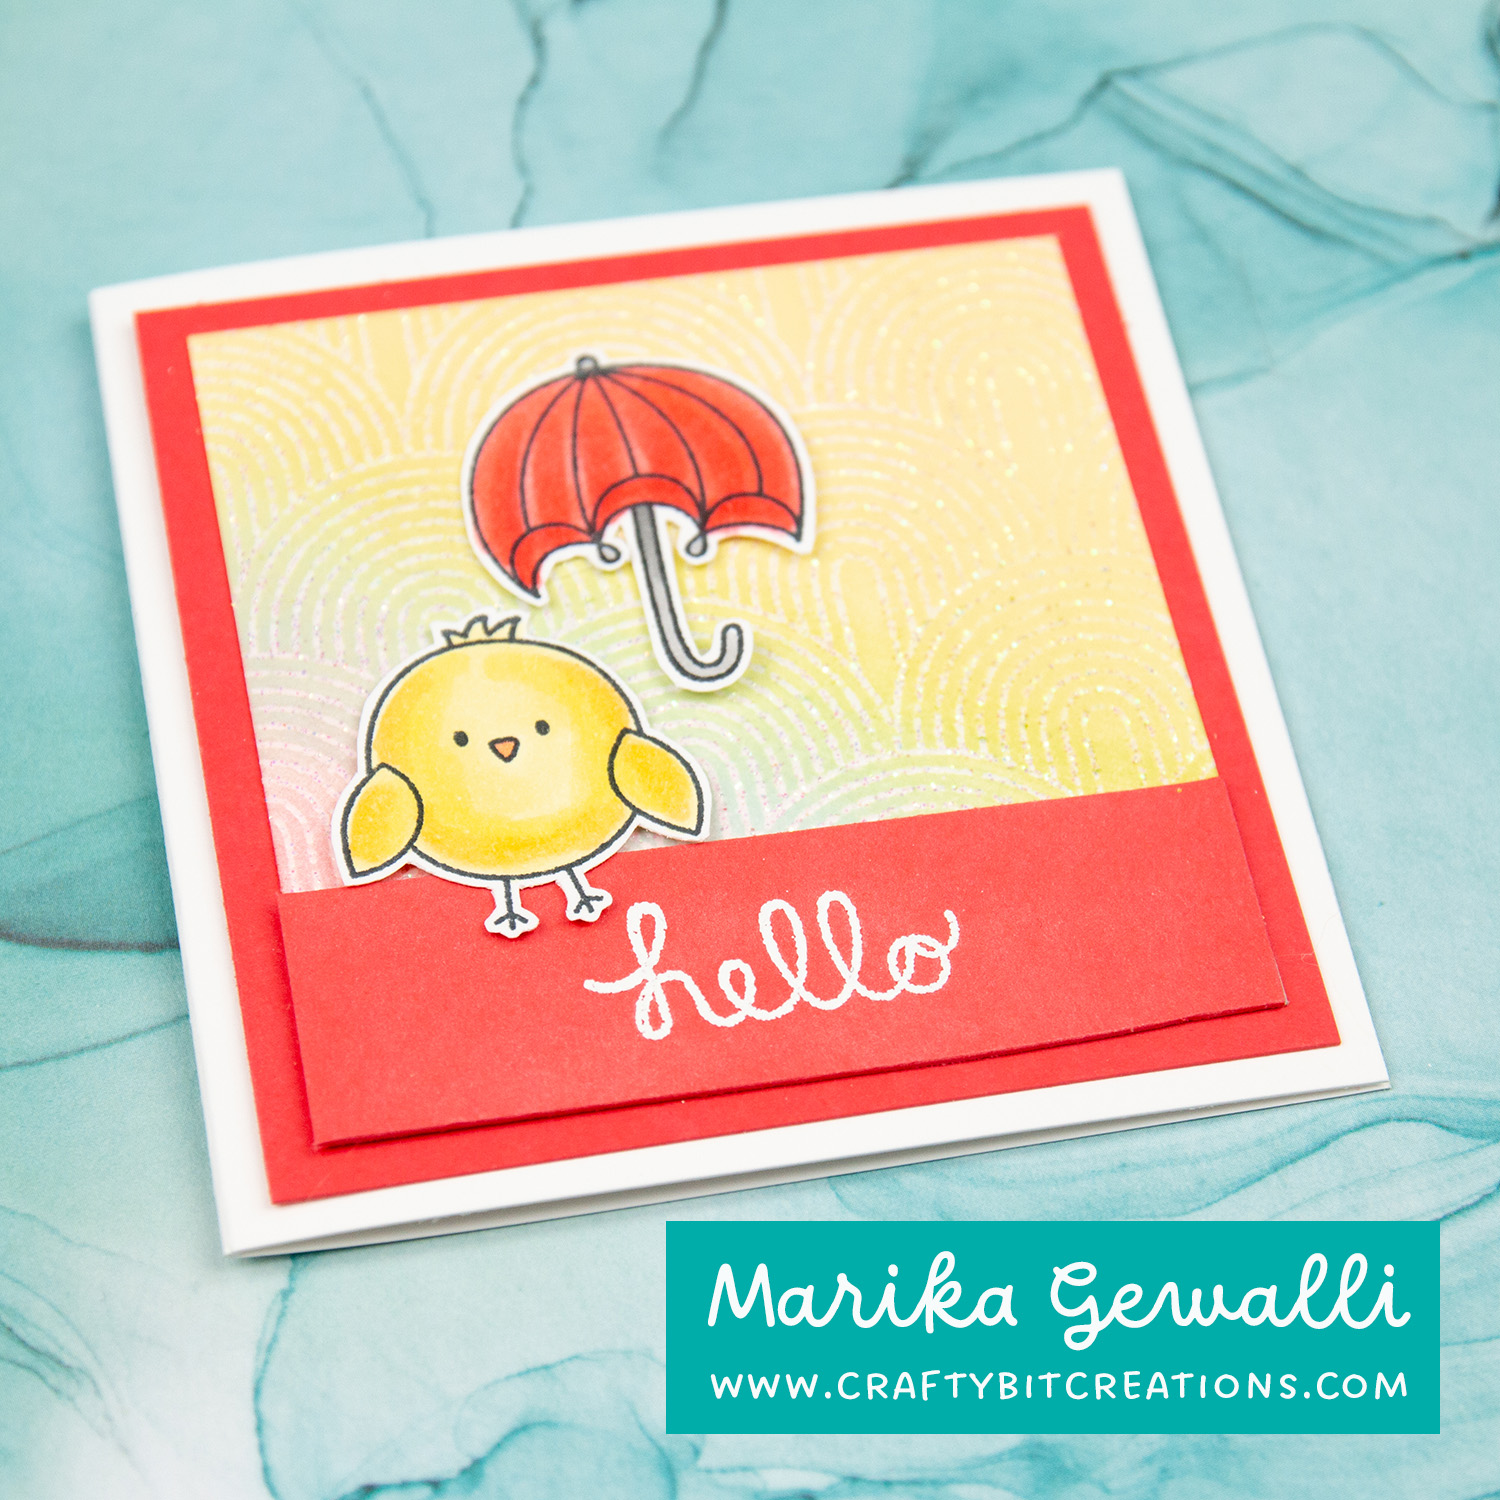
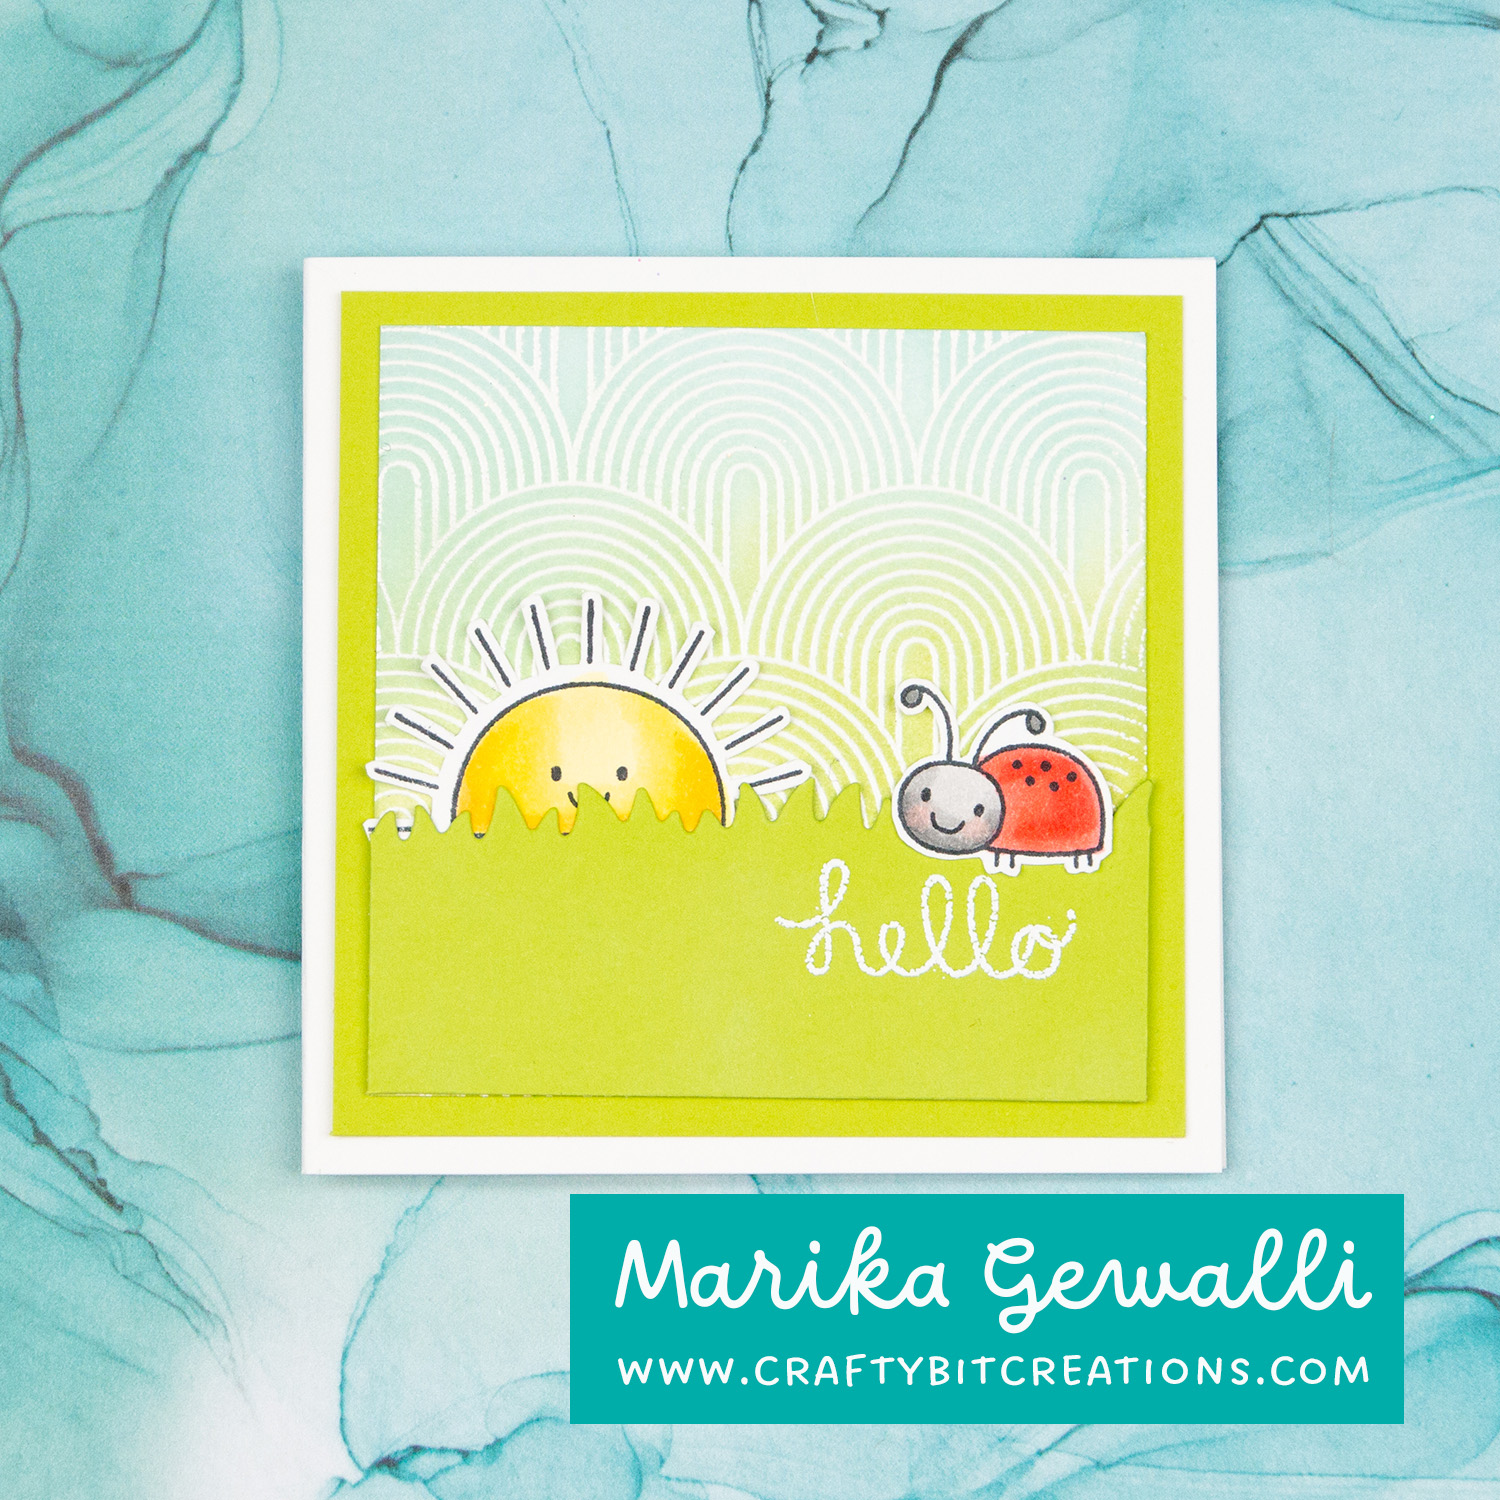
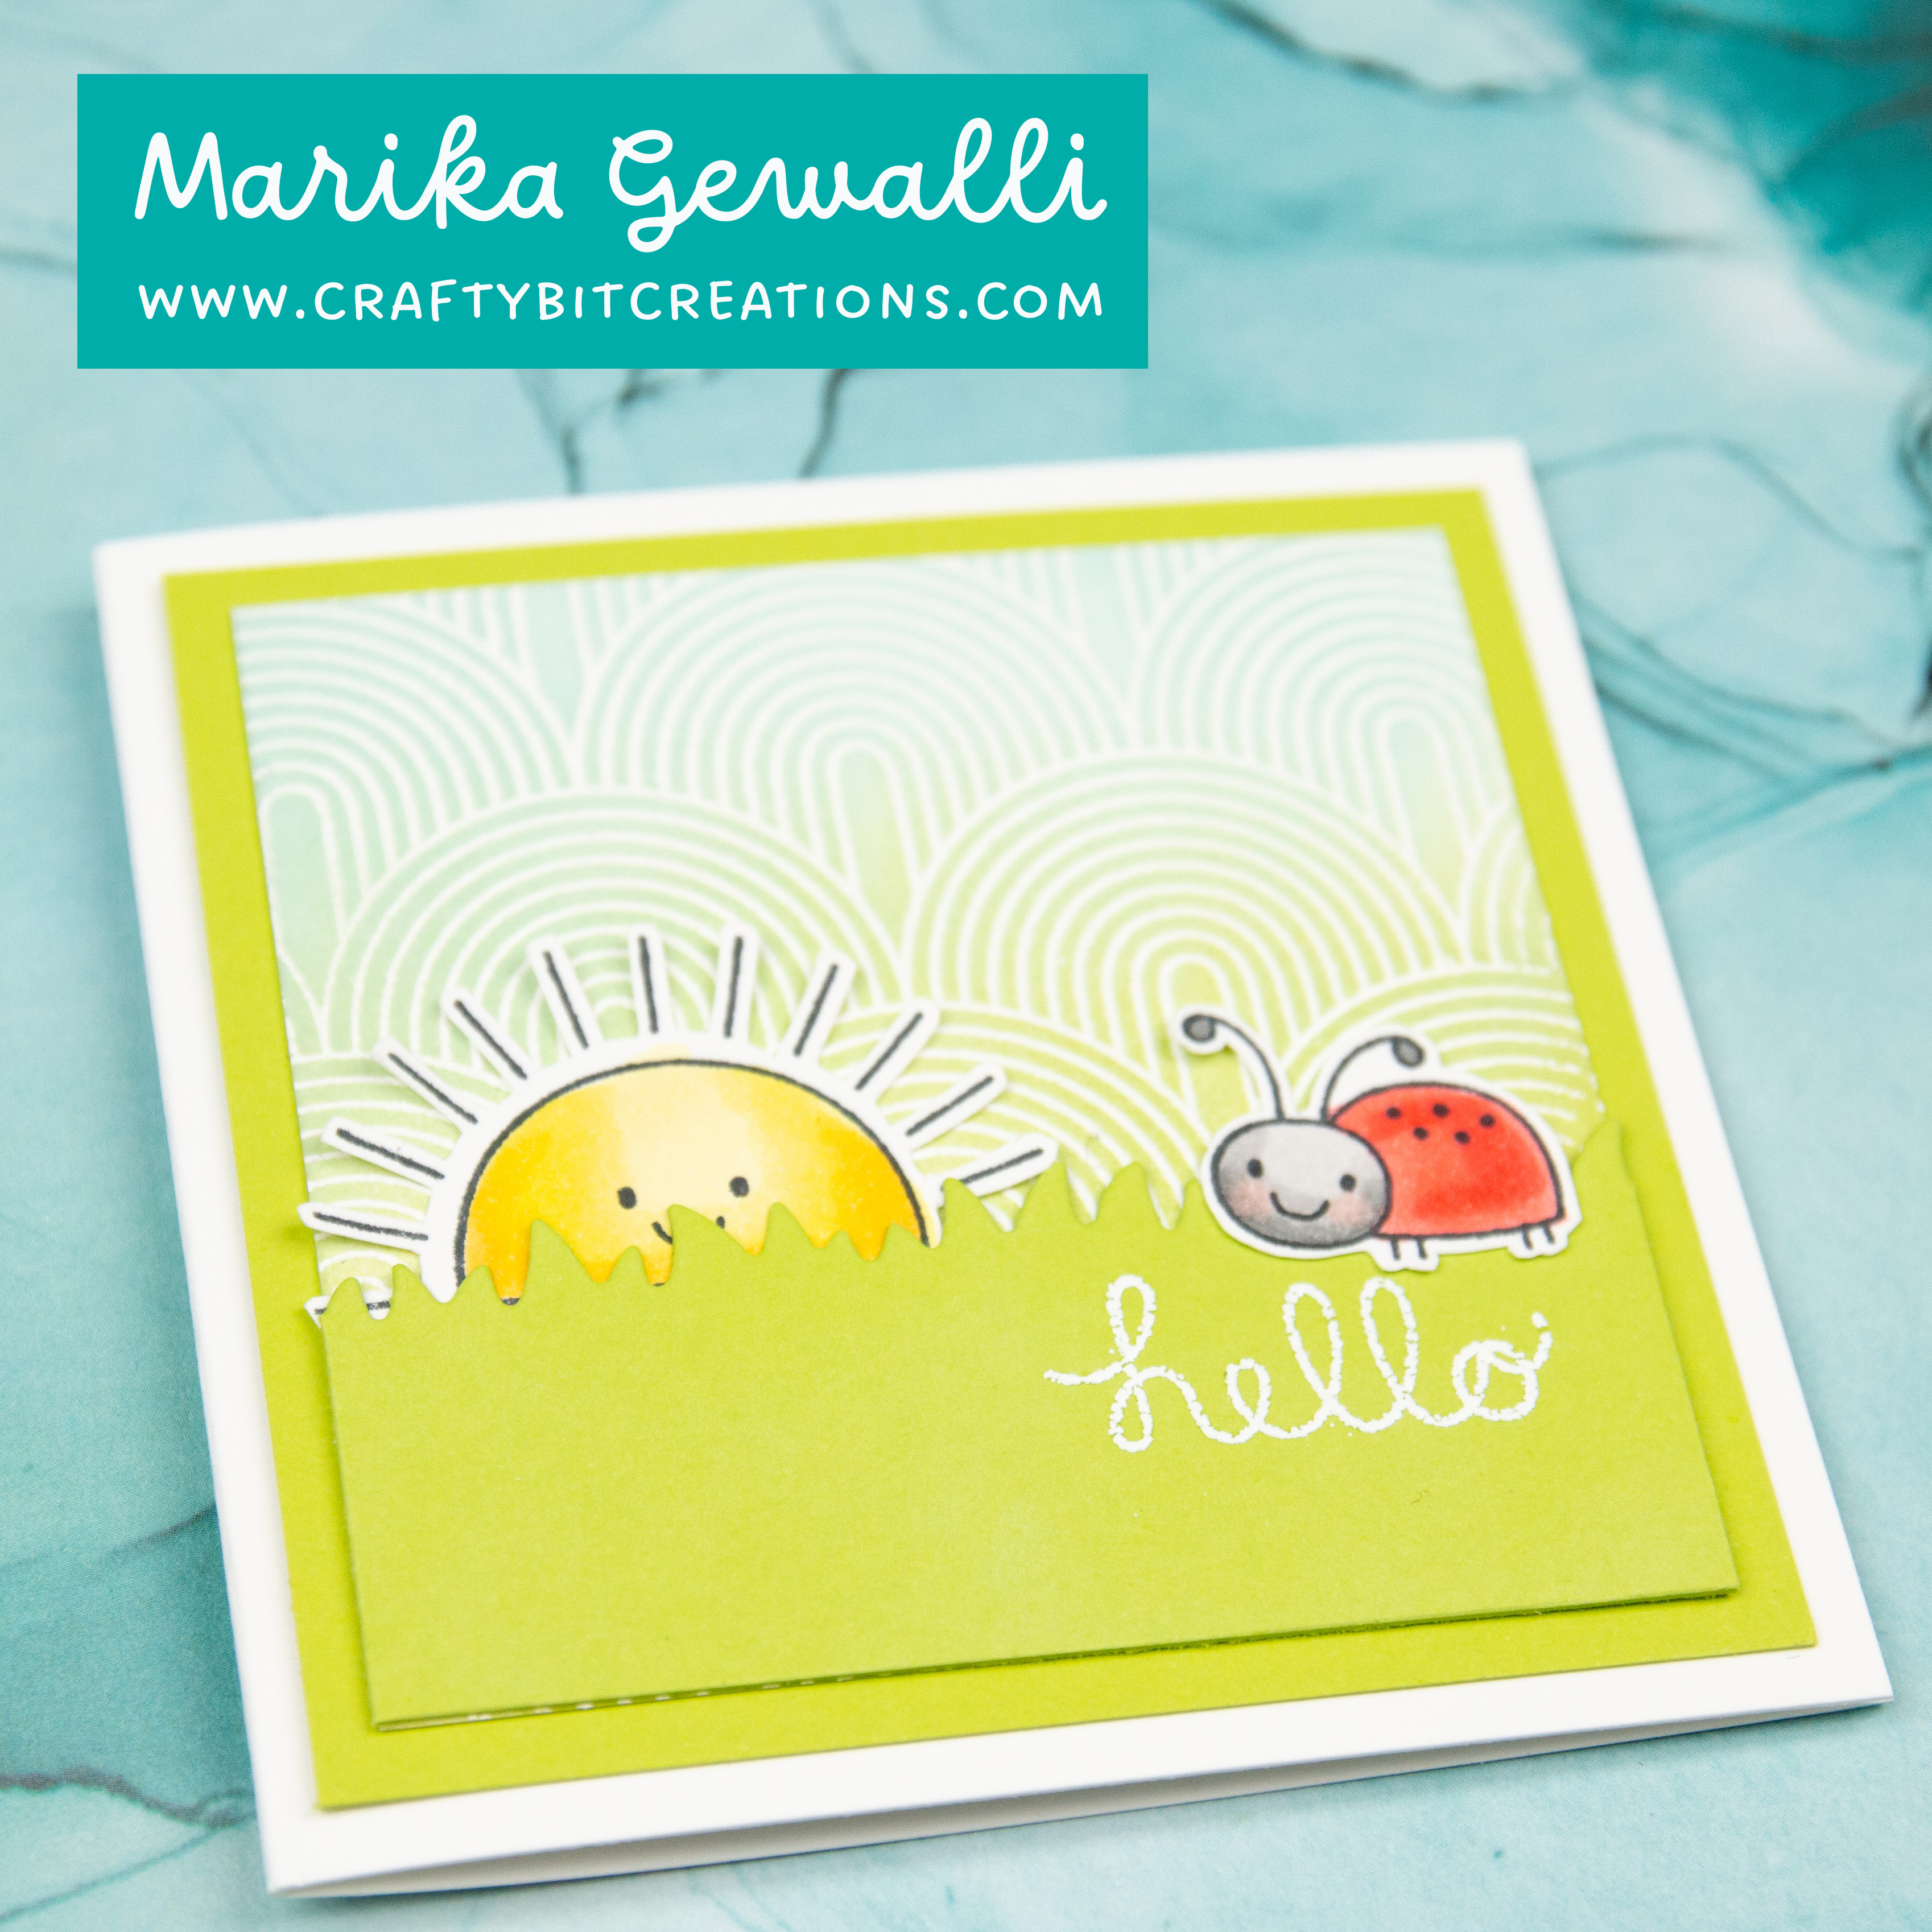
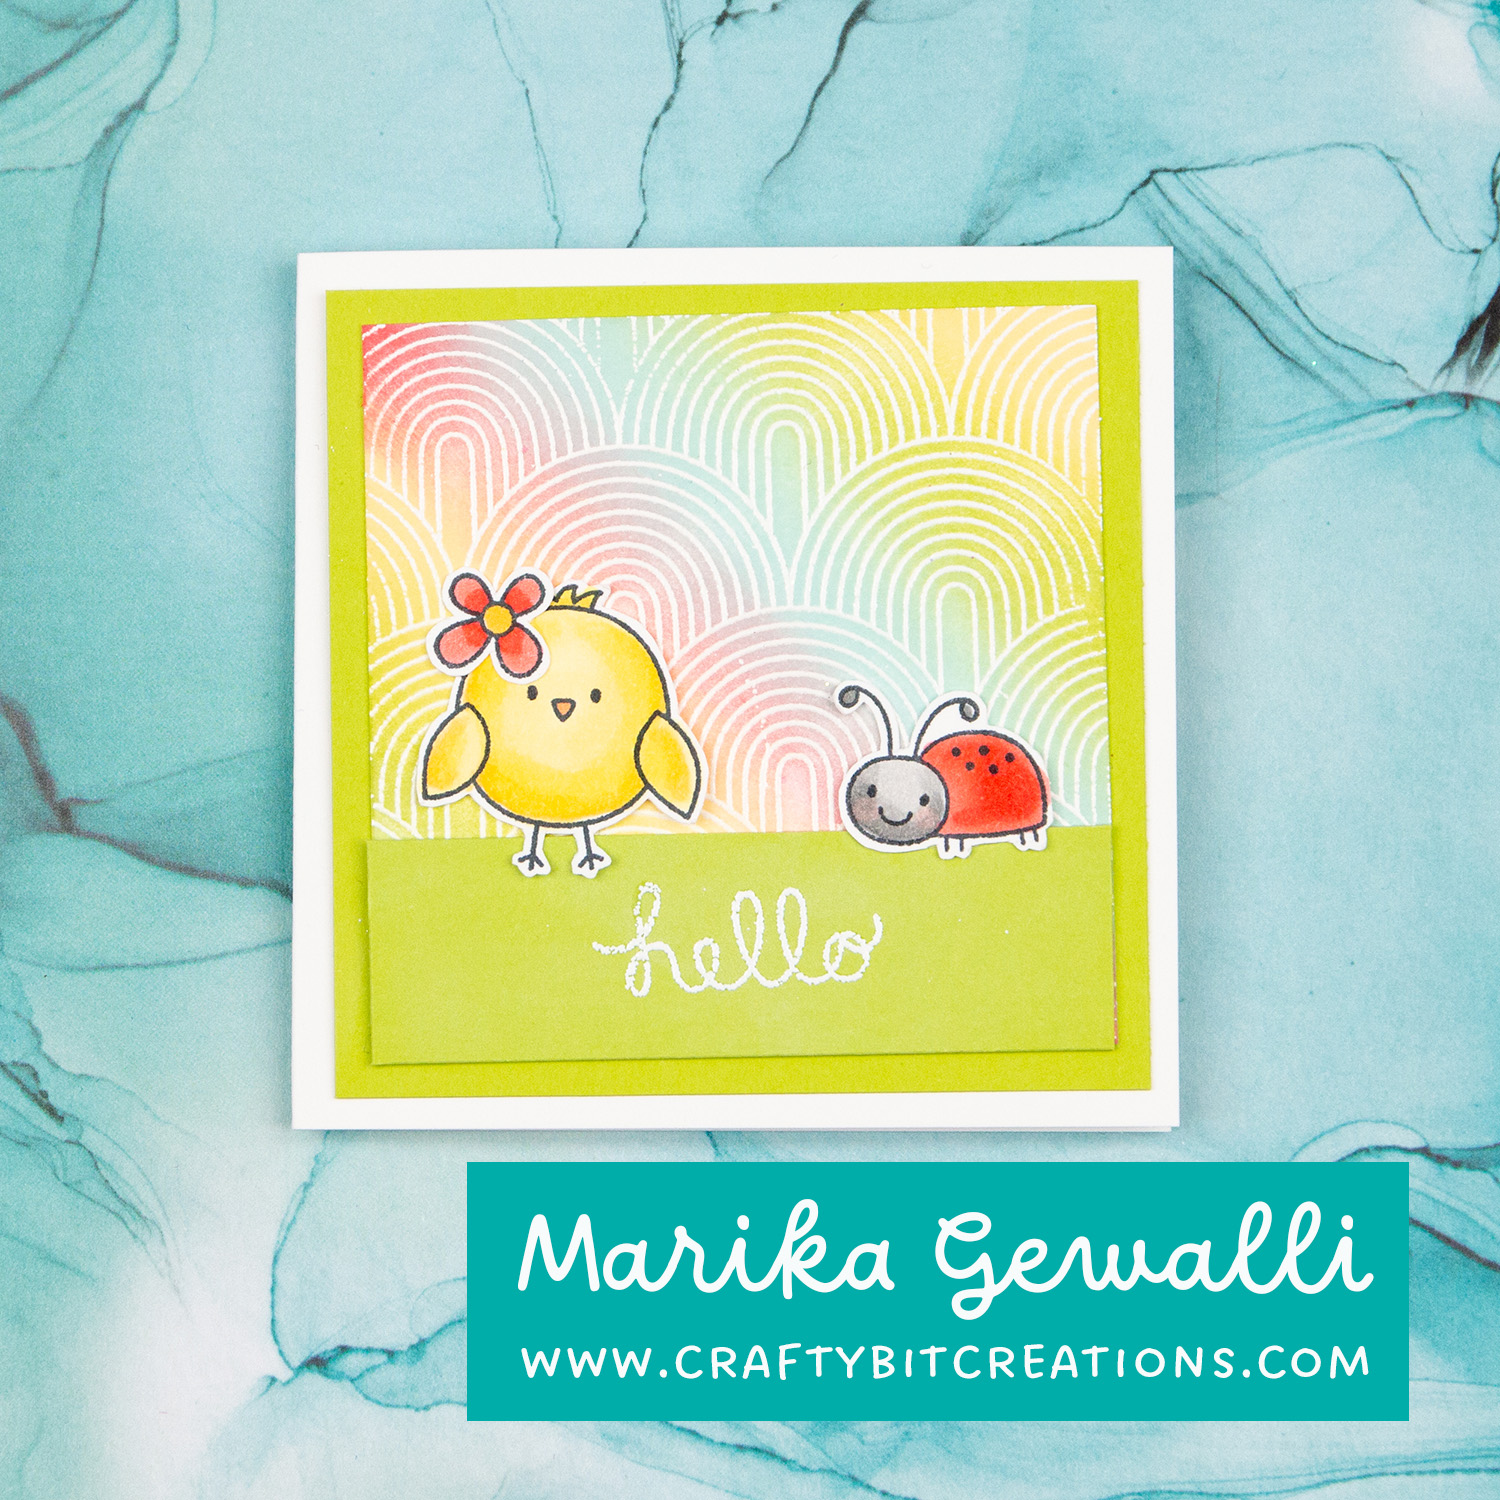
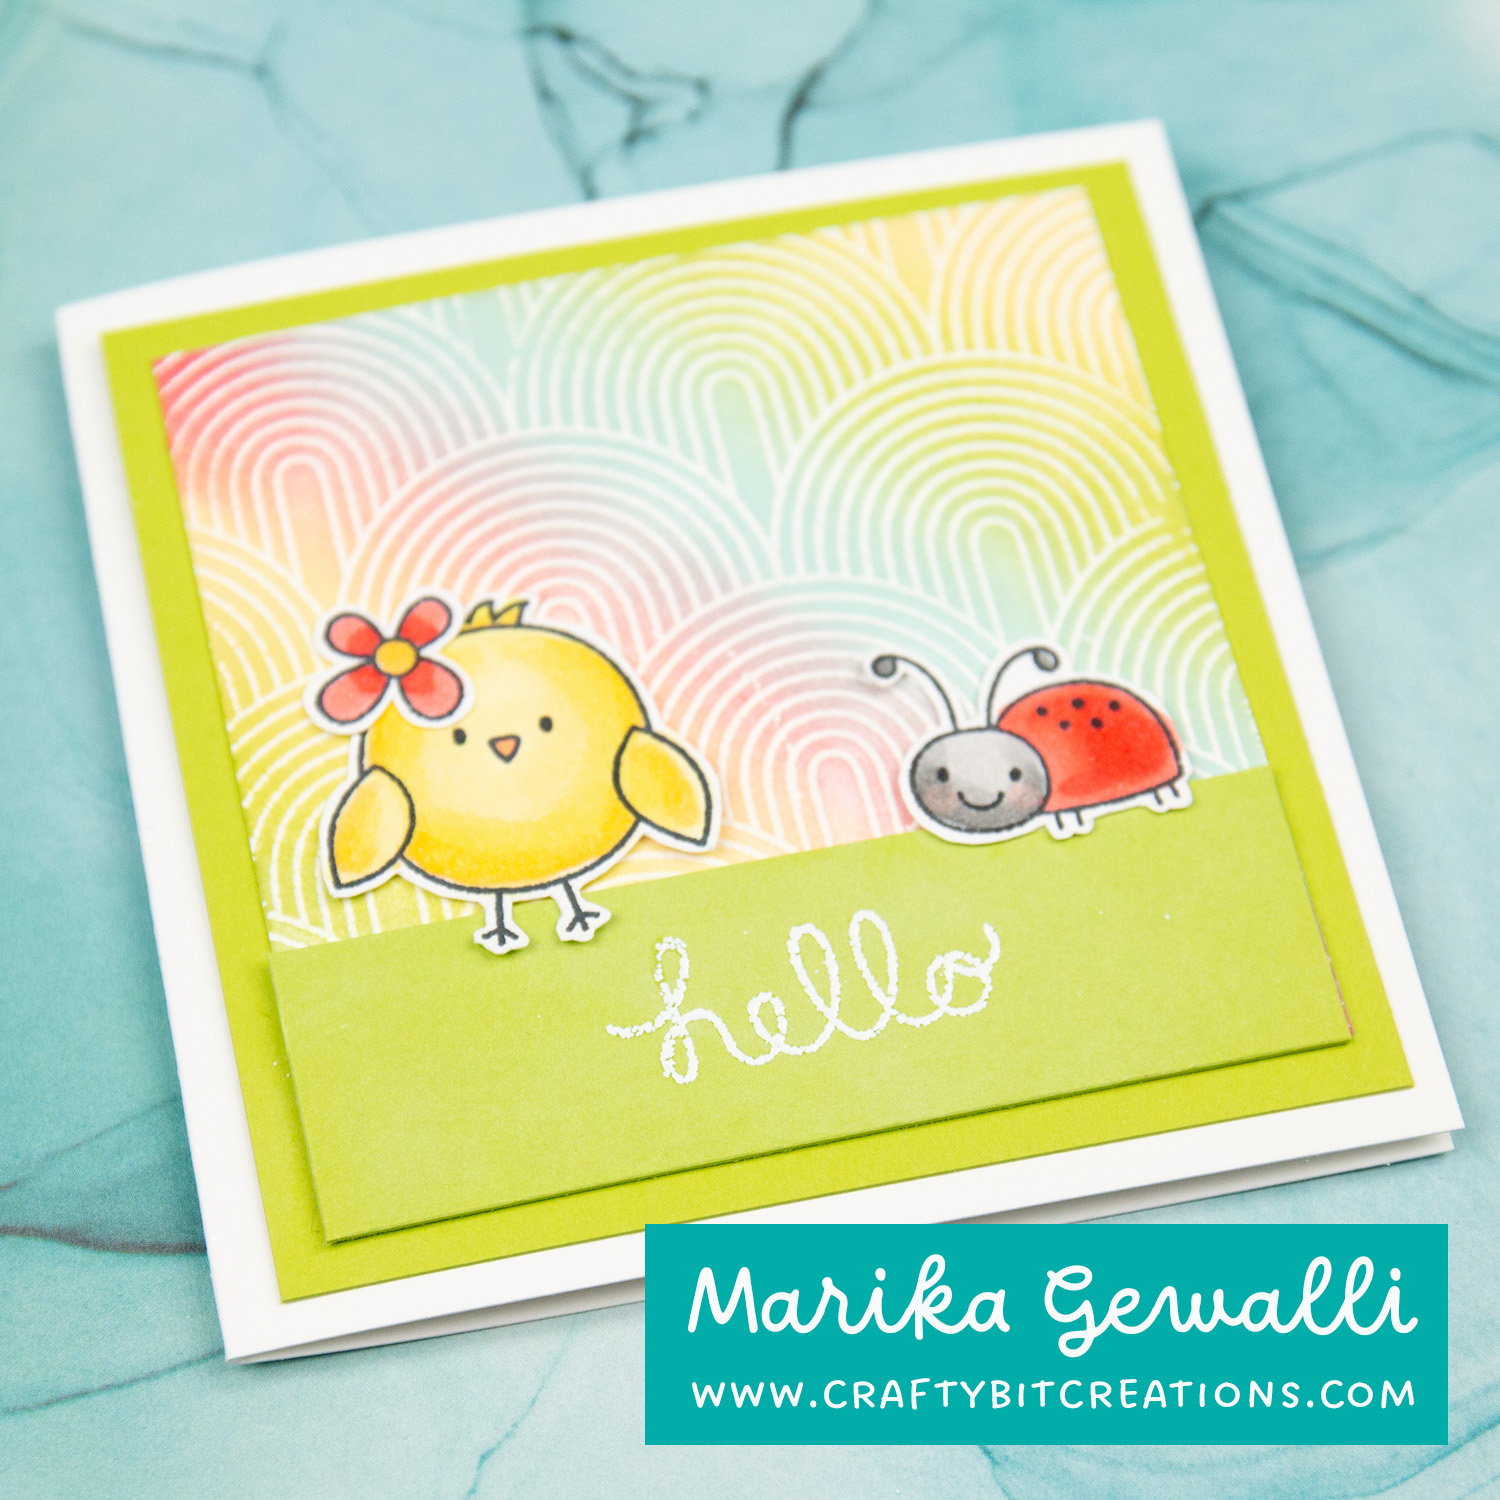
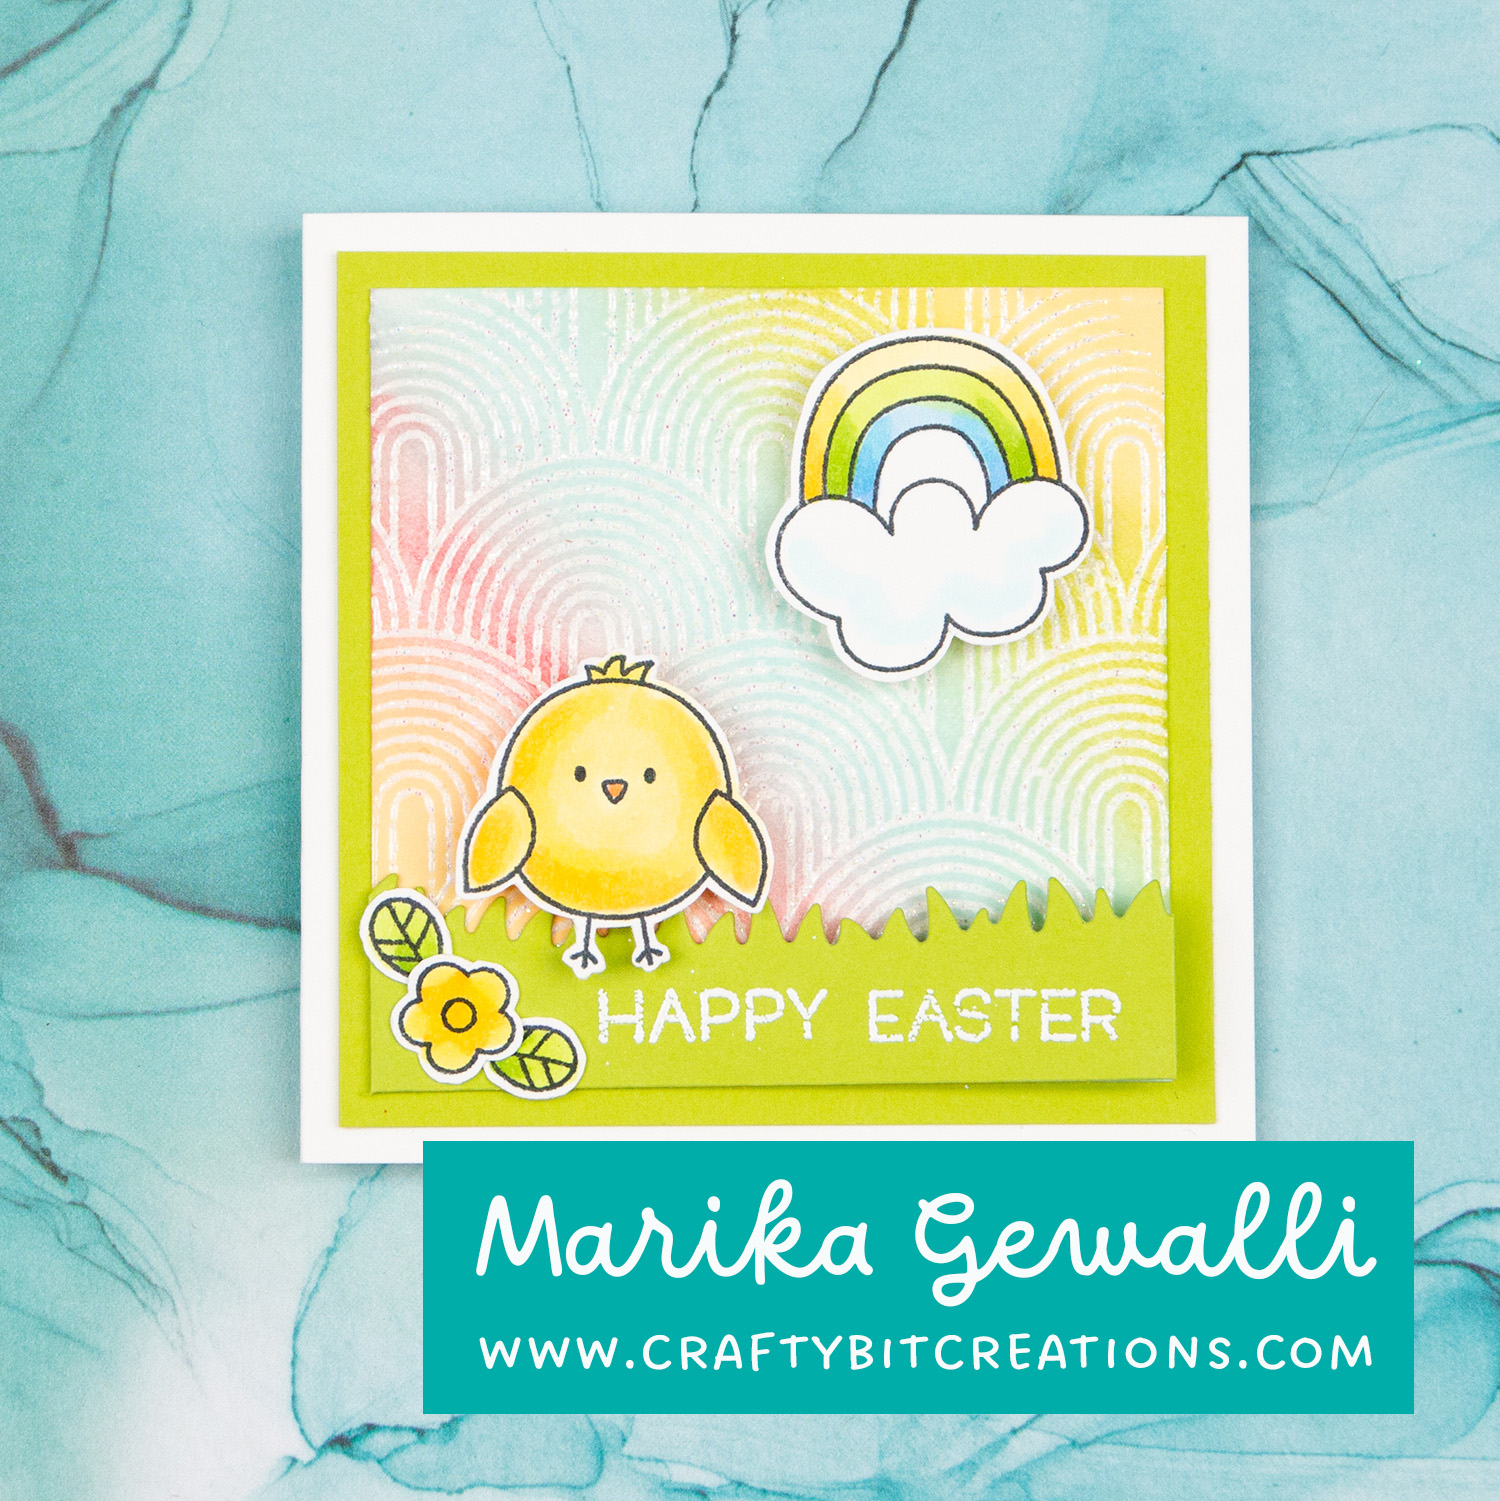
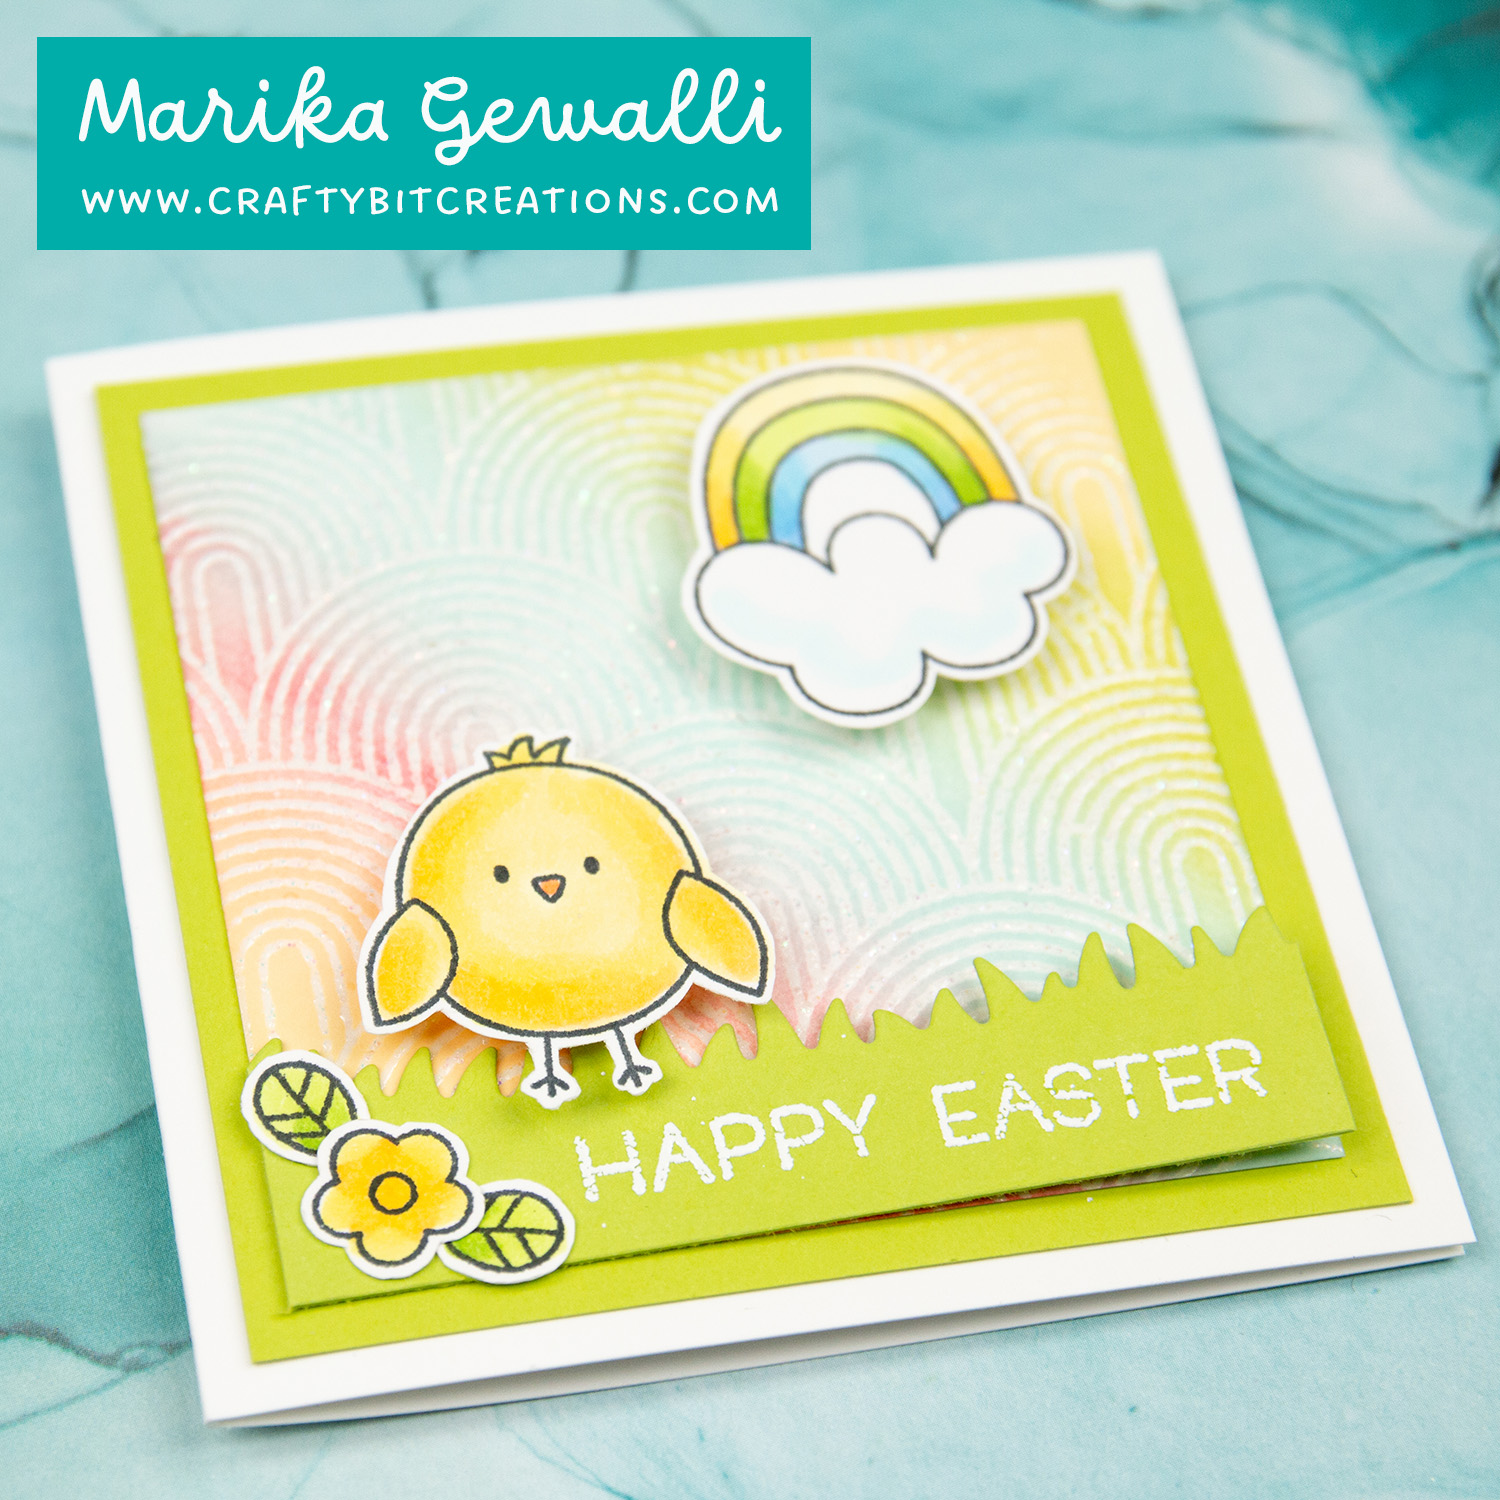
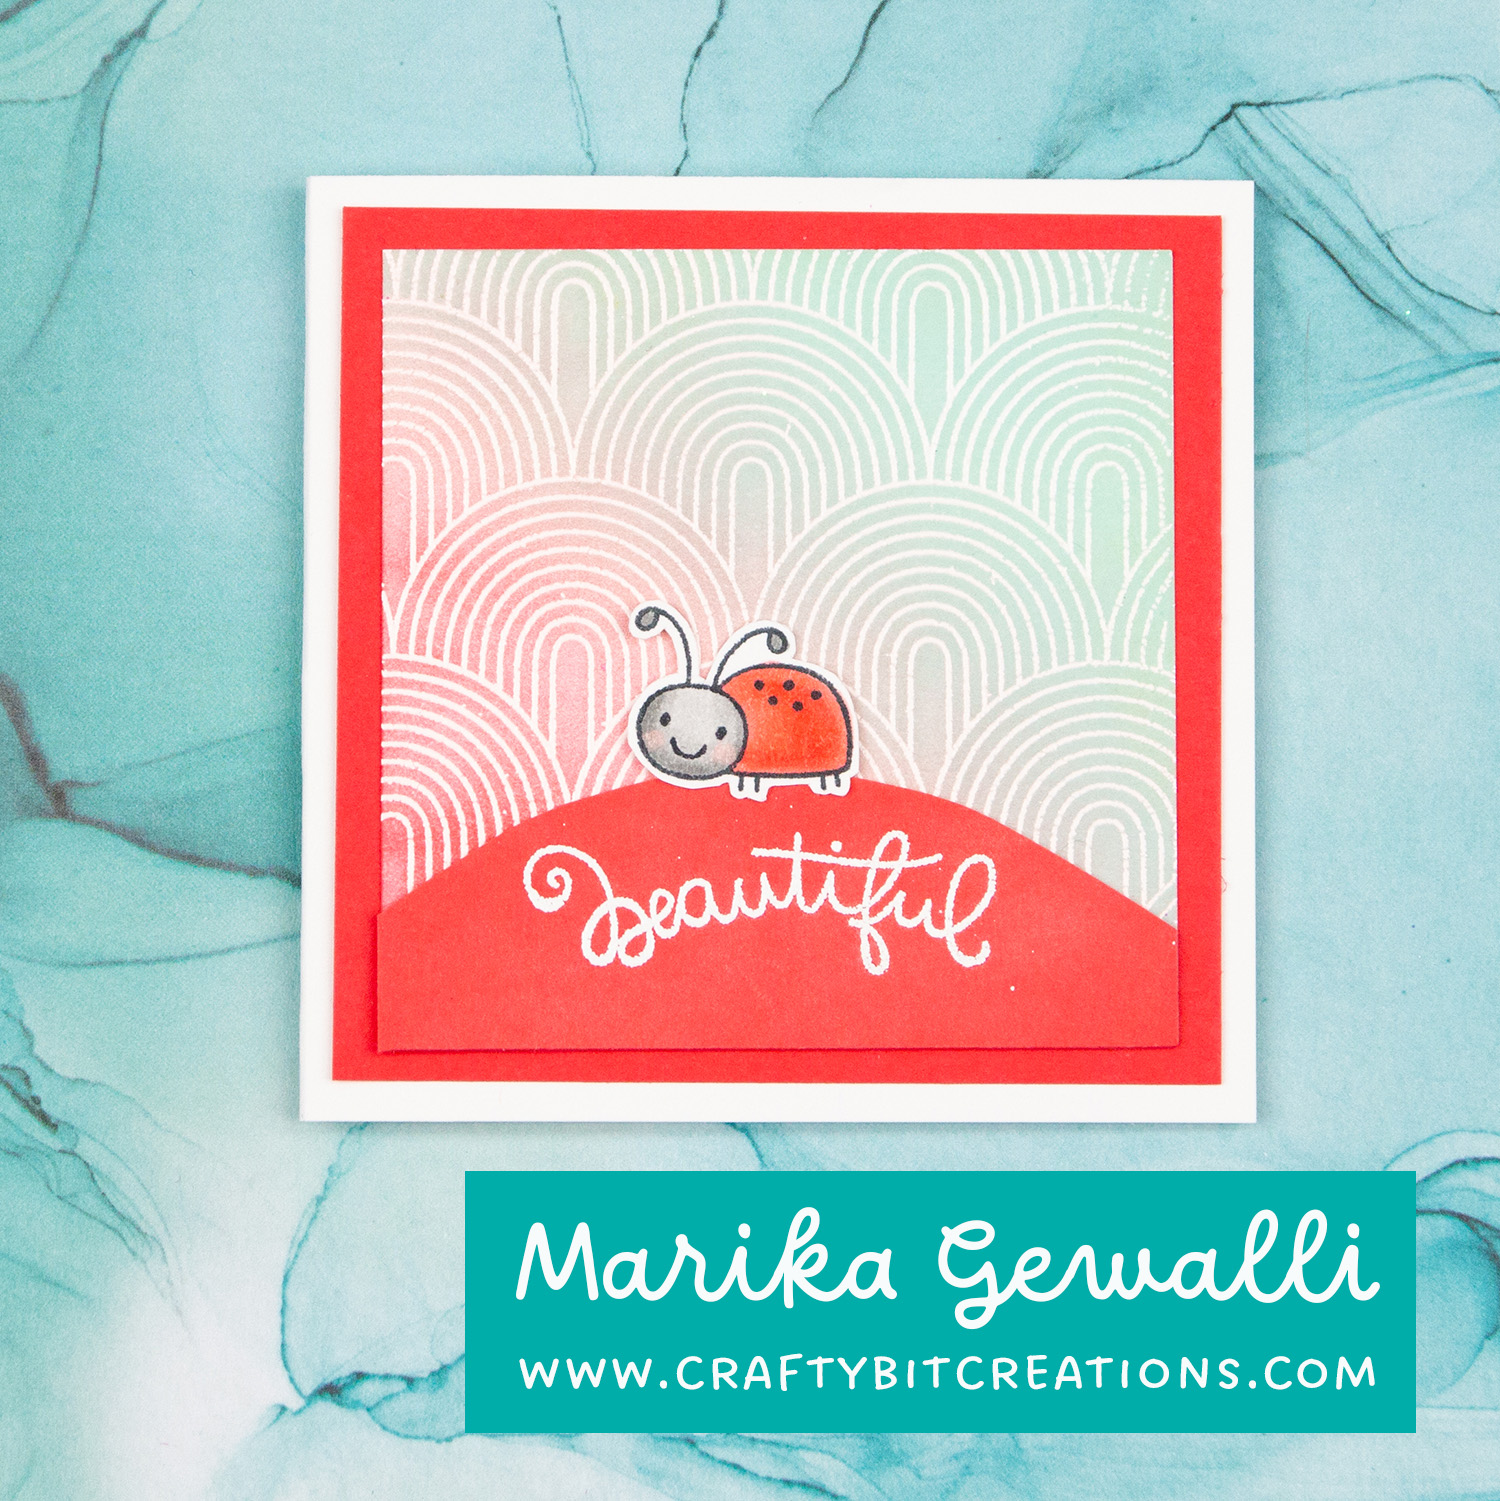
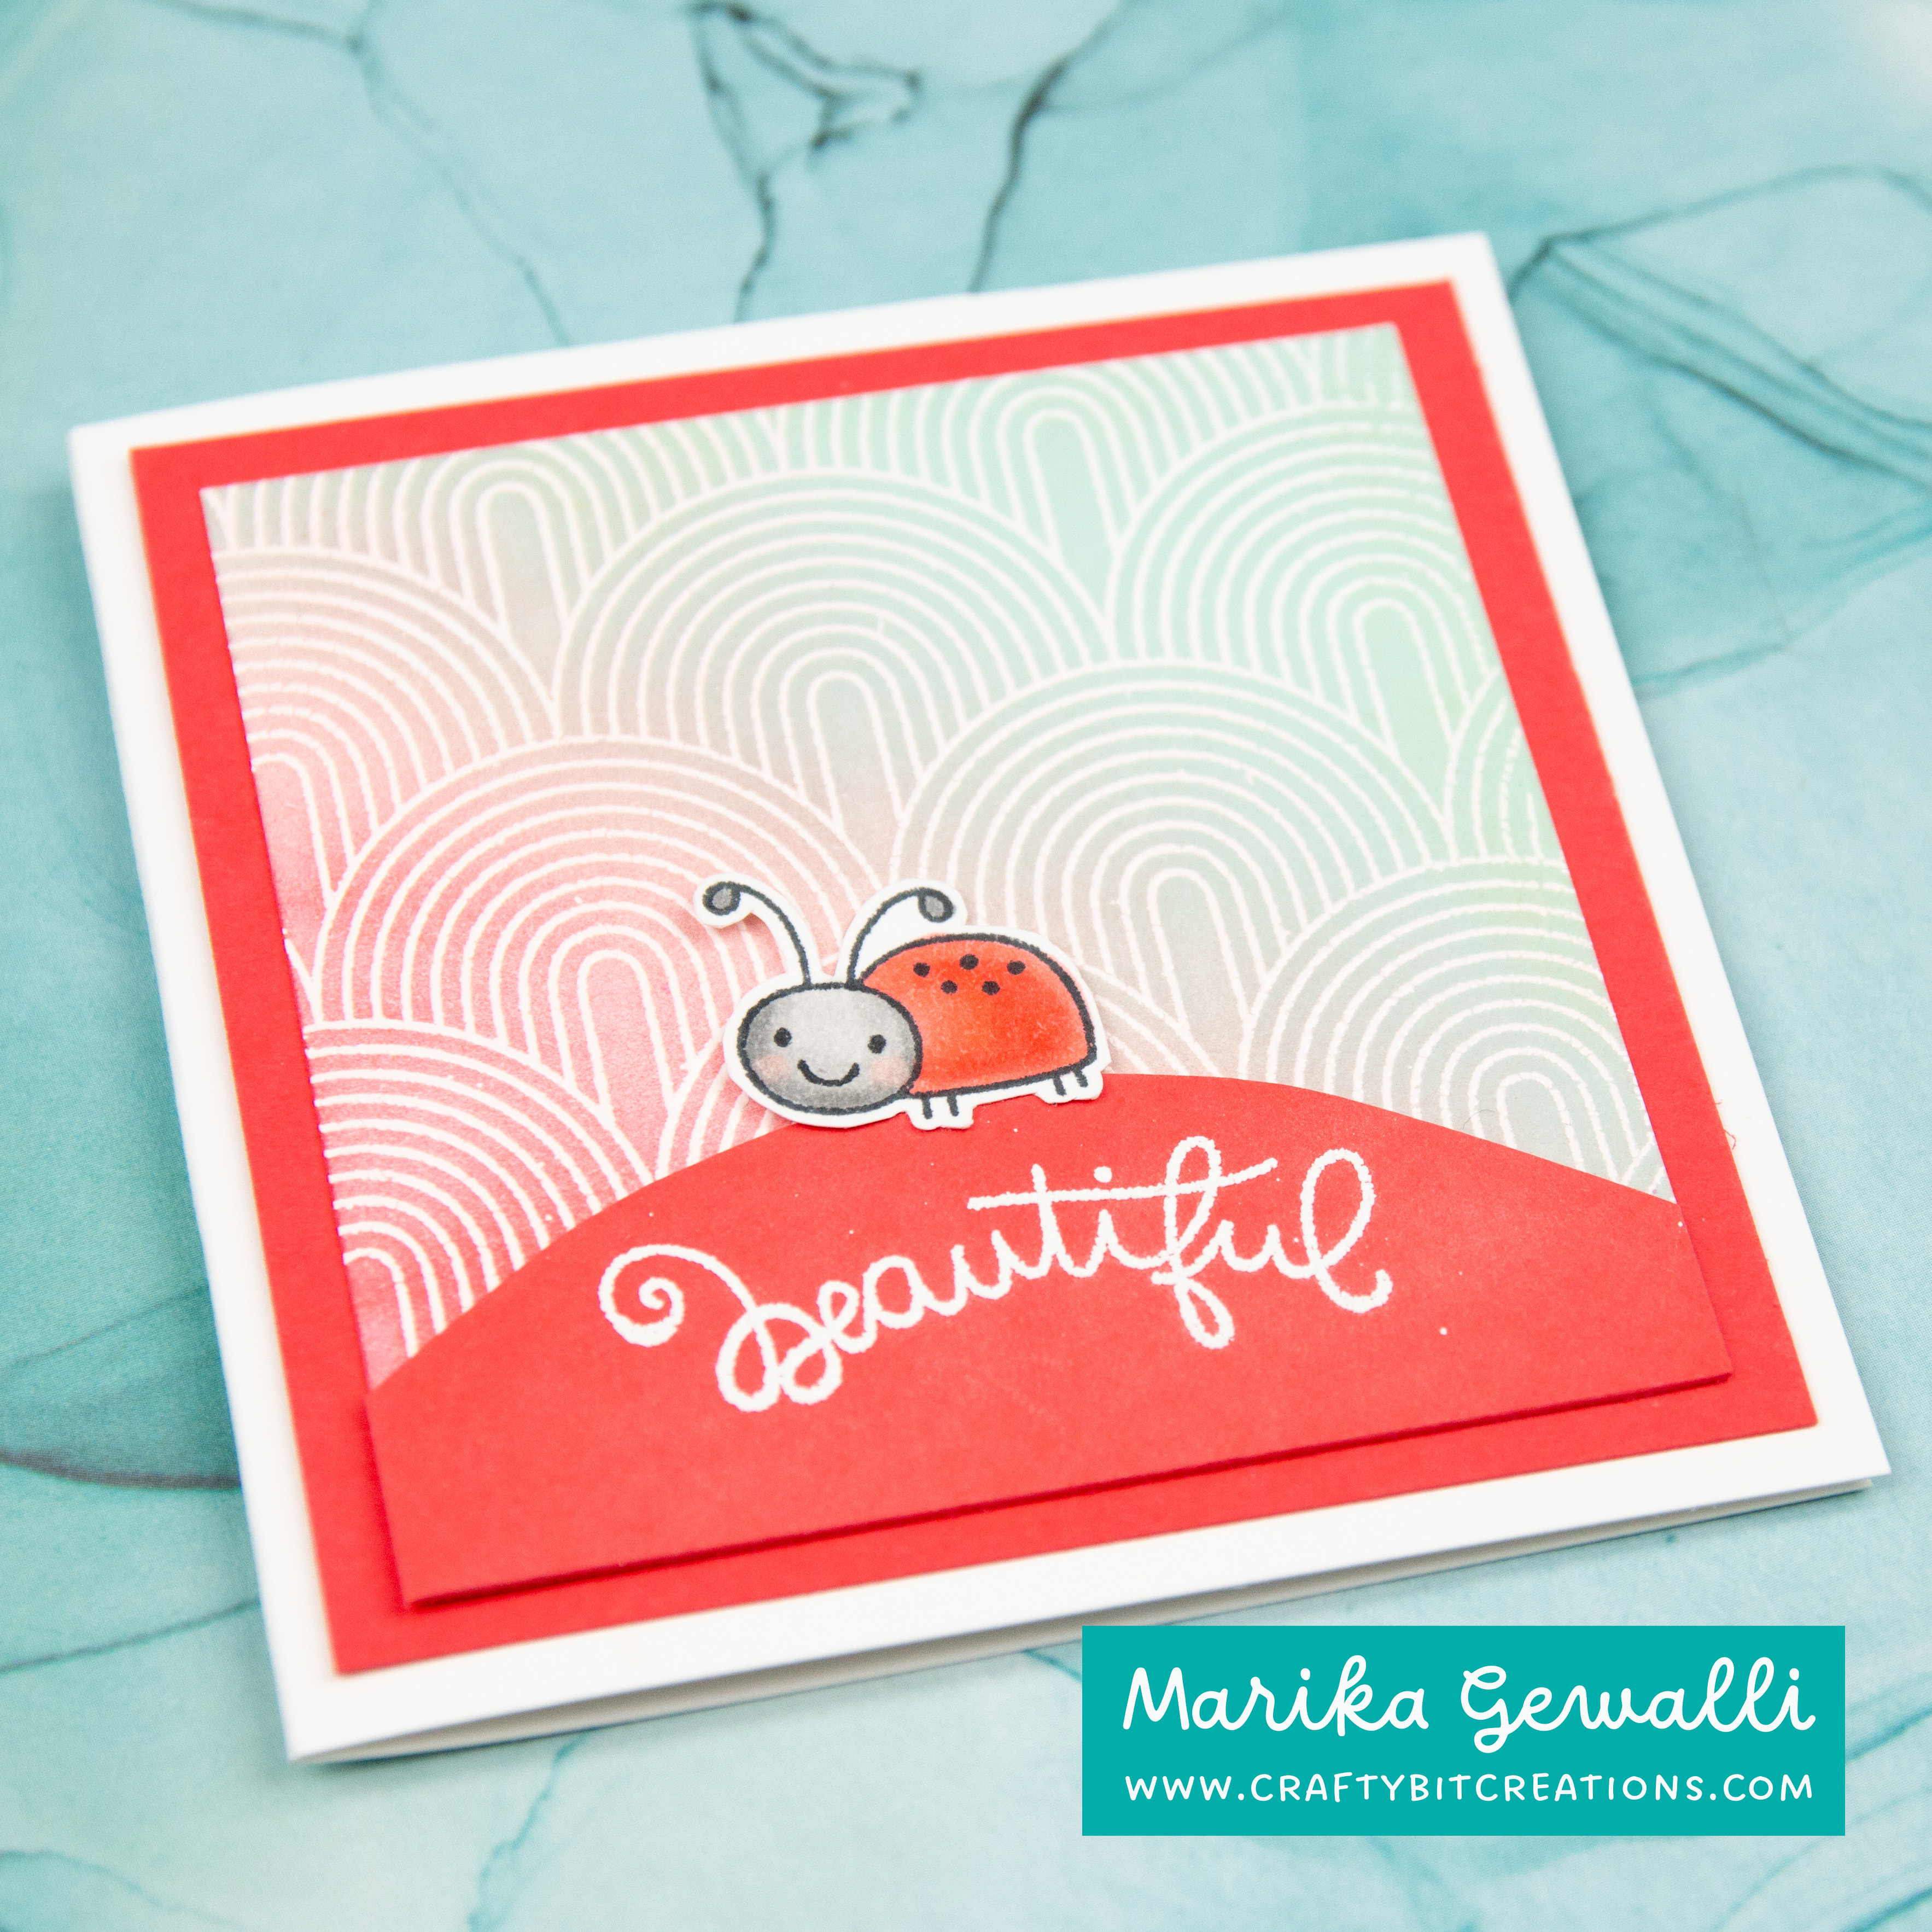
I wanted to dive into my new stamps I last week as soon as I got them. While recording the haul video I released on Wednesday I remarked that the Sending Sunshine & Smiles stamp set would be great for mini cards. And as I love mini cards I decided to make a mini spring cards tutorial. I decided to also use the Repeating Rainbow Background Stamp on all the cards because rainbows and spring goes hand in hand.
Hope you enjoy the tutorial! If you want to see more projects made from the March release you can find them HERE. That link will be updated continuously as I make new projects with the supplies.
When possible affiliate links are used, this means that I receive a small commission when products are purchased through the links (at no extra cost to you) I use the money to support my blog and youtube channel. If you like my projects and tutorial please consider supporting me by clicking through these links when you shop. Thanks!
Even though I told myself that I wouldn’t pick anything up from the My Favorite Things March release, when it finally was announced I knew that I couldn’t hold myself to that. Think my favorite stamp set is Bubbly Birthday, I just can’t say no to mermaids. But all of the stamps I picked up gives me so many ideas! What was your favorite product of the release? Too see what I have done with the release you can see a collection HERE, which will be updated as I create with these supplies.
When possible affiliate links are used, this means that I receive a small commission when products are purchased through the links (at no extra cost to you) I use the money to support my blog and youtube channel. If you like my projects and tutorial please consider supporting me by clicking through these links when you shop. Thanks!
When I saw this weeks sketch I knew that I wanted to use the You Make My Heart Race stamp set. It was so fun going back and playing with the Tiddly Ink stamps. I was blessed to join their GDT for 4 months in 2015 (this was before they started designing for My Favorite Things).
The sketch challenge 584 is wavy layers with a circle in the top left corner. So I decided to make a very simple scene. In retrospect I wish I chosen brighter colors however I didn’t have time this weekend to remake it. For the wavy layers I used the Slimline Drifts & Hills Stencil, I drew with a pencil and then cut them out. If I had the snowdrift dies I would have used them, would have been easier and I would have gotten a stitched border. I blended some Bundle Sage Oxide Ink over the hills and then splattered Peeled Paint, Forest Moss and Ground Espresso Oxide Inks over it.
When possible affiliate links are used, this means that I receive a small commission when products are purchased through the links (at no extra cost to you) I use the money to support my blog and youtube channel. If you like my projects and tutorial please consider supporting me by clicking through these links when you shop. Thanks!