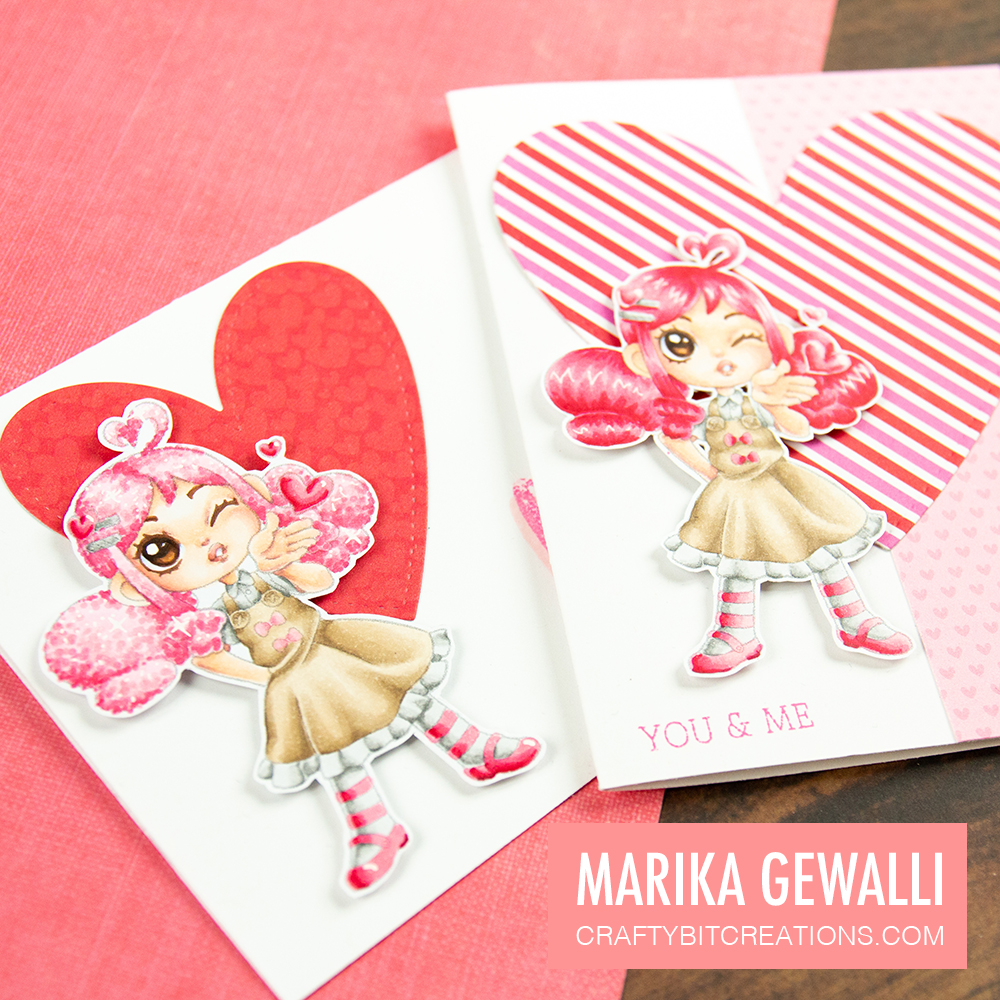
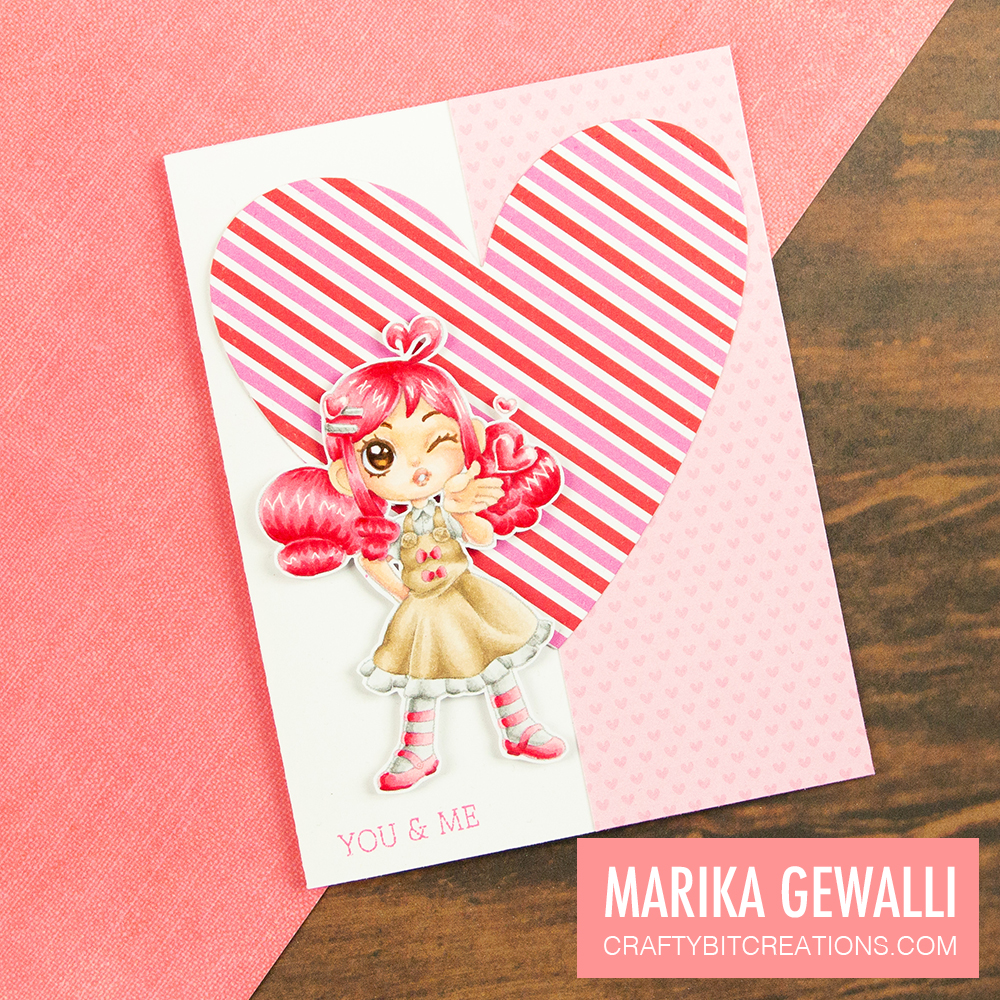
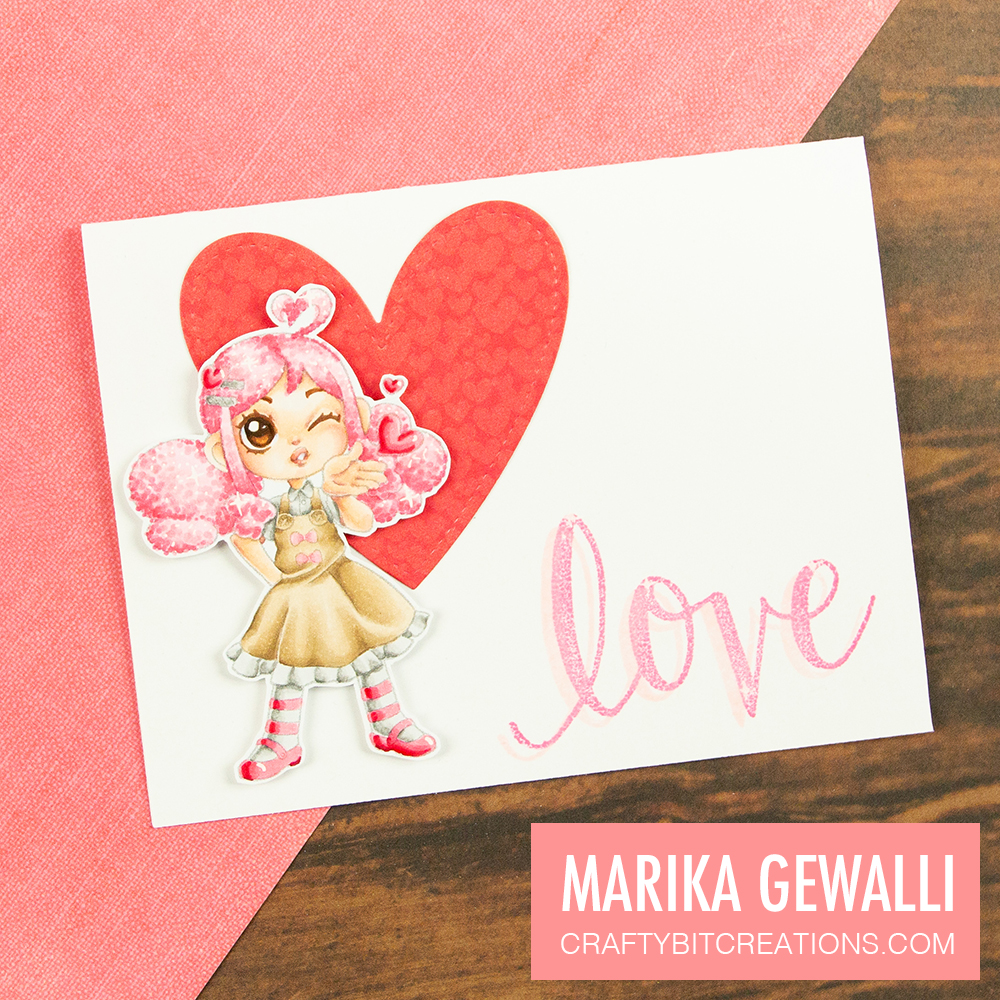
Hi everyone! In todays video tutorial I’m showing you how to use the no-line coloring technique on Jojo a digital stamp by Make It Crafty. And how to use that image for a more neutral birthday card.
Jojo is a part of a the Petal Sprites Collection which contains 6 equally cute characters. I did say I thought I had colored every character in this series, but after looking at it I had confused it with another collection and I now have 5 more adorable characters to make into cards!

I’ve used a very soft color combination, and a keen eye can see I used the same colores for the Bluebell fairy from the bloghop earlier this week. Well I did record this video awhile ago so it’s actually the other way around. I just fell in love with the blue purples and I might continue to use it more, maybe.
However the no-line coloring technique is something that most definitely will be used a lot more. It makes the images so much more dimensional and at the same time so much more soft. I still color images with lines to as I do believe that both ways have their own place in card making. The trick with no-line coloring is to make the lines soft enough so when the coloring is done you hardly can see the lines, while keeping them dark enough so you can see them when you are coloring. For me that is printing them with a 20% opacity when I’m using digis, or using London Fog Memento ink for when they are stamps. Another trick is to print/stamp one with black ink on some printer paper to have on the side for reference.
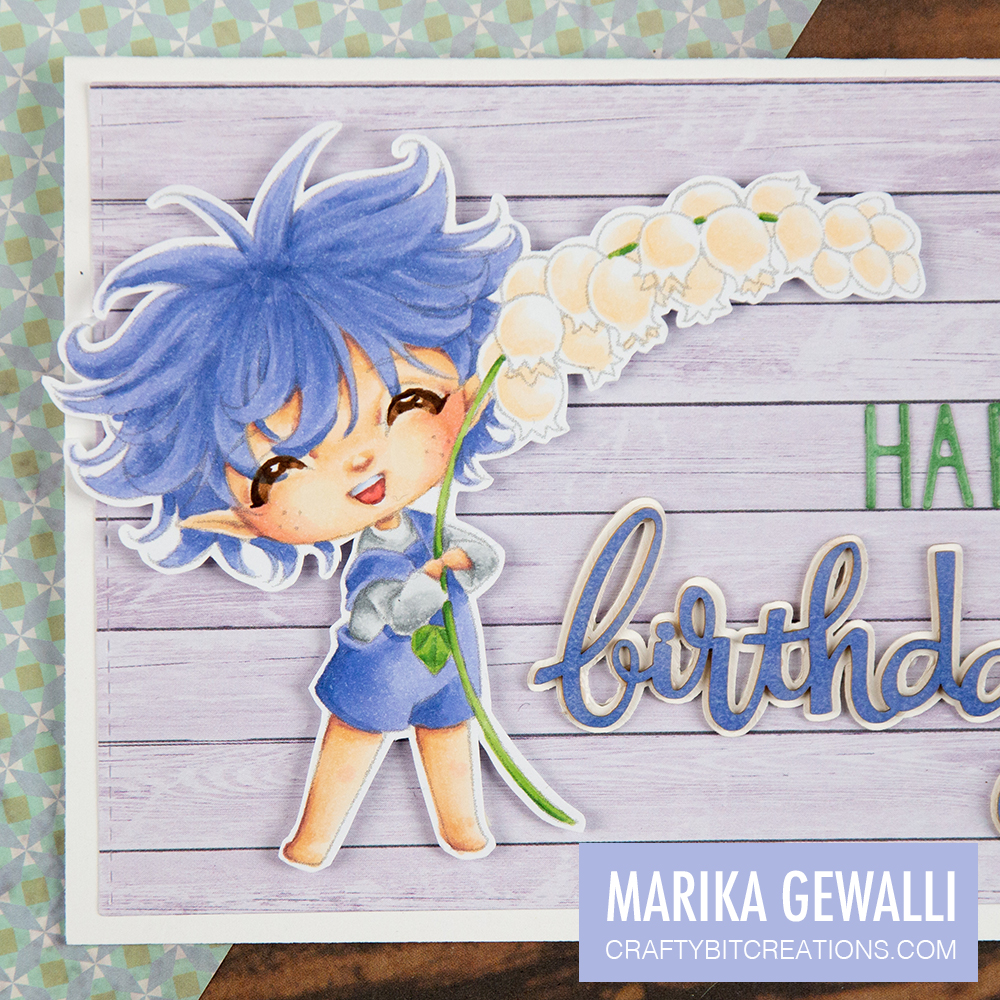
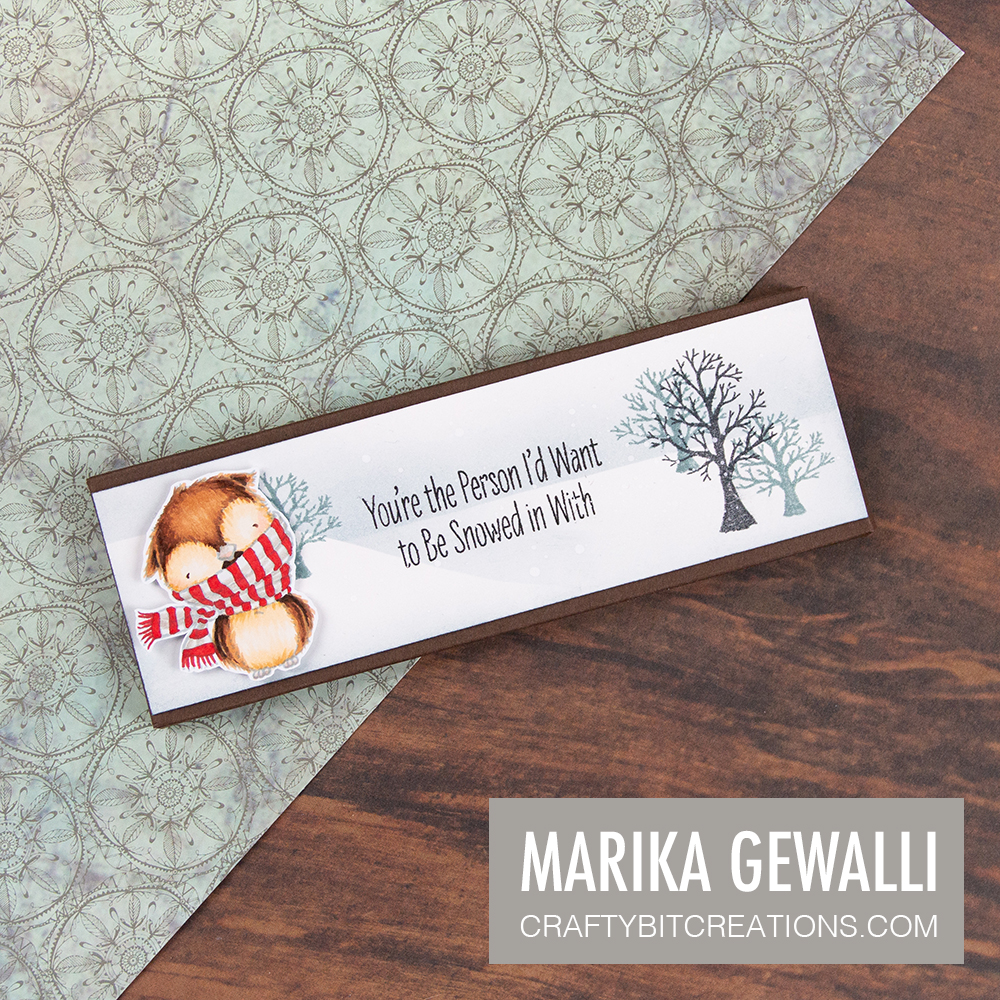
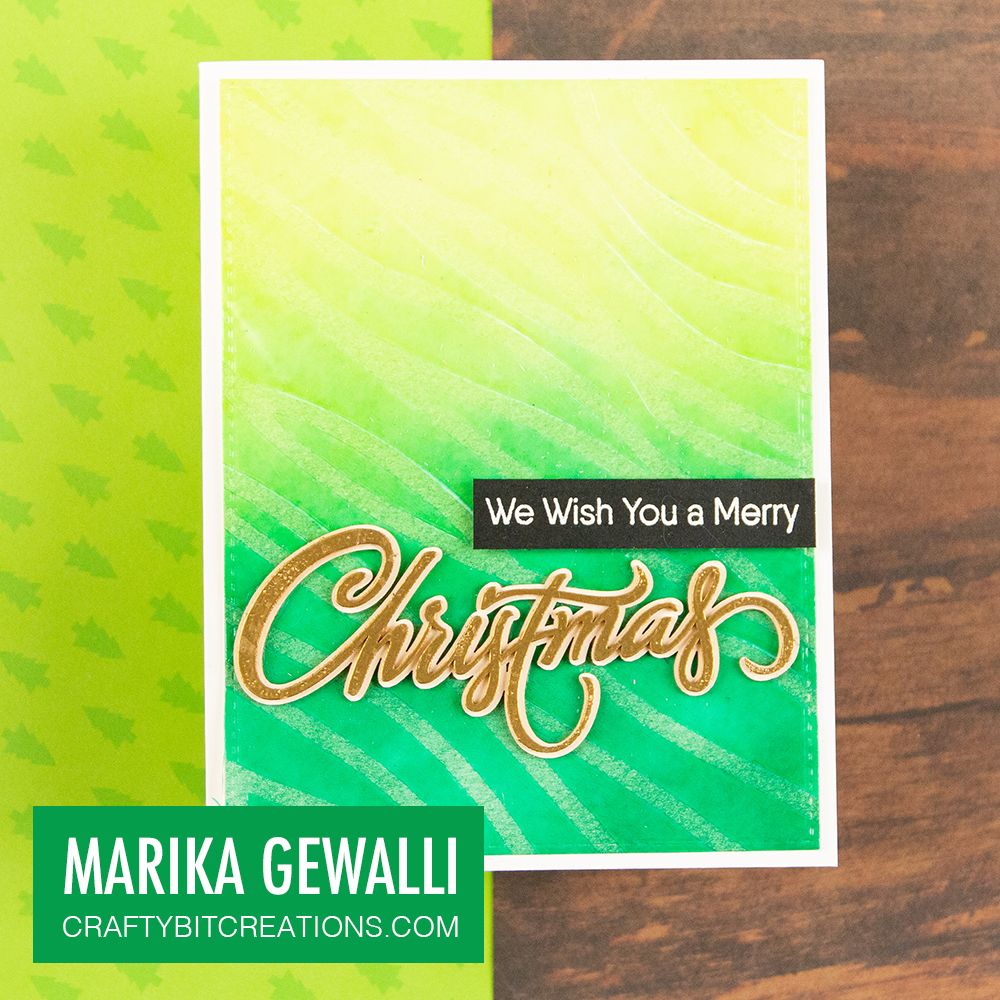
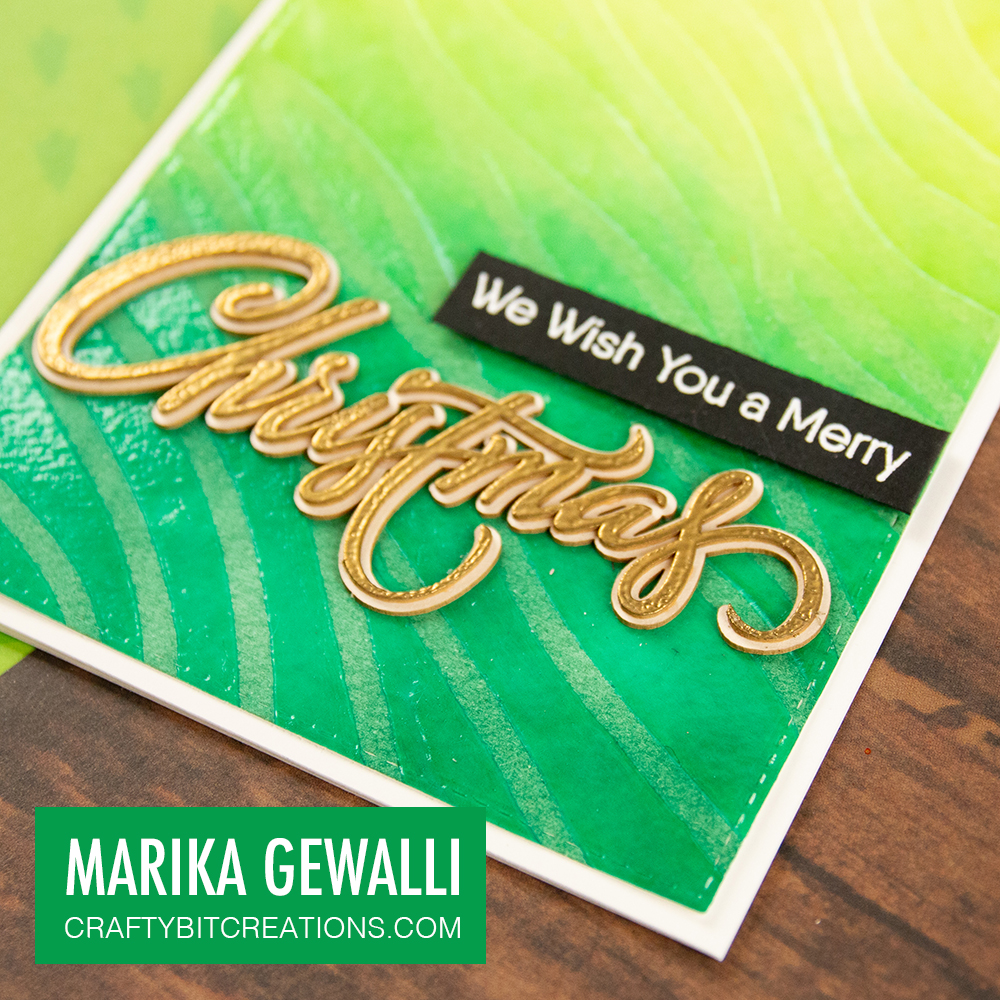
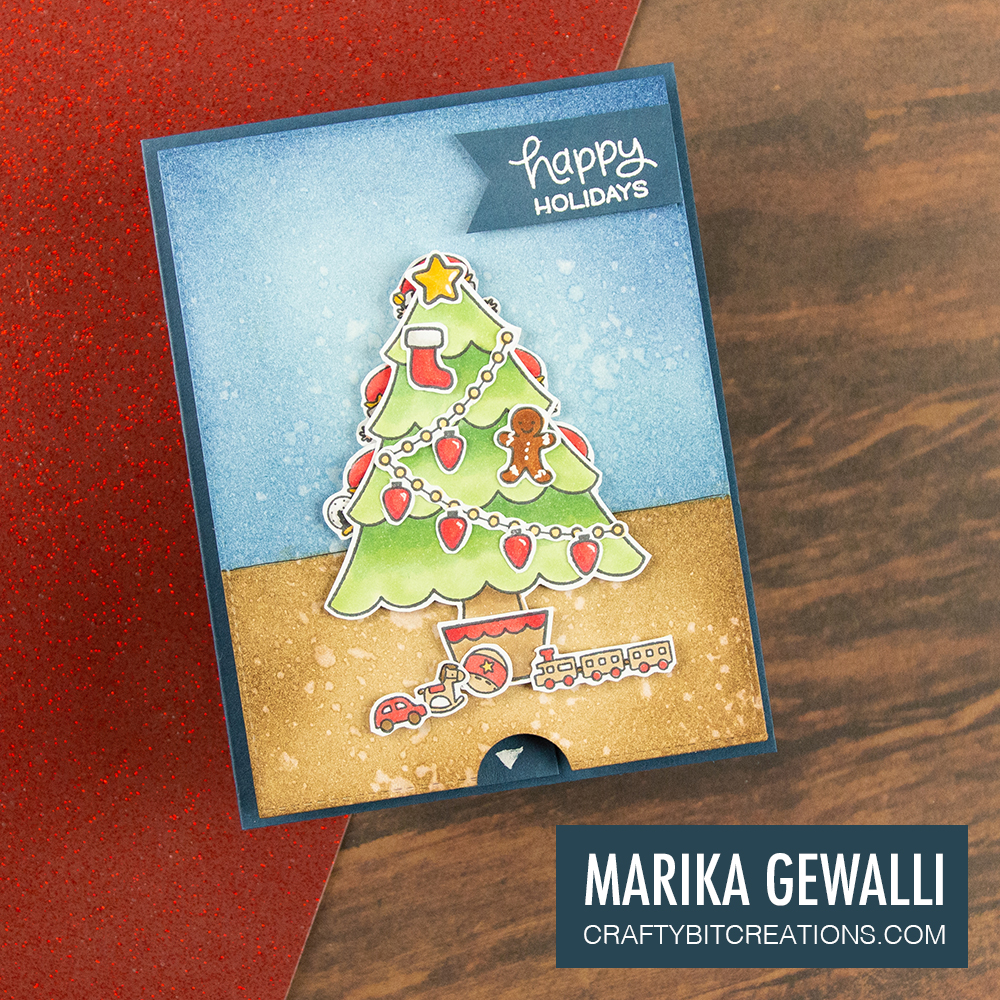
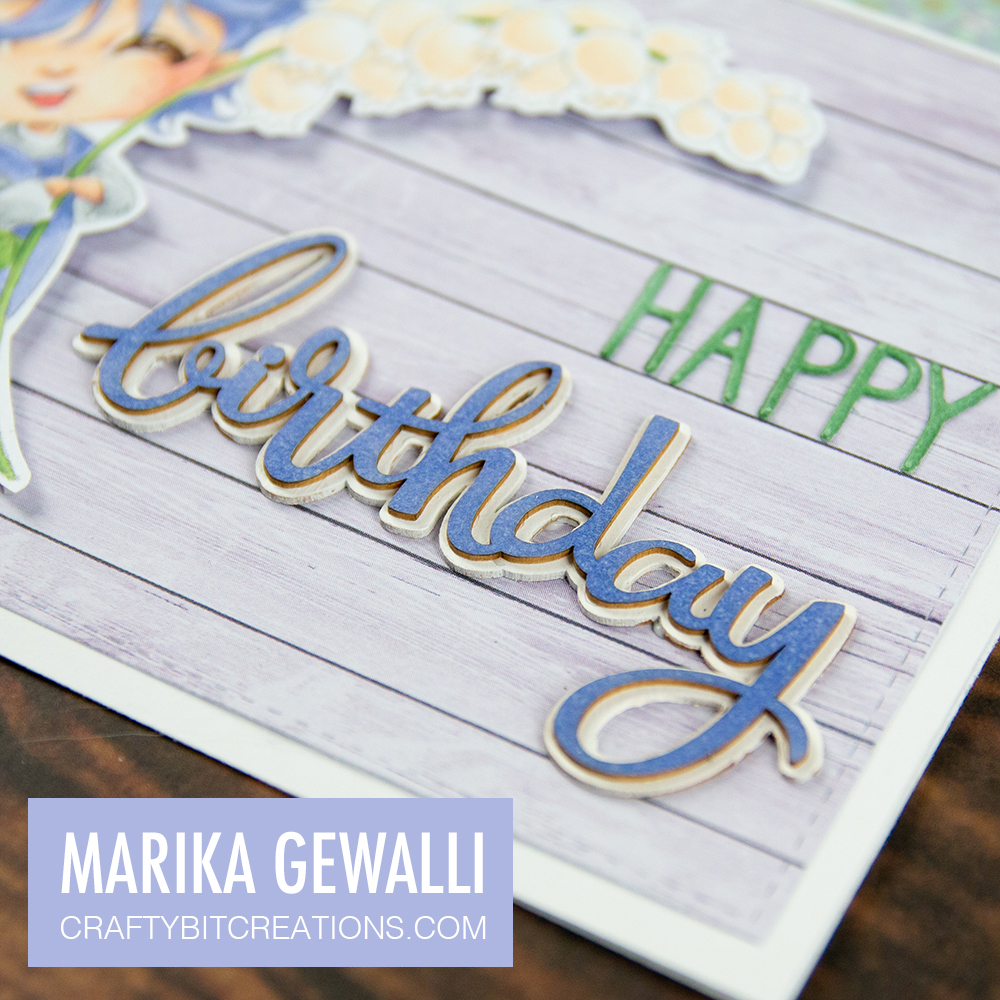
And then finally we have the card making. I knew I wanted to use a Make it Crafty chippy, but I didn’t have any matching happy in my stash (really need to place a new order soon) so I kept with the Birthday one and used my Birdie Brown Alphabet & Numbers Die-namics to write the word happy. I decided to color both the chippy and the diecuts with my markers to perfectly match the coloring. And that was how I put it all together!
If you have come this far, thank you so much for reading my blog, do you have any Make It Crafty Stamps that you want me to make a card with next? Comment down below.
Copic:
E50, E00, E21, E11, E04, R30, R32
E33, E23, E25, E59
BV02, BV13, BV04
N0, N2, N4
E50, E51, 0G43, G46
When possible affiliate links are used, this means that I receive a small commission when products are purchased through the links (at no extra cost to you) I use the money to support my blog and youtube channel. If you like my projects and tutorial please consider supporting me by clicking through these links when you shop. Thanks!
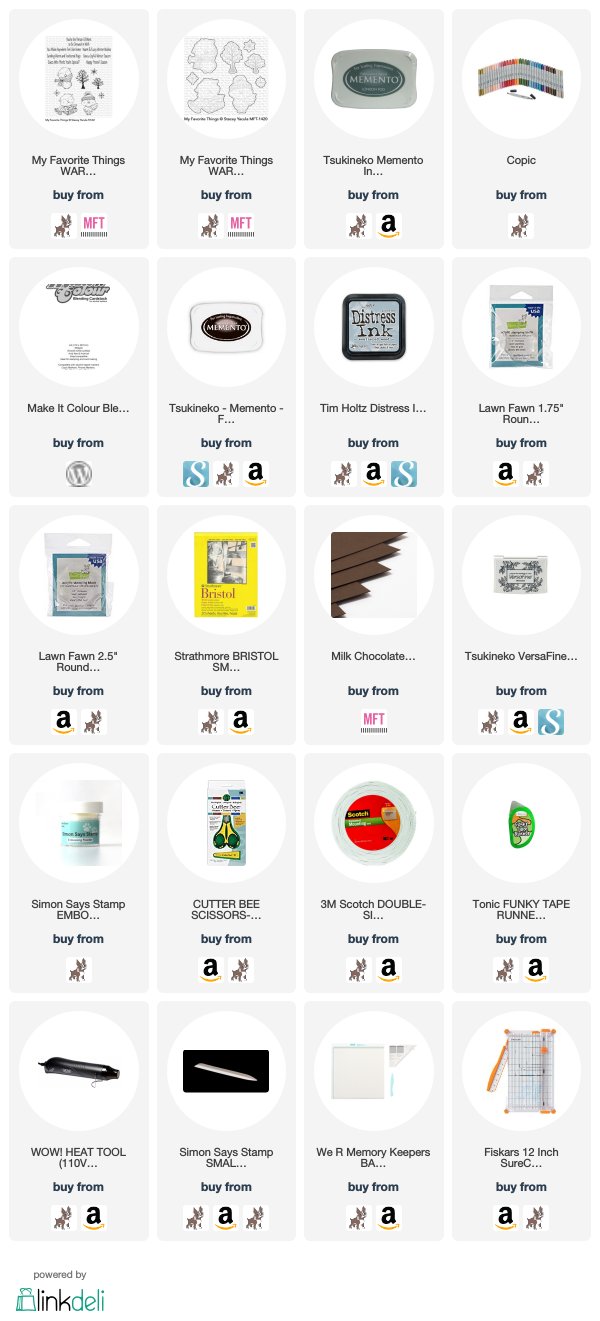
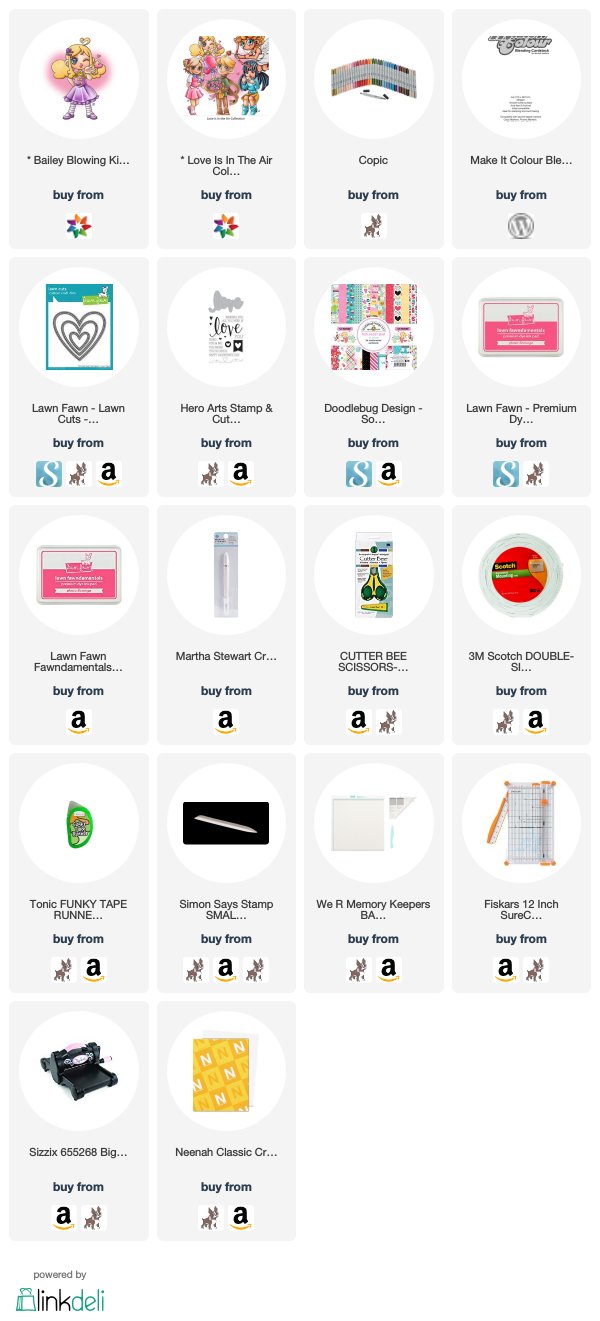
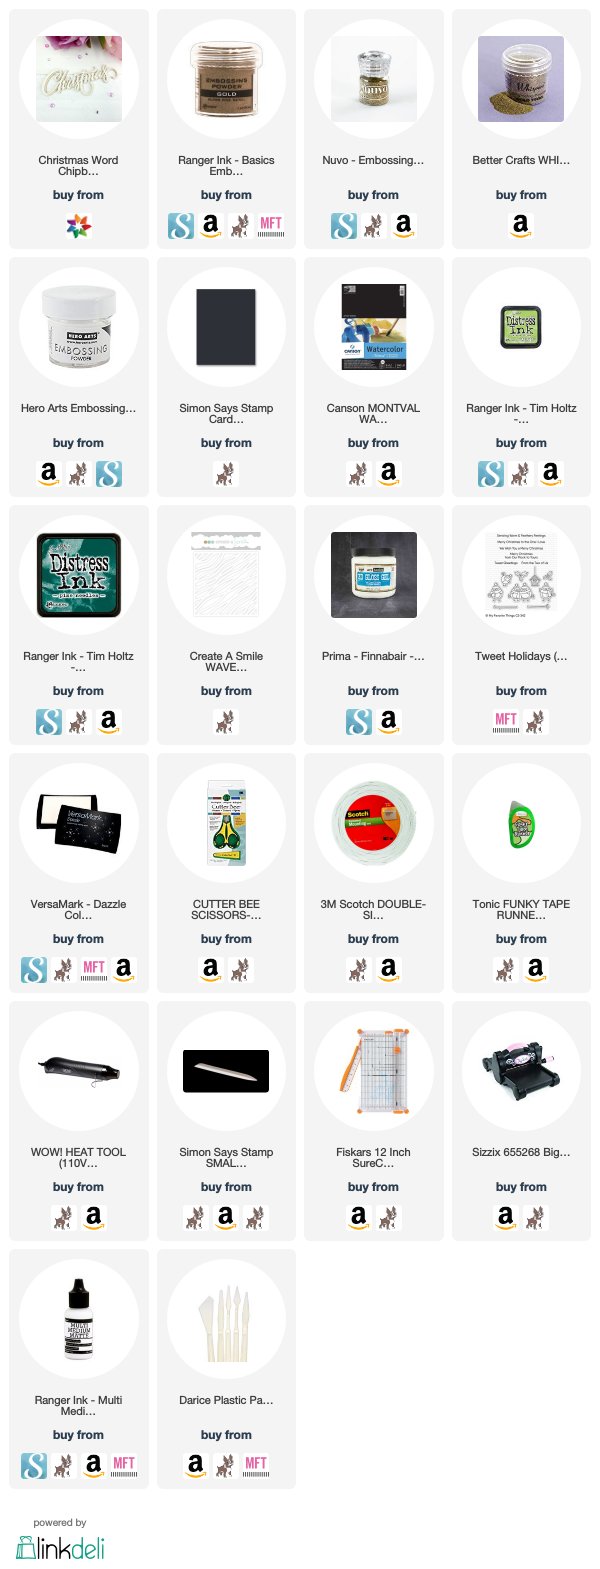
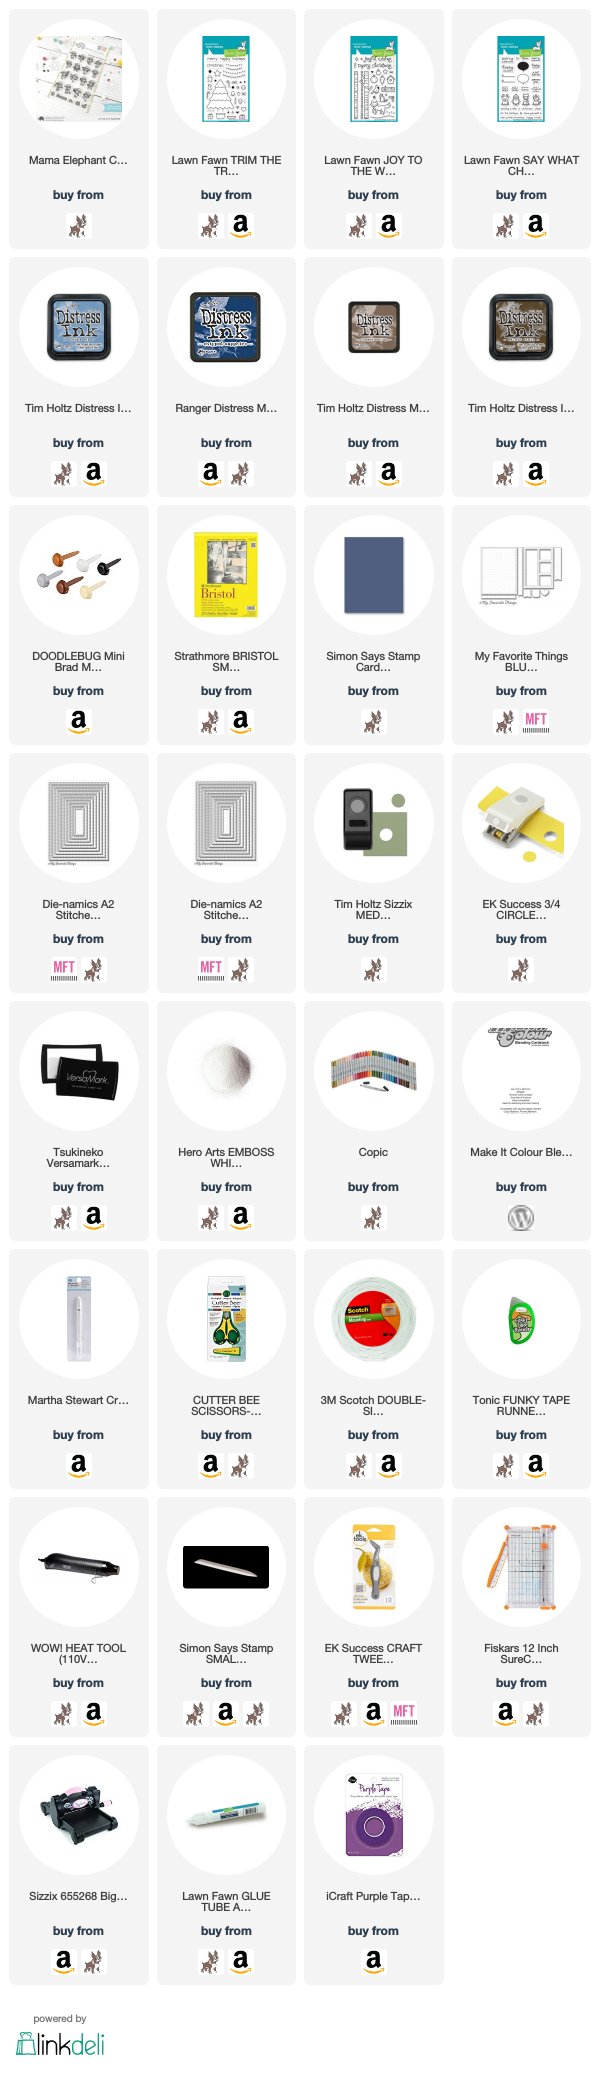
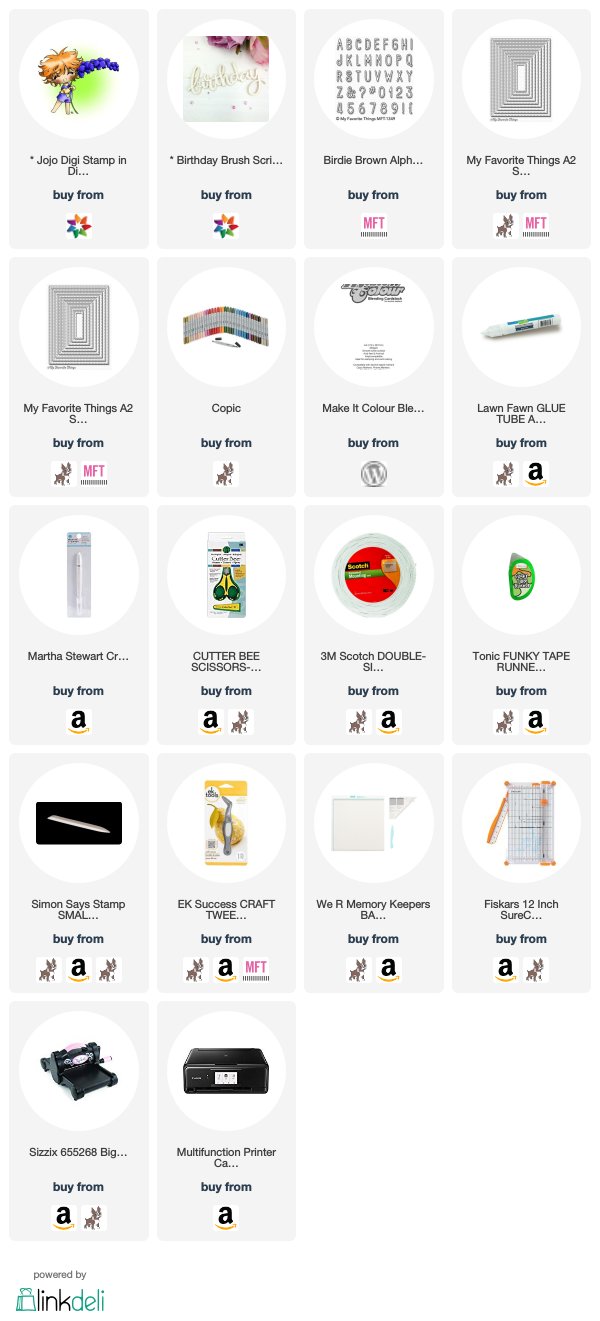
Supplies:
 https://linkdeli.com/widget.js?1552642647875