feature image of post
Uncategorized

Exploding Valentine Card Tutorial

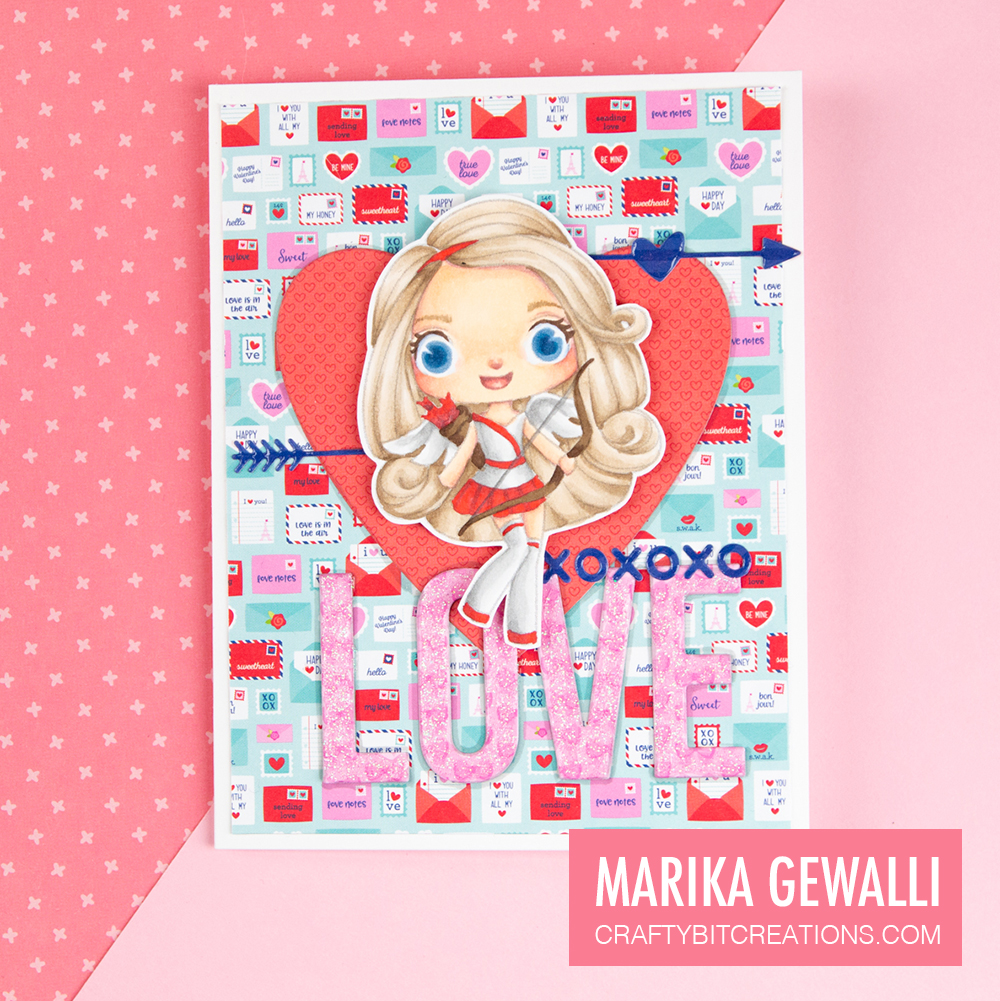
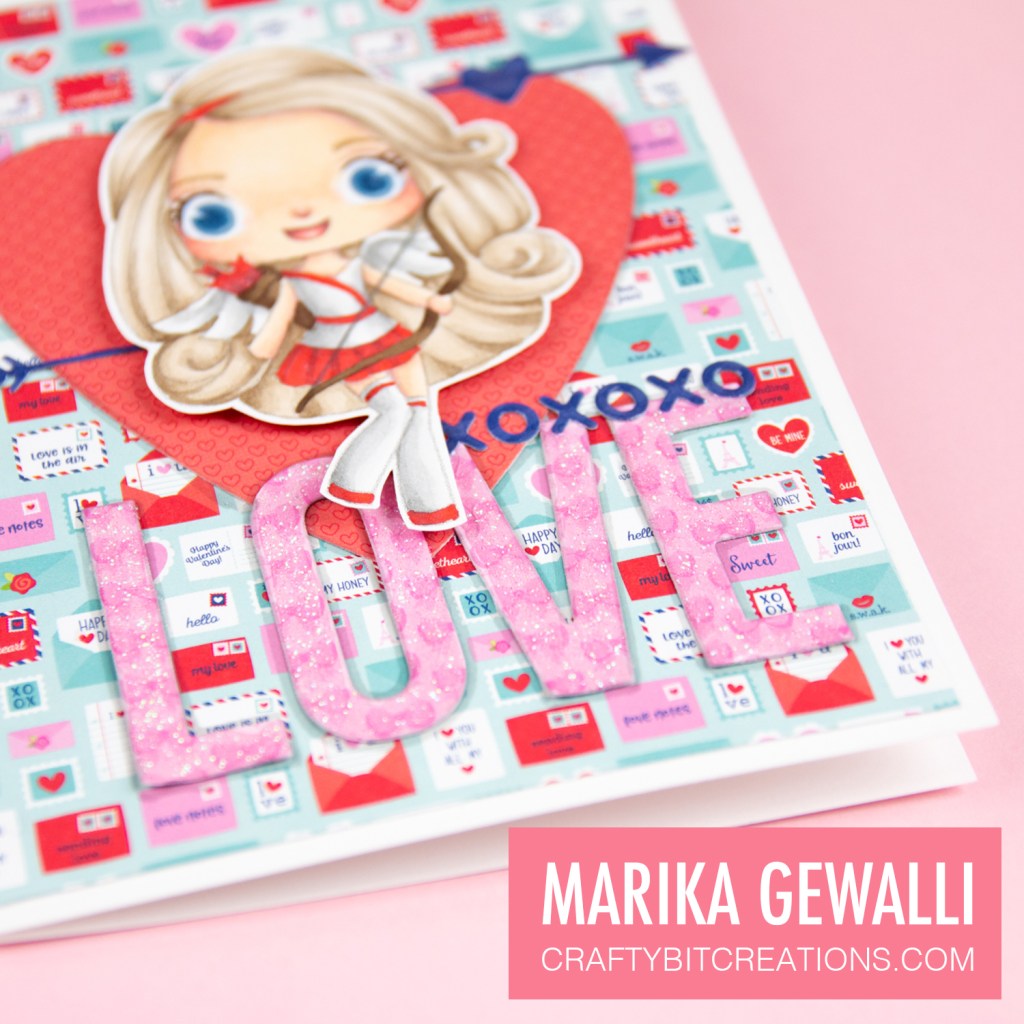
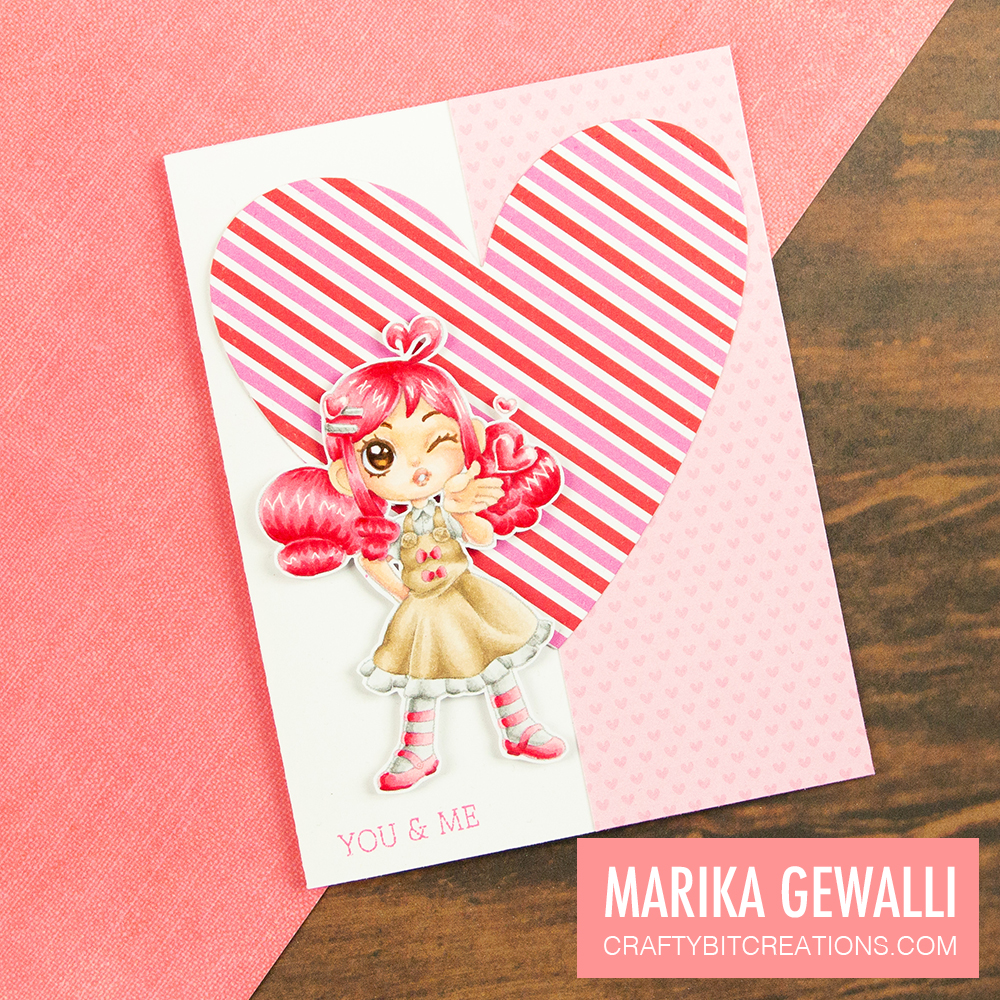
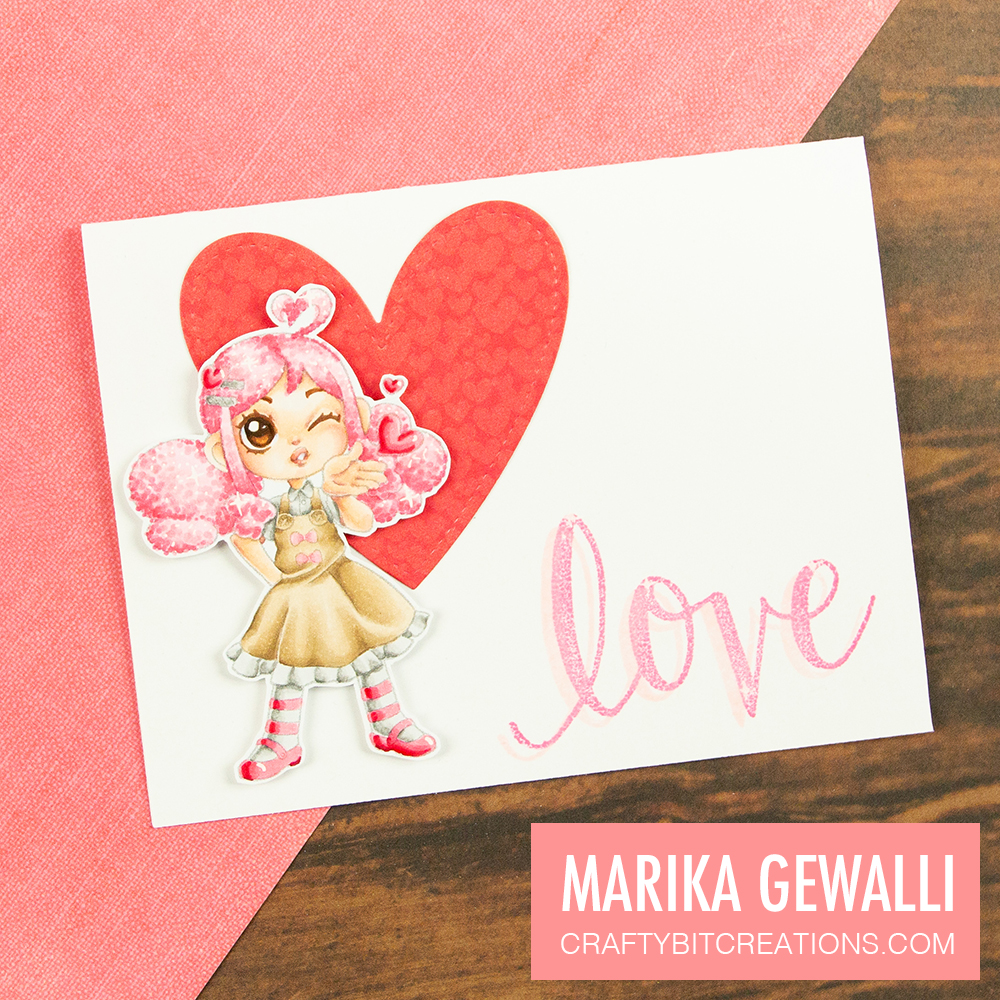
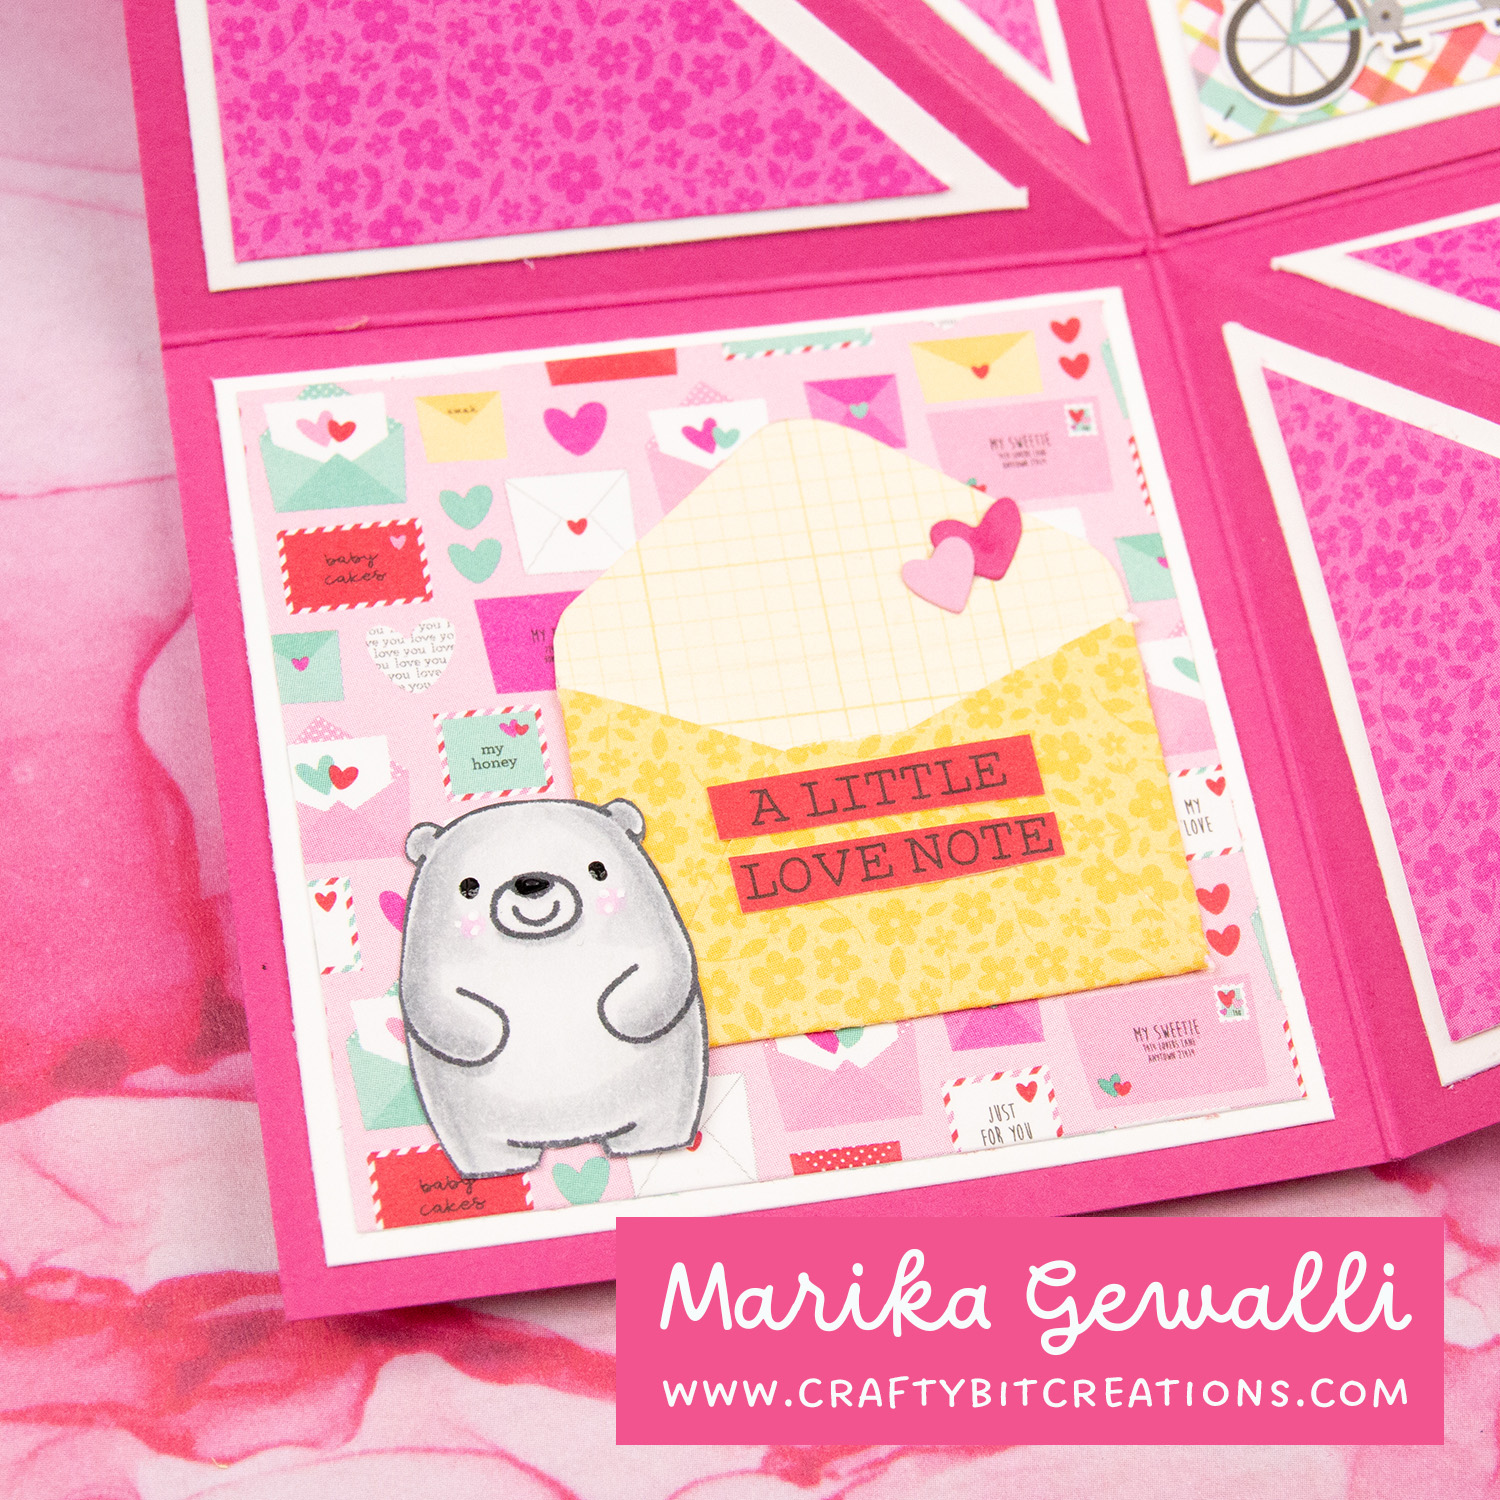
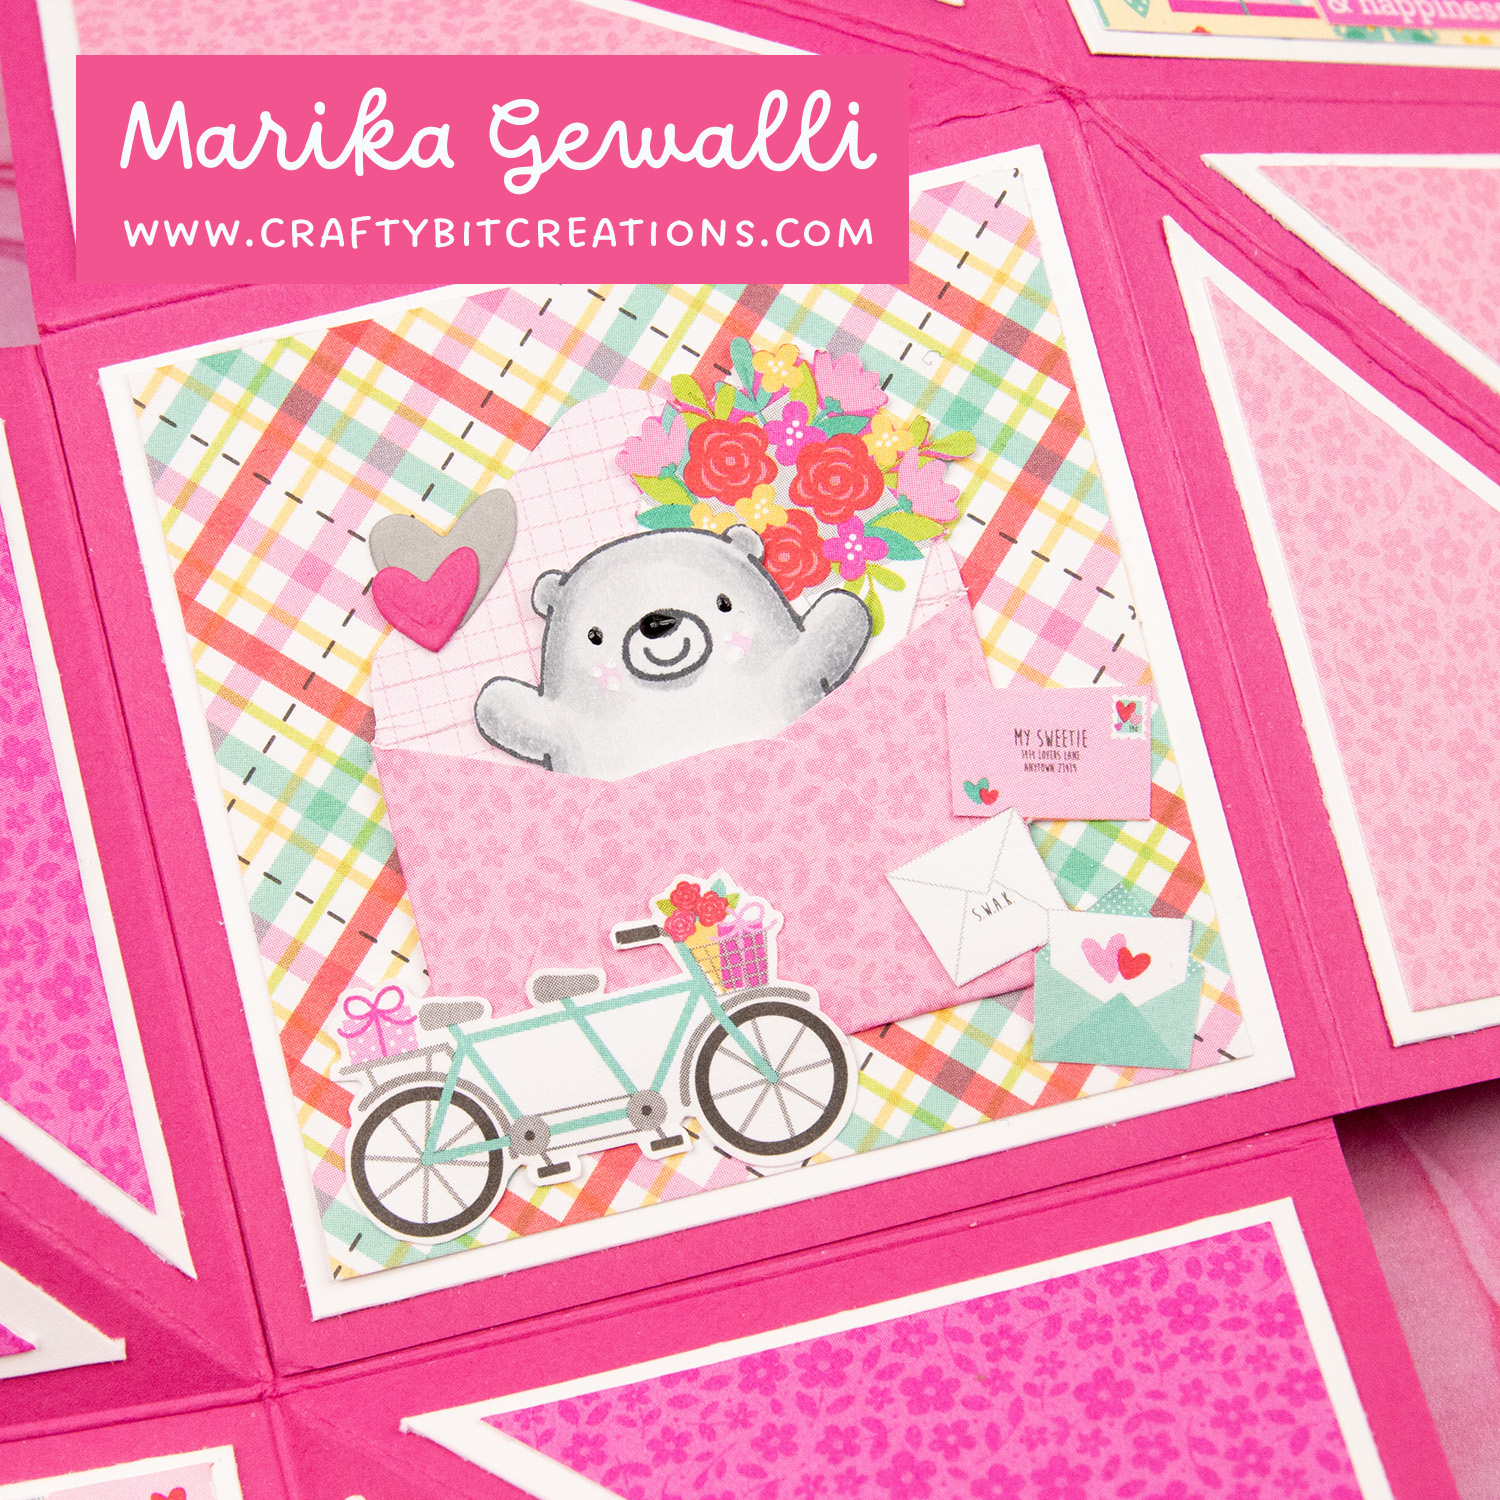
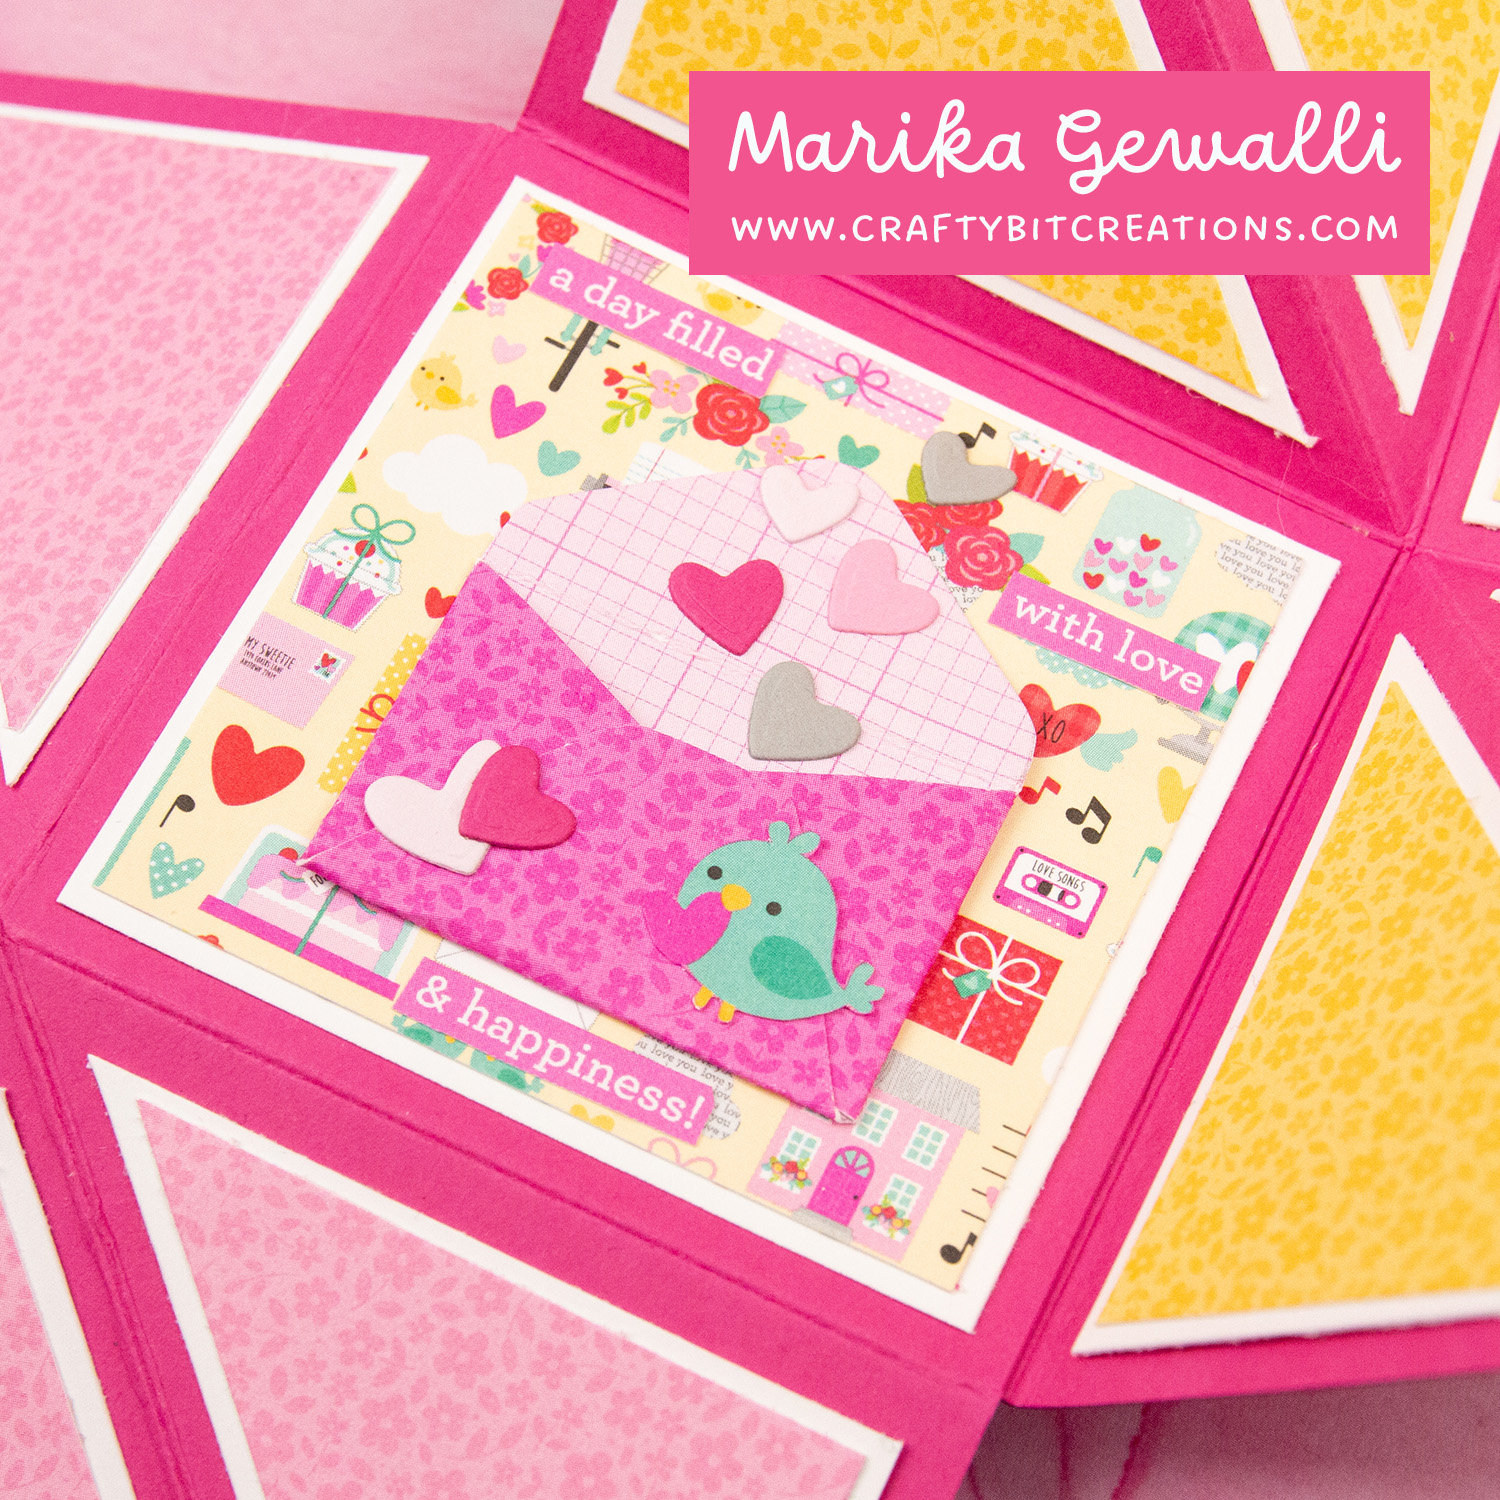
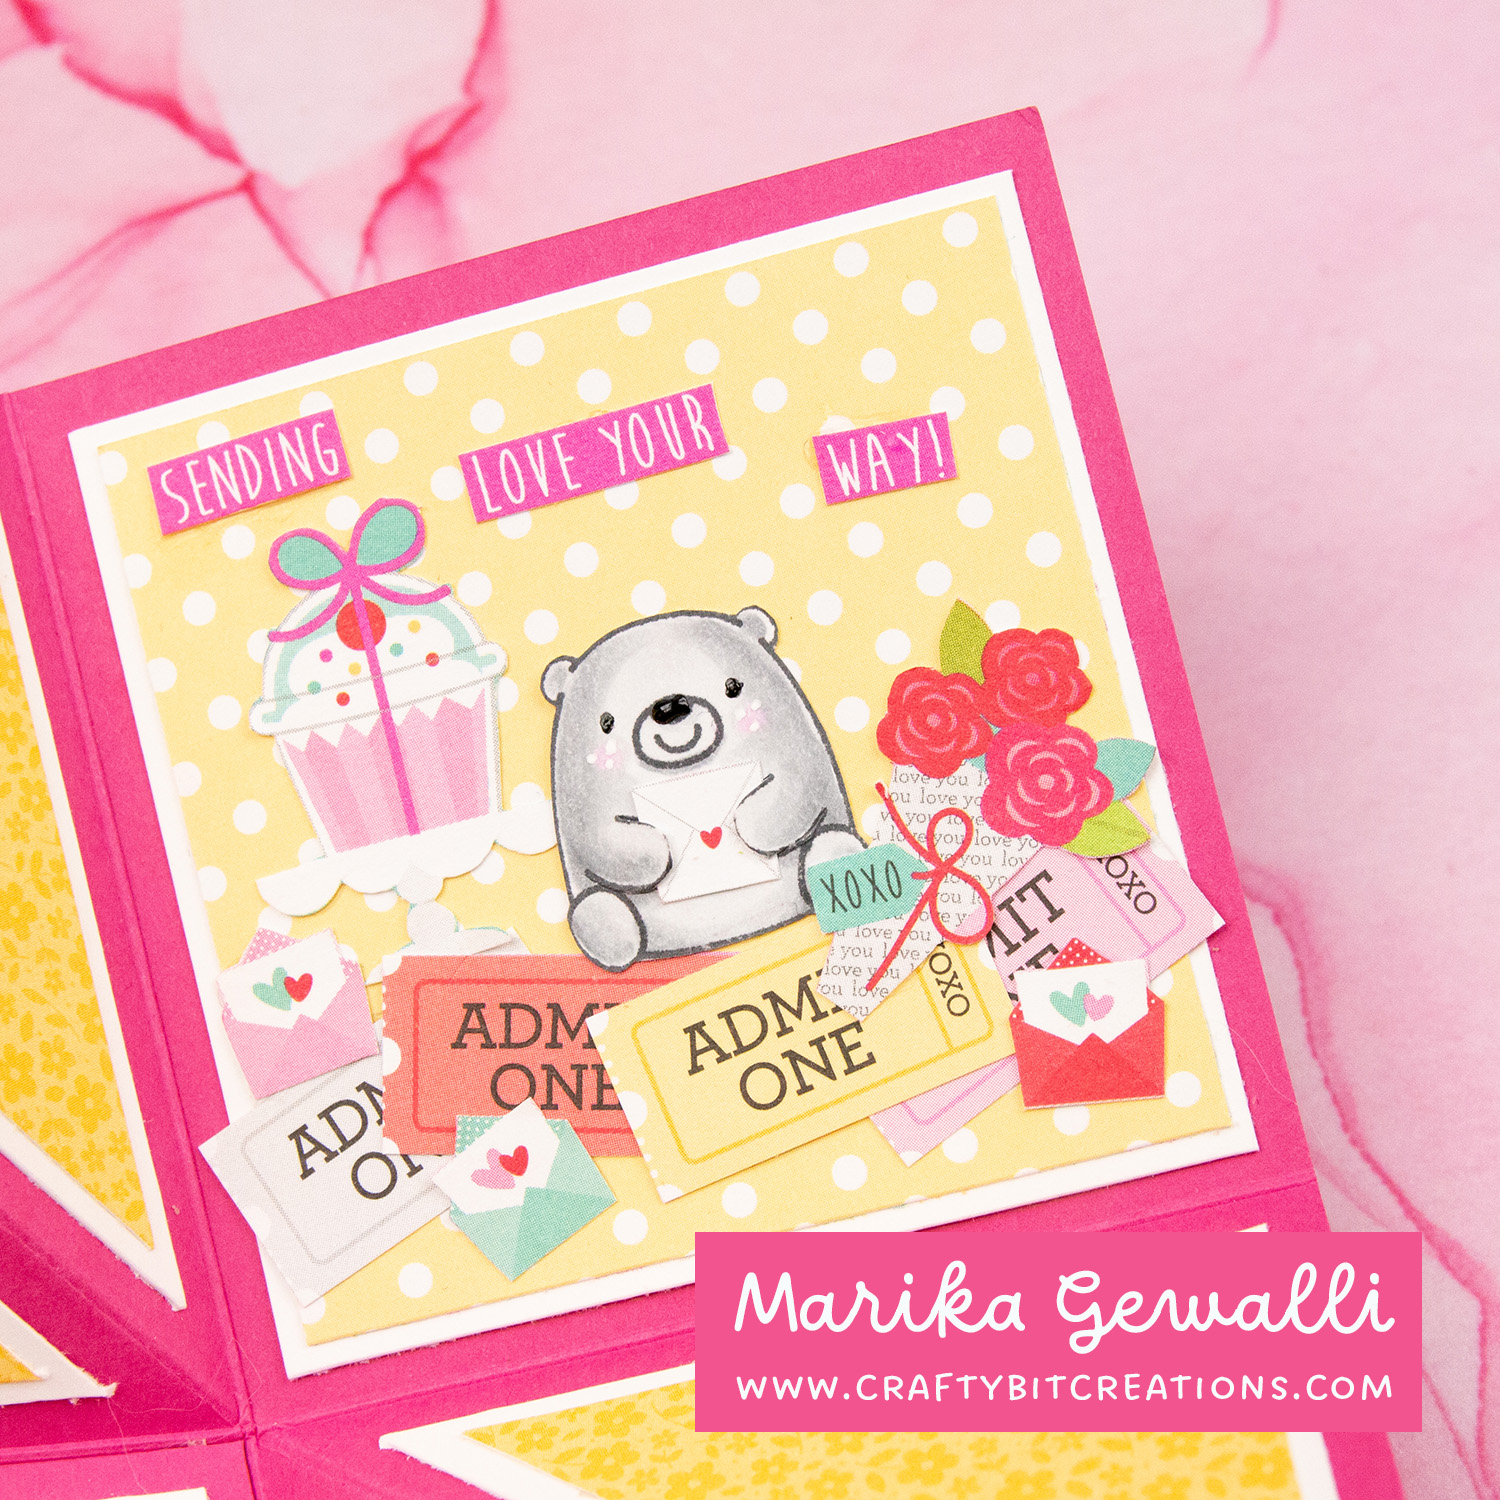
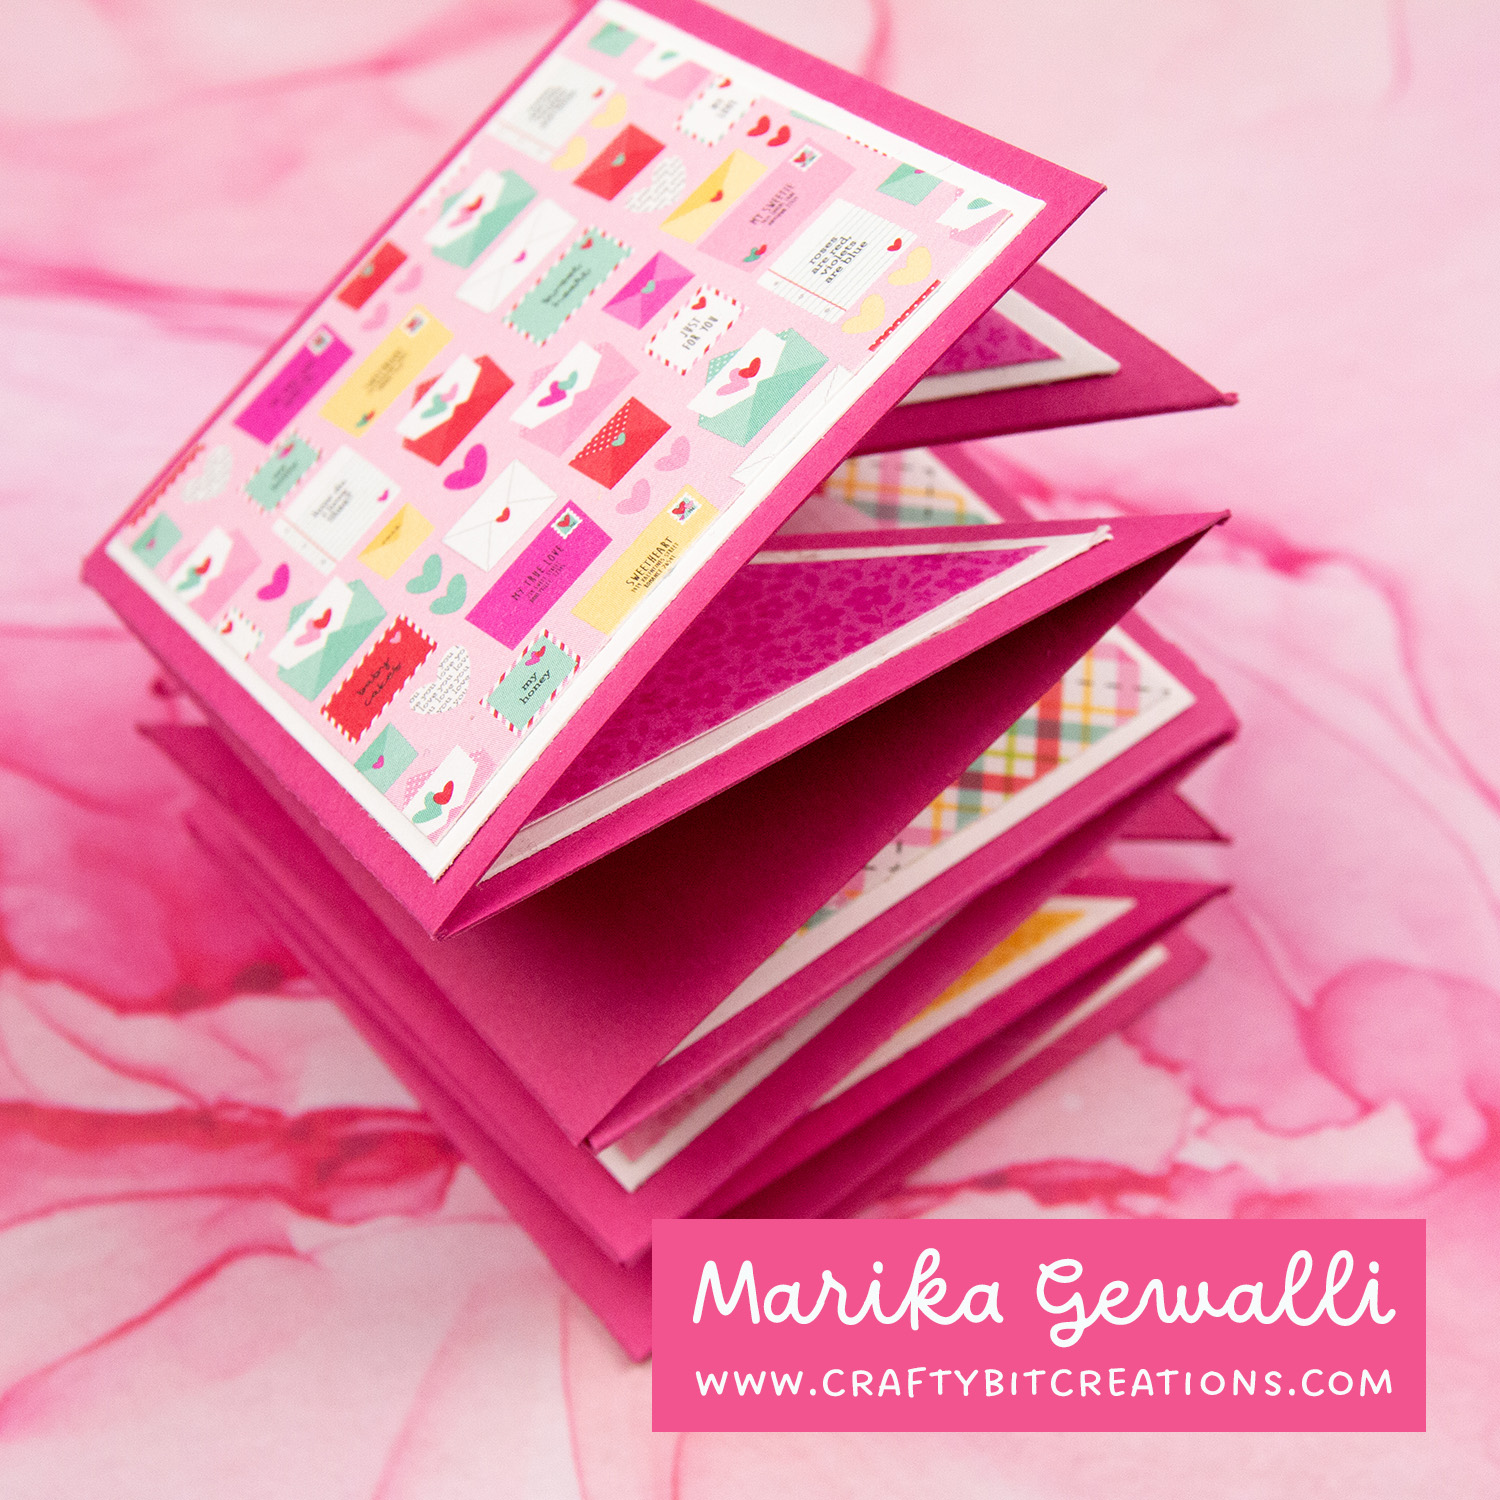
I love an interacting card, but sometimes you want an easy construction and put all your time into decorating. I have been wanting to play with all the little extra tags, borders etc that you can find in the Doodlebug Designs pattern paper packs. And then I saw an exploding card over at instagram and I knew that would be the perfect canvas.

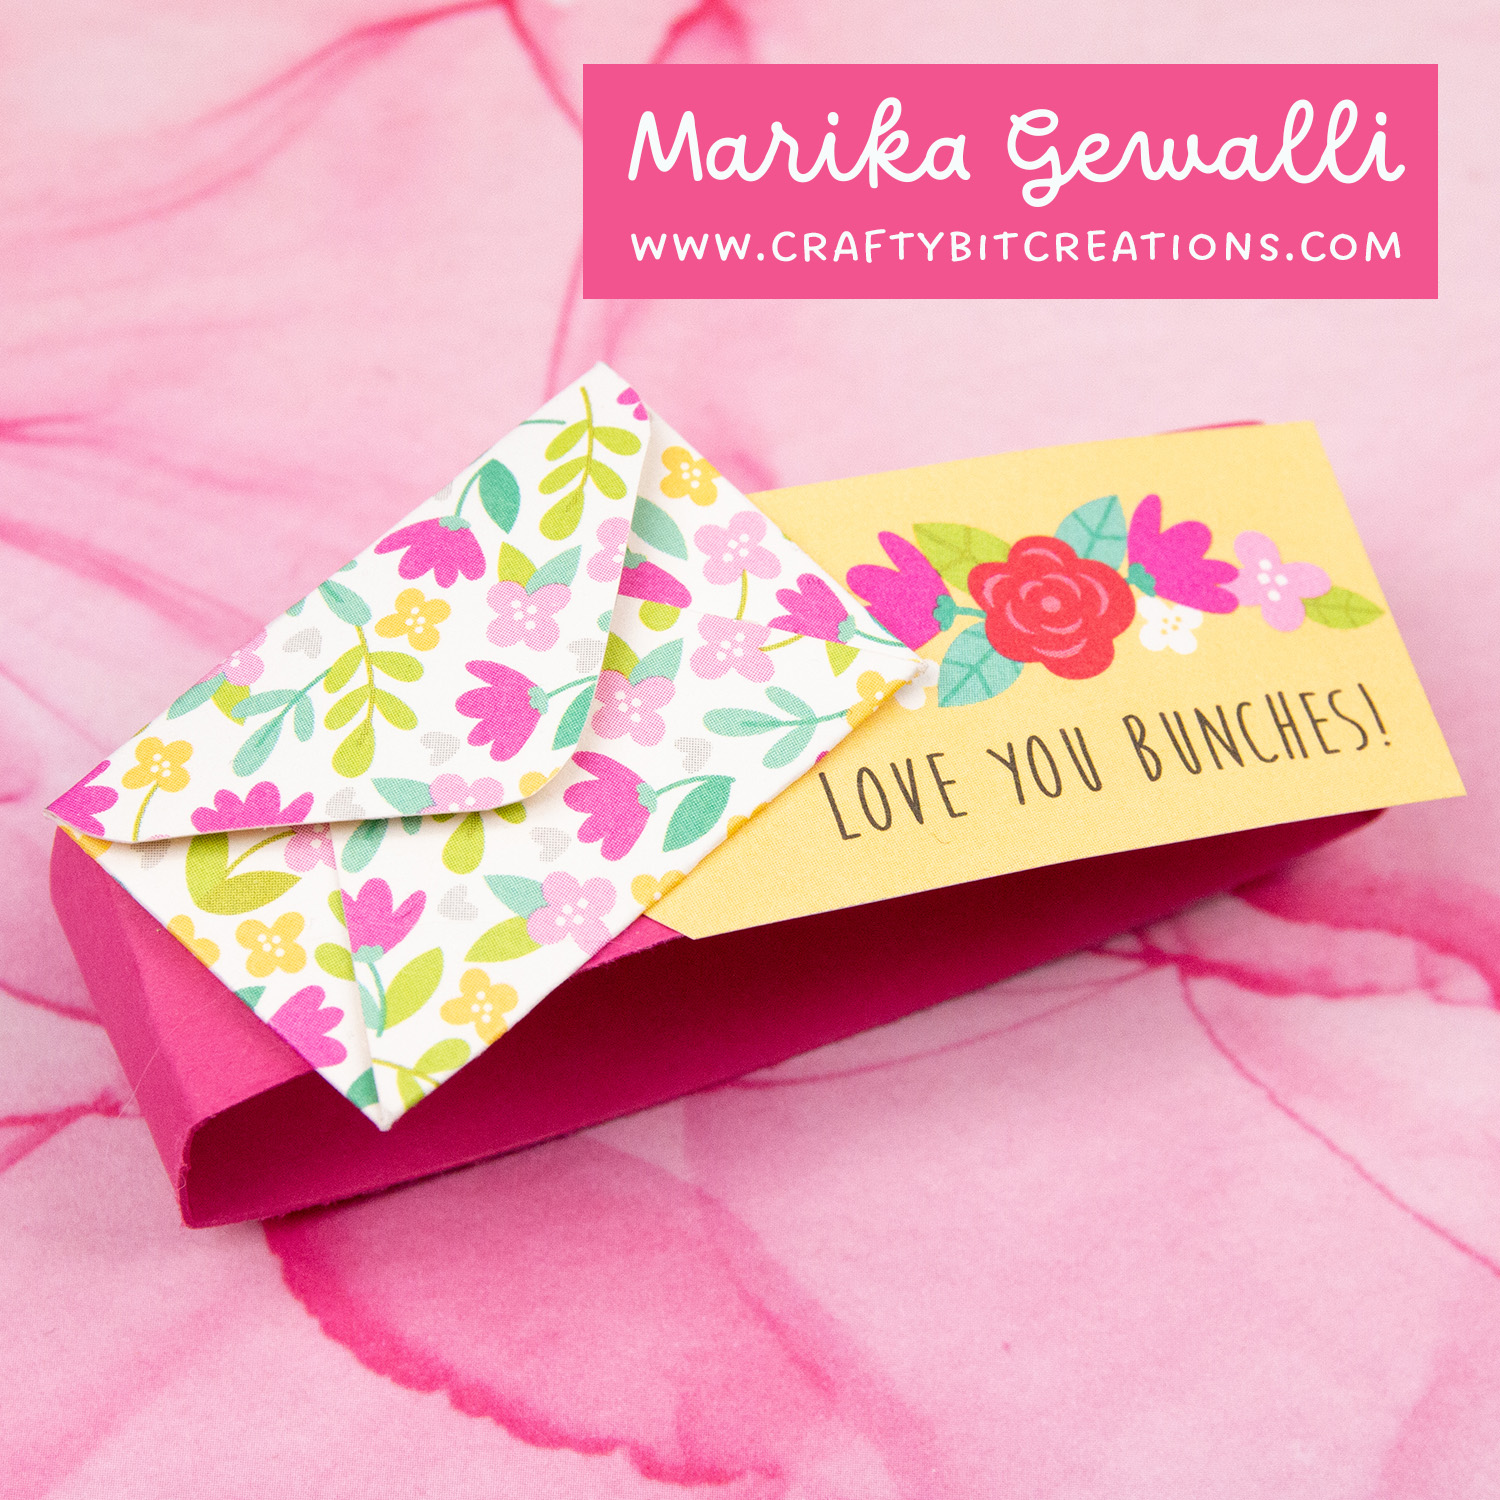
The pattern paper is filled with little letters, so I felt I really needed a teeny tiny envelope to add as decoration. So I went into illustrator and designed one. It took a couple of tries but I really like how it came out. And you can pick up the template and cutting files HERE.

Exploading card closeup
showing the cut dimensions and scoring lines to make exploding card

Instructions:

Card: Cut three pieces of card measuring 5 1/2″ x 5 1/2″. Score at 2 3/4″ at both sides. Score diagonally once. Burnish all score lines. Glue together the pieces, overlapping one of the unscored squares with another. See video for more details.

Bottom Layer: In your bottom layer color, cut five pieces that measure 2 1/2″ x 2 1/2″. Then cut six pieces that measure 2 1/4″ x 2 1/4″ and then cut those pieces diagonally so you have 12 triangles.

Top Layer: In your pattern paper, cut five peices that measure 2 3/8″ x 2 3/8″. Then cut six pieces that measure 2″ x 2″ and then cut those pieces diagonally so you have 12 triangles.

Layer all the pieces and decorate as see fit.

When possible affiliate links are used, this means that I receive a small commission when products are purchased through the links (at no extra cost to you) I use the money to support my blog and youtube channel. If you like my projects and tutorial please consider supporting me by clicking through these links when you shop. Thanks!

Supplies:

MFT Bitty Bears: MFT SSS
MFT Ripe Raspberry Card Stock: MFT
MFT Tag Builder Blueprints 5 Dies: MFT SSS
DD Love notes: SBC
DD Lots of Love: SSS SBC
DD Floral-Graph Rainbow Petite Print: SSS SBC
Neenah Solar White 80lb: SSS AMZ SBC
Large Score Board: SSS AMZ SBC
Fiskars Trimmer : SSS AMZ
Sookwang Tape 1/4”: SSS AMZ
MFT On-Point Precision Glue Pen: MFT
Valentine card created for tutorual
Real Time Coloring, Videos

How to use multiple pattern papers on one card

Todays card have combined multiple pattern papers and dies to make a colorful valentines card. It’s topped off with a copic colored digital stamp called Carley Cupid by Stamp Anniething. There is two videos, one for the cardmaking and one for you coloring lovers out there, I’m back with a real-time coloring video too.

Display card created if you follow the tutorial
Carley Cupid Valentine Card

You can find the videos HERE and HERE

This card was started with that I yet again saw a beautiful card made by Stampin Steve and I knew I needed to finally bite the bullet and get me some Stamp Anniething stamps. When jumping on the site I saw there also were a couple of digital stamps I decided to start there.

Close up of valentine card created for tutorial
Carley Cupid Valentine Card

This all came together very fast as I really, really wanted to use Carley Cupid and Valentines is coming fast. When this goes live it should only be on day left (it’s actually only two days left as I write this), and I really wanted to get it up before.

I decided to yet again play around with the no-line coloring technique and before choosing colors I had a little flip through some of my pattern papers and I ended up going pattern paper crazy. So decided for a simple and limited color scheme on the the cute little girl.

Hope you enjoyed my card and tutorial and Happy Valentines!

Copic:

E50, E00, E21, E11, E04, R30, R32, E41, E42, E43, E44, E47, B60, B63, B23, B37, B39, T0, T2, T4, 0, R24

Supplies:

When possible affiliate links are used, this means that I receive a small commission when products are purchased through the links (at no extra cost to you) I use the money to support my blog and youtube channel. If you like my projects and tutorial please consider supporting me by clicking through these links when you shop. Thanks!

https://linkdeli.com/widget.js?1559654439292
Uncategorized

Blowing Kisses | Clean & Simple Valentine Cards

Good morning everyone! It’s been awhile! I apparently went on a three month hiatus, it wasn’t really planned. I ran out of time preparing for my three week vacation in December and when I got home life and mostly health sort of got in my way. But I finally sat down to do some coloring and gosh did I enjoy it, so I thought I would share the cards I ended up doing.

I did record everything so I also got a video tutorial for you, (I’m on a roll!). When I sat down I decided to work towards my only DT right now. Have been stepping down from most of them, feeling that I’ve not been dependable I decided to just do my own thing. However Make It Crafty was my first DT and when Zoe asked me to stay on I couldn’t say no, I do love her stamps and chippies and her!

I’m using Bailey Blowing Kisses Digi, and decided to print her out with some different opacity, going from 100% down to 25% to decided on which was my favorite. And I think I decided that 25% is a real nice one. Next time I might get even lower to see if I can do true no-line coloring.

After not coloring for three months! Gosh that is a long time, I thought starting in my comfort zone would be a good bet, not making it too hard on myself,. So I gave Bailey some pink hair and kept the rest of the image more neutral letting her expression and her har do the talking. I ended up coloring two images as I really wanted to try another kind of hair texture after the first one. I ended up using the footage from the second one as it was my favorite, who doesn’t love glittery hair?

To finish it off I made two very clean and simple cards. Really trying to make the image the star of the card, and with the softness that was created by having lighter lines, making the cards really simple made the images pop a lot more.

If you have any questions or comment please don’t hesitate to contact me, either through the comment form down below, by email or through social media. You find all the links both above and below.

Copic:
E000, E00, E21, E11, E04, R30, R32, E41, E42, E43, E44, E49, E33, E25, E59, T0, T2, T4, RV10, RV21, RV13, RV25, RV29

Supplies:

When possible affiliate links are used, this means that I receive a small commission when products are purchased through the links (at no extra cost to you) I use the money to support my blog and youtube channel. If you like my projects and tutorial please consider supporting me by clicking through these links when you shop. Thanks!

https://linkdeli.com/widget.js?1549439153802