Uncategorized

Free Cut Files & Templates – Valentine Box and Tag

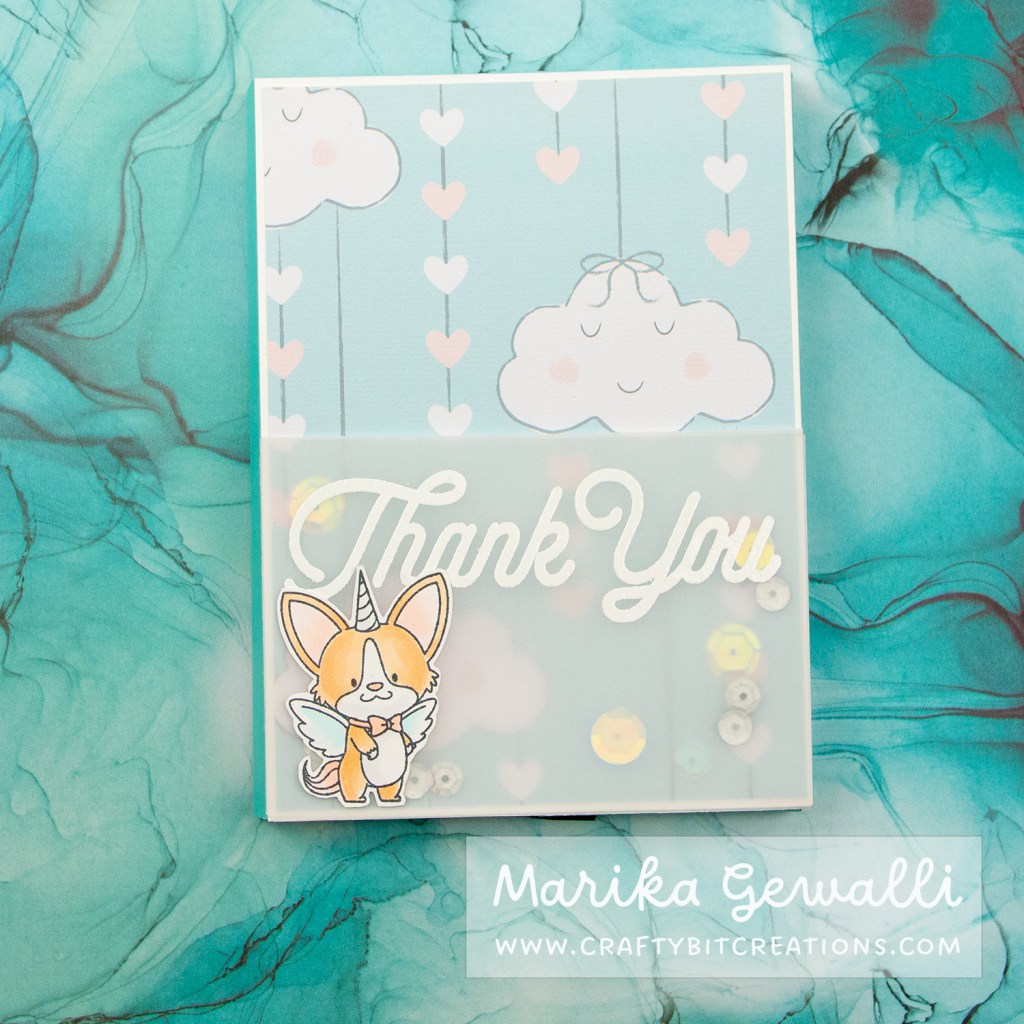
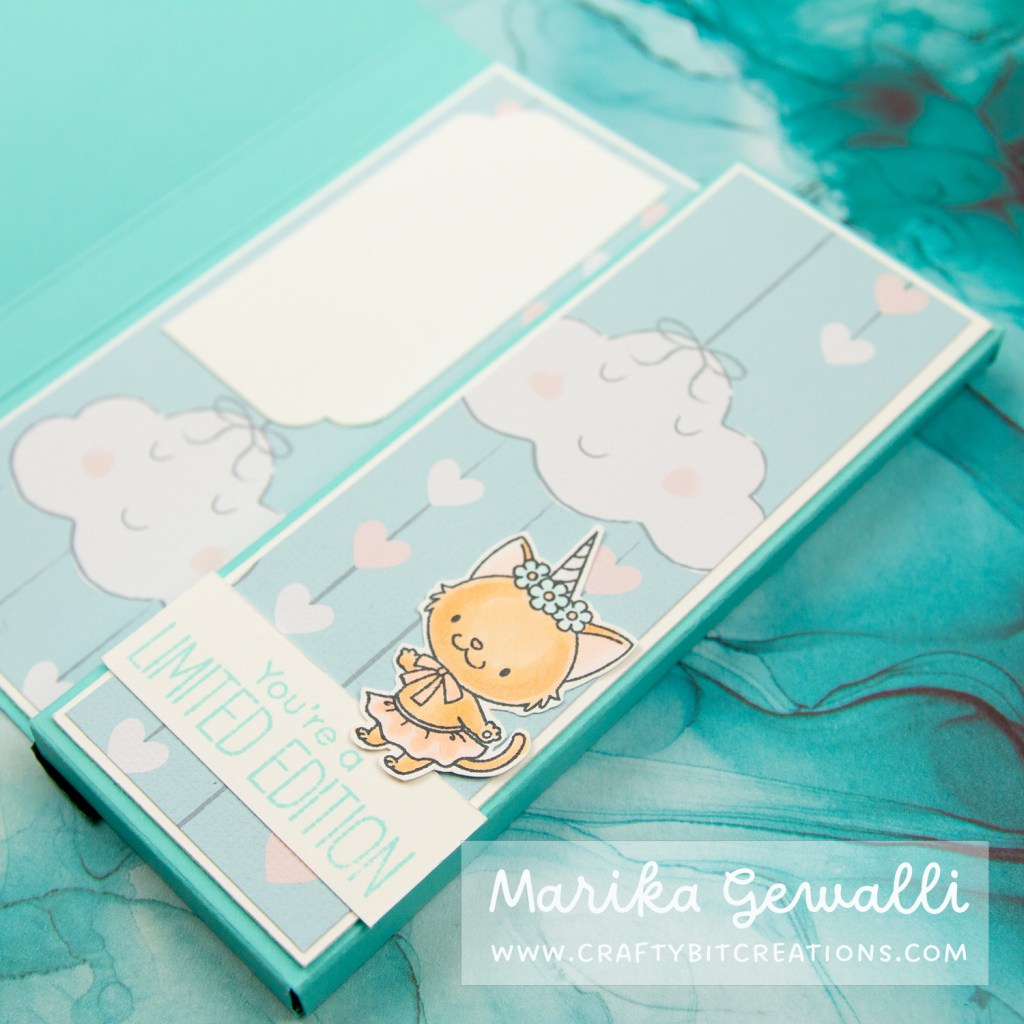
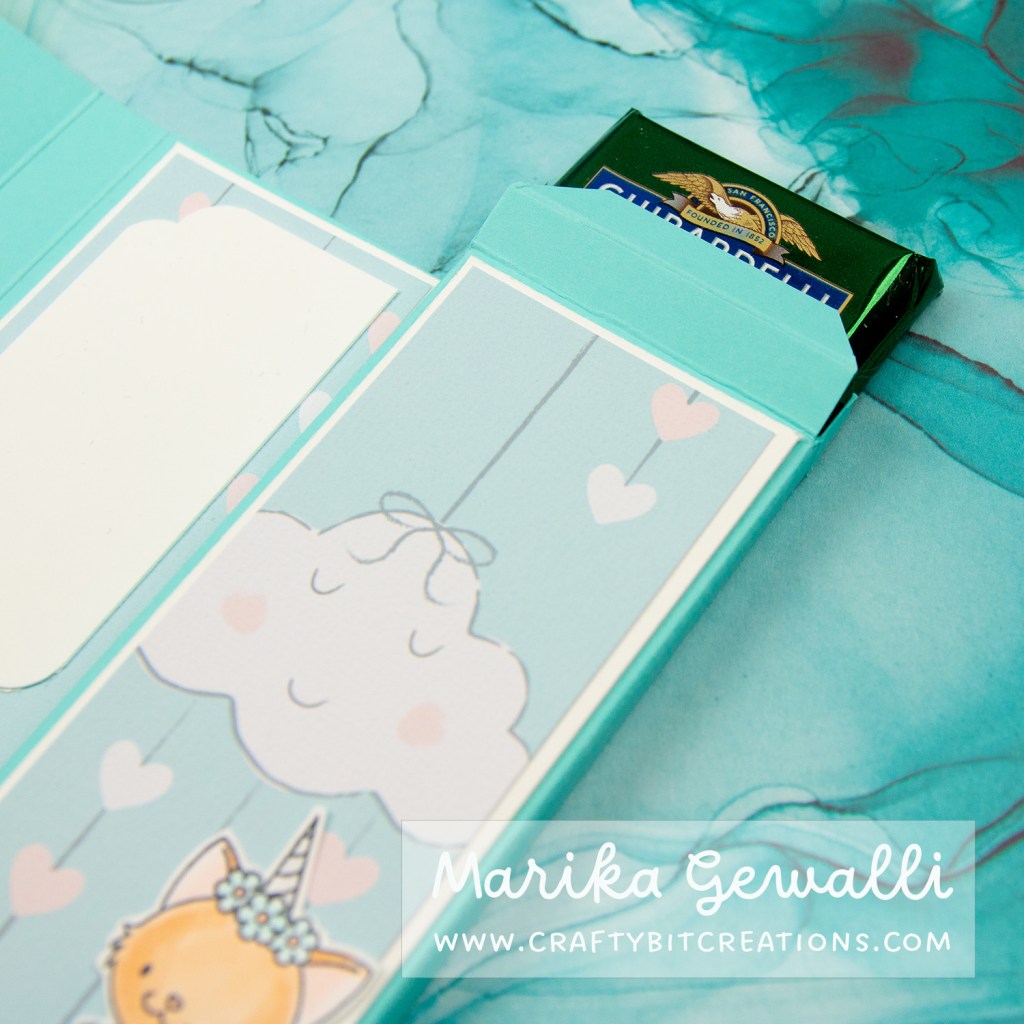
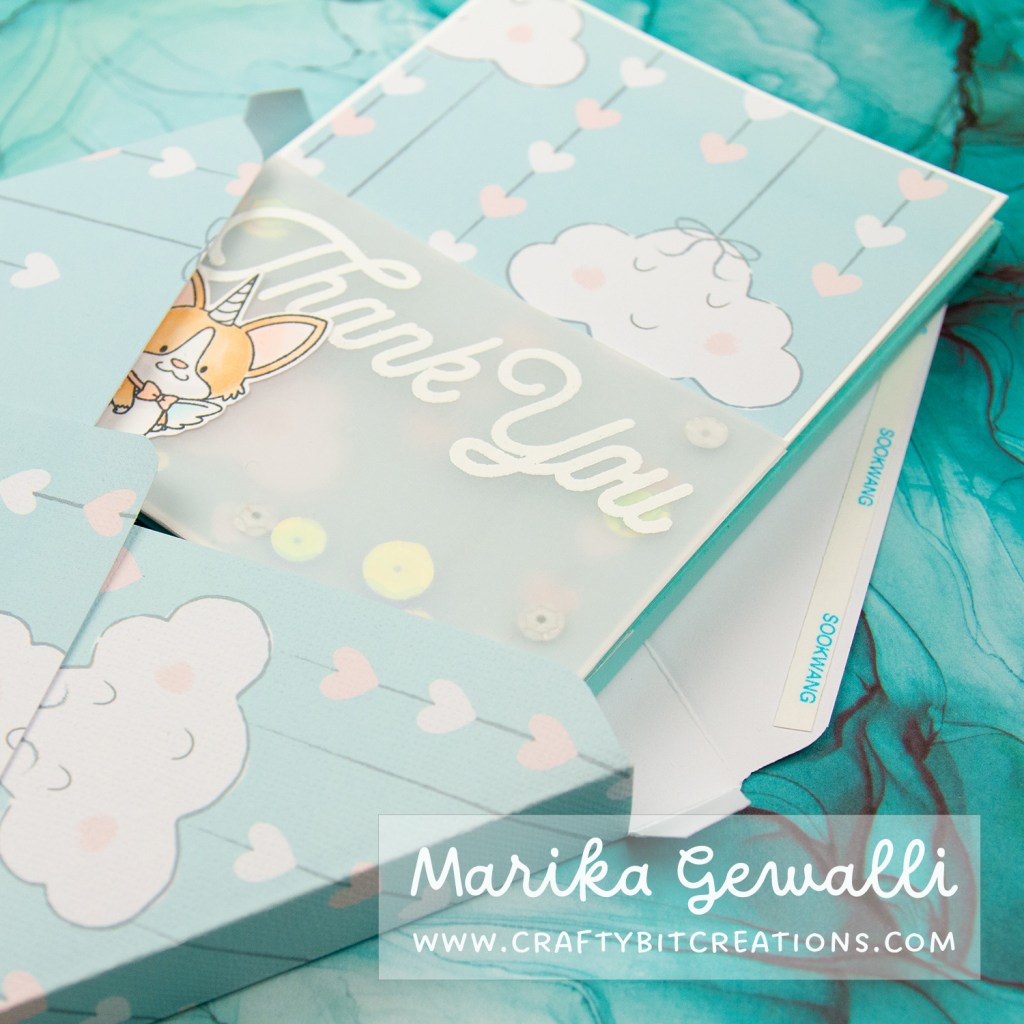
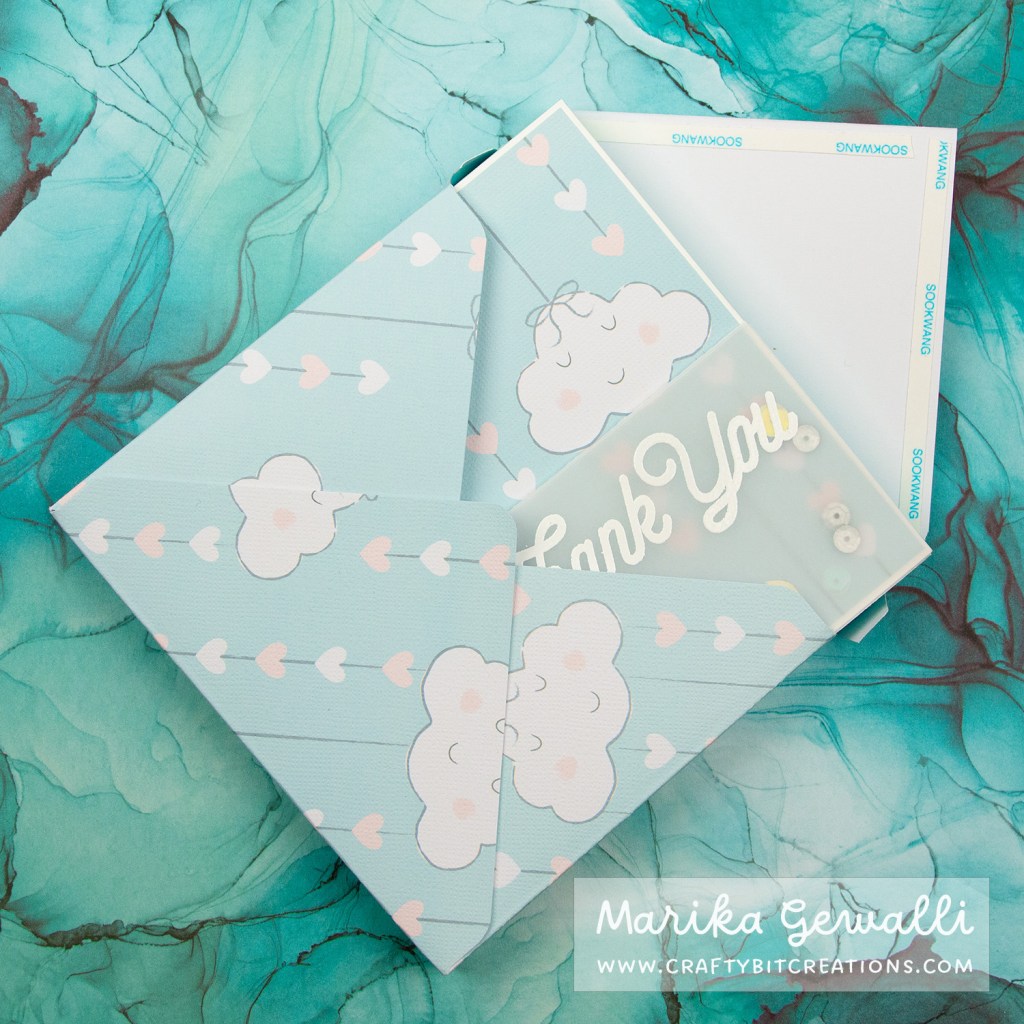
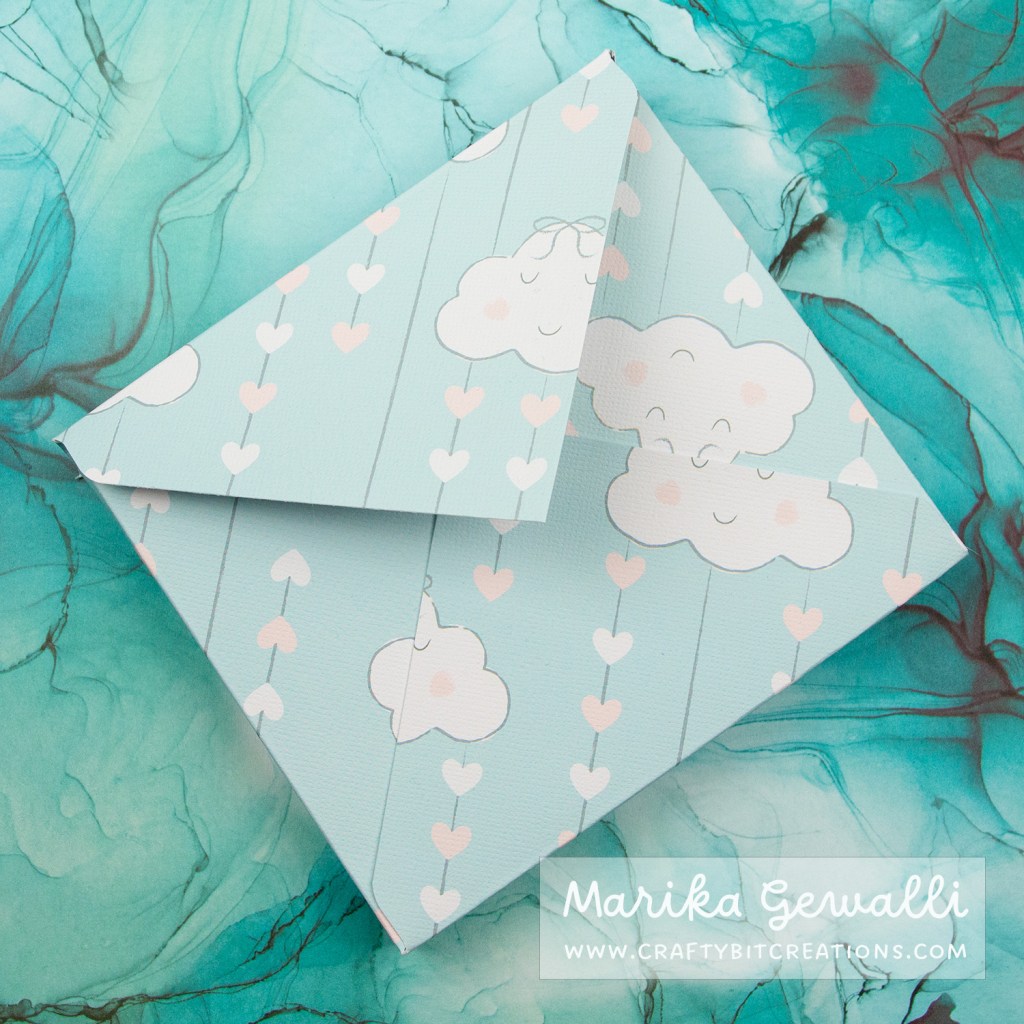
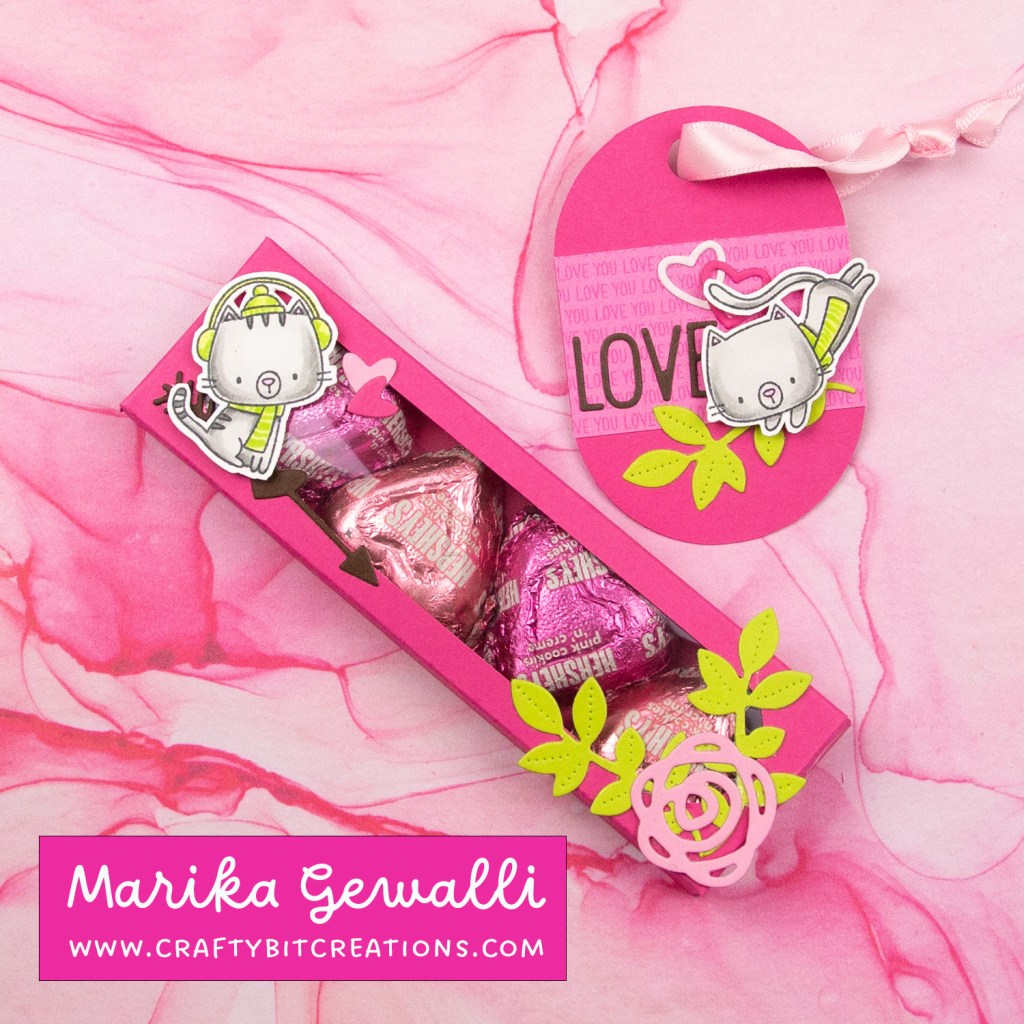
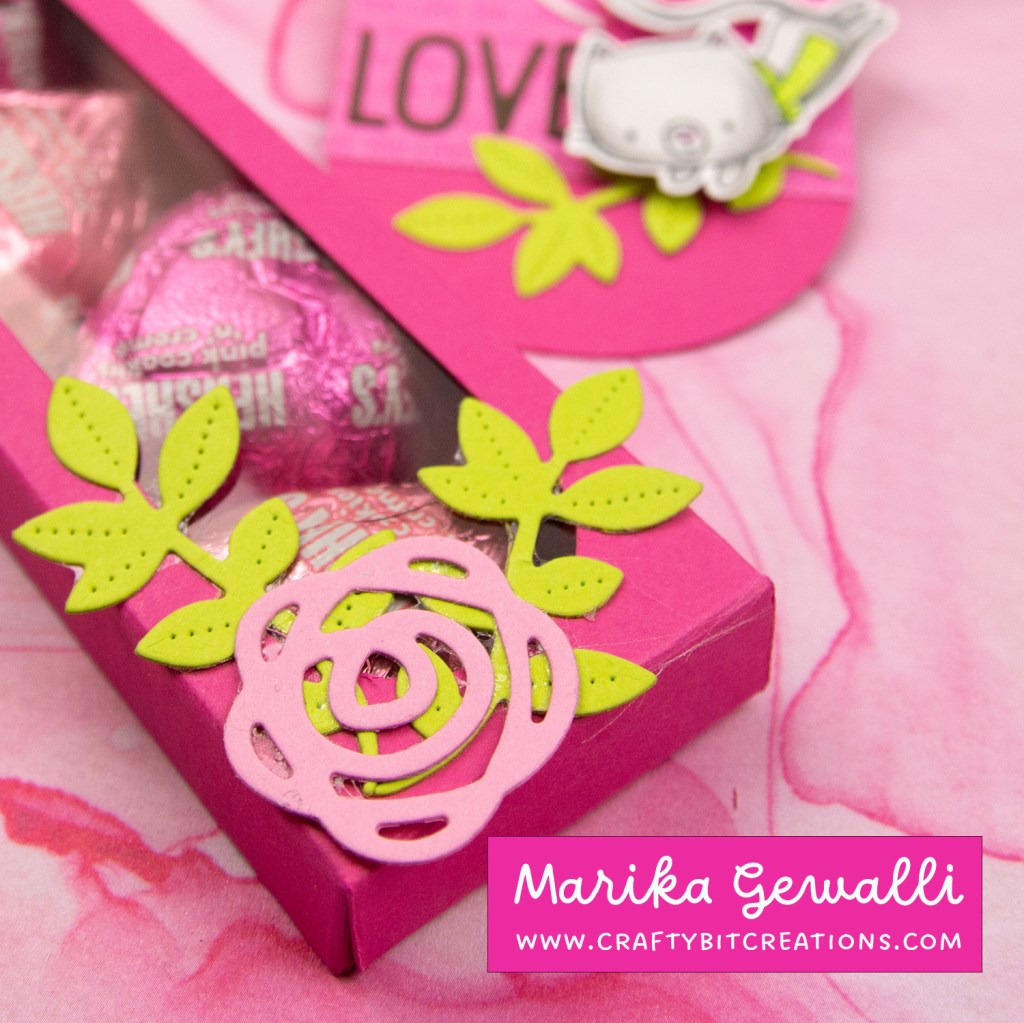
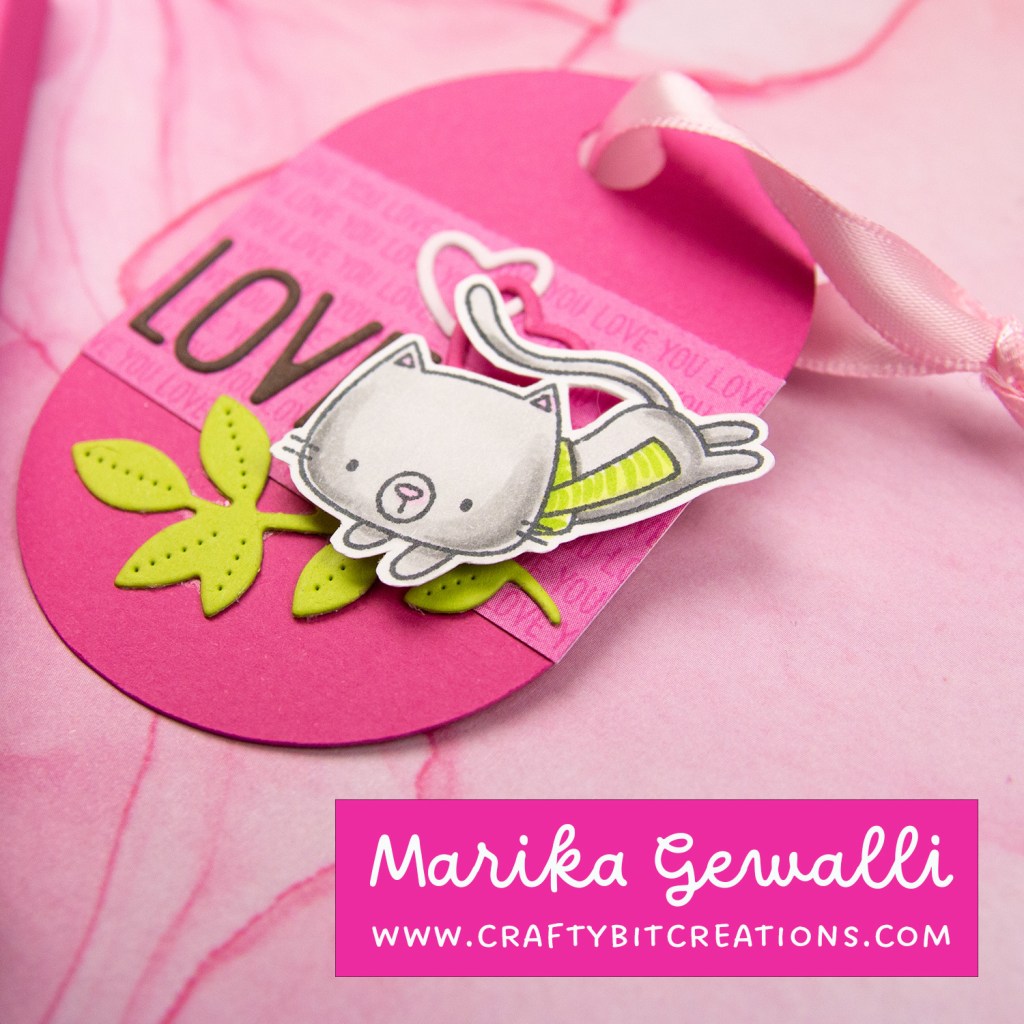
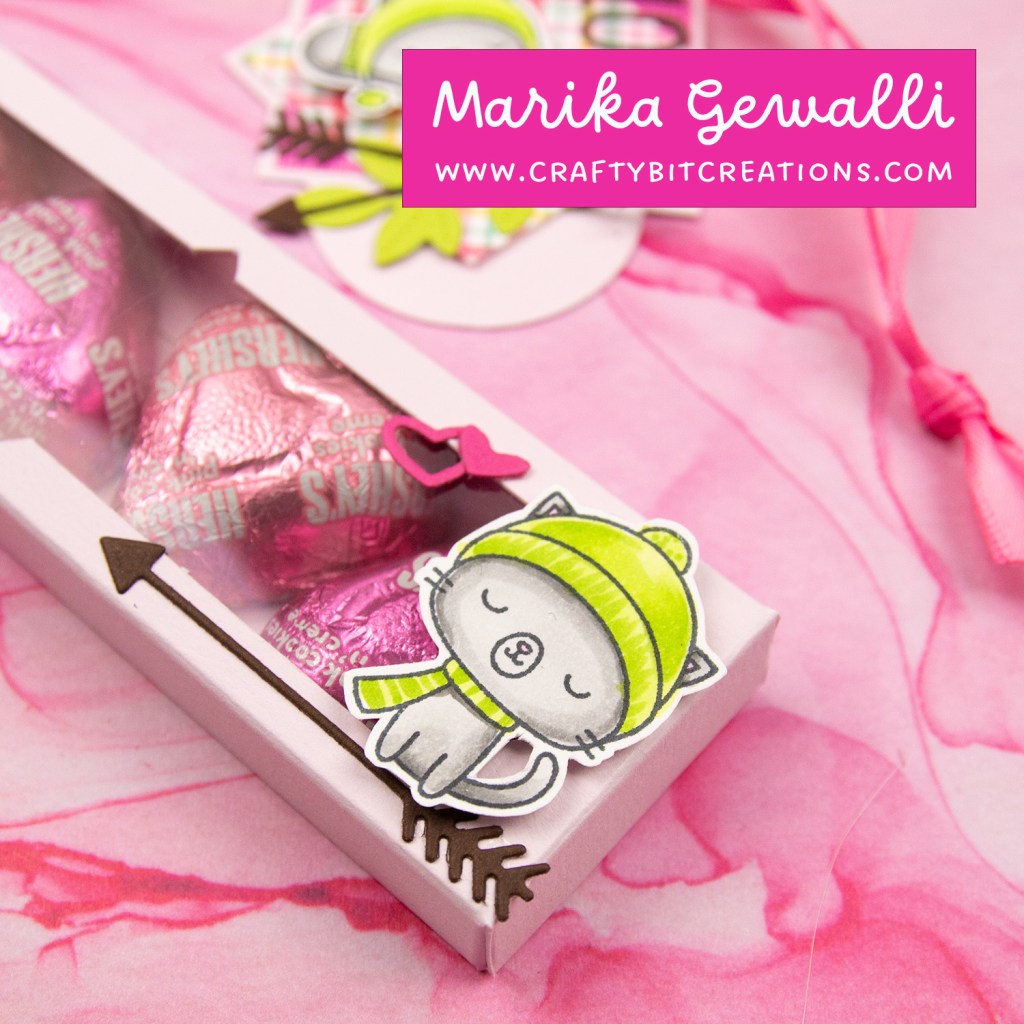
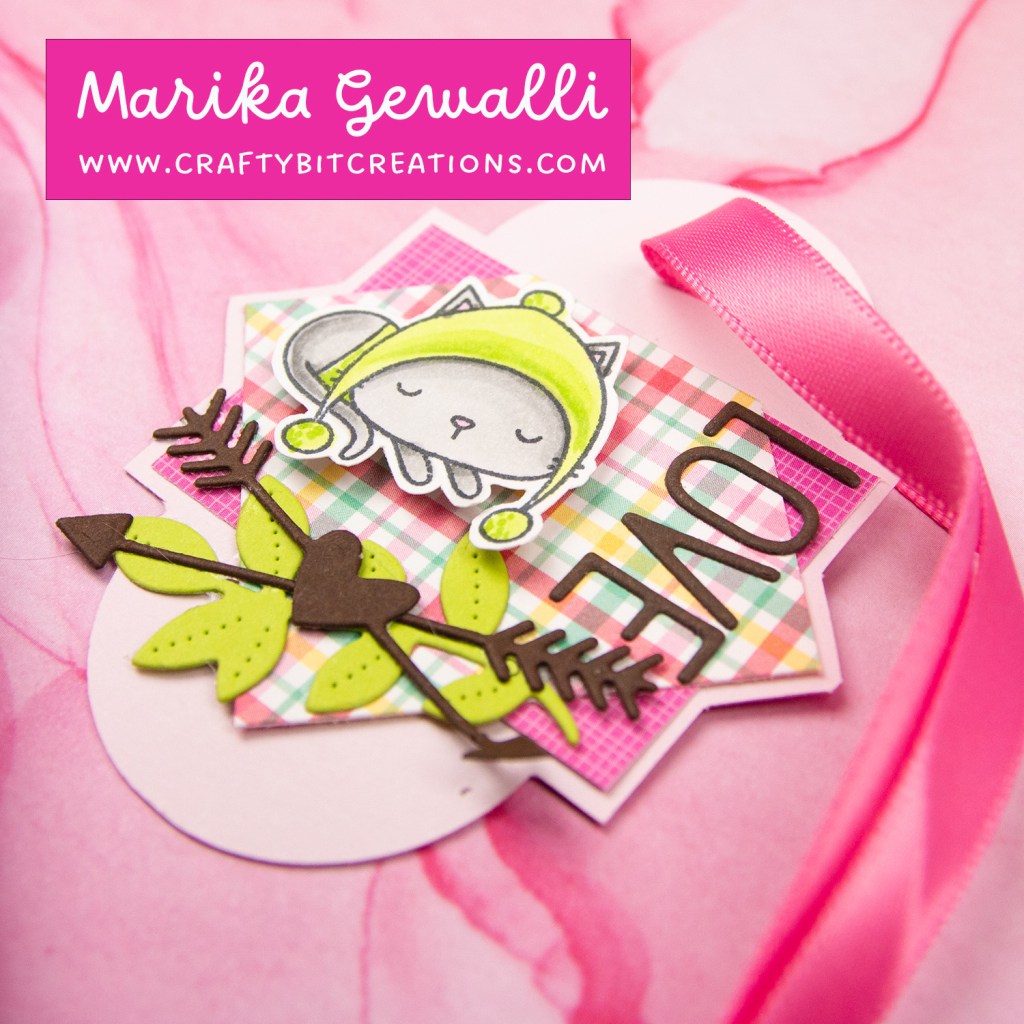
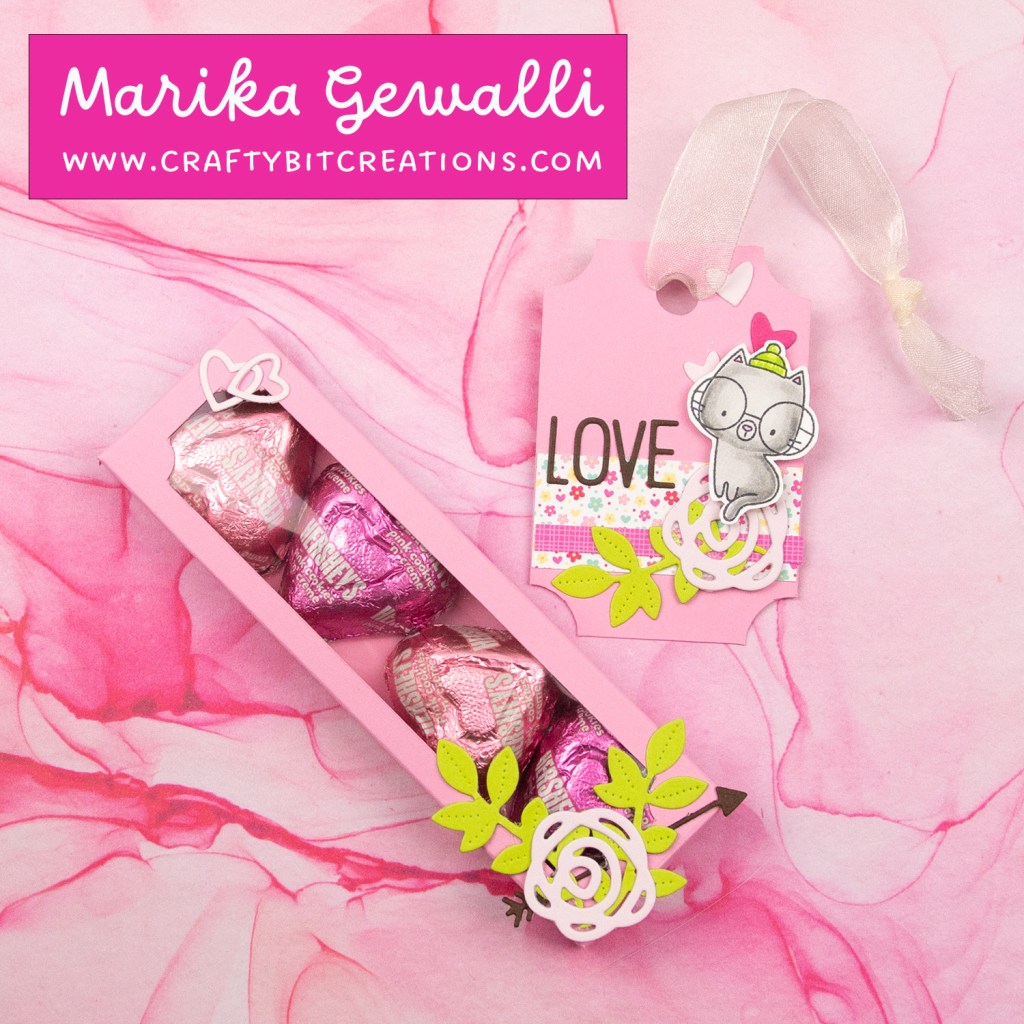
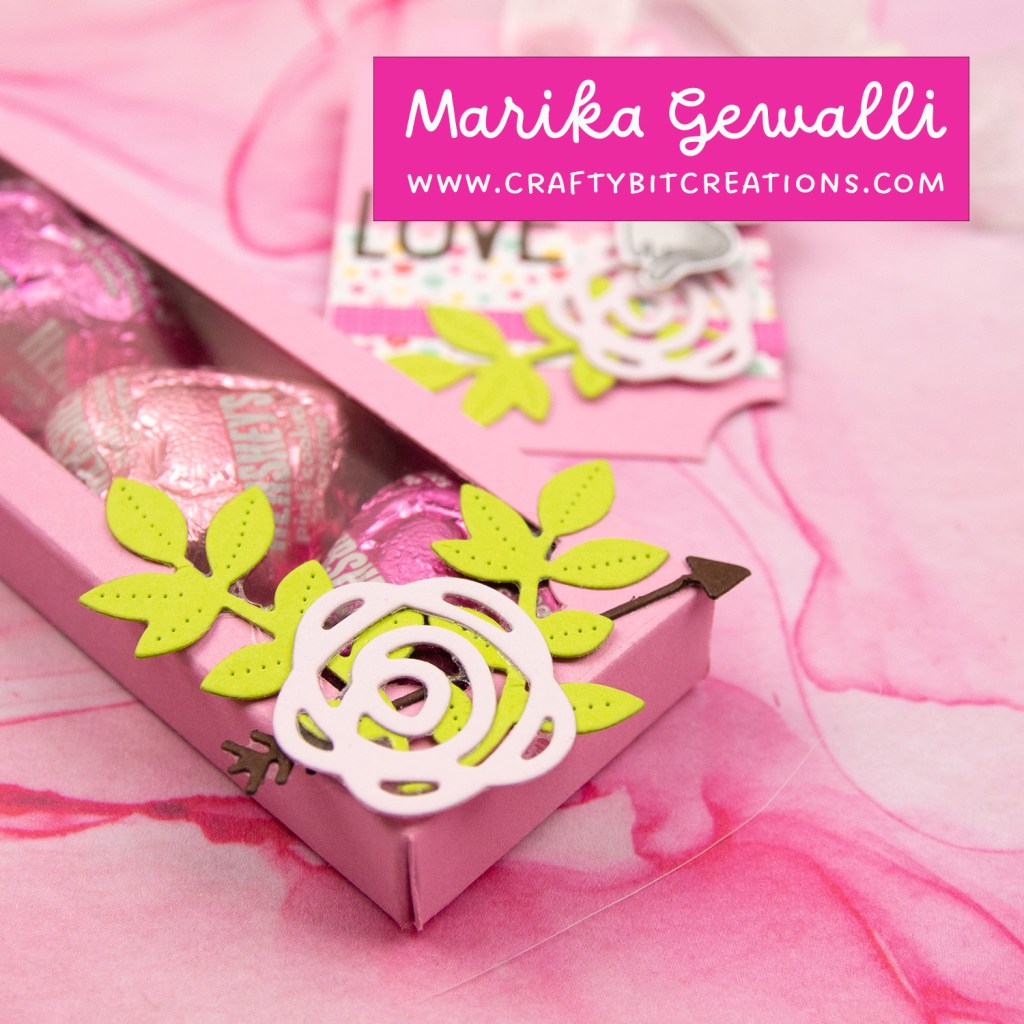
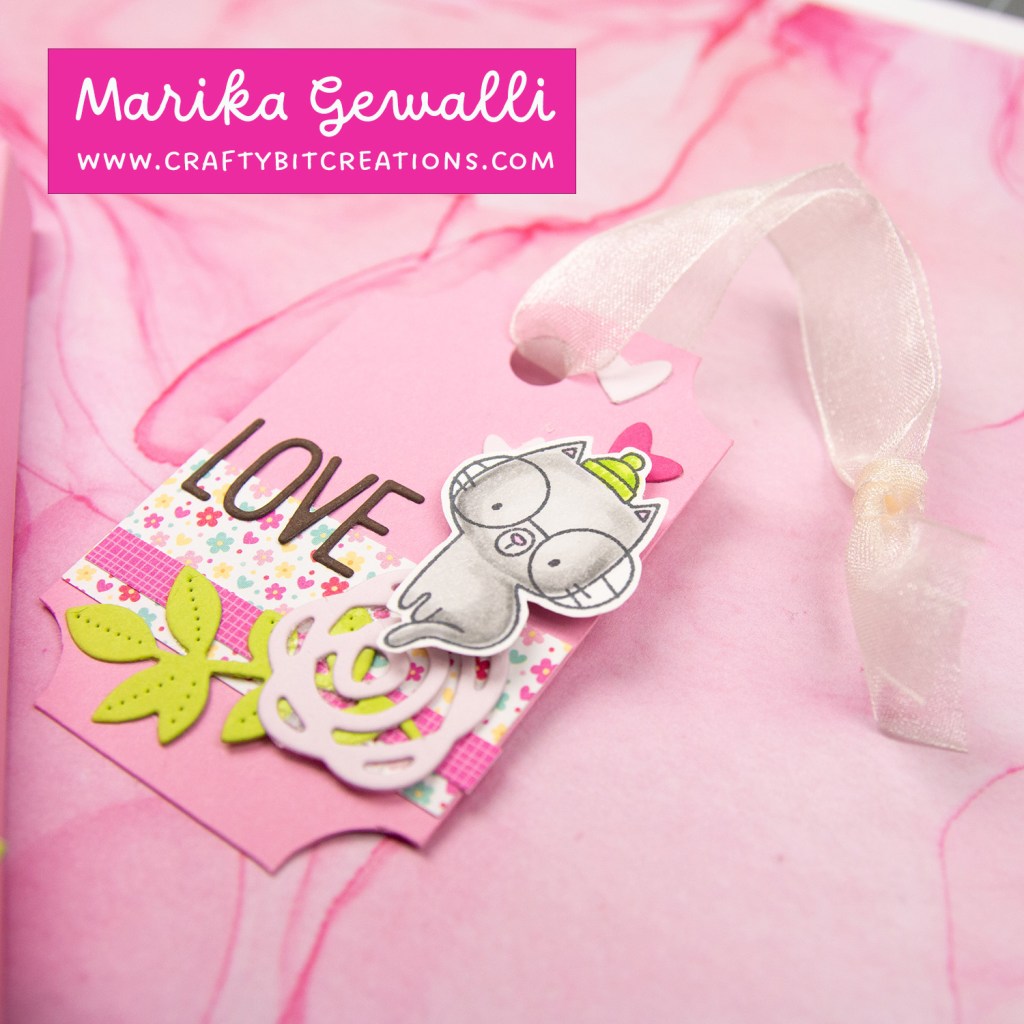
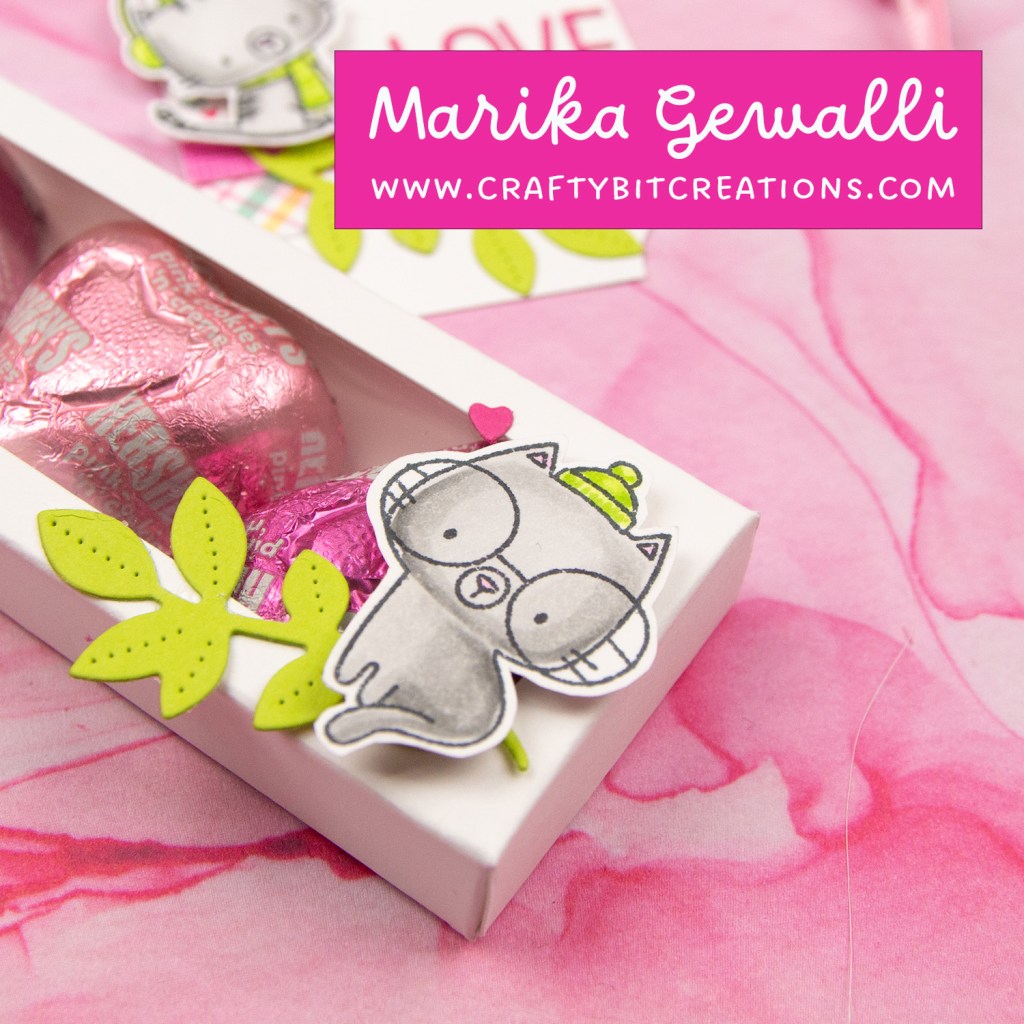
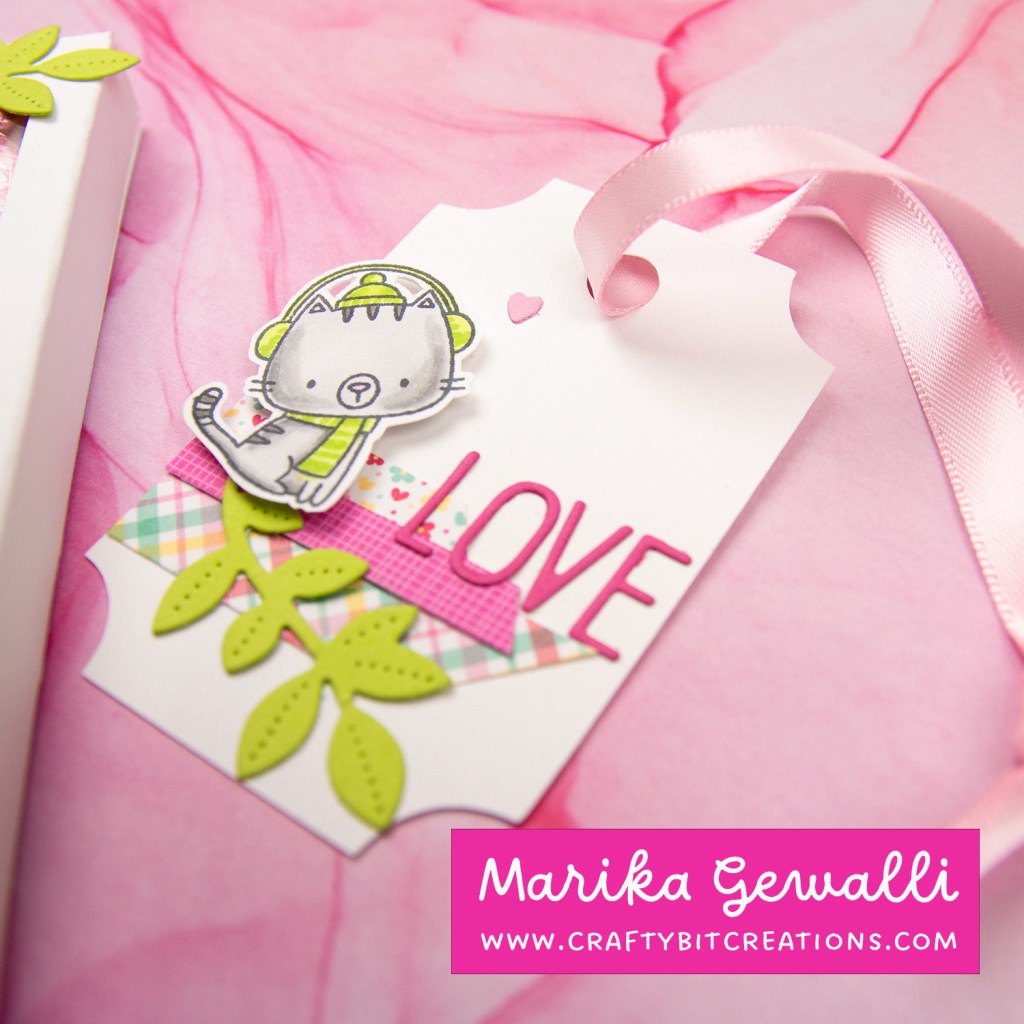
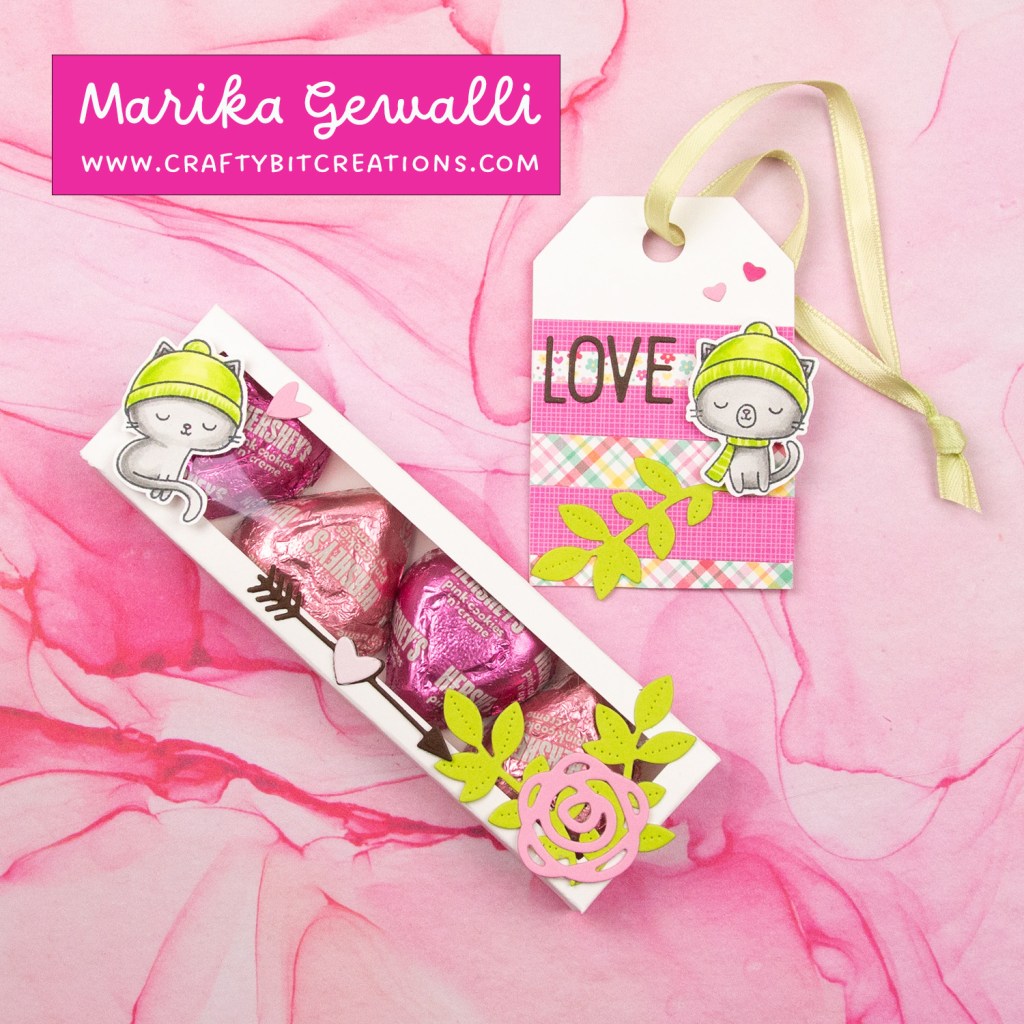
Valentines is the day for giving love, not only to your partner but also to you friends and family, and today I give you my love through some free cut files and templates. The box I create in todays video tutorial shows how to put the box together and also one way of decorating both the box and the tag. The box is made to house 4 Hershey’s Hearts, but you can add what ever you want.

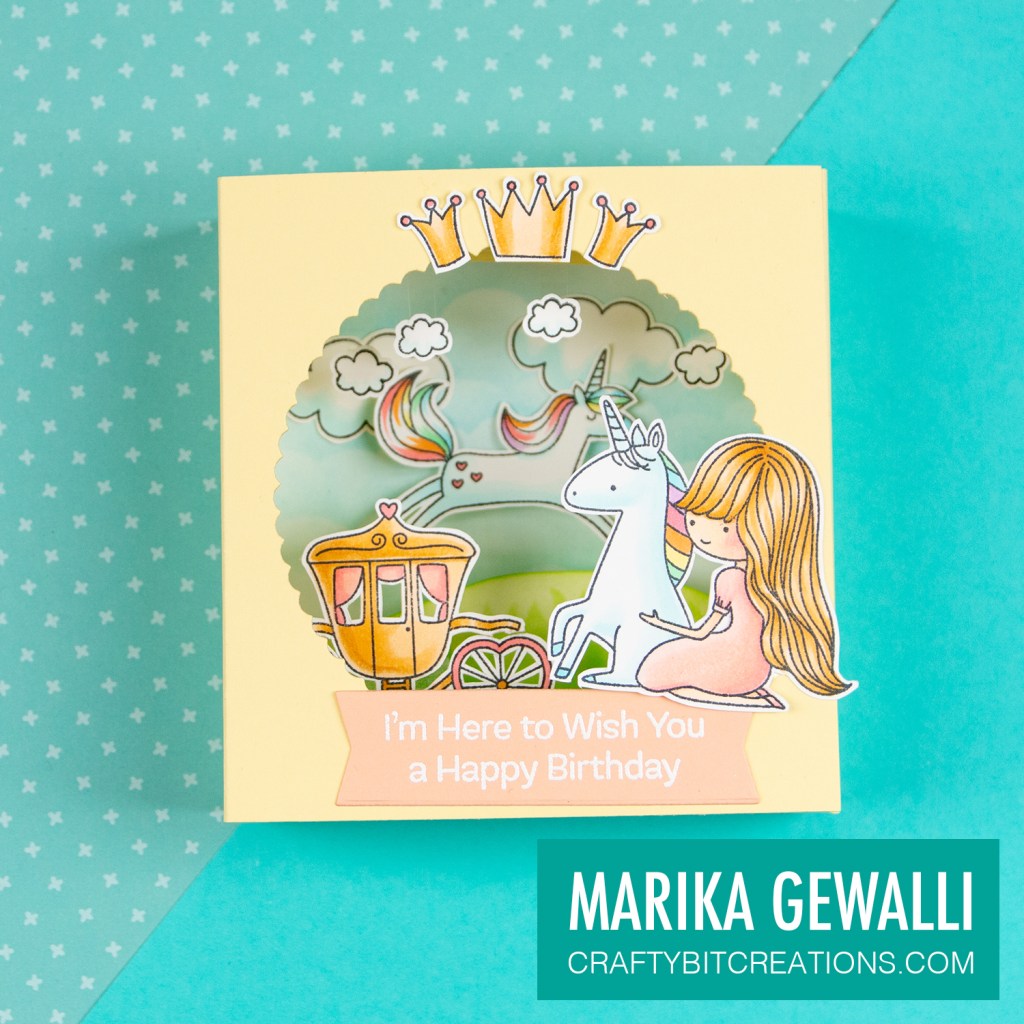
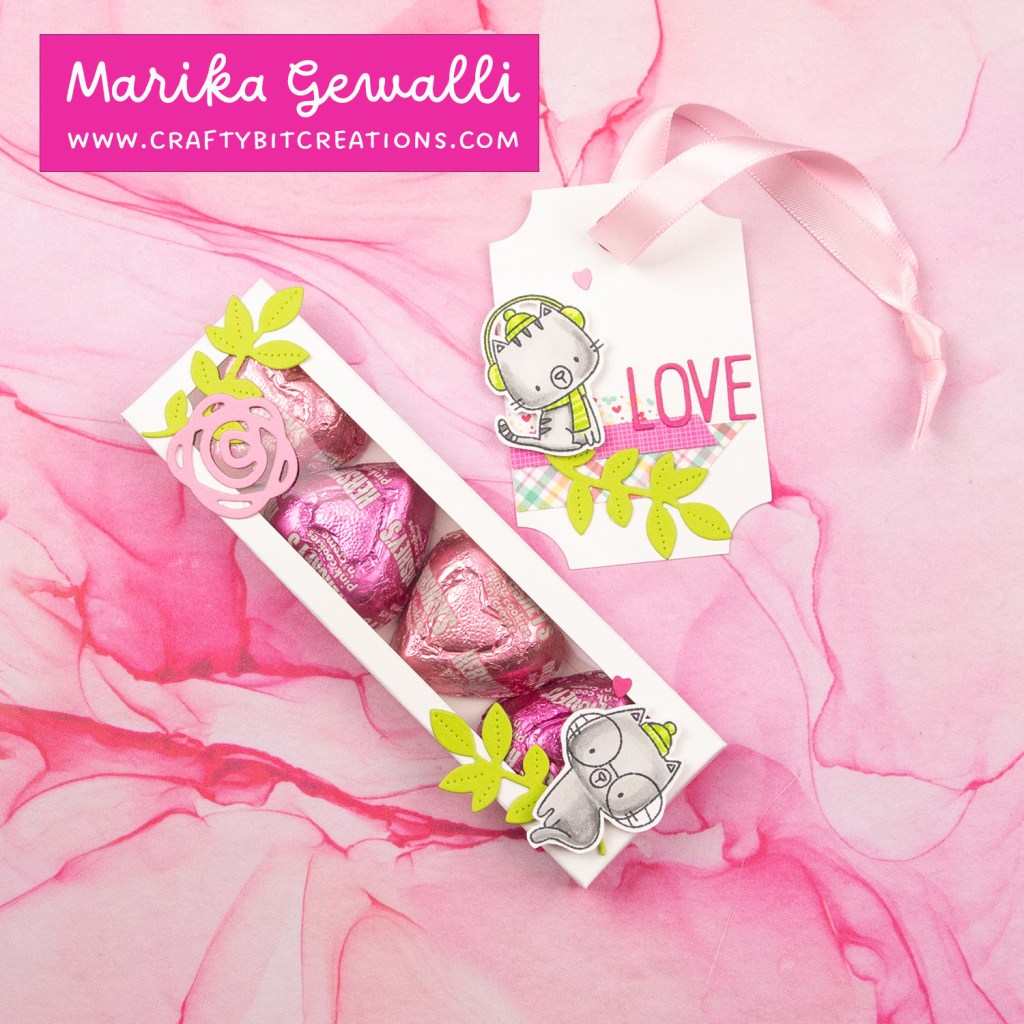
I ended up making five different boxes to showcase all the different cutouts and tag versions. And I had two hearts over from my bag of Hershey’s Hearts. But being honest I did dip into it before doing this project so you can most likely get six if not seven boxes out of one bag.

dark pink decorated box with 4 hershey's hearts inside and a coordinating tag

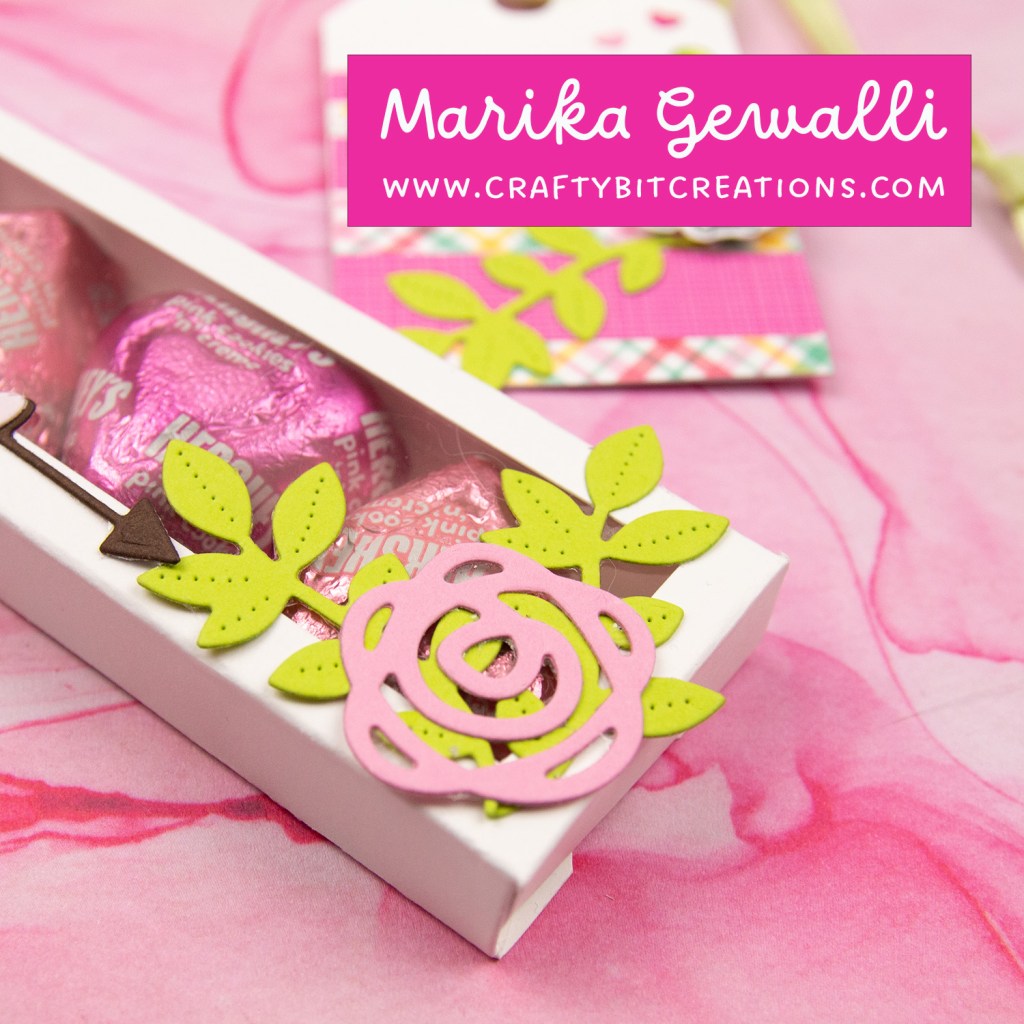
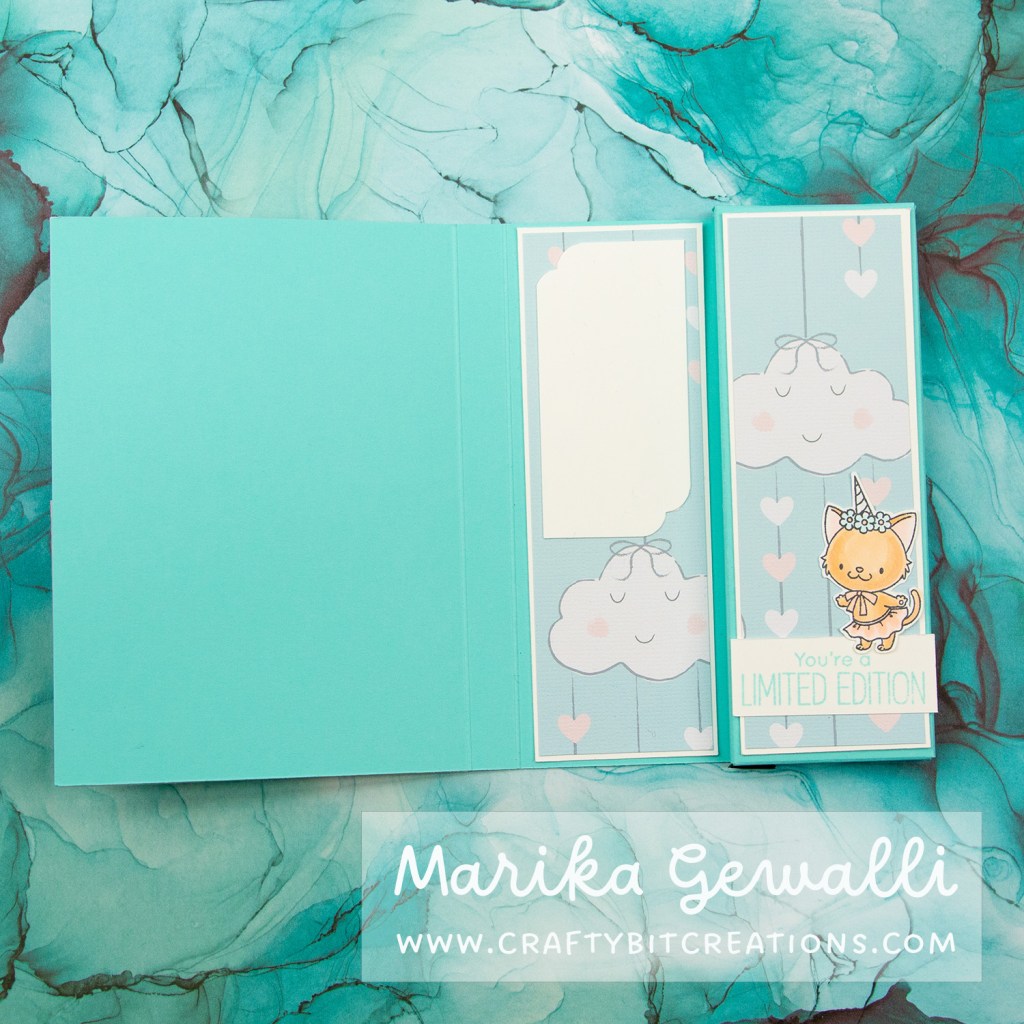
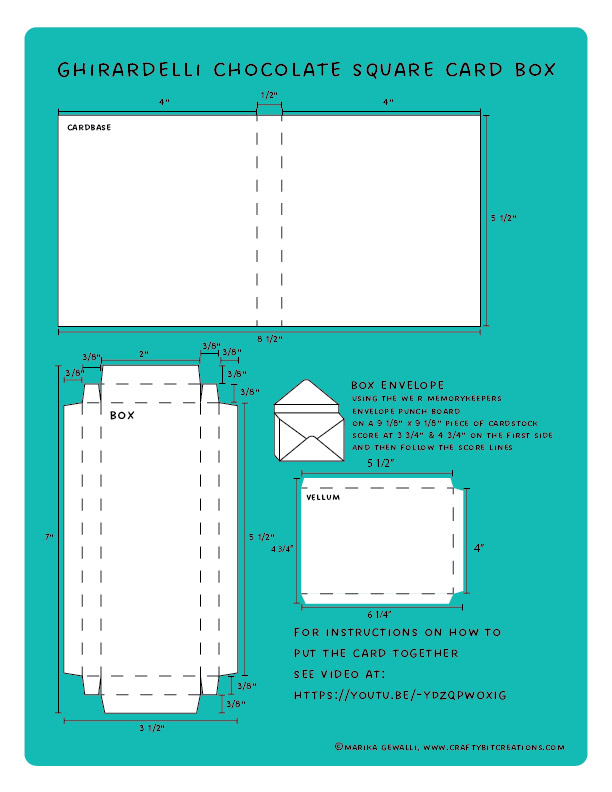
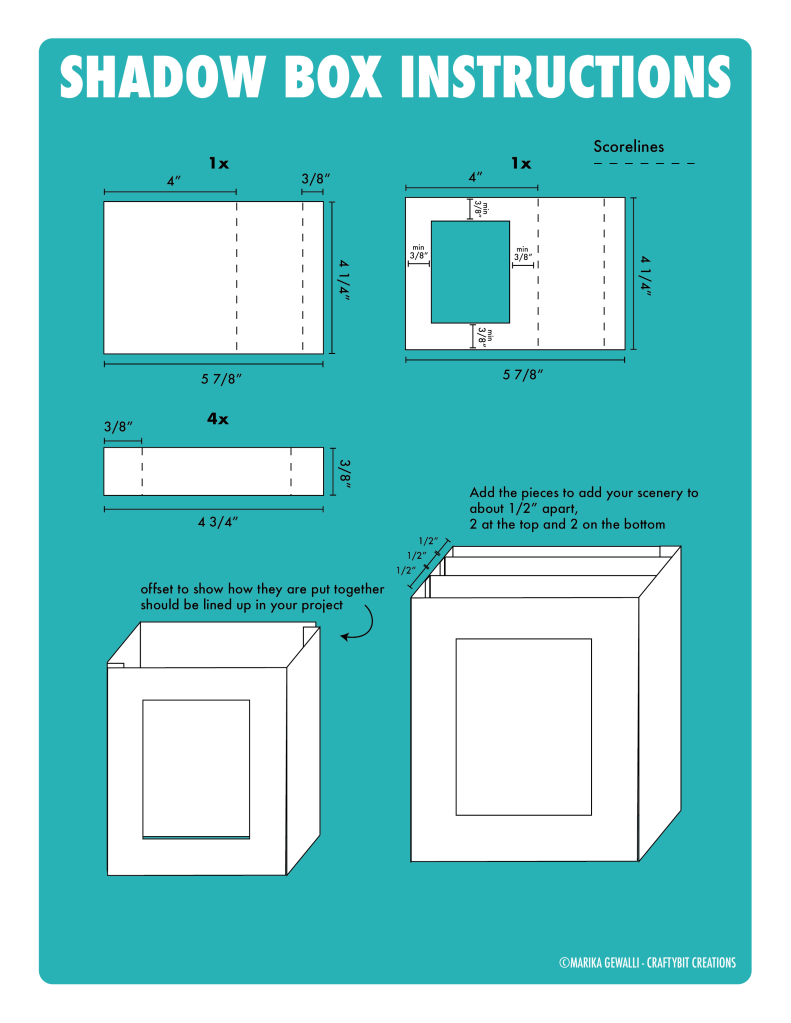
To get the cutouts in the box you can either just use the templates and a craft knife/scissors to cut it out. But if you have a silhouette or a cricut you can use the pngs as cutfiles and cut the whole box and tags out. You can download the zipped files –HERE–. If you want the schema as a pdf you can find it HERE, but you can also just right click on the image below and save it on your computer.

UPDATE: A very lovely viewer on youtube informed me that a Brother ScanNCut machine needs svg files. So I exported the cutfiles also in svg format and you can find them HERE. These can be used in other cutting machines as well.

schema of valentines box made to house hershey's hearts


Hope you enjoy this box and tag. I currently have a giveaway over on my youtube incase you want the box, tag and the chocolate hearts. Just hope over to the video and comment anything. The giveaway ends on the 28th of january 2022.

If you like this tutorial HERE are all my other projects with schemas and freebies.

Copic:

T0, T2, T4, T6, YG01, YG25, RV02

When possible affiliate links are used, this means that I receive a small commission when products are purchased through the links (at no extra cost to you) I use the money to support my blog and youtube channel. If you like my projects and tutorial please consider supporting me by clicking through these links when you shop. Thanks!

Supplies:

MFT Cool Cats: MFTSSS
CAS Cool Cuts Pocket Tag: CAS
MFT Tag Builder Blueprints 5 Dies: MFTSSS
MFT Birdie Brown Alphabet & Numbers Dies: MFT
MFT Ripe Raspberry Card Stock: MFT
MFT Princess Pink Card Stock: MFT
MFT Cotton Candy Card Stock: MFT
MFT Milk Chocolate Card Stock: MFT
MFT Sour Apple Card Stock: MFT
Neenah Solar White 80lb: SSSAMZSBC
Memento Tuxedo Black: SSSAMZSBC
Stamp Blocks: SSSAMZSBC
Acetate: SSSAMZSBC
Xyron Sticker Maker: SSSAMZSBC
Sookwang Tape 1/8”: SSSAMZ
Sookwang Tape 1/4”: SSSAMZ
Hershey’s Hearts: AMZ
Foam Squares: SSSAMZSBC
DDD Made with Love: SSSSBC

Feature image of close up of the lower left of a blue-green box card depicting a winged unicorn corgi. Image used to give a teaser of post.
Uncategorized

Box Card for Ghirardelli Chocolate Squares

First craft tutorial of the year is a Box Card for Ghirardelli Chocolate Squares. I will also show have to make a matching box envelope with the envelope board by We R Memory Keepers.

Hi everyone! I’m back with the first craft tutorial this year and in 8 months! It’s been a long hiatus but I’m back and so inspired to craft. In todays tutorial I’m making a thank you card to a dear friend. I wanted to it to be a card and a gift at the same time so decided to send some Ghirardelli Chocolate Squares in a box card. Realised after creating the envelope that I had some extra space, so filled it with to of my favorite muji pens. If you wanna see more like this please comment below, or comment what you rather see.

If you are looking for more box card tutorials two of my own favorites are, Snowed In | Hersey Chocolate Bar Box and Instant Cocoa Box | You’re The Marsmallows To My Cocoa

Close up images of a blue-green box card covered in pattern paper with clouds and strings of hearts. With a vellum shaker at the bottom decorated with a heat embossed sentiment saying "thank you" and a winged unicorn corgi with a bow.

To make it easier for you I have made a little schema on how to cut and score the different pieces. You can either download the pdf HERE. Or just right click and chose save on the jpg below.

Cut dimensions for layers

White card stock, front: 4″ x 5 1/2″
Pattern paper, front: 3 7/8″ x 5 3/8″
Two of white card stock, inside: 1 7/8″ x 5 3/8″
Two of pattern paper, inside: 1 3/4″ x 5 1/4″
Inner sentiment strip: 2″ x 3/4″

Copics:

E11, E21, R01, R00, R000, R0000, B000, B0000

When possible affiliate links are used, this means that I receive a small commission when products are purchased through the links (at no extra cost to you) I use the money to support my blog and youtube channel. If you like my projects and tutorial please consider supporting me by clicking through these links when you shop. Thanks!

Supplies:

MFT Vellum: MFT
MFT Unicorns and Glitter: MFT SSS
MFT Card Stock Summer Splash: MFT
MFT Ink Summer Splash: MFT SSS
Memento Tuxedo Black: SSS AMZ SBC
WRM Envelope Punch Board: SSS AMZ SBC
Neenah Solar White 80lb: SSS AMZ SBC
Fiskars Trimmer : SSS AMZ
Mini Score Board: SSS AMZ SBC
Teflon Bonefolder: SSS AMZ SBC
Tape Runner: SSS AMZ SBC

Top bar showing a cut version of the closeup of the lower right corner.
Uncategorized

Shadow Box Card Tutorial | Princess & Unicorns

Hi! Today I made a shadow box with unicorns and princesses, everything I love! The video tutorial goes through how to cut, score and put everything together, but I have also made an instruction sheet that you can see below and you can find it as a pdf HERE.

Showing the full shadow box card with the princess as focal image.

Making a shadow box means some measuring and scoring and if you find that hard (or boring), there is dies out there. One that also flattens to an A2 card size like the box I have done is the one from MFTStamps.

In the video below you can follow along on how I did my box out of less than one sheet of letter sized card stock. Also you can see how I decorated it using stamps from the Pretty Princess and Friendly Unicorn Stamp sets. You can find all the products used listed below, and there you also find all the copics used to color the stamps. Which you can see how I did in the second video.

For the shadow box I cut out 2 pieces measuring 5 7/8″ by 4 1/4″ for the back and front, and 4 pieces measuring 3/8″ by 4 3/4″, 2 for upper delimiters and 2 for bottom delimiters. The 5 7/8″ by 4 1/4″ should be scored on the long side at 4″ and at 5 1/2″, and the delimiters should be scored at 3/8″ on both ends. Before putting together the card, take one of the bigger pieces and cut a hole out of the 4″ part of it. Make sure that the hole has a minimum of 3/8″ to all edges so that the tabs aren’t seen from the other side. I used a die for this as I wanted to have cute scalloped edges for my window. Putting together the card, use a strong tape so that it stays together, I use sookwang tape. You can follow the instructions below and I have made a pdf that you can download HERE.

Instuctions for the shadowbox, sizings and scorelines.

After putting together the shadowbox it’s now time to decorate! I used stamps from the Pretty Princess and Friendly Unicorn stamp set. I colored them with copic markers and then cut them out (there is dies, but I prefer to fussy cut). Then blending Tumbled Glass and Cracked Pistachio Distress Inks over the for Mini Cloud Edges stencil the backdrop and Cracked Pistachio and Twisted Citron Distress Inks over the Grassy Edges stencil to give some dimension and texture. For the hanging clouds and the back unicorn and chariot I used acetate to fasten them so that it’s harder to see how they are attached. To finish it off I ended up white heat embossing a sentiment on some Peach Bellini card stock.

Close up of the lower right corner of the shadow box depicting the sitting princess who hugs a sitting unicorn.
Close up of the unicorn in the back of the shadowbox card.
Closeup if the chariot on layer 2 of the shadowbox
Close up of the upper part of the shadow box, showing three crowns.

Hope you enjoyed the tutorial and I’ll see you back here soon! Happy Crafting!

Copic:

E21, E00, E50, R32, R30, YR23, YR21, YR20, R000, B0000, B000, Bo1, G02, Y13, YR12, V12

When possible affiliate links are used, this means that I receive a small commission when products are purchased through the links (at no extra cost to you) I use the money to support my blog and youtube channel. If you like my projects and tutorial please consider supporting me by clicking through these links when you shop. Thanks!

Supplies:

https://linkdeli.com/widget.js?id=f5e8378456858c916708