I just love fall! Christmas has always been my favorite holiday with the smell of pine and spices. But since Pumpkin Spice came to Sweden, surprisingly enough it was just a couple of years ago, curtesy of Starbucks, fall has slowly become my favorite.

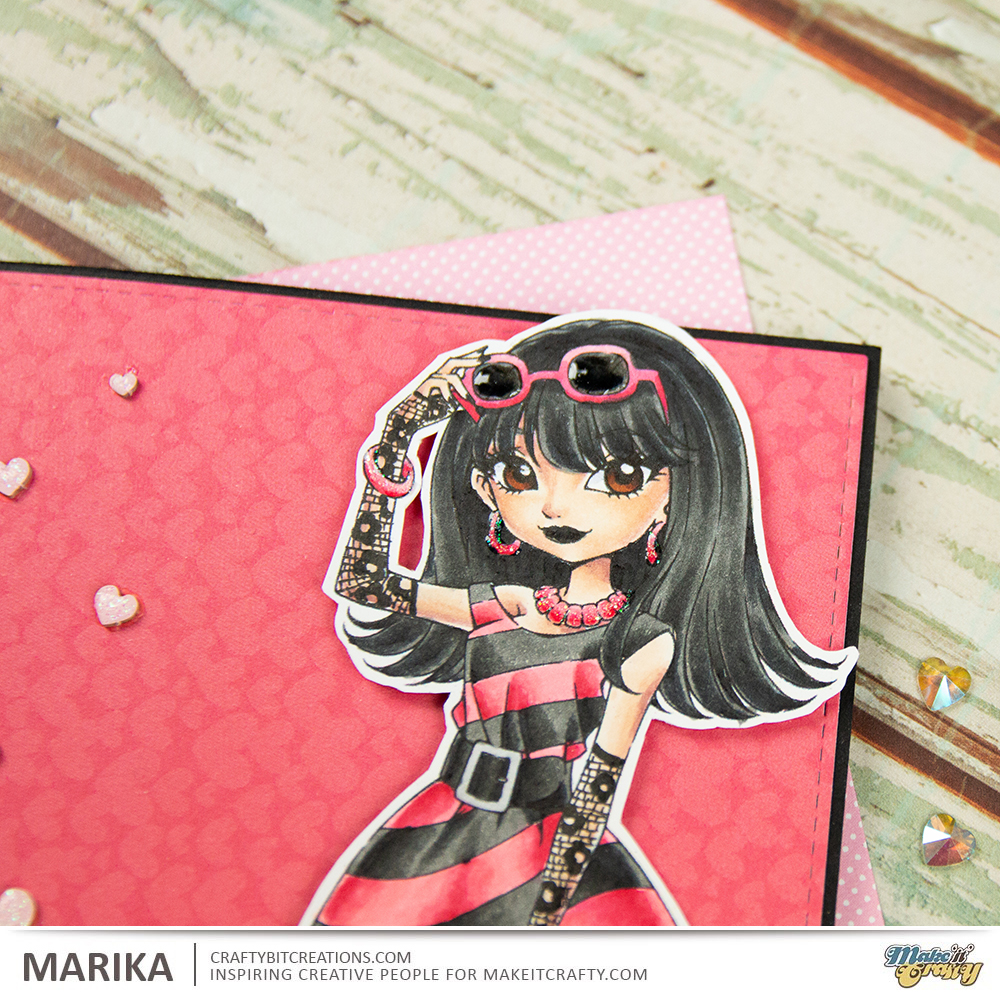
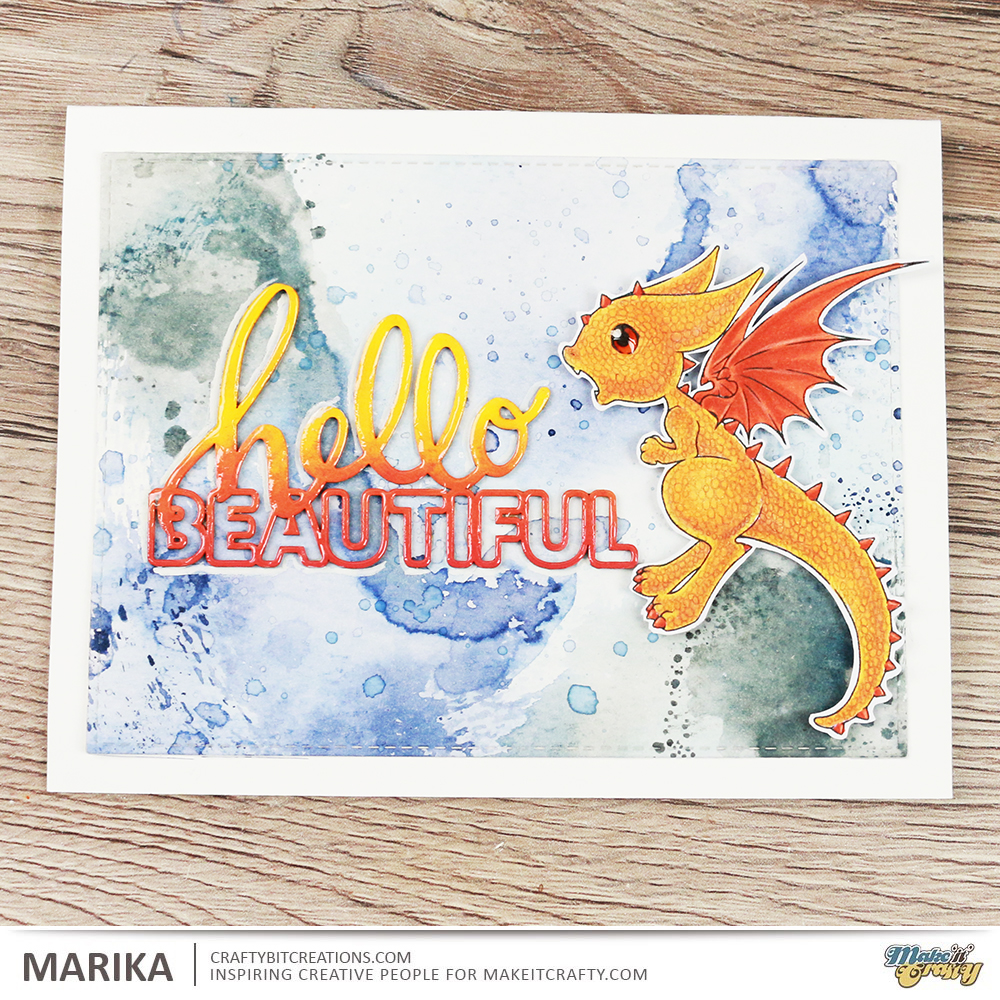
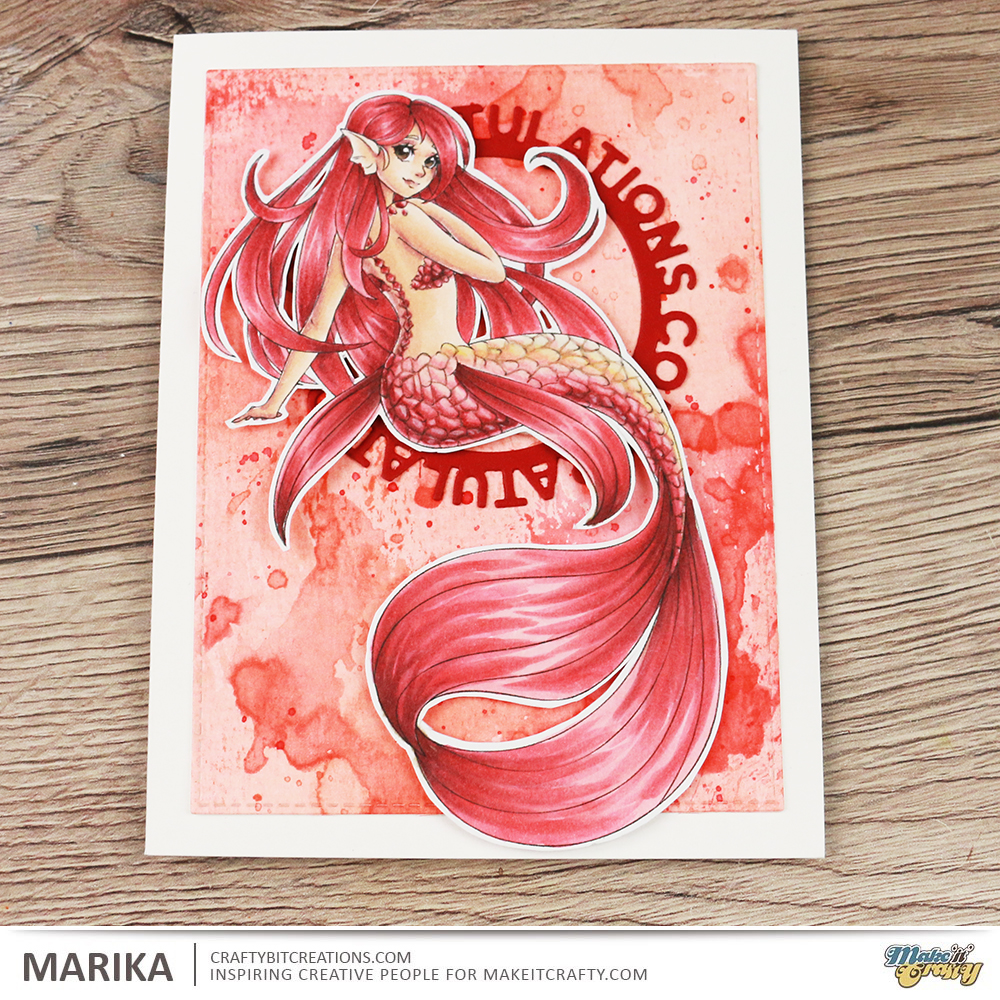
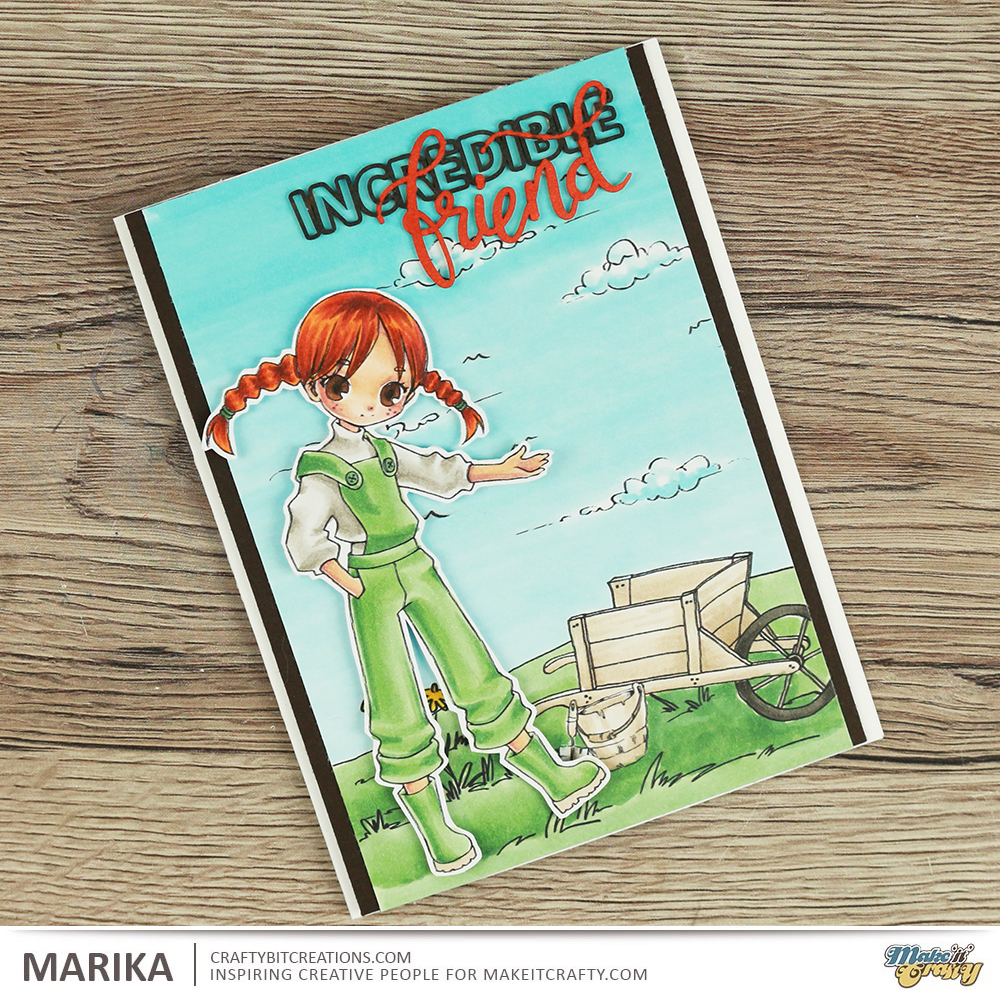
Here in Sweden the leaves are slowly turning orange and red, and right now is that perfect mid stage where some is still green and none is brown. And even though I did use this very stamp last year. I felt I wanted to use it again. This time using the no-line coloring technique and also choosing a very different pumpkin color. Have seen these awesome different ones that exist in the states and decided that a greenish one would be cool.

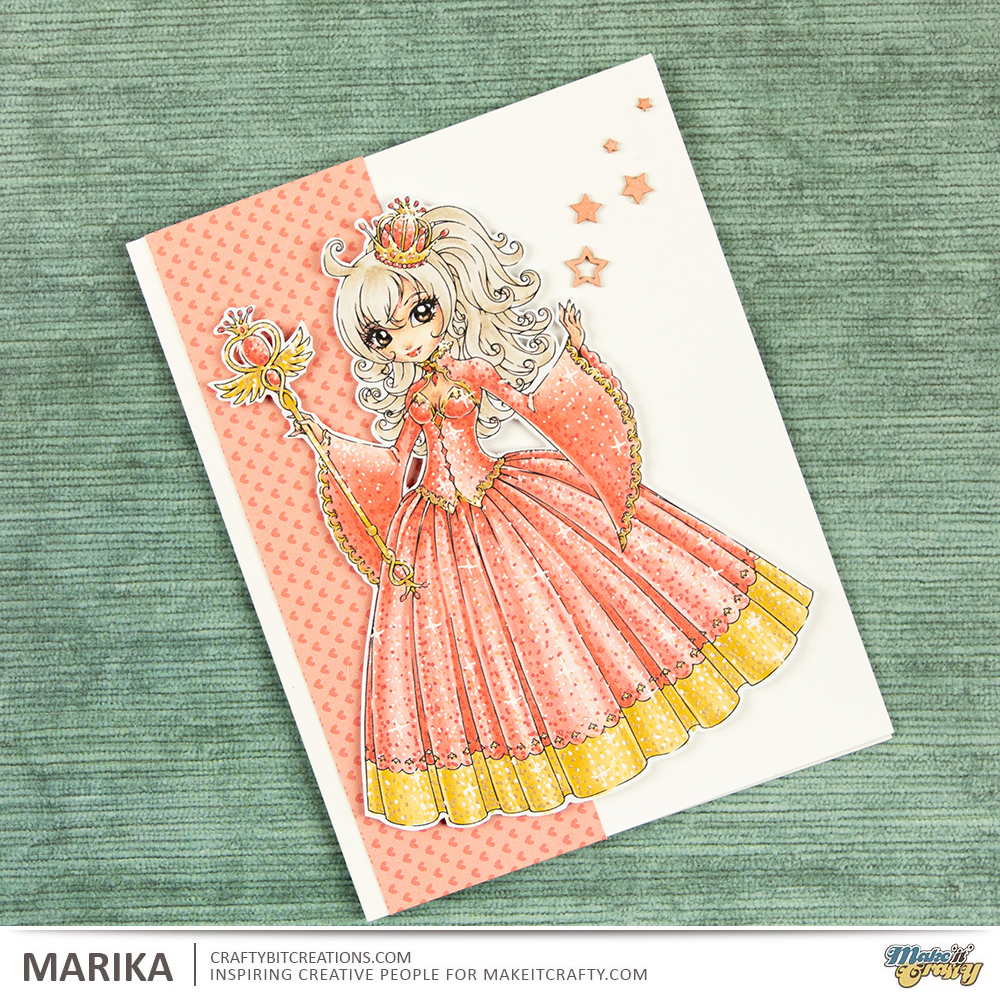
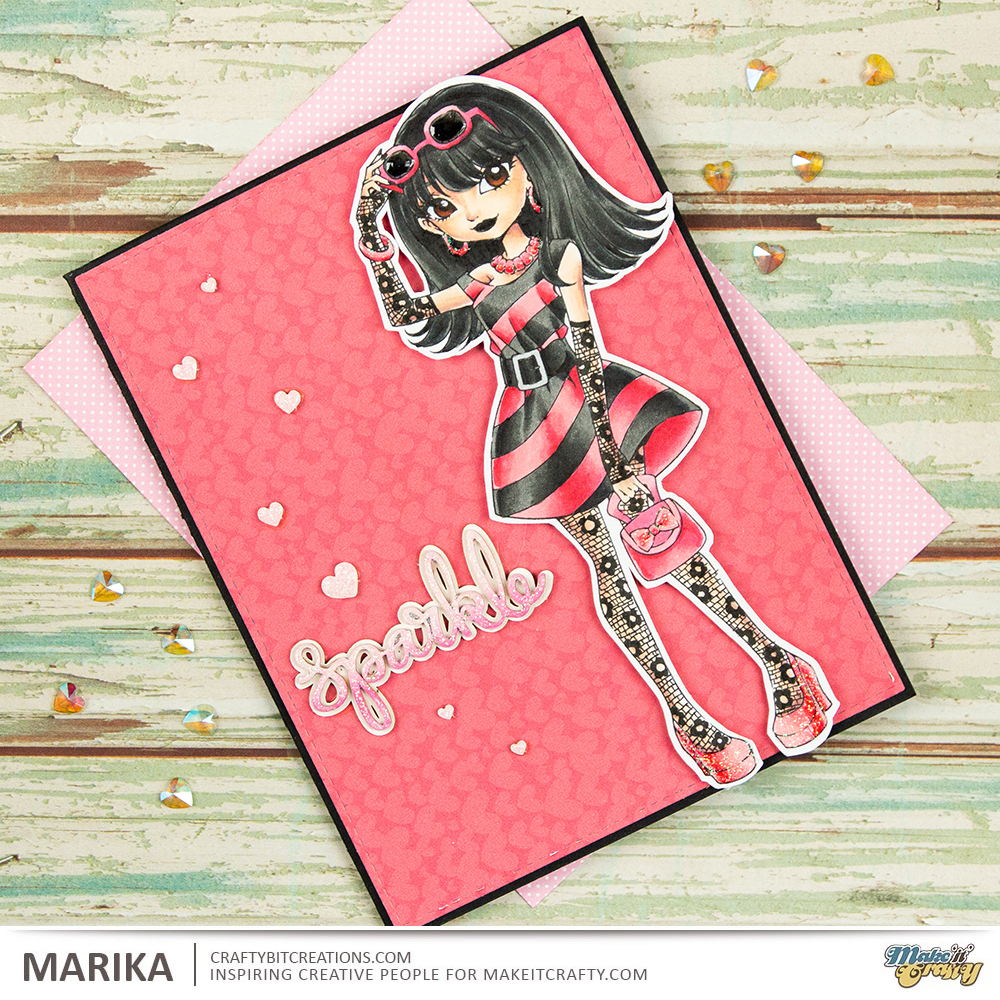
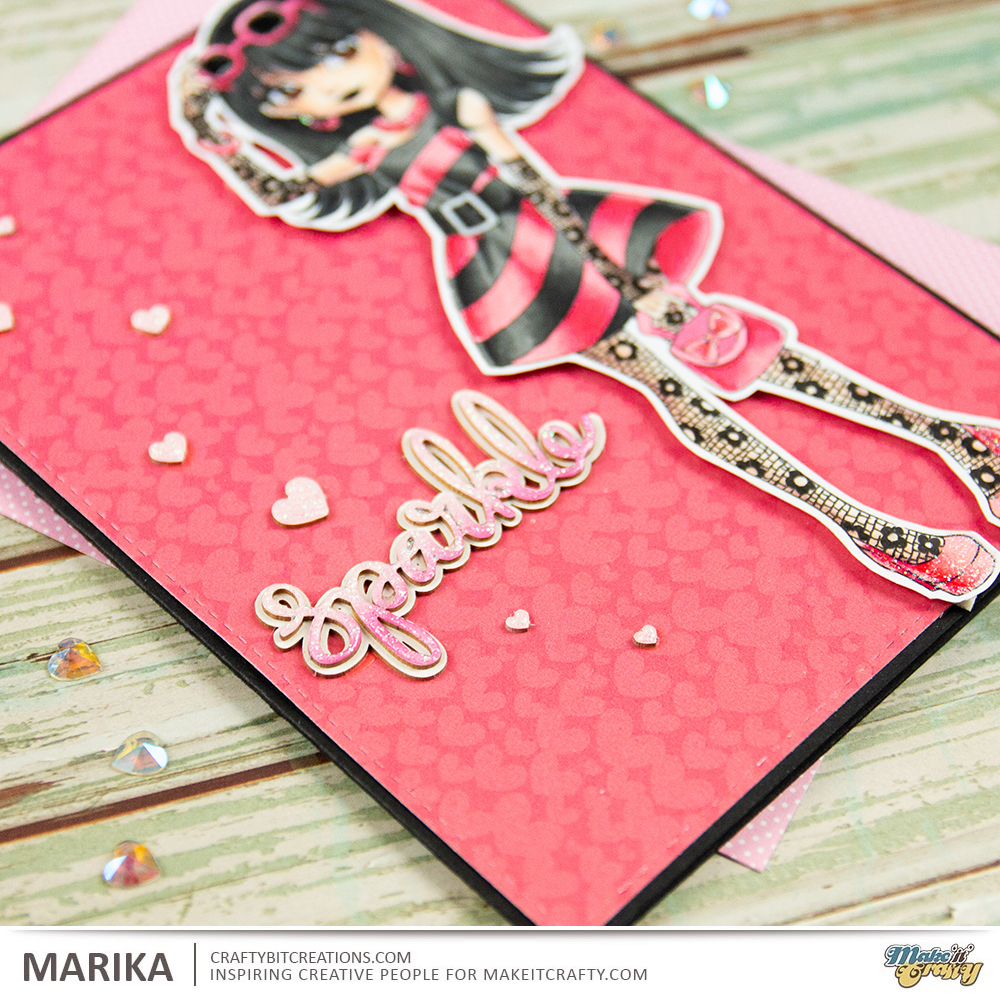
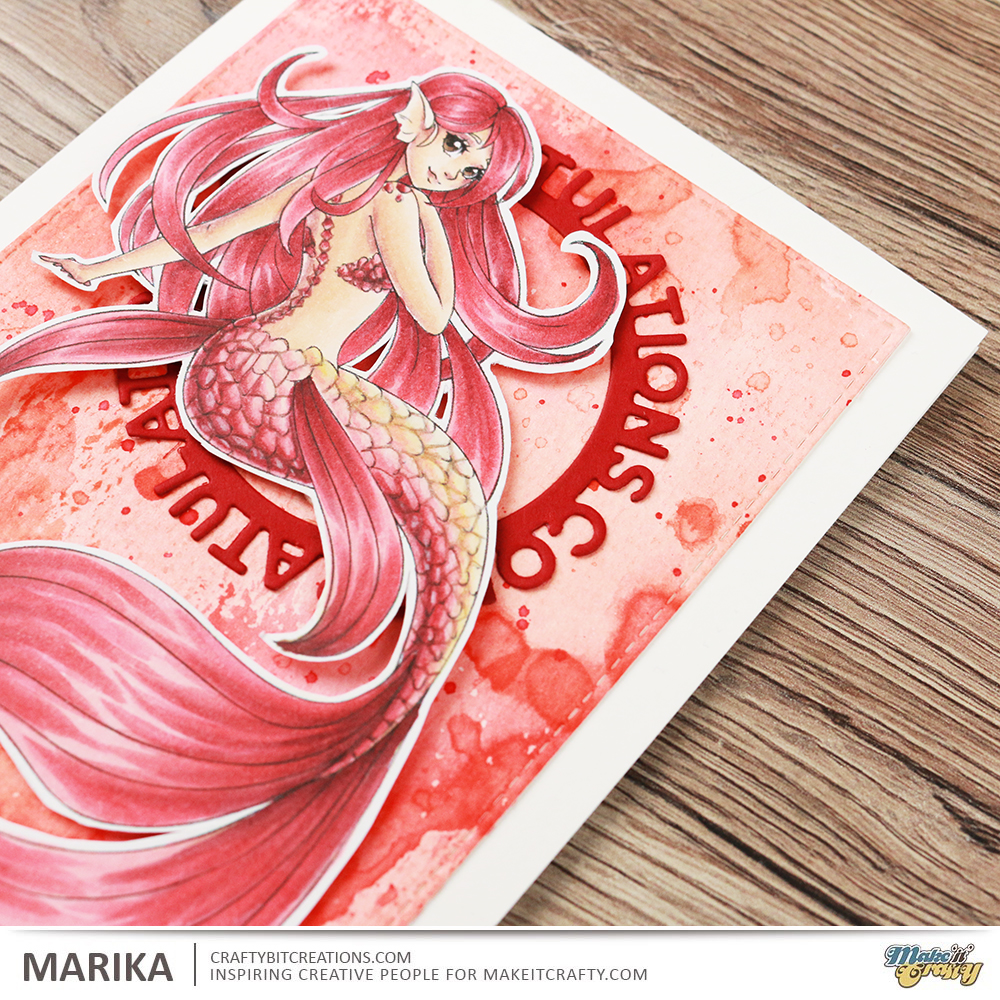
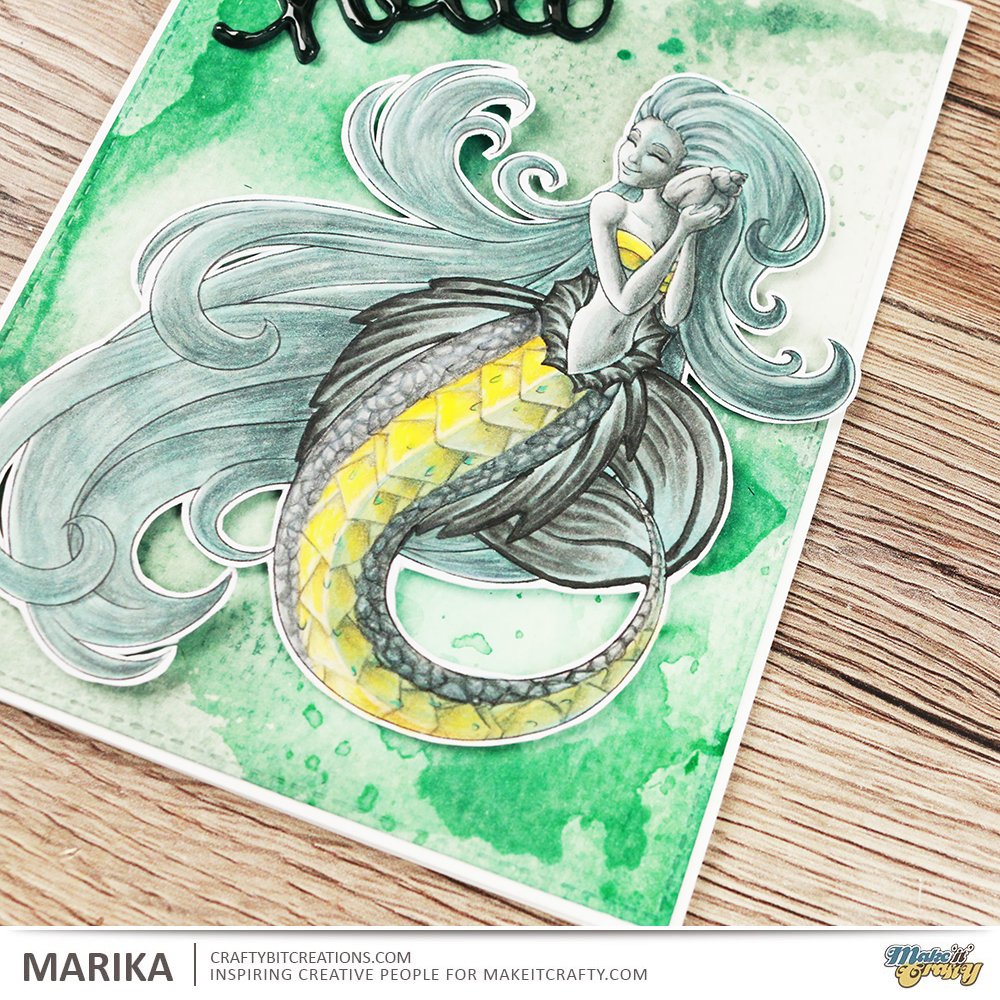
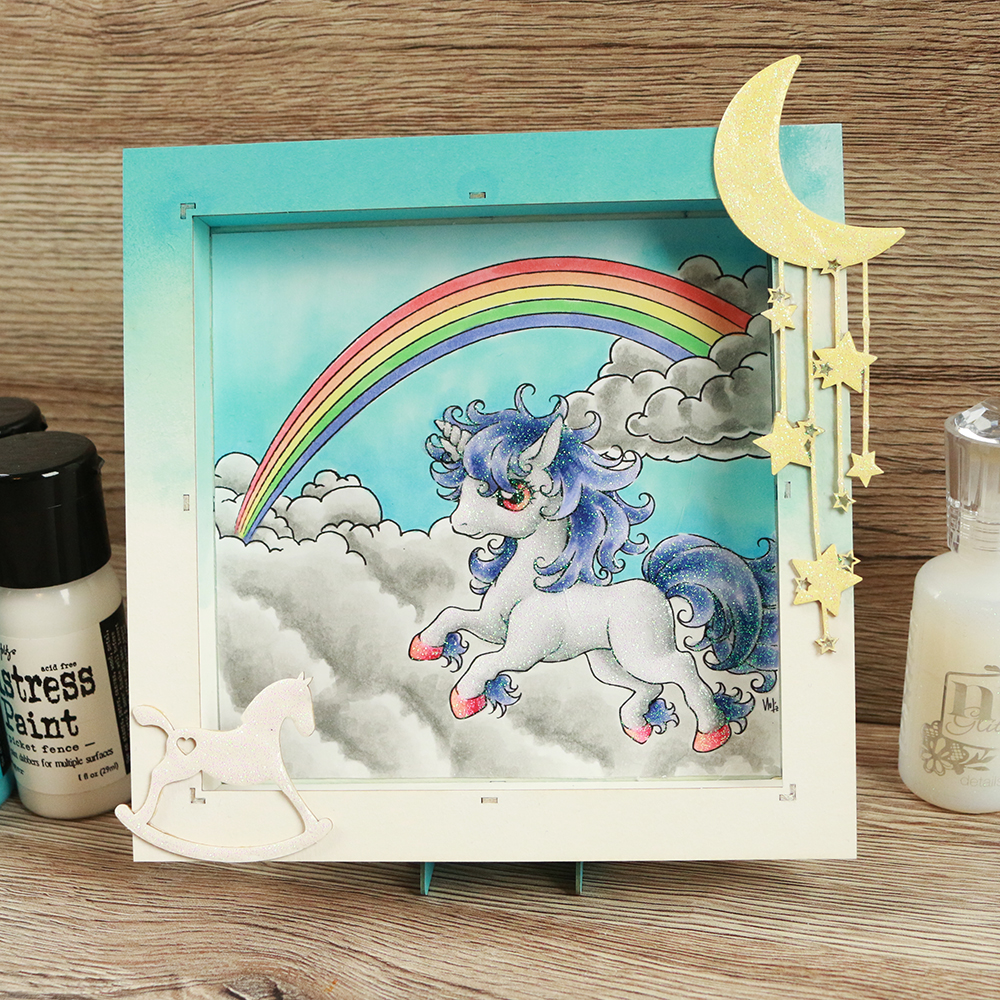
The background is made the same way as last year and I combined it with another chipboard piece. This year I used a layered saying turning it into a friendship card fit for fall. I didn’t do a video this time around just cuddled up with my copic markers and let them lead the way. My absolute favorite part is the face, the softness of the no-line coloring and the added detail of the color pencil and white gelpen just made it pop.

I hope you are enjoying fall and all its bounty. Until next time I hope you have an awesome day!
When possible affiliate links are used, this means that I receive a small commission when products are purchased through the links (at no extra cost to you) I use the money to support my blog and youtube channel. If you like my projects and tutorial please consider supporting me by clicking through these links when you shop. Thanks!
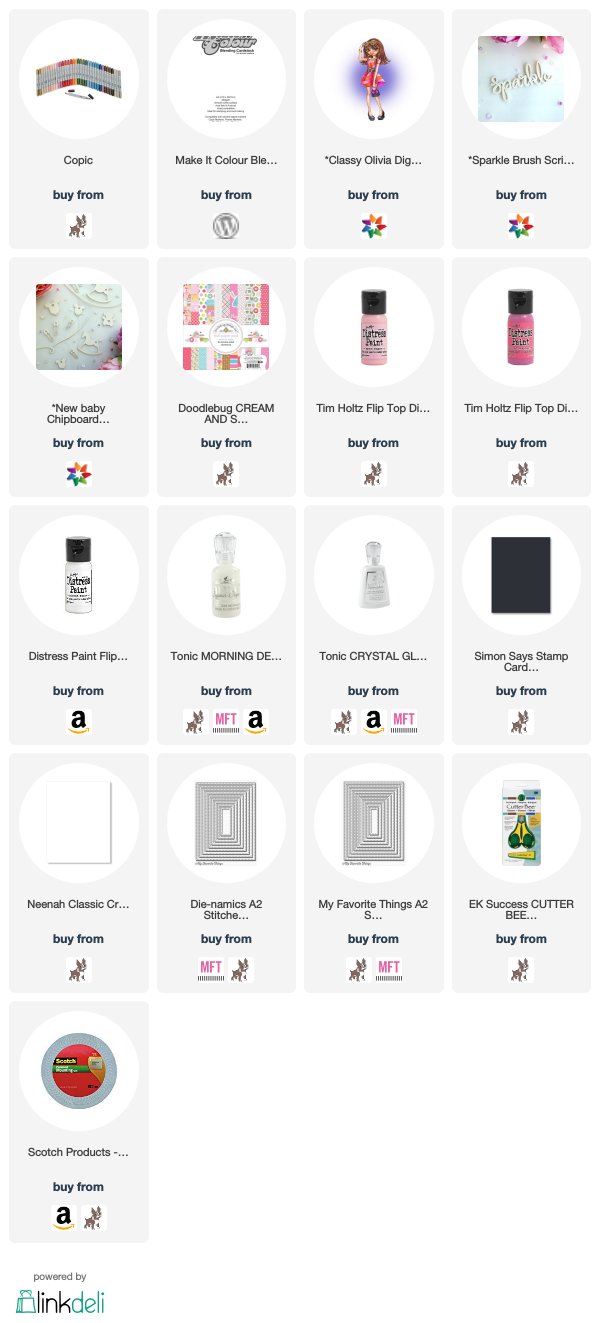
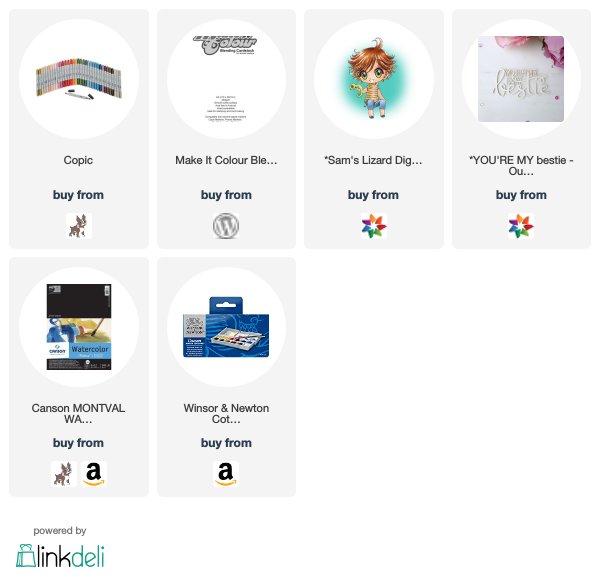
Supplies:
 https://linkdeli.com/widget.js?1559654439292
Copic:
E50, E00, E21, E11, E04, R30, R32, G12, G21, G24, G43, G46, G94, G29, YG61, YG63, YR21, YR31, Y17, Y38, B60, B63, W0, W2, W4, 0