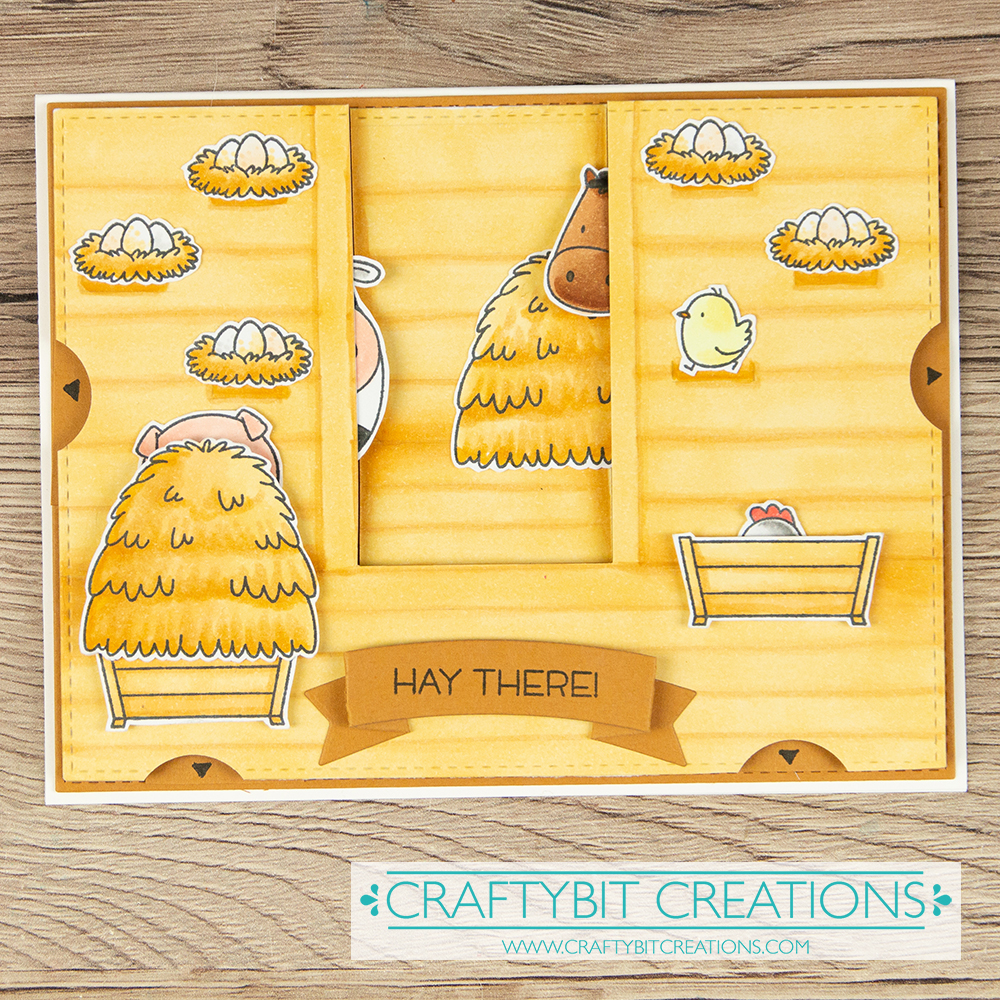
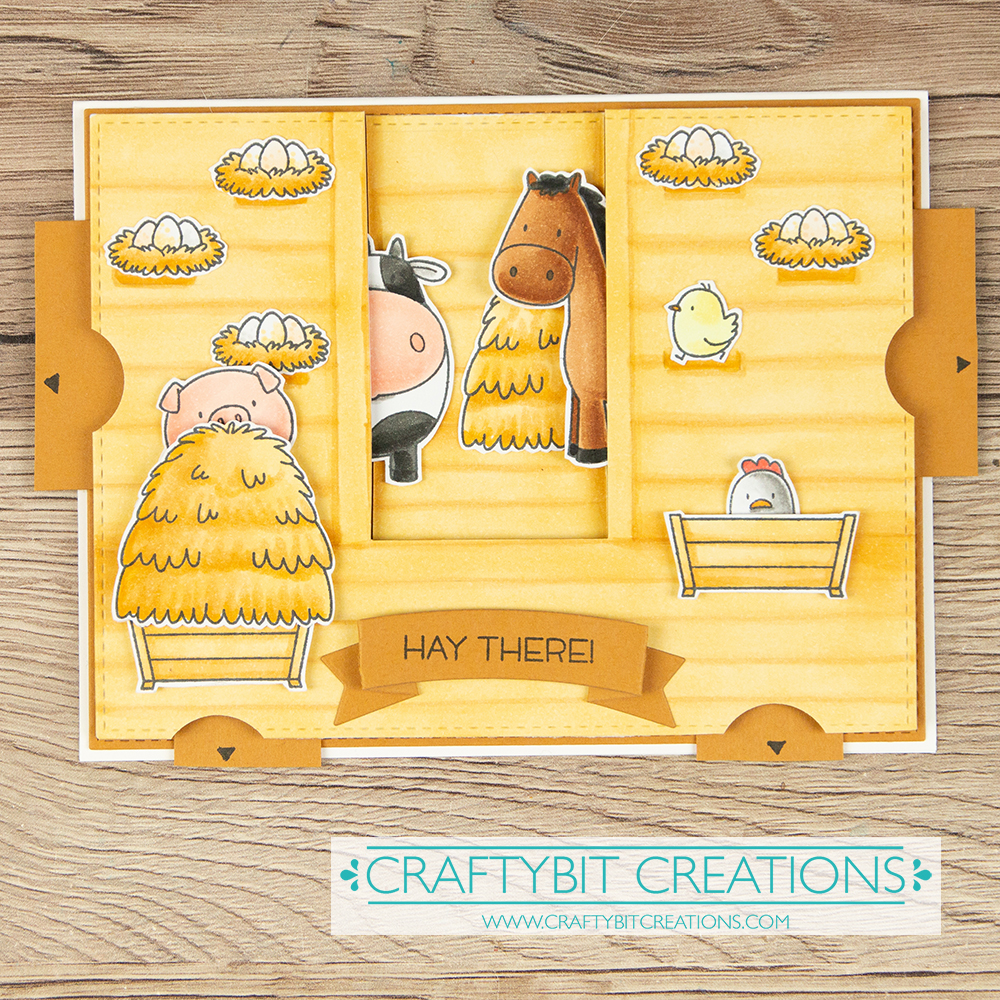
For my third and final entry I have a really fun interactive card! I really love the way you can make a pull thing make something move in the opposite direction, it’s a simple mechanism but oh so gratifying.
So I decided to make sort of a peekaboo card, I have four different tabs that make four different animals peek out. I made you see them a little and then when you pull the tab they peek out a little more. So for this card I have two cards, one showing the tab closed and one showing them out.
When possible affiliate links are used, this means that I receive a small commission when products are purchased through the links (at no extra cost to you) I use the money to support my blog and youtube channel. If you like my projects and tutorial please consider supporting me by clicking through these links when you shop. Thanks!
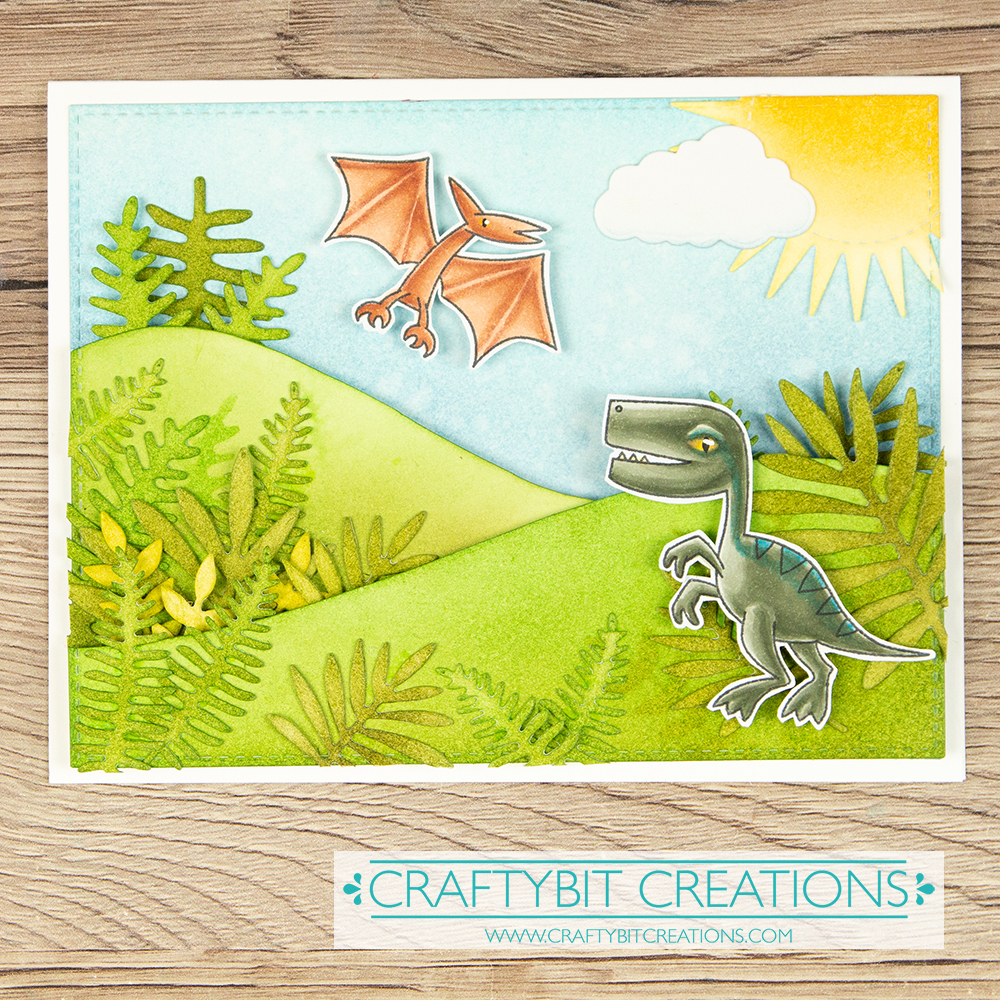
This was where it started, I love coloring and color and if there was one of these challenges I wanted to join in with it was the coloring challenge. There was many cards before this, I had it in my mind that I should color with pencils (which I’m not as used to as Copics) and on top of that on craft.
Well I loved the result but it didn’t pop as I wanted, but I got to cards for later use out of it.
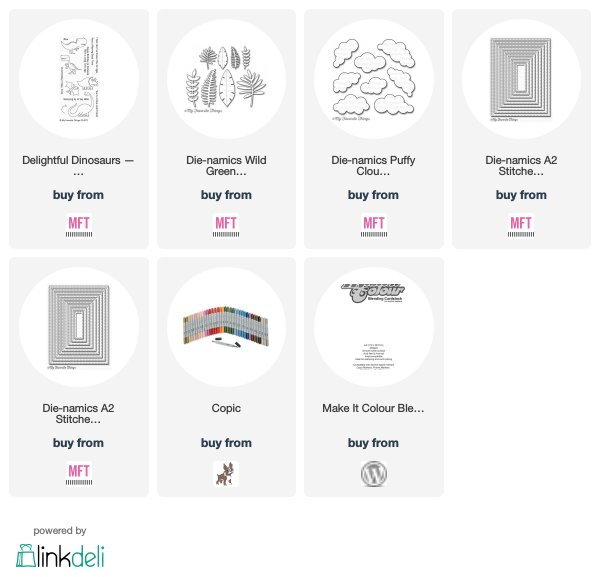
So to this card, I just love the Delightful Dinosaurs and my absolut favorite dies are the Wild Greenery, and I thought they would work awesomly together. So here is my Coloring Virtuoso entry!
When possible affiliate links are used, this means that I receive a small commission when products are purchased through the links (at no extra cost to you) I use the money to support my blog and youtube channel. If you like my projects and tutorial please consider supporting me by clicking through these links when you shop. Thanks!
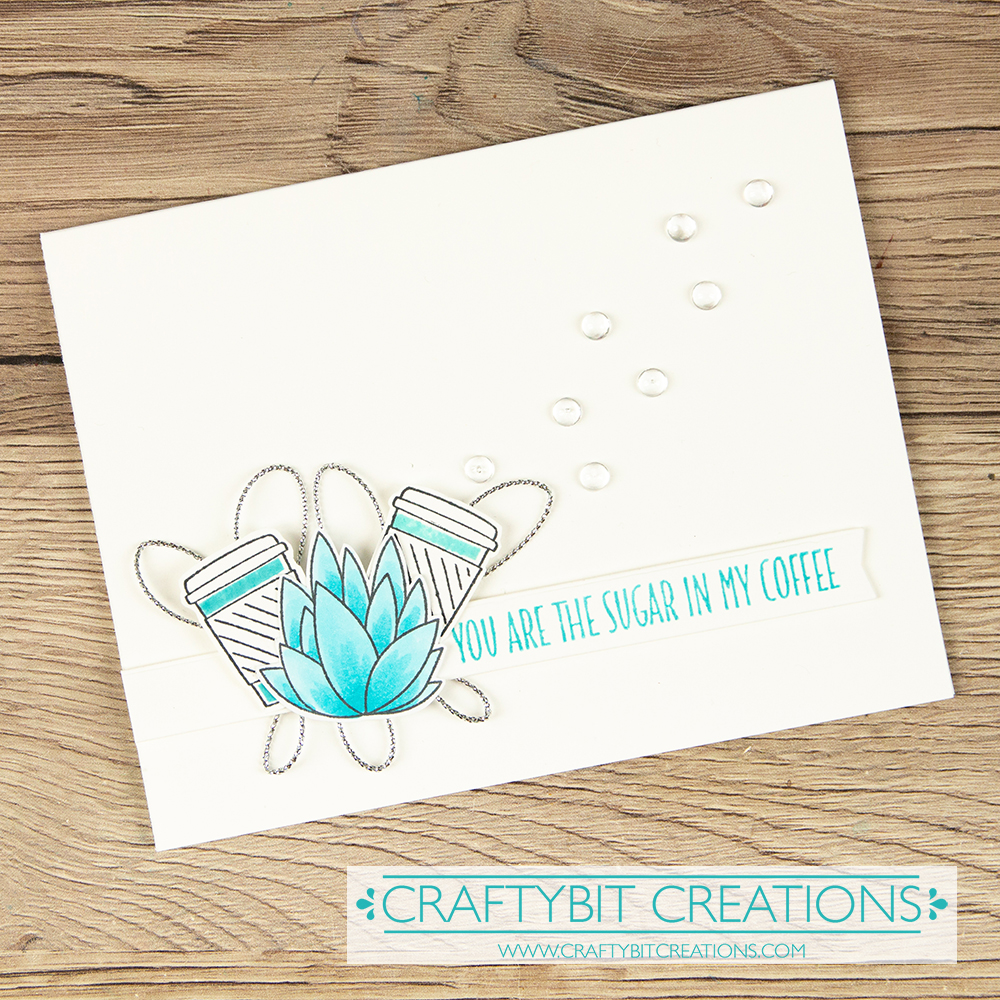
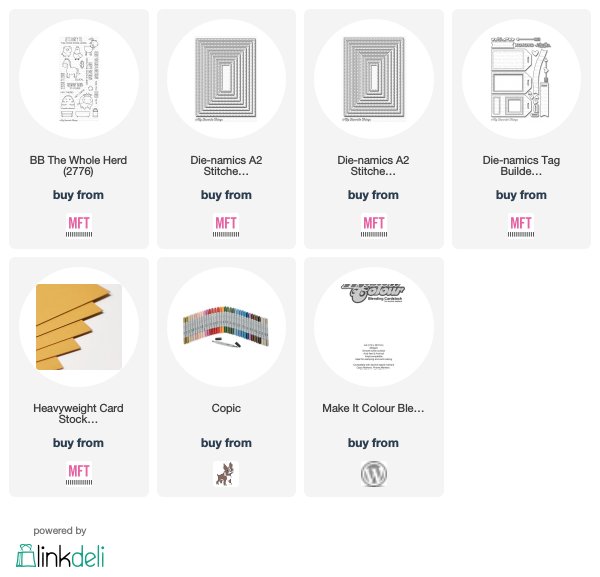
Last year I missed the Superstar competition for My Favorite Things, this year I’m fighting against health issues. But I knew I just needed to join in, so I started the day they announced and worked into the last hours. I made loads of cards which I discarded but I did end up with one card for each part.
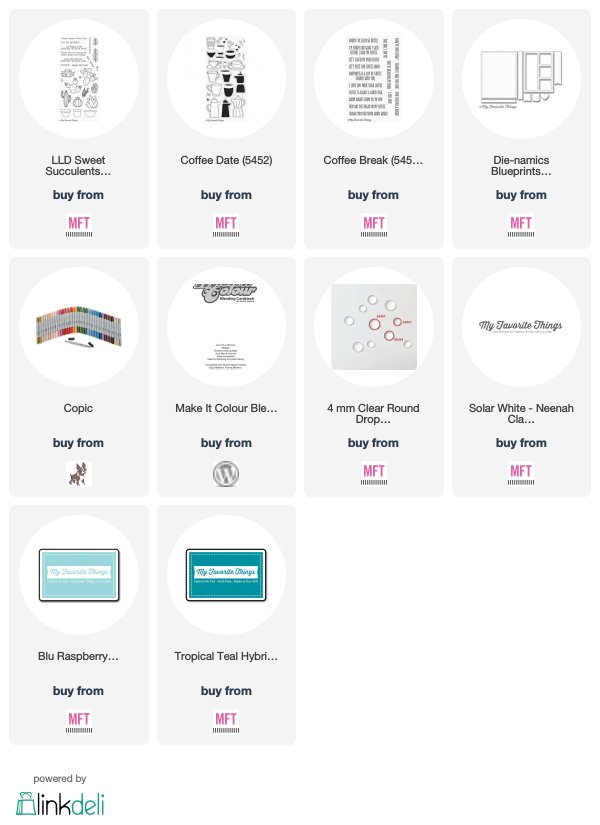
This is for the Clean & Simple Genious, and I just had to go for coffee!
Copic: B01, BG01, BG05
Supplies:
When possible affiliate links are used, this means that I receive a small commission when products are purchased through the links (at no extra cost to you) I use the money to support my blog and youtube channel. If you like my projects and tutorial please consider supporting me by clicking through these links when you shop. Thanks!
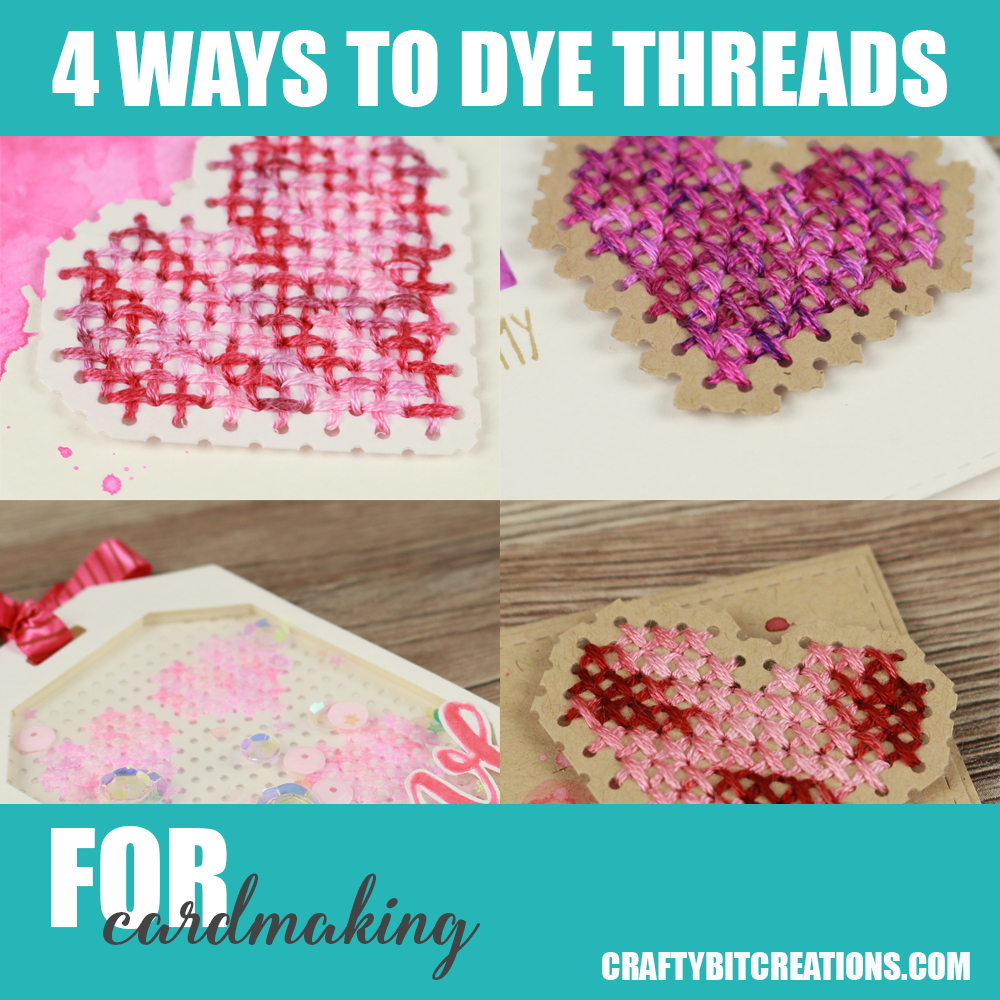
Hi! Todays video is all about how to dye variegated threads for cardmaking using craft materials that you might have in your craft room. A big disclaimer though, do not use these techniques if you are going to use it on fabric, non of these threads are waterproof and some of them will shed pigments and that will ruin your fabric. However they work splendidly with stitching on paper/cardstock.
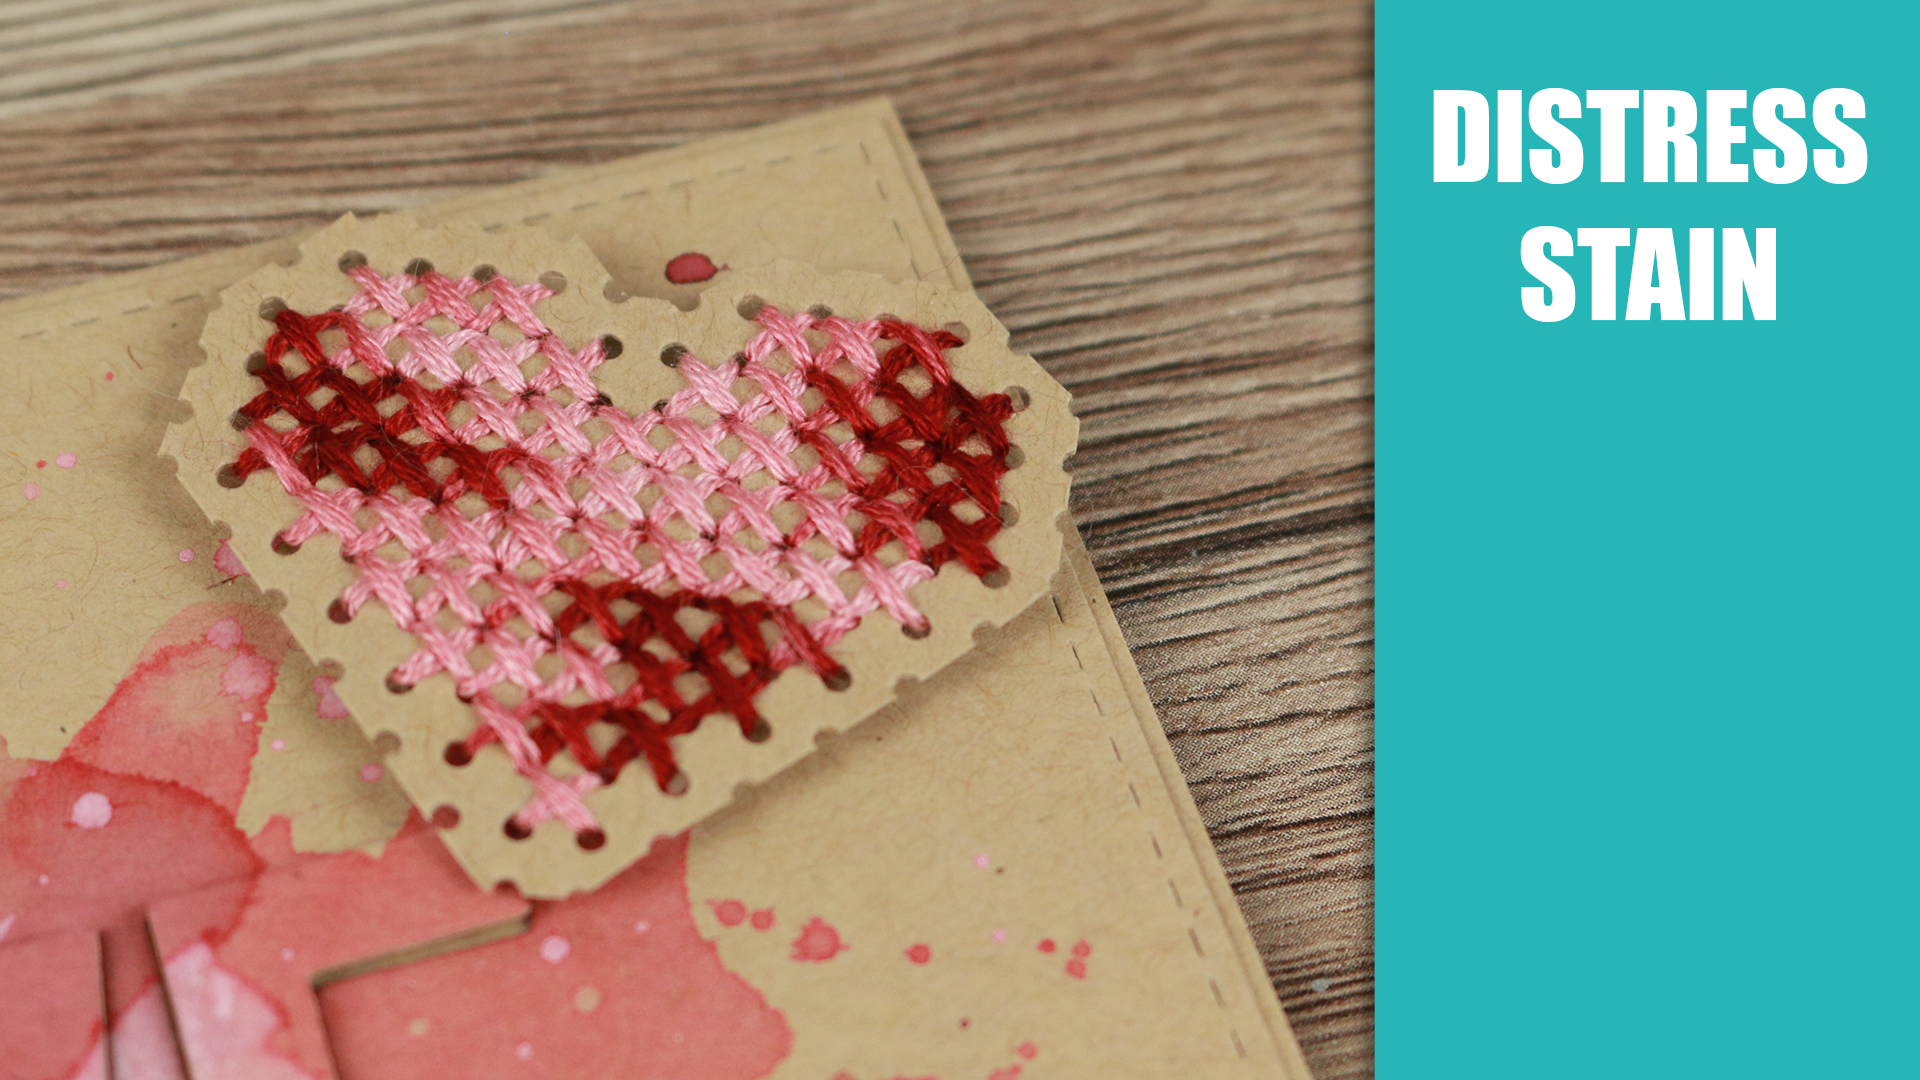
I’ve used four different mediums to dye the threads, the first is Distress Stains, however you can use Distress Ink pads or refills instead if you only have them. I used Aged Mahogany and Spun Sugar, but again you can use any colors you want, I went a little monochromatic as then I knew that blending them would not create mud.
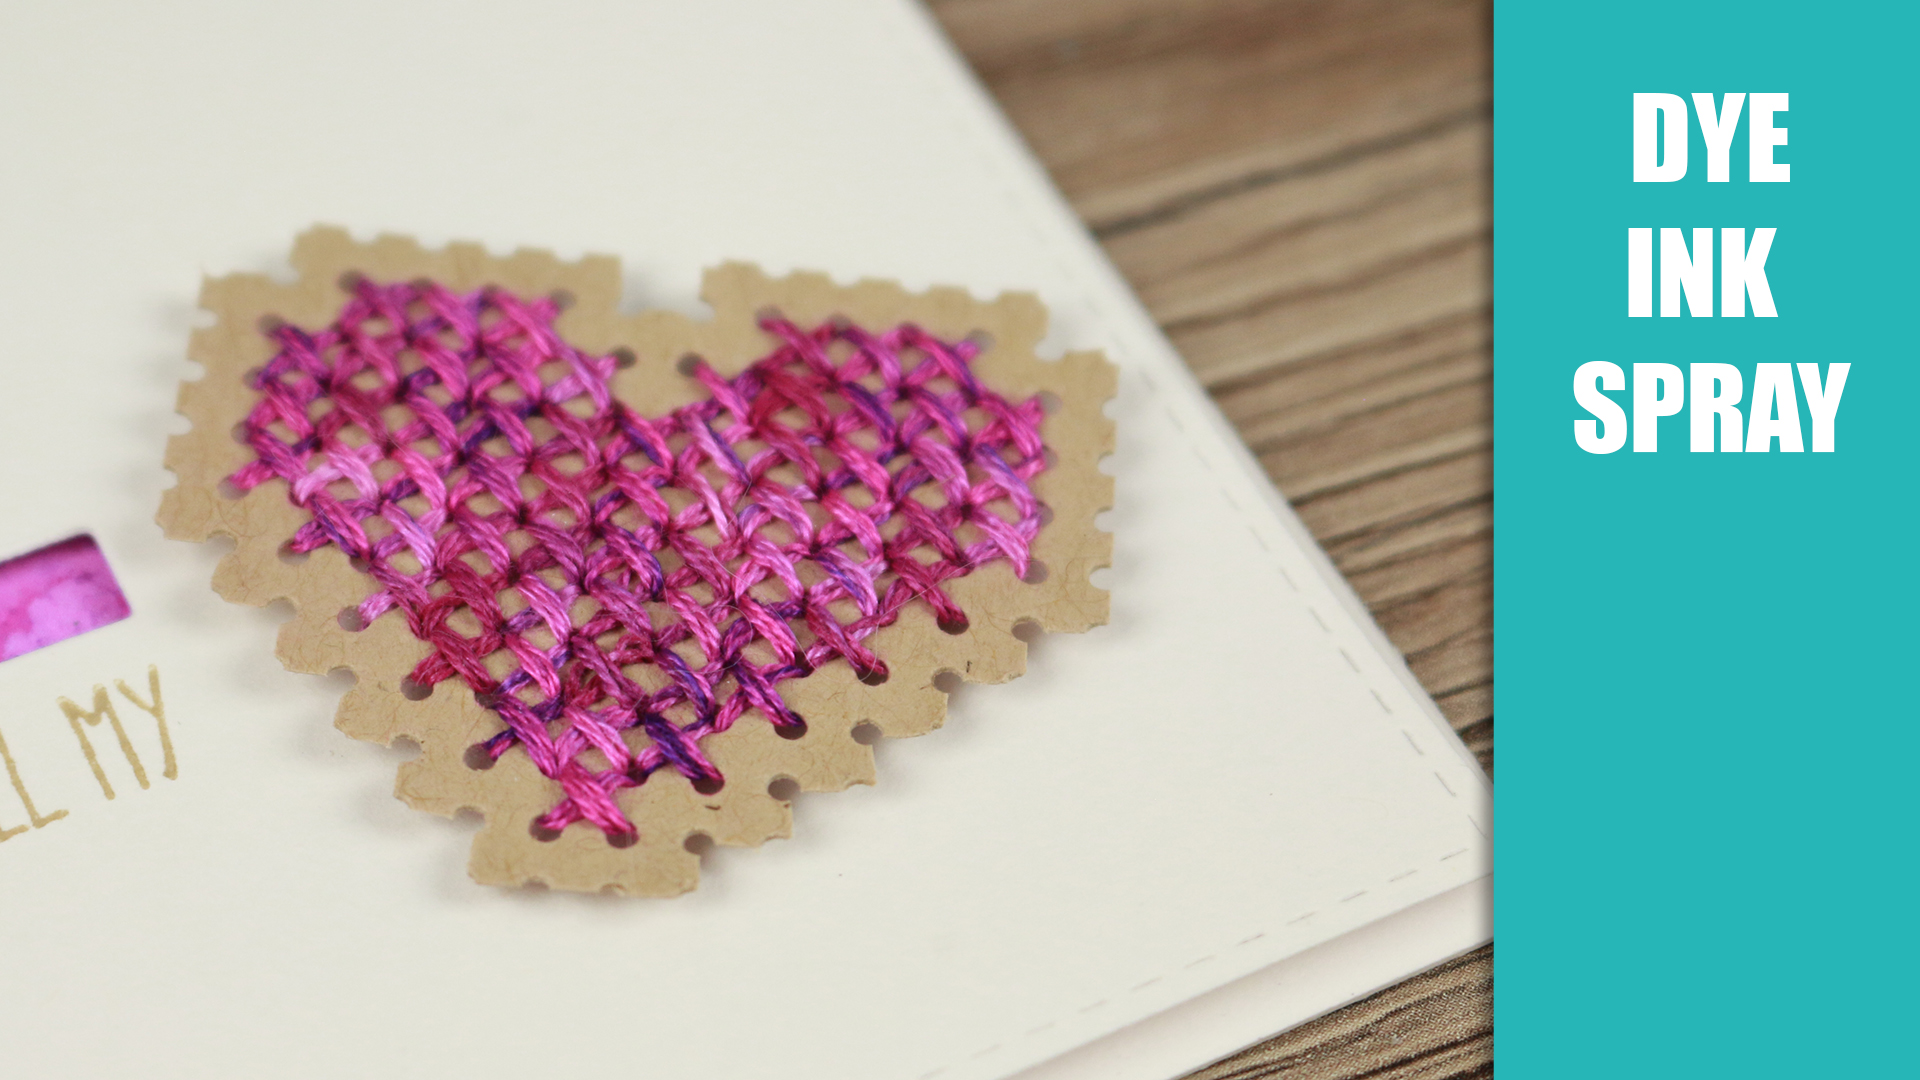
The second medium I used was Spray Inks, these come in so many different colors and brands. I’ve used ColorBox Spritzers in the color Pinkolicious and Dylusions Ink Spray in the color Crushed Grape. These are super pigmented and I needed to use water to make them move in the threads. If you have mica based sprays they make your threads shine and glitter.
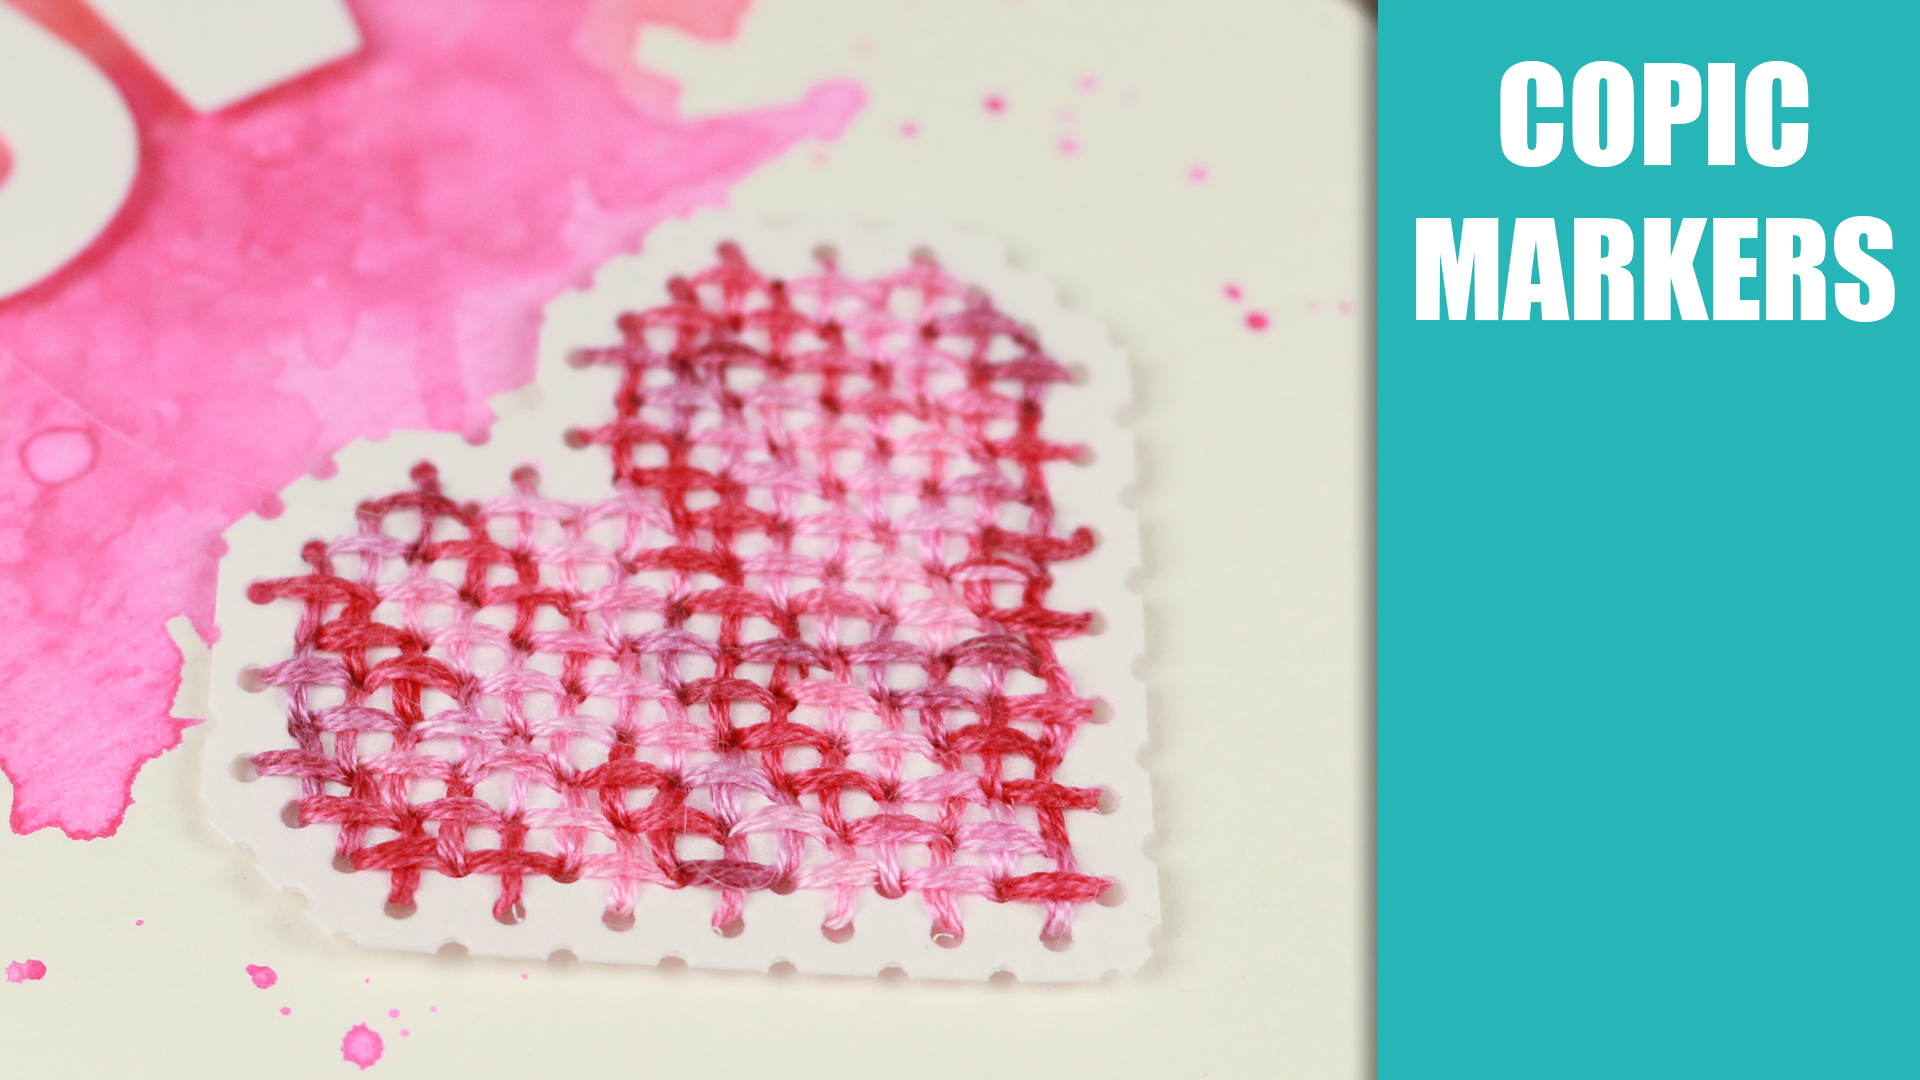
The third medium is my beloved copic markers, I used RV21, RV23 and RV19. When I felt I was finished I used some Isopropanol to spread the pigment more even over the thread. If you want to add more color after I would use Blending Solution instead of Isopropanol. This way made the threads a little bit stiffer than the other methods.
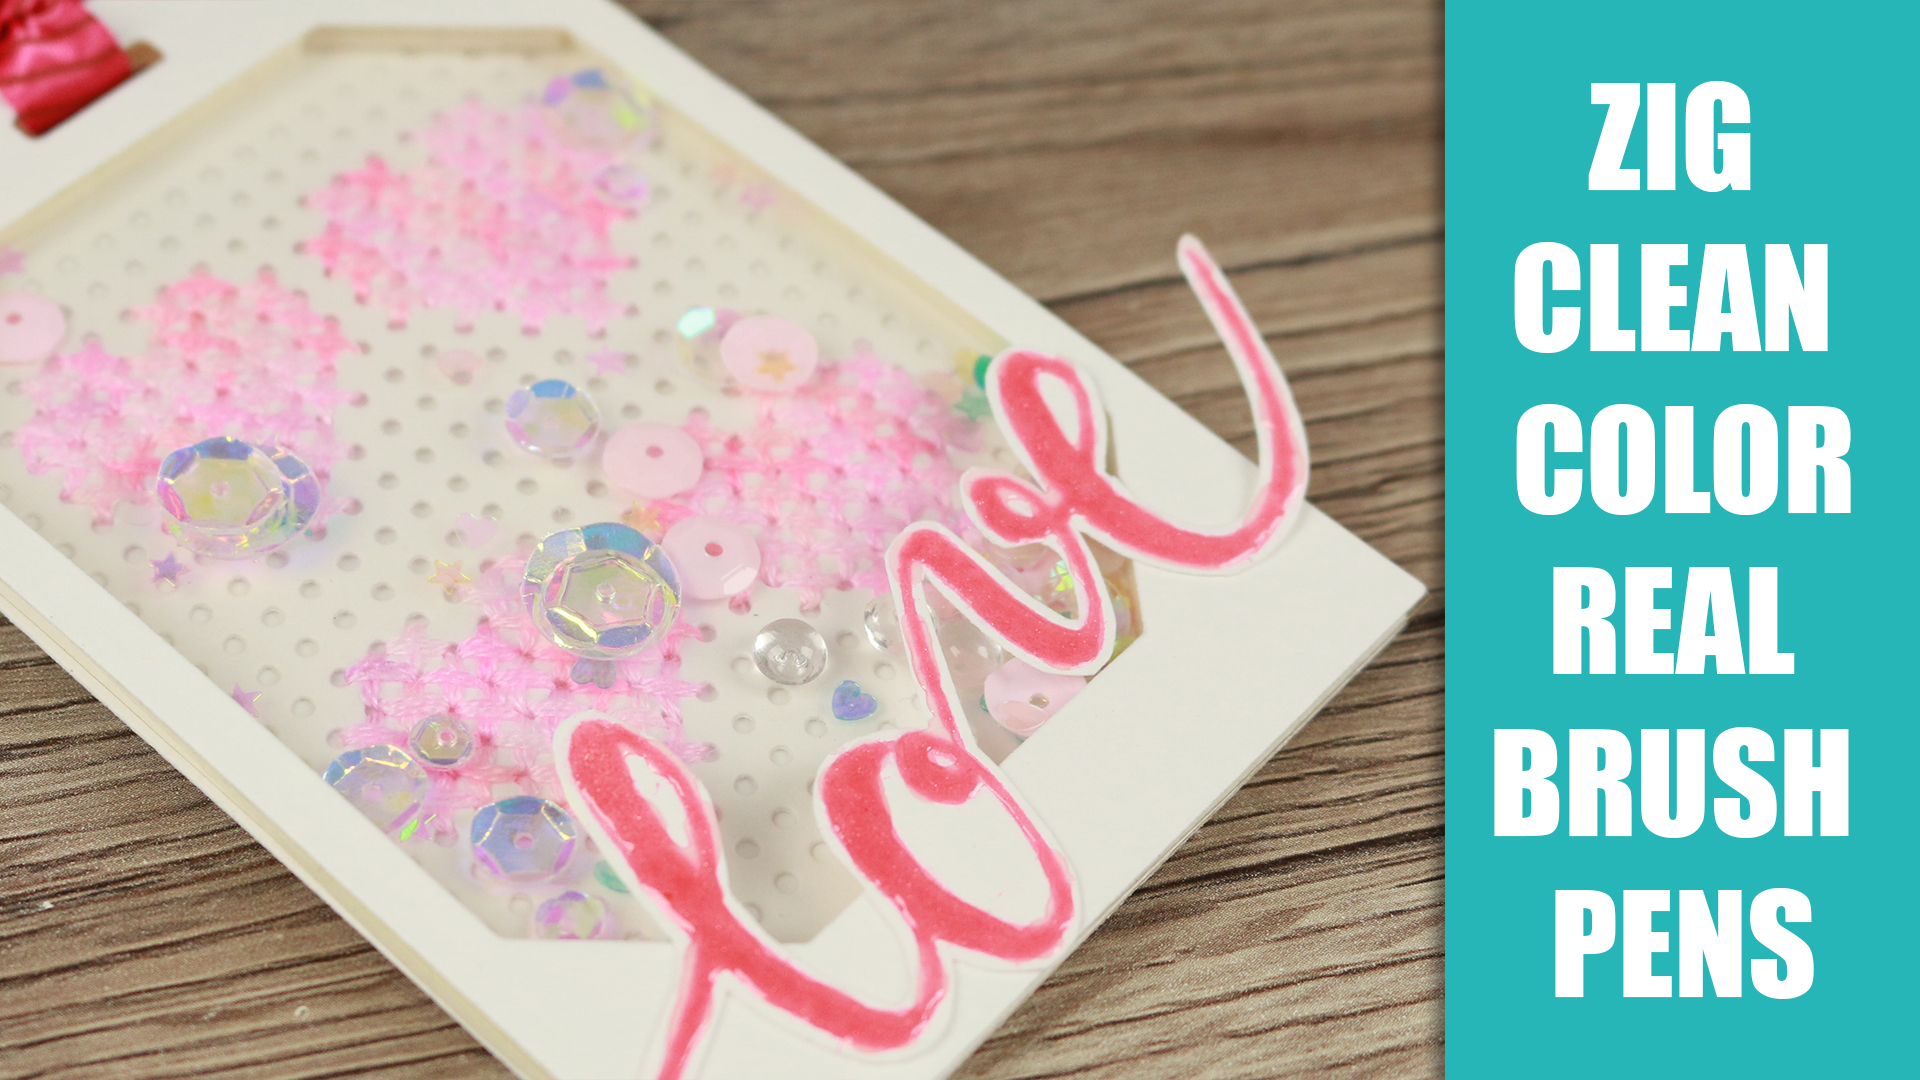
The forth and last medium was Zig Real Brush Pens and Tombow Markers. These are a little more like working with watercolors, which by the way would work great too! I found that the markers where a lot dryer and that I needed to spray my thread with some water first to make the color move a little more.
Thank you so much for coming here, I hope you enjoyed these techniques, if you try them please share them with me on instagram tagging me @craftybitcreations. And use the hashtag #4waystodyethreadsforcardmaking
Supplies:
When possible affiliate links are used, this means that I receive a small commission when products are purchased through the links (at no extra cost to you) I use the money to support my blog and youtube channel. If you like my projects and tutorial please consider supporting me by clicking through these links when you shop. Thanks!
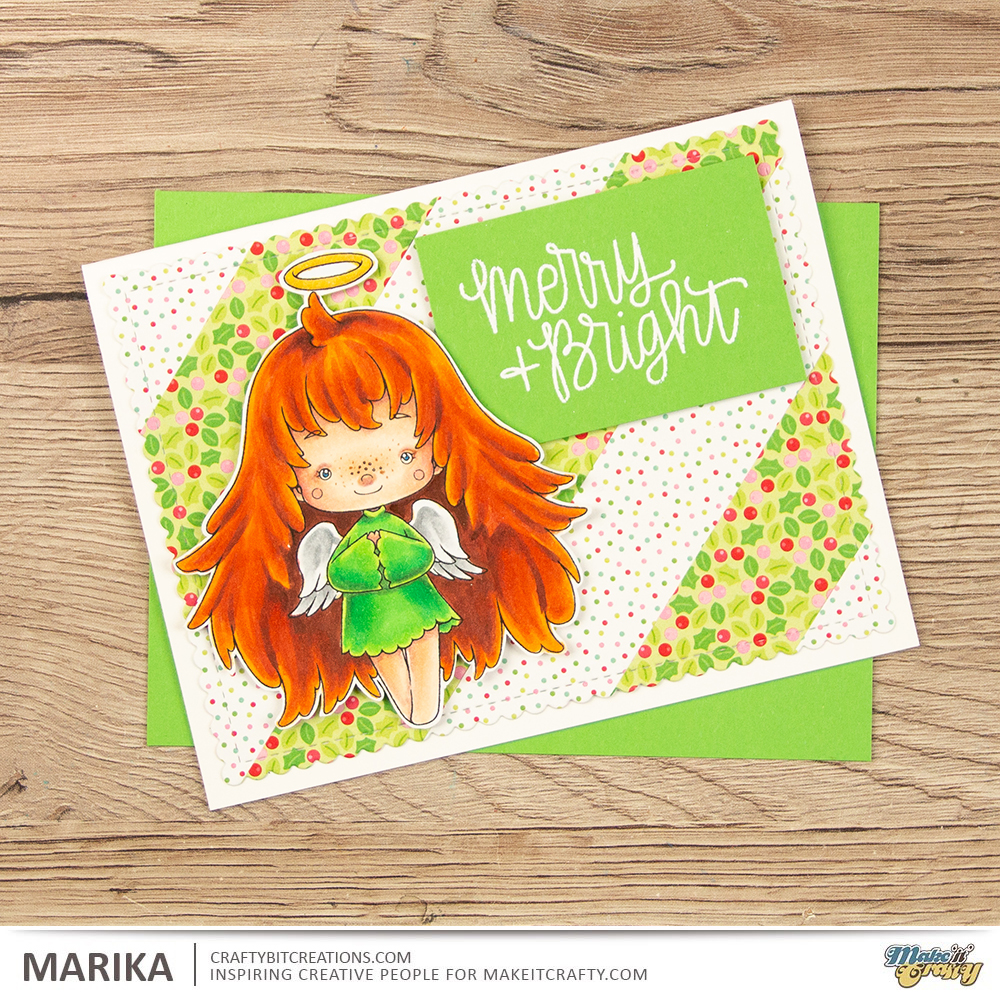
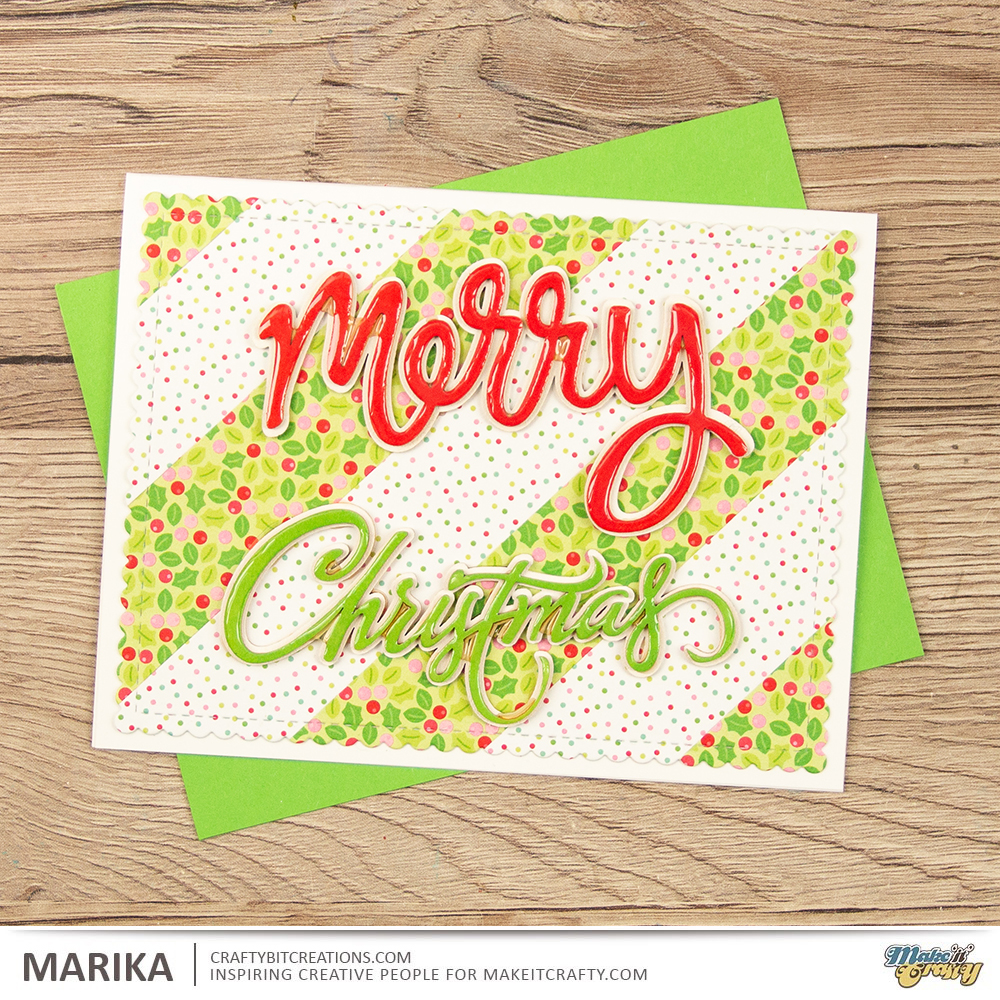
Hi Everyone, here with a new card and video tutorial. Todays video is all about a pattern paper diagonal cut background technique that produces two backgrounds in one go, and I’ll show you two different ways of making these into cards.
For the first card I’m using Cute Lil Angel and coloring her with my copic markers in some different yet very christmasy way. I combine her together with a stamped sentiment from Simon Says Stamp, and then put the background on a white Neenah cardbase.
For the second card I’m using the Merry Word Chipboard and the Christmas Word Chipboard as my sentiment and focal image. I really love the layering with these chipboard pieces making it stand out from even the busiest backgrounds.
Hope you enjoy the cards! Have you started creating your Christmas Cards to get a head start before December is rolling in?
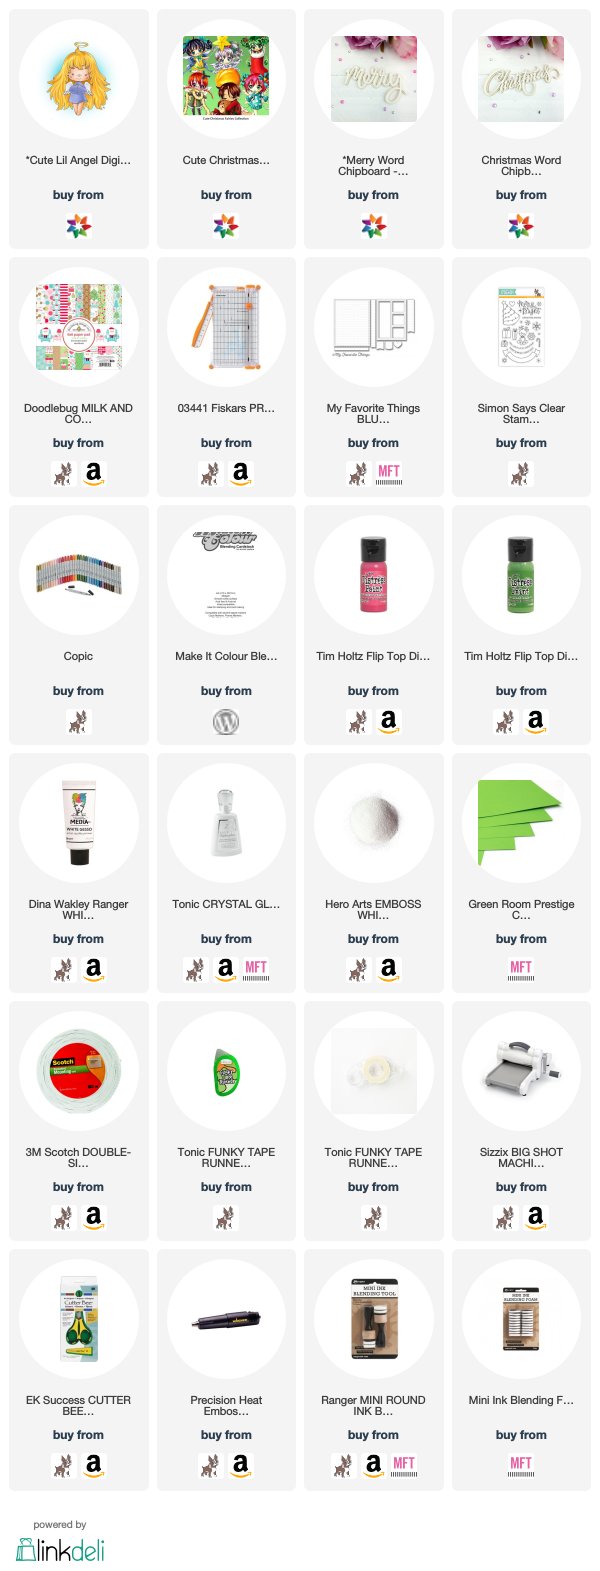
When possible affiliate links are used, this means that I receive a small commission when products are purchased through the links (at no extra cost to you) I use the money to support my blog and youtube channel. If you like my projects and tutorial please consider supporting me by clicking through these links when you shop. Thanks!
Marika here with another card, and today’s card is a continuation of the card I posted here 2 weeks ago. Do you like me find digital stamps that you really love but you would love even more if you just could replace on part, on accessory? Well you can! This is sounding way to much like a commercial but it’s true!
At Make It Crafty you can find loads of digital stamps and some of them has like Alwina the Good Witch from the previous card post accessories that you can add to the main image. When Alwina was released there where a couple of other stamps that also was released with the same possibility. And by the way if you aren’t a fan of halloweeny images or just want some more summery images, there was also a release with summer babes in bikinis that also have a bunch of accessories. But back to the card at hand.
The image I’m using today is Venora the Wizard, she is the sister of Alwina and Esmeralda which all three got some extra accessories, that you get if you buy the images. The first time I saw Venora I thought that her clothing was very reminiscent of old Swedish Kings, so this time around I wanted to make her a royal too. So instead of adding her accessories, which is a wizards hat, a gnarly looking staff and a cape, I gave her the spire and crown from Alwina, and a Royal Venora was born.
As I wanted to keep as much of the previous cards aesthetics I dug up a pattern paper that had the same pattering as from the previous card but in a different color (I was just very lucky that I found it). However when adding the character to the card I felt it left to much white space, but I fixed that by stamping my sentiments all over that side of the card and the card felt much more even. If you want to know more about that or see how I colored Venora you can look at the videos below.
When possible affiliate links are used, this means that I receive a small commission when products are purchased through the links (at no extra cost to you) I use the money to support my blog and youtube channel. If you like my projects and tutorial please consider supporting me by clicking through these links when you shop. Thanks!
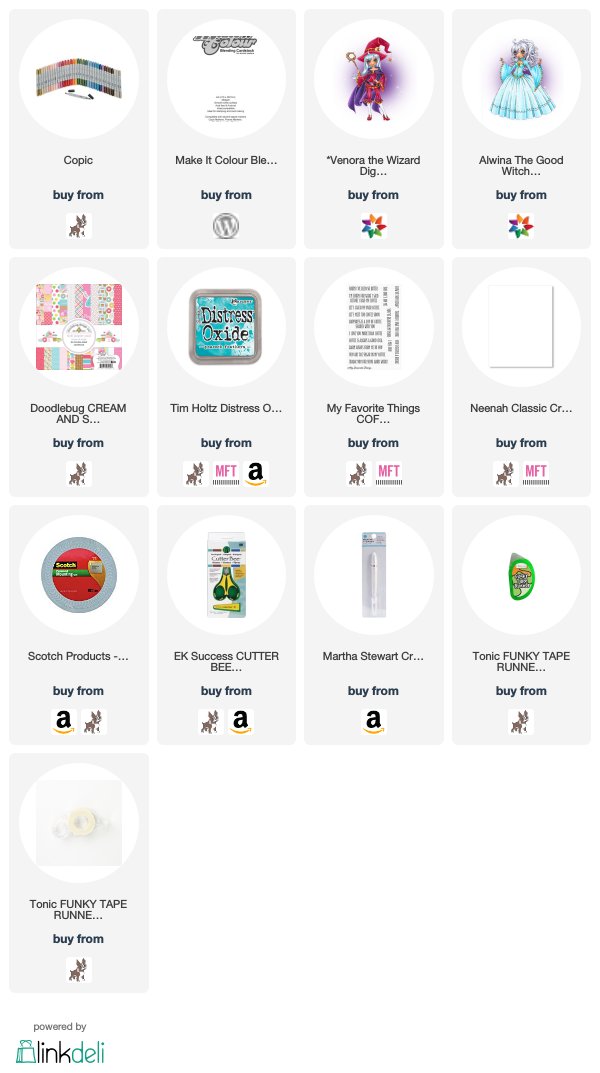
Today’s post is a little bit different, I’ve been laying sick for the past week with some kind of viral infection, to be honest I probably had it for months but I’m not good at resting and also my immune system isn’t what it’s supposed to be. But no more about that.
As I haven’t been crafting, I have done what many of us done when we can’t craft, I have shopped, the joy of online shopping! And my packages have just arrived! Let’s take them in the order they arrived, swedish postal service decided to hold my package hostage, I don’t mind paying taxes on what I order, but it took over 3 weeks to be transported from customs to me (which is about 40 min by car btw).
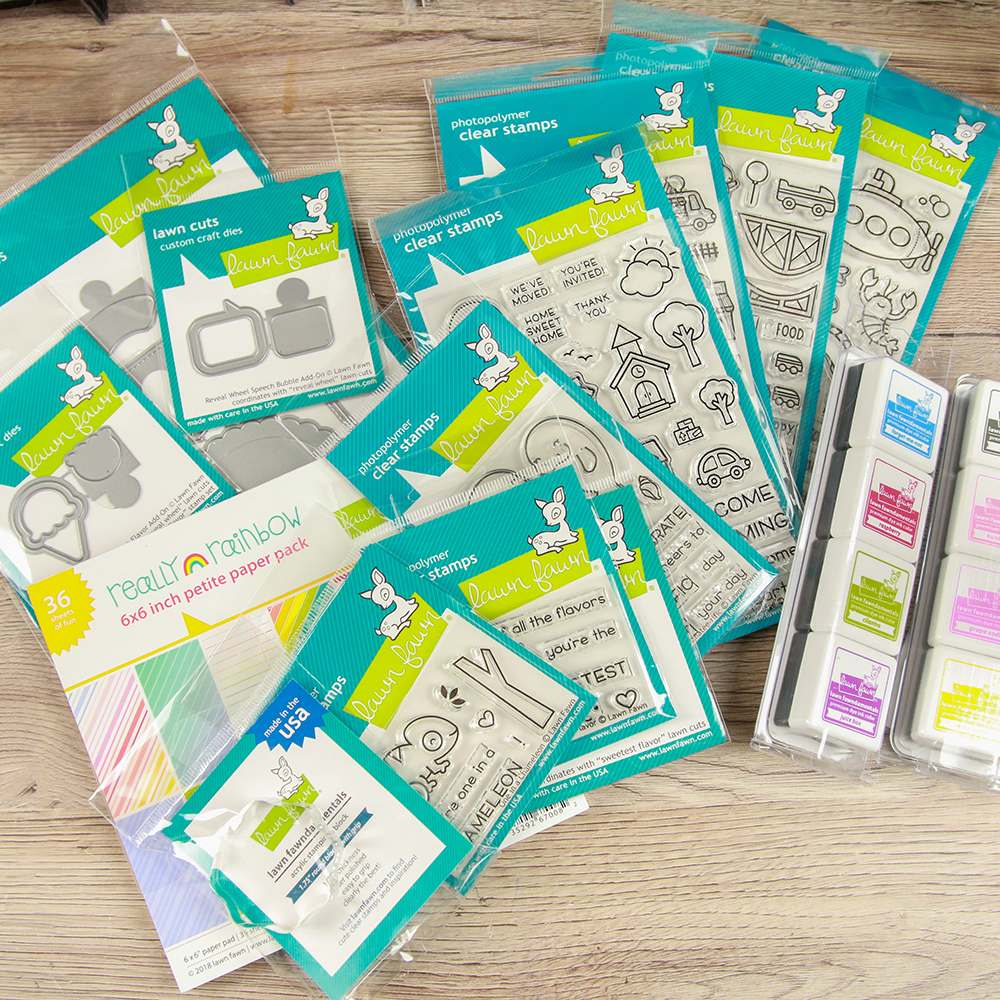
So the first to arrive was my Lawn Fawn order, Lawn Fawn had a great deal (think it was 15% off) so decided to splurge, there was so many stamps and dies I really wanted and also a pattern paper and some inks may have fallen into the shopping basket. You might not see all that I shopped in the photo, but I have linked everything below.
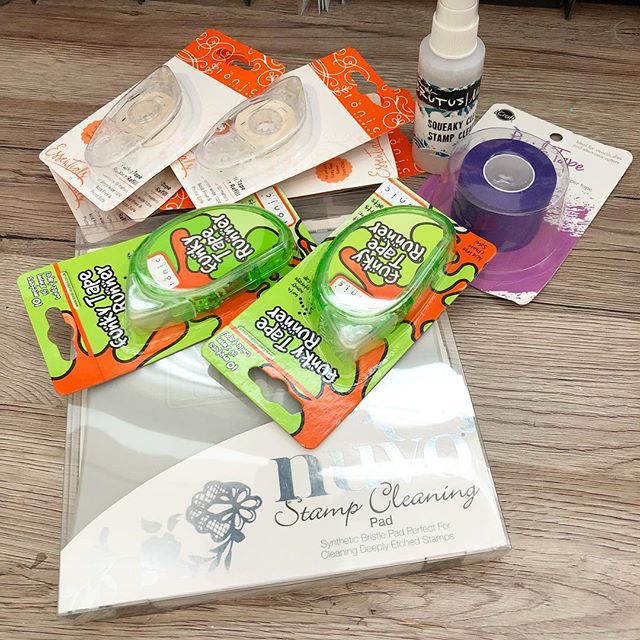
The second package that arrived today was the one that got stuck in customs, that might not be as exciting as the lawn fawn one, but I got some really needed supplies. I’m down to my last tape runner and a half, my stamps have gotten dirty and who doesn’t need some purple tape!
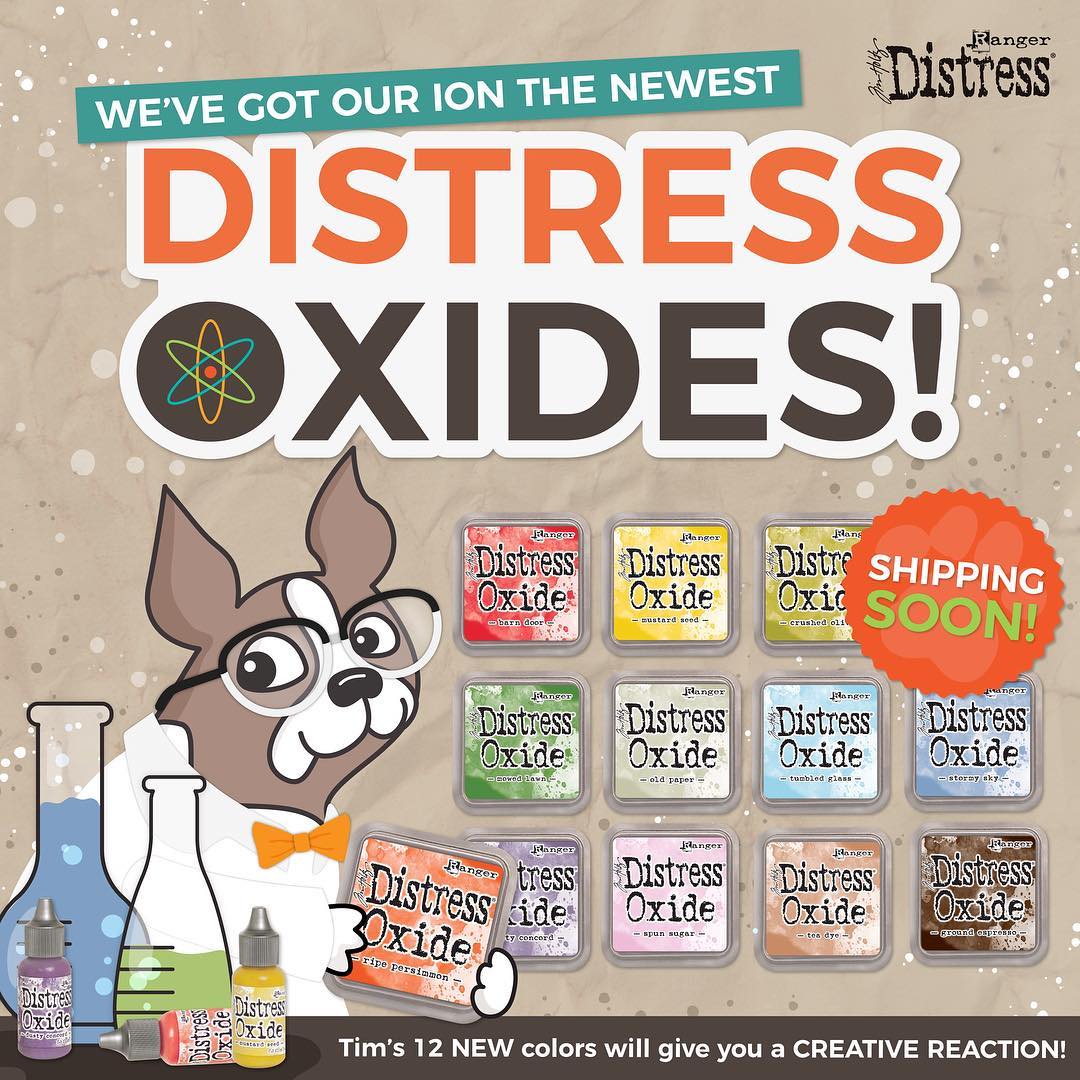
Also have you seen that Tim Holtz has released a new set of 12 Distress Oxides Ink! They will most definitely fall into my next shopping bag, how about you?
Supplies:
When possible affiliate links are used, this means that I receive a small commission when products are purchased through the links (at no extra cost to you) I use the money to support my blog and youtube channel. If you like my projects and tutorial please consider supporting me by clicking through these links when you shop. Thanks!
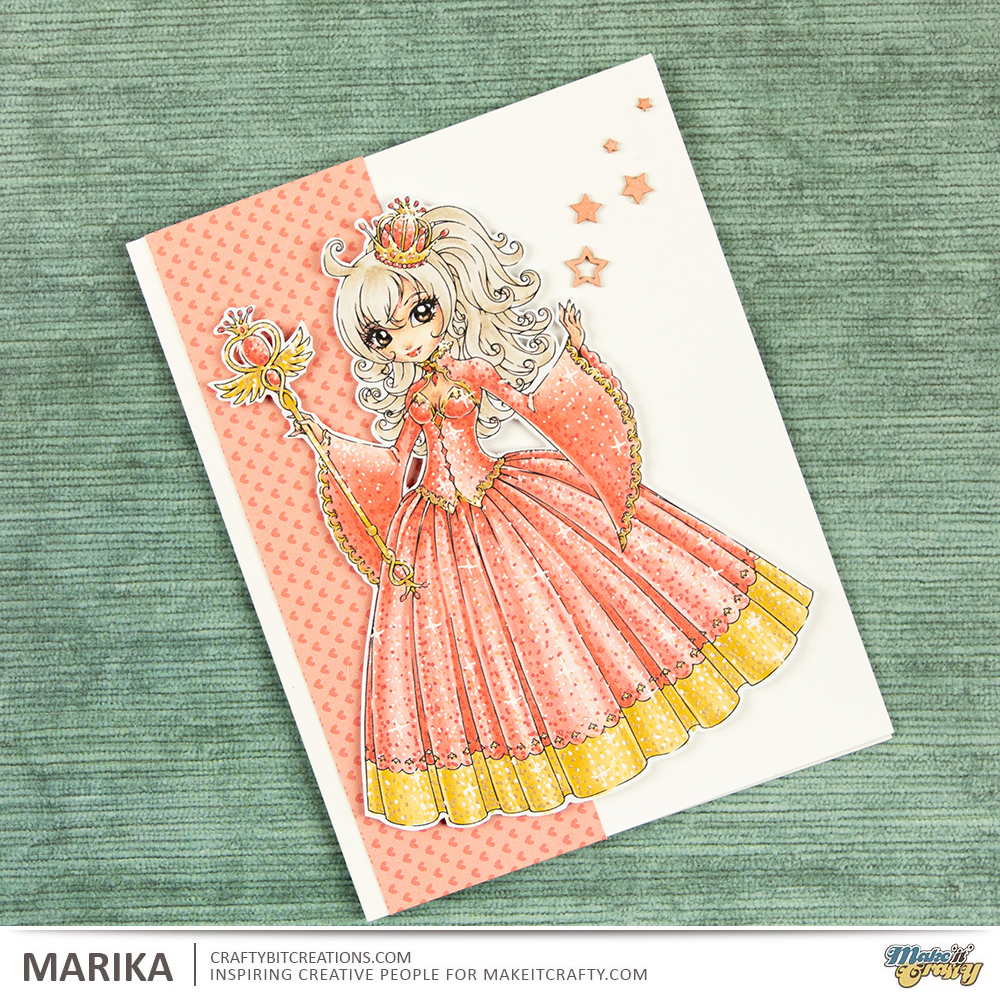
Hi Everyone! Have you heard yet that the coloring challenges are ending? Well there is one last left, and it’s as easy as can be as it is Anything Goes! With the challenges ending I knew I wanted to “go out with a bang” (don’t worry, I’m not going any where). But I wanted to create something spectacular, but at the same time very much me, clean and simple with a twist.
So todays twist is coloring glitter effects! Zoe introduced me to this technique and I want to add it to everything, but I’m trying to keep myself a little bit contained tho. But with this being the last I’m adding to my whole character. I’ve choosen to go with Alwina the Good Witch and with her spire and crown I felt she looked like a queen so that is what I went with.
I choosed to go with reds and yellow as they are royal colours, but I wanted it to be towards the softer spectrum, so she is more coral than red and then I went with my favourite yellows for the golden tone. With the colors being very soft and I didn’t want her hair to be the focal part, I choose to go with a ash blond color. Then I went to town on adding all the sparkles, there is two videos for that, you can either look at the card making video and get the sped up version or you can go for the real time and see every little dot as I made them. I had printed Alwina out rather on the bigger side (well big for me, she still fits on an A2 card size, 4 1/4″ x 5 1/2″) so there was not much room for anything else, and also I really wanted her to be the crown of the card. So I finished it up with a little strip of pattern paper that both matches the dress but also simplifies the silhouette, and some chipboard pieces to make the card a little more even.
When possible affiliate links are used, this means that I receive a small commission when products are purchased through the links (at no extra cost to you) I use the money to support my blog and youtube channel. If you like my projects and tutorial please consider supporting me by clicking through these links when you shop. Thanks!
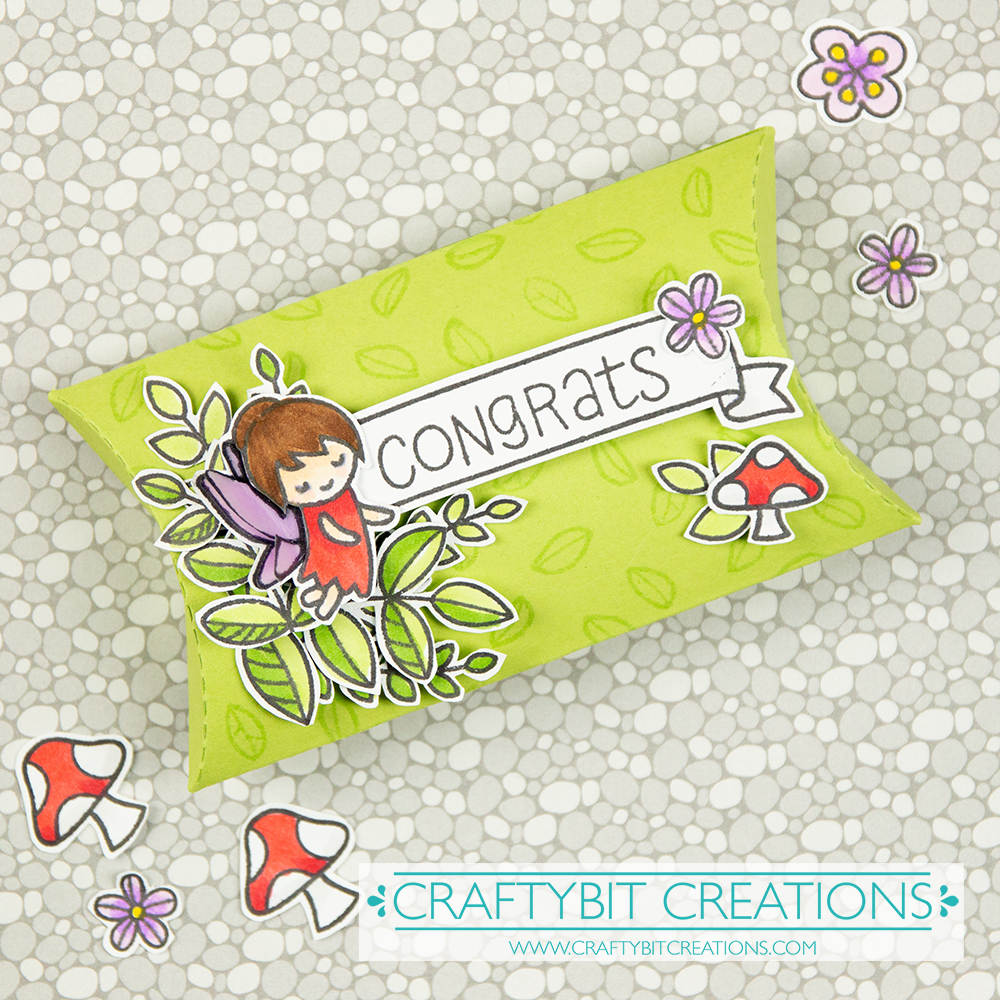
Hi Everyone! Do I have something fun for you today! I love challenges, and I’m trying to get back to entering some, as it was a long time since. It was also way to long since I was using my Lawn Fawn stamps so decided to join the Lawn Fawnatics Challenge this week which is Flowers, Floral & Foliage.
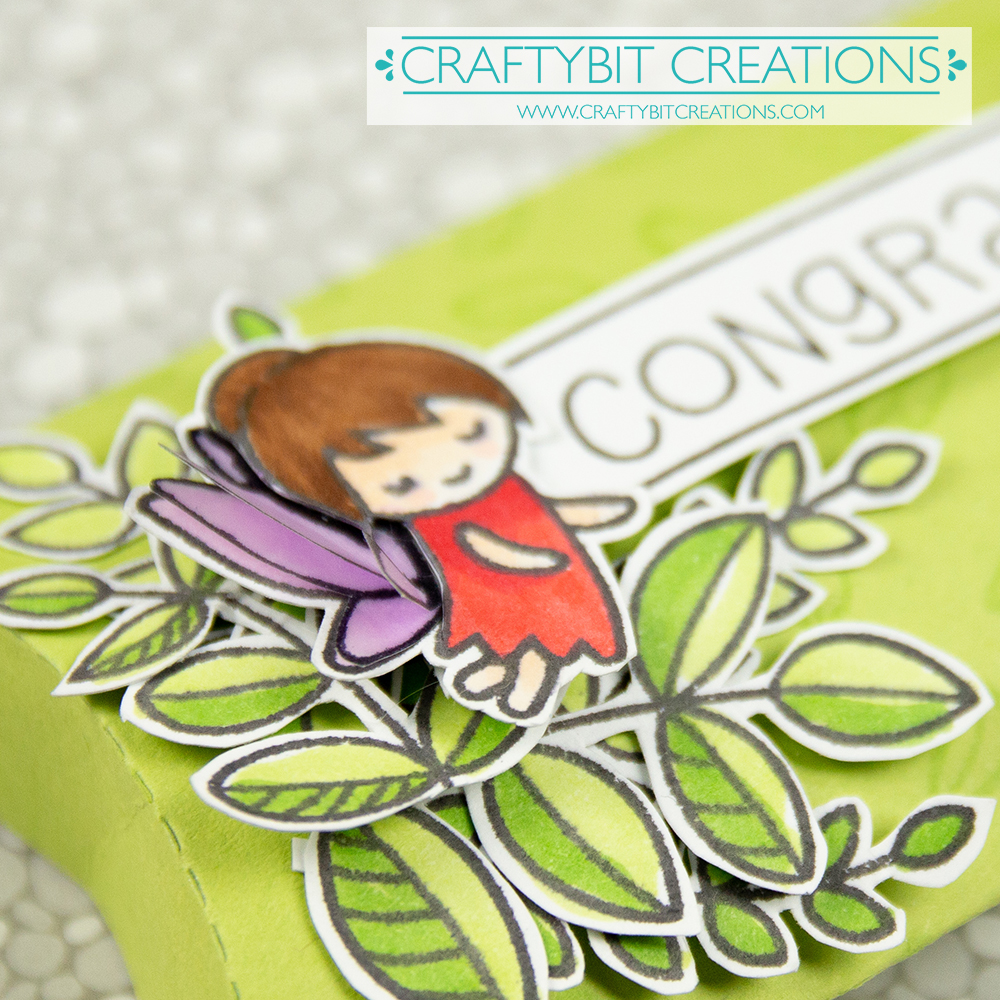
As usually when starting out for any challenge I collect all my stamps set and dies that could suit the challenge, and doing that I saw my pillow box die and a plan started growing. Something I love doing is creating groupings of foliage in a corner and add flowers and other details to that group. So that is what I decided I wanted to do.
I started with some tone on tone stamping on the pillow box, this will make the background not so plain, but at the same time be so soft that it won’t compete with our details. I then stamped up loads and loads of foliage and detail stamps from multiple stamps sets, colored them all in with copic markers and cut them all out. When doing this kind of creations is when I miss not having the coordinating dies.
Then I layered all the different images and glued them down, and the box was finished. If you want to see in more details every set, watch the video below. Where you also find the real time coloring video where I go through the coloring. Also for all the pens and materials used, you find that detail underneath the videos as always. Happy Crafting!
When possible affiliate links are used, this means that I receive a small commission when products are purchased through the links (at no extra cost to you) I use the money to support my blog and youtube channel. If you like my projects and tutorial please consider supporting me by clicking through these links when you shop. Thanks!
Hi Everyone! Marika here with another card and video tutorial. You might have seen this card before as it was featured on the Make It Crafty challenge a couple of months ago, (just looked it up, it was in february!!!). I finally gotten to edit the video and I really wanted to share it with you.
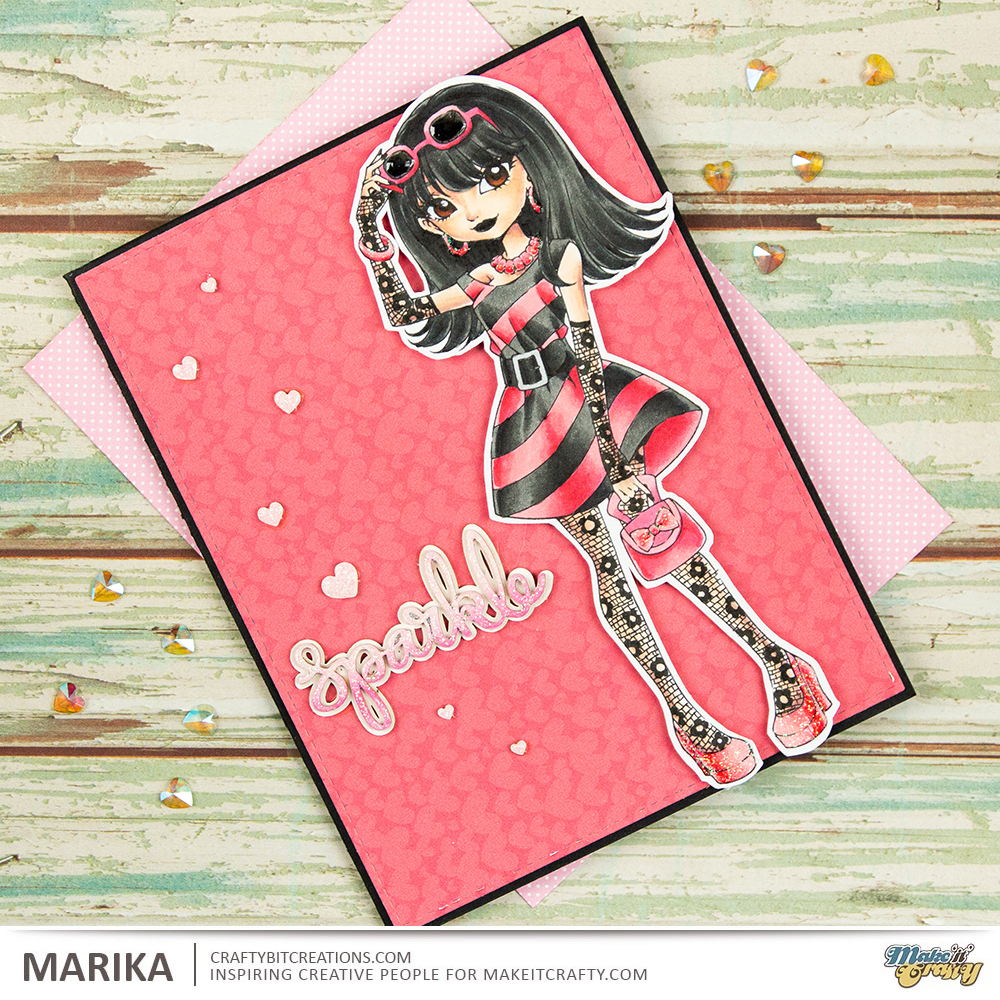
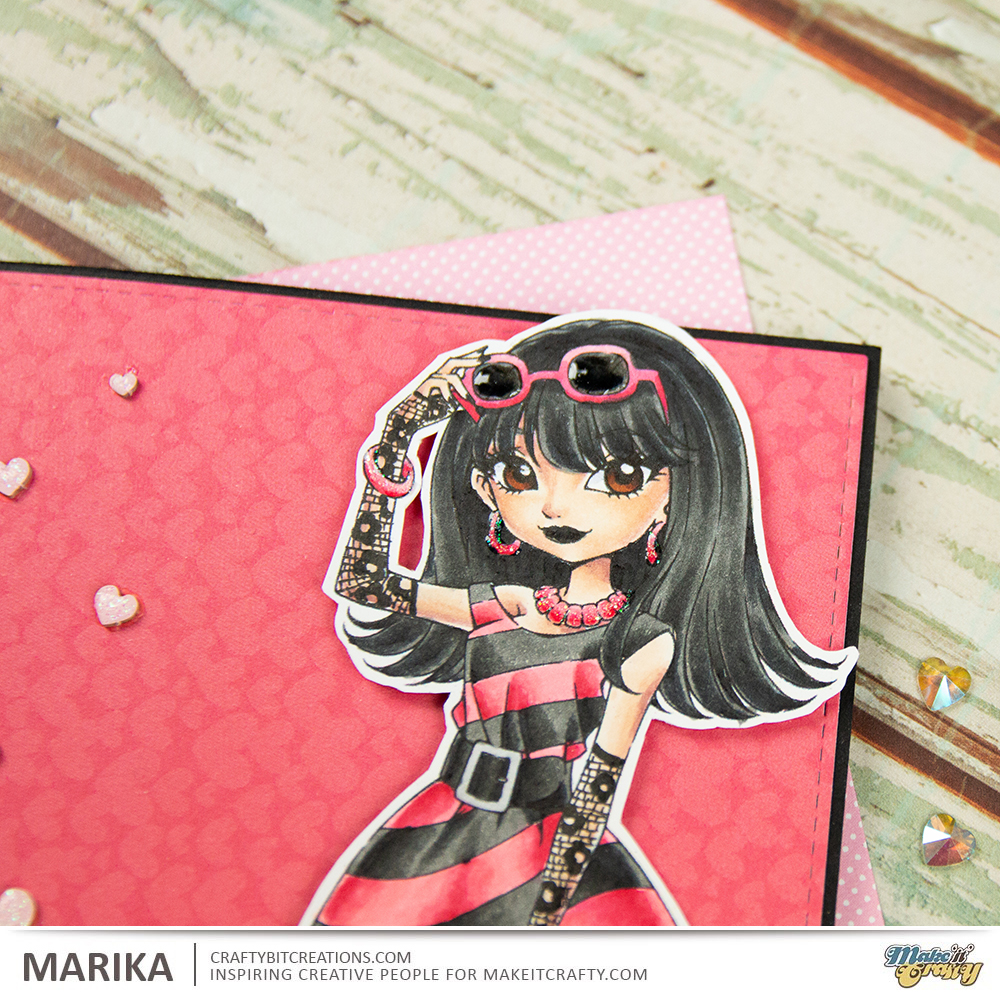
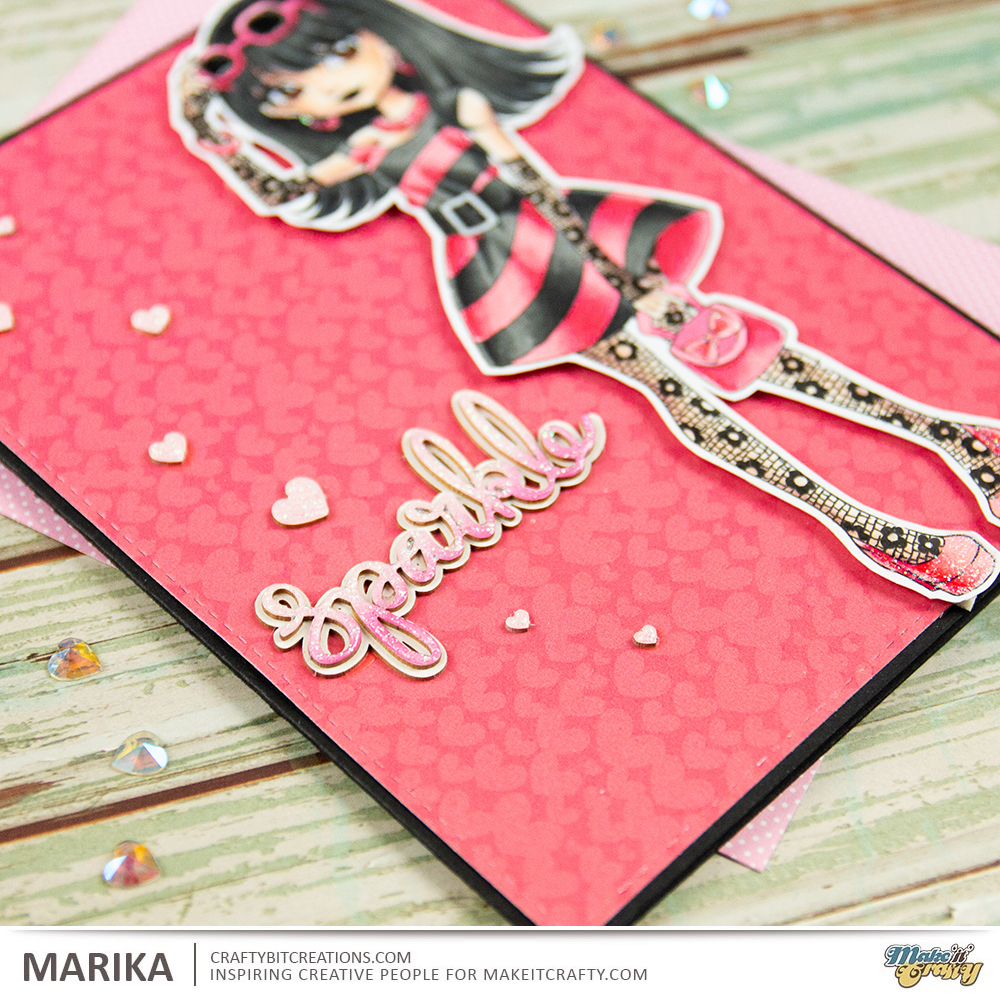
So the challenge (in february?!) was to add details with a multiliner, it could really be anything, adding another pattern on a dress, really anything. Just before creating this card, Nicoletta shared her card in our design team group, and I just piggybacked on it. She added net tights on her character and just had to add some on mine, but with a twist.
When I was young I had a pair of lacy fingerless gloves, they where red and one of my priced possessions. Funny thing is that I loved them just as much when I was a toddler as I loved them when I was a mid teen, and I did use them. And that together with Nicolettas card made me create this one.
I really love taking Classy Olivia, which is a very posh girl, and just by adding those details, the lacy tights and and the lacy fingerless gloves, and also adding another color scheme, she is transformed to someone that is a little more like me, well the 16 year old me anyway.
With all the details in the card I felt I wanted to make the card clean and simple, I love clean and simple cards, but clean and simple doesn’t need to be colorless. So I choose a very punchy paper, that had a very light pattern, put that on a black cardbase, I even decorated the inside so that you can write on it without a white gel pen. I then added a sentiment from cardboard pieces, and the last details was a couple of hearts. As usual if you want to see the process you can watch the videos below.
When possible affiliate links are used, this means that I receive a small commission when products are purchased through the links (at no extra cost to you) I use the money to support my blog and youtube channel. If you like my projects and tutorial please consider supporting me by clicking through these links when you shop. Thanks!

 https://linkdeli.com/widget.js?1537178393842