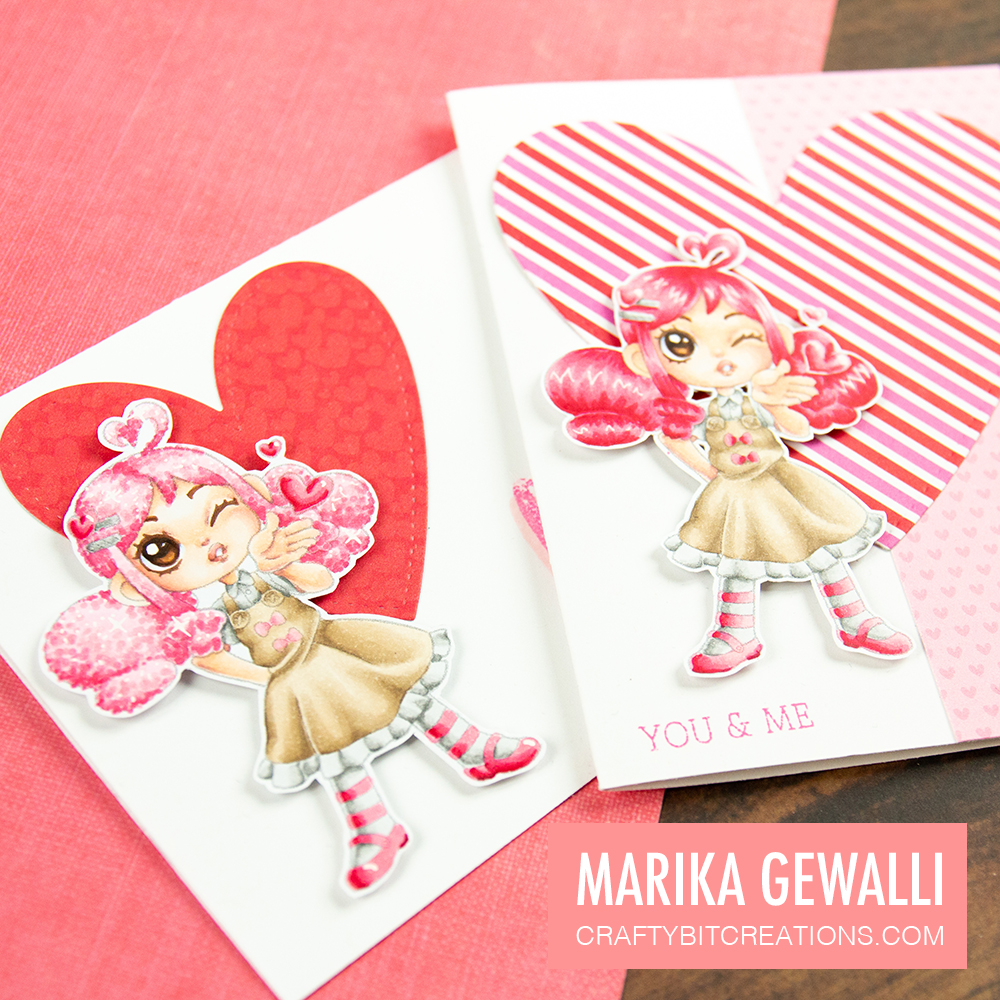
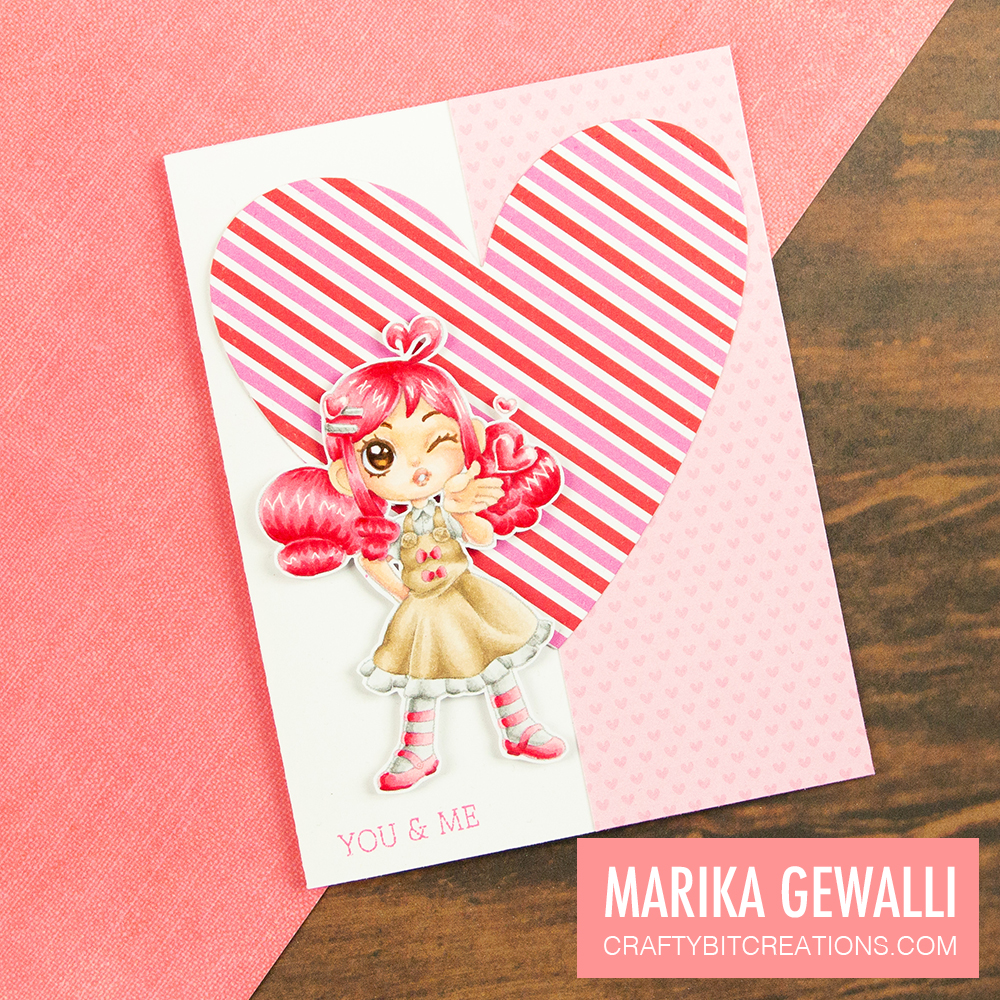
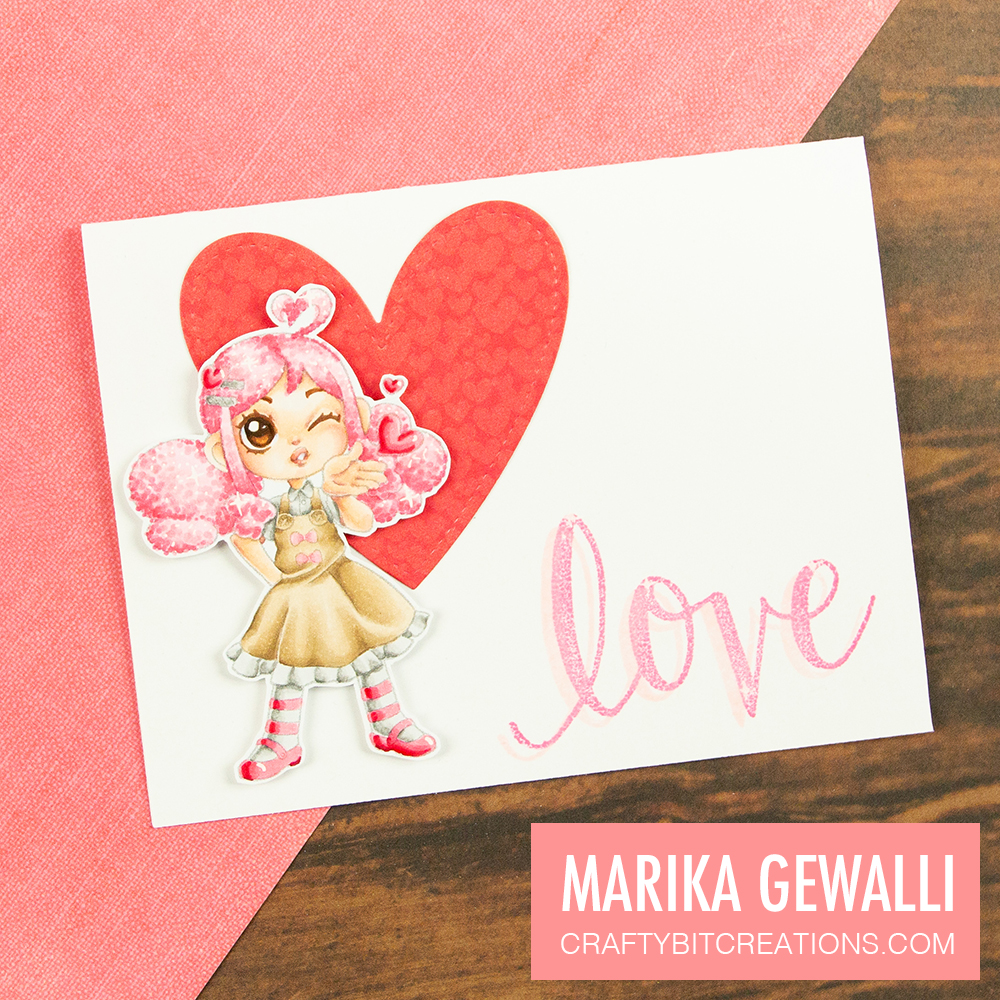
My Favorite Things have kicked off their yearly Card Design Superstar competition. I wanted of course to enter this year too!
First out is the Clean & Simple Genius category, and I would say that most of my cards fall into that category, less is more have always been my motto. The promt for the challenge says:
The challenge rules are to use exclusively MFT products when it comes to stamps, dies stencils and pattern papers, but you can use cardstocks and inks from other manufacturers if you don’t have the MFT ones. (there are more rules and you can find them on their website)
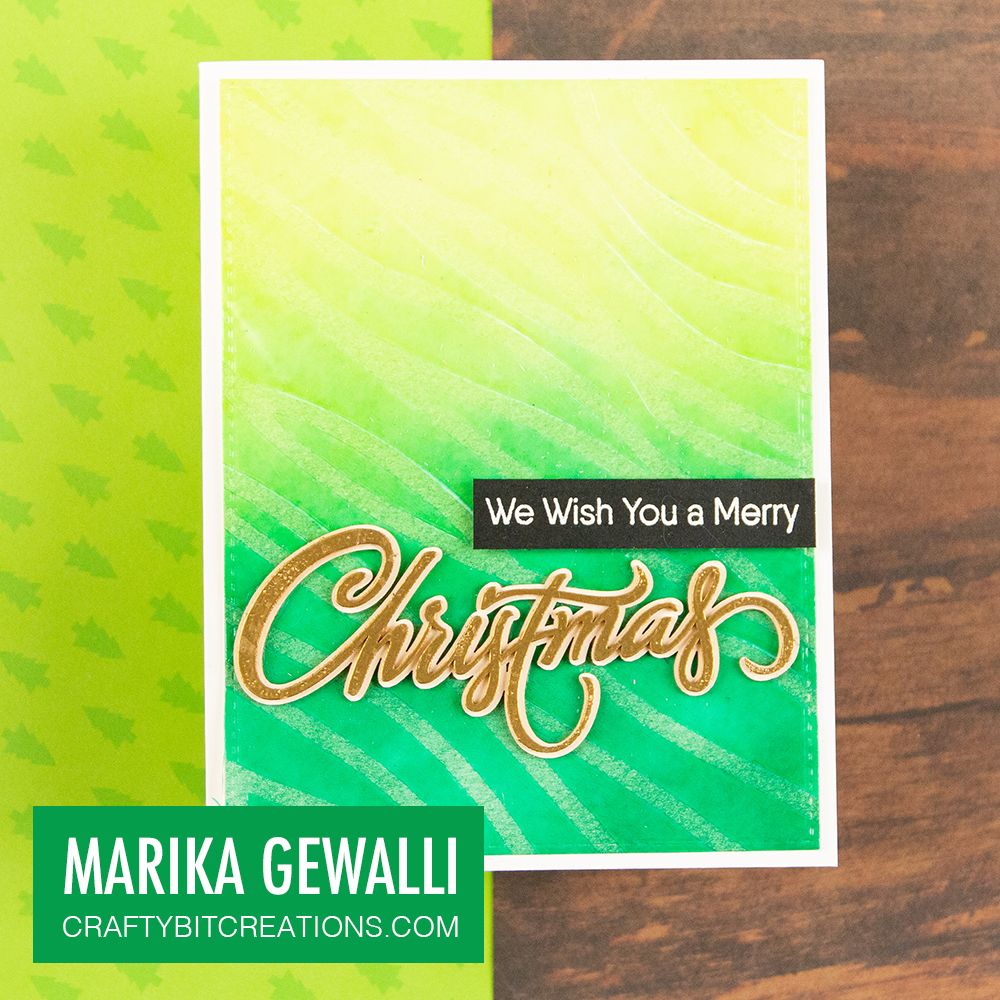
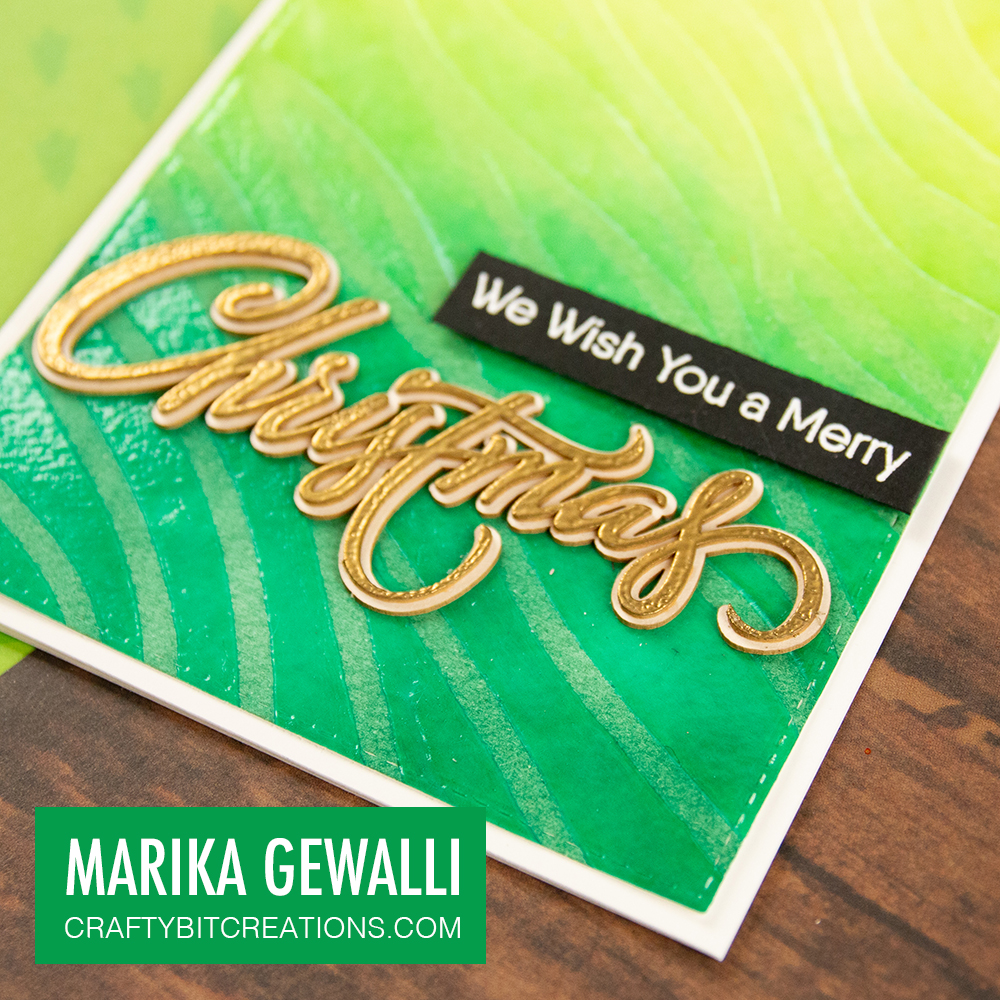
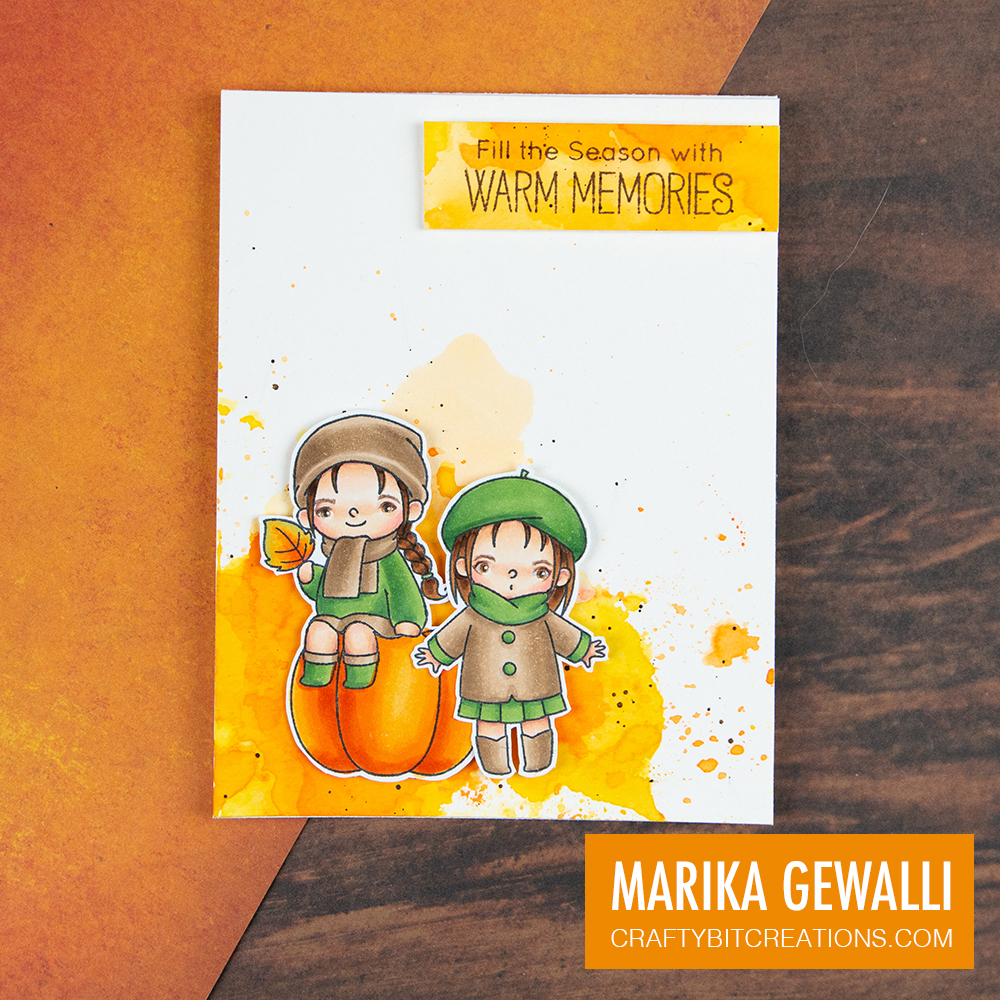
I knew I wanted to do an autumn card, the temperatures here have been falling and the leaves are turning orange. So for my first card I use the Fall Friends stampset.
For the background I have used a smootching technique, where I press a inkpad on to my Tim Holtz glass mat, spray a little bit of water to make the ink move, and then smootch the paper into the ink puddle. I repeated that a couple of times, drying the card with a heat gun in between. I both used different amounts of water in the ink and also different ink colors. As a last couple of layers I also added some oxide ink, they give a lovely almost chalk like finish. And then I took some dark brown ink and splattered with a number 4 brush for small pricks of brown to break up my little sea of orange.
I’ve chosen to add my blob of color (and my little focal images) in the bottom left corner, using the rule of thirds technique placing them on the lower left intersection, as it will give good balance and a little bit of air around the characters. I also used the color and small splatters to pull the eye towards the end of the card.
My last addition to the card was the sentiment, I was contemplating to leave it out but after stepping away for awhile decided that the top was to white and needed that little extra detail. The sentiment was stamped on a the first background panel I made, that didn’t came out as I wanted. But it worked perfectly for the sentiment.
Hope you like the card and you enjoyed my little thought process on how I made the card.
When possible affiliate links are used, this means that I receive a small commission when products are purchased through the links (at no extra cost to you) I use the money to support my blog and youtube channel. If you like my projects and tutorial please consider supporting me by clicking through these links when you shop. Thanks!
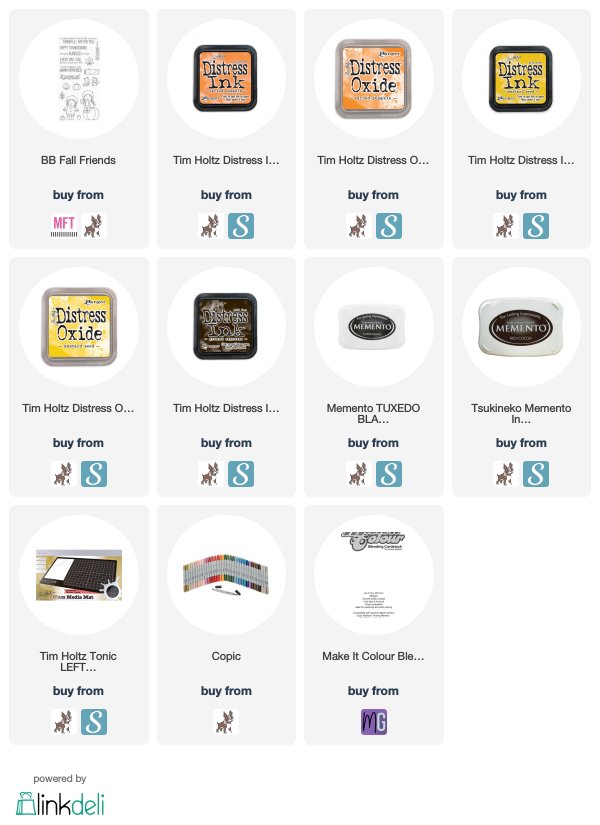
Supplies:
 https://linkdeli.com/widget.js?1559654439292