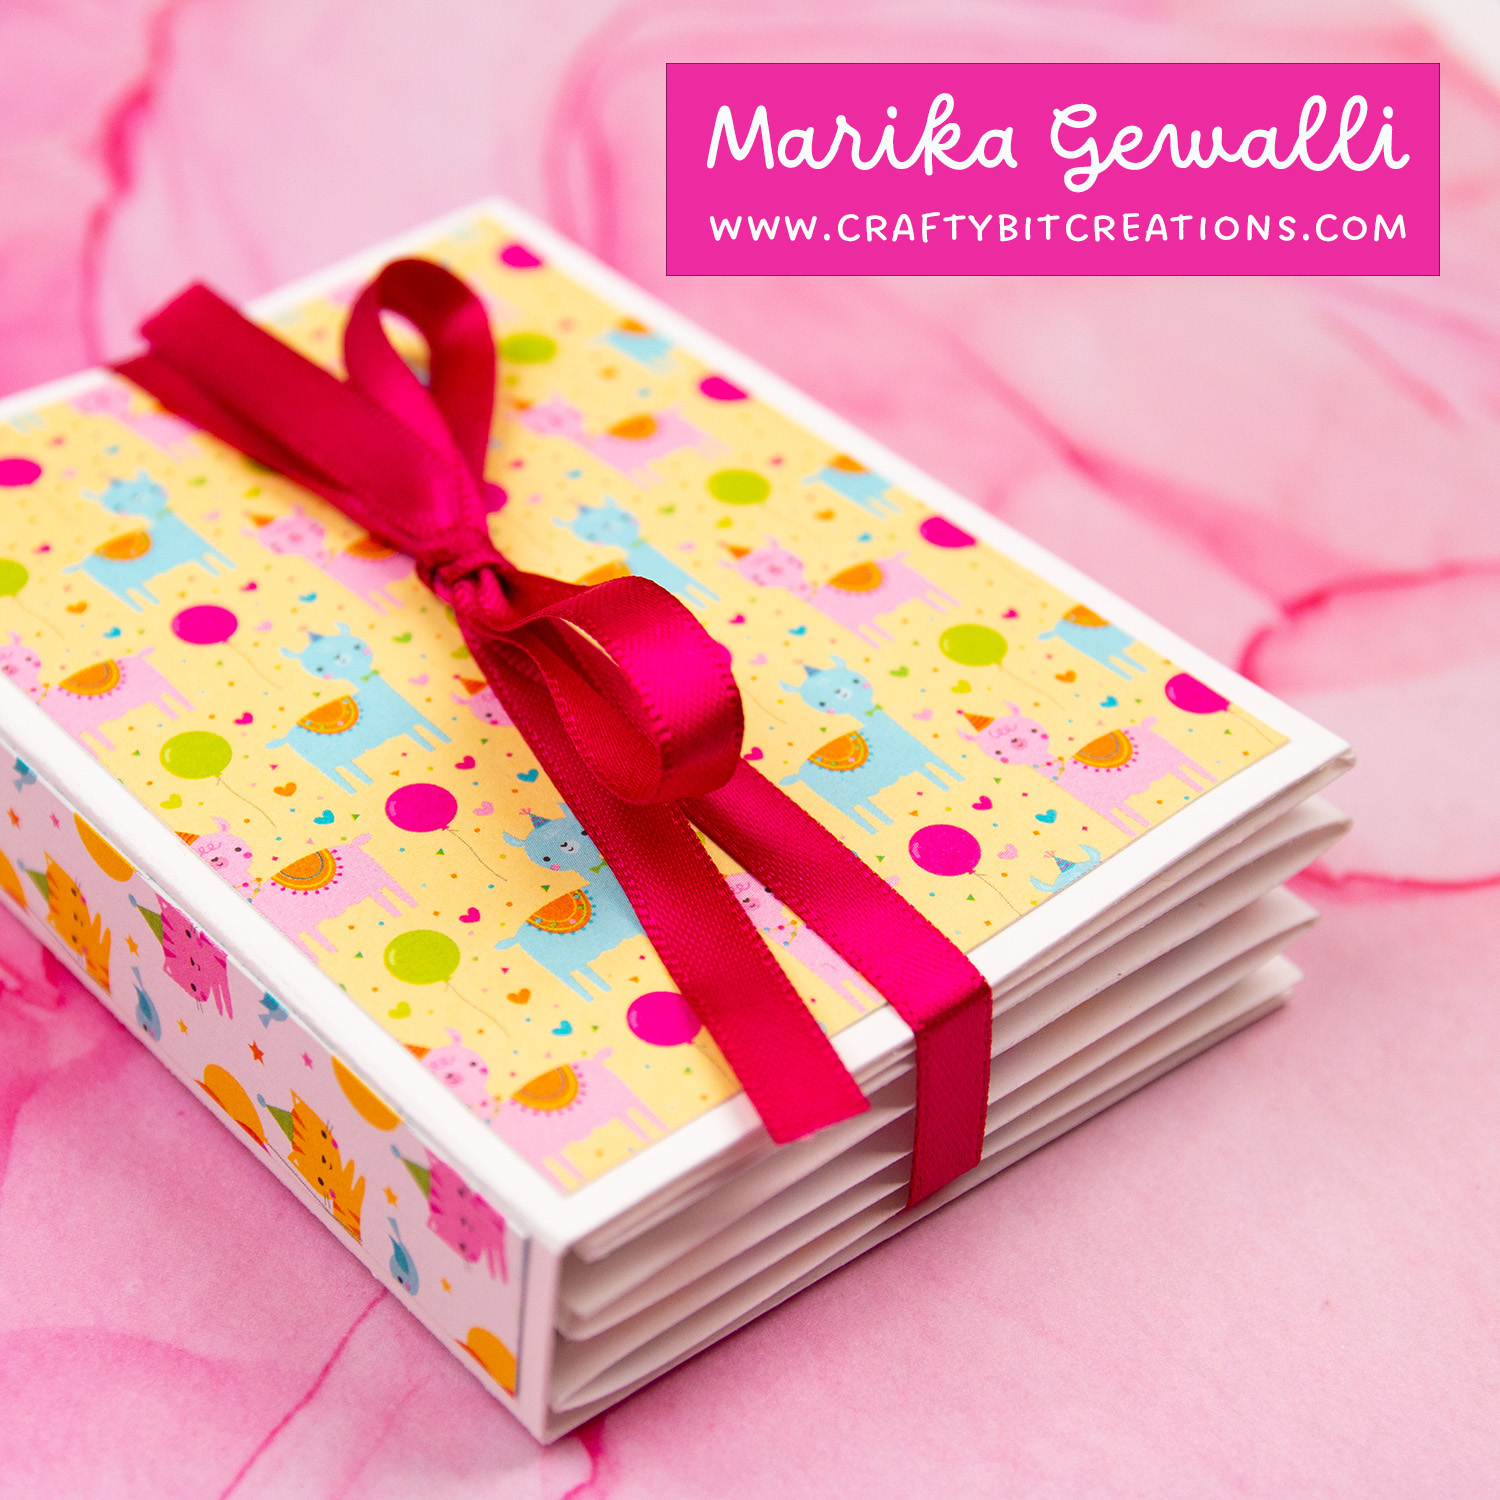
Putting together this accordion album was so much fun. As I embrace creativity this year, I want to go into creating more albums and little books. This is something that been on my mind for years, but I have put myself in this little box and had a hard time getting out of it. Taking my 8th month hiatus made me figure out what I wanted to do more and schedule time for it. And as I’m new to this the tutorial is kind of crazy but I hope you enjoy it anyway!

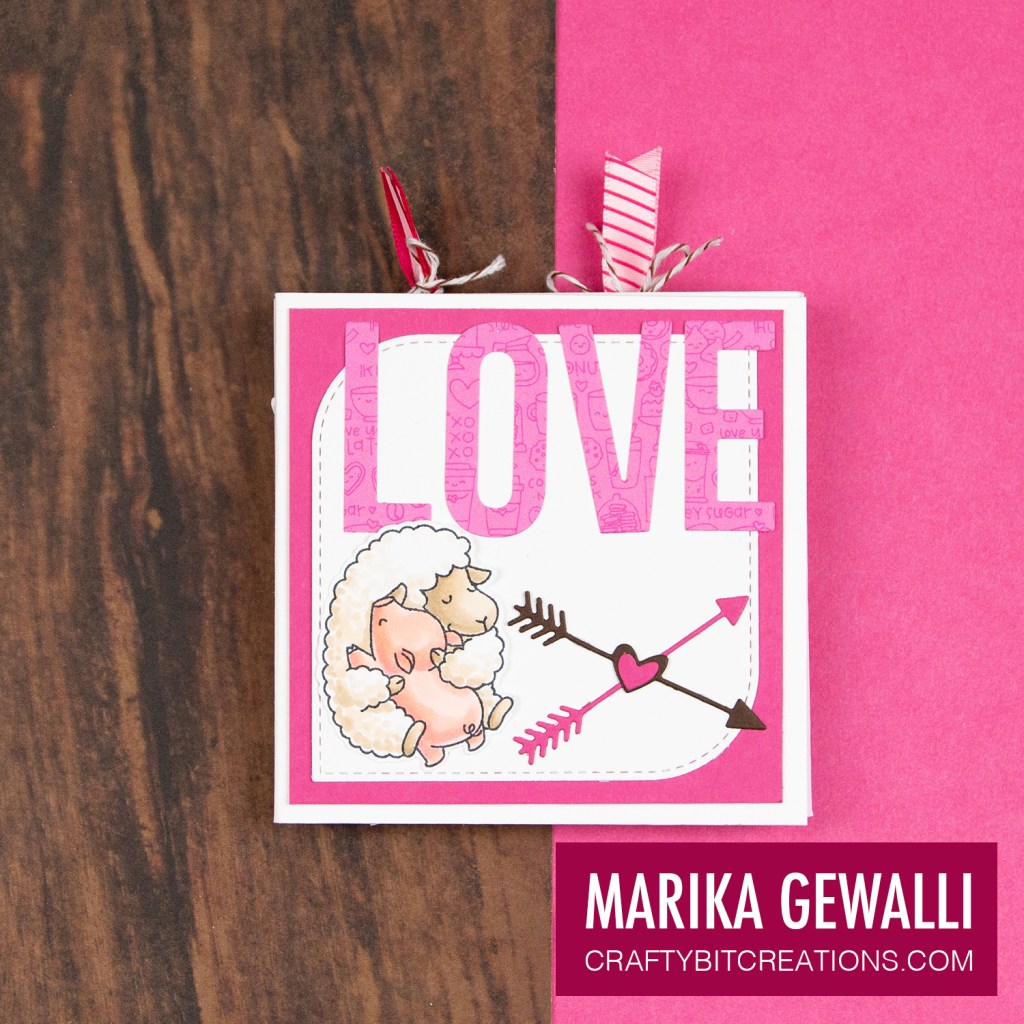
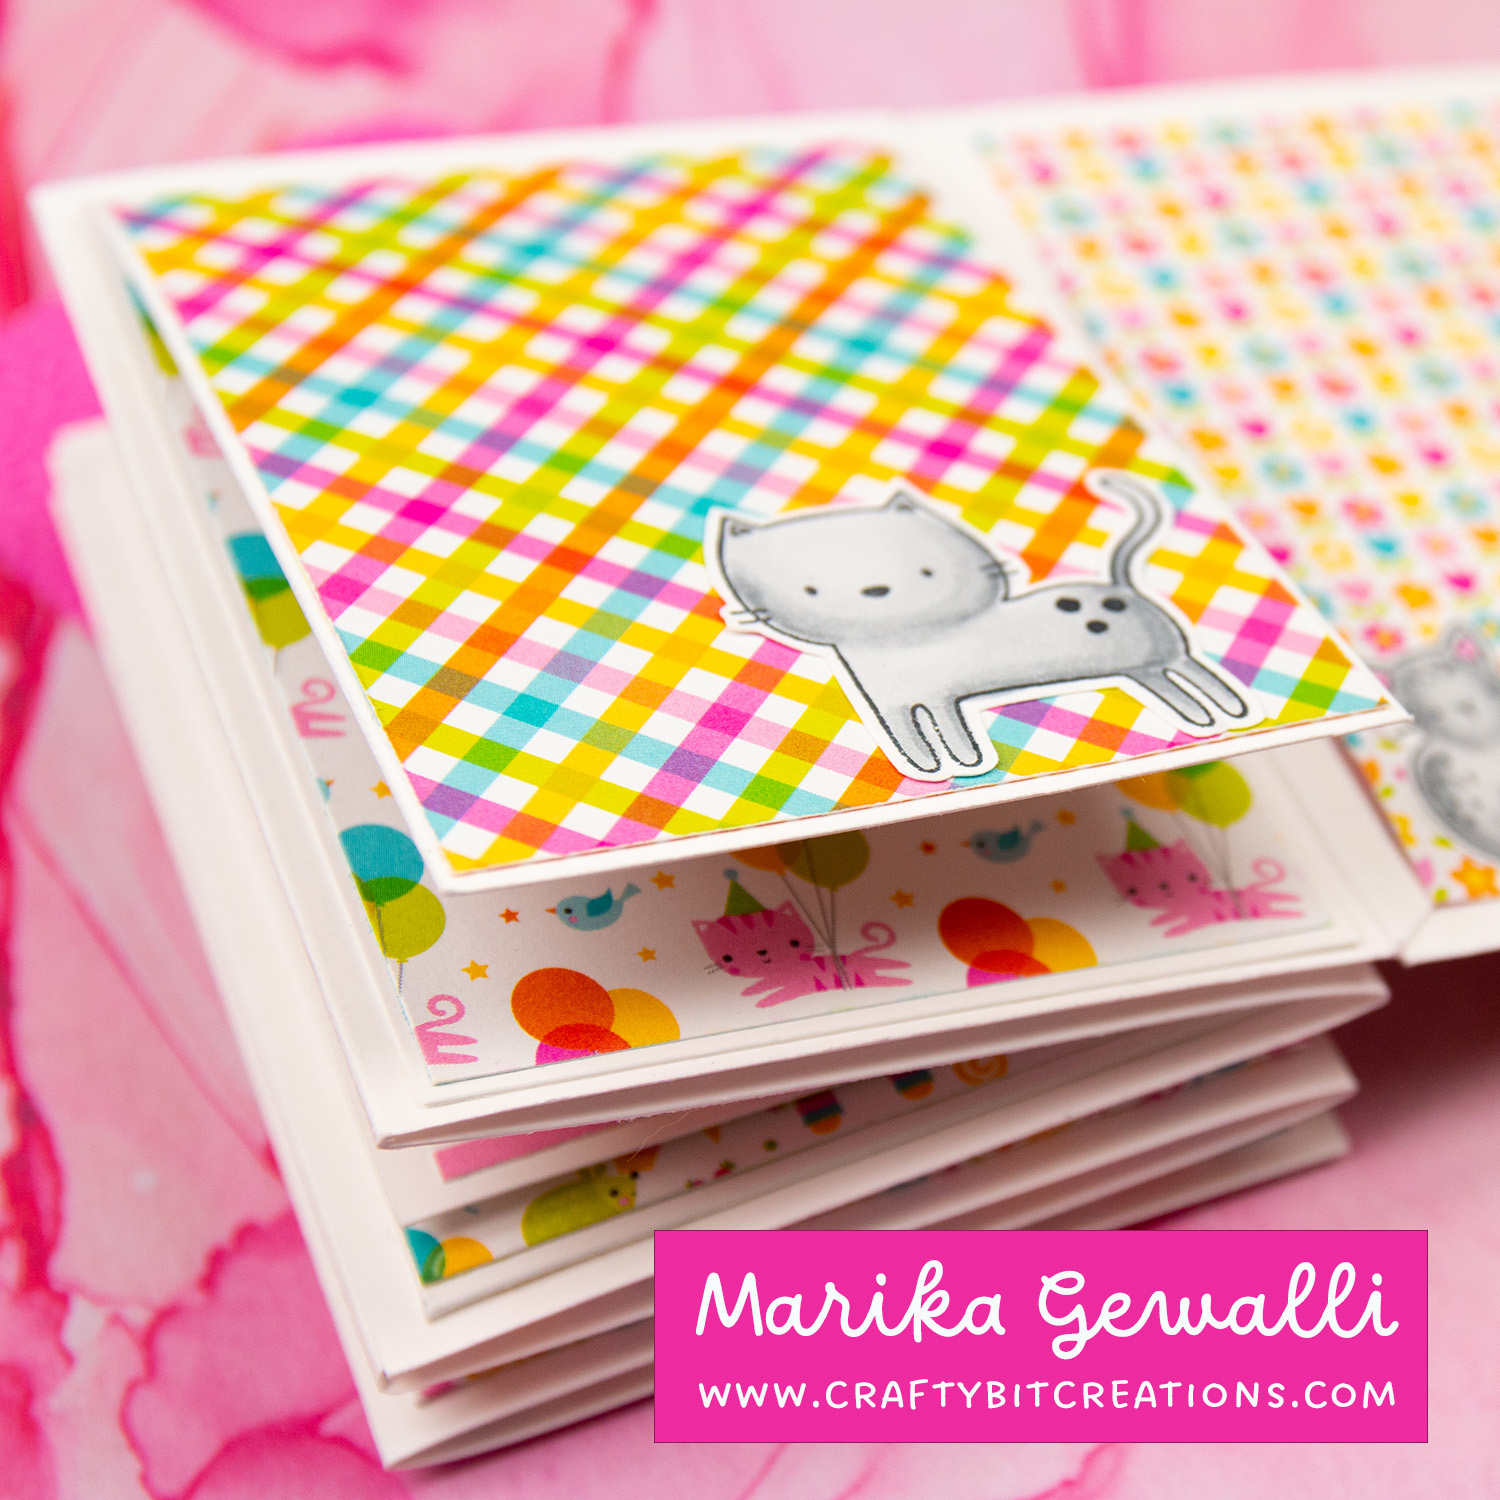
The base of the accordion album measures 3″x4″ when closed with a depth of 3/4″.
Base Instructions:
- Cover: Cut piece of 4″x6 1/2″” Score at 3″ turn 180°, score again at 3″
- Accordion: Cut 2 pieces of 4″x9 3/8″ Score at 3″, 6″ and 9″ alternating side of card stock on both pieces. Mitre edges of the 3/8″ tab.
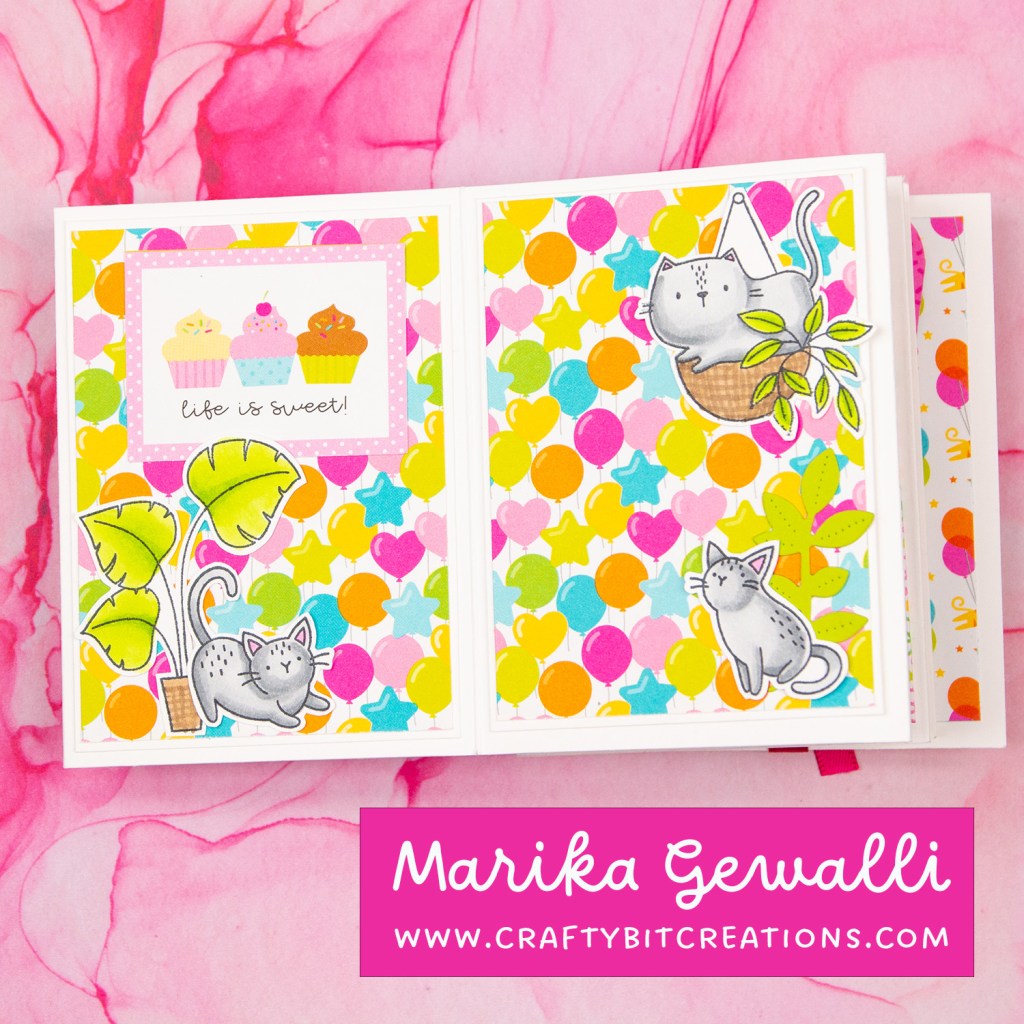
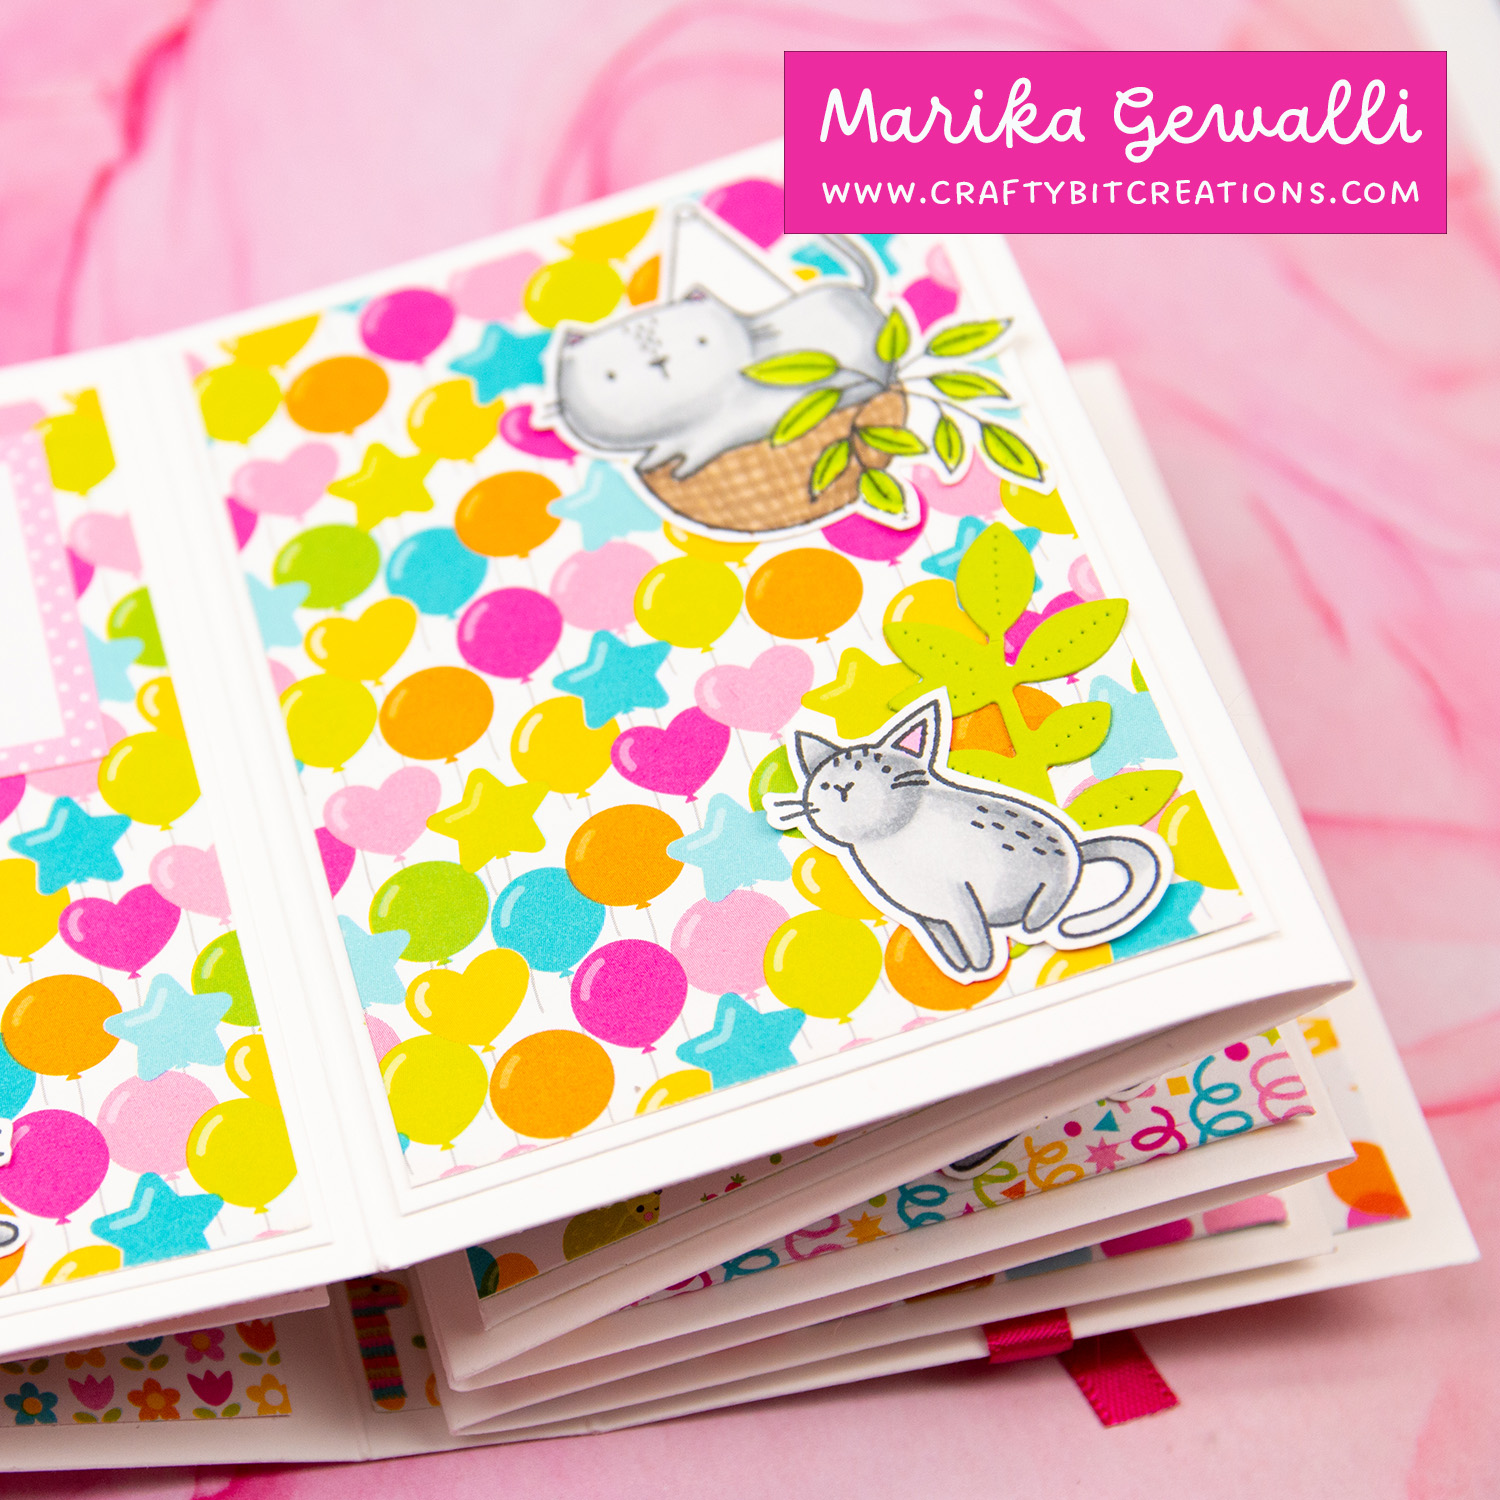
First Spread:
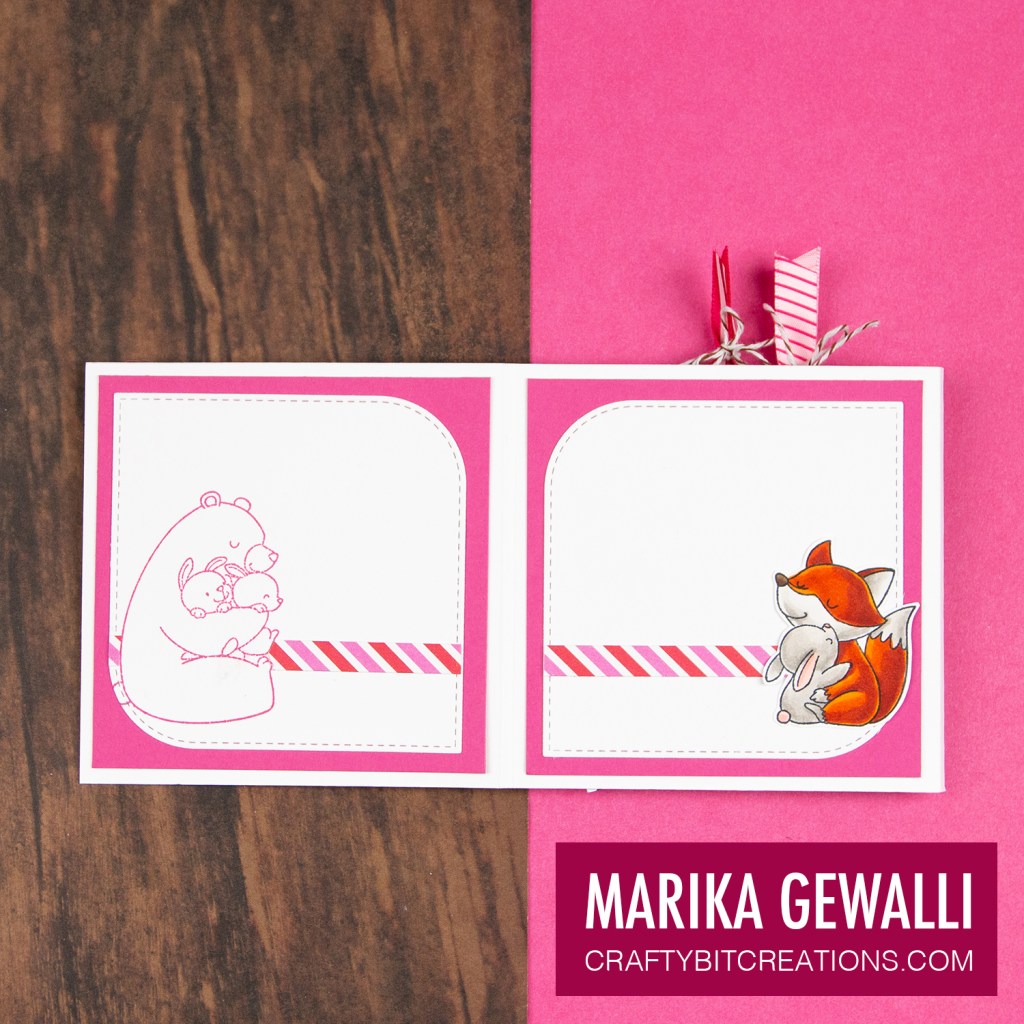
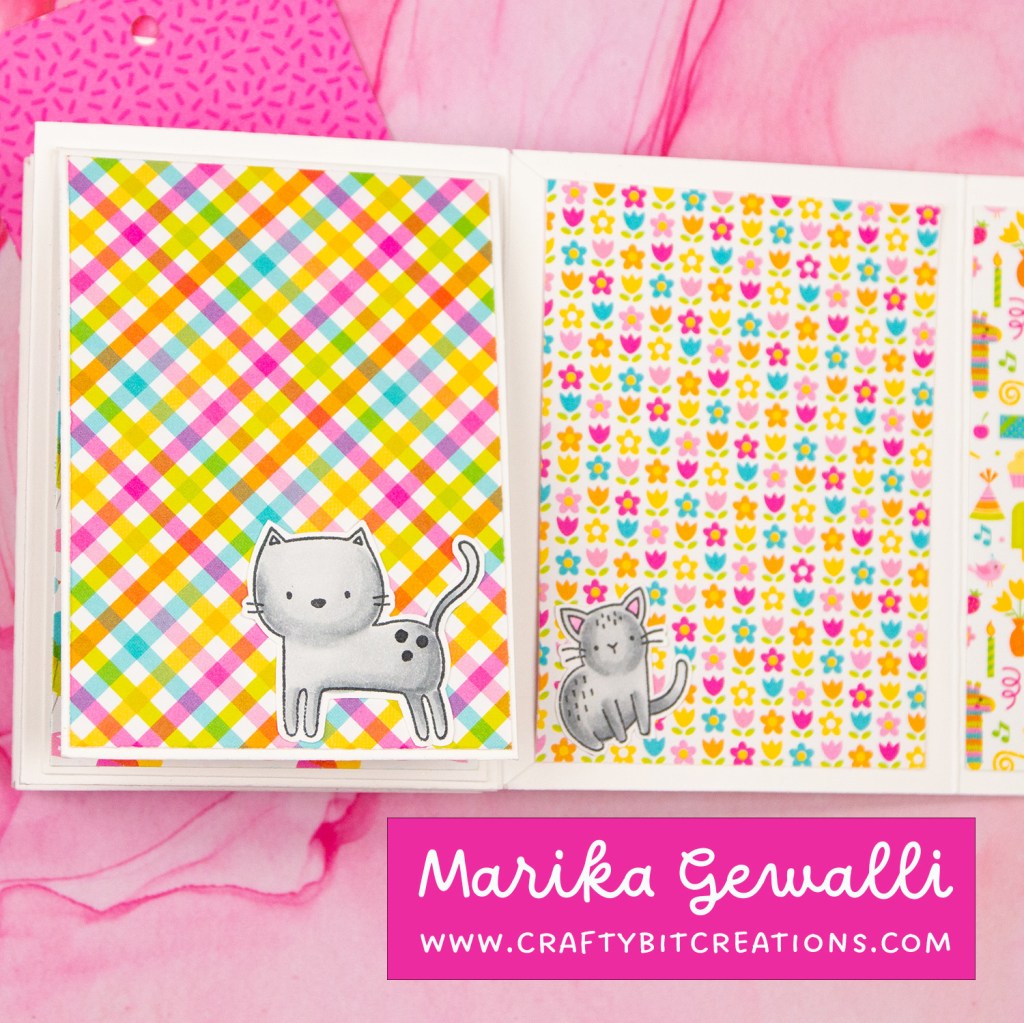
- Cut two mats of card stock measuring 3 3/4″ x 2 3/4″, two mats of pattern paper measuring 3 5/8″ x 2 5/8″, layer them with pattern paper on top, then card stock mat and then attach on each side on spread.
- Decorate with stamped images and one of the mini cards you can cut out of the Doodlebug Designs Pattern Paper pack.
Second Spread
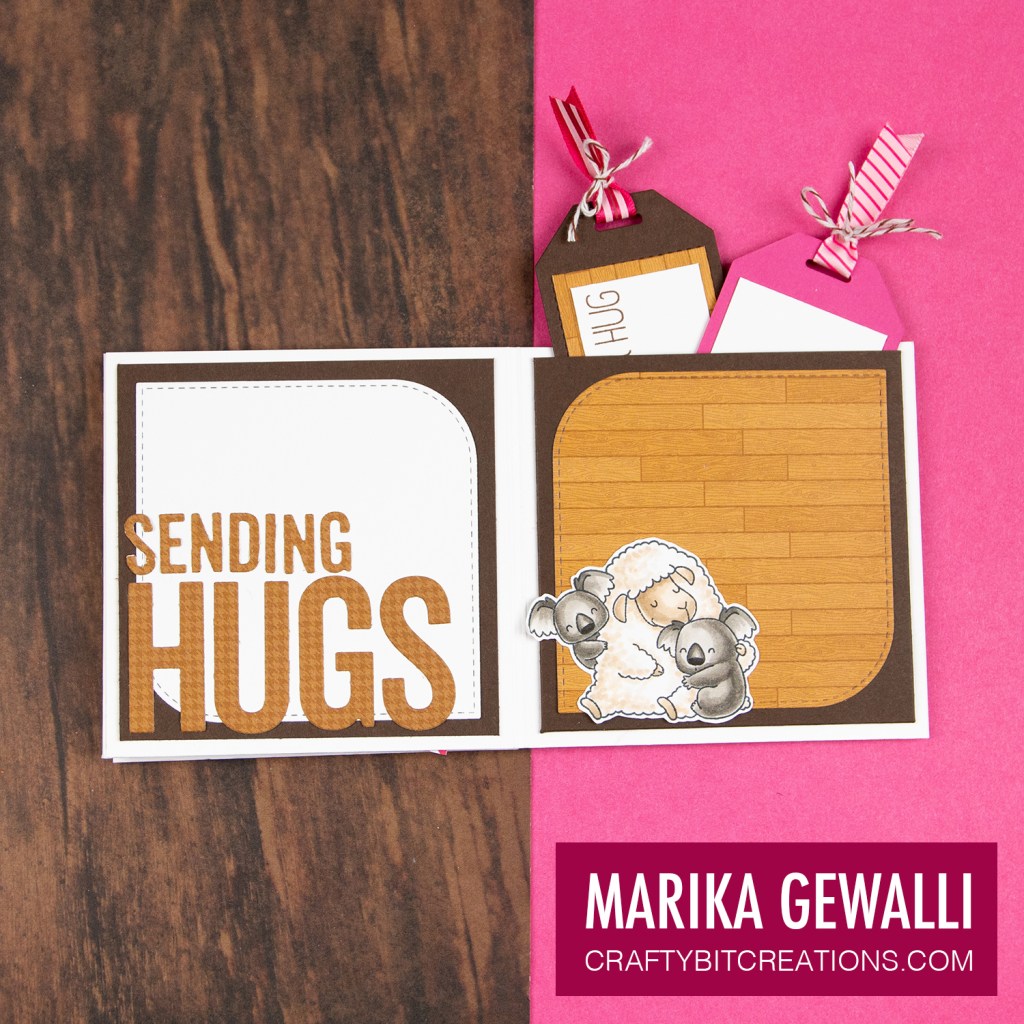
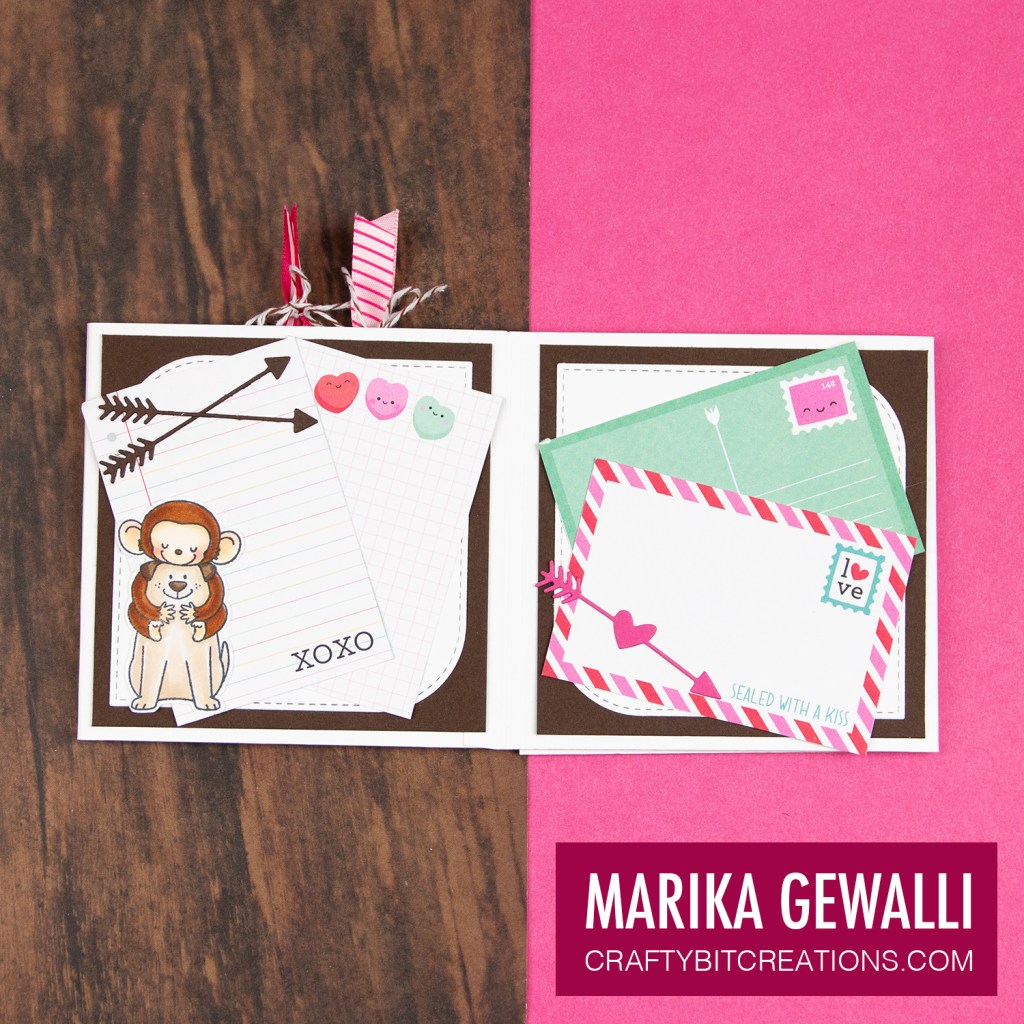
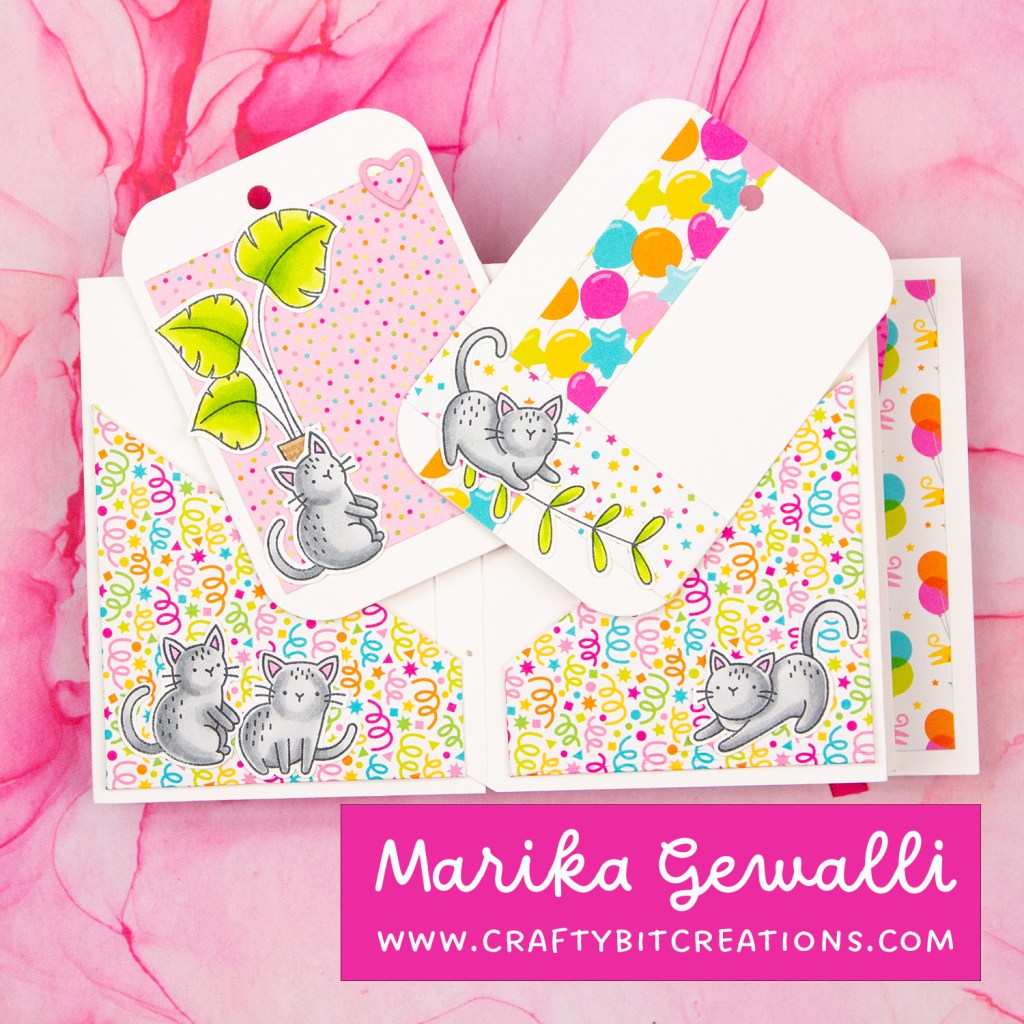
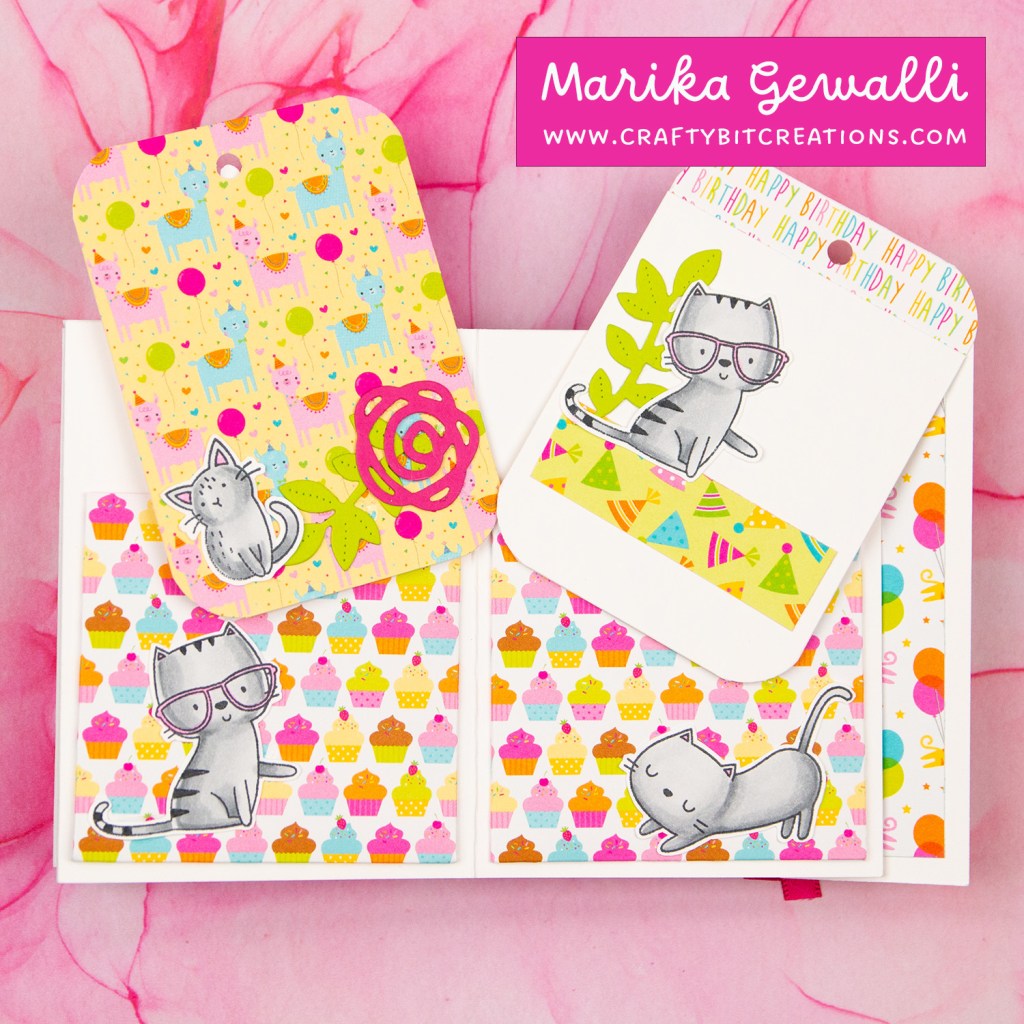
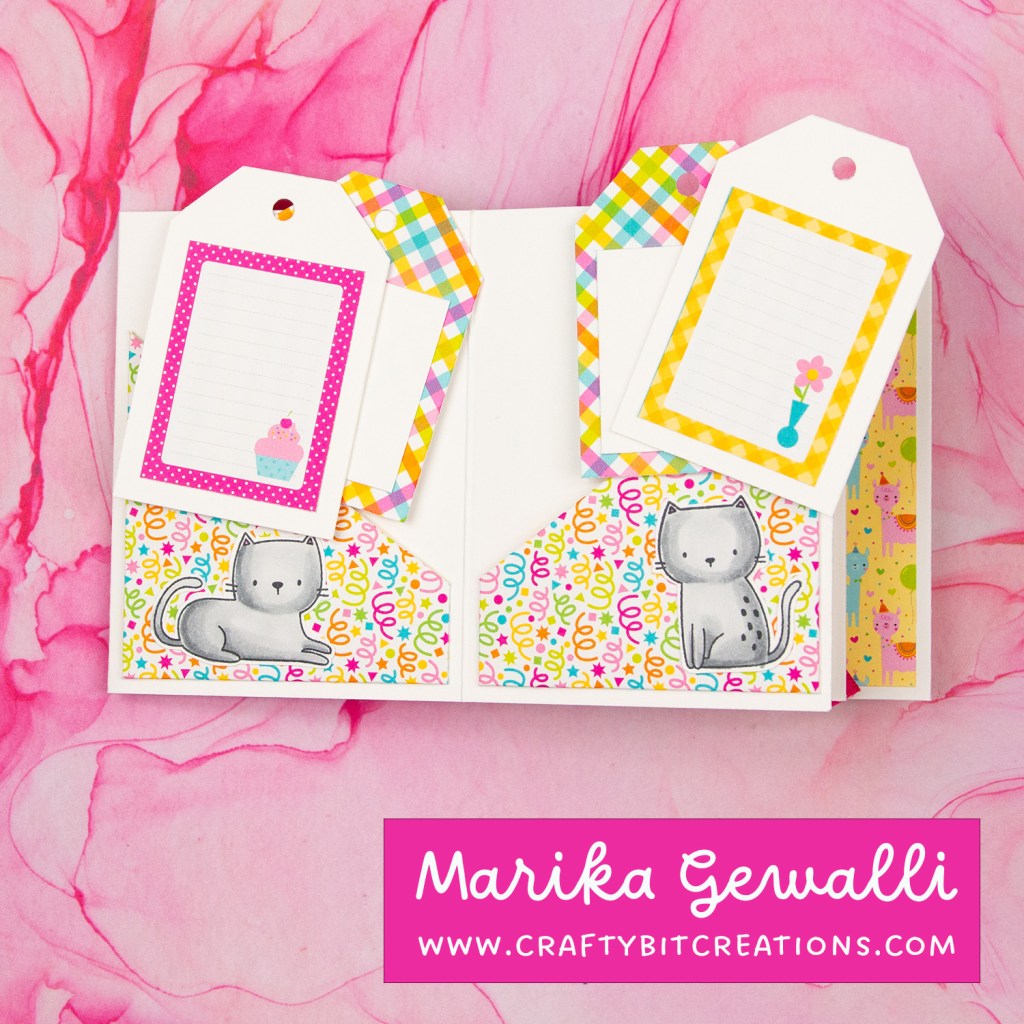
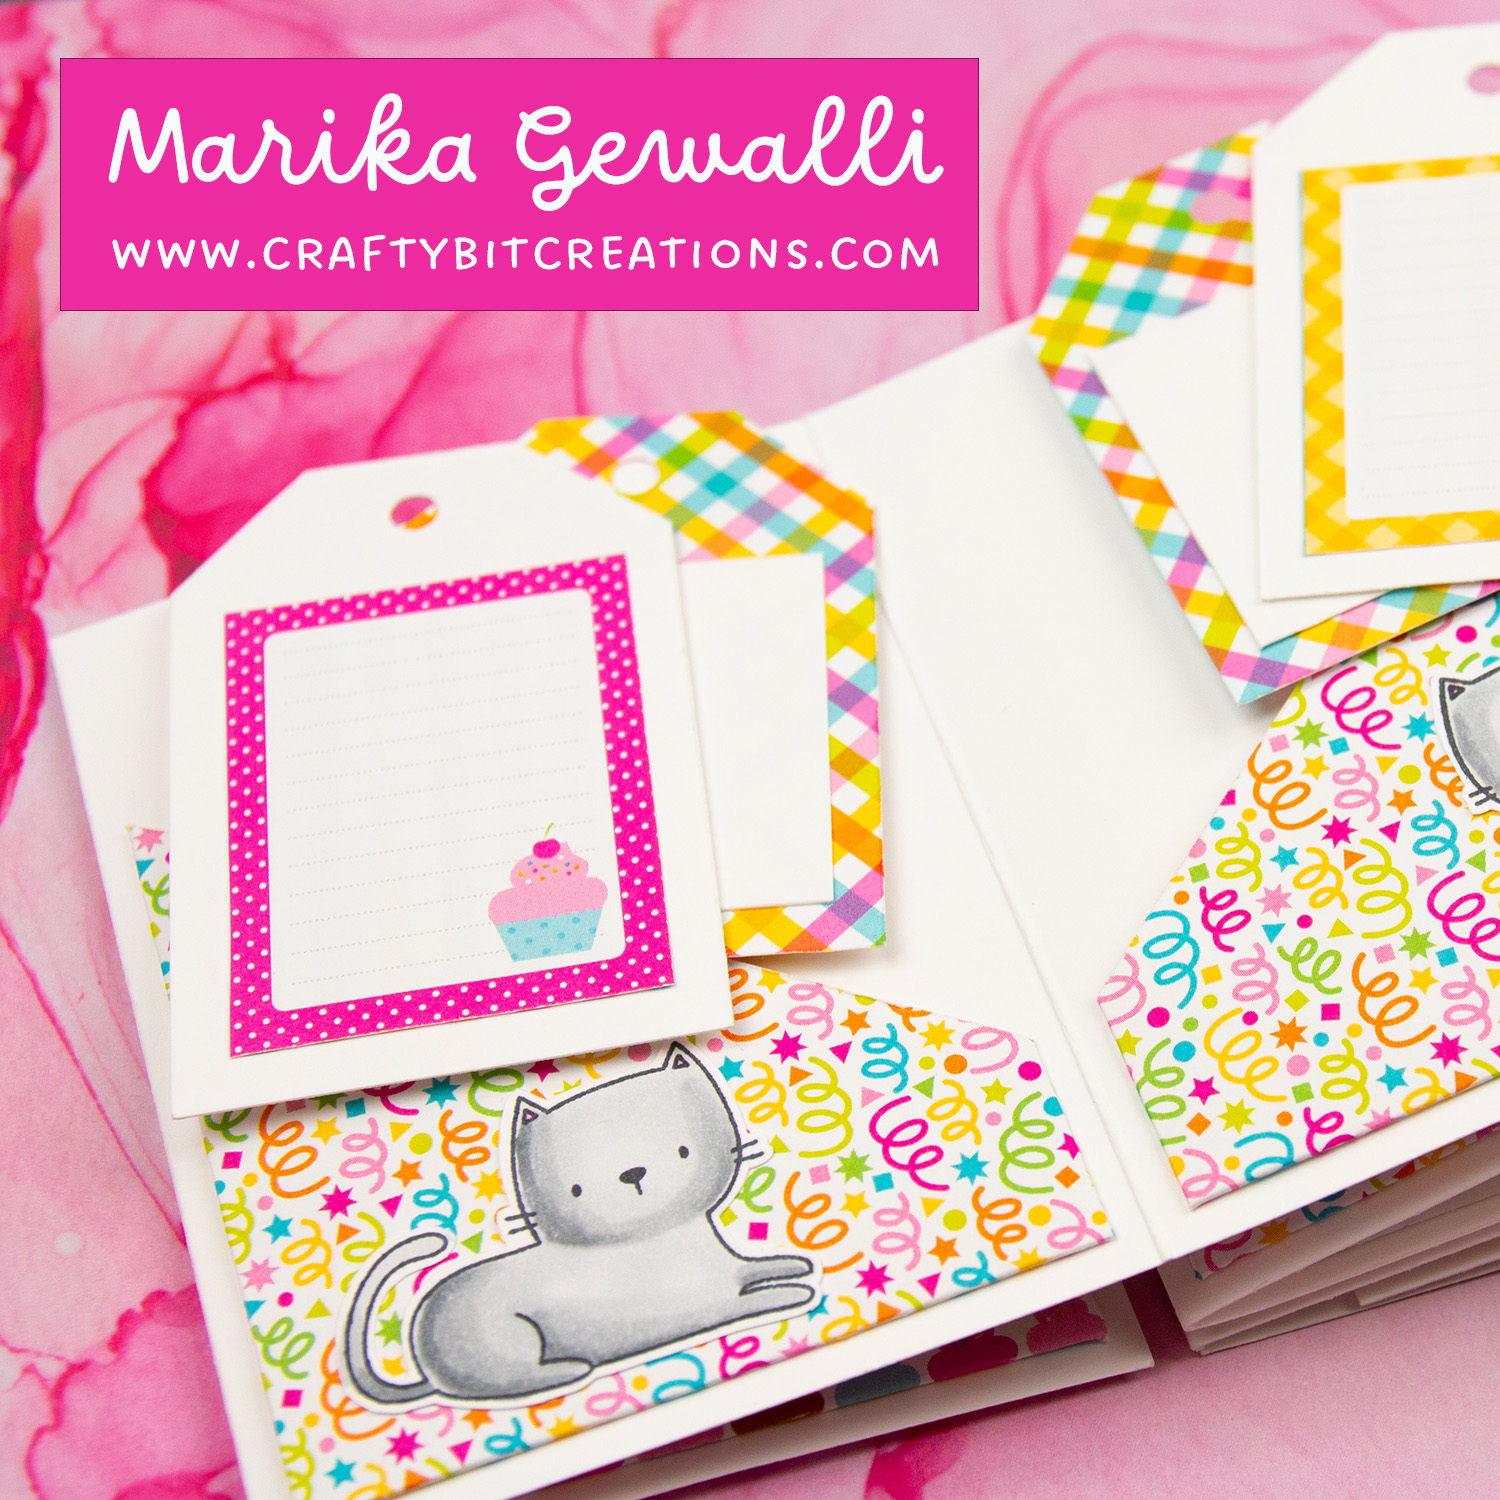
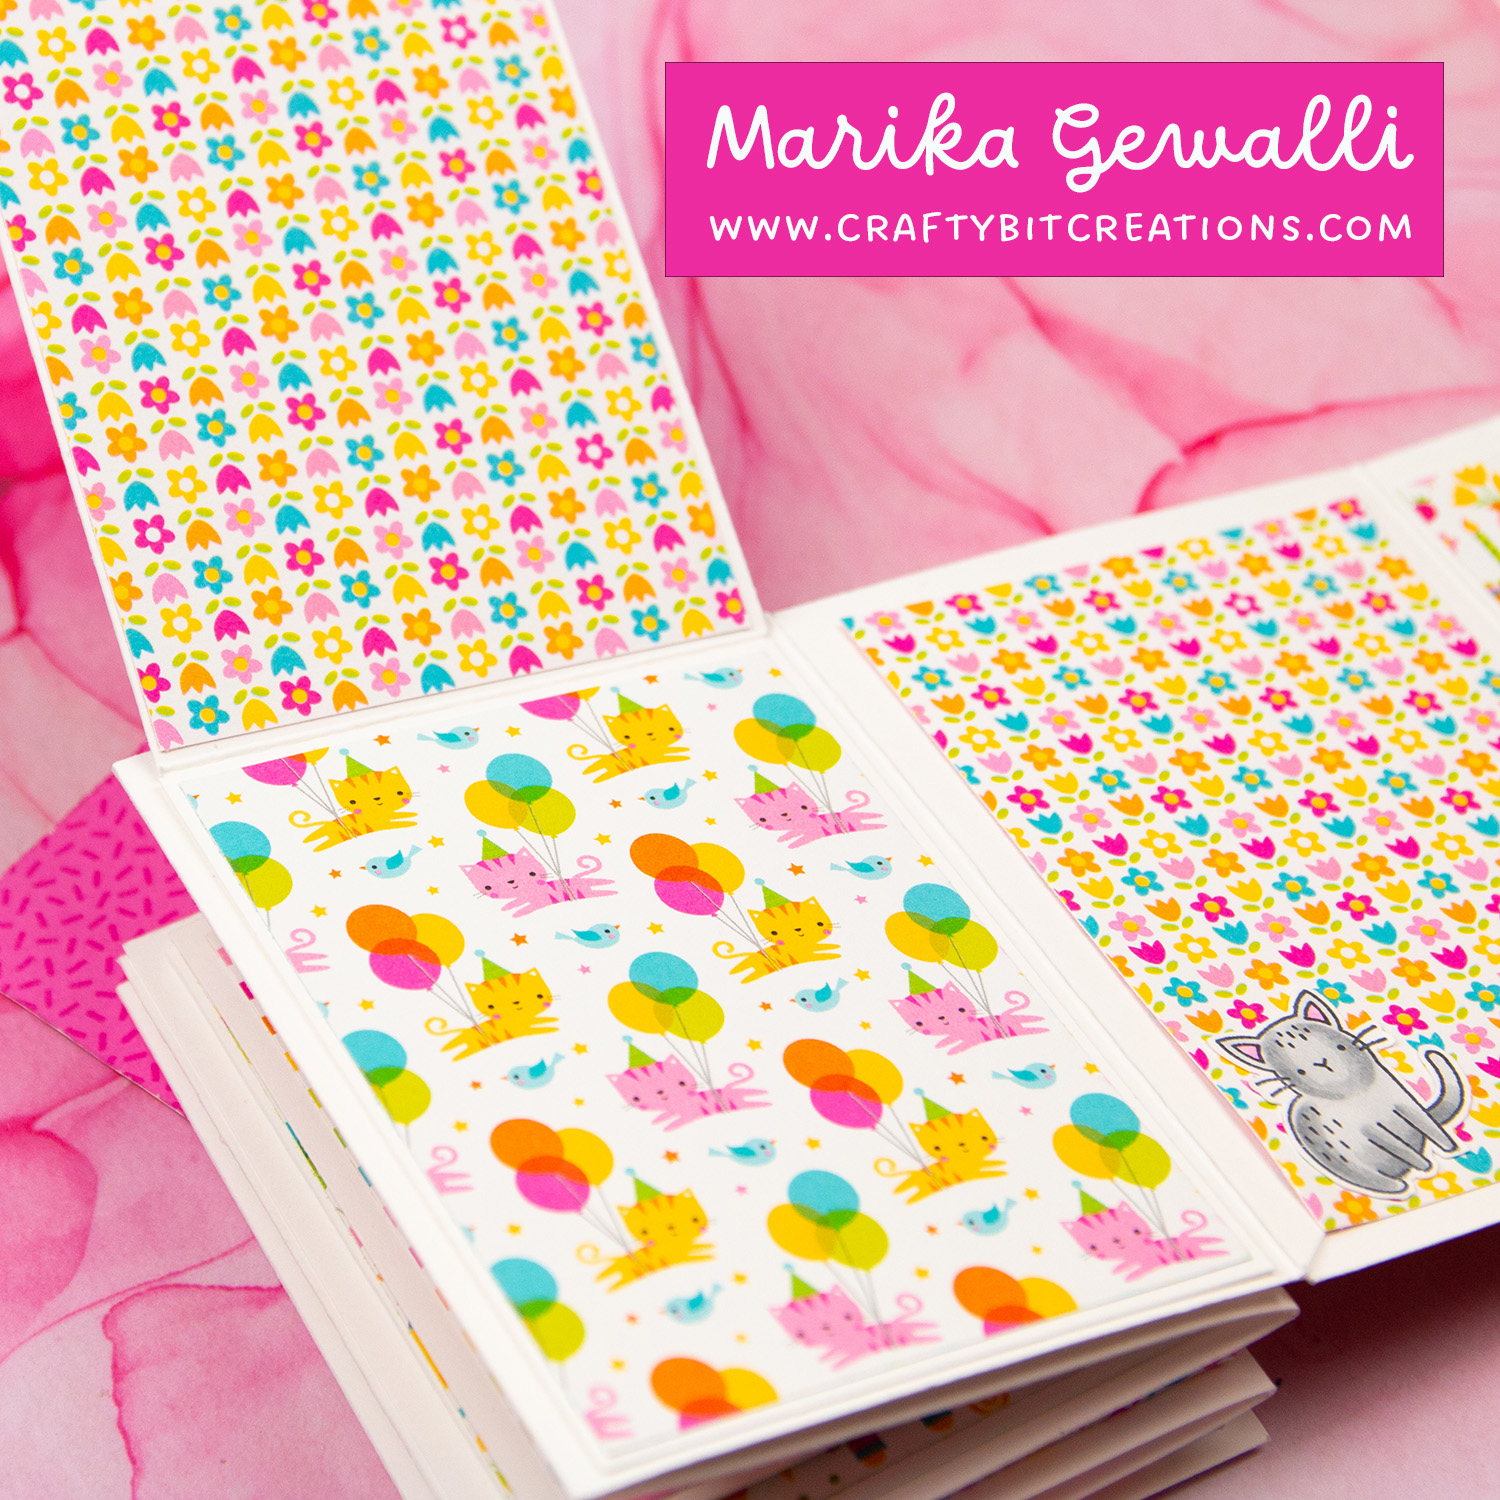
- Angled pockets: Cut two pieces of 3 1/2″ x 4 1/2″ of pattern paper that isn’t directional. Score each piece at 3/8″ on all sides. Score first piece long-side of tab at 1 1/4″ turn 180° and score at 1 1/4″. Score second piece on the long-side of tab at 3 1/4″ turn 180° and score at 3 1/4″. Cut diagonal lining up the inner points of score line creating four angled pockets. This is done to get mirrored angled pockets on spread. Use the other two at another spread. Add stamped and coloured images of cats.
- Tags: Cut 2 pieces of card stock measuring 2 1/2″ x 3 1/2″, round corners with a corner chomper with the 1/2″ side. Punch hole with a crop-a-dile Add pattern paper and stamped images of cats and greenery.
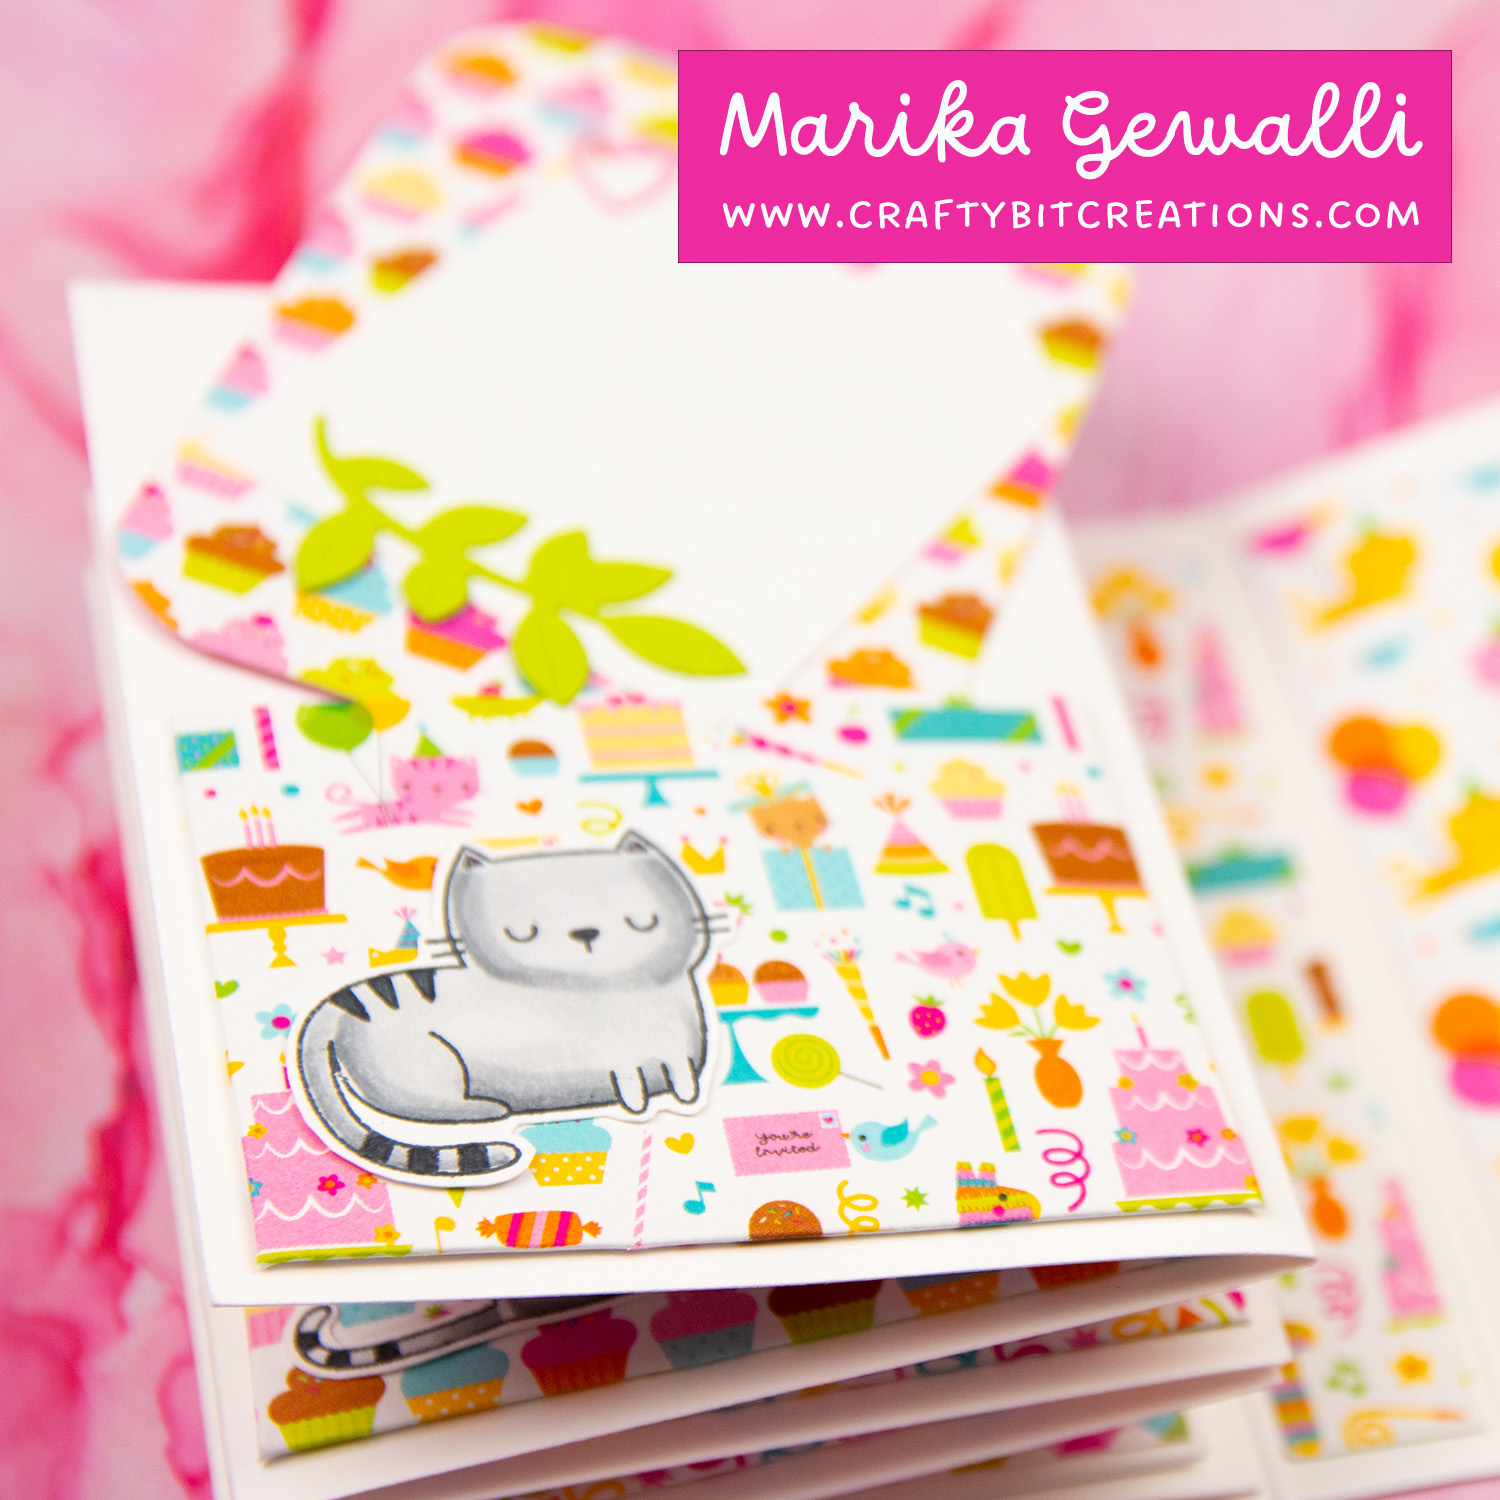
Third Spread
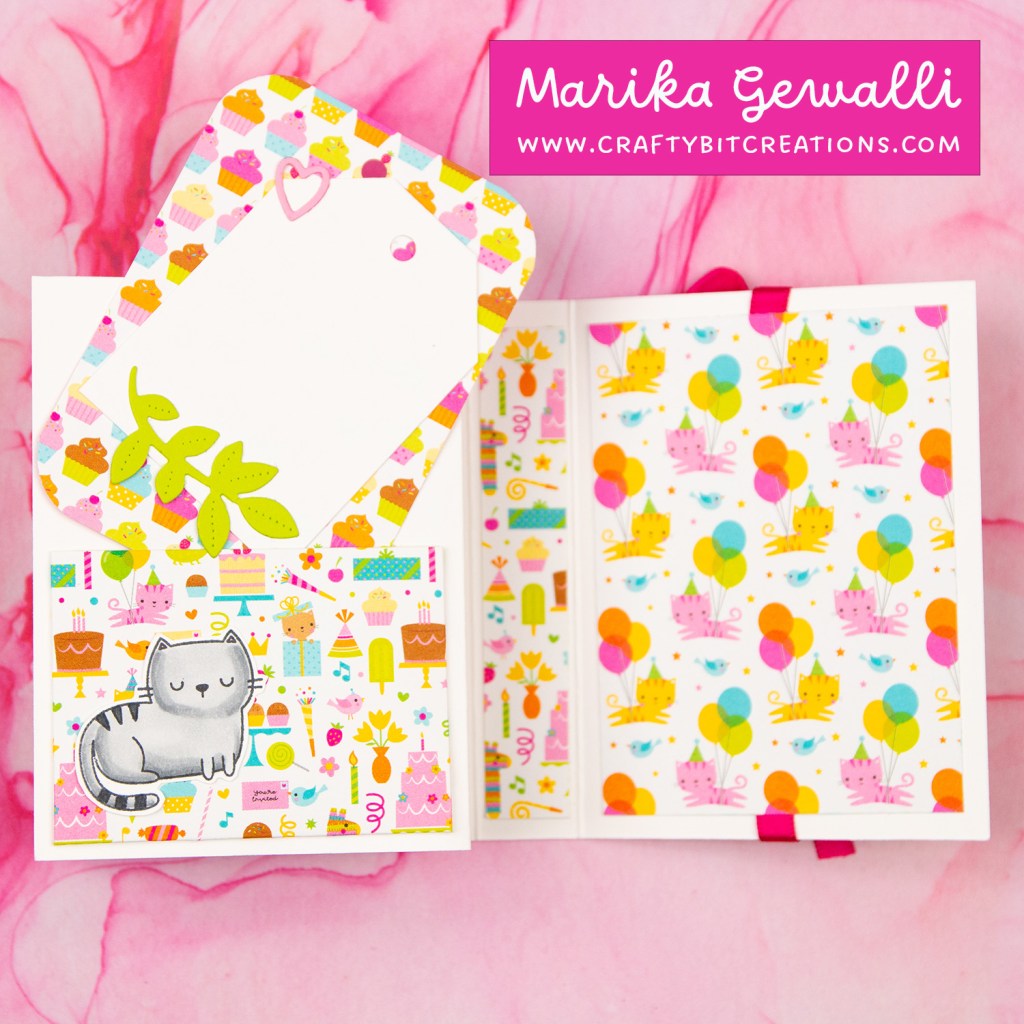
- Pockets: Cut two pieces of pattern paper measuring 3 1/2″ x 3″. Score at three sides at 3/8″, miter tabs. Decorate with cute cat images.
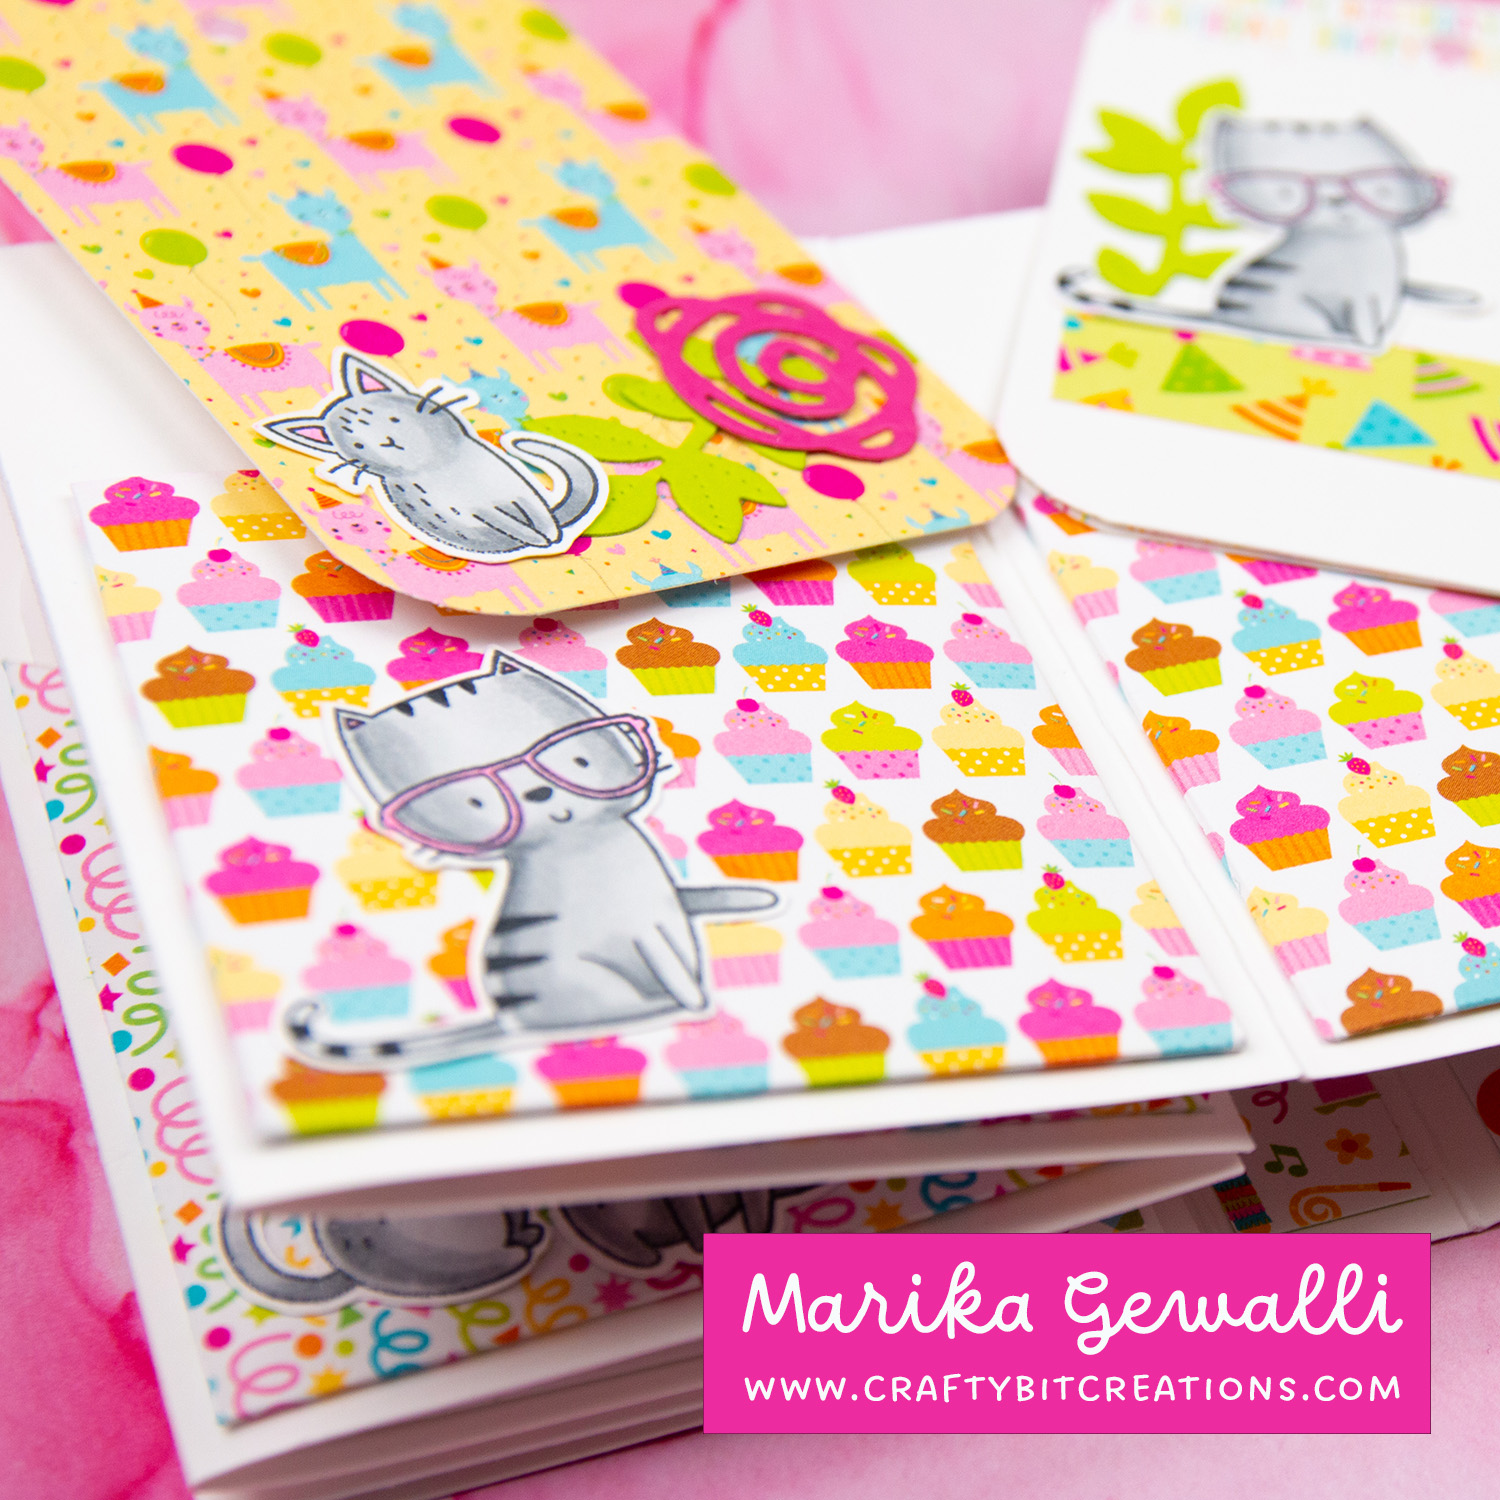
- Tags: Cut 2 pieces of pattern measuring 2 1/2″ x 3 1/2″, round corners with a corner chomper with the 1/2″ side. Punch hole with a crop-a-dile. Add pattern paper and stamped images of cats and greenery. One side of tags pattern paper did not fit with the album so covered that side with another tag in white card stock.
Single page and inside of album
- Inside of album: Cut two pieces of pattern paper to 3 3/4″ x 2 3/4″ and one piece of 3 3/4″ x 5/8″. Mat inside of front of cover and spine. On back of cover stick a piece of ribbon that can go around album with enough length to tie a bow with sookwang tape, make sure its centered. Then add the last piece of pattern paper on top.
- Single page: Cut piece of paper 2 3/8″ x 3 1/2″ score at 3/8″ on three sides. Mitre tabs and attach to lower part of card. Decorate with cute cat.
- Tag: Cut one piece of pattern measuring 2 1/2″ x 3 1/2″, round corners with a corner chomper with the 1/2″ side. Punch hole with a crop-a-dile. Make a mini tag, with angled corners on top, measuring 2 5/8″ x 1 7/8″ from white card stock. Attach on an angle on pattern paper tag. Decorate with die-cuts.
Inner Page Accordion
- Flap: Cut one piece in card stock measuring 4 1/8″ x 2 3/4″, score on top 3/8″ for tab, miter tab corner. Attach to top of album page. Decorate with pattern paper on both sides cut to 3 5/8″ x 2 5/8″ and cute kitties.
- Mat on page on top of flap tab: Cut white card stock mat to 3 3/4″ x 2 3/4″ and pattern paper to 3 5/8″ x 2 5/8″ layer and attach on on album page on the flap tab to hide it.
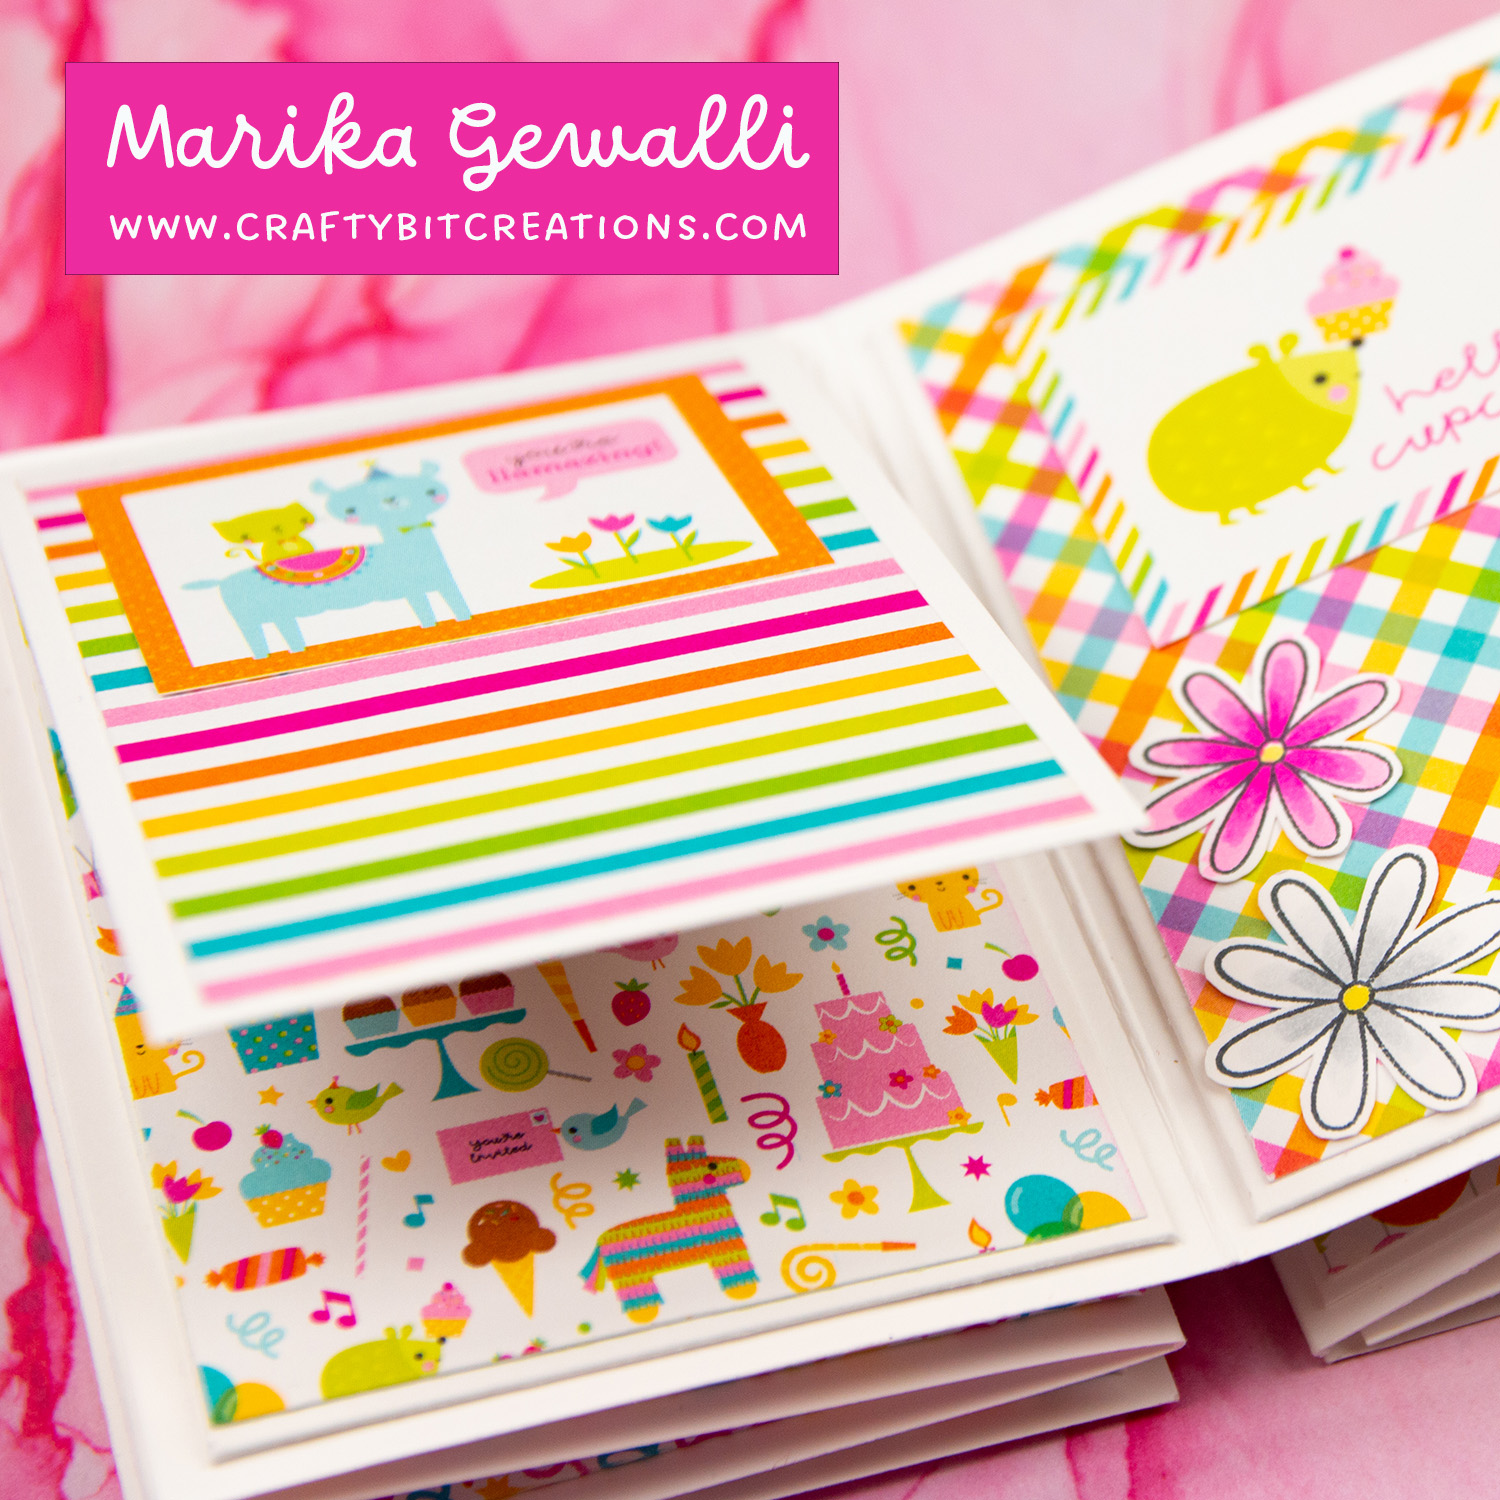
Fourth Spread
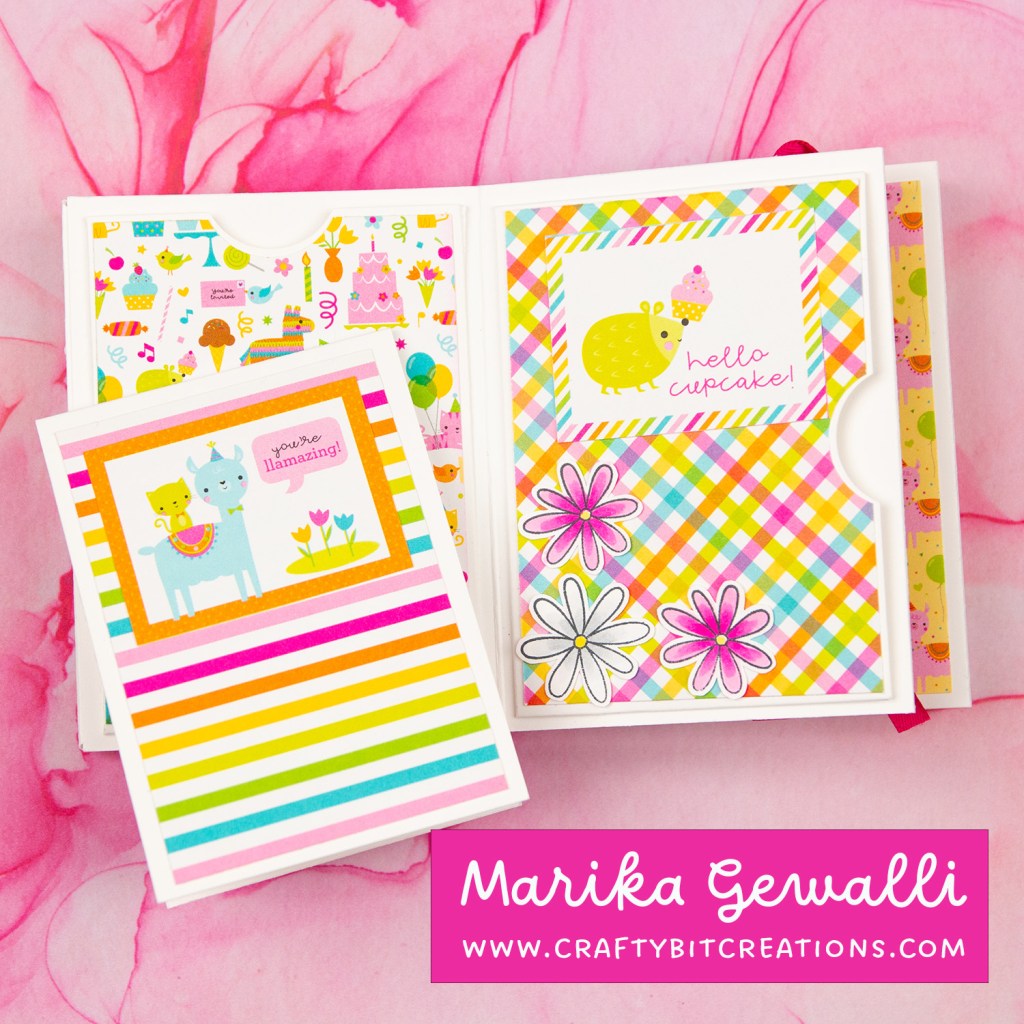
- Left pocket with opening on top. Cut card stock to 4 1/8″ x 3 1/2″ score 3/8″on 3 sides so that the top is not scored. Cut pattern paper that measures 3 5/8″ x 2 5/8″. Before adding glue/tape, layer the cardstock and paper and line them up together at top, then use 1″ circle punch to punch half circle at top. Then center the pattern paper with in score lines and top for a 1/16″ border on all sides, attach.
- Right pocket with opening on right. Cut cardstock to 4 1/2″ x 3 1/8″ score 3/8″ on 3 sides so right side is not scored. Cut pattern paper that measures 3 5/8″ x 2 5/8″. Before adding glue/tape, layer the cardstock and paper and line them up together at side, then use 1″ circle punch to punch half circle at top. Then center the pattern paper with in score lines and top for a 1/16″ border on all sides, attach. Decorated with stamped and colored flowers and card rectangle from pattern paper.
- Flap tag: Cut cardstock to 7 1/4″ x 2 5/8″, score at 3 1/8″. Decorate with pattern paper, mats cut at 2 1/2″ x 3″. I did only add pattern paper to the flap part and left the tag for journaling. Also decorated with one of the card rectangles from the pattern paper.
Fifth Spread:
- Rectangle pockets: Left overs from spread two. Decorated with cute kitties.
- Pattern paper tags: Cut pattern paper to 2 5/8″ x 1 7/8″, cut off the corners on top of tag to make an angled tag. Add hole with crop-a-dile. Cut mat from white card stock measuring 1 5/8″ x 1 1/2″. Make two.
- Card stock tags: To fit the decorative card rectangles from the pattern paper, cut card stock to 2 7/8″ x 1 7/8″. Cut off the corners on top to make angled tag. Add hole with crop-a-dile. Use the card rectangles from the pattern paper as mats on both backside and front.
That was all for me today below you find some more photos and all the materials used. Thank you for reading. If you wanna see a couple of more albums you can find them HERE.


Supplies
Impact Alphabet Dies: MFT SSS MFT Butterscotch Ink: MFT SSS MFT Butterscotch Card Stock: MFT MFT Milk Chocolate Ink: MFT SSS Craft Knife: SSS AMZ SBC MFT Beehive Die-namics: MFT SSS Yellow Sequins: SSS AMZ SBC Brushes: SSS AMZ SBC Foam Squares: SSS AMZ SBC Neenah Solar White 80lb: SSS AMZ SBC Memento Tuxedo Black: SSS AMZ SBC Stamp Blocks: SSS AMZ SBC Acetate: SSS AMZ SBC Nuvo White Blizzard: SSS MFT On-Point Precision Glue Pen: MFT