Make It Crafty

Celebrating Friendships with a hot cuppa!

Hi Everyone!
 
One of my favourite past times with friends is sitting around having a cuppa and chatting. It’s hard to beat face to face interaction with a friend. You can read each other’s body language, laugh out loud and easily get stuck for hours drinking way too much coffee.
 
Sadly, many of my bestest friends live so far away from me that I don’t get the opportunity to sit across the table and laugh over a cuppa so instead I do what I do best and make them cards that will brighten their day.
 
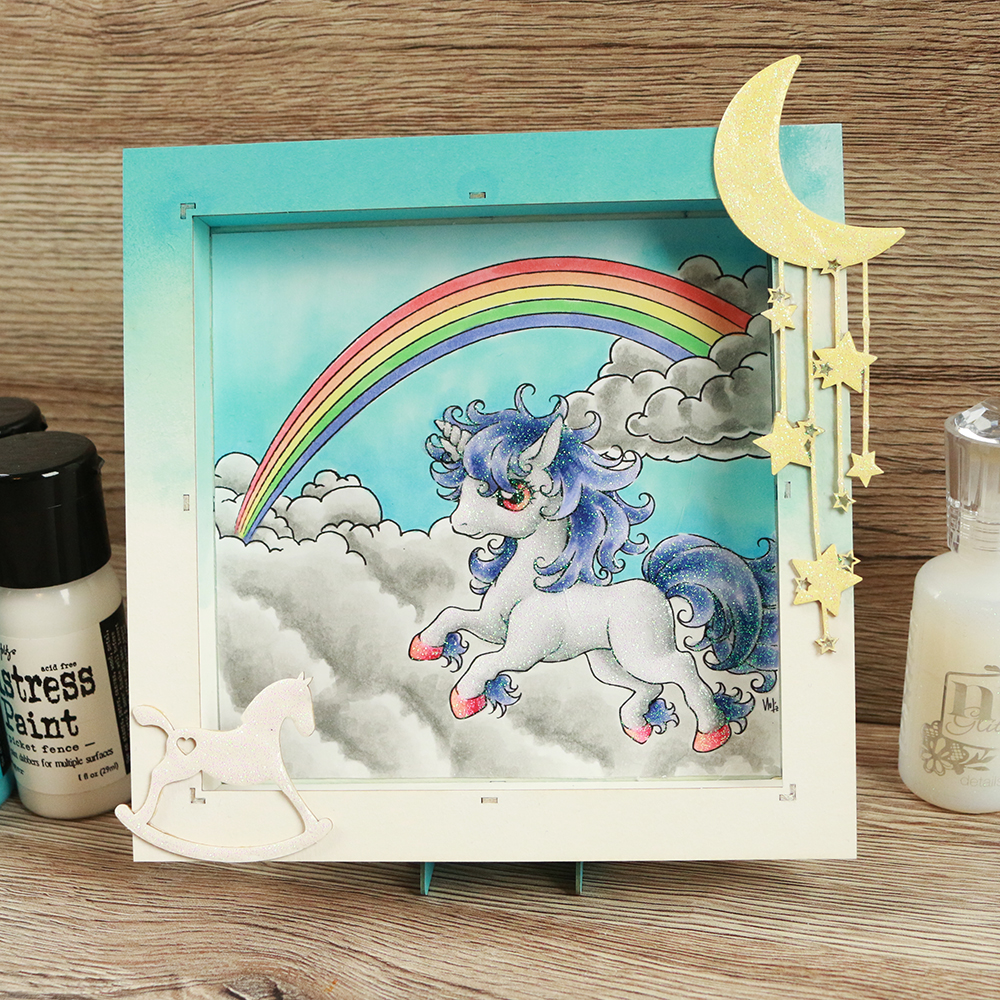
So with that in mind, this month we are inspiring you with some gorgeous images illustrated by Krista Smith and a whole range of new chipboard designs relating to Friends, Coffee & Tea!
Please join us on the hop and be inspired for a chance to win one of two Chipboard sets featuring the new friendship cursive sentiment designs. Simply leave a comment on each blog along the way as I will be picking a winner from two random posts. Winners will be announced and contacted Sunday 25th so get your hopping boots on!


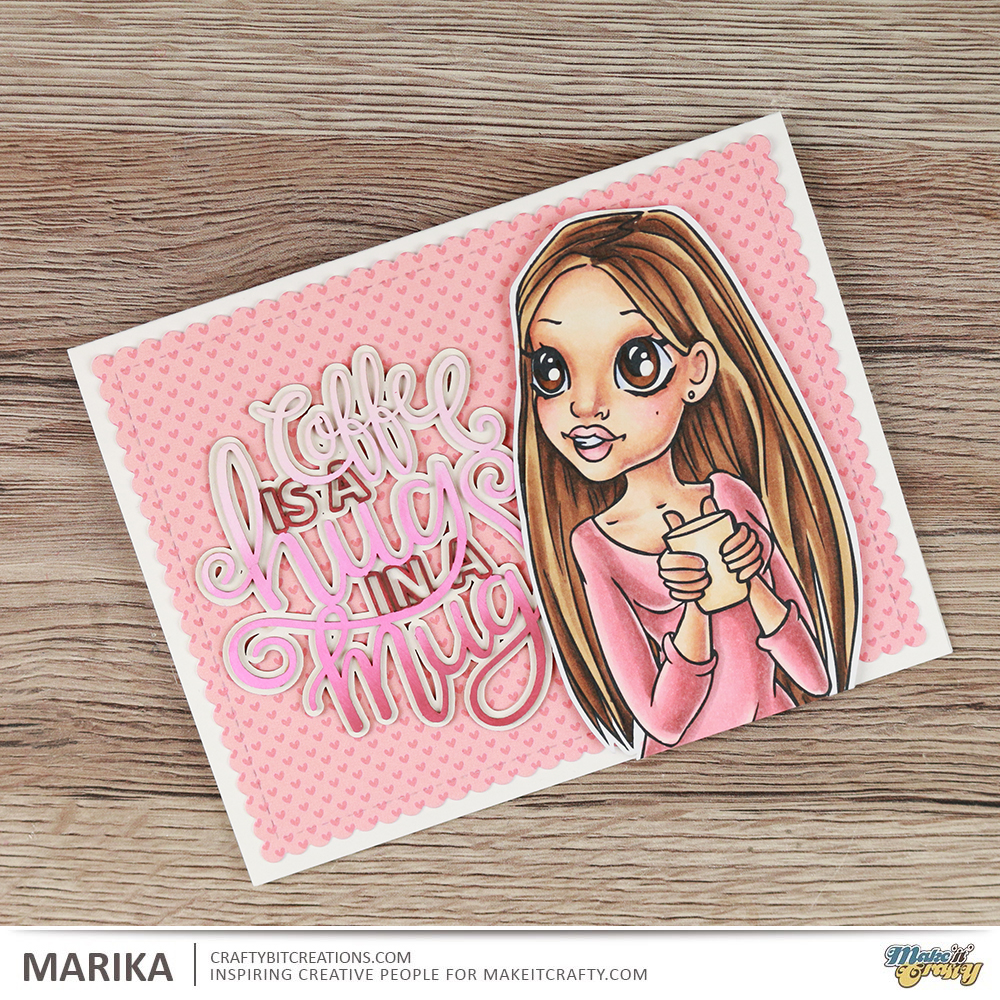
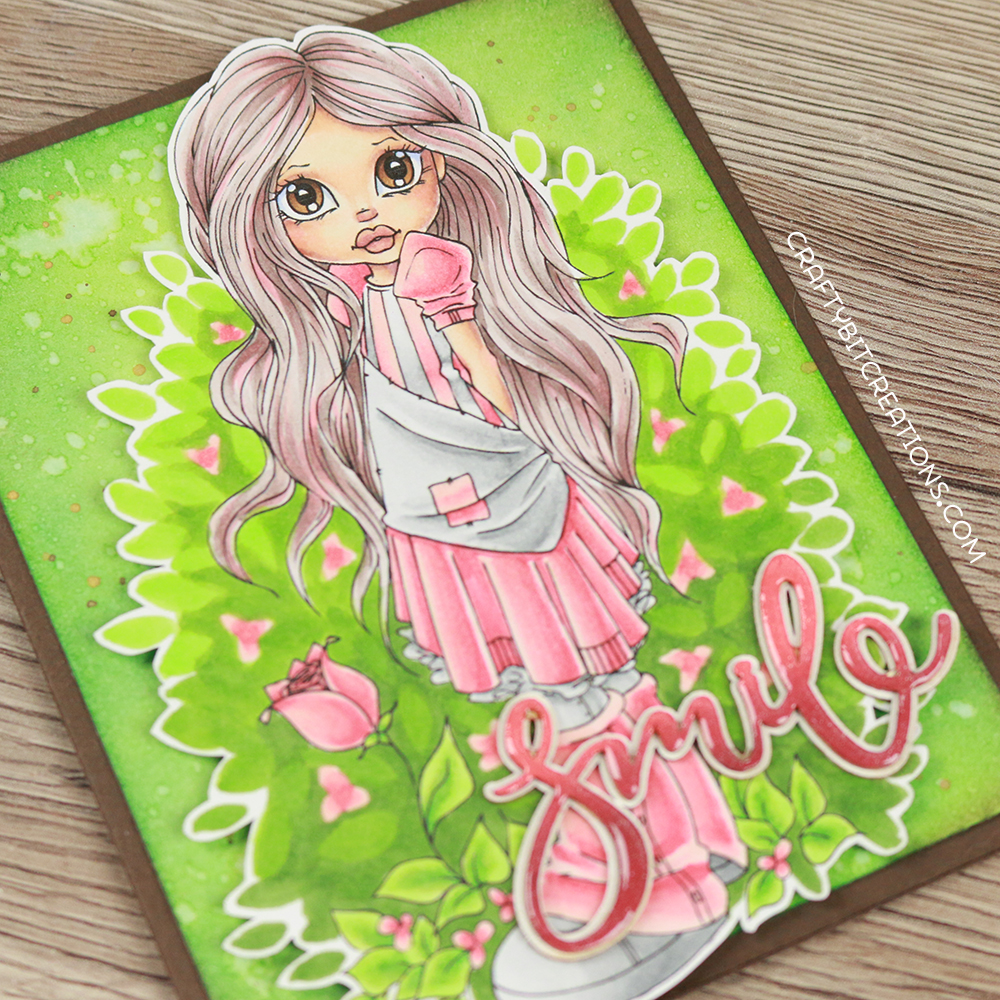
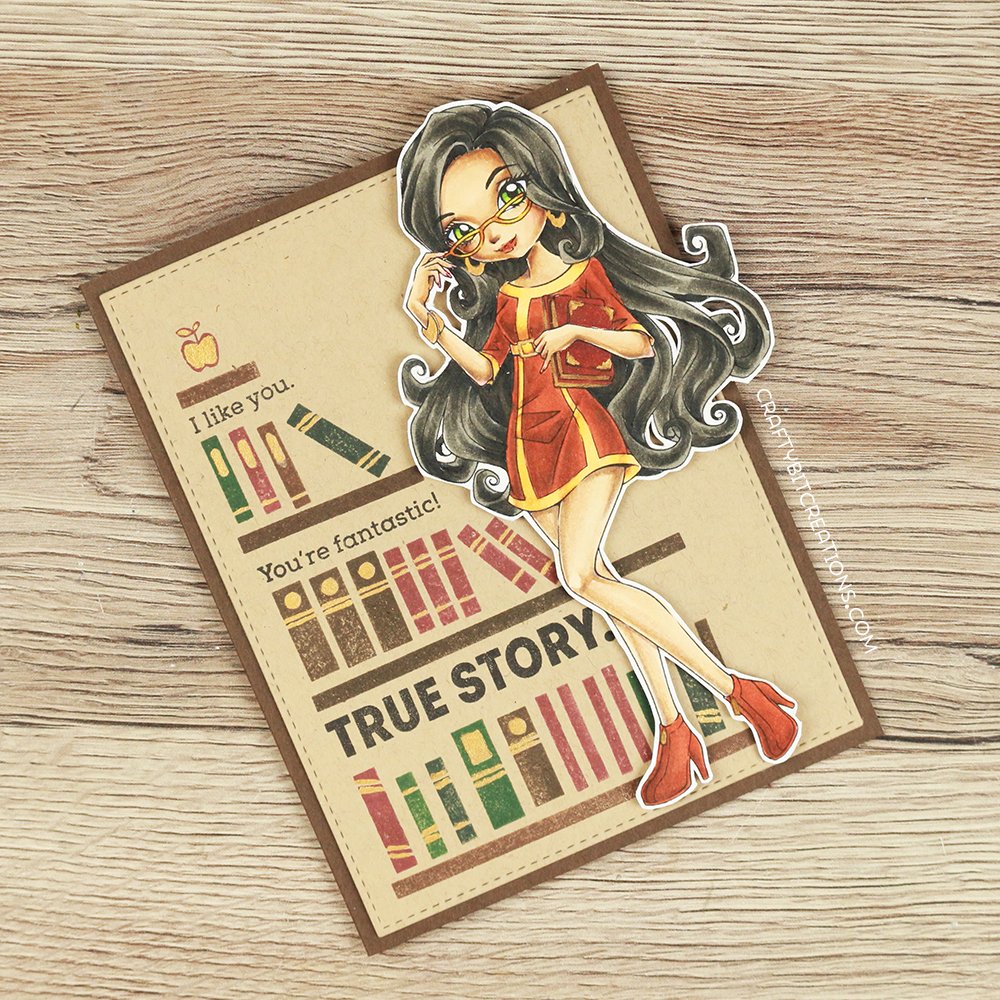
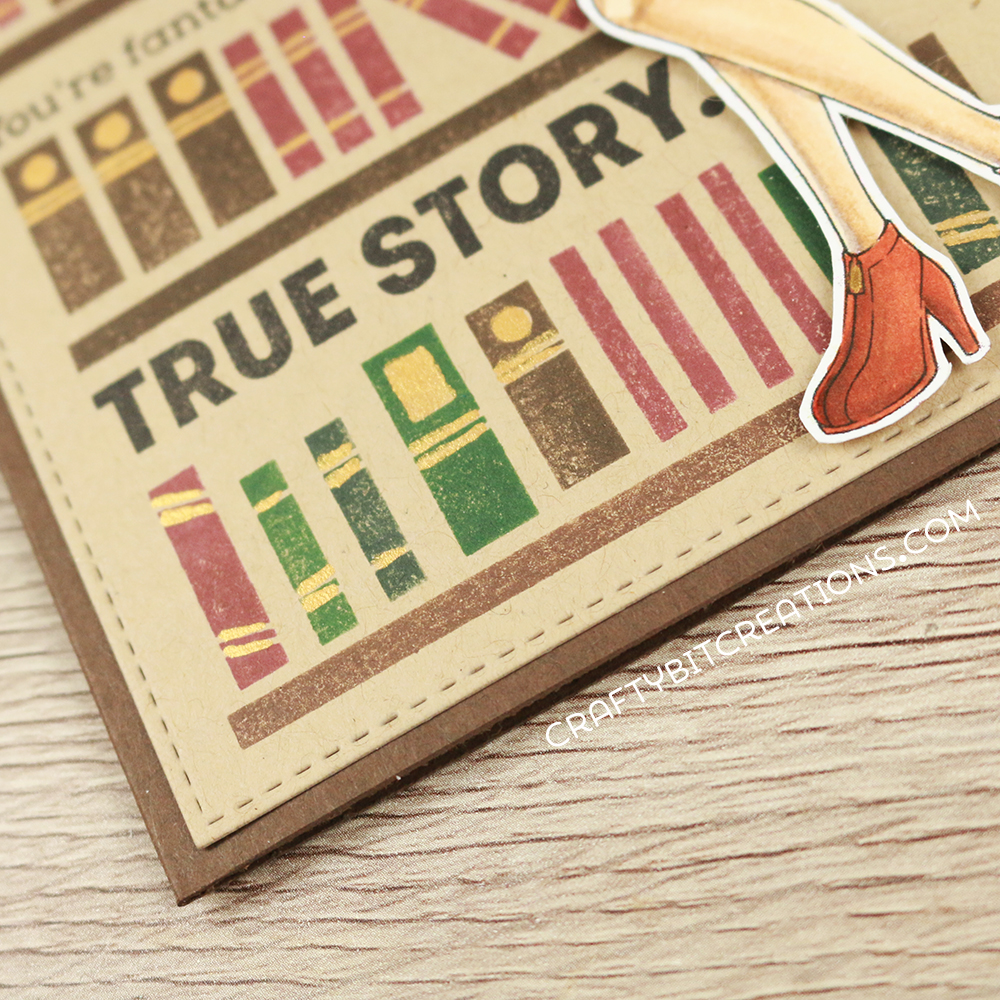
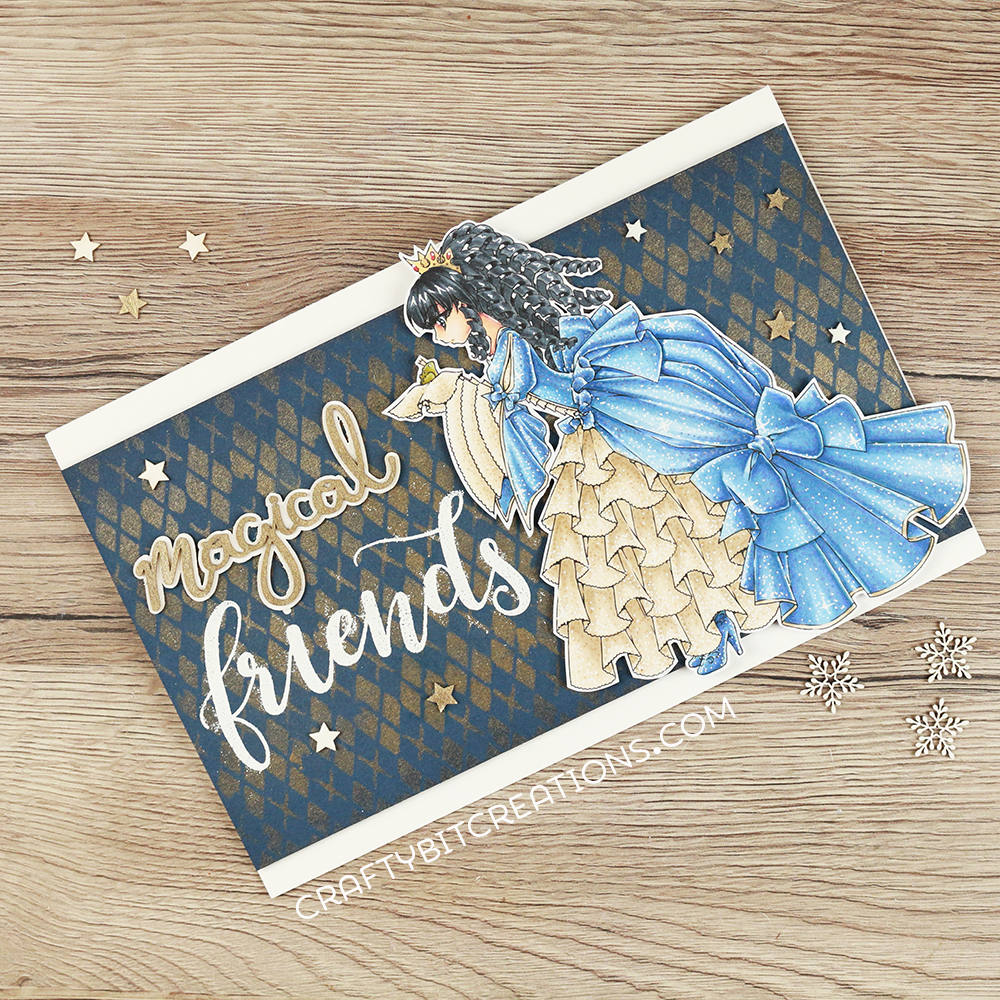
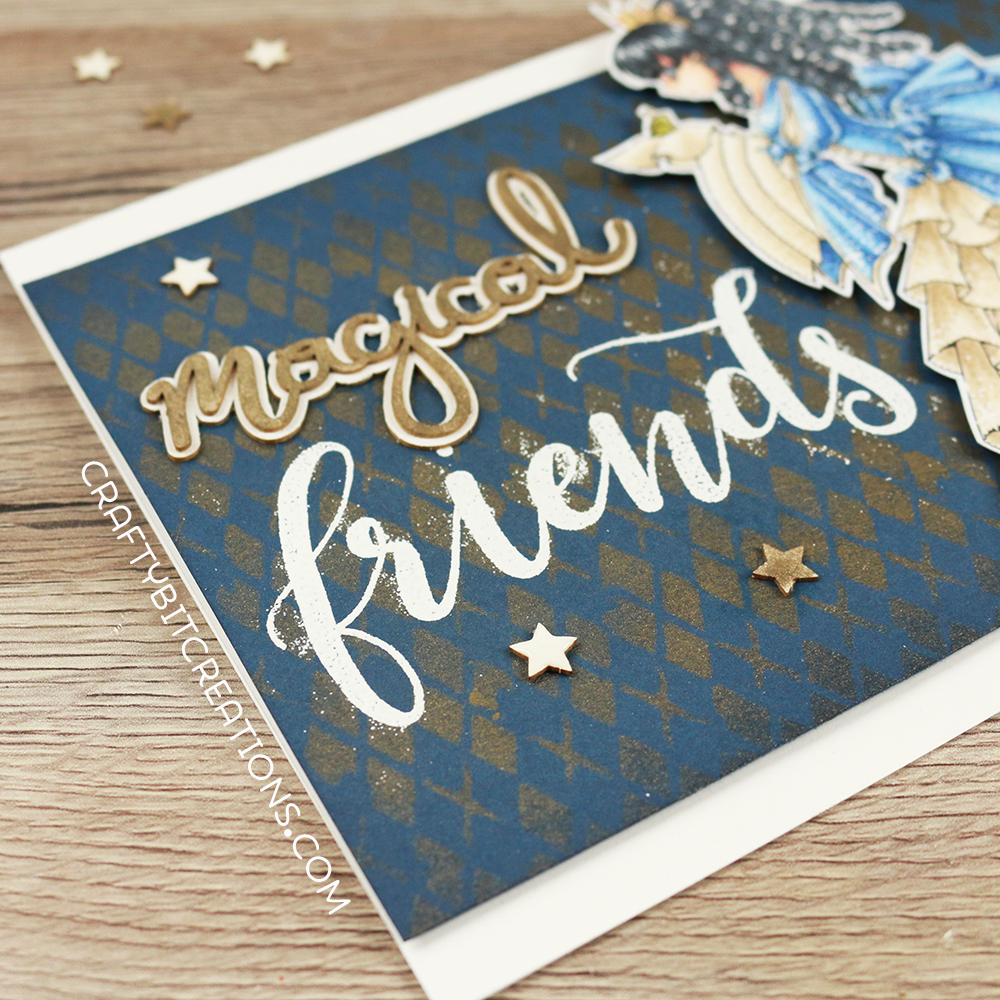
My card today is as clean and simple as they go, I wanted the message to come through as good as possible. This card is supposed to be like a soft hug, like a cup of coffee. I knew I wanted to use the new Coffee Hug Sentiment, so I measured the size and then tried out some arrangements in photoshop (creating a rectangle with that size as a temp to see sizes). I finally decided on using a cropped version of the Coffee & Yarn Digi Stamp.
 
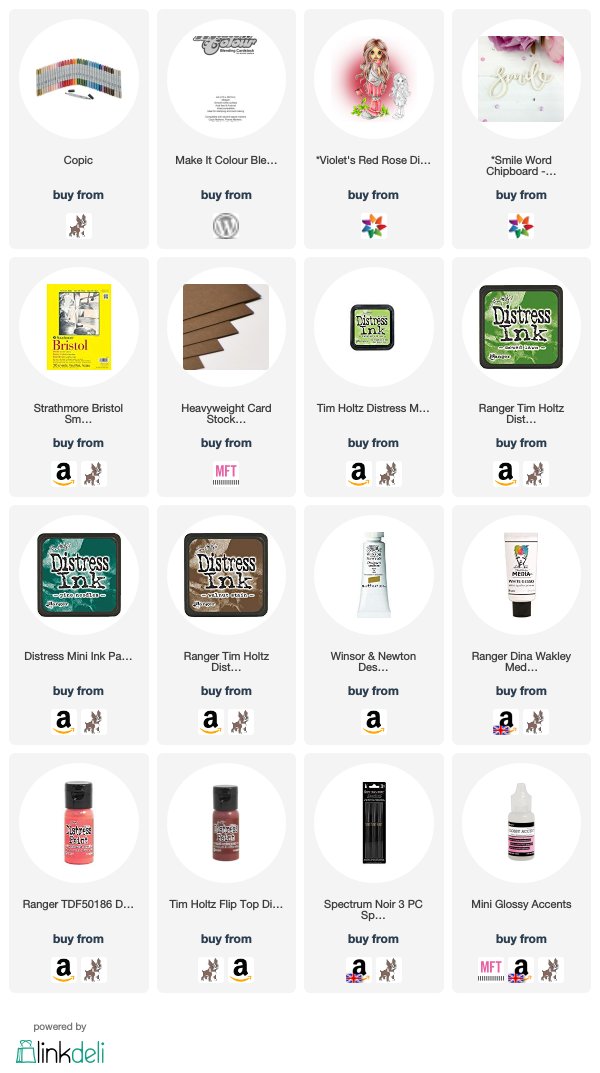
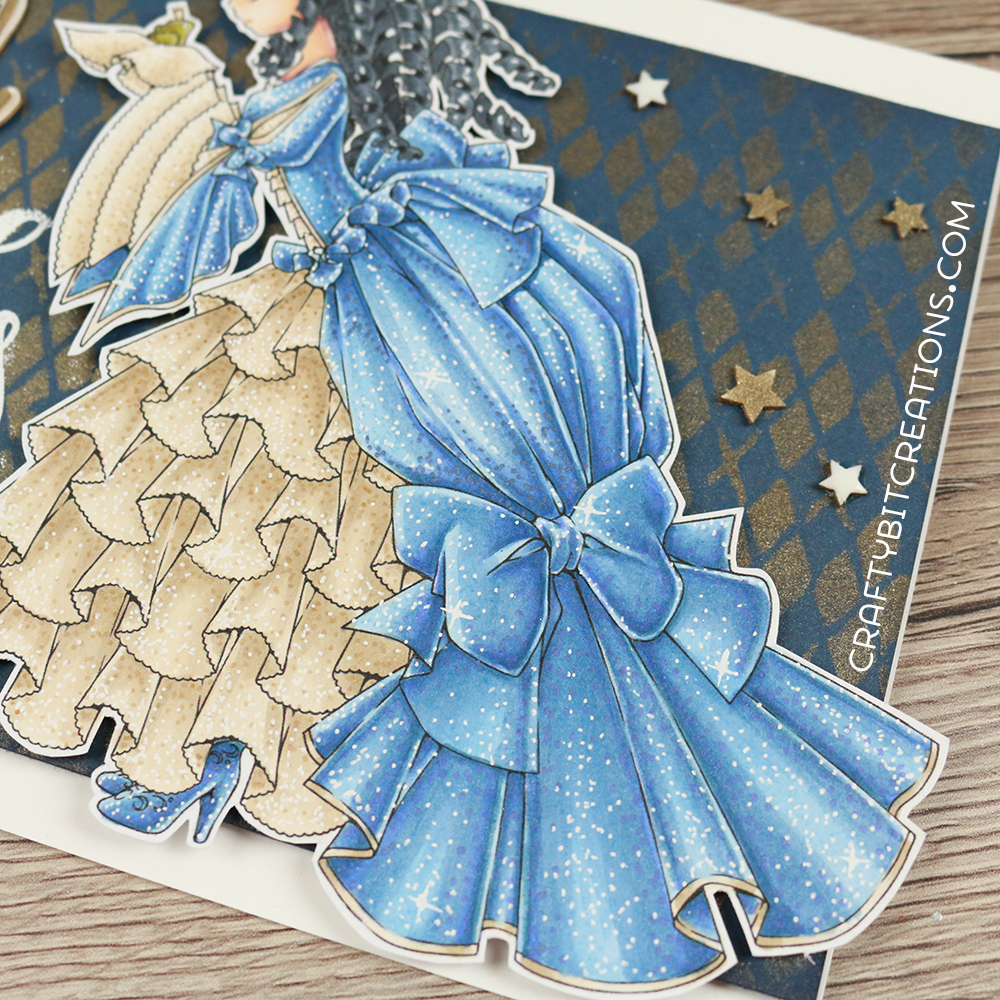
While coloring her skin I realized that I wanted to use her lip color as the color of her shirt and that I loved the softness of it and wanted it to continue through out the card. So I picked out my Distress Paints and colored up the sentiment. To finish the card off I found this cute paper in an old Doodlebug Designs pattern paper stack and then I used a die to cut it to give it a little more interest. Then I put it all on a white cardbase and the card was finished.
 
Here is a list of the blog hop in case you get lost along the way. Don’t forget to leave a comment on each blog for 10 chances to win!
 
Marika – YOU ARE HERE!
 
Copic:
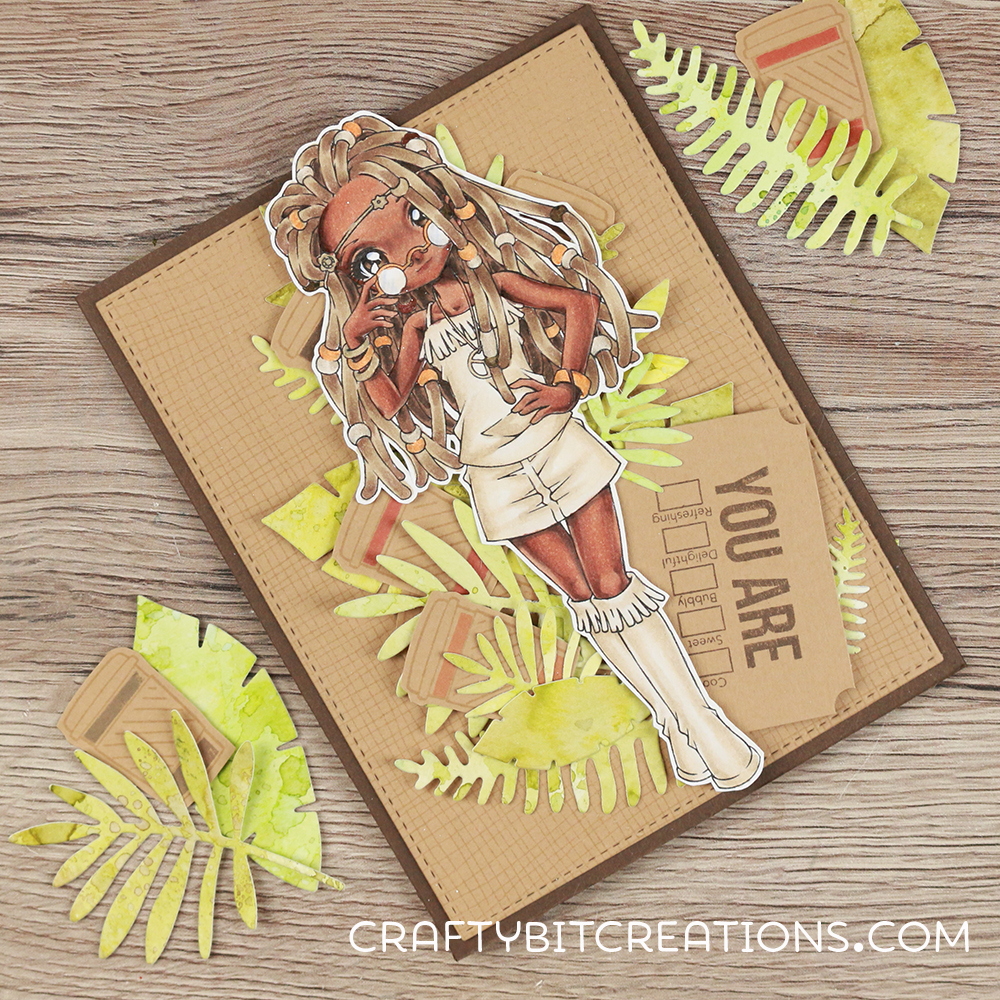
Skin: E50, E00, E21, E11, E04, R30, R32
Hair & Eyes: E55, E57, E59, E49
Shirt: R30, R32, E04
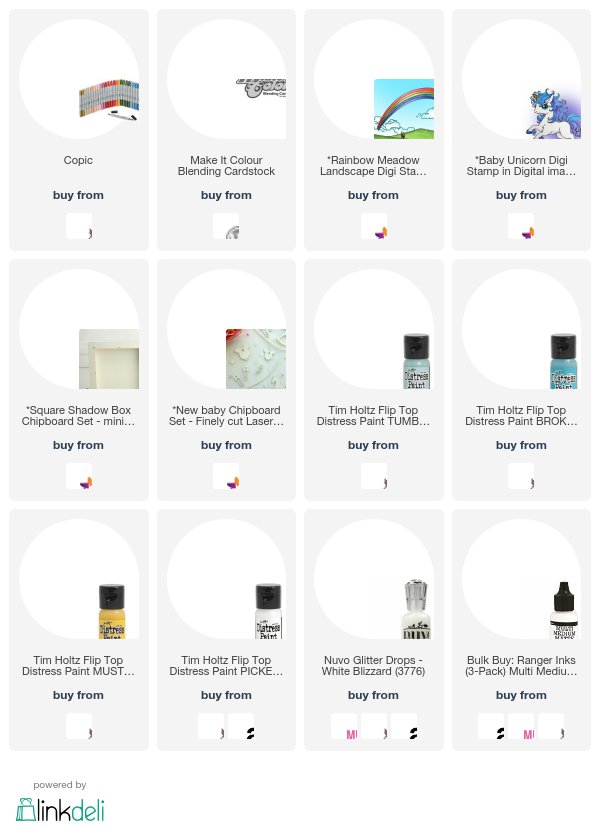
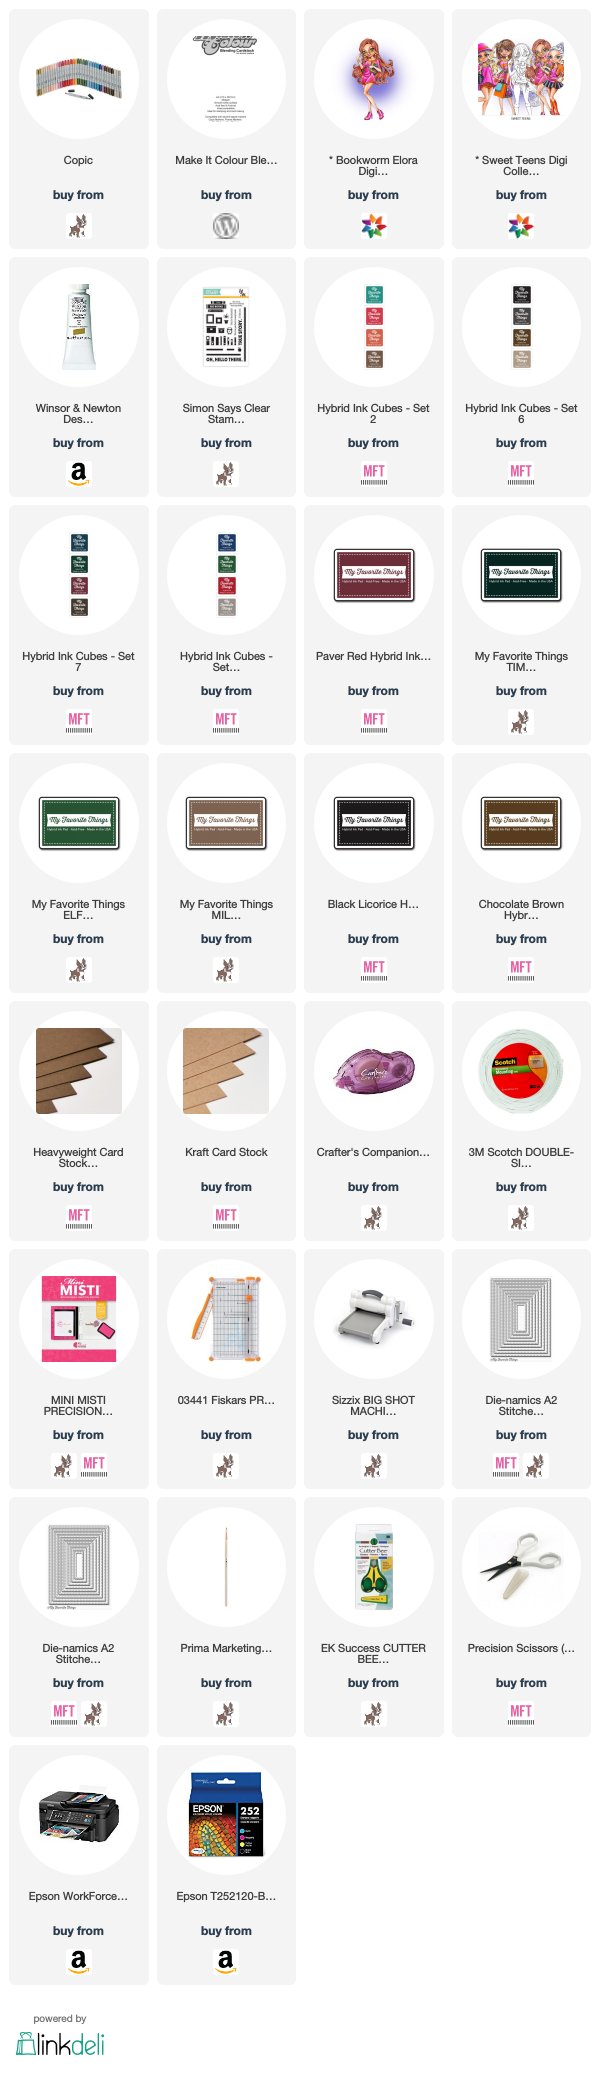
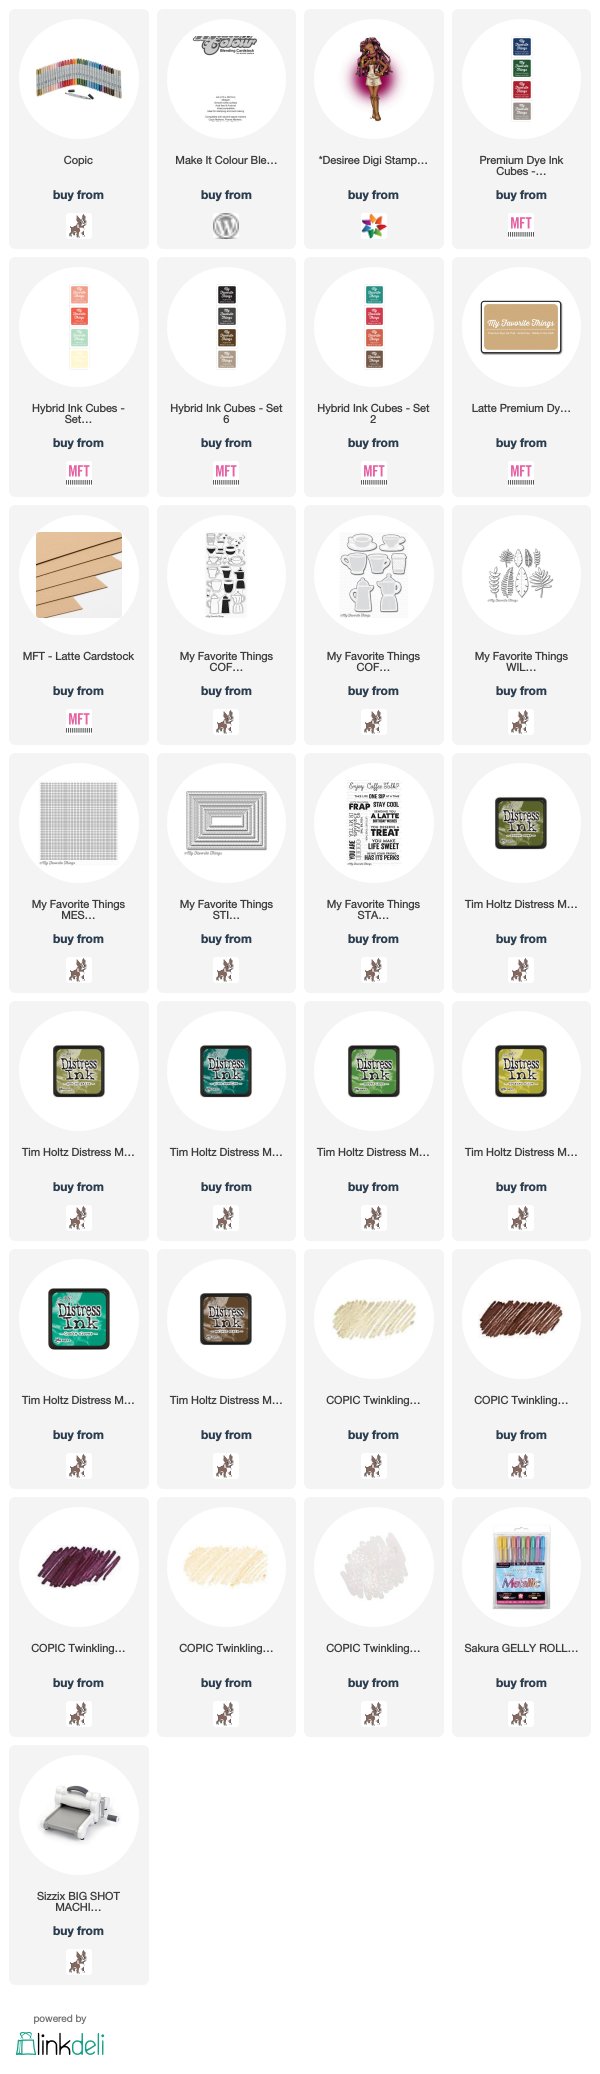
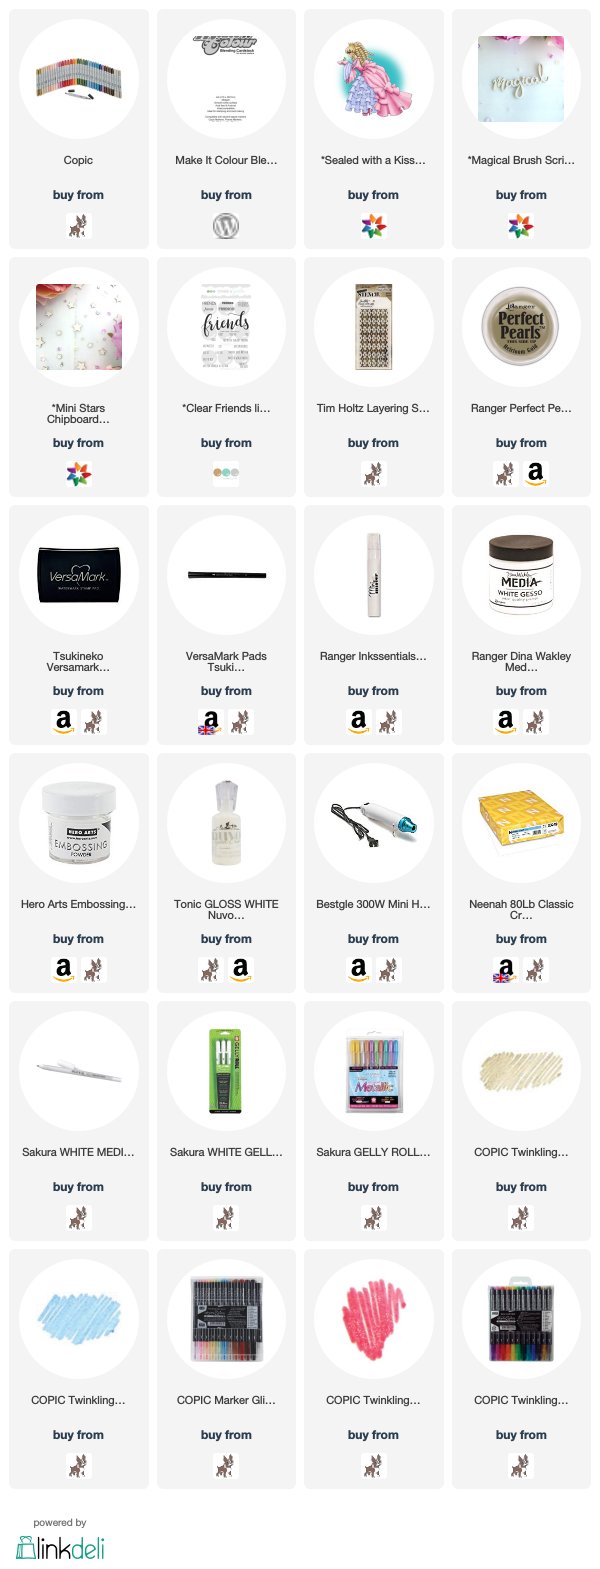
Supplies:

When possible affiliate links are used, this means that I receive a small commission when products are purchased through the links (at no extra cost to you) I use the money to support my blog and youtube channel. If you like my projects and tutorial please consider supporting me by clicking through these links when you shop. Thanks!


https://linkdeli.com/widget.js?1518439322996

Make It Crafty, Videos

Unicorn Shadowbox

Hi everyone!

Today’s videos is a little bit different, today I have made  a shadow box with the help of the Make It Crafty 3D chippies. I love the Make It Crafty chippies, they are gorgeous, easy to work with and due to their lighter tone you can color them with loads of different medias. I prefer to use distress paints, but copic markers works great too.

To get the right size for my image I measured the inside of the shadow box. I then arranged a scene with the Rainbow Meadow digi stamp, cropping it to only show the clouds and the rainbow and then add the Baby Unicorn digi stamp as a focal image. I colored the scene with copic markers and finished it of by coating the unicorn in Nuvo Glitter glue. I colored the shadow box and the extra chippies with distress paints and then covered the details with glitter also.

This was a great project to put together and hope to create a bunch more like this in the future.

Copic:
B000, B00, BG01, B02, 0, T0, T2, T4, R22, YR02, Y13, G02, BV04, N0, N2, N4, BV01, BV02, BV04, BV08, RV13, RV14, RV19

Supplies:

When possible affiliate links are used, this means that I receive a small commission when products are purchased through the links (at no extra cost to you) I use the money to support my blog and youtube channel. If you like my projects and tutorial please consider supporting me by clicking through these links when you shop. Thanks!

Create A Smile Stamps, Videos

Accenting with Acrylic Ink – In Bloom

Hi everyone!

I’m here with my monthly Create A Smile feature. For you who are new here, the 4th Saturday in every month I make a project for the Create A Smile blog. The idea behind todays card was for me to play with the Tonic Blender Brushes, but as with most of my cards it took another turn and the video and the card ended being about how to add accents on your stamps with white acrylic ink.

Supplies:
https://linkdeli.com/widget.js?1516969651720

Design Teams, Make It Crafty, Real Time Coloring, Videos

Violet’s Red Rose – Colouring a bush

Hi Everyone!

Had a lot of fun creating todays card, I got to play with the newly released Violet’s Red Rose by Make It Crafty. When finished colouring her I felt she needed something more and decided to add a rose bush behind her. I knew the kind of style I wanted so I googled for some illustrated bushes and then did a couple of test runs on some separate cardstock. When happy with my result I then tried it out on my coloured image. I love experimenting and I love feeling that I got something that I didn’t got before, and this really turned out how I envisioned it.

For the rest of the card I didn’t want to much detail but I knew I wanted to continue that bush into the card. So I blended on some Bristol with different green distress inks and edged it in brown to match the card base. For a sentiment I knew I didn’t want to cover up my colouring to much, so the hand-lettered chipboard words from Make It Crafty worked perfect! The backing piece is made to give that little outline (that I usually leave on my images too), to make the word pop and be able to layer on top of colouring without taking away from the colouring or getting lost in it.

Copic:
Skin: E50, E00, E21, E11, E04
Rose: R30, R32, R35
Green: YG05, YG17, Go7
Greys: N0, N2, N4
Hair: E70, E71, E74, R30, R32

Supplies:

When possible affiliate links are used, this means that I receive a small commission when products are purchased through the links (at no extra cost to you) I use the money to support my blog and youtube channel. If you like my projects and tutorial please consider supporting me by clicking through these links when you shop. Thanks!

https://linkdeli.com/widget.js?1549439153802
Make It Crafty, Videos

Adding golden details with gouache | For your book nerd friend

Hi everyone!

Todays card and tutorial is definitely for your book nerd friend, Make It Crafty has release a new digital stamp Collection called Sweet Teens and one of the teens is called Bookworm Elora and I just love her! I asked her where she came from and she said Greece, well jokes aside I felt her hair would look great in a dark brown/black so thought a more Mediterranean skin colour would be great, so played around with some different colours and ended up with this. If you’re going to test my new skin colour remember that you can also join the Make It Crafty Colouring Challenge that is going on right now which is, skin!

For the card I picked out one of my few book related stamp-set For Thine Own Shelf by Simon Says Stamp, it’s a wonderful stamp-set with great sentiments but it also have the build your own bookshelf part which is real fun to play with. I stamped the books in a couple of different Hybrid Inks by My Favorite Things onto some Kraft cardstock that I cut out with a stitched rectangular die and mounted on a Chocolate Brown Cardbase. To make everything pop and add a little bit of luxury to the card I then added details with some Winston & Newton Designer Gouache in the color Gold which have a beautiful metallic sheen to it.

Copic:
Skin: E53, E34, E35, E74, R30, R32
Eyes: YG25, YG17, YG67, G28
Hair: W6, W8, W10, 110
Dress: YR18, E23, E57, E59, YR21, YR24, YR27
Books: R24, R46, R59, YR18, E19, E27

Supplies:

When possible affiliate links are used, this means that I receive a small commission when products are purchased through the links (at no extra cost to you) I use the money to support my blog and youtube channel. If you like my projects and tutorial please consider supporting me by clicking through these links when you shop. Thanks!

https://linkdeli.com/widget.js?1549439153802
Make It Crafty, Videos

Creating a background with die cut leaves

Hi Everyone!

Let’s kickoff the new year with the new colouring challenge over att Make It Crafty, it’s all about that skin! It’s an easy one, so come and join us! As I’m a inspirational designer for Make It Crafty you are not competing against me, I’m just here to give you some tips and tricks. As usual you get two videos from me, a cardmaking video and a real time colouring video. For the cardmaking part I’ve choosen to make a background with die cuts.

But let’s start with the colouring! For my inspirational pieces for the challenges I want to bring something different. And this time around I come up with a beautiful dark skin colour. Dark skin colours are hard, specially with copics, they very easy either gets very muddy, are to red or to light. But hopefully you like mine. I’ve choosen to do two layers of colours to get a beautiful skin, using E70 series for the bottom layer and E10 series for the upper layer.

With the card I’ve been having this idea for a long time, been wanting to create a leafy background by layering loads of die cut leaves. I added some coffee mugs for a added detail and stamped some coffee related sentiments, both on the inside and the outside. I brought a little of the design to the inside by adding a mug and a leaf to the inner sentiment.

Copic:
E40, E41, E42, E43, E44, E47, E49
E70, E71, E74, E77
E15, E17, E18
W0, W2, W4

Supplies:

When possible affiliate links are used, this means that I receive a small commission when products are purchased through the links (at no extra cost to you) I use the money to support my blog and youtube channel. If you like my projects and tutorial please consider supporting me by clicking through these links when you shop. Thanks!

https://linkdeli.com/widget.js?1549439153802
Make It Crafty, Videos

Magical Friends | Colouring Glitter & Creating Backgrounds with Perfect Pearls

Hi Everyone!

Have you tried the glitter challenge over at Make It Crafty yet? You still have a little less than a day to enter. You don’t have to colour a huge image like me but can just add it to a small part of an image, like a top or a skirt. But weather you enter the challenge or not, try it out it’s a lot of fun!

Todays card and videos (there is two) is all about those glittered effects, and gosh did I challenge myself with this one. I’ve tried colouring this image multiple times, never feeling that I make it justice, and then I added the challenge of glitter on top of that. It was super scary but also super satisfying! The glitter effect on the dress is created with metallic, glitter and white gel pens, you can see all how I coloured it below if you want to see it in HD you can do that HERE.

For the card I had a few things that I wanted, one was to use the layered words chipboards , another one was to give it a vintage feeling and the last one was to use Perfect Pearls. I went through my stash of stencils and found the Argyle one, it’s super easy to line up to fill up a wider surface and it got the feeling I wanted. I went trough my Perfect Pearls (they arn’t that many but I’ll be adding more to my collection soon), and saw the Heirloom Gold and just saw how perfect it would be! You can see the full process below or watch it in HD HERE.

I blended Versamark in over the stencil onto some Simon Says Stamp Soft Navy Cardstock and the brushed the Perfect Pearls over it. I den used a Mini Mister to mist water over the cardstock to set the Perfect Pearls. I finished of the background part by blending some Chipped Sapphire on the edges on the navy cardstock.

For the sentiment I used the Magical Layered Word, I coloured the bottom part with some white gesso and used the Perfect Pearls on the top part. To finish the sentiment I heat embossed the word Friends from the Create A Smile Stamps set called Friends Like You, with some Hero Arts Fine White Embossing Powder. To finish the card I added some Tinklings, half of them was coloured with the Perfect Pearls and the other half was coated with Nuvo Gloss Simply White.

I also want to thank you all for being with me through the years and wish you a happy new year, I will be back in the new year with loads of fun creations.

Copic:
B21, B45, B66, B97
E50, E41, E42, E43
YG93, YG95, YG97
Y23, R24
B63, C6, C8, C10, 100

Supplies:

When possible affiliate links are used, this means that I receive a small commission when products are purchased through the links (at no extra cost to you) I use the money to support my blog and youtube channel. If you like my projects and tutorial please consider supporting me by clicking through these links when you shop. Thanks!

https://linkdeli.com/widget.js?1549439153802