Hi Everyone!
I just got my Distress Oxide Inks in from Simon Says Stamp, I’ve seen so many fun things done with them so I just had to get them. I immediately sat down to play and out of it I got four different backgrounds with four different techniques. So todays video is all about those background, I knew that I wanted to finish the cards with the Mermazing stamps set from My Favorite Things that I also picked up at the same time. So I choosed to use the same three colours in all four techniques. Faded Jeans, Broken China and Peeled Paint. To finish the cards I also used the Clear Droplets from Pretty Pink Posh, which is one of my favourite sequins.
The different techniques I used was, first smooching, I just had to try it on the oxide inks and it works great however you get a whole other effect due to the pigment in the oxide inks which gives you much thicker washes of colours and layers that you wouldn’t be able to get with ordinary inks.

The second technique is using Distress Micro Glaze, while researching the Oxide Inks I found a video with Tim Holtz and he was using the Glaze and I just had to try it, I’ve had this pot in my stash for a year I think and I haven’t really used it. You do have to clean off the tools you used with alcohol but this was real fun! Apparently it works with all Distress products except the crayons.

The third technique is combining blending and stamping, I just had to try stamping as these inks you can stamp with and get great result, I used the MFT Cheesecloth background stamp together with Faded Jeans Oxide Ink. This is the only technique where I only use one ink colour, but as you can see you can get great results with just one colour.

The fourth technique is just plain blending, I tried this multiple times with different papers, but I only show one as I wasn’t happy with the result on the first ones. The big difference came when I used the Bristol Cardstock, the ink glided on like butter!

On the blue haired mermaid I’ve used one of the less perfect backgrounds for the sentiment flag, the technique I used there where to go directly to paper with the inkpads, I didn’t like that the inks didn’t really blend when I spritzed it with water, however I think that technique can give you awesome results, it wasn’t what I wanted for these backgrounds tho so I didn’t include the clips on me creating it.
I ended up making four cards out of the backgrounds, playing with the Mermazing stampset by My Favorite Things. I stamped these images onto Make It Colour Blending Cardstock with Memento Tuxedo Black Ink in my Mini Misti, and then colouring them with copics. I only left in the colouring for one of the mermaids in the main video but I did make a second, real-time video with all of the colouring of all of the mermaids if you want to see that. I finised of the cards making sentiment flags with the sentiment from the stampset and a die from the Tag Builder Blueprint Set 5.
Copic:
Skin: E50, E00, E21, E11
Olive Skin: E34, E55, E44, (Y28)
Red Hair & Tail: R00, R02, R05, R29 (R14)
Blue Hair & Tail: B12, B06, B37, B39
Green Hair & Tail & Turtle: YG01, YG03, (YG25), YG17, (YG67)
Rock & Greys: T0, T2, T4
Sea Shells & Fishes & Stars: YR21, (YR12), YR15, YR07
Blue Gray Tail: B21, T0, T2, T4
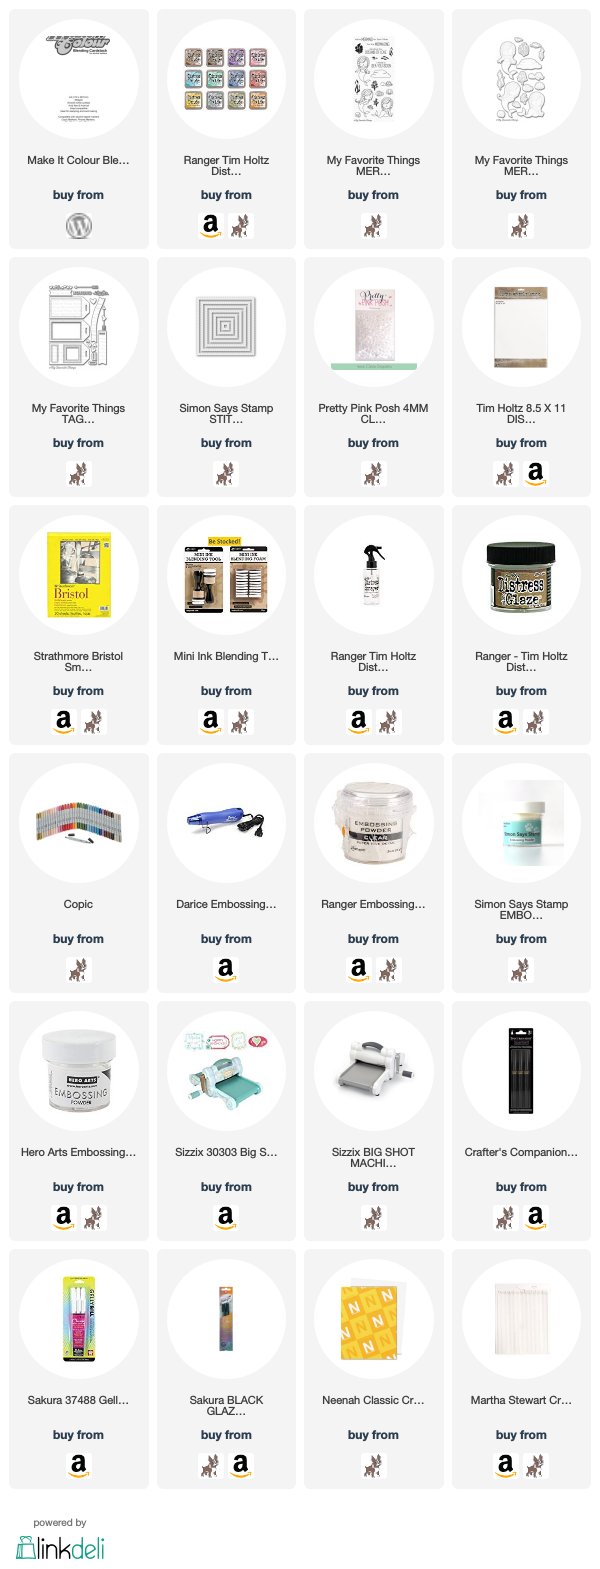
Supplies:
When possible affiliate links are used, this means that I receive a small commission when products are purchased through the links (at no extra cost to you) I use the money to support my blog and youtube channel. If you like my projects and tutorial please consider supporting me by clicking through these links when you shop. Thanks!
 https://linkdeli.com/widget.js?1549439153802
