I love making different kind of smaller projects with my craft supplies, and these paperclip flags are perfect to use up those scrap pieces you have laying around that you just don’t wanna throw out.

I recently started to really use my planner and take part of the planner community on social media. I found these kind of flags there but wanted to make them in my way, more like little notes than just decorative pieces for my planner. And while I was at it I made a little tutorial on how I make them.
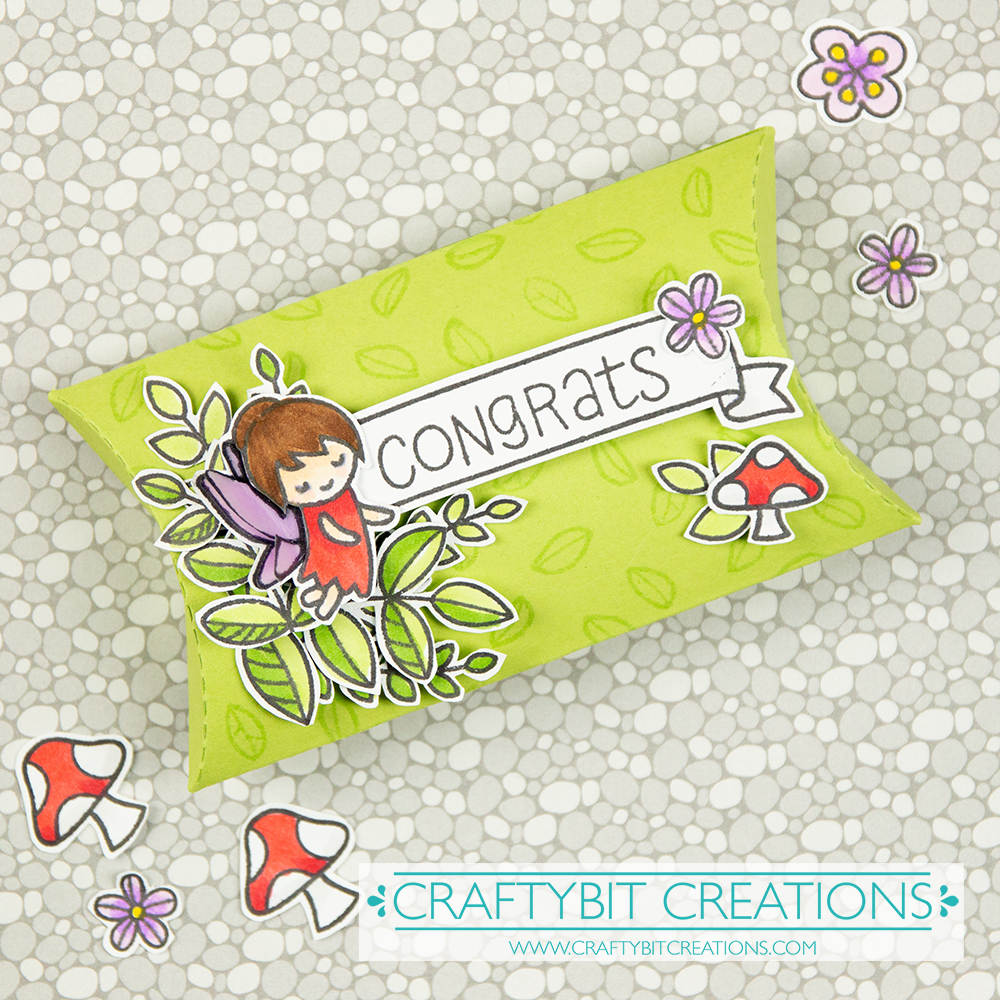
For the theme, I knew I wanted to do valentine, I also knew that I wanted to dig out some of my lovely pattern papers that I haven’t used in a while. And as happened I have subscribed to the Lawn Fanatics email list and their launch email for the active challenge came into my box. The challenge is “For the birds”, so I dived into my stamp collection and ended up pulling out a whole bunch! I also picked out some valentiny paper packs and I started playing.

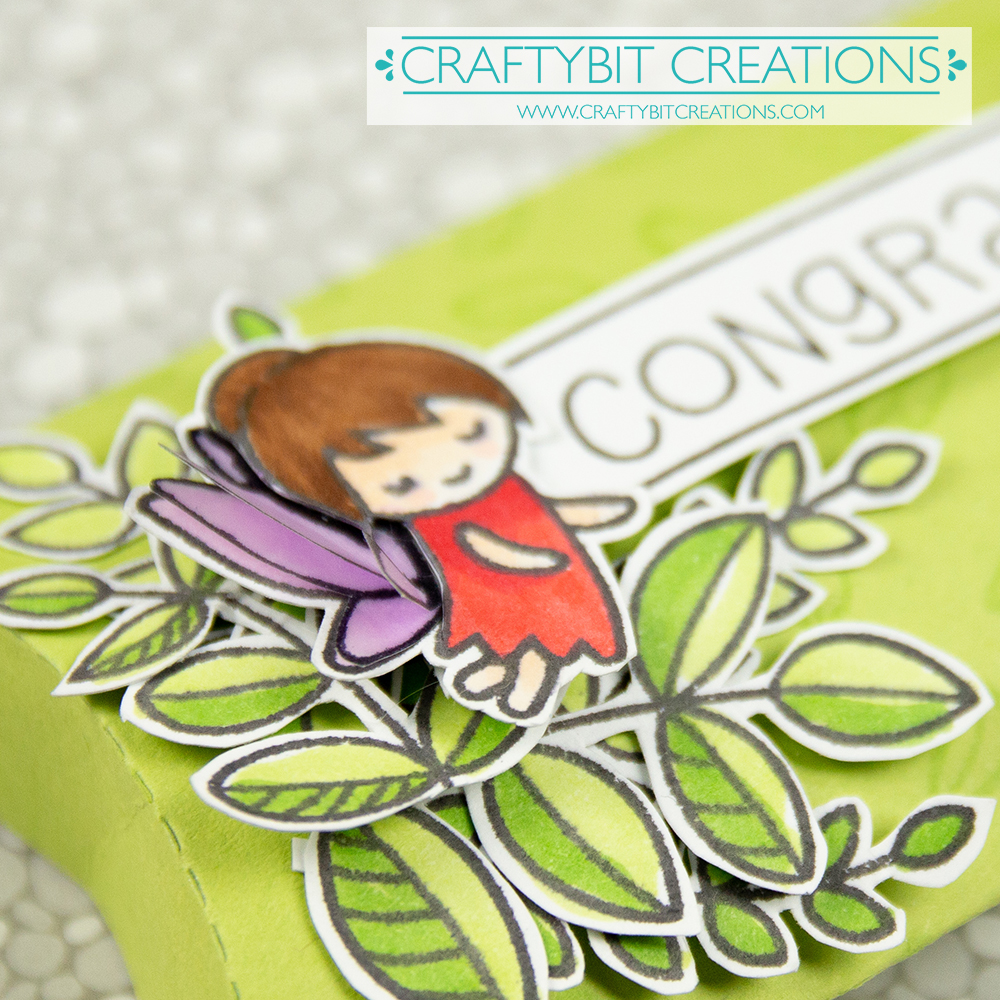
The first flag is the larger of the one, it’s created on the 78 mm (3 1/8″) paperclip and the flag measures 2 1/2″ in width. The larger size made it possible to use a bigger sentiment. To ground the sentiment I used a couple of thin paper strips in different patterns, and then as a little pop I added a cute little bird.

Next flag up is on a very colorful bright rainbow striped paper, so the sentiments and the image used is a little more block colored so they pop a little bit more. I again used some stripes of pattern paper to ground one of the sentiments. I tried finding papers that where less patterned but still had a little bit. It’s made for the 45 mm (1 11/16″) paperclip and the flag measures 1 3/8″ in width.

The third flag is made on a tone on tone pattern paper which gave me the possibility to add a sentiment that is a little more busy. I hand cut around the sentiment to keep the movement in it. Then I added a little bird and some hearts that almost look like they are the notes from the bird singing. I added some glitter drops to the heart just because I wanted it to have that little extra. This flag is created for the smallest paperclip that measures 32 mm (1 5/16″) and the flag measures 1″ in width.

The last flag was just a little extra, I had found this little speech bubble with a heart in it and I just wanted to use it! So I stamped up another bird that could tweet it out and colored it to match. It’s also created on the smallest paperclip I had.
Hope you liked the flags and the tutorial. If you decide to use my tutorial I would love to see your creations!
When possible affiliate links are used, this means that I receive a small commission when products are purchased through the links (at no extra cost to you) I use the money to support my blog and youtube channel. If you like my projects and tutorial please consider supporting me by clicking through these links when you shop. Thanks!
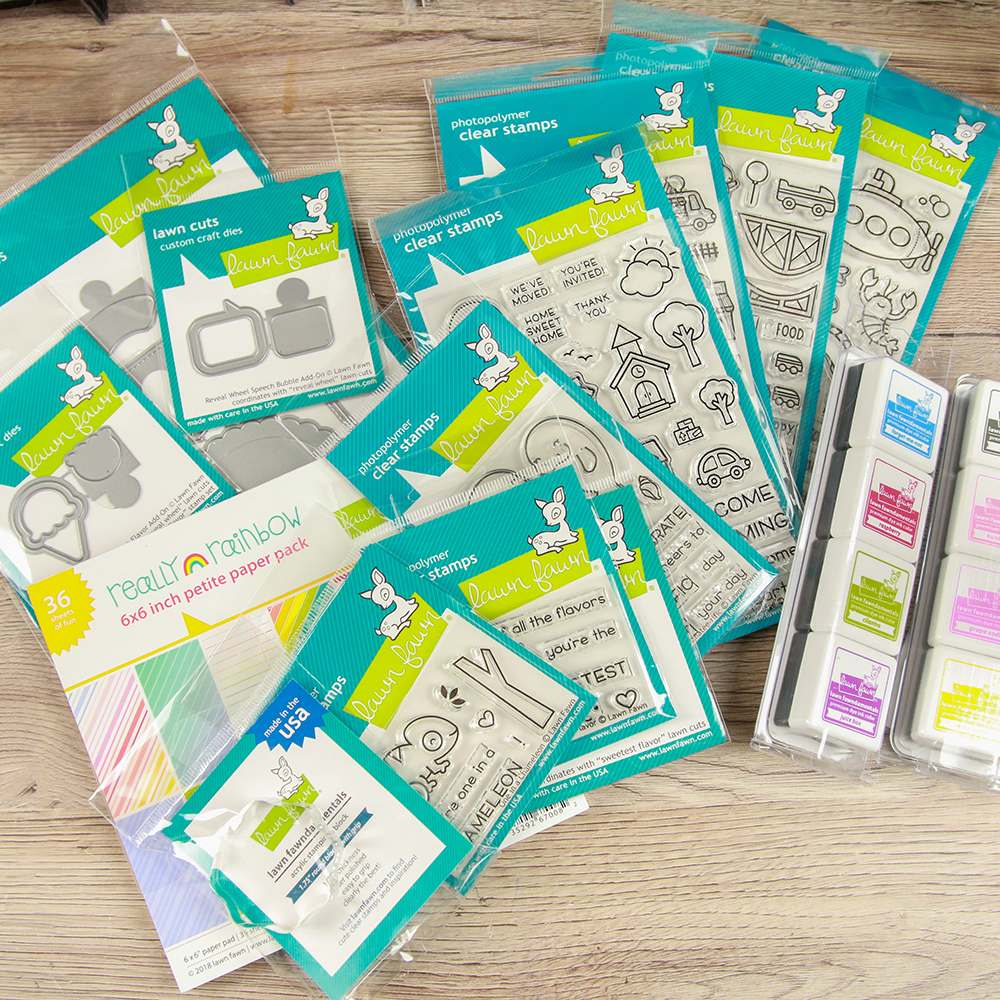
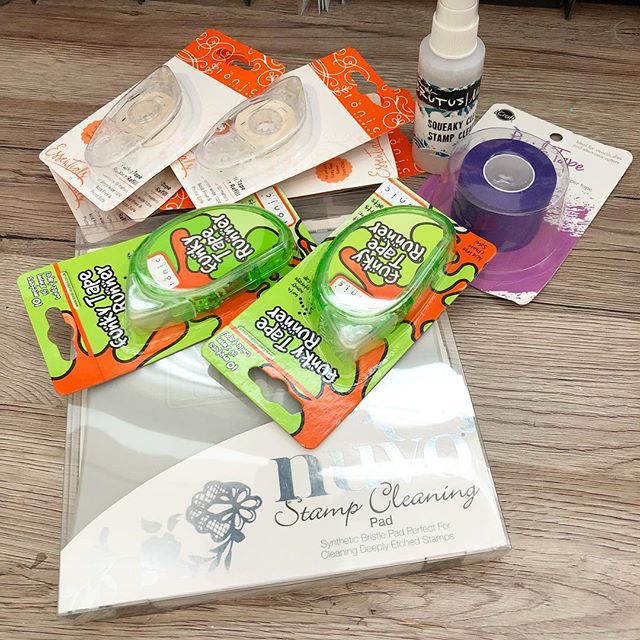
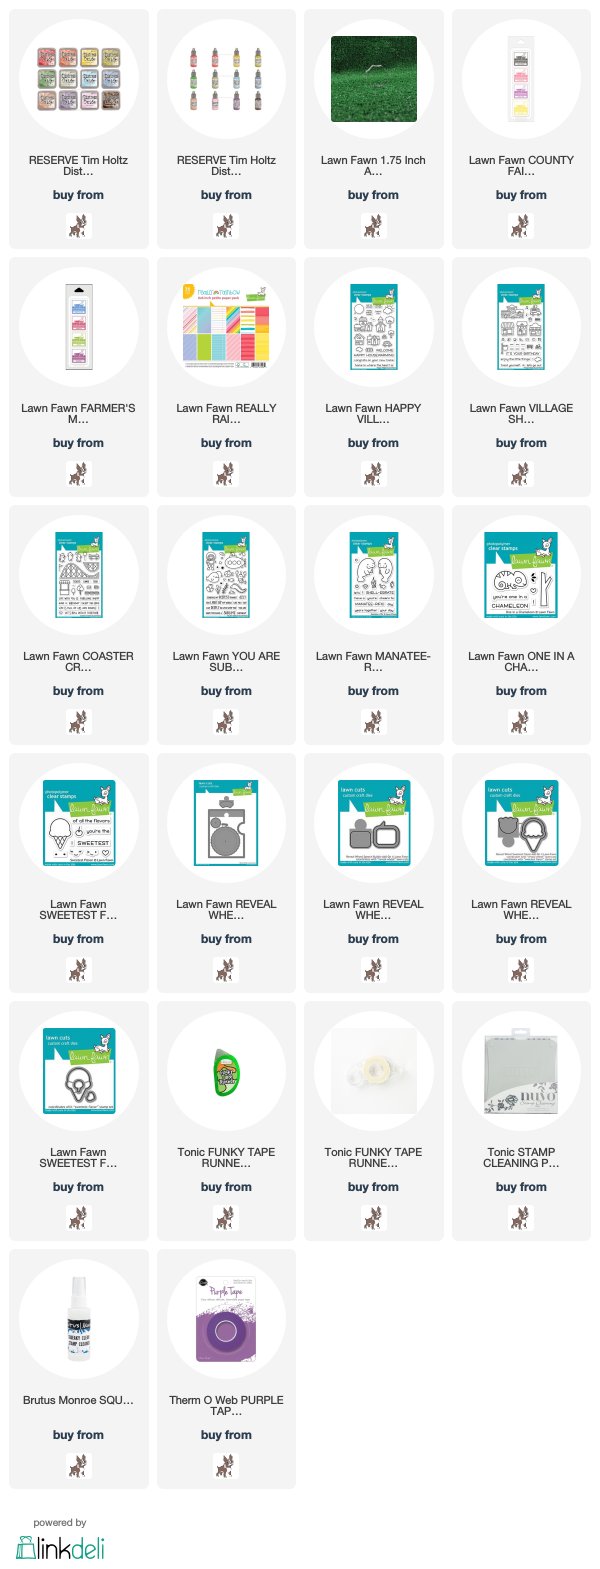
Supplies:
 https://linkdeli.com/widget.js?1559654439292